 Try ShortPoint now
If you've ever used Search & Filter widgets to help visitors find and organize content on your SharePoint pages, you already know what a difference they can make. And with ShortPoint AI Designer, activating them just got a whole lot easier.
Instead of manually configuring each widget, simply describe what you need in plain, everyday language, and ShortPoint AI Designer will take care of the setup for you. No complicated settings, no technical know-how required. Just tell it which widget you'd like to activate, and it's ready to go.
In this article, we'll walk you through exactly how to do it, one step at a time.
TABLE OF CONTENTS
- What are the Prerequisites?
- What Are Search & Filter Widgets?
- How to Use ShortPoint AI Designer to Activate Search & filter Widgets
- Frequently Asked Questions
- Which Search & Filter widgets can I activate using ShortPoint AI Designer?
- What are the prerequisites for using ShortPoint AI Designer?
- How do I activate Search & Filter widgets using ShortPoint AI Designer?
- Can I customize the widgets when activating them with AI Designer?
- Does using ShortPoint AI Designer require any coding skills?
- What benefit does ShortPoint AI Designer offer compared to manual configuration?
What are the Prerequisites?
- You must have the latest version of ShortPoint SPFx installed.
- You must be a ShortPoint Designer with a Pro or Enterprise License.
- You must have ShortPoint AI Designer enabled in the ShortPoint Admin page and have AI credits available. For more information, go to How to Enable/Disable the ShortPoint AI Designer.
What Are Search & Filter Widgets?
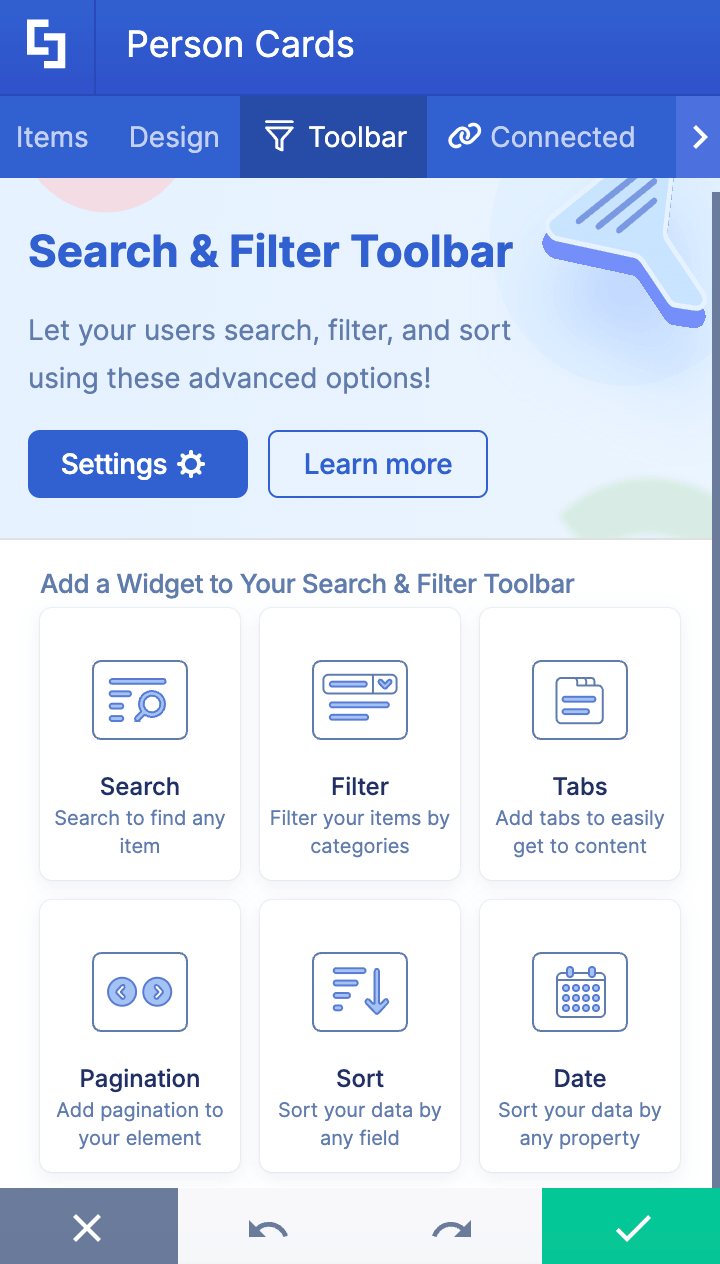
ShortPoint's Search & Filter Toolbar is a handy set of tools that helps your intranet visitors quickly find and organize content on your SharePoint pages, especially when there's a lot of it
- Search — adds a search bar to your design elements, making it easy for users to find exactly what they're looking for in seconds.
- Filter — adds customizable filters to your design elements based on the properties you've set up.
- Sort — lets you arrange content in ascending or descending order based on any design element property.
- Tabs — automatically sorts your content into different categories based on the properties you choose.
- Pagination — breaks long lists of content into pages, so your SharePoint page loads faster and feels less cluttered.
- Date Filter — lets users narrow down content by a specific date range.
Typically, to activate the widget, you need to select the widget you want to use, configure the properties, and activate. Though straightforward and easy, it takes quite a few clicks.
Now, with the ShortPoint AI Designer, you remove all those extra steps. All you have to do is say which widget you want to activate, and the AI Designer will do the rest.
How to Use ShortPoint AI Designer to Activate Search & filter Widgets
Here’s an easy-to-follow guide on how to activate Search & Filter widgets using ShortPoint AI Designer:
Step 1: Edit the ShortPoint Web Part
- Go to the SharePoint page you want to use and click Edit.
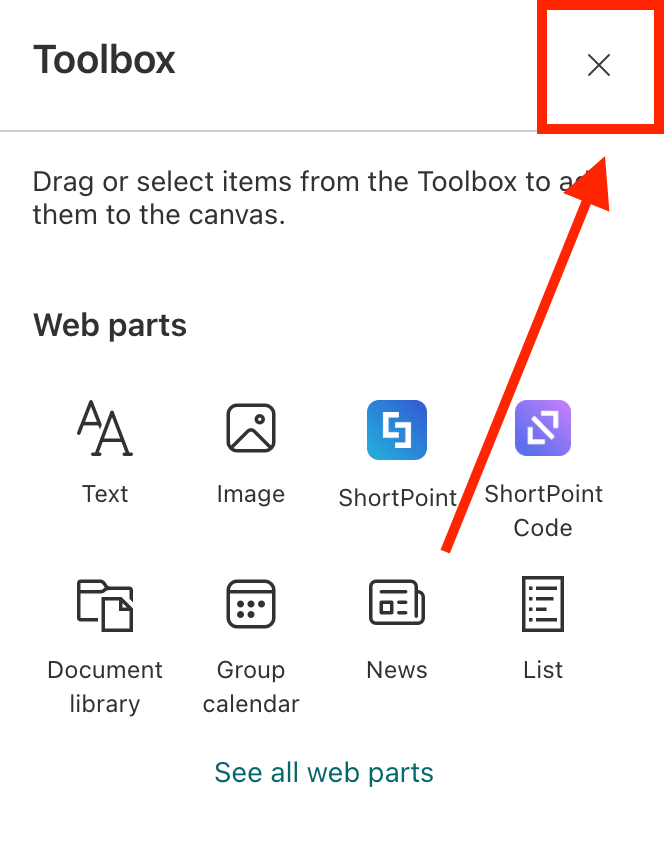
- Close the Toolbox.
- Edit the ShortPoint web part.

Step 2: Open AI Designer
NOTEBefore proceeding, make sure the Design Element you want to activate the widgets for allows the addition of widgets. Currently, the Search & Filter widgets are available for the following Design Elements: Date List, File List, Icon List, Image List, Events, Image Titles, Simple List, Tiles, Tabs, Toggles, Accordions, Icon Boxes, Quick Links, FAQs, News Cards, and Person Cards.
- Click the AI Designer icon in the floating bar:

Step 3: Connect
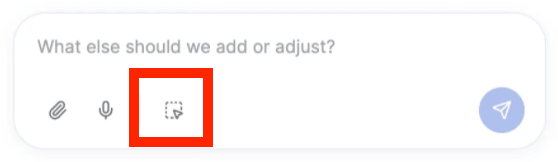
- Click the Select & Edit icon:
- Find the Design Element you want to use and select it. You’ll see the name of the Design Element in the prompt area. For this guide, we’ll use Person Cards.
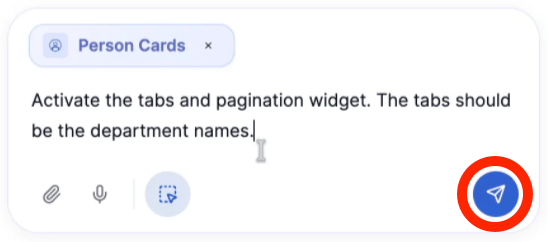
- Name the widgets you want to activate. You can choose from Search, Tabs, Pagination, Date Filter, Sort, and Filter. In our case, we want to activate the Tabs and Pagination widgets. For more information on the widgets you can use, check out Getting Started: The Basics of the Search & Filter Toolbar.
- Then, if you have any additional instructions, add them in, as well. For example, we want the Tabs to be named after the company’s Departments.
- Once done, click Enter:
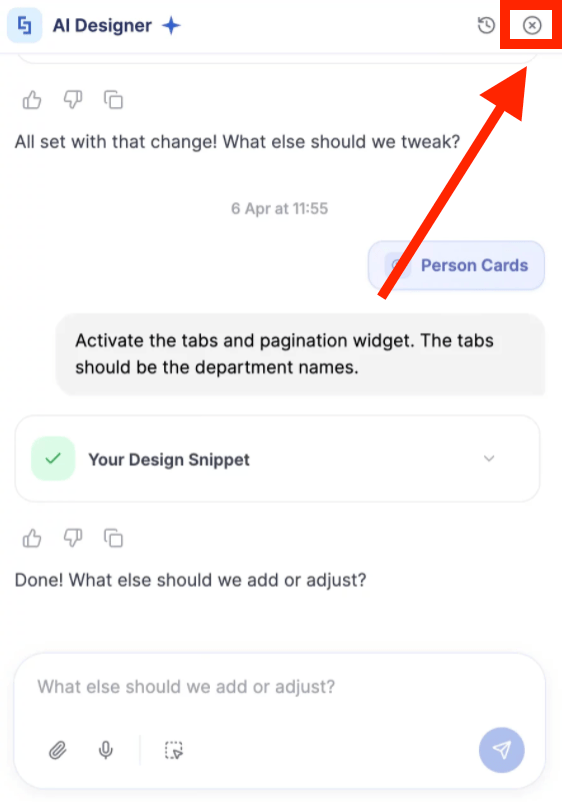
Step 4: Save
- The ShortPoint AI Designer will establish the connection for you. Close the AI Designer panel:
- Save your changes:

- And Publish your page:

Well done! With a simple prompt, you can now activate the Search & Filter widgets. No extra steps needed.
Frequently Asked Questions
Which Search & Filter widgets can I activate using ShortPoint AI Designer?
You can activate Search, Filter, Sort, Tabs, Pagination, and Date Filter widgets on supported Design Elements such as Date List, File List, Icon List, Image List, Events, Image Titles, Simple List, Tiles, Tabs, Toggles, Accordions, Icon Boxes, Quick Links, FAQs, News Cards, and Person Cards.
What are the prerequisites for using ShortPoint AI Designer?
You need the latest version of ShortPoint SPFx installed and must have a ShortPoint Designer license that includes access to ShortPoint AI Designer.
How do I activate Search & Filter widgets using ShortPoint AI Designer?
Edit the SharePoint page, open the ShortPoint web part, launch AI Designer, select the Design Element, specify which widgets to activate, add any additional instructions, and then save and publish your page.
Can I customize the widgets when activating them with AI Designer?
Yes, you can add additional instructions, such as naming the properties you want the widgets to use.
Does using ShortPoint AI Designer require any coding skills?
No, ShortPoint AI Designer is designed to be user-friendly and requires no coding expertise.
What benefit does ShortPoint AI Designer offer compared to manual configuration?
It reduces the number of clicks and steps needed to activate widgets by automating the setup process based on simple text prompts, saving you time and effort.
Related articles:
- ShortPoint AI Designer: An Overview
- Quickstart Guide: Generate your first intranet page
- ShortPoint AI Designer Features: What Can it Do?
- How to Use the ShortPoint AI Designer: Detailed Step-by-step
- How to Write Effective AI Prompts for ShortPoint AI Designer
- How to Use Text Prompting in ShortPoint AI Designer
- How to Use Voice Prompting in ShortPoint AI Designer
- How to Use Image-to-Image Prompting in ShortPoint AI Designer
- How Brand-Aware Design Works in ShortPoint AI Designer
- How to Use ShortPoint AI Designer to Edit an Existing ShortPoint Template
- How to Revert to Previous Prompt Versions in ShortPoint AI Designer
- Prompt Library
- Iterating with Multi-Turn Conversation in ShortPoint AI Designer
- How to Modify Specific Page Elements Using the ShortPoint AI Designer
- How to Queue Prompts in ShortPoint AI Designer
- How to Create Dynamic Design Elements Using ShortPoint AI Designer
- How to Use the Paste from Clipboard Feature of ShortPoint AI Designer
- How to Copy and Paste Design Snippets from ShortPoint AI Designer to Another SharePoint Site
