 Try ShortPoint now
Happy with the page ShortPoint AI Designer built, but need to adjust one small detail? No worries! With the Select & Edit feature, you can make precise changes to any element without affecting the rest of your page. This article will show you how it works.
TABLE OF CONTENTS
- What are the Prerequisites?
- What Is the Select & Edit Feature?
- How to Use Select & Edit
- Frequently Asked Questions
- What is the Select & Edit feature in ShortPoint AI Designer?
- What are the prerequisites for using the Select & Edit feature?
- How do I start editing a page element with Select & Edit?
- How do I select and modify a specific element on the page?
- How do I exit the select & edit mode?
- Do I need coding skills to use ShortPoint AI Designer?
- Where can I learn more or try ShortPoint AI Designer?
What are the Prerequisites?
- You must have the latest version of ShortPoint SPFx installed.
- You must be a ShortPoint Designer with a Pro or Enterprise License.
- You must have ShortPoint AI Designer enabled in the ShortPoint Admin page and have AI credits available. For more information, go to How to Enable/Disable the ShortPoint AI Designer.
What Is the Select & Edit Feature?
Select & Edit is a ShortPoint AI Designer feature that allows you to modify an element(s) of your SharePoint page without touching the rest. With this feature, you never have to redo your entire page just to change one thing.
How to Use Select & Edit
Here’s an easy-to-follow guide on how to use the select & edit feature:
Step 1: Edit the ShortPoint Web Part
- Go to the SharePoint page you want to use and click Edit.
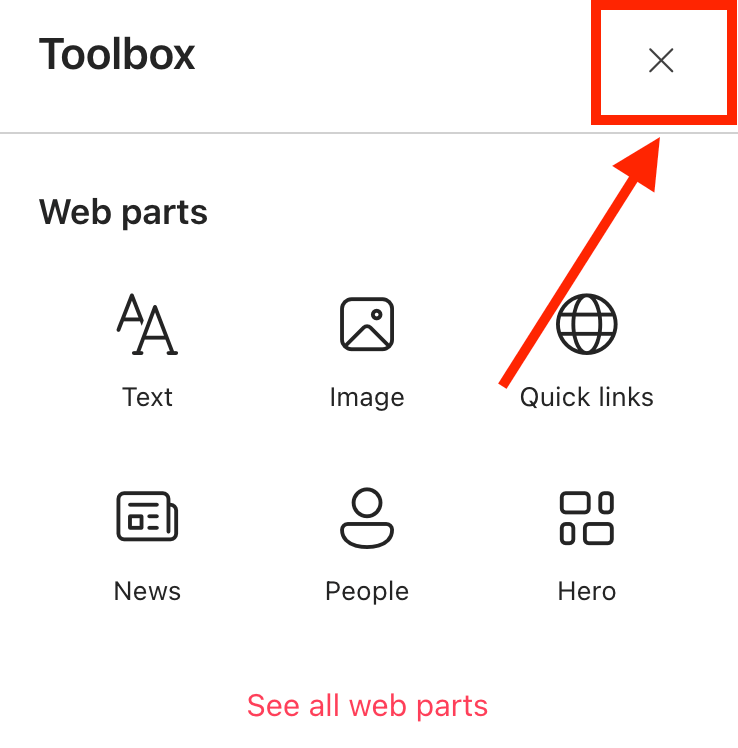
- Close the Toolbox.
- Edit the ShortPoint web part.

Step 2: Open AI Designer
- Click the AI Designer icon in the floating bar.

Step 3: Select & Edit
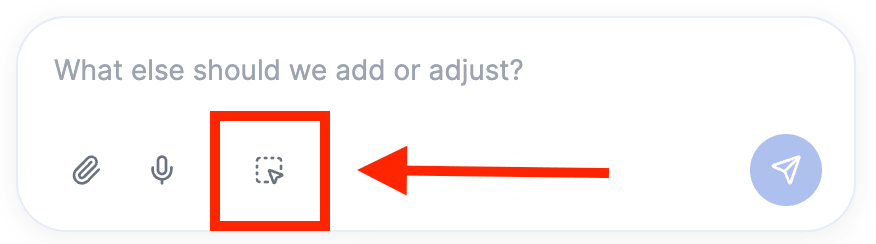
- Click the Select & Edit icon:

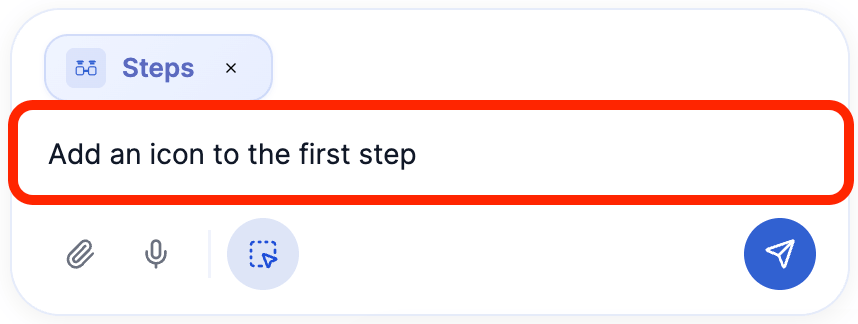
- Select the page element you want to modify. If you want to modify multiple elements, you can select more than one element at a time.
- In the prompt area, you’ll see the name of your selected element. Write down what you want to change:
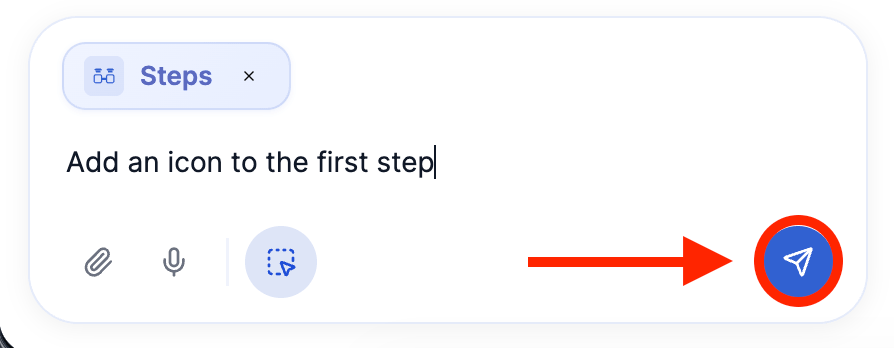
- Then, click Enter:
Step 4: Save
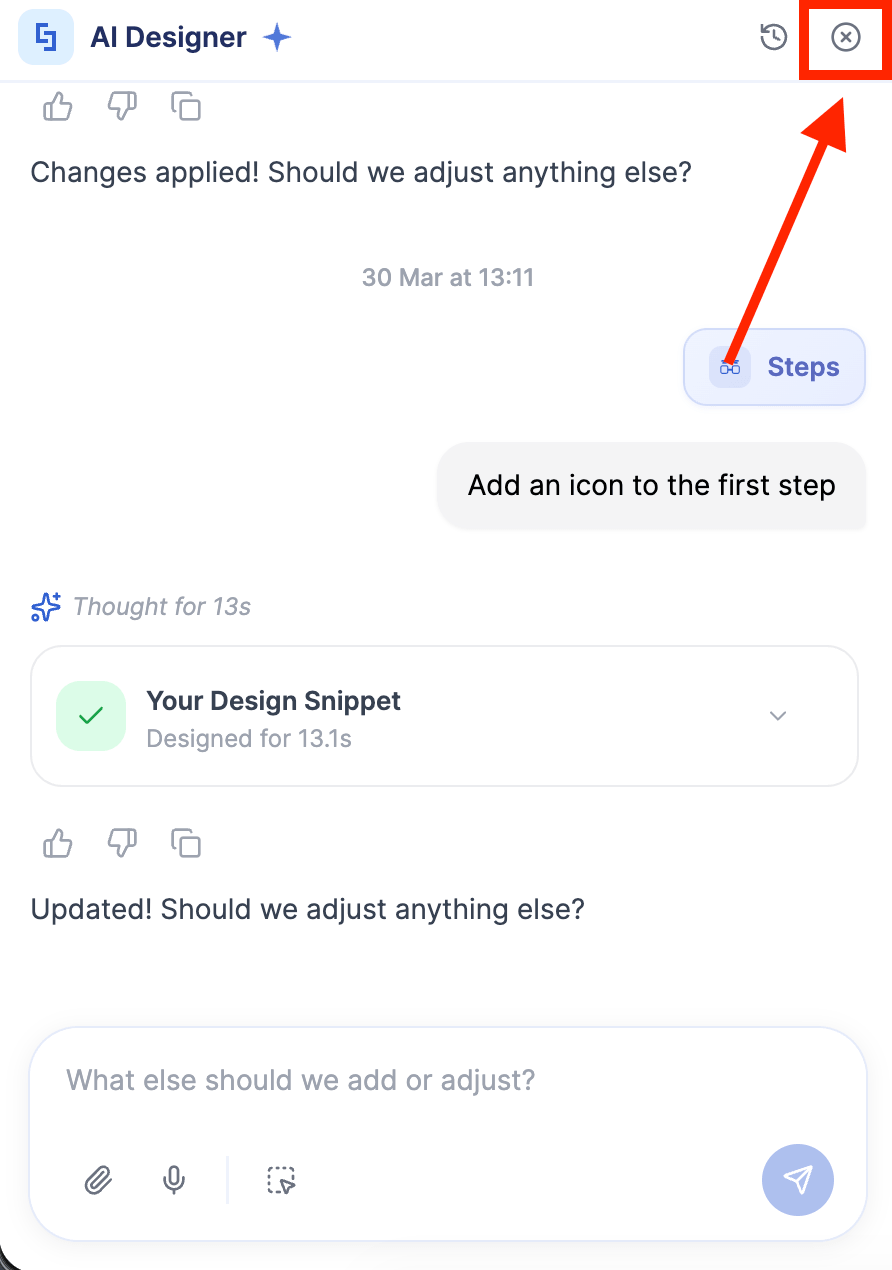
- The changes will be applied. Once you’re done using the Select & Edit tool, click its icon again:

- Then, close the AI Designer panel:
- Save your changes:

- And Publish your page:

Well done! You can now select & edit any page element.
Frequently Asked Questions
What is the Select & Edit feature in ShortPoint AI Designer?
The Select & Edit feature allows you to modify specific elements on your SharePoint page without affecting the rest of the page. This means you can make precise changes without having to redo your entire page.
What are the prerequisites for using the Select & Edit feature?
To use Select & Edit, you must have the latest version of ShortPoint SPFx installed and be a licensed ShortPoint Designer with access to the ShortPoint AI Designer.
How do I start editing a page element with Select & Edit?
First, go to the SharePoint page you want to edit and click Edit. Then close the Toolbox and edit the ShortPoint web part. Next, open the AI Designer by clicking its icon in the floating bar.
How do I select and modify a specific element on the page?
Click the Select & Edit icon in the AI Designer panel, then select the page element you want to modify. In the prompt area, describe the change you want to make and press Enter. The change will be applied immediately.
How do I exit the select & edit mode?
After making your edits, click the Select & Edit icon again to exit the mode, then close the AI Designer panel. Save your changes and publish the page to make your edits live.
Do I need coding skills to use ShortPoint AI Designer?
No, ShortPoint AI Designer is designed to help users build and brand SharePoint intranets without any coding expertise.
Where can I learn more or try ShortPoint AI Designer?
You can start a trial, get a demo, explore templates, or purchase subscriptions and custom design services on the ShortPoint website.
Related articles:
- ShortPoint AI Designer: An Overview
- Quickstart Guide: Generate your first intranet page
- ShortPoint AI Designer Features: What Can it Do?
- How to Use the ShortPoint AI Designer: Detailed Step-by-step
- How to Write Effective AI Prompts for ShortPoint AI Designer
- How to Use Text Prompting in ShortPoint AI Designer
- How to Use Voice Prompting in ShortPoint AI Designer
- How to Use Image-to-Image Prompting in ShortPoint AI Designer
- How Brand-Aware Design Works in ShortPoint AI Designer
- How to Use ShortPoint AI Designer to Edit an Existing ShortPoint Template
- How to Revert to Previous Prompt Versions in ShortPoint AI Designer
- Prompt Library
- Iterating with Multi-Turn Conversation in ShortPoint AI Designer
- How to Queue Prompts in ShortPoint AI Designer
- How to Create Dynamic Design Elements Using ShortPoint AI Designer
- How to Activate the Search & Filter Widgets Using ShortPoint AI Designer
- How to Use the Paste from Clipboard Feature of ShortPoint AI Designer
- How to Copy and Paste Design Snippets from ShortPoint AI Designer to Another SharePoint Site
