 Try ShortPoint now
ShortPoint AI Designer is a powerful ShortPoint feature that takes the guesswork out of page creation. Instead of blindly designing and hoping for the best, you simply have a conversation, and your company's intranet page builds itself.
We'll show you how it works step-by-step in this article.
TABLE OF CONTENTS
- What are the Prerequisites?
- How ShortPoint AI Designer Works?
- What are the Features You Can Use in ShortPoint AI Designer?
What are the Prerequisites?
- You must have the latest version of ShortPoint SPFx installed.
- You must be a ShortPoint Designer with a Pro or Enterprise License.
- You must have ShortPoint AI Designer enabled in the ShortPoint Admin page and have AI credits available. For more information, go to How to Enable/Disable the ShortPoint AI Designer.
How ShortPoint AI Designer Works?
Ready to build something great? Here's how easy it is to create a stunning intranet page with this AI intranet platform.
Step 1: Edit the ShortPoint Web Part
Navigate to the SharePoint page you want to work on and open the ShortPoint web part for editing. That's your starting line.
Step 2: Open AI Designer in Page Builder
When you open ShortPoint Page Builder, you'll notice a shiny new option sitting alongside "Choose Layout" and "Start with Template". This new option is the ShortPoint AI Designer. Simply select it to open the conversation panel and meet your new favorite coworker.

Step 3: Tell the AI What You Need
Here's where it gets fun. You've got four ways to communicate your design vision:
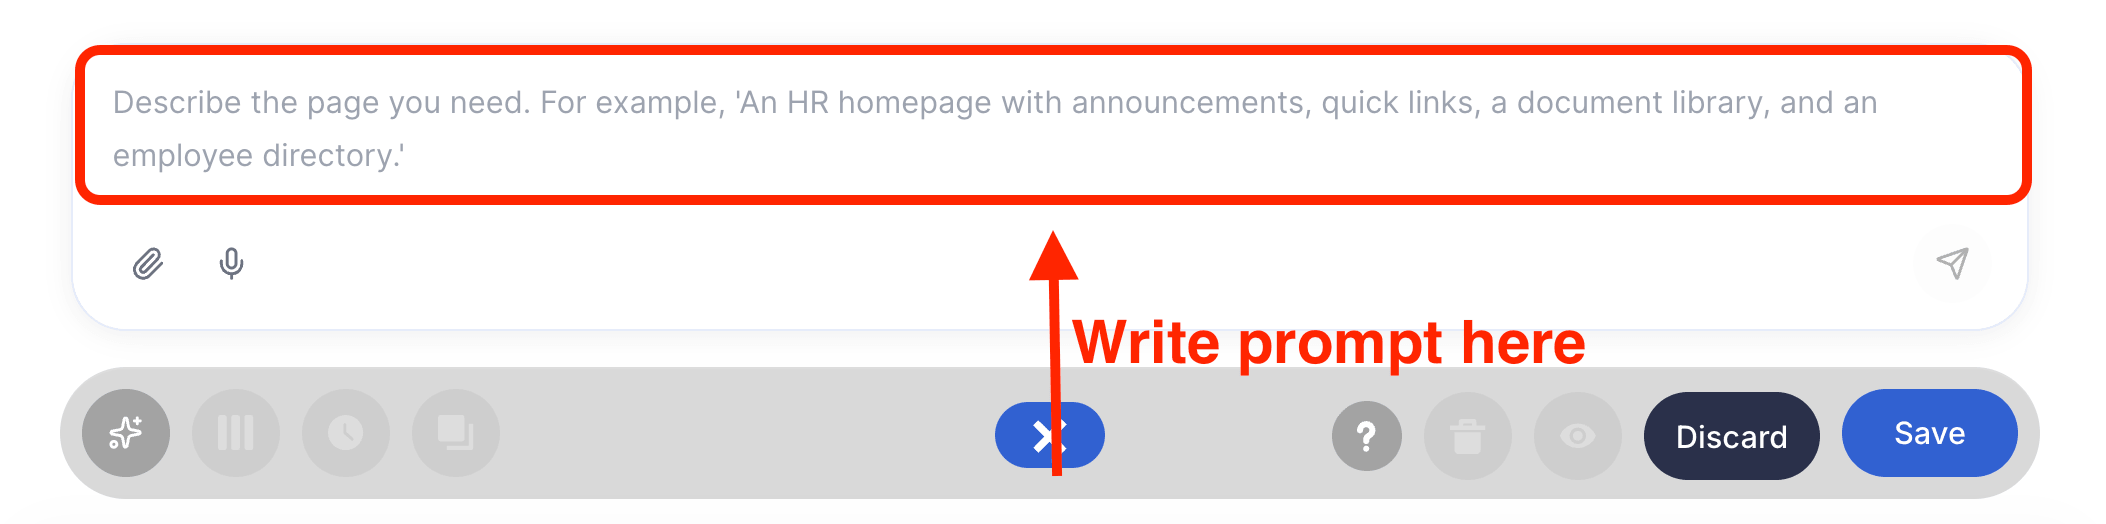
Option 1: Type a Prompt
Describe what you want in plain, everyday language. Something like:
“Create a Welcome Message banner with a personalized message from the CEO and a photo of the team.”
That's literally all it takes. No design experience needed, no technical jargon required.
NOTEWant to learn more about text prompts? Check out How to Use Text Prompting in ShortPoint AI Designer.
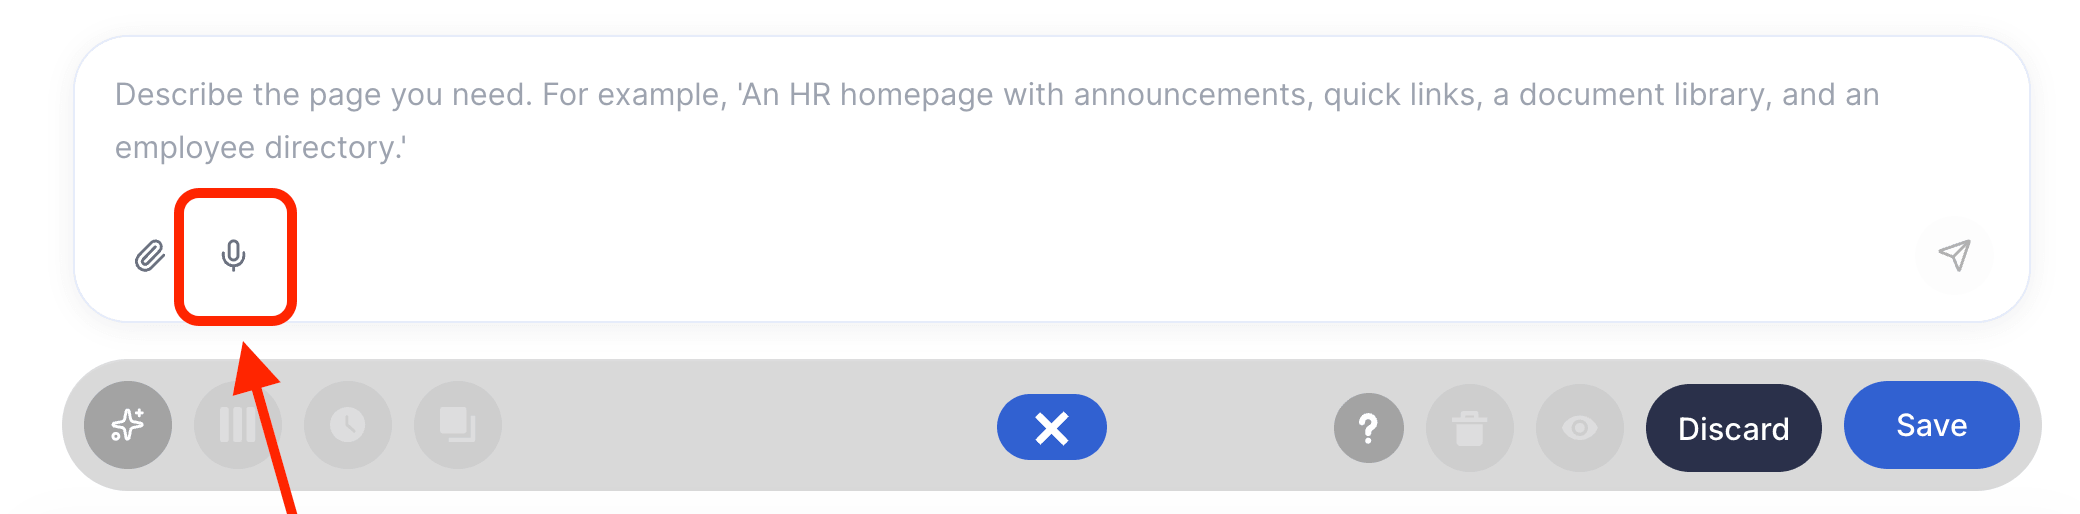
Option 2: Speak It
Not a fan of typing? Use the voice input feature to describe your design out loud. The ShortPoint AI Designer listens and builds.
NOTEWant to learn more about voice prompts? Check out How to Use Voice Prompting in ShortPoint AI Designer.
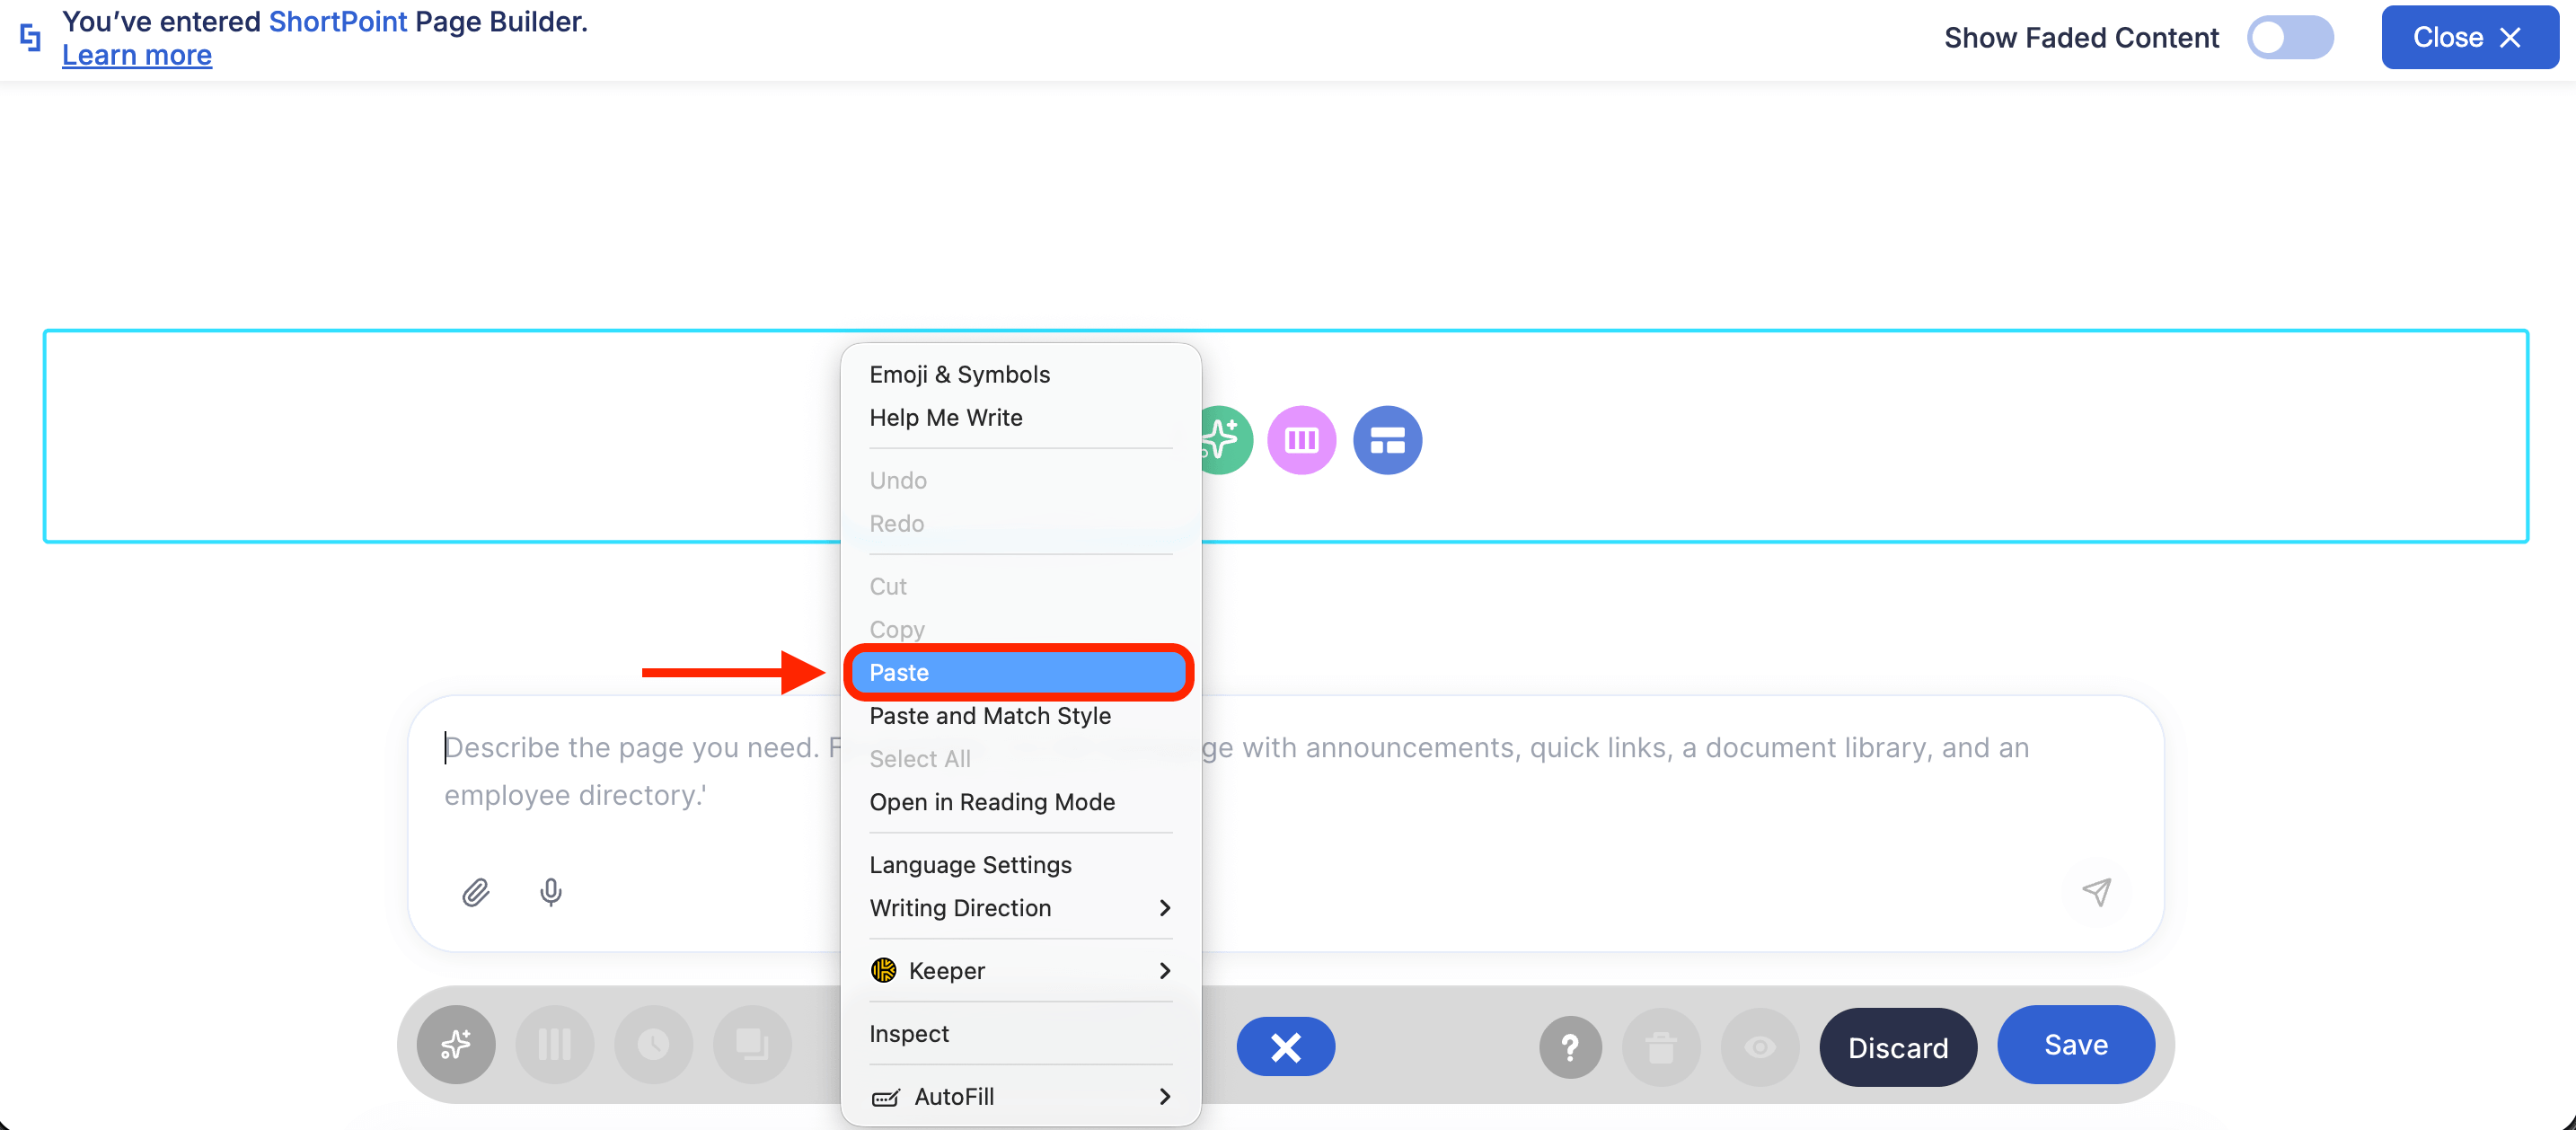
Option 3: Paste from Clipboard
Spotted a design you love while browsing the web? Copy and paste it straight into the conversation. ShortPoint AI Designer will use it as a reference to recreate a similar layout for your page. No need to describe every little detail. All you need is to share the inspiration.
NOTEWant to learn more about the copy and paste feature? Check out How to Use the Paste from Clipboard Feature of ShortPoint AI Designer.
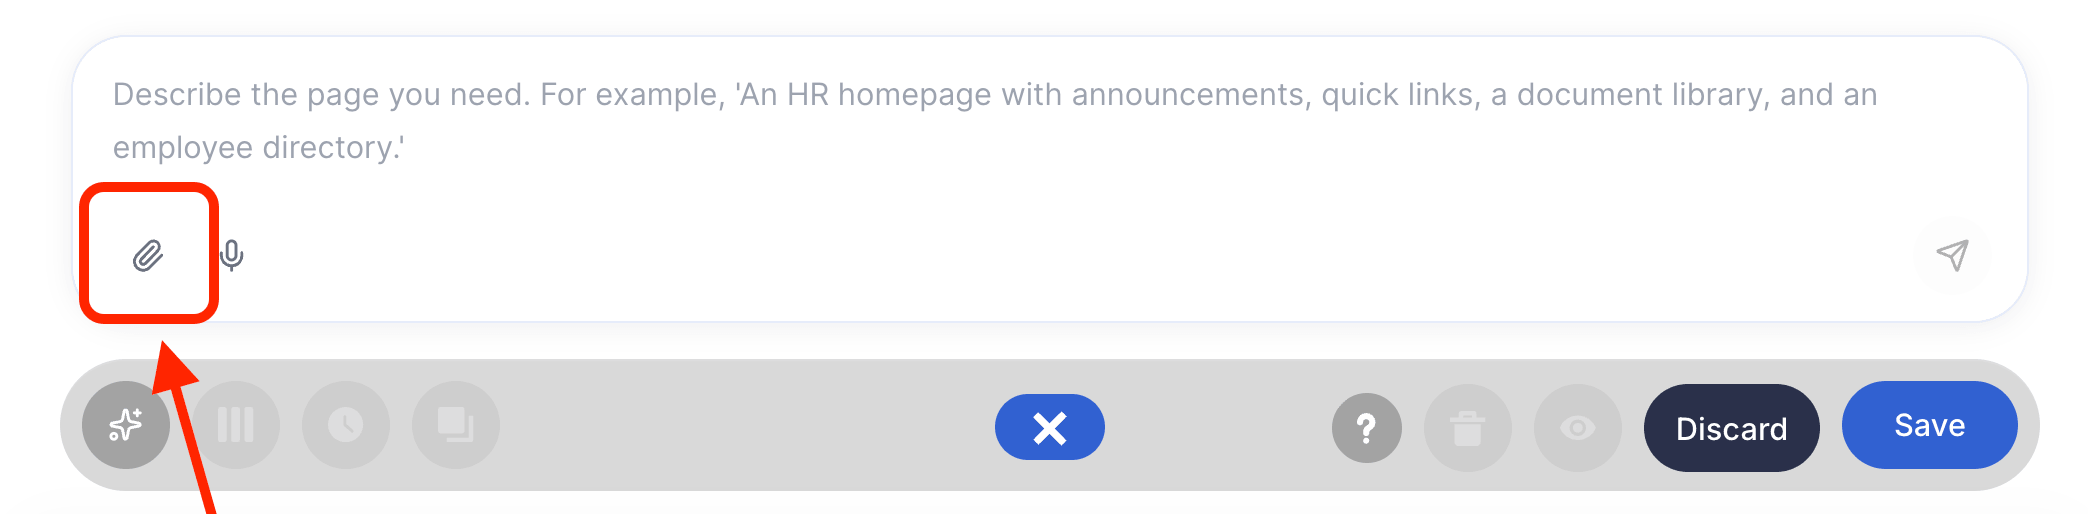
Option 4: Attach an Image
Have a screenshot, wireframe, or mockup saved on your computer? Upload it directly and let the AI work from your visual reference.
NOTEWant to learn more about image prompts? Check out How to Use Image-to-Image Prompting in ShortPoint AI Designer.
And here's a bonus: You can start with any of ShortPoint's 100+ pre-built templates and then ask AI Designer to adapt it for your department, your brand, or an entirely different use case. Best of both worlds. Interested? Check out
How to Use ShortPoint AI Designer to Edit an Existing ShortPoint Template for more information.
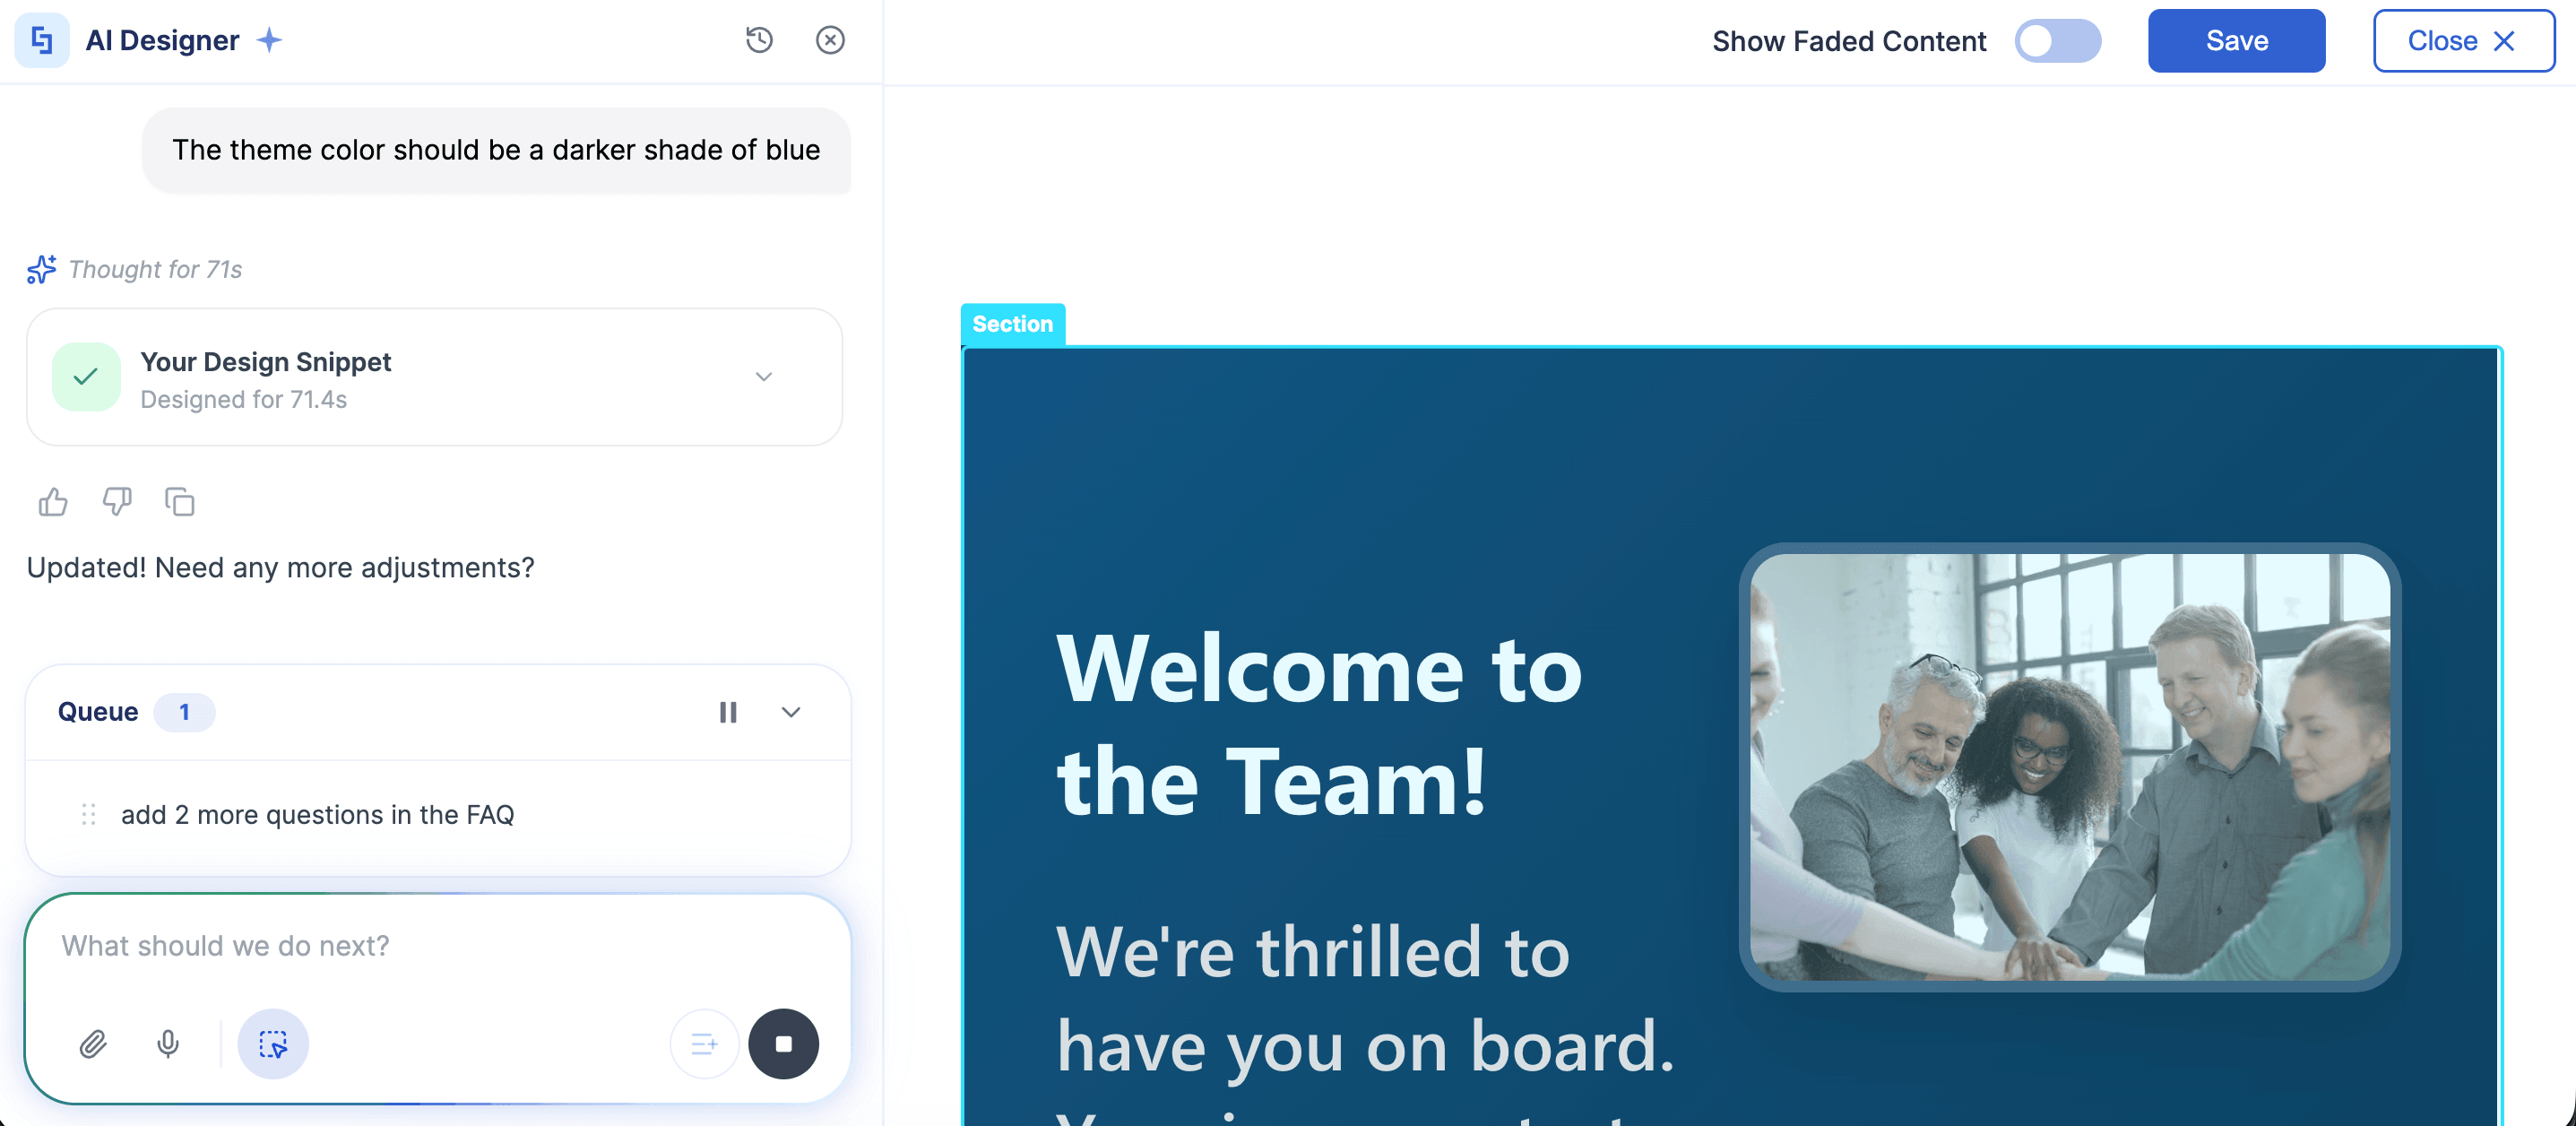
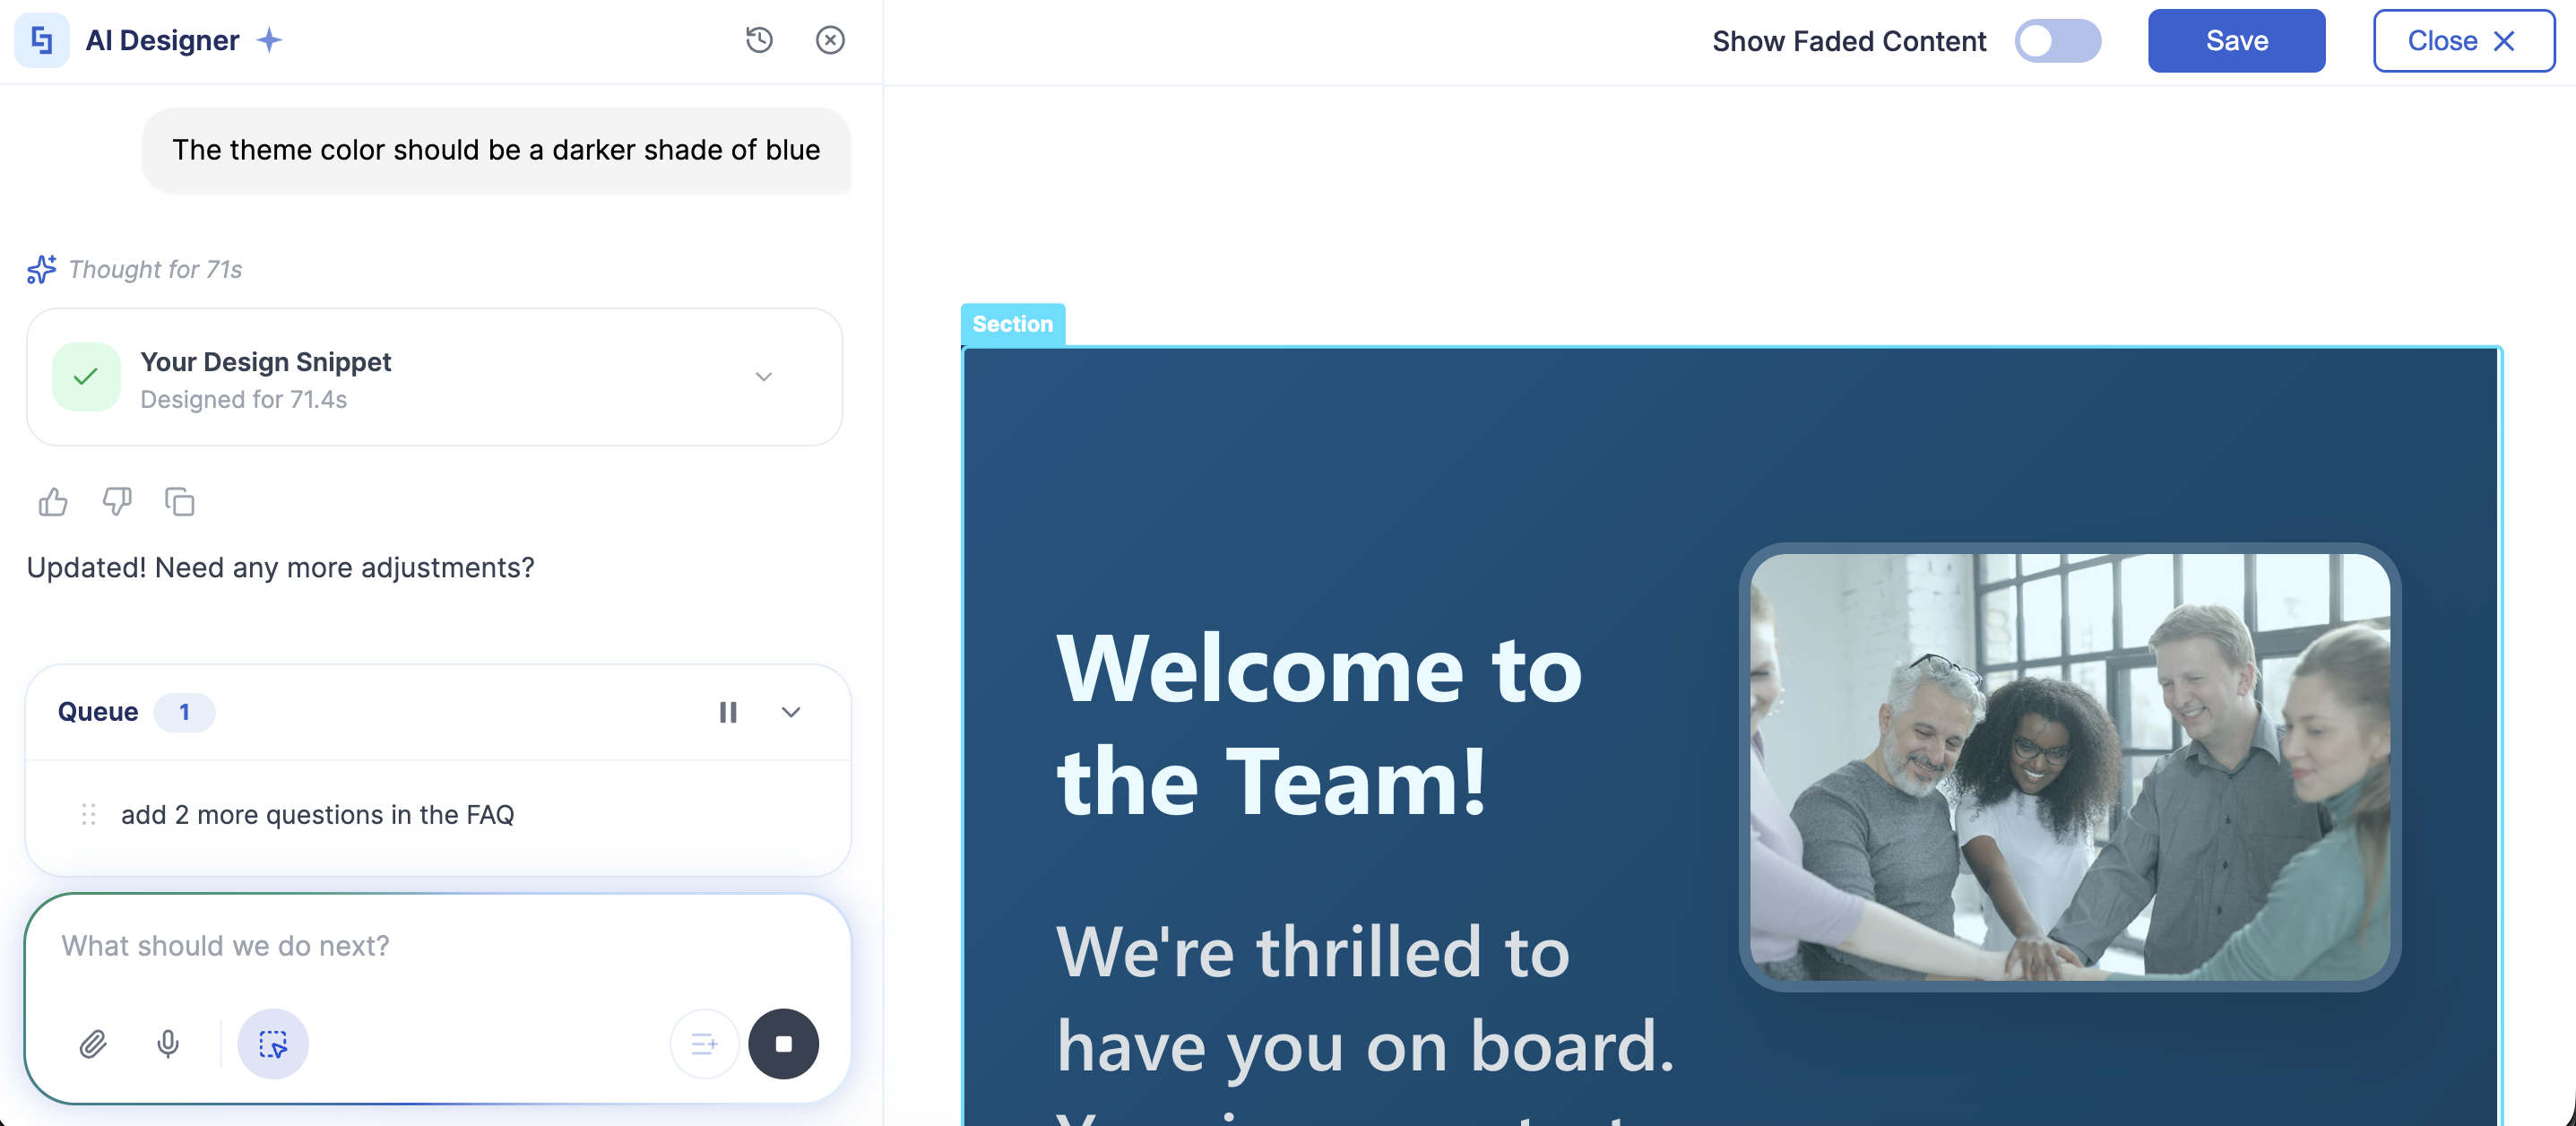
Step 4: Refine, Refine, Refine
One of the best things about ShortPoint AI Designer is that it doesn't just generate a page and disappear. It supports multi-turn conversations, meaning it remembers what you've discussed and keeps refining as you go.
Want to change the color scheme? No problem! You can just type the changes you want or even say them out loud.
You can also select any specific Design Element and ask the AI to edit just that piece without touching anything else.
NOTEWant to learn more about Select & Edit? Check out How to Modify Specific Page Elements Using the ShortPoint AI Designer.
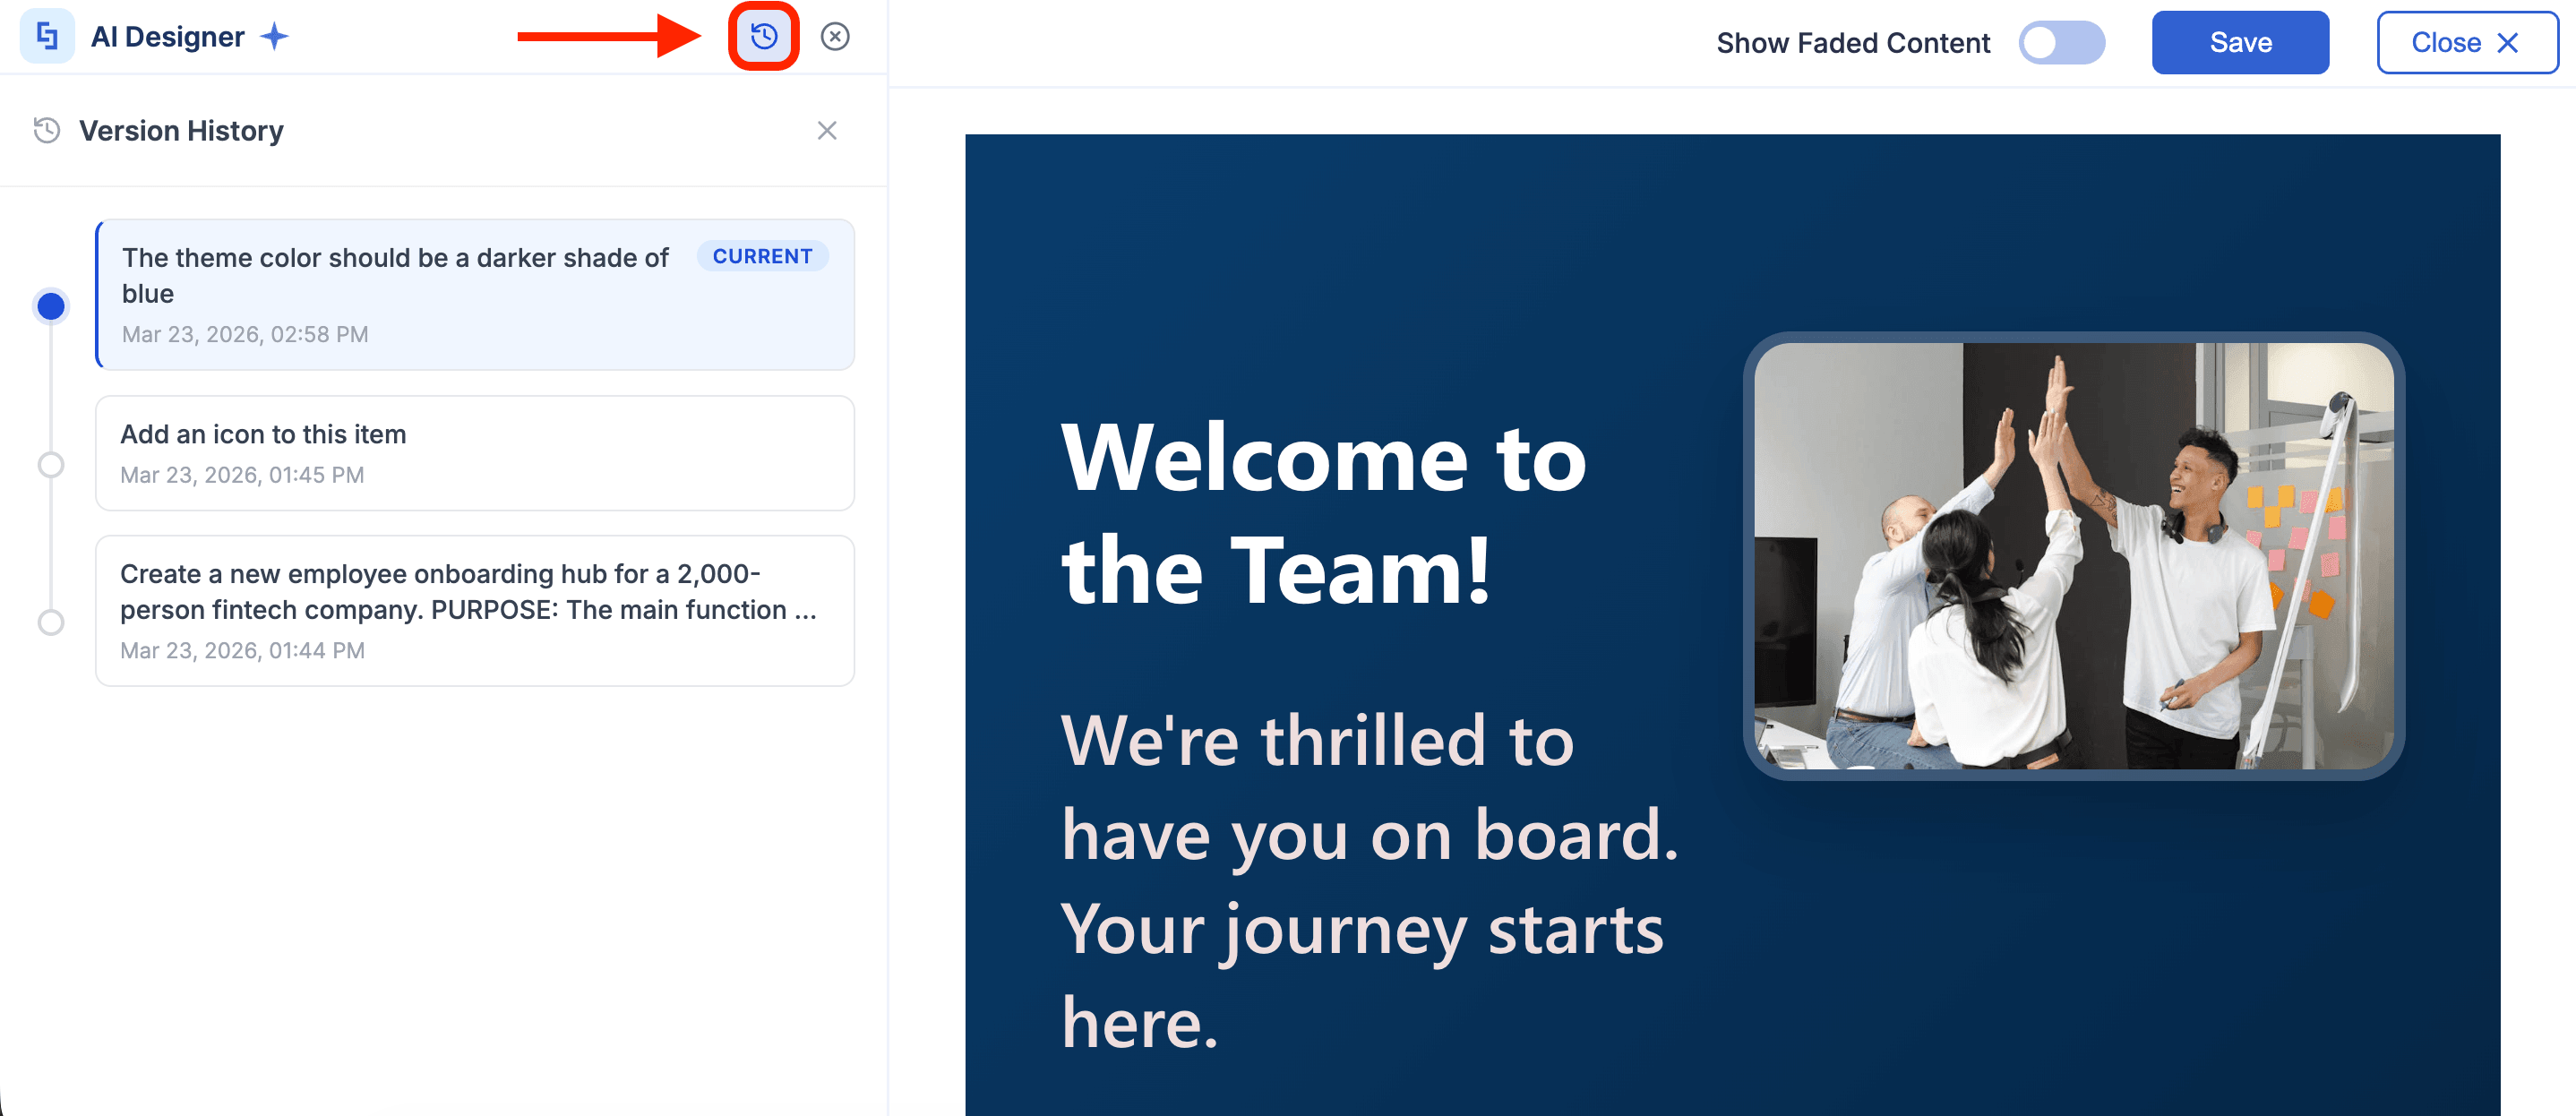
Step 5: Browse Versions & Revert Anytime (Optional)
Don't like the refined version? ShortPoint AI Designer has your back! Every AI result is automatically saved. Simply click the Version History feature, browse through previous states of your page, and revert with one click if needed.
NOTEWant to learn more about Version History? Check out How to Revert to Previous Prompt Versions in ShortPoint AI Designer.
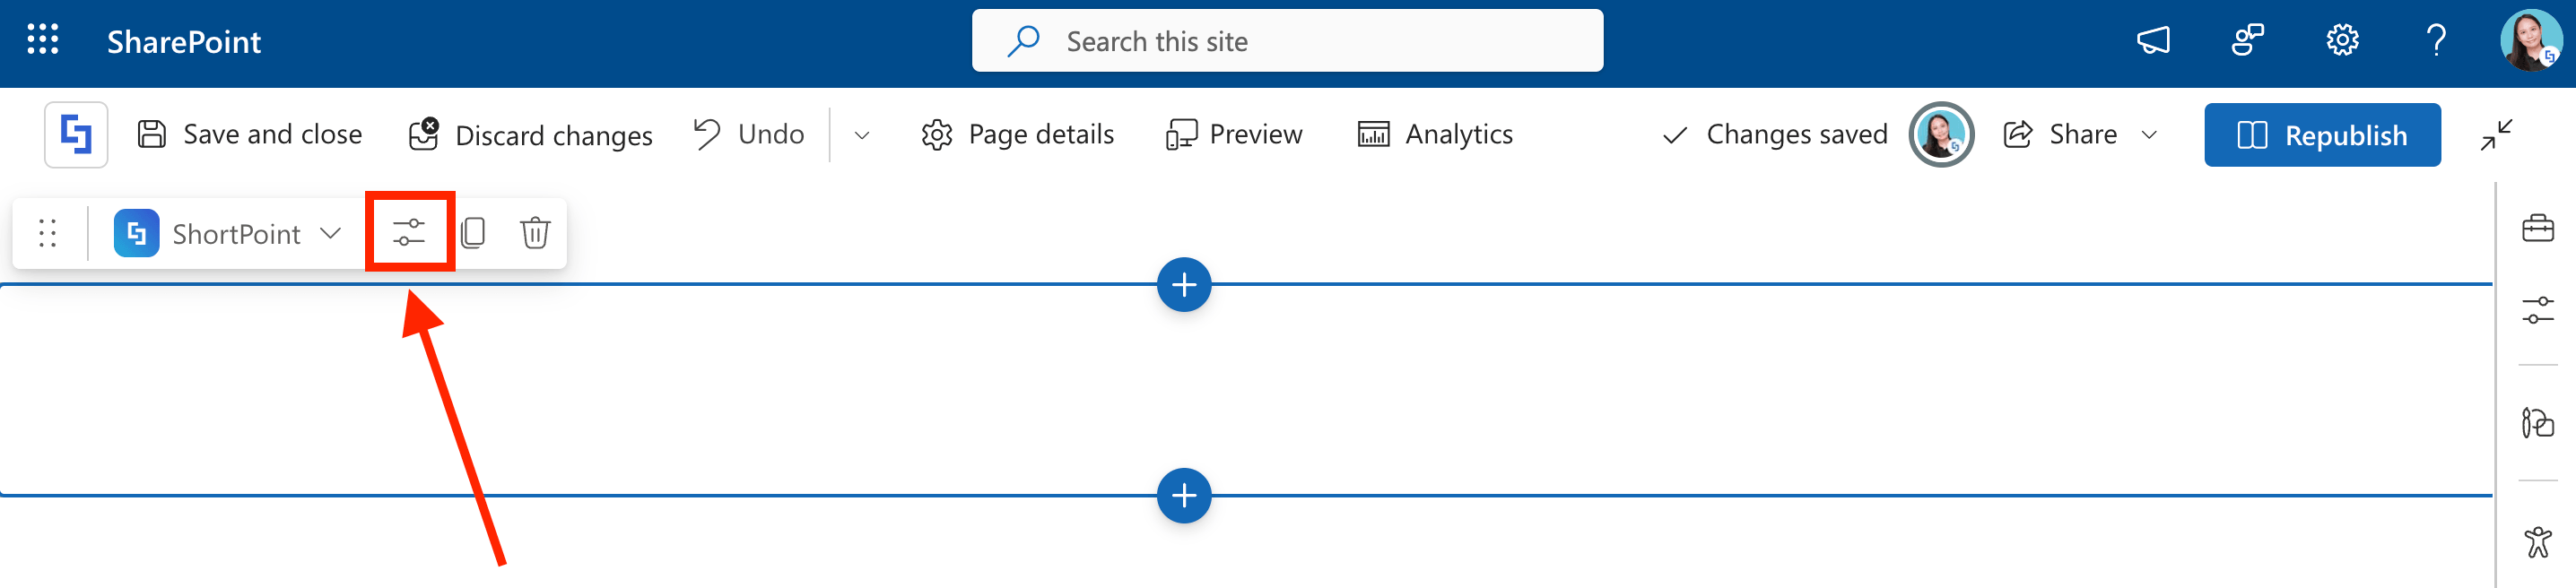
Step 6: Edit the Page Using ShortPoint Features
Satisfied with the design AI gave you? Great! You can now start editing your SharePoint page as usual using ShortPoint's features. Simply close the AI Designer sidebar and do all the changes you want.
If you need to jump back into AI mode again, it's really simple to do so. Just select the AI Designer icon in the floating toolbar.

Step 7: Save your Changes
Done with all your changes? It's time to save all your hard work. Click the Save icon and (Re)Publish your page.
Awesome work! You can build stunning SharePoint pages with a simple prompt using the ShortPoint AI Designer.

Awesome work! You can build stunning SharePoint pages with a simple prompt using the ShortPoint AI Designer.
What are the Features You Can Use in ShortPoint AI Designer?
Let's get familiar with all the tools at your fingertips inside the ShortPoint AI Designer panel:
 | Version History | Did the AI take your page in a direction you didn't love? No stress. Preview any previous version and revert with a single click. Learn More |
 | Close Sidebar | When you're done chatting with AI and ready to admire your work, close the panel anytime. |
 | Good Response / Bad Response | Help the AI get smarter by giving a thumbs up or thumbs down on its outputs. Your feedback genuinely matters. |
 | Copy Shortcode | Grab the Design Snippet generated by ShortPoint AI Designer and use it wherever you need it. |
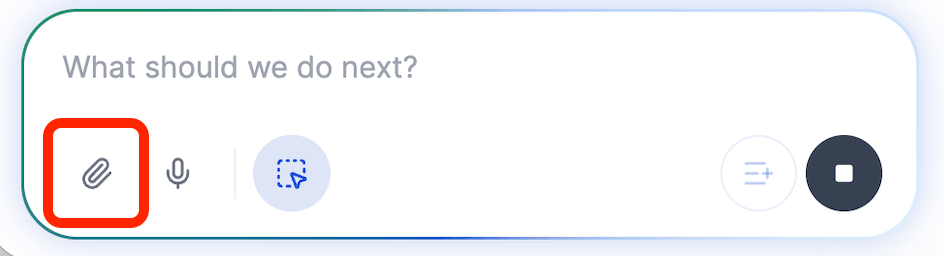 | Attach Photos | Got a mockup or screenshot? Upload it directly and let the AI use it as a reference. Learn More |
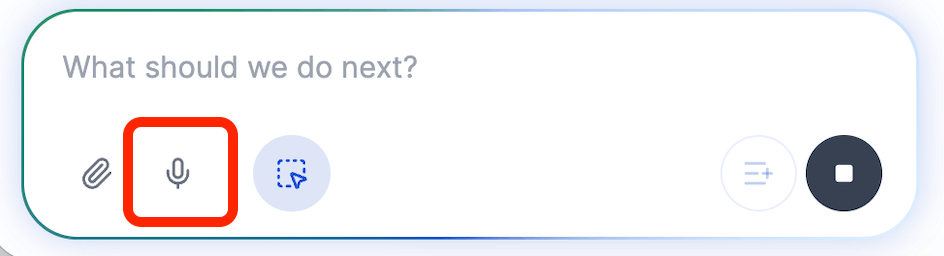 | Voice Input | Prefer talking over typing? Dictate your design instructions out loud and watch the magic happen. Learn More |
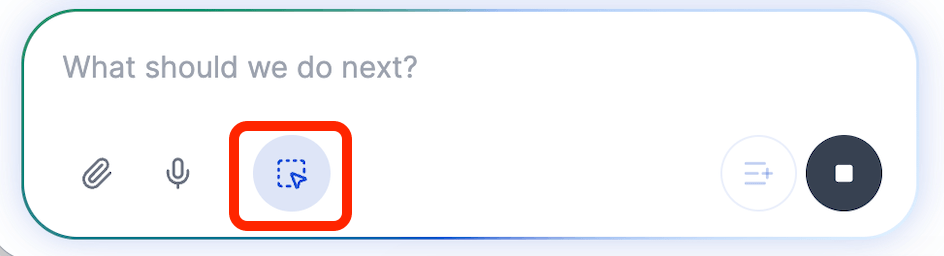 | Select & Edit | Click on any specific element on your page and prompt the AI to tweak just that piece. And you don't have to worry because it won't touch anything else. Learn More |
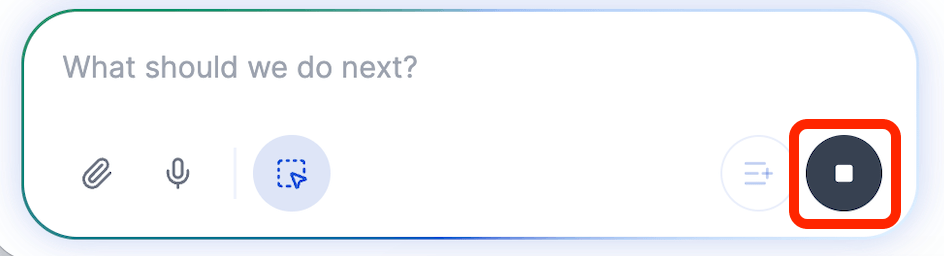 | Stop | Need to stop a prompt? The stop button allows you to do just that. |
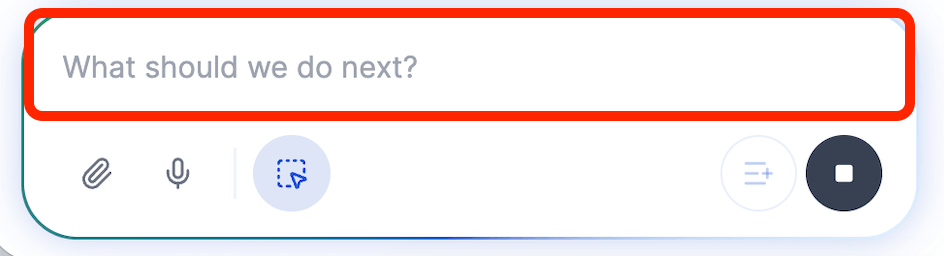 | Text Box | Where you type your prompts and describe what you want. |
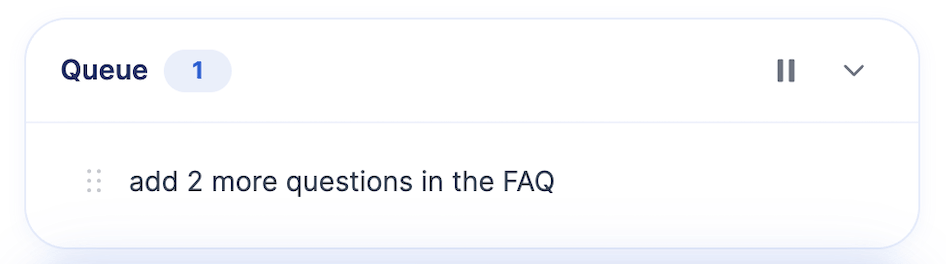 | Queue Box | Juggling multiple prompts? The queue lets you see all your instructions and arrange their priority. Learn More |
TIPWant to see the full capabilities of the ShortPoint AI Designer? Check out AI Designer Overview.
Related articles:
- ShortPoint AI Designer: An Overview
- Quickstart Guide: Generate your first intranet page
- ShortPoint AI Designer Features: What Can it Do?
- How to Use the ShortPoint AI Designer: Detailed Step-by-step
- How to Write Effective AI Prompts for ShortPoint AI Designer
- How to Use Text Prompting in ShortPoint AI Designer
- How to Use Voice Prompting in ShortPoint AI Designer
- How to Use Image-to-Image Prompting in ShortPoint AI Designer
- How Brand-Aware Design Works in ShortPoint AI Designer
- How to Use ShortPoint AI Designer to Edit an Existing ShortPoint Template
- How to Revert to Previous Prompt Versions in ShortPoint AI Designer
- Prompt Library
- Iterating with Multi-Turn Conversation in ShortPoint AI Designer
- How to Modify Specific Page Elements Using the ShortPoint AI Designer
- How to Queue Prompts in ShortPoint AI Designer
- How to Create Dynamic Design Elements Using ShortPoint AI Designer
- How to Activate the Search & Filter Widgets Using ShortPoint AI Designer
- How to Use the Paste from Clipboard Feature of ShortPoint AI Designer
- How to Copy and Paste Design Snippets from ShortPoint AI Designer to Another SharePoint Site
