Try ShortPoint now
TL;DR: To create a custom Design Element with ShortPoint Generator, click the ShortPoint shortcut on any SharePoint page and go to Dashboard, then Generator. Name the element and choose Element as the type. Then either start from scratch, by picking a layout and adding Design Elements with the plus icon, or click Open Templates and insert a section template to edit. When you’re done, click Save Changes. The element is saved in Generator for every ShortPoint Designer in your tenant to use.
Creating custom Design Elements with the ShortPoint Generator just got a whole lot easier! Previously, the Generator relied on Grid Mode, ShortPoint’s wireframe editing interface.
Starting with ShortPoint SPFx version x.x.x.x, designers can now build custom elements using the Live Mode interface. This allows you to see your design updates in real time as you make them, delivering a smoother, more intuitive, and highly flexible editing experience.
Plus, you no longer have to start from scratch. You can now tap into the Templates Library. This gives you instant access to hundreds of pre-made templates to kickstart your designs.
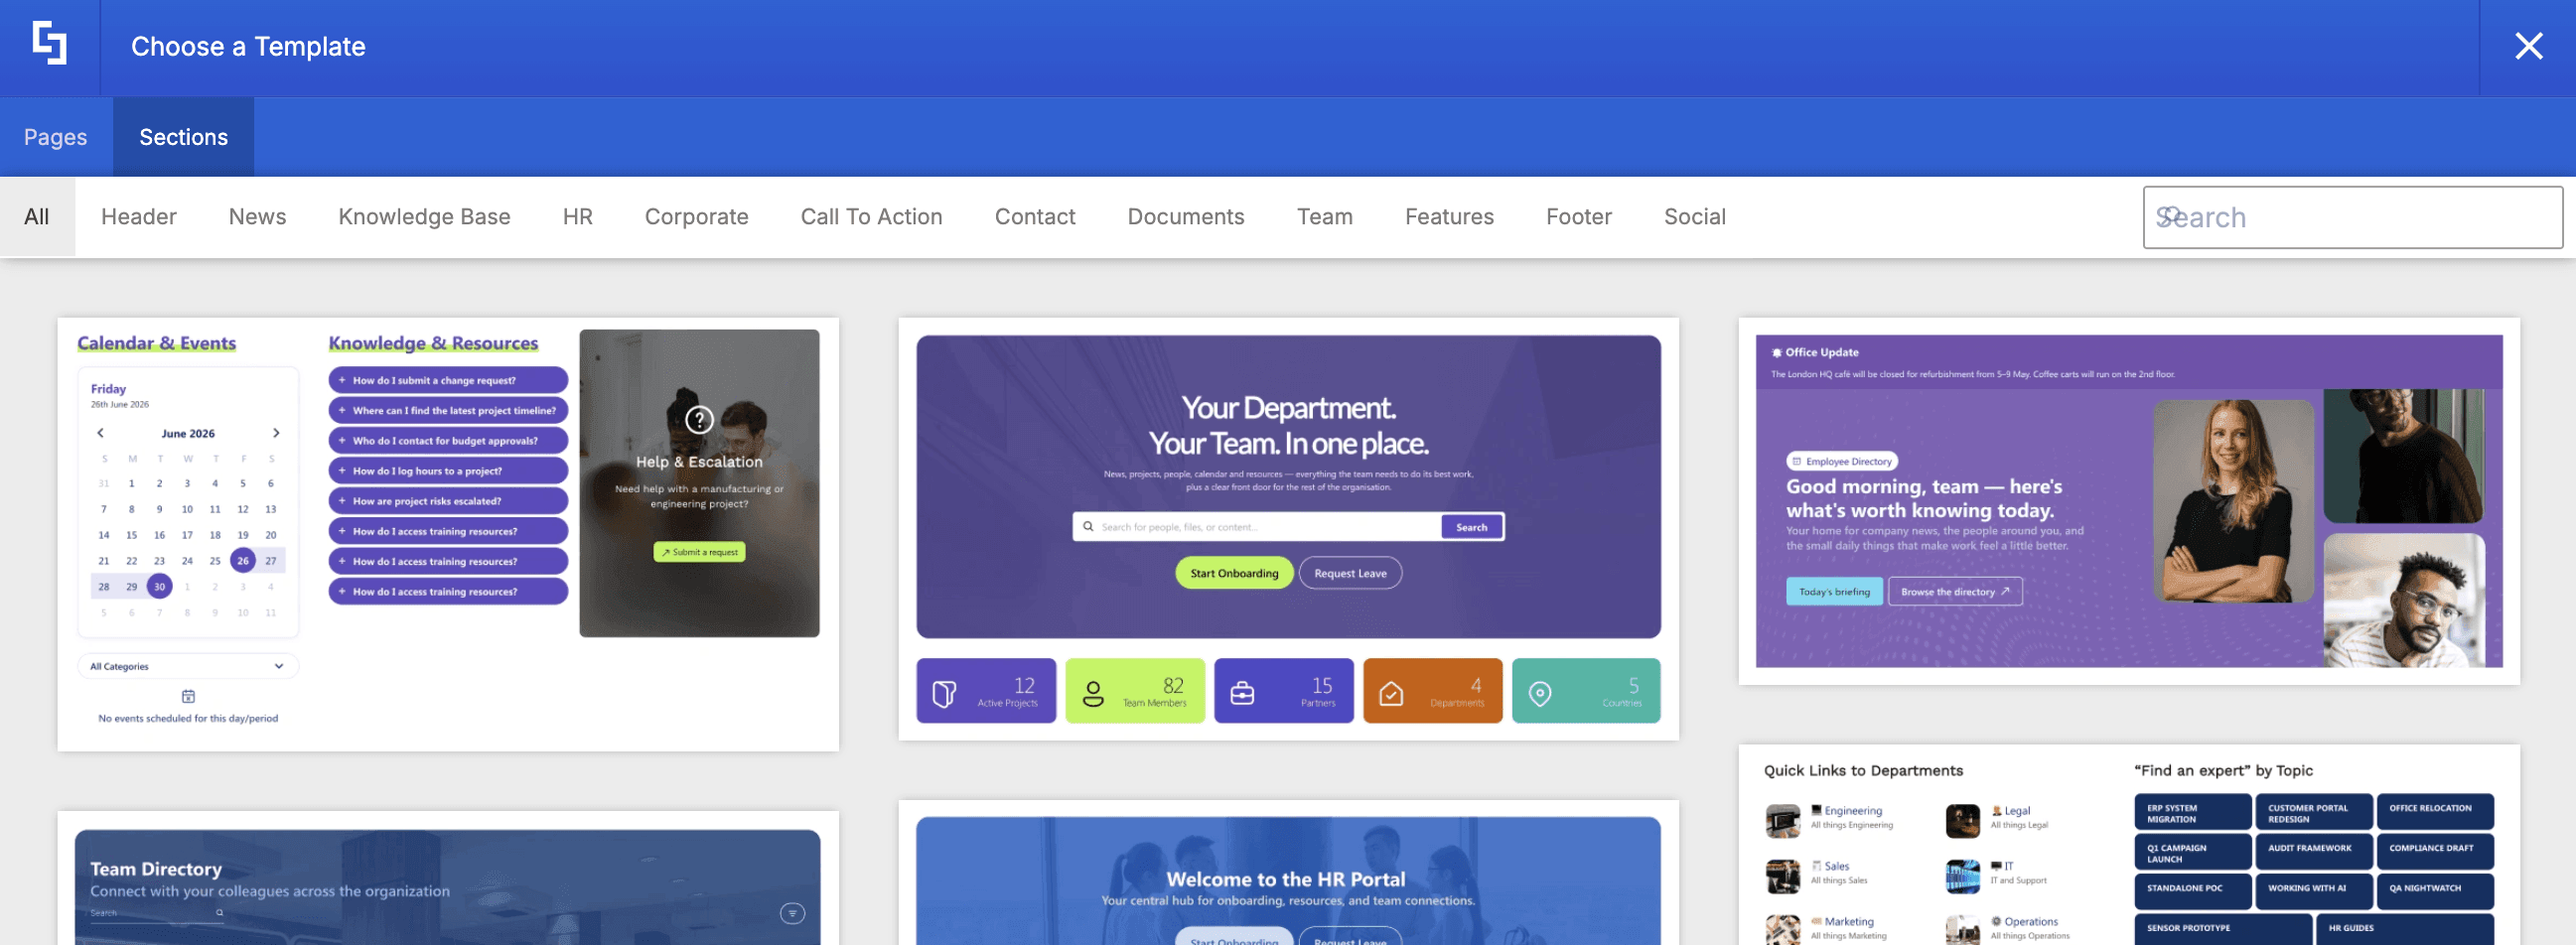
TABLE OF CONTENTS
Prerequisites
- You must have the latest version of ShortPoint SPFx installed.
- You must be a ShortPoint Designer with either a Pro or Enterprise license. For more information, check out Licensing Options.
What are Custom Design Elements?
If you’re a seasoned ShortPoint Designer, you’re likely already familiar with Design Elements. These are customizable components built by our experts to help you showcase content and build beautiful SharePoint intranet pages effortlessly.
With the ShortPoint Generator, you can modify and combine these elements to build your very own Custom Design Elements. This is ideal if your organization has unique content structures or specific branding guidelines to follow.
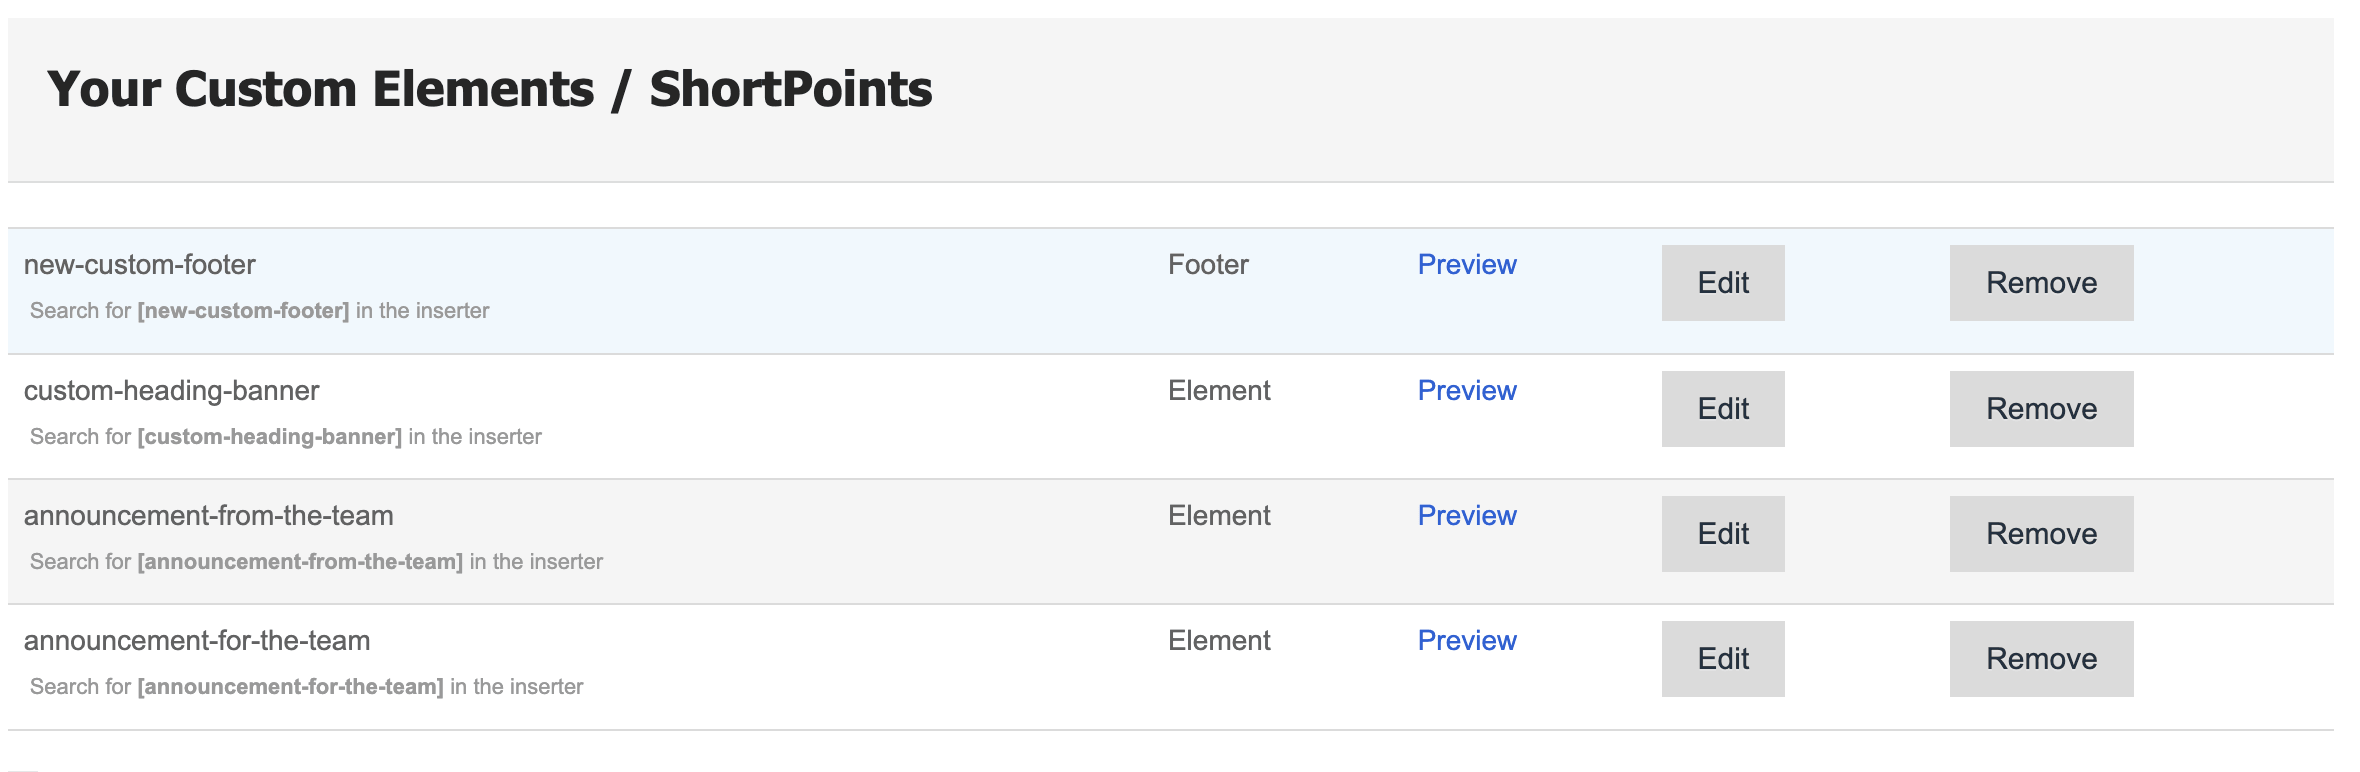
Once created, your custom elements are saved, so ShortPoint Designers within your tenant can use them for your designs:
Interactive Tutorial
Click Get Started to start creating your own custom design elements:
Step 1: Open ShortPoint Generator
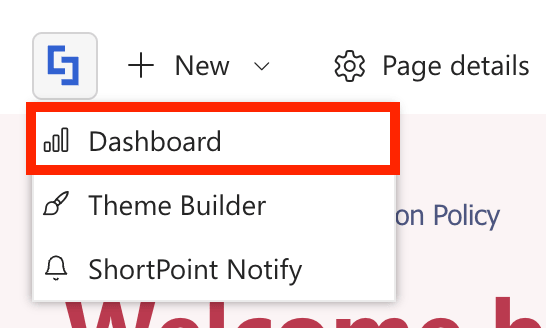
- Go to the SharePoint page where you want to create a custom element and click the ShortPoint shortcut:

- Select Dashboard:
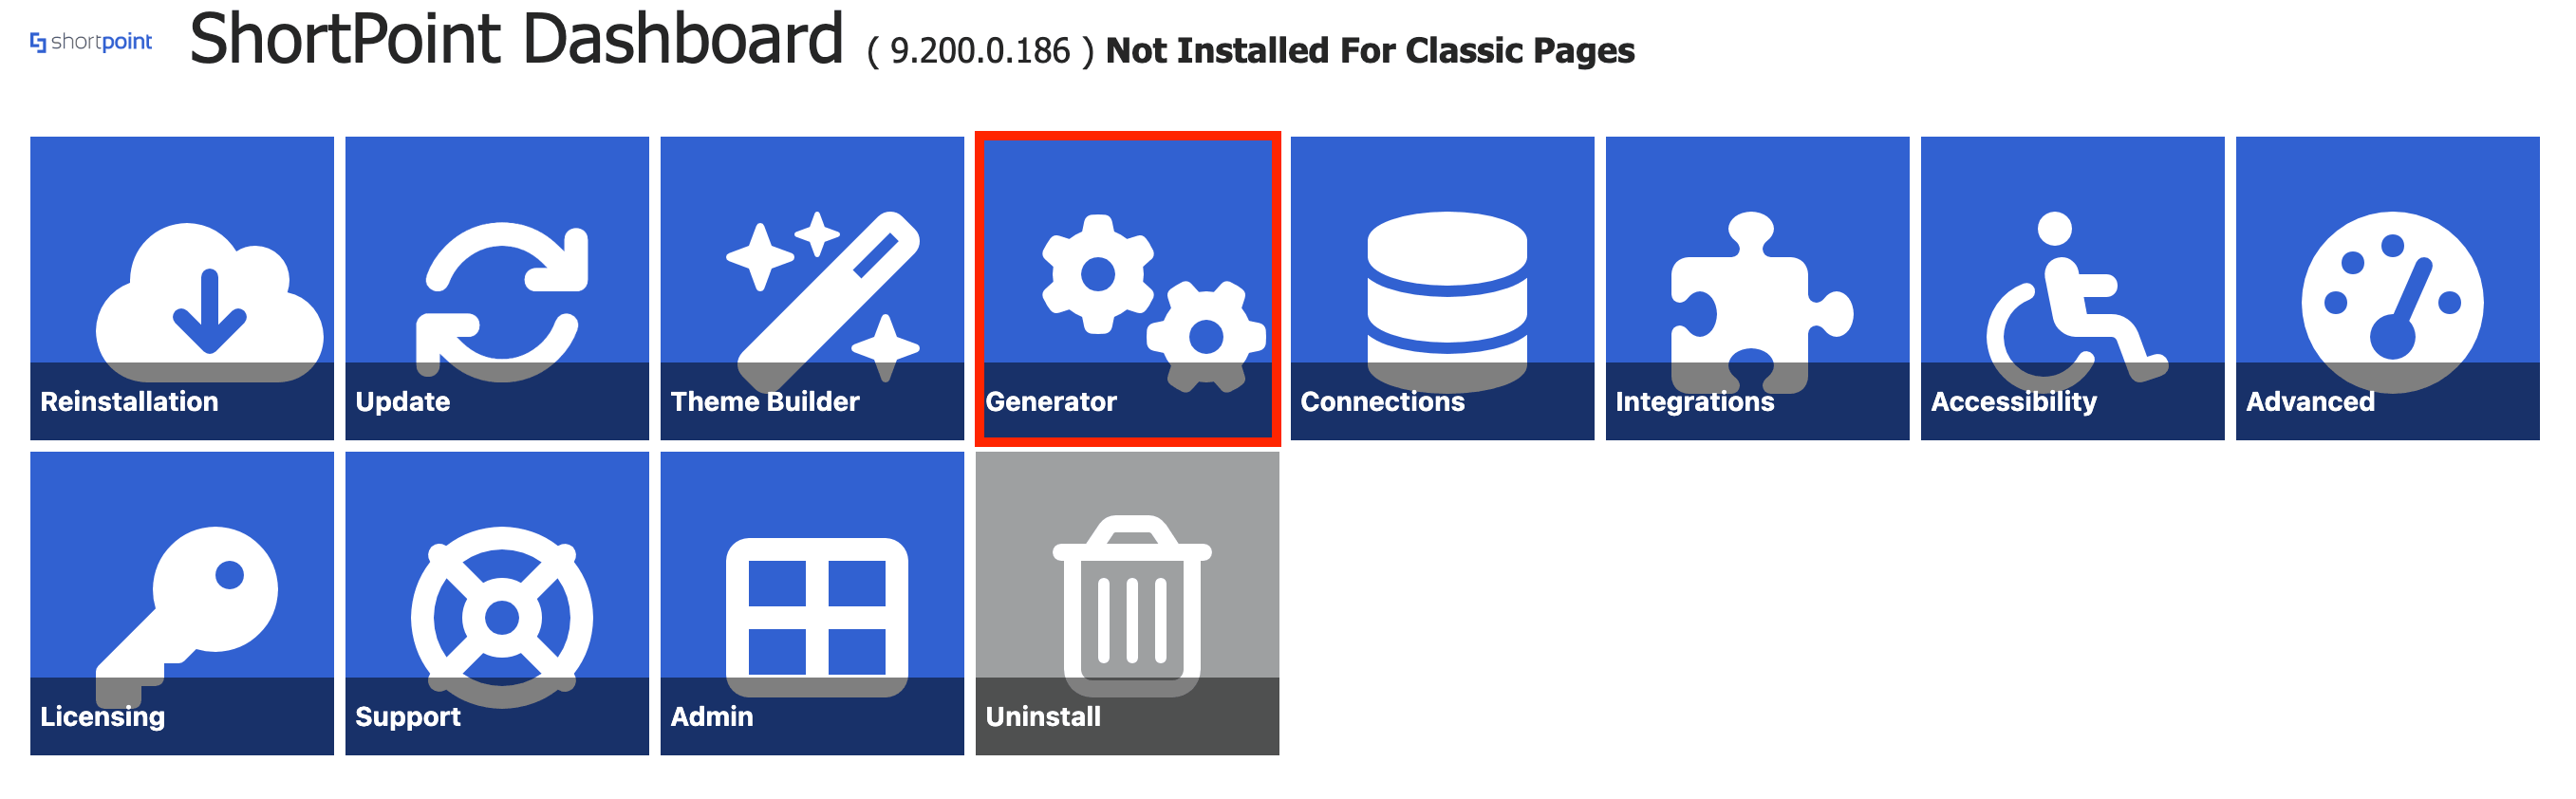
- From the ShortPoint Dashboard, click Generator:
Step 2: Name Custom ShortPoint Element
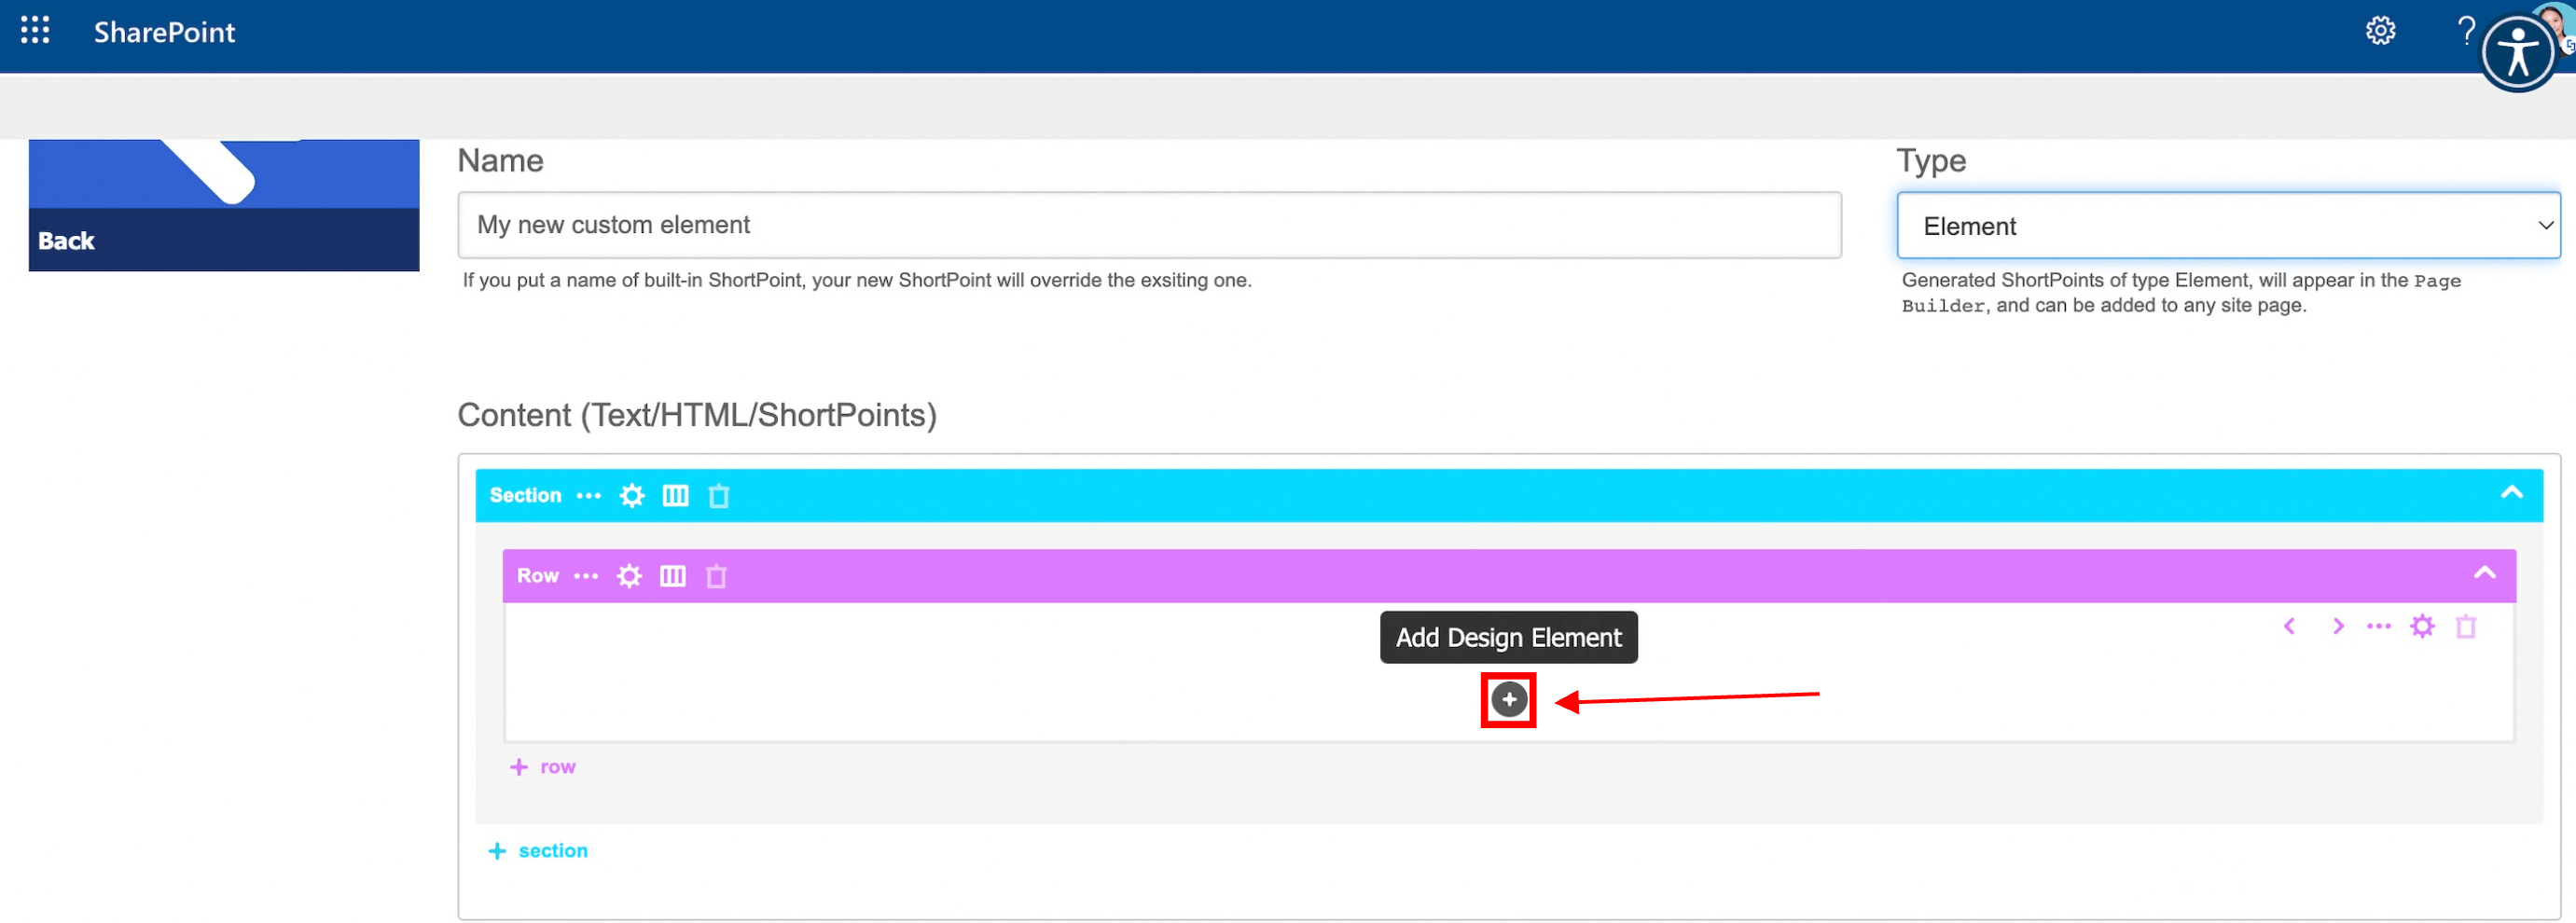
- [1] Name your custom element and select [2] Element from the drop-down:

Step 3: Create the Custom Element
There are two ways to create custom Design Elements. Choose the option that best suits your needs:
Option 1: Start from Scratch
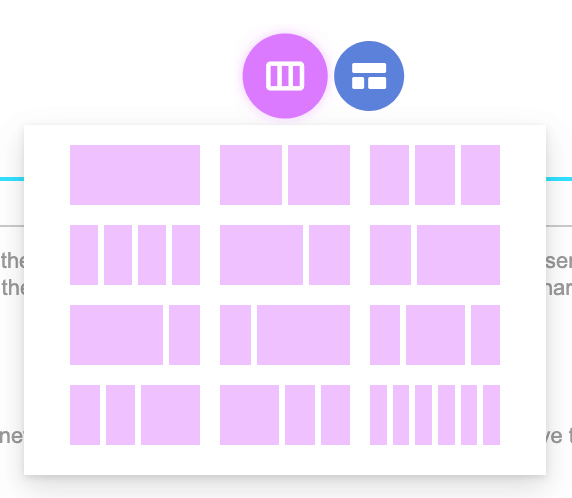
- Click the Choose Layout icon:

- Then, select a layout:
- Click the plus icon to add Design Elements:

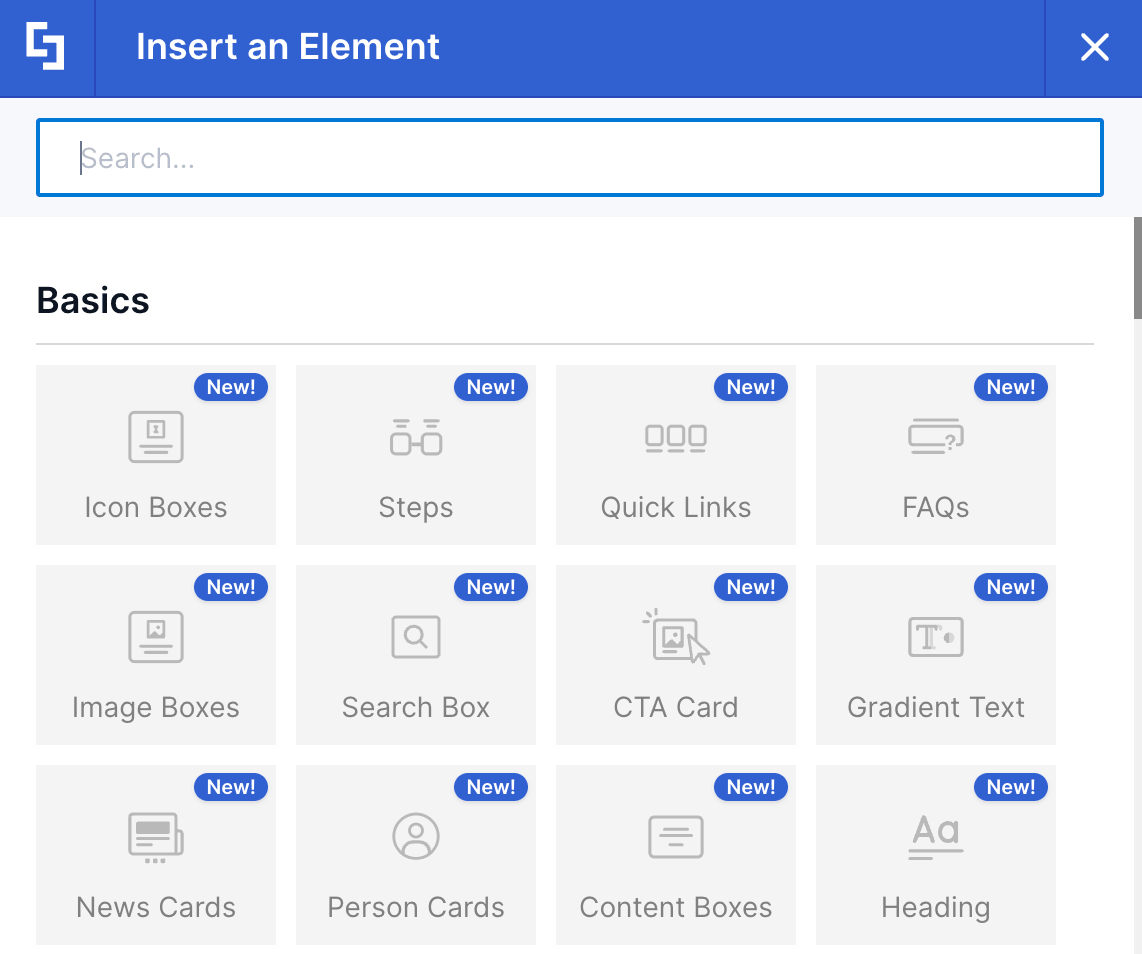
- Look for the Design Element you want to use and select it:
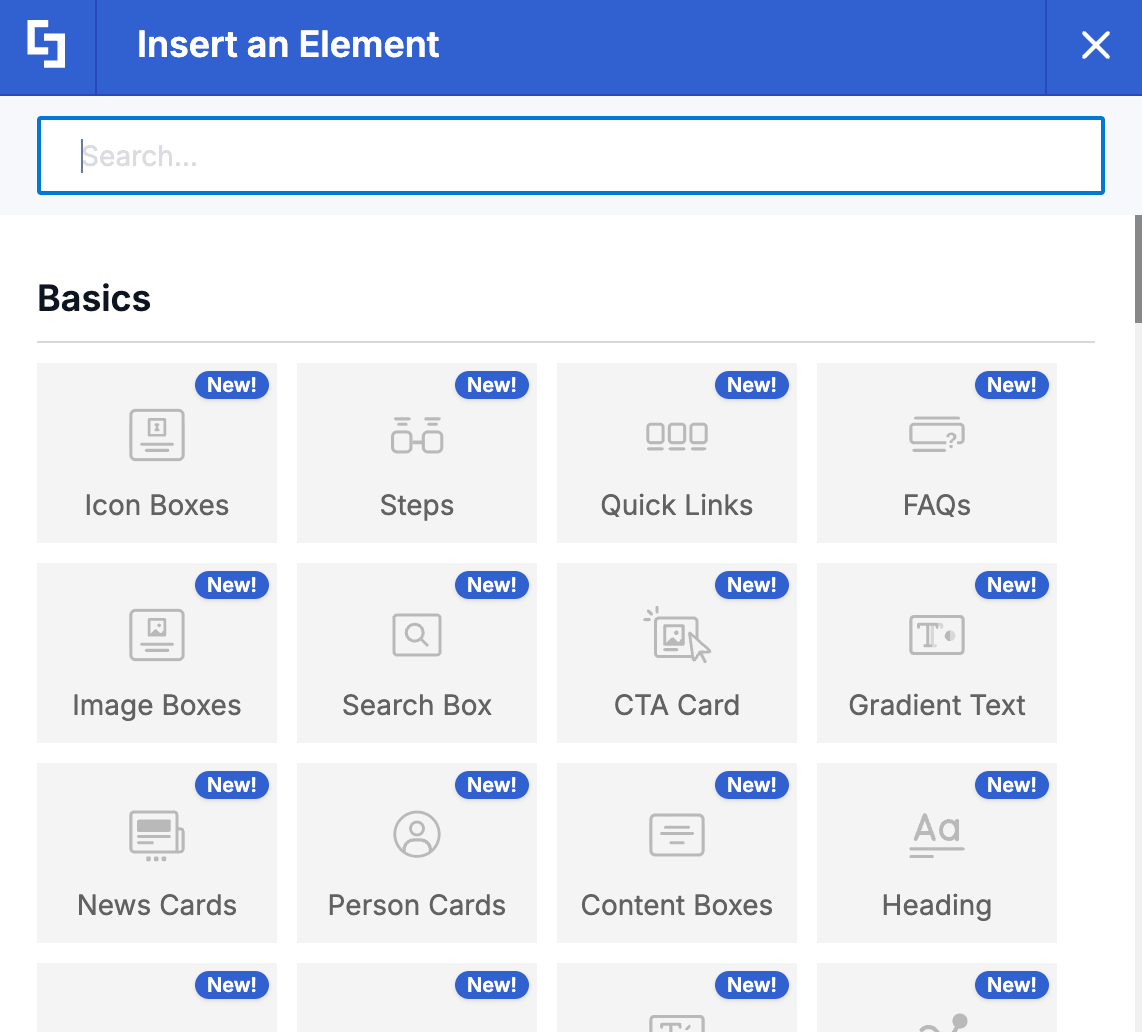
- Customize the content and design to your liking:
- Once satisfied, click the green checkmark.

Option 2: Use a Template
- Click the Open Templates icon:

- Go to the Section tab:

- Browse through the use categories:

- Hover over the template you want to use and click the plus icon:
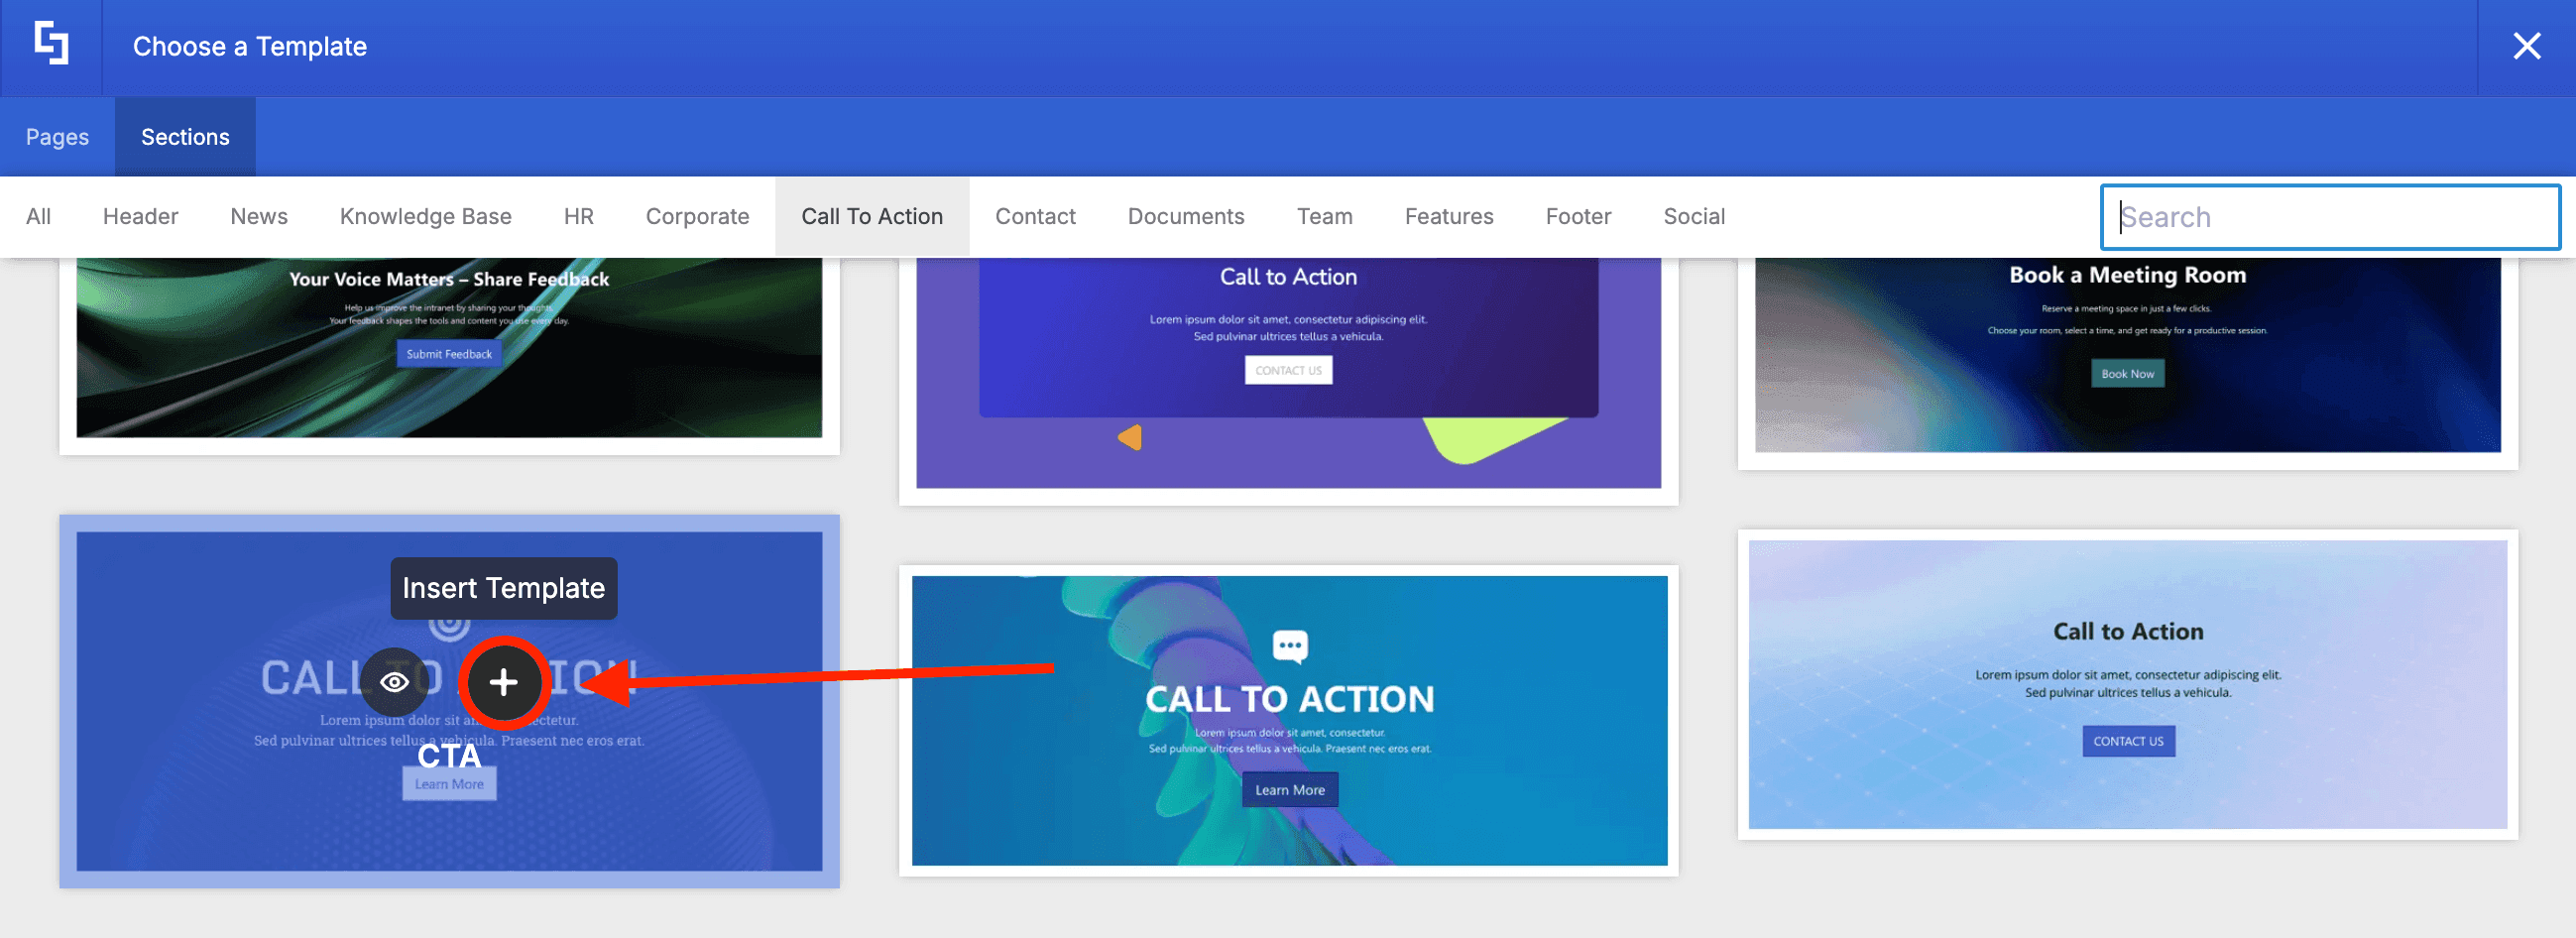
- Edit the template to your liking:
Step 4: Save your Custom Element
- Once you’re done editing, click the Save Changes button at the bottom of the page to save your custom element:
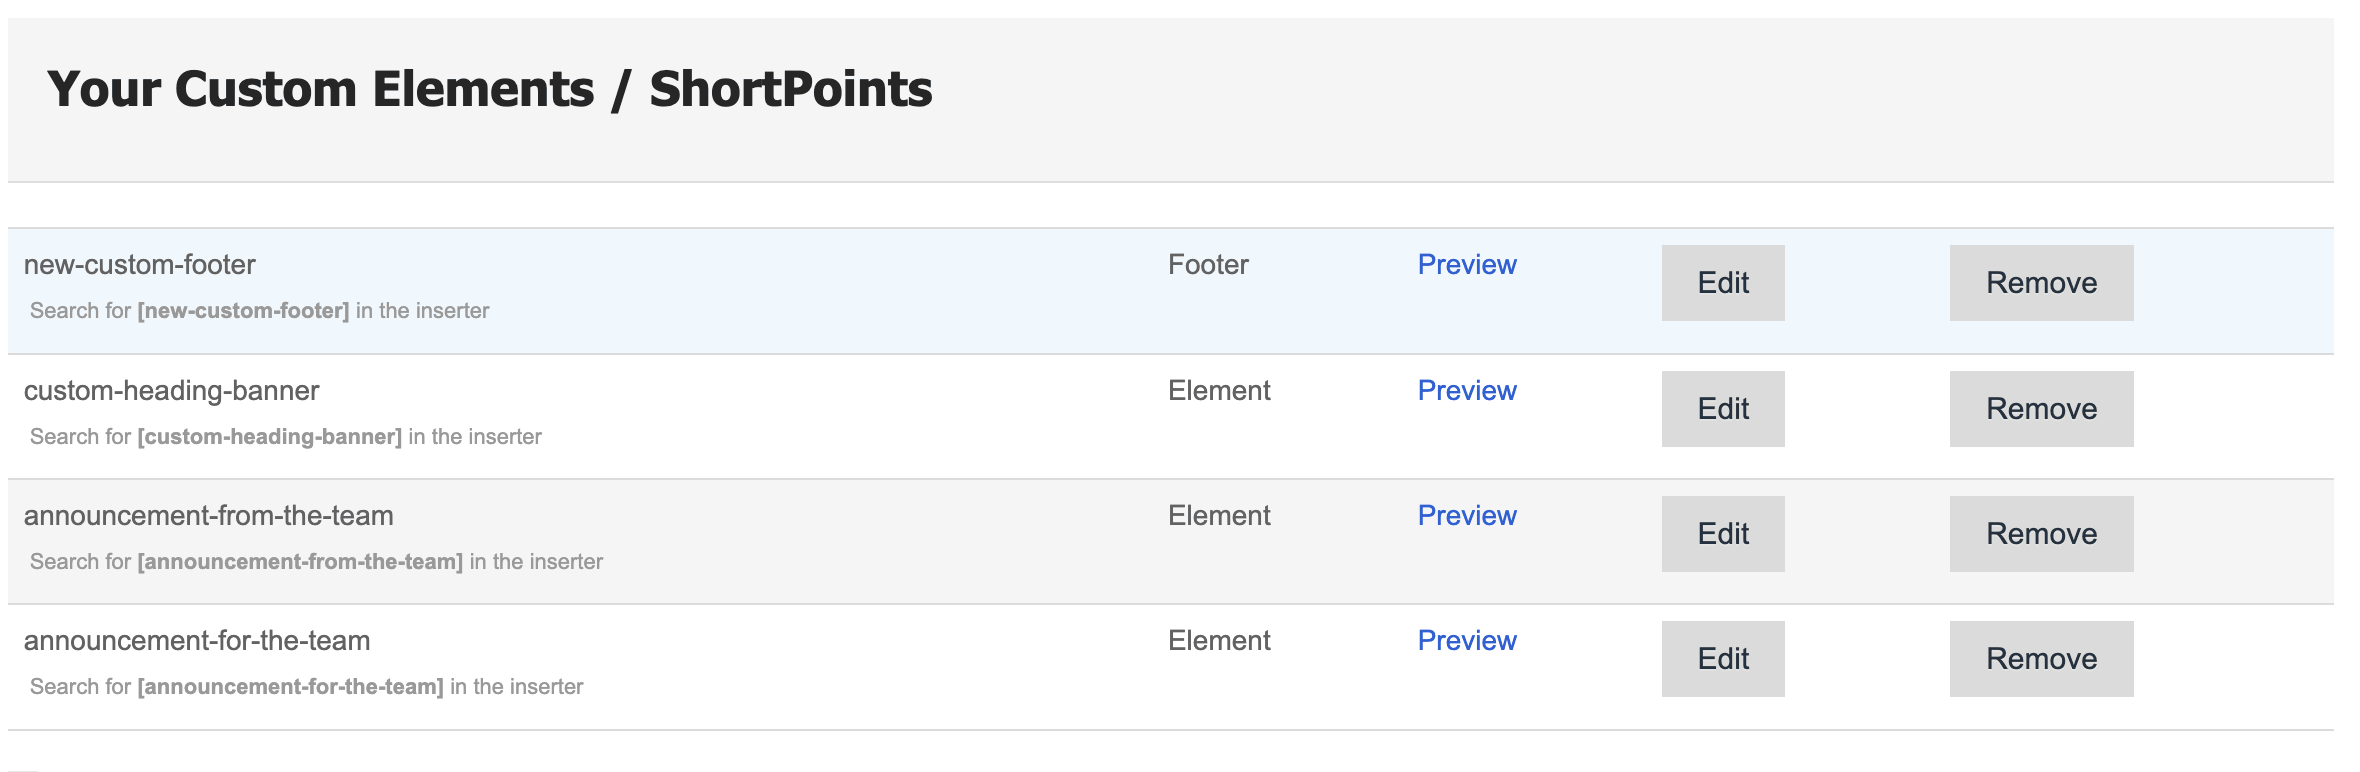
The content you created will be stored in ShortPoint Generator after saving. You can now preview, edit, or remove your custom elements.
After creating your custom Design element, it is now time to add it to your SharePoint site. Proceed to ShortPoint Generator: How to Add Custom Elements to a SharePoint Page.
Frequently Asked Questions
How do I start creating a custom design element?
To start, open the ShortPoint Generator from your SharePoint page by clicking the ShortPoint shortcut, then navigate to the Dashboard and select Generator. From there, you can name your custom element and choose to create it from scratch or use a template.
Can I use templates for creating custom design elements?
Yes! The Templates Library provides hundreds of pre-made templates you can browse and customize to fit your needs, making the design process faster and easier.
Do I need a specific license to use the ShortPoint Generator?
Yes, you must be a ShortPoint Designer with either a Pro or Enterprise license and have the latest version of ShortPoint SPFx installed.
How do I save my custom design element?
After editing your design element, click the Save Changes button at the bottom of the page. Your custom element will then be stored in the ShortPoint Generator for future use, preview, editing, or removal.
Can I preview my design updates as I create them?
Yes, the live mode in the ShortPoint Generator allows you to see your design updates in real time as you make them, providing a smoother and more intuitive editing experience.
Related Articles:
- ShortPoint Generator Basic Tutorial. Part 2: Using Generated Content on Pages
- Getting Started with ShortPoint Footer for SharePoint
- Part 1: Create the Footer from ShortPoint Generator Page
- Part 2: Add the Footer to SharePoint