 Try ShortPoint now
In this article, we'll show you how to add Lottie animations in SharePoint using the Lottie Animation Design Element. It is a powerful tool that allows you to upload and customize Lottie files seamlessly. By adding these beautiful animations to your SharePoint intranet, you can enhance the user experience on your web pages without coding expertise. Let’s dive in and explore how to do it below.

TABLE OF CONTENTS
- Prerequisites
- What Is the Lottie Animation Design Element?
- Interactive Tutorial
- Step-by-step Tutorial
- Authorizing External Scripts
- Lottie Features
- Practical Use Cases for the Lottie Design Element in SharePoint
- Frequently Asked Questions
- What is a Lottie animation, and why should I use it in SharePoint?
- How do I add Lottie files to my SharePoint site?
- Do I need any coding skills to add or edit Lottie animations?
- Are Lottie animations compatible across all devices?
- Can I combine Lottie animations with other ShortPoint Design Elements?
- What are ShortPoint Design Elements?
- How do Lottie animations improve my SharePoint site?
- Where can I get Lottie files to use in my SharePoint projects?
- Is the process of adding Lottie animations secure and reliable?
- Can I customize the behavior of Lottie animations?
Prerequisites
- You must have the ShortPoint SPFx version 8.8.0.0 or later installed in your SharePoint environment.
- You must be a ShortPoint Designer with an active license.
- You must add https://lottie.host to your Trusted Script sources. To learn how to add it, check out Managing Trusted Script Sources for JavaScript Customizations in ShortPoint.
What Is the Lottie Animation Design Element?
The Lottie Animation Design Element is a fantastic new feature added to ShortPoint's library starting with SPFx version 8.8.0.0 and beyond.

It empowers your users to add Lottie animations easily in your SharePoint sites. This enhances the overall motion design and user experience on your web pages.

With the Lottie Animation Design Element, you can customize beautiful animations in the Design tab without needing complicated code.

Plus, you can easily modify the spacing around the Lottie animations.

Interactive Tutorial
Click Get Started to easily add Lottie animations in SharePoint and enhance your users' experience on your web pages.
NOTES
[1] For the Lottie Design Element to work as expected, check out Authorizing External Scripts.
[2] To learn how to get the Lottie Asset link, check out How to Get Lottie Animations from Lottiefiles.
Step-by-step Tutorial
Follow this easy, step-by-step guide to start adding Lottie animation to SharePoint. With just a few clicks, you can upload and customize Lottie files to enhance the motion design on your web pages.
Step 1: Edit the ShortPoint Web Part
- Go to the SharePoint page you want to use and click Edit.

- Close the Toolbox:

- Click the Edit properties icon:

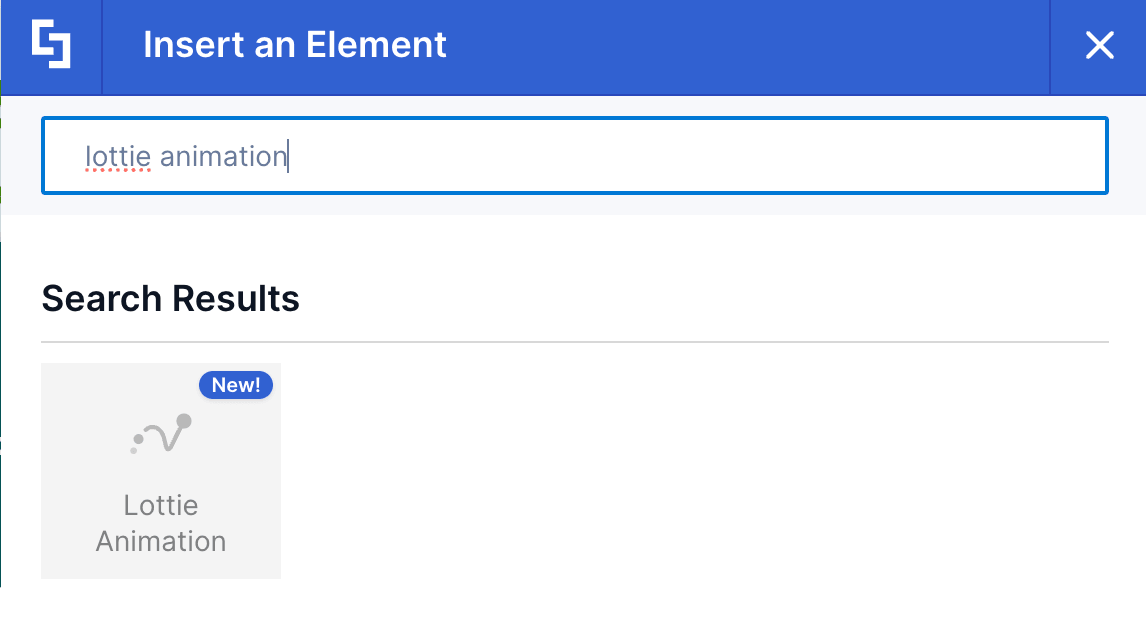
Step 2: Insert the Lottie Animation Design Element
- Choose where you want to add Lottie and click the plus icon:

- Use the search box to look for Lottie Animation and click it:
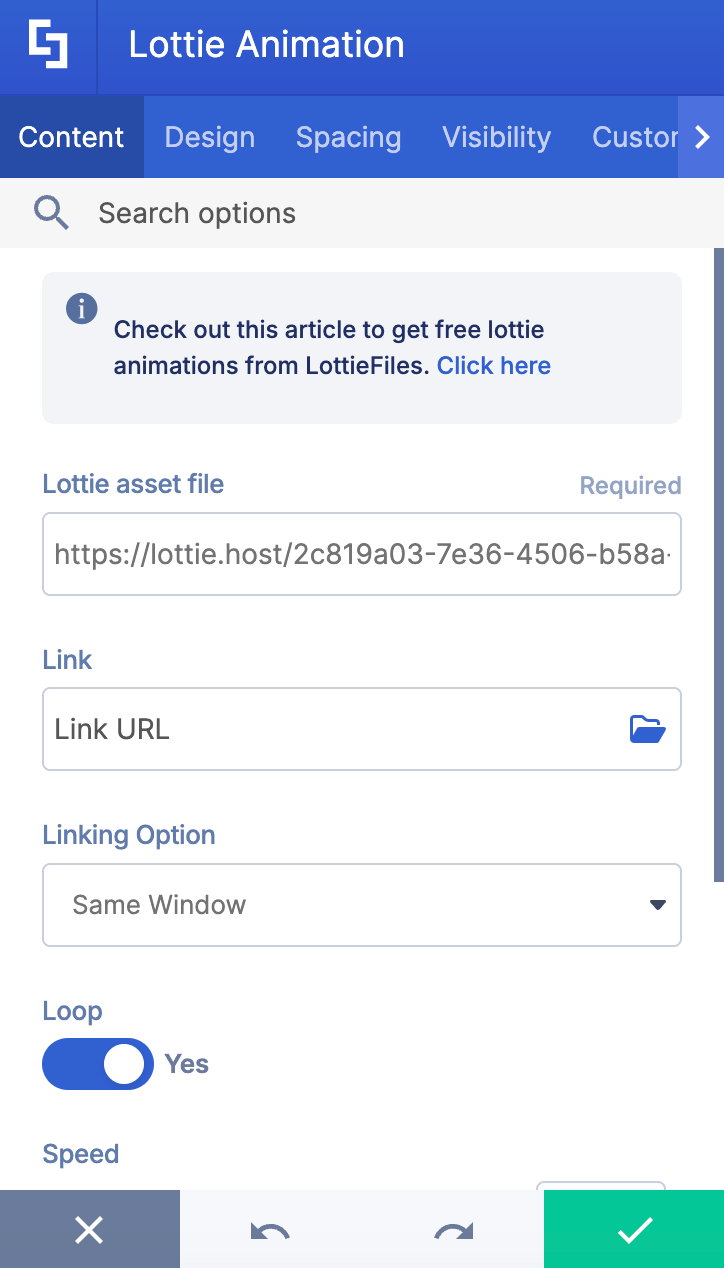
Step 3: Customize the Content
- Go to the Content tab.
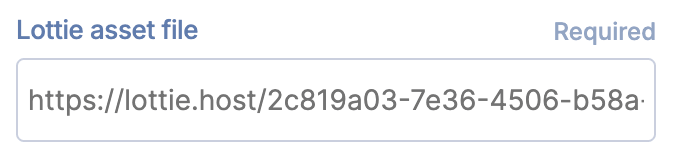
- Paste the Lottie Asset Link in the Lottie asset file field:

NOTEIf you don’t have the Lottie Asset Link yet, check out How to Get Lottie Animations from Lottiefiles.
- Customize the content of the Lottie according to your preferences.
NOTETo learn more about the features you can customize for Lottie, check out Lottie Features.
Step 4: Customize the Design
- Go to the Design tab.
- Customize the look of the Lottie according to your preferences.
- Once satisfied, click the green check mark.
NOTETo learn more about the features you can customize for Lottie, check out Lottie Features.
Step 5: Save
- Click the eye icon to see your page in real-time:

- Save your changes:

That's it! You've successfully added Lottie animations in SharePoint, making way for beautiful animations on your pages. This seamless integration improves the motion design experience on your SharePoint site and helps you ship beautiful animations quickly.
Authorizing External Scripts
Since Lottie animations load JavaScript from external sources, you must add https://lottie.host to the Trusted Script Sources list in your SharePoint Admin Center. This step is required to ensure the script runs correctly under SharePoint's Content Security Policy (CSP).
For detailed instructions, please follow the "How to Add Trusted Source URLs" section in our Managing Trusted Script Sources for JavaScript Customizations in ShortPoint article.
Lottie Features
Here are the handy options you'll find in the Lottie Settings window to help you customize animations the way you like.
A. Content Tab
The Content tab is where you can add the Lottie files and customize other settings like speed. Here are the options you can tweak:
 | Lottie asset file | allows you to add the Lottie animation you want to use. You can paste the URL or get it from your assets library by clicking the folder icon. To learn how to get free Lottie animations, check out How to get animations from Lottie Files. |
 | Link | allows you to add a link to the Lottie animation. When clicked, this will redirect the user to the link you’ve added. |
 | Linking Options | allows you to control where the link will be opened. |
 | Loop | when enabled, the animation will continuously play. |
 | Speed | allows you to adjust the speed of the animation. The maximum speed value is set to 10px. |
 | Trigger | allows you to choose the trigger that will play the animation. You can choose from ViewPort, On Page Load, On Click, or On Hover. |
 | Play in reverse | when enabled, the animation will play in reverse. |
B. Design Tab
The Design tab is where you get to have fun customizing the look and feel of your Lottie animation. Here, you can choose its alignment, background color, and so much more. Here are the options you can modify:

 | Full width | when enabled, the width will fit the whole container. |
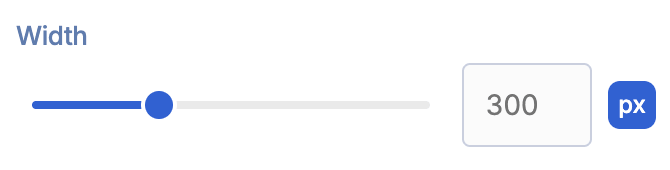 | Width | allows you to adjust the width. |
 | Background color | allows you to specify the color of the background. You can change the color by [1] typing the HEX code, [2] using the drop-down, or [3] using the color picker. |
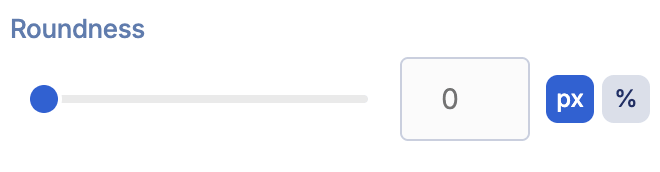 | Roundness | allows you to adjust the roundness value. |
 | Alignment | allows you to modify the alignment. You can choose from Start, Center, or End. |
 | Lazy rendering | when enabled, lazy rendering will be applied. |
C. Spacing Tab
The Spacing tab controls the spaces around the animation. Here, you can customize the following:

CUSTOM PADDING
 | Padding Top | allows you to adjust the top padding. |
 | Padding Right | allows you to adjust the right padding. |
 | Padding Left | allows you to adjust the left padding. |
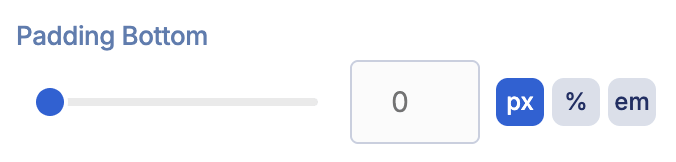 | Padding Bottom | allows you to adjust the bottom padding. |
TABLET & MOBILE PADDING
 | Apply different padding for Tablet Devices | when enabled, different padding values will apply for tablet devices. |
 | Tablet Padding Top | allows you to adjust the top tablet padding. |
 | Tablet Padding Right | allows you to adjust the right tablet padding. |
 | Tablet Padding Bottom | allows you to adjust the bottom tablet padding. |
 | Tablet Padding Left | allows you to adjust the left tablet padding. |
 | Apply different padding for Mobile Devices | when enabled, different padding values will apply for mobile devices. |
 | Mobile Padding Top | allows you to adjust the top mobile padding. |
 | Mobile Padding Right | allows you to adjust the wight mobile padding. |
 | Mobile Padding Bottom | allows you to adjust the bottom mobile padding. |
 | Mobile Padding Left | allows you to adjust the left Mobile padding. |
CUSTOM MARGIN
 | Margin Top | allows you to adjust the top margin. |
 | Margin Right | allows you to adjust the right margin. |
 | Margin Left | allows you to adjust the left margin. |
 | Margin Bottom | allows you to adjust the bottom margin. |
TABLET & MOBILE MARGIN
 | Apply different margin for Tablet Devices | when enabled, different margin values will apply for tablet devices. |
 | Tablet Margin Top | allows you to adjust the top tablet margin. |
 | Tablet Margin Right | allows you to adjust the right tablet margin. |
 | Tablet Margin Bottom | allows you to adjust the bottom tablet margin. |
 | Tablet Margin Left | allows you to adjust the left tablet margin. |
 | Apply different margin for Mobile Devices | when enabled, different margin values will apply for mobile devices. |
 | Mobile Margin Top | allows you to adjust the top mobile margin. |
 | Mobile Margin Right | allows you to adjust the wight mobile margin. |
 | Mobile Margin Bottom | allows you to adjust the bottom mobile margin. |
 | Mobile Margin Left | allows you to adjust the left Mobile margin. |
D. Visibility Tab
The Visibility tab allows you to specify who can see the Design Element and what type of devices it can be shown on. For more details, check out How to Use the ShortPoint Visibility Feature for Effective SharePoint Access Management.

E. Custom CSS Tab
This tab lets you add your own custom touch to the Lottie Design Element using CSS, HTML, and JavaScript.
NOTECheck out our support article on How to Insert Custom CSS into a Page Builder Element? (Basic Tutorial) to know more about Custom CSS.

Practical Use Cases for the Lottie Design Element in SharePoint
The Lottie Design Element offers versatile applications to enhance your SharePoint site with engaging and interactive motion design. Here are some practical use cases where adding Lottie animations can significantly improve user experience and visual appeal:
Improve Speed: Replace static images or GIFs with smooth, lightweight Lottie animations, improving perceived speed and keeping users engaged on your web pages.
Onboarding and Tutorials: Use Lottie files to create visually appealing, easy-to-understand onboarding guides or tutorials that help users navigate your SharePoint platform without confusion or errors.
Call-to-Action (CTA) Enhancements: Draw attention to important buttons or sections by adding subtle Lottie animations that enhance user interaction and encourage clicks, boosting engagement and conversions.
Celebrations and Notifications: Celebrate milestones, achievements, or important announcements with fun motion design elements that bring energy and excitement to your SharePoint intranet.
Branding and Customization: Customize your SharePoint site by integrating branded Lottie animations that reflect your organization's identity, helping maintain consistency across all digital touchpoints.
With the Lottie Design Element, organizations can ship beautiful animations that are scalable, responsive, and easy to customize directly within their favorite tools. And all of it can be done without requiring an engineer painstakingly recreating animations by hand. This makes this Design Element a powerful addition for any SharePoint environment looking to improve user engagement and visual storytelling.
Frequently Asked Questions
What is a Lottie animation, and why should I use it in SharePoint?
Lottie animation is a lightweight, scalable, and high-quality animation format that can be easily uploaded and customized on your SharePoint web pages. It enhances the motion design and user experience without requiring coding skills, helping you ship beautiful animations quickly.
How do I add Lottie files to my SharePoint site?
You can add Lottie files using the Lottie Design Element in ShortPoint. Simply edit your SharePoint page, insert the Lottie Design Element, and then upload your Lottie animation files or provide a URL to customize and display animations seamlessly.
Do I need any coding skills to add or edit Lottie animations?
No, ShortPoint’s visual editor experience allows you to add and customize Lottie animations easily without any coding knowledge.
Are Lottie animations compatible across all devices?
Yes, all Lottie animations added via ShortPoint are fully responsive and will display beautifully on desktop, tablet, and mobile devices, ensuring a consistent experience for all users.
Can I combine Lottie animations with other ShortPoint Design Elements?
Absolutely! You can use multiple Design Elements, including Lottie animations, on the same SharePoint page to create rich, interactive, and visually appealing content.
What are ShortPoint Design Elements?
ShortPoint Design Elements are pre-built, customizable components that help you create modern SharePoint and Office 365 pages with ease. They include a variety of features such as accordions, tabs, Lottie, and so much more.
How do Lottie animations improve my SharePoint site?
By integrating Lottie animations, you enhance the visual appeal and interactivity of your SharePoint site, leading to better user engagement and a more dynamic intranet experience.
Where can I get Lottie files to use in my SharePoint projects?
You can download Lottie files from popular online libraries or create your own animations using design tools that support exporting to the Lottie JSON format.
Is the process of adding Lottie animations secure and reliable?
Yes, ShortPoint ensures a secure and reliable way to upload and display Lottie animations on your SharePoint platform, with no need for complex coding or external dependencies.
Can I customize the behavior of Lottie animations?
Yes, the Lottie Design Element offers various settings to customize animations, including looping options, playing in reverse, and so much more. This allows you to tailor animations to your branding and style.
Related articles:
- How to Create SharePoint Headers Using the Heading Design Element
- How to Place SharePoint Buttons Next to Each Other Using the Dual Button Design Element
- How to Create a SharePoint Hero Section Using the Hero Caption Design Element
- How to Highlight Words in SharePoint Using the Highlighted Text Design Element
- How to Create a Timeline in SharePoint Sites Using the Timeline Design Element
- How to Create a Spinning Text Effect in SharePoint Using the Rotating Text Design Element
