 Try ShortPoint now
Ready to elevate your SharePoint pages with creative spinning text? This guide shows you how to use the Rotating Text Design Element to add a text animation effect to your content in SharePoint, making way for a dynamic and engaging user experience.

TABLE OF CONTENTS
- Prerequisites
- What Is the Rotating Text Design Element?
- Interactive Tutorial
- Step-by-step Tutorial
- Rotating Text Features
- Practical Use Cases for the Rotating Text Design Element
- Frequently Asked Questions
- What are the prerequisites for using the Rotating Text Design Element?
- How can I customize the spinning text content?
- What design options are available for spinning text?
- Can I further customize the appearance of spinning text?
- Is it possible to add custom code to the Rotating Text?
- Can I preview my spinning text before saving?
- How does the Rotating Text Design Element improve SharePoint pages?
Prerequisites
- You must have the ShortPoint SPFx version 8.8.0.0 or later installed in your SharePoint environment.
- You must be a ShortPoint Designer with an active license.
What Is the Rotating Text Design Element?
Get started with the Rotating Text Design Element, available in ShortPoint's library from SPFx version 8.8.0.0 onwards.

Create eye-catching content with ease. You'll be able to customize all content as you see fit.
Plus, you can control every aspect of the design, including style, size, alignment, and colors. This makes it easy to enhance your site's transitions and overall user experience.

Interactive Tutorial
Click Get Started to easily add a Rotating Text to your SharePoint page:
NOTETo learn more about the features you can customize for Rotating Text,
check out Rotating Text Features.
Step-by-step Tutorial
Use this simple step-by-step guide to add Rotating Text to SharePoint.
Step 1: Edit the ShortPoint Web Part
- Go to the SharePoint page you want to use and click Edit.

- Close the Toolbox:

- Click the Edit properties icon:

Step 2: Insert the Rotating Text Design Element
- Choose where you want to add the Rotating Text and click the plus icon:

- Use the search box to look for Rotating Text and click it:

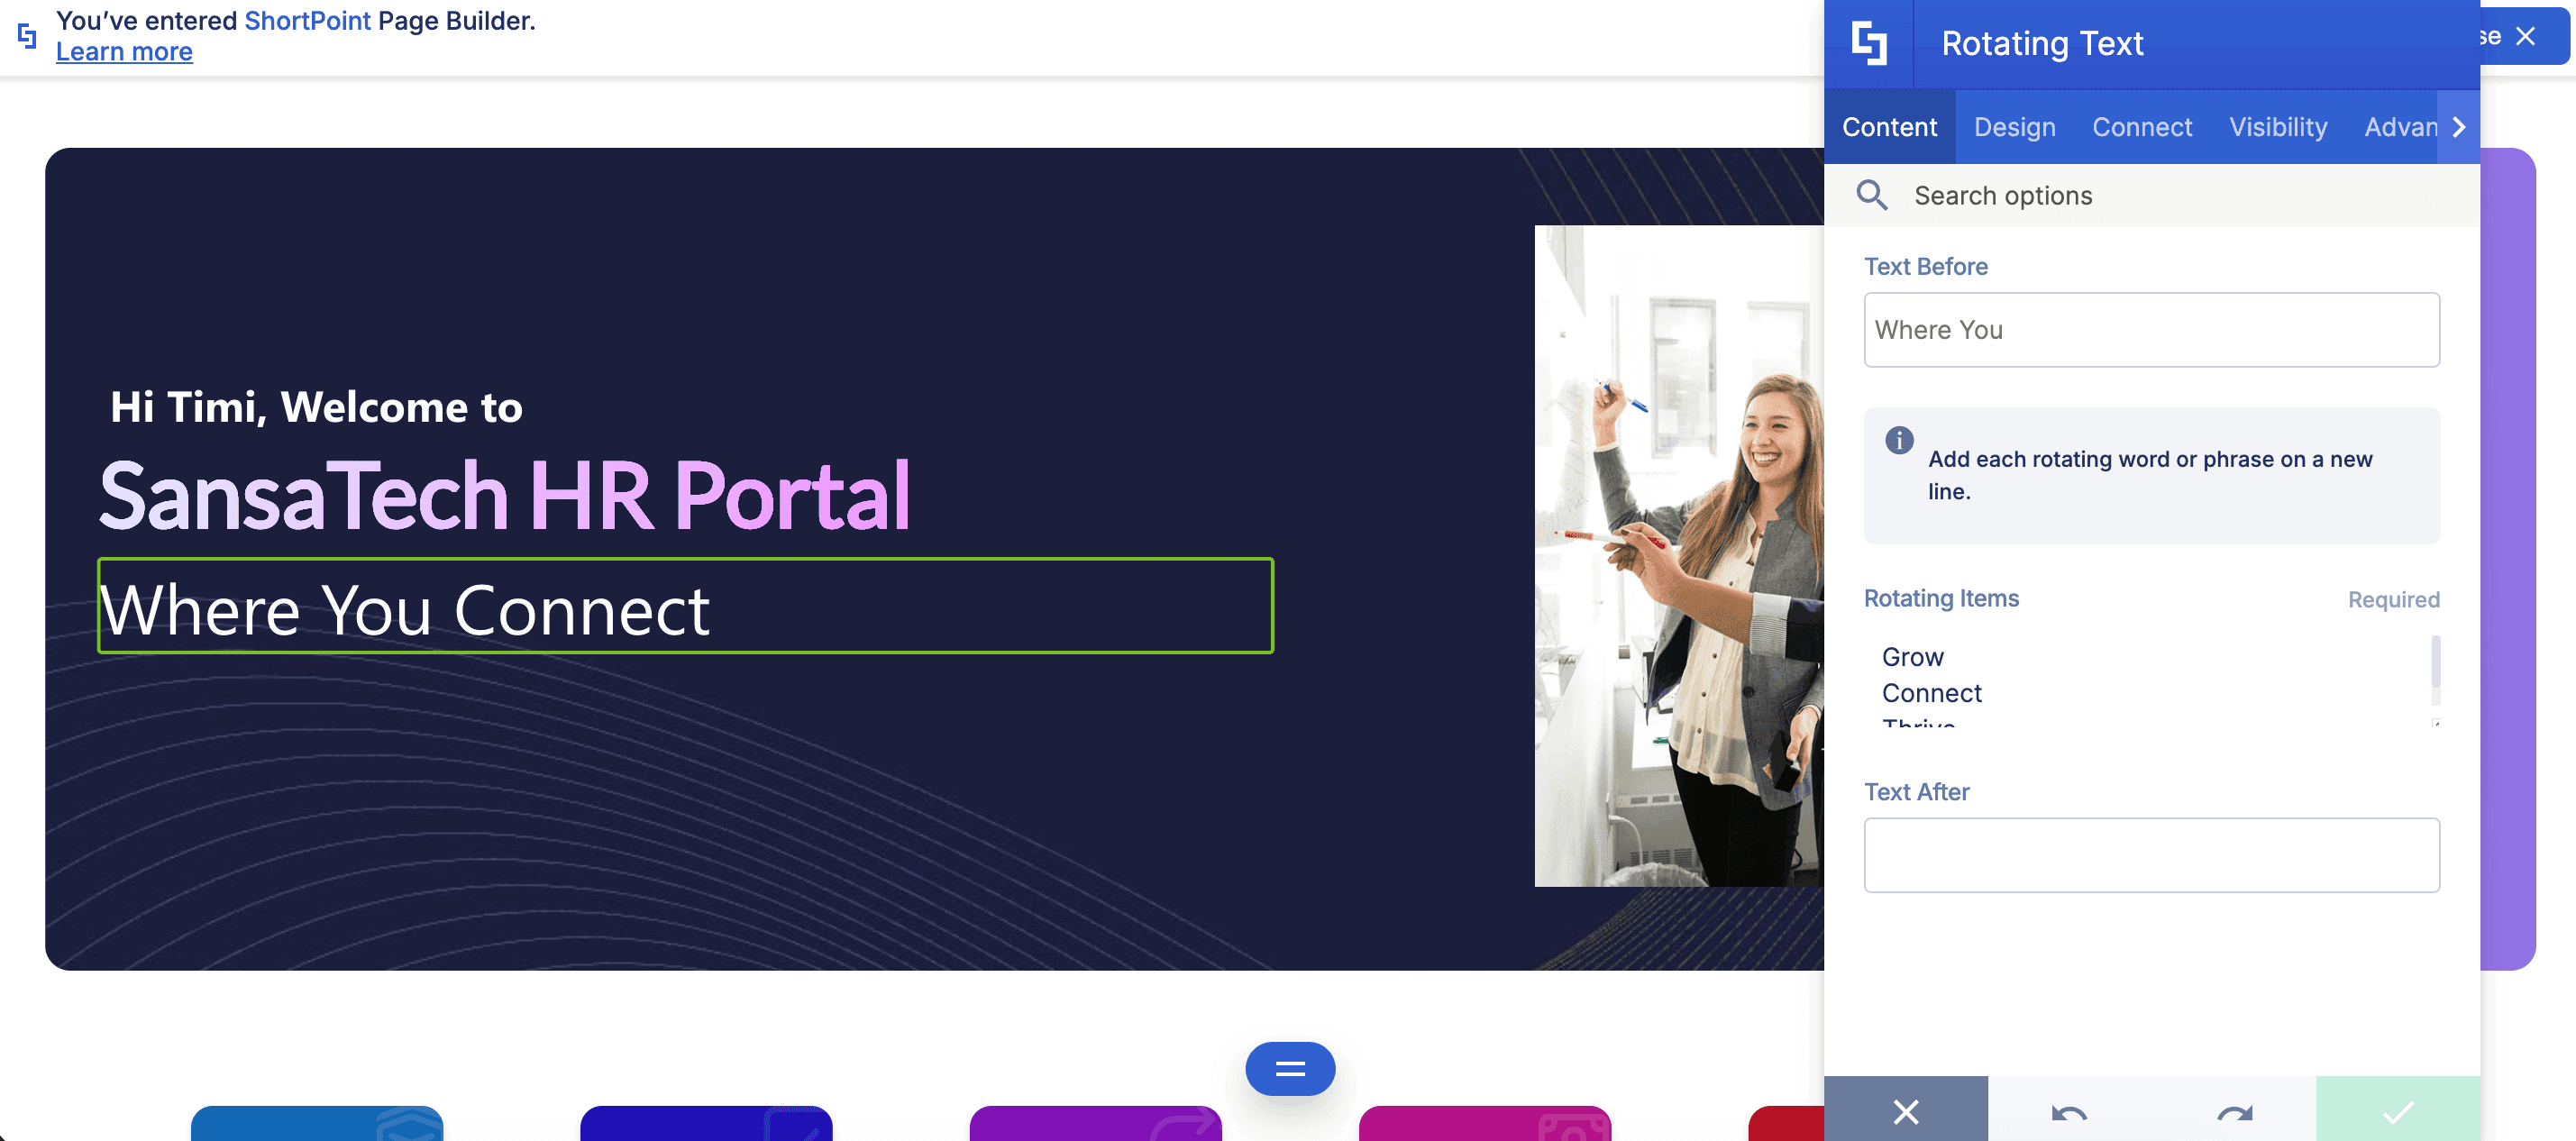
Step 3: Customize the Content
- Go to the Content tab.
- Customize the content of the Rotating Text according to your preferences.
NOTETo learn more about the features you can customize for Rotating Text,
check out Rotating Text Features.
Step 4: Customize the Design
- Go to the Design tab.
- Customize the look of the Rotating Text according to your preferences.
- Go to the Advanced tab.
- Modify the design even further.
- Once satisfied, click the green check mark.
NOTETo learn more about the features you can customize for Rotating Text,
check out Rotating Text Features.
Step 5: Save
- Click the eye icon to see your page in real-time:

- Save your changes:

Great work! You've successfully added spinning text to SharePoint, making your content even more engaging and dynamic.
Rotating Text Features
You'll find several helpful options in the Rotating Text Settings window that let you customize your content to suit your needs. Let’s go through each one below.
A. Content Tab
The Content tab is where you can edit the content inside the Rotating Text Design Element. Here are the options you can tweak:

 | Text Before | allows you to modify the content before the rotating text. |
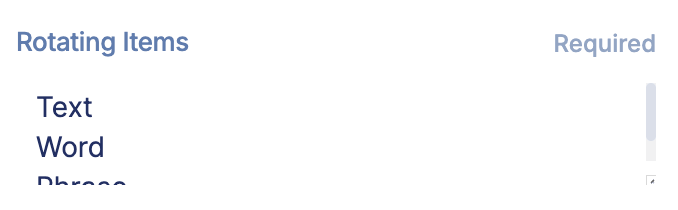 | Rotating Items | allows you to add each rotating word or phrase. Make sure to hit enter after typing each word or phrase. |
 | Text After | allows you to modify the content after the rotating text. |
B. Design Tab
The Design tab is where you get to have fun customizing the look and feel of your Rotating Text. Here are the options you can modify:

SETTINGS
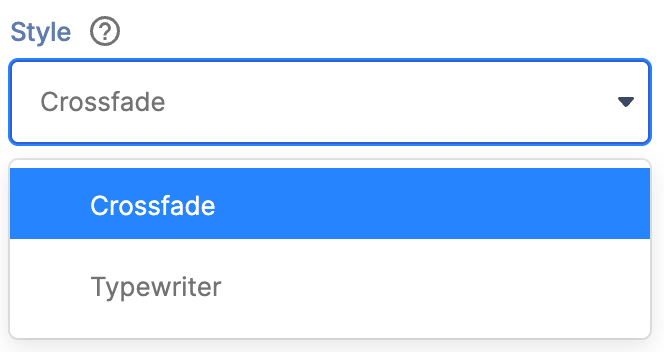 | Style | allows you to change the style of the Rotating Text. You can choose from crossfade or typewriter. |
 | Color | allows you to change the text color. You can do so by [1] writing the HEX code, [2] using the drop-down, or [3] using the color picker. |
 | Rotating Text Color | allows you to change the color of the rotating text. You can do so by [1] writing the HEX code, [2] using the drop-down, or [3] using the color picker. |
 | Text Size | allows you to adjust the size of the text. |
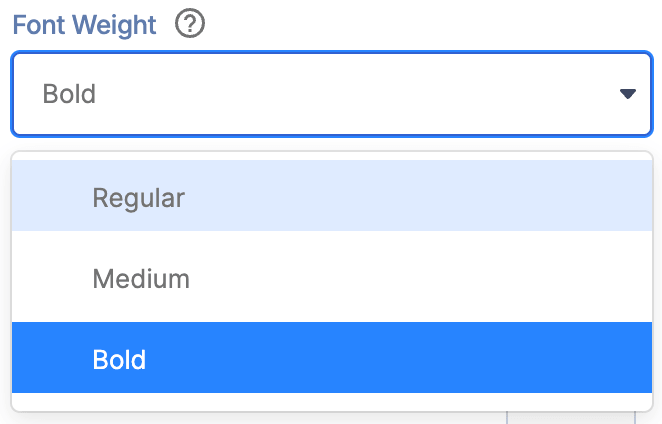 | Font weight | allows you to choose from Regualr, Medium, or Bold. |
 | Text alignment | allows you to change the alignment of the text. |
SHADOW
 | Shadow Enabled | when enabled, a shadow effect will be added to the rotating text. |
 | Vertical Distance | allows you to modify the vertical distance value of the shadow. |
 | Horizontal Distance | allows you to modify the horizontal distance value of the shadow. |
 | Blur | allows you to add and control the blur effect for the shadow. |
 | Color | allows you to choose the color of the shadow. You can change the color by [1] typing the HEX code, [2] using the drop-down, or [3] using the color picker. |
C. Connect Tab
The Connect tab allows you to link the Design Element to SharePoint sources (List, Document Library, News, etc.) and other external sources (Microsoft Graph API, Teams, Outlook, etc.). For more details about ShortPoint Connect, check out Basic Tutorial: How to Establish Seamless SharePoint Connection with ShortPoint Connect.

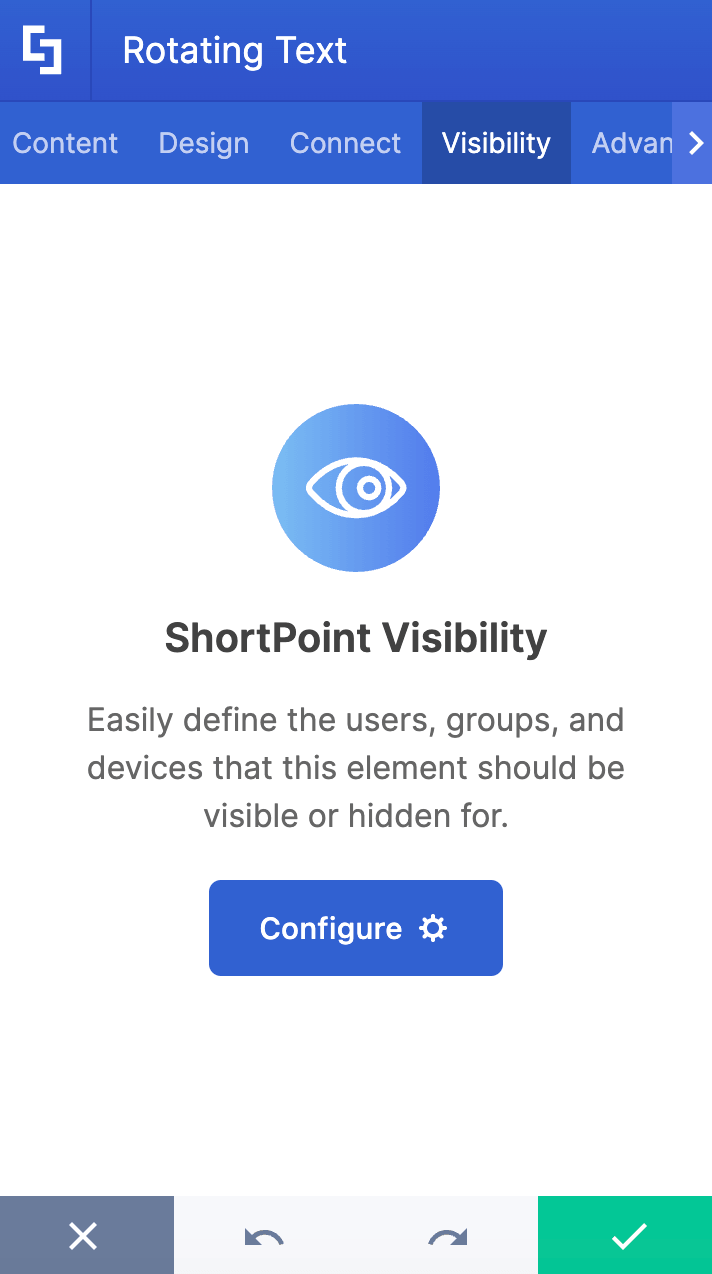
D. Visibility Tab
The Visibility tab allows you to specify who can see the Design Element and what type of devices it can be shown on. For more details, check out How to Use the ShortPoint Visibility Feature for Effective SharePoint Access Management.
E. Advanced Tab
The Advanced tab allows you to further customize the appearance of the Rotating Text. Below are the options you can modify:

SETTINGS
 | Container Width | allows you to control the width of the container in px or %. |
SPACING
 | Margin Top | allows you to adjust the top margin of the rotating text. |
 | Margin Bottom | allows you to adjust the bottom margin of the rotating text. |
F. Custom CSS Tab
This tab lets you add your own custom touch to the Rotating Text Design Element using custom CSS, HTML, and JavaScript. This gives site owners and designers greater control over how it will look.
NOTECheck out our support article on How to Insert Custom CSS into a Page Builder Element? (Basic Tutorial) to know more about Custom CSS.

Practical Use Cases for the Rotating Text Design Element
The Rotating Text Design Element offers versatile applications to enhance your SharePoint pages with engaging spinning text and dynamic text animation effects. Here are some practical use cases to inspire your next intranet design project:
Announcements and Updates: Use rotating text to highlight important company news, upcoming events, or policy changes, ensuring key messages capture attention with smooth transitions.
Employee Recognition: Showcase rotating names or achievements of employees to celebrate milestones or awards, adding a lively and interactive element to your internal communications.
Service or Product Highlights: Feature rotating keywords or phrases that describe your organization's services, products, or core values, helping to reinforce branding and messaging.
Call to Action Prompts: Encourage user engagement by rotating through different calls to action, such as “Join the Webinar,” “Download the Report,” or “Contact Support,” making the prompts more noticeable.
Training and Onboarding: Present rotating tips, reminders, or links to training resources, providing new hires with an interactive and informative experience.
By leveraging the customizable font size, color, and animation speed options, you can tailor the rotating text to fit seamlessly within your page container and overall site design. This not only improves the quality of your SharePoint content but also helps maintain user interest through visually appealing effects.
Integrating this feature into your SharePoint environment is a simple yet effective way to animate your letters and words, creating a dynamic video-like experience that enhances communication and boosts engagement across your organization.
Frequently Asked Questions
What are the prerequisites for using the Rotating Text Design Element?
You must have the ShortPoint SPFx version XXXX or later installed in your SharePoint environment and be a licensed ShortPoint Designer to access and use the Rotating Text Design Element.
How can I customize the spinning text content?
In the Content tab, you can edit the text before and after the rotating items, as well as add or modify the rotating words or phrases themselves.
What design options are available for spinning text?
The Design tab offers options to change the style (such as crossfade or typewriter), text color (using HEX codes or color picker), font size, font weight (bold or italic), text alignment, and animation delay.
Can I further customize the appearance of spinning text?
Yes, the Advanced tab lets you adjust shadow effects (vertical/horizontal distance, blur, color) and spacing (margins on all sides) to refine the look of your spinning text.
Is it possible to add custom code to the Rotating Text?
Absolutely. The Custom CSS tab allows you to add your own CSS, HTML, or JavaScript to fully control the appearance and behavior of your spinning text.
Can I preview my spinning text before saving?
Yes, click the eye icon to see a real-time preview of your page with the spinning text effect before saving your changes.
How does the Rotating Text Design Element improve SharePoint pages?
Adding spinning text makes your content more engaging and dynamic, enhancing the overall user experience on your SharePoint site.
Related articles:
- How to Create SharePoint Headers Using the Heading Design Element
- How to Place SharePoint Buttons Next to Each Other Using the Dual Button Design Element
- How to Create a SharePoint Hero Section Using the Hero Caption Design Element
- How to Highlight Words in SharePoint Using the Highlighted Text Design Element
- How to Add Lottie Animation in SharePoint Using the Lottie Design Element
How to Create a Timeline in SharePoint Sites Using the Timeline Design Element
