 Try ShortPoint now
Do you have OneNote notebooks? With the Microsoft Graph API connection, you can showcase your notebook’s sections in your SharePoint sites.

Simply use the "My Notebook Sections” use case to achieve this connection.

NOTEThe notebook sections shown varies depending on the user viewing the page.
TABLE OF CONTENTS
Prerequisites
- You must have ShortPoint SPFx version 8.6.0.0 and up installed on your SharePoint environment.
- You also need to be a ShortPoint Designer with either a Pro or Enterprise license. For more details, check out Licensing Options.
- You must have the Microsoft Graph API connection enabled. Go to How to Enable Microsoft Graph Integration for MS Graph API Connections to learn how.
- You must authorize the necessary permissions (Notes.Read and Notes.Read.All) in the API access page. To check, go to your SharePoint Admin Center > Advanced > API access.
- You must have the Design Element you want to use to connect on your SharePoint page. For best results, we recommend using Design Elements that allow listing of multiple items (e.g. Icon List, Image List, Simple List, etc.).
What is the “My Notebook Sections” Use Case?
The My Notebook Sections use case is a Microsoft Graph API GET query that retrieves all the sections from the notebooks owned by the signed-in user.

The typical structure of this use case is:
https://graph.microsoft.com/v1.0/users/[%Me('email')%]/onenote/sections?$orderBy=lastModifiedDateTime descOnce you connect using “My Notebook Sections”, you will be able to access all the notebook sections you have.

To use it, you must enable the following permissions in the SharePoint Admin Center:
- Notes.Read - this permission allows the app to read all the OneNote notebooks, sections, and pages that the signed-in user already has access to, not including other users’ notebooks.
- Notes.Read.All- this permission allows the app to read all the OneNote notebooks that the signed-in user has access to, including notebooks owned by other users or shared within the organization.
NOTEIf you haven’t given access to the permissions above, go to your SharePoint Admin Center > Advanced > API access.
Step-by-step Tutorial
Follow the steps below to learn how to use the My Notebook Sections use case:
Step 1: Edit the ShortPoint Web Part
Go to the SharePoint page you want to use and click Edit:

Close the Toolbox:

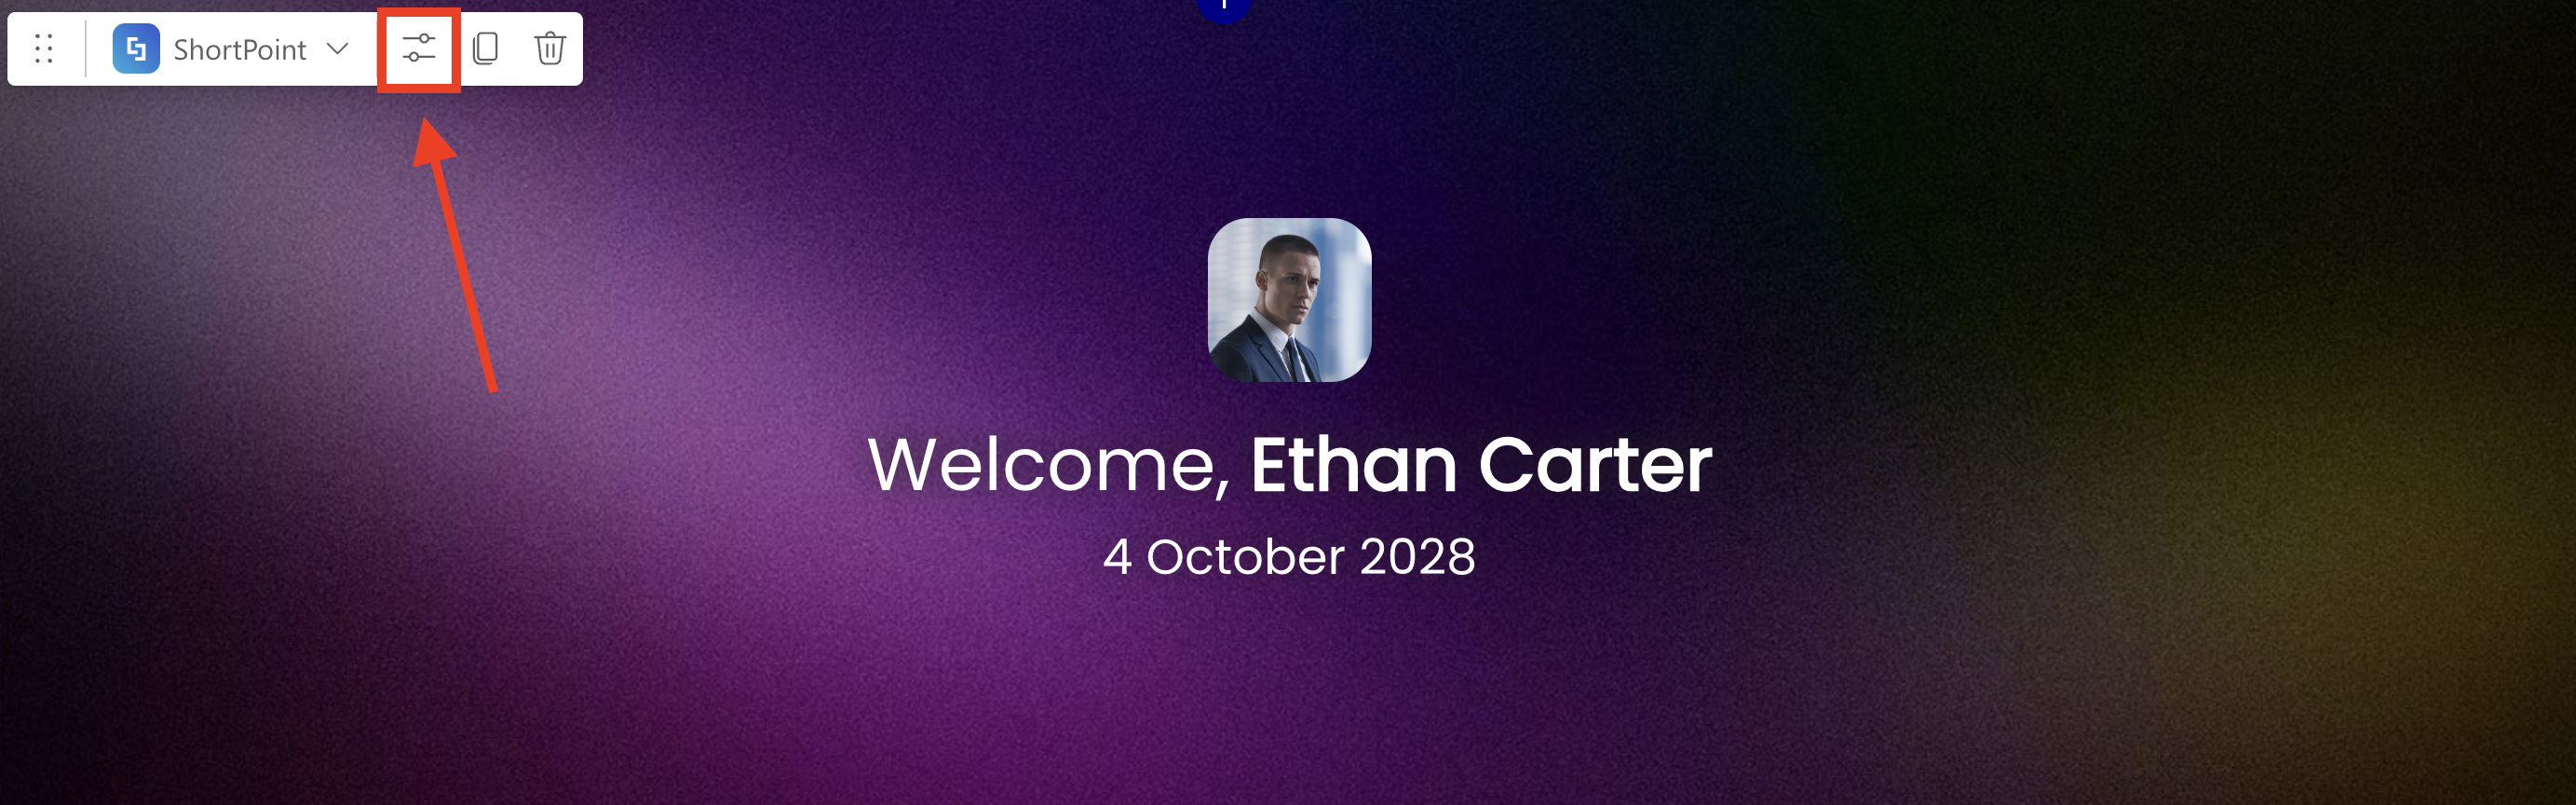
Select the ShortPoint web part and click the Edit Properties icon:
Step 2: Edit the Design Element
NOTEYou can use any Design Element you want. For best results, we recommend using Design Elements that allow listing of multiple items (e.g. Icon List, Image List, Simple List, etc.). For this guide, we’ll use Icon List.
Select the EasyPass tag of the Design Element:

Click the cogwheel icon of the Design Element you’ll use:

Step 3: Connect to Microsoft Graph API
Go to the Connect tab:

Click Configure:

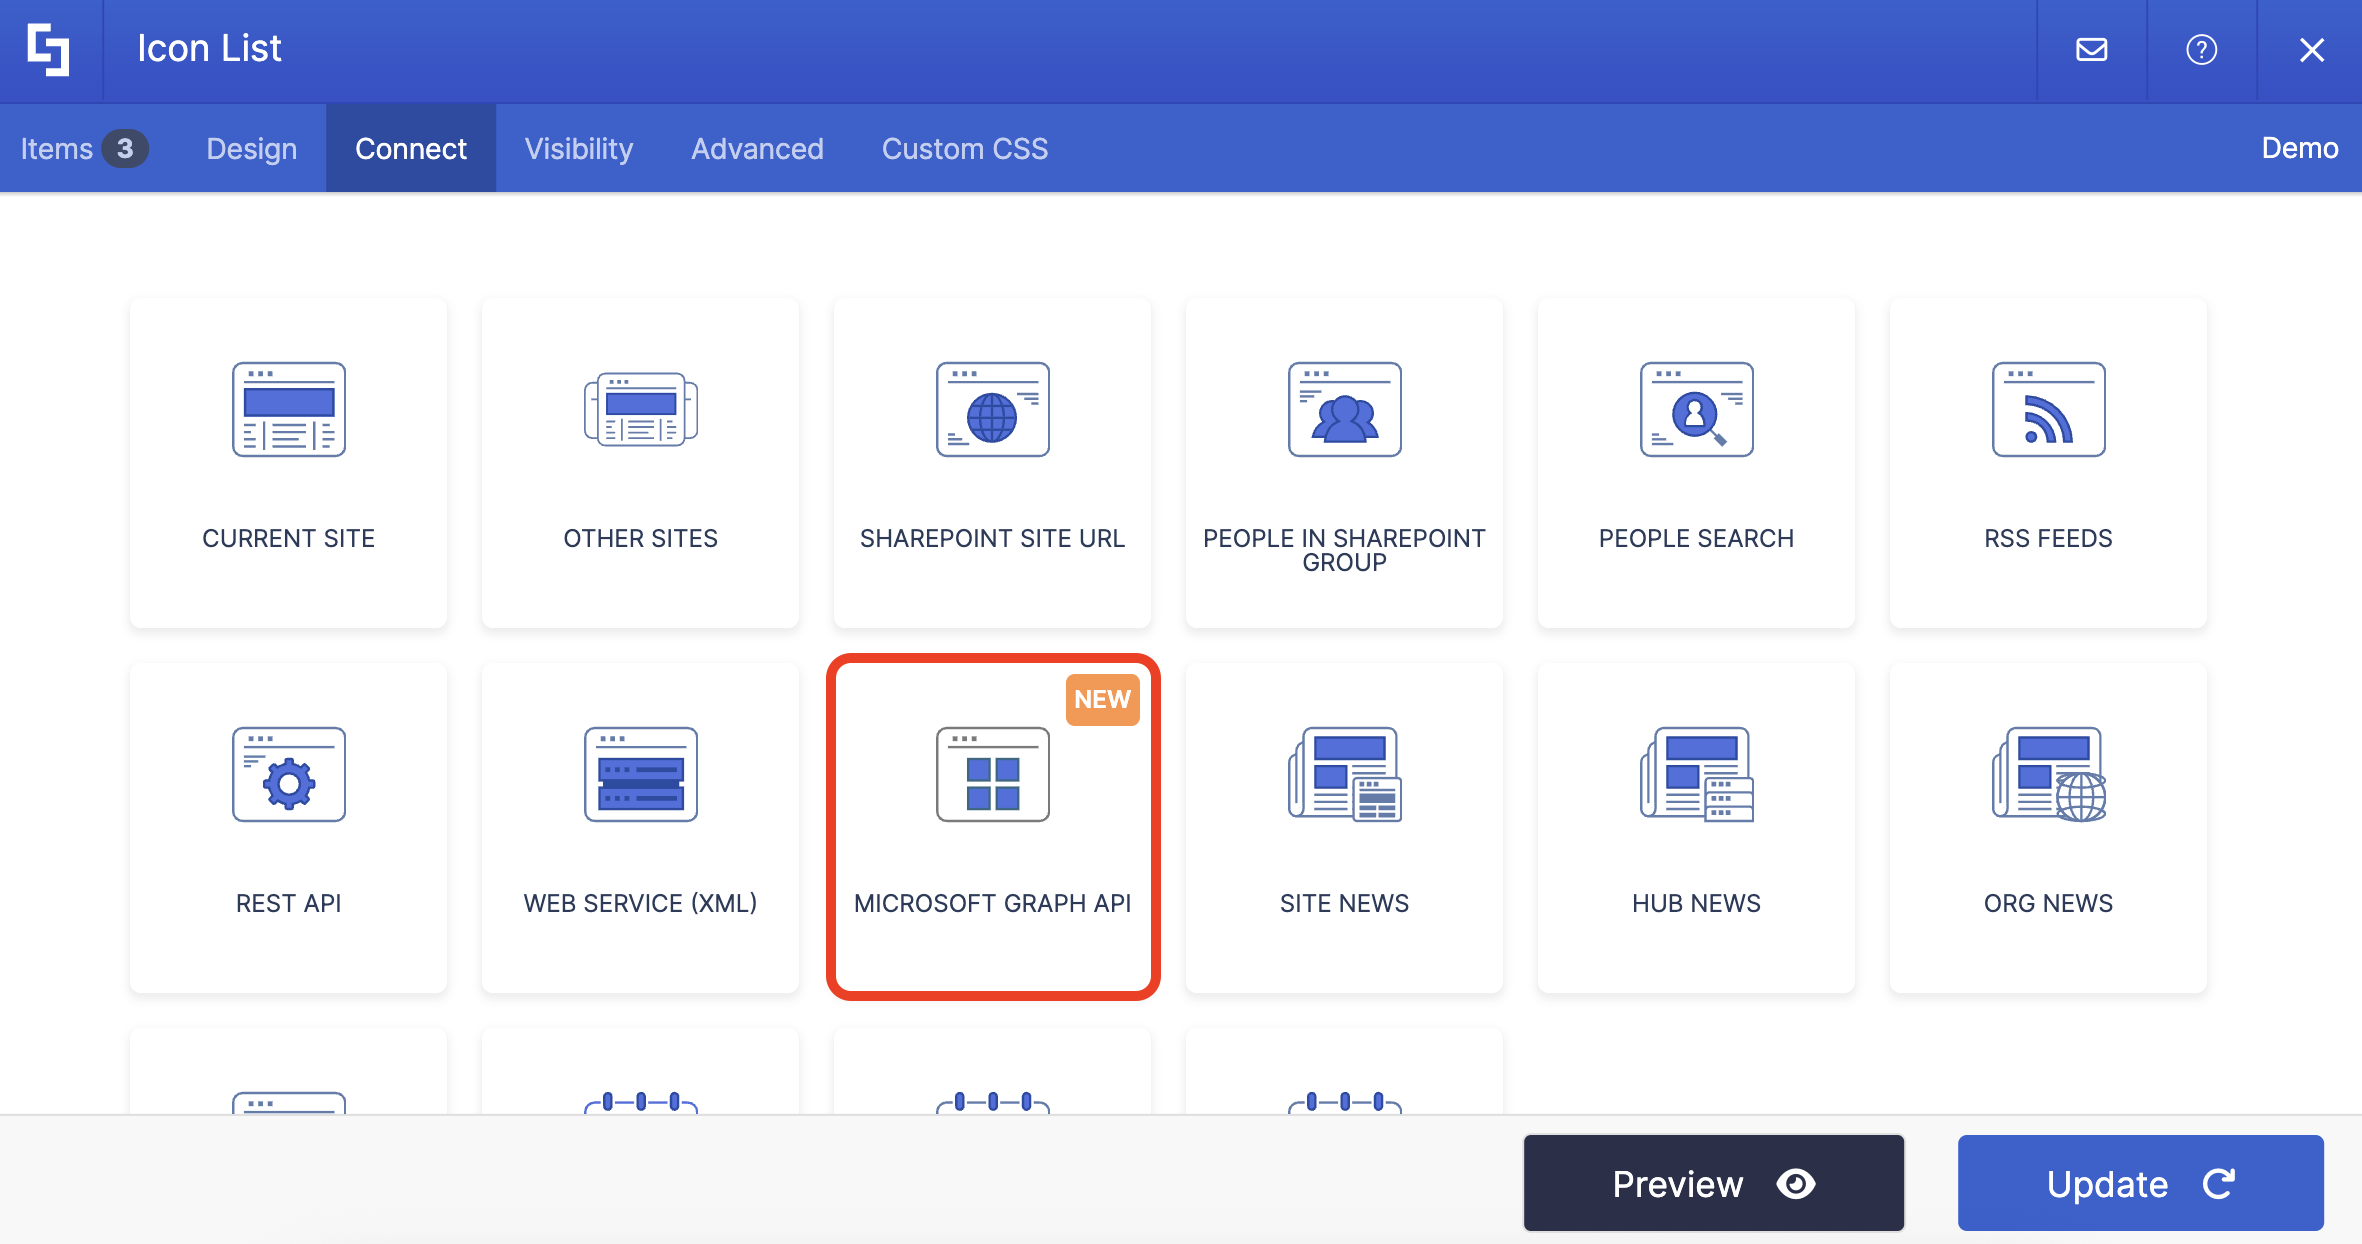
Select Microsoft Graph API:
NOTEYou need to enable the Microsoft Graph API connection before using it. Learn more about it in How to Enable Microsoft Graph Integration for MS Graph API Connections.
Step 4: Use the My Notebook Sections Use Case
Search for My Notebook Sections and select it:

Step 5: Connect
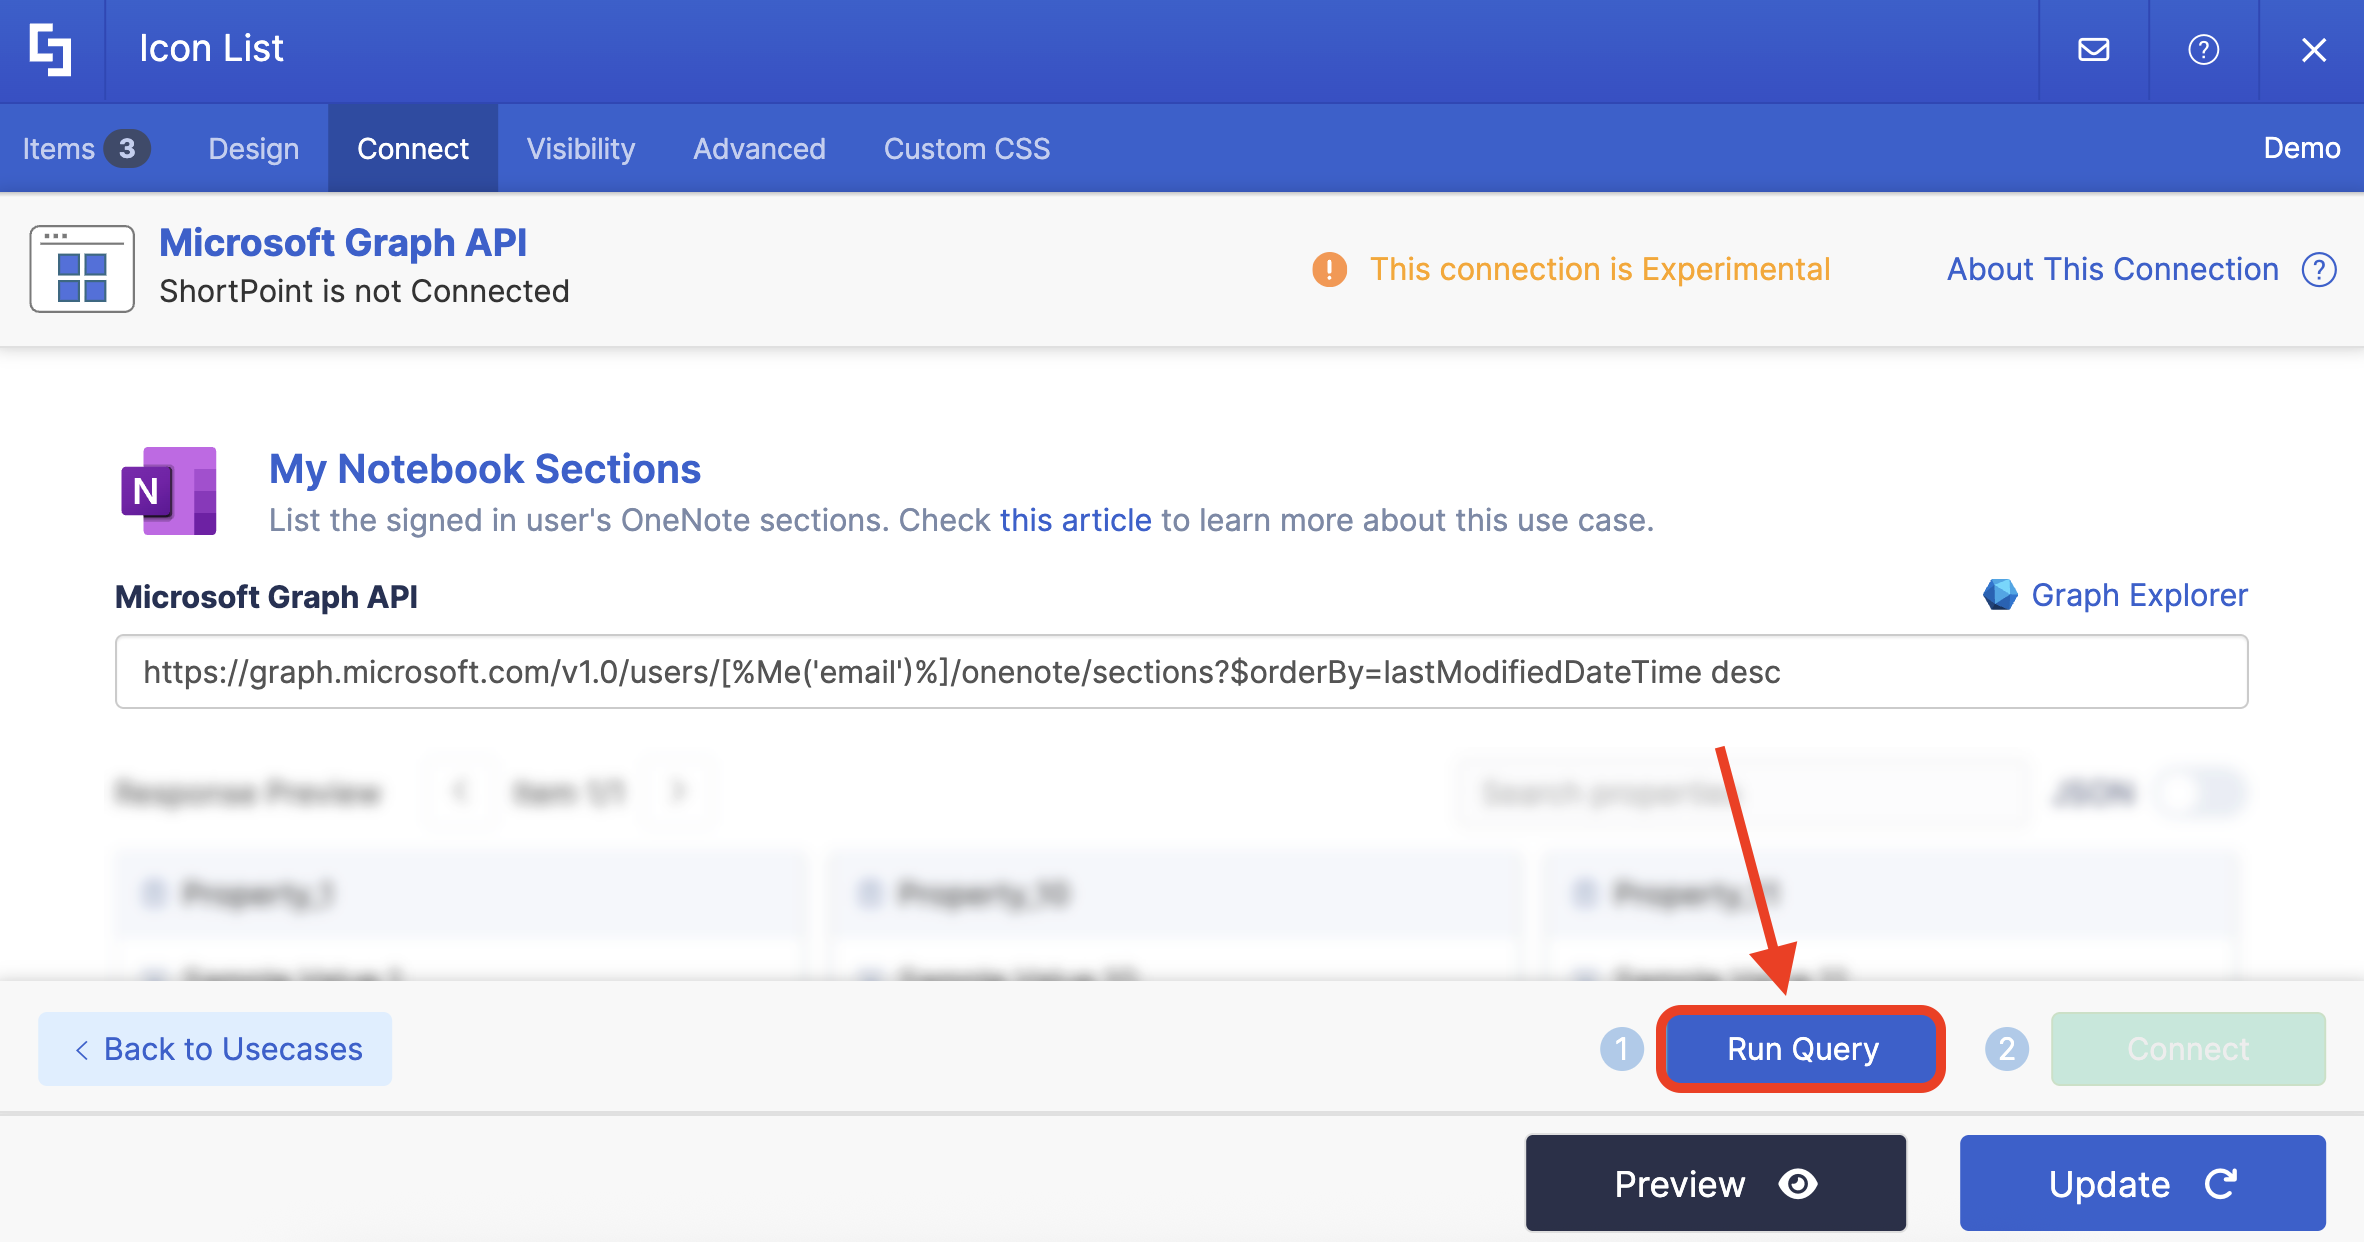
Click Run Query:
Select Connect:

Step 6: Map Items
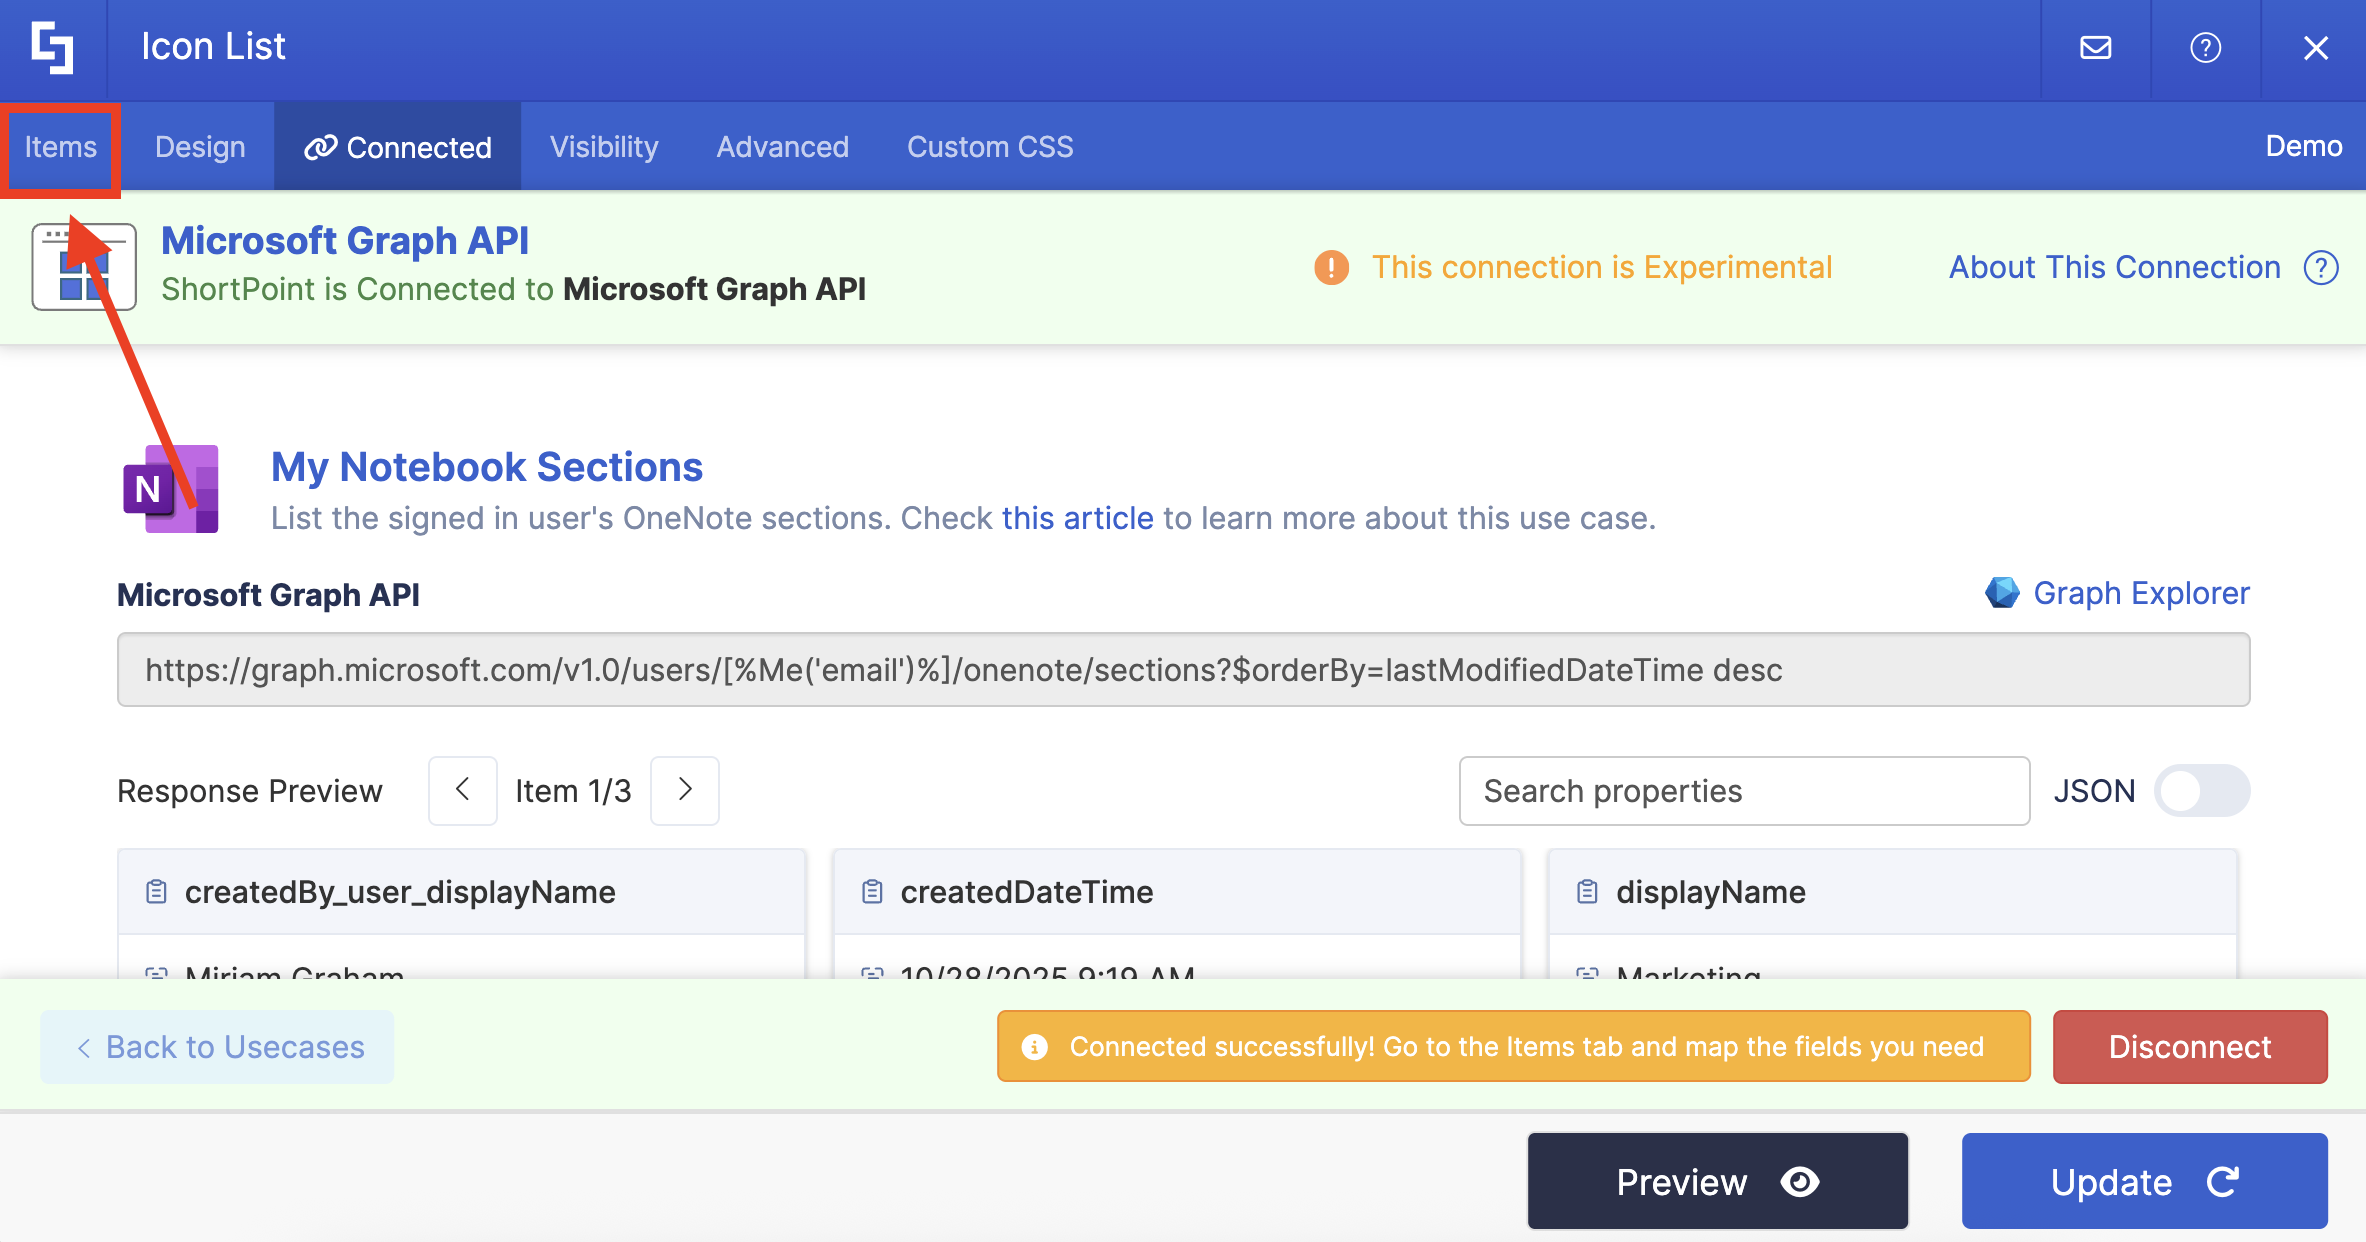
Go to the Items tab:
Delete default content:

Use the link icon to map the properties you want to be displayed:
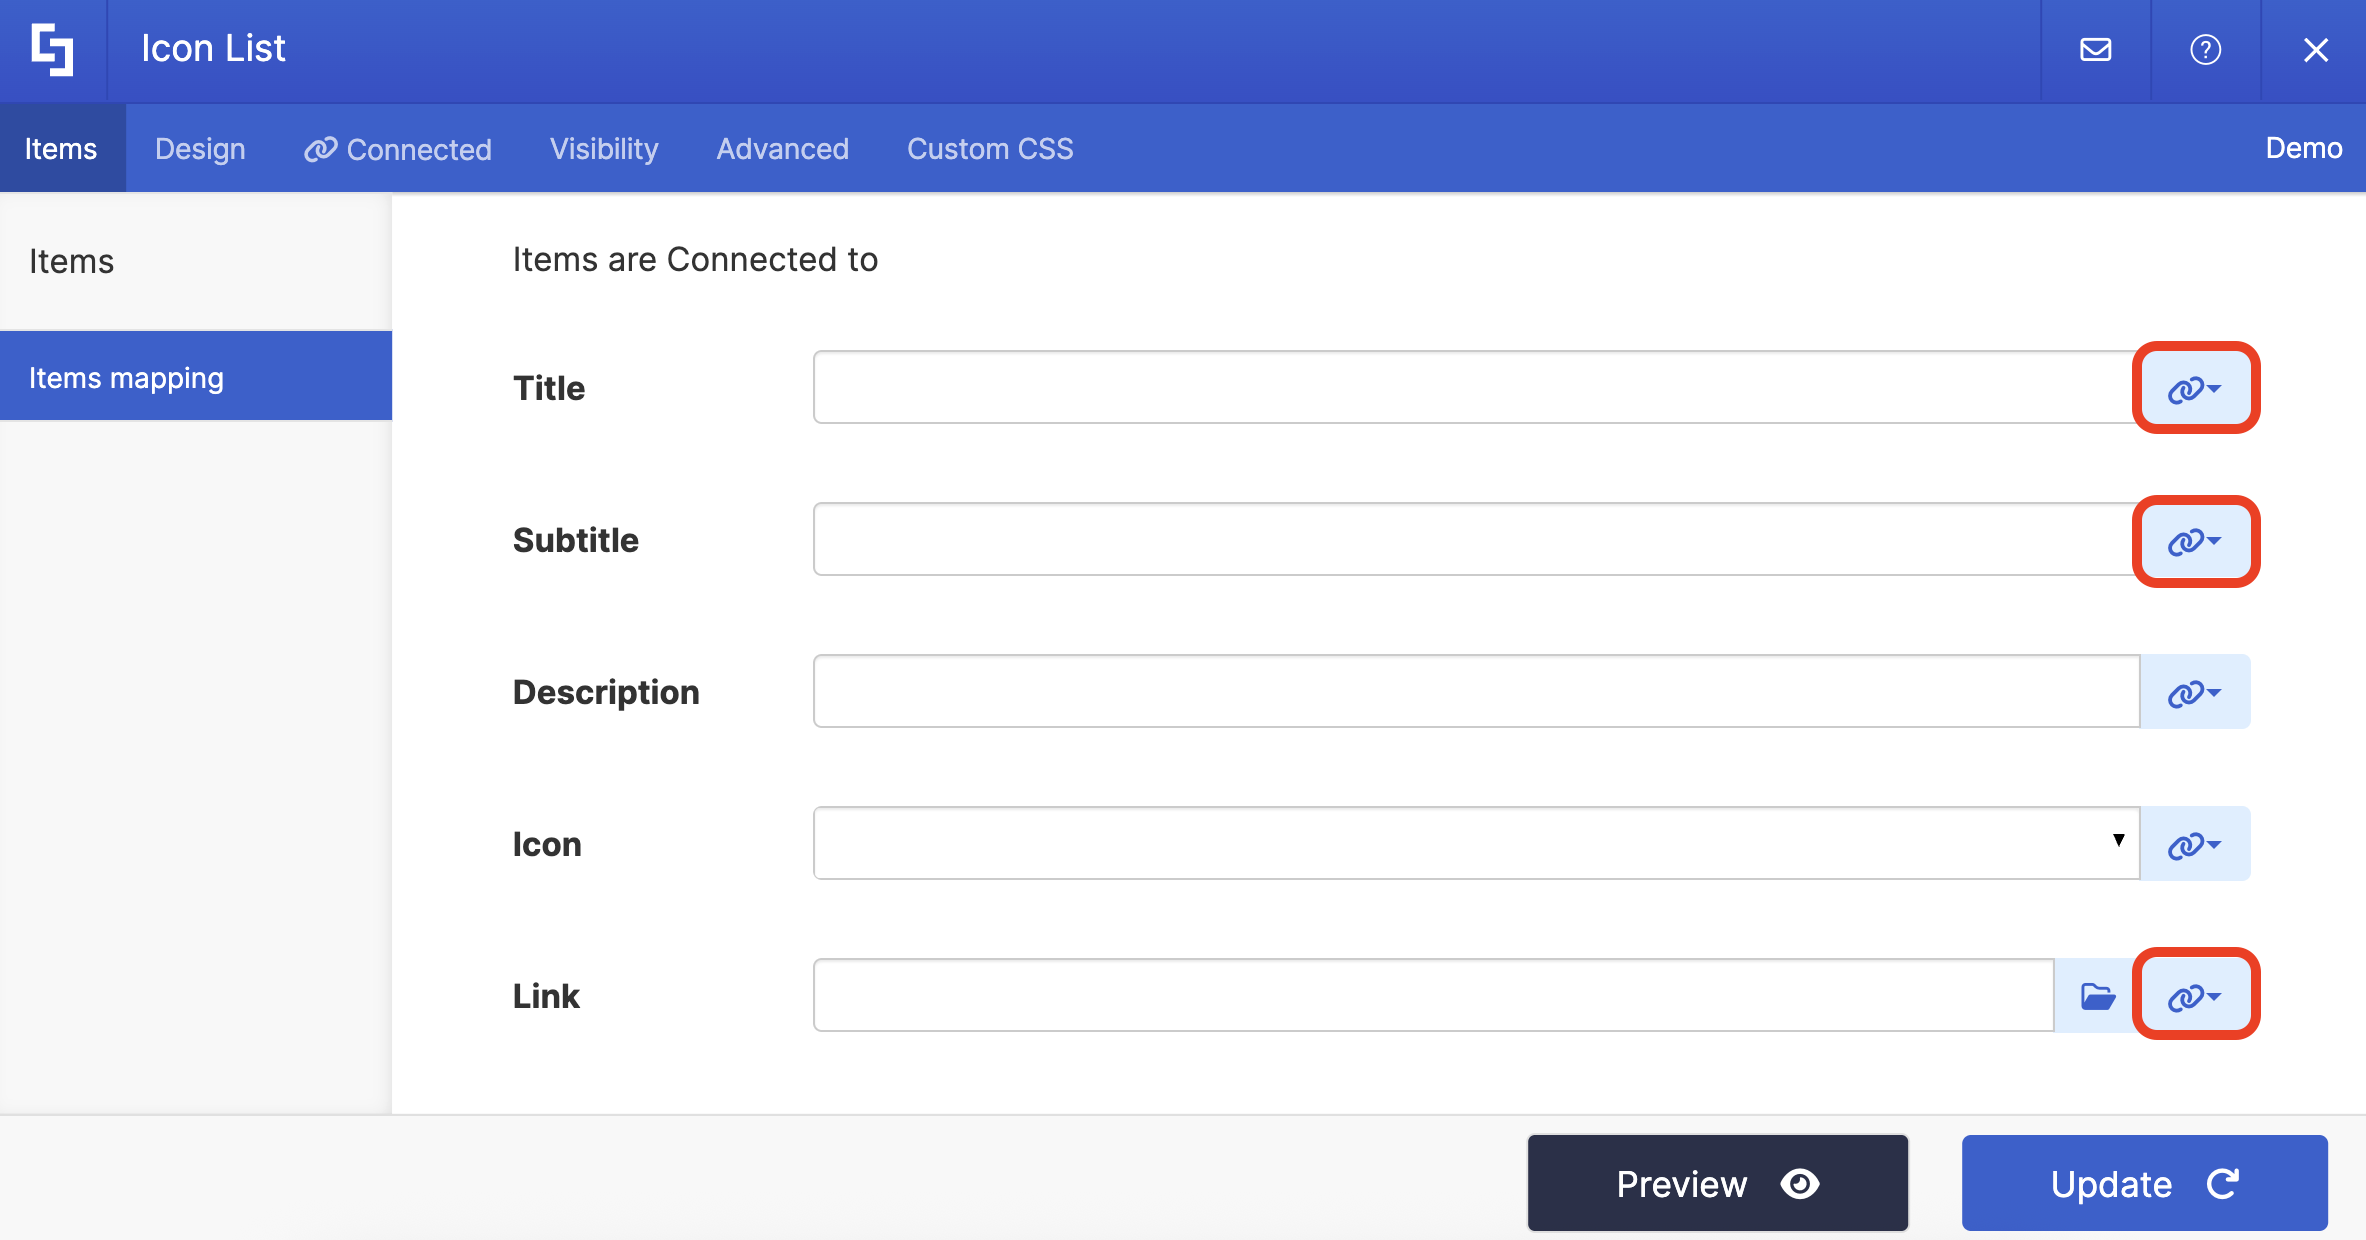
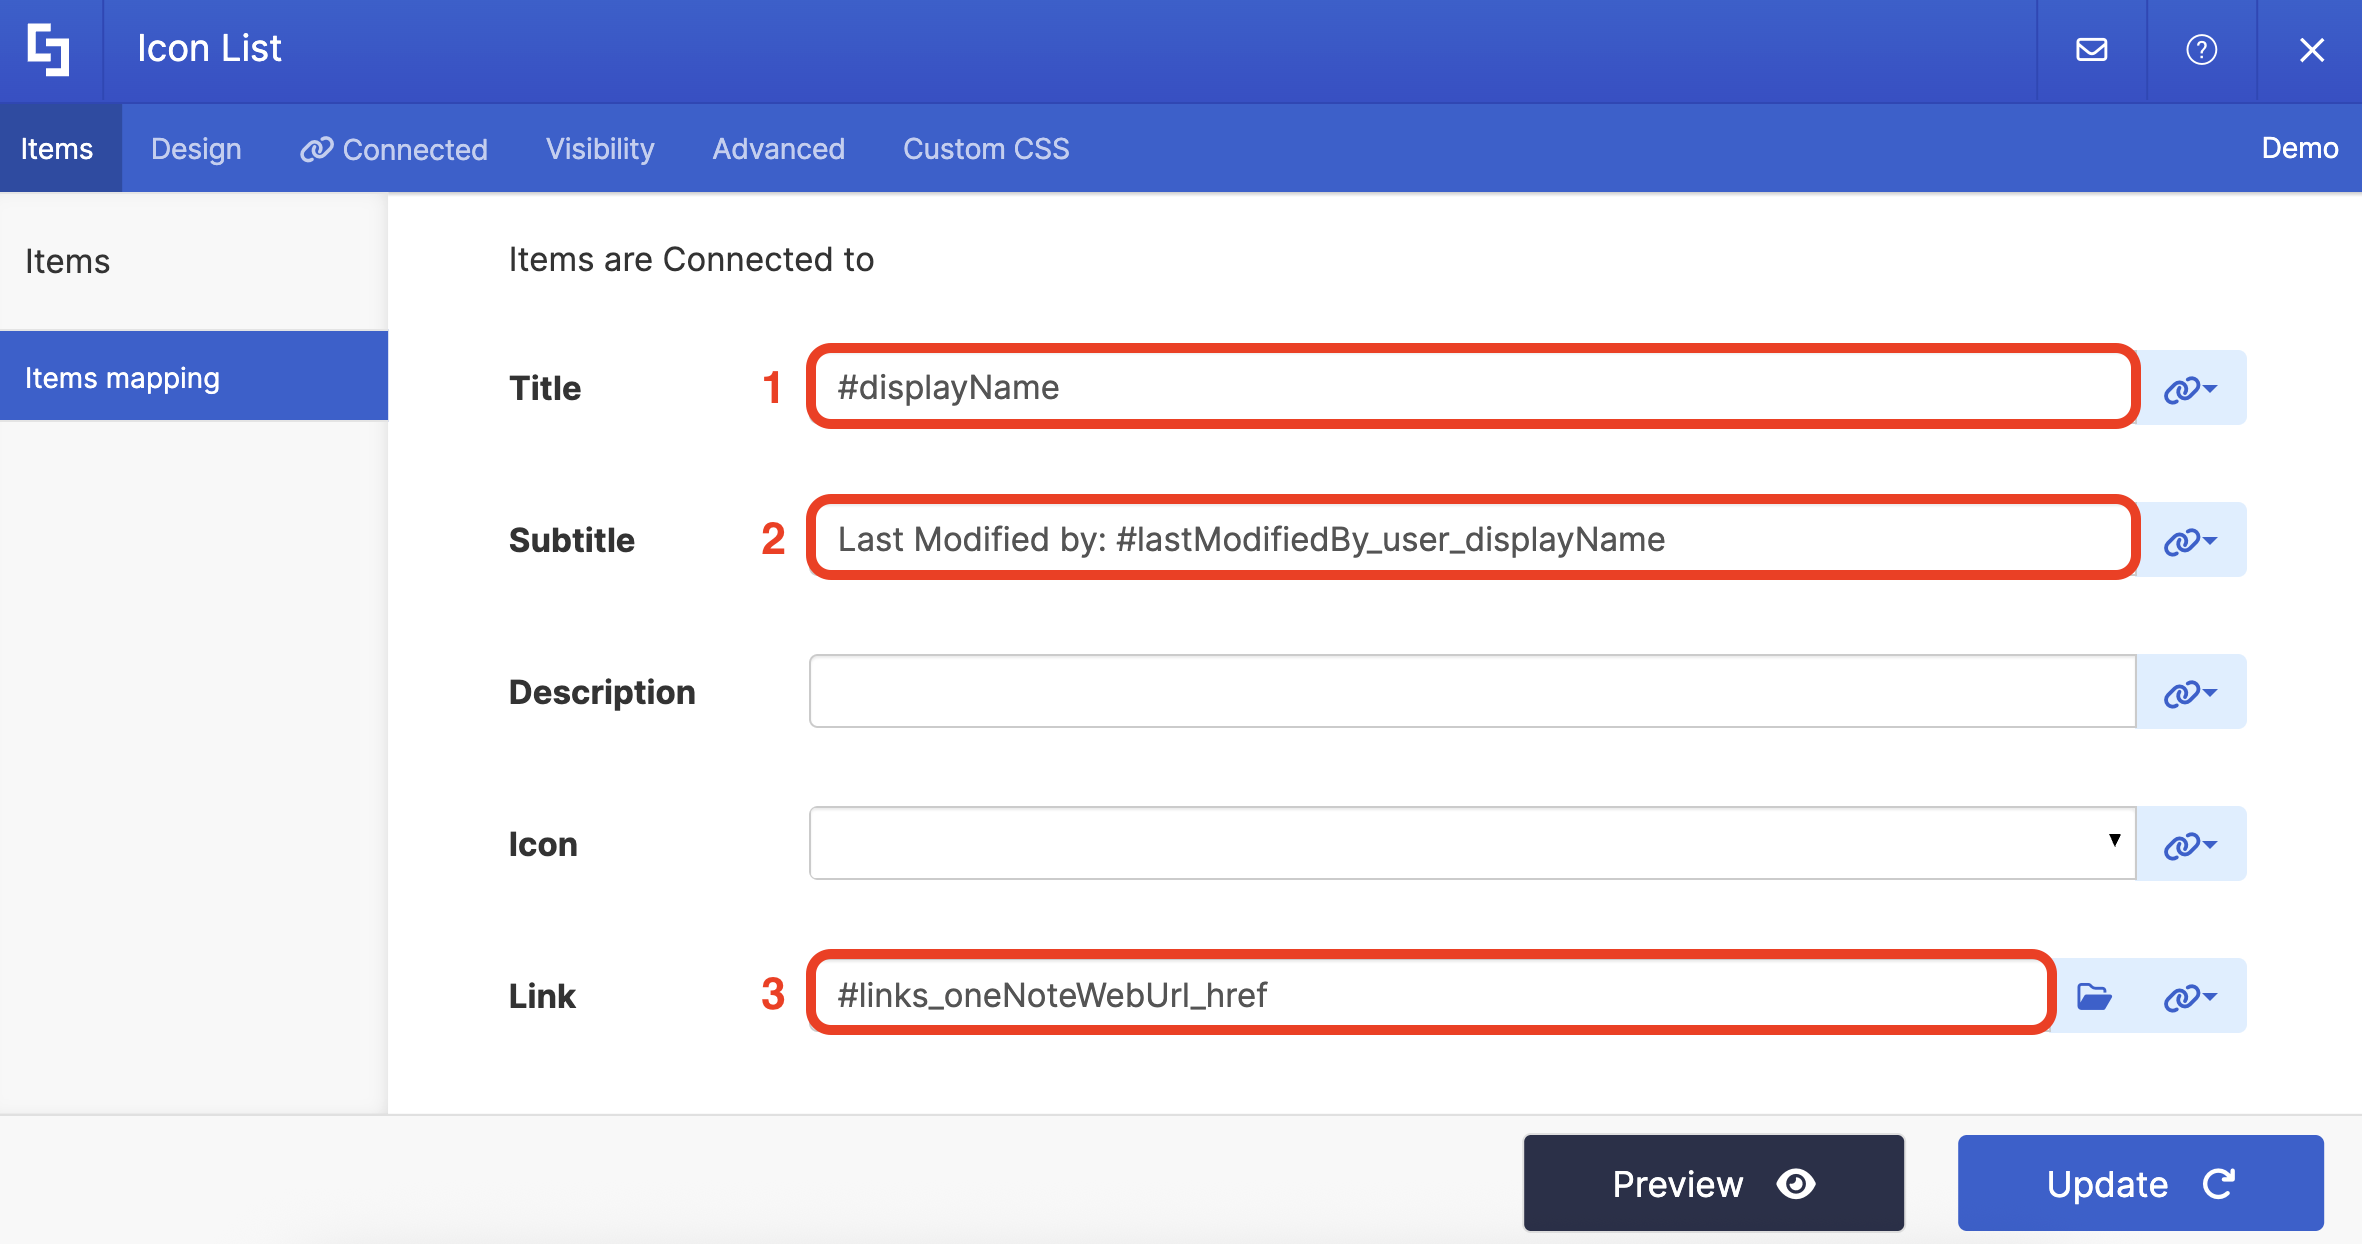
You can map any property you want. In our case, we used the following properties:
- #displayName in the Title field - shows the title of the sections as the titles.
- #lastModifiedBy_user_displayName in the Subtitle field - shows the name of the user who last modified the section.
- #links_oneNoteWebUrl_href - links to the actual OneNote notebook section.
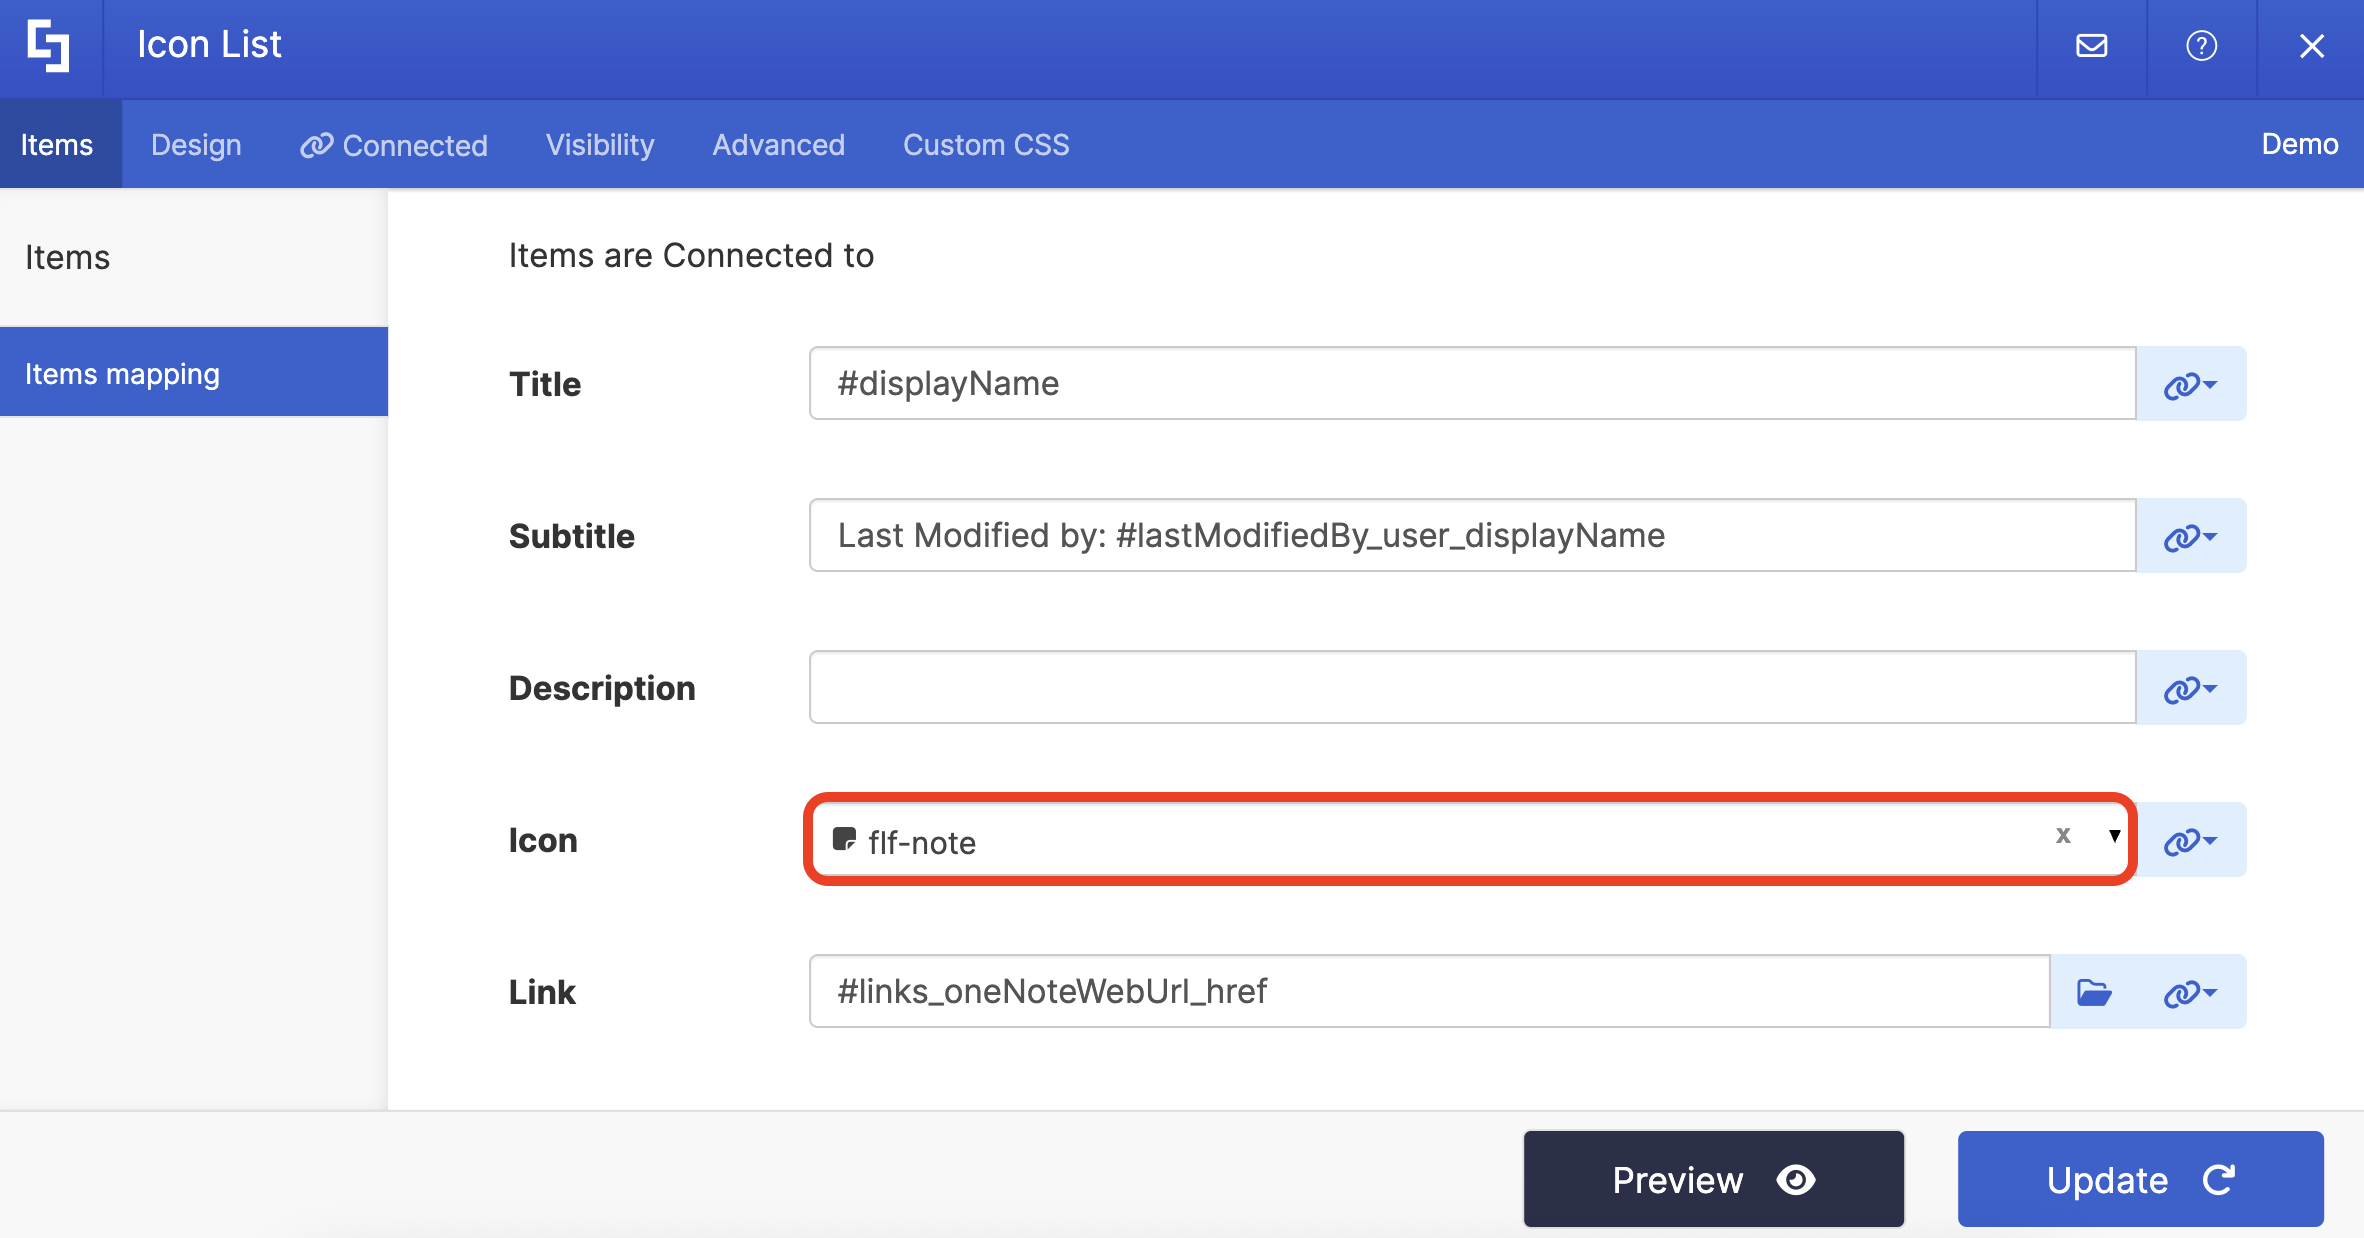
(Optional) If you’re using an Icon List, select the icon you want to use:
NOTECheck out ShortPoint Connect: Basic Tutorial to learn more about mapping properties.
Step 7: Save
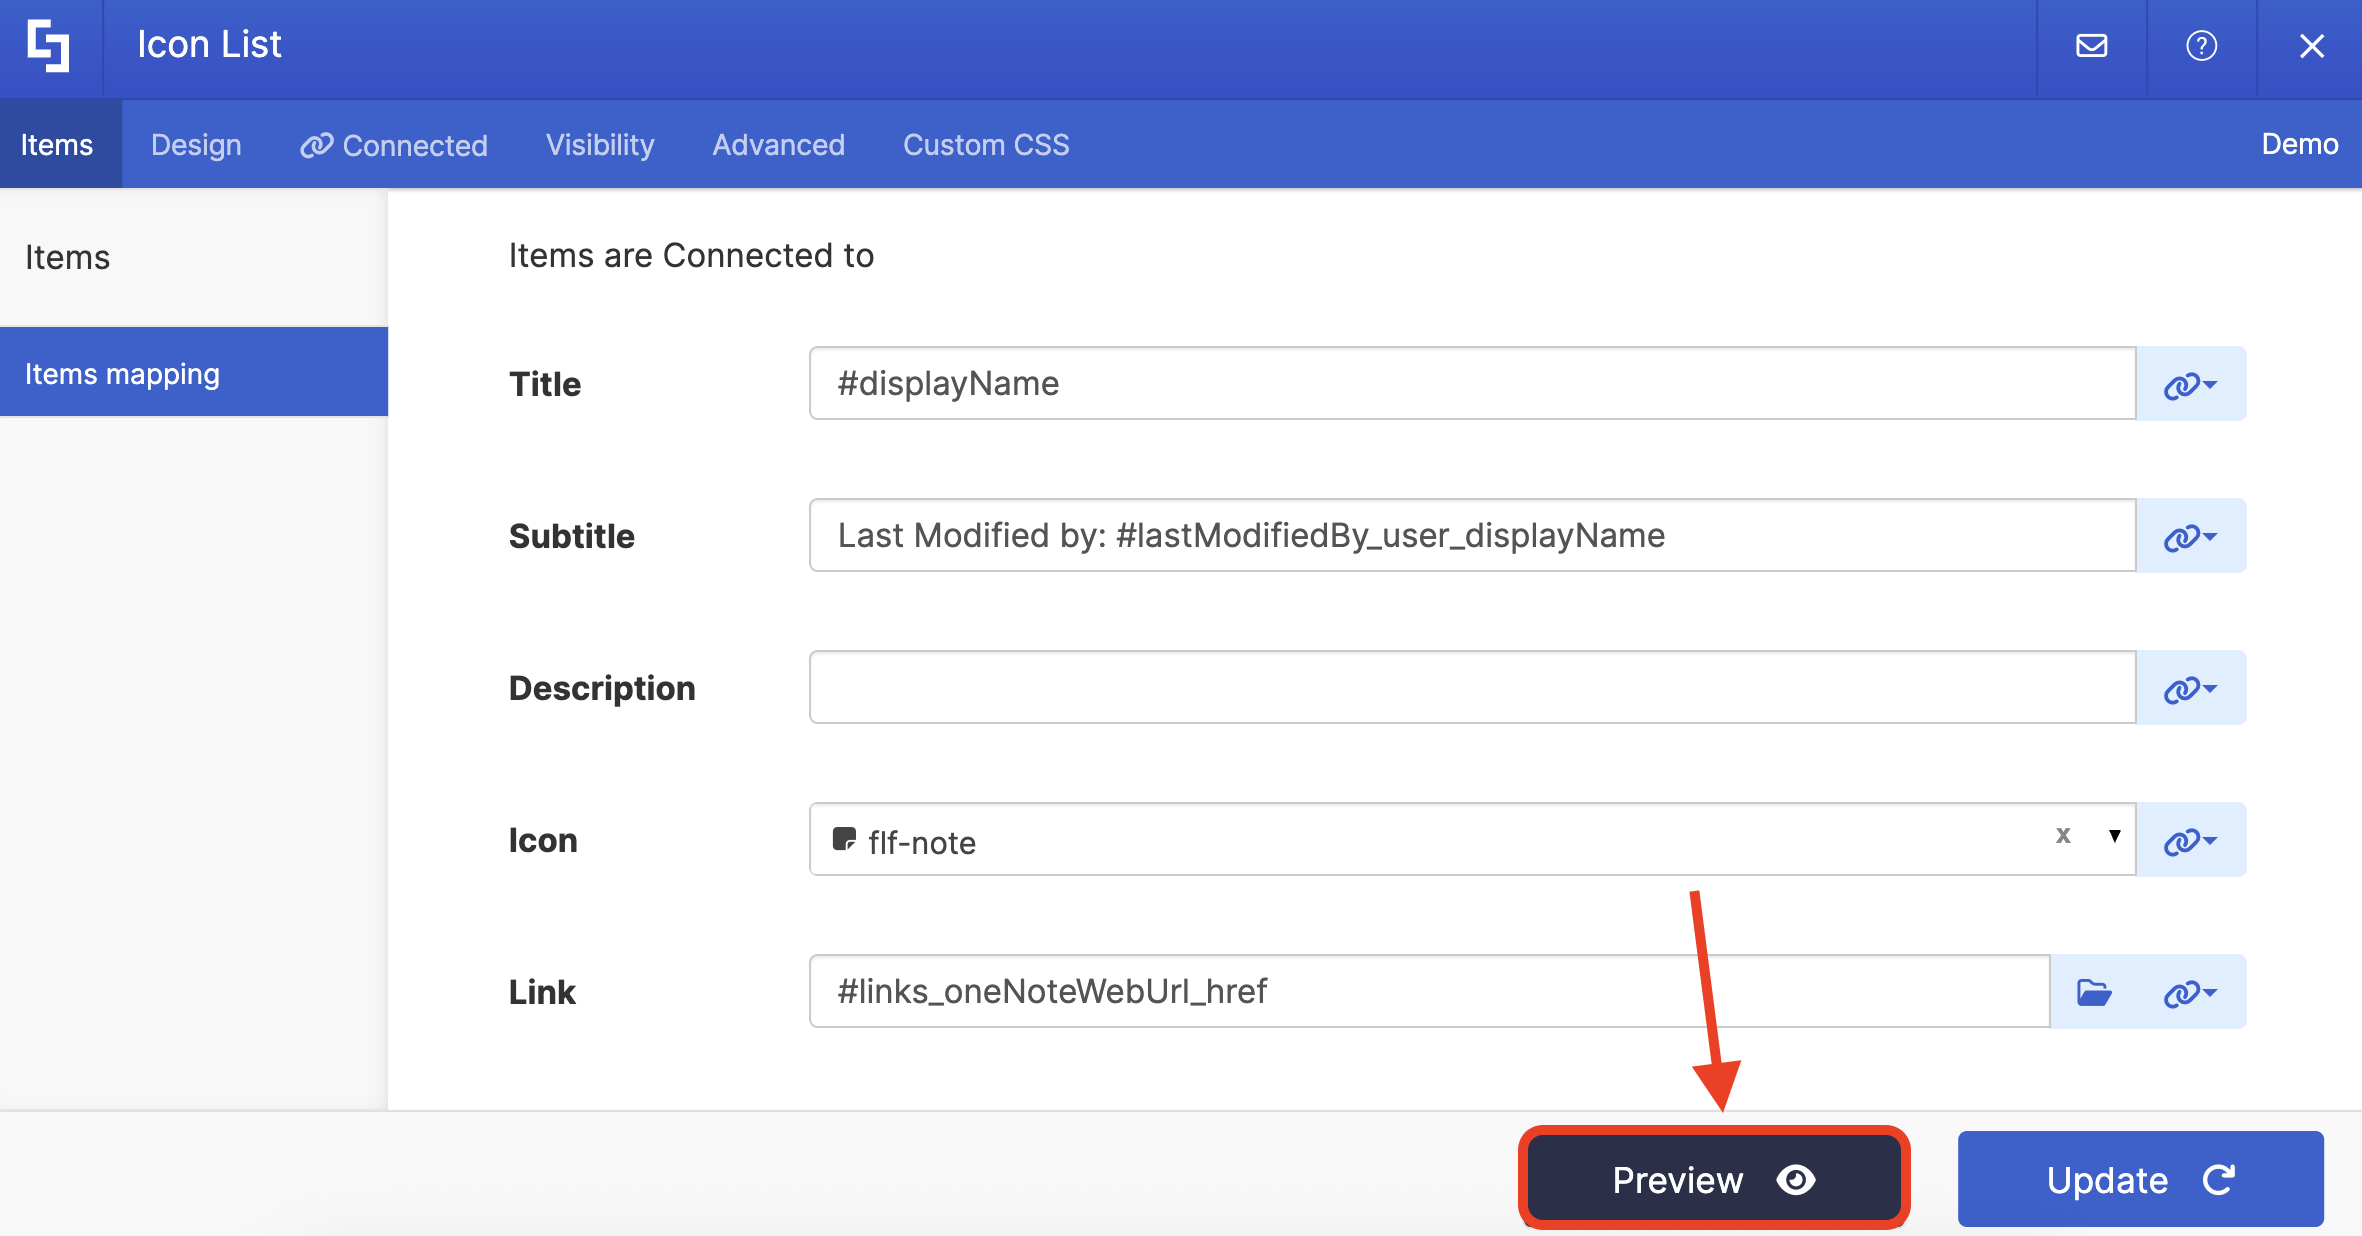
Click Preview to see how the Design Element will look:
Click Update to apply your changes:

Click the green checkmark:

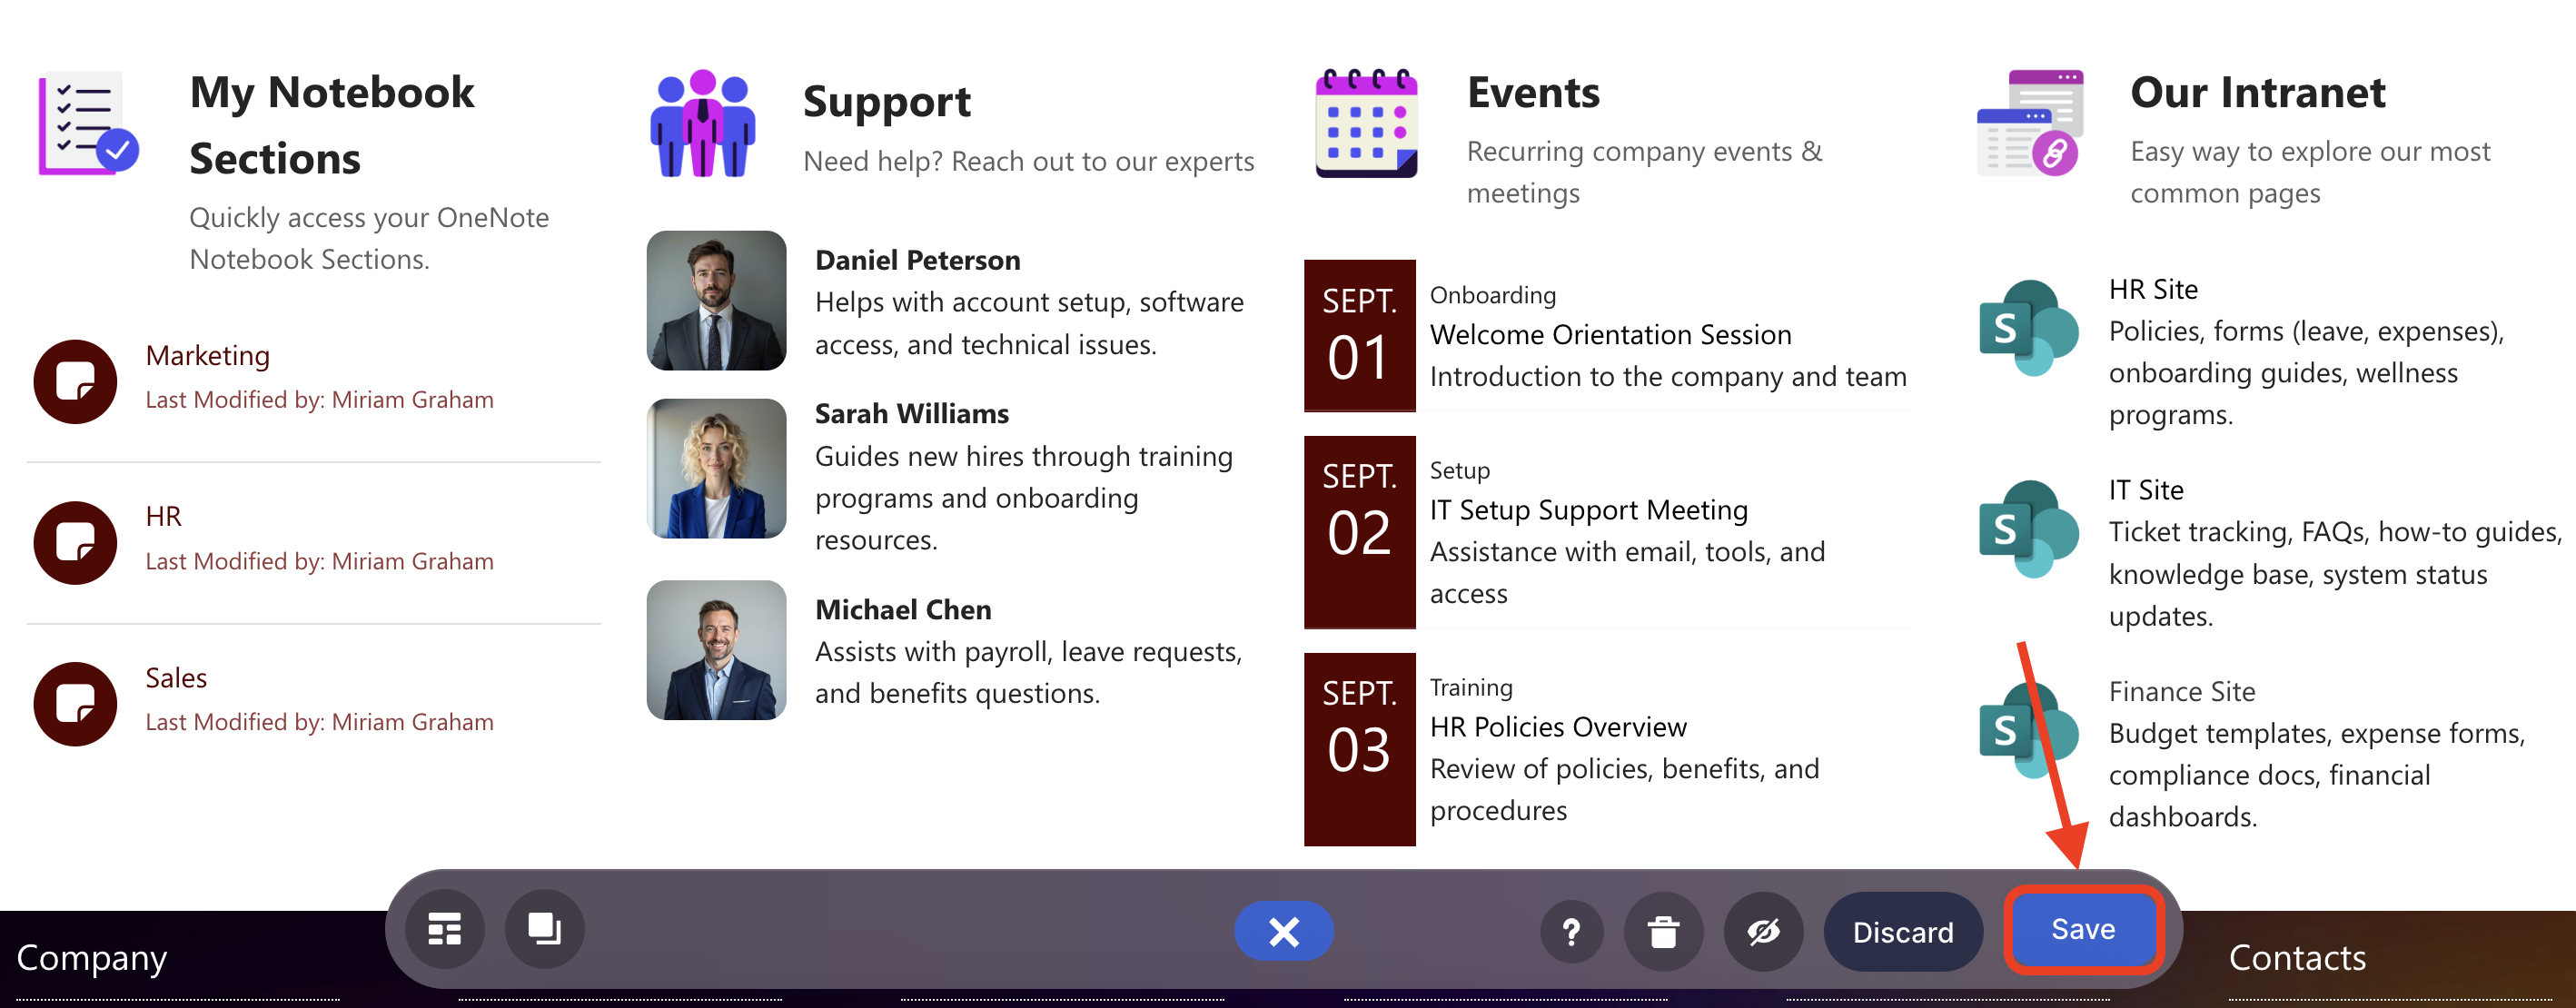
Once satisfied, click Save:
Congratulations! Your page viewers can now easily access their notebook sections right from the SharePoint page.

NOTEWant to easily find the notebook section you’re looking for? The Search & Filter Toolbar is the perfect solution for you! With it, you can get the information you need in seconds. Simply go to Getting Started: The Basics of the Search & Filter Toolbar to give it a try.
Related articles:
