 Try ShortPoint now
By default, when you add images in the Tiles Design Element, there is no animation:

This article will demonstrate how to add the Zoom on Hover animation to images inside the Tiles Design Element using Custom CSS:

TABLE OF CONTENTS
Prerequisites
- You must have the latest version of ShortPoint SPFx installed on your SharePoint environment.
- You must be a ShortPoint Designer with an active license.
- You must already have the Tiles Design Element on your page.
Interactive Tutorial
Copy the Custom CSS below before starting the Interactive Tutorial:
.sp-type-tile:hover .shortpoint-advanced-image-content {
     transform: scale(1.15) !important;
     transition: all 0.4s ease-out;
}
Step-by-step Tutorial
Follow the detailed guide below to learn how to equalize the font size of the start and end dates.
Step 1: Edit the ShortPoint Web Part
- Go to the SharePoint page you want to use and click Edit:

- Click the close icon:

- Select the ShortPoint tag.
- Click the Edit Properties icon:

Step 2: Copy the Code
- Copy the Custom CSS code below:
.sp-type-tile:hover .shortpoint-advanced-image-content {
     transform: scale(1.15) !important;
     transition: all 0.4s ease-out;
}
Step 3: Edit the Tiles Design Element
NOTEBefore Proceeding, make sure you already have the Tiles Design Element on your page. To insert it, check out How to Customize the Tiles Design Element.
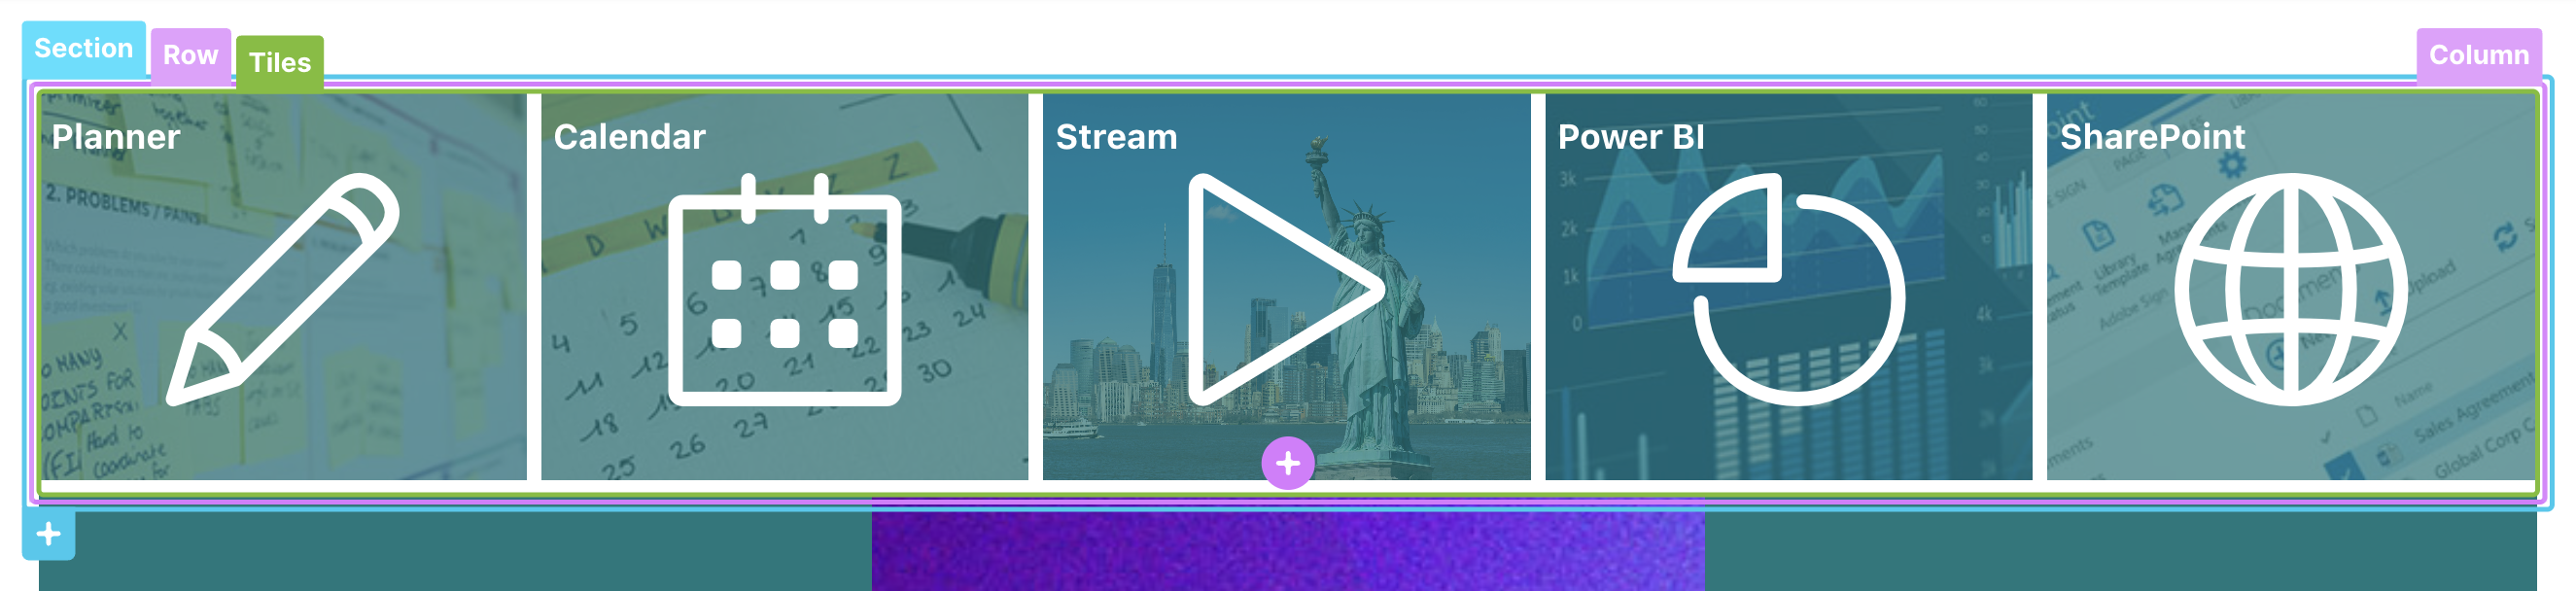
- Click the Tiles tag:

- Select the cogwheel icon:

Step 4: Paste the Code
- Click the next icon:

- Go to the Custom CSS tab.
- Paste the code.
Step 5: Save
- Once done, click the green check mark.
- Click the eye icon to see your page in real-time:

- Click Save to apply your changes:

That’s it! You have successfully applied the Zoom on Hover animation.
Related articles:
