 Try ShortPoint now
When you connect the Popover Design Element to a SharePoint List, you’ll notice that the content appears in a line, making it unclear where the first item ends and the next begins:

This article will show you how to display the content in list view using Custom CSS:

TABLE OF CONTENTS
Prerequisites
- You must have the latest version of ShortPoint SPFx installed on your SharePoint environment.
- You must be a ShortPoint Designer with an active license.
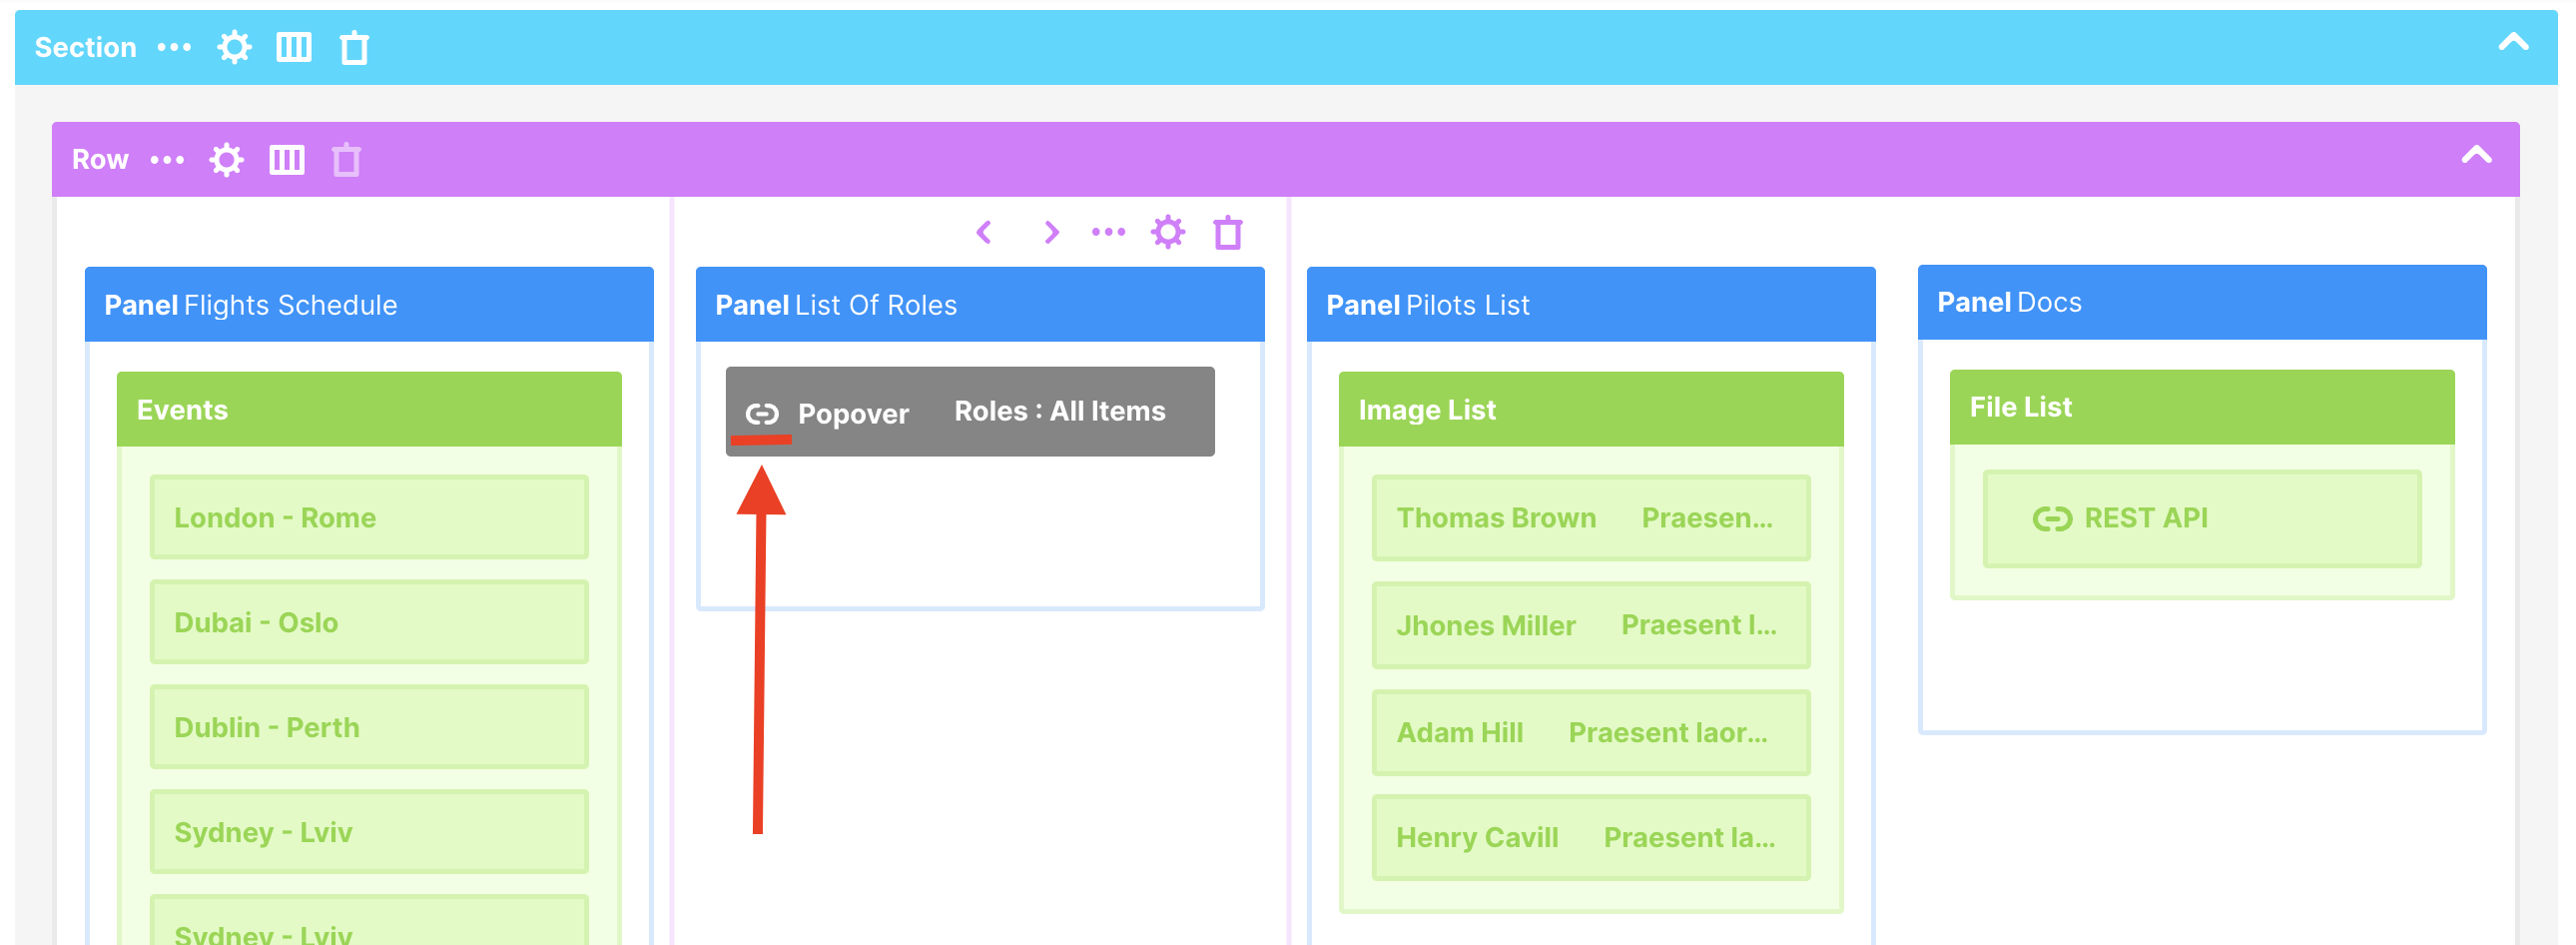
- You must already have a connected Popover Design Element on your page.
Interactive Tutorial
Copy the code below before starting the tutorial:
display: list-item;
max-width: fit-content;
list-style-type: none;
Step-by-step Tutorial
Follow the detailed steps below to learn how to display the connected popover content in list view:
Step 1: Edit the ShortPoint Web Part
- Go to the SharePoint page you want to use and click Edit:

- Click the close icon:

- Click the ShortPoint tag.
- Select the Edit Properties icon:

Step 2: Copy the code
- Copy the Custom CSS code below:
display: list-item;
max-width: fit-content;
list-style-type: none;
Step 3: Edit the Popover Design Element
NOTEBefore proceeding, ensure you have a connected Popover Design Element on your page. To verify the connection, switch to Grid Mode and check for the link icon. Find more about the Connect feature in ShortPoint Connect: Basic Tutorial.
- Click the cogwheel icon:

Step 4: Paste the Code
- Go to the Custom CSS tab.
- Paste the code:

Step 5: Save
- Click Update to save your changes.
- Select the eye icon to see your page in real-time:

- Click Save to keep all your edits:

That's it. You can now showcase connected Popover content in list view.
Related articles:
