Try ShortPoint now
TL;DR: To add Power Apps in SharePoint with ShortPoint, open the SharePoint page and click Edit, close the Toolbox, and click the Edit properties icon on the ShortPoint web part. Then click the plus icon where you want the app, search for the Power Apps Design Element, and paste your app’s App ID. Next, pick a display size (portrait, landscape or custom) in the Design tab, click the green check mark, then Save and Publish the page.
In this article, we’ll guide you through integrating Power Apps custom apps using the ShortPoint Power Apps Design Element.
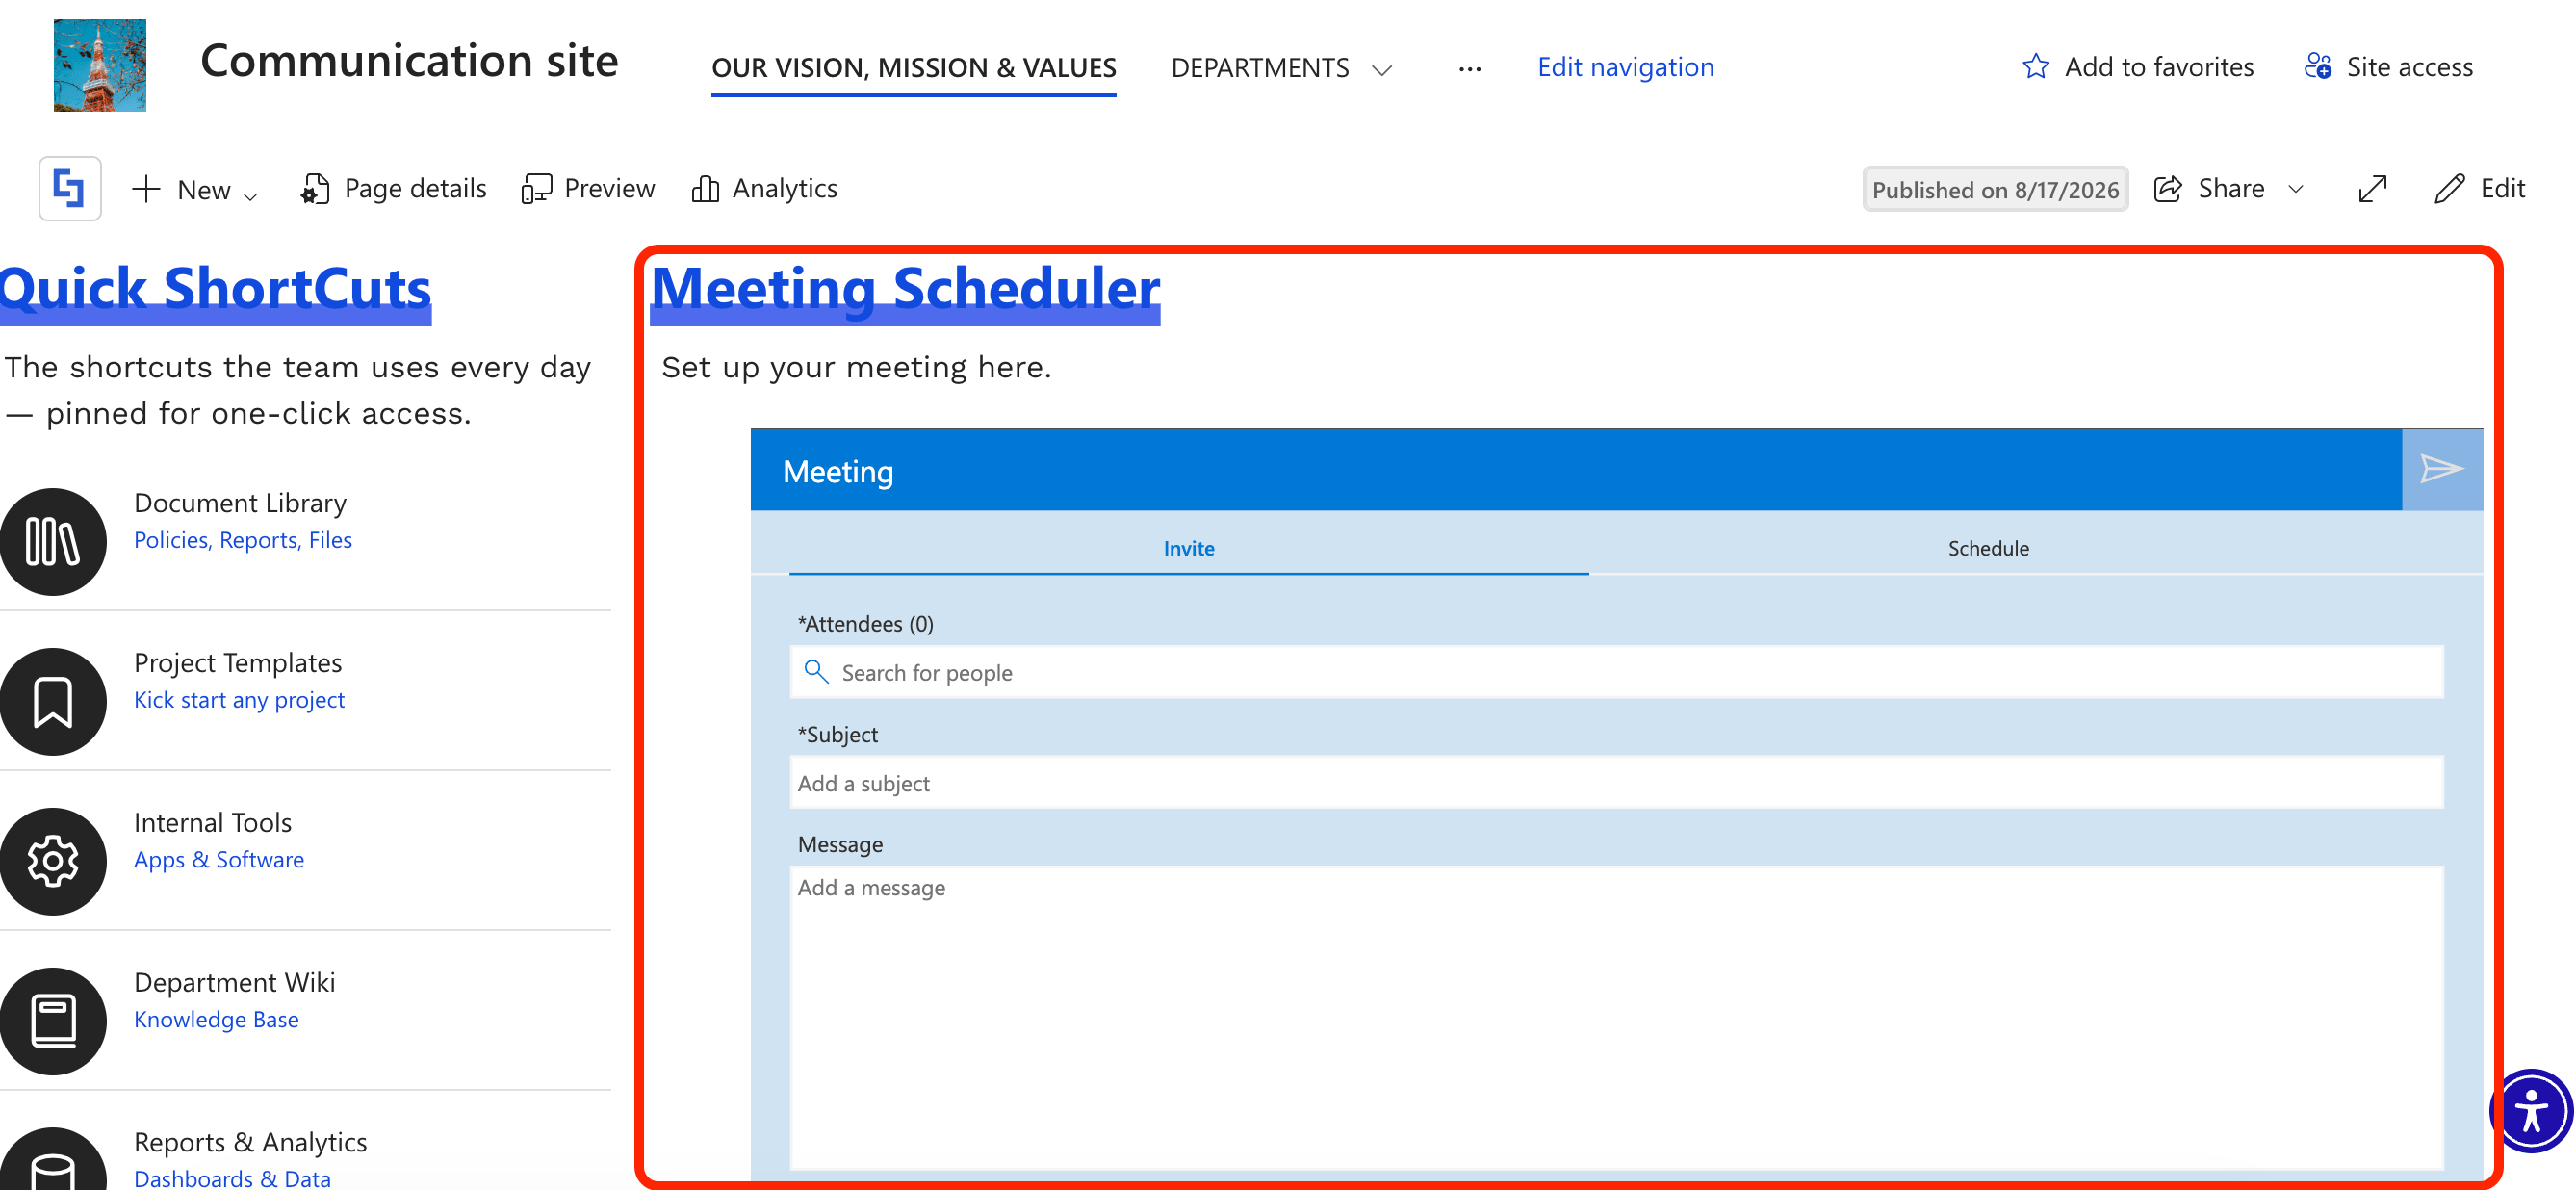
TABLE OF CONTENTS
- Prerequisites
- Integrating Power Apps in SharePoint
- Power Apps Features
- Frequently Asked Questions
- What do I need to integrate Power Apps using ShortPoint?
- How do I find the Power Apps App ID?
- Can I customize the size of the embedded Power Apps?
- How do I save and publish changes after embedding Power Apps?
- What advanced features are available in the Power Apps Design Element?
- Can I control who sees the embedded Power Apps?
- Is it possible to add custom CSS to the Power Apps Design Element?
Prerequisites
To integrate Power Apps using ShortPoint, you will need the following:
- You have the latest ShortPoint SPFx version installed on your SharePoint environment.
- You are a ShortPoint Designer with either a Pro or Enterprise License. For more information, check out Licensing Options.
- You must have the appropriate Power Apps license. To learn more, check out Power Apps Licensing.
- You must already have the App ID of the Power Apps application you want to showcase. To learn more, check out How to Retrieve Power Apps App ID.
Integrating Power Apps in SharePoint
Start the interactive tutorial to learn how to showcase Power Apps application in SharePoint pages:
Step 1: Edit the ShortPoint web part
- Click the Edit button on the SharePoint page where you want to insert your Power Apps application.

- Close the Toolbox:
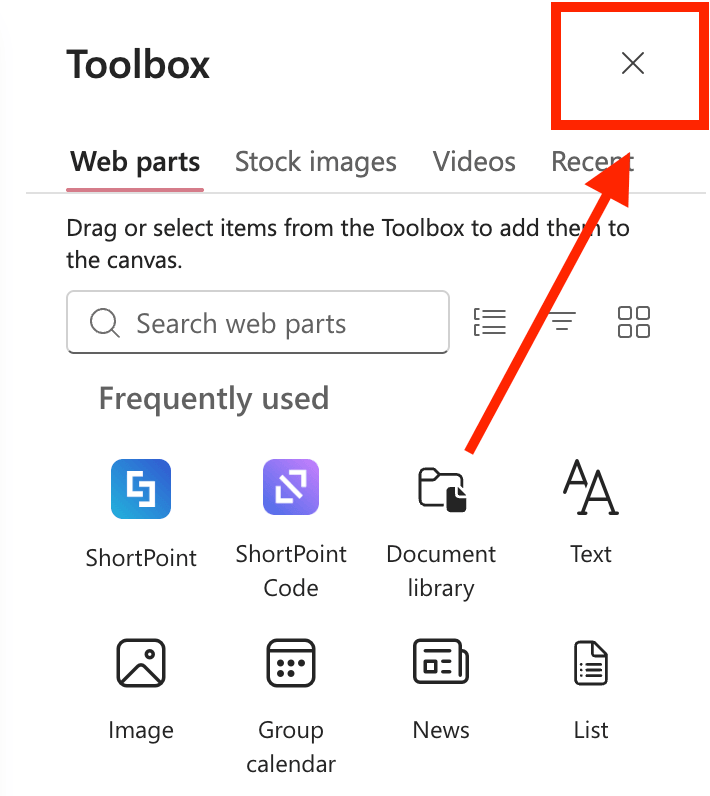
- Click the Edit properties icon:

Step 2: Insert Power Apps Design Element
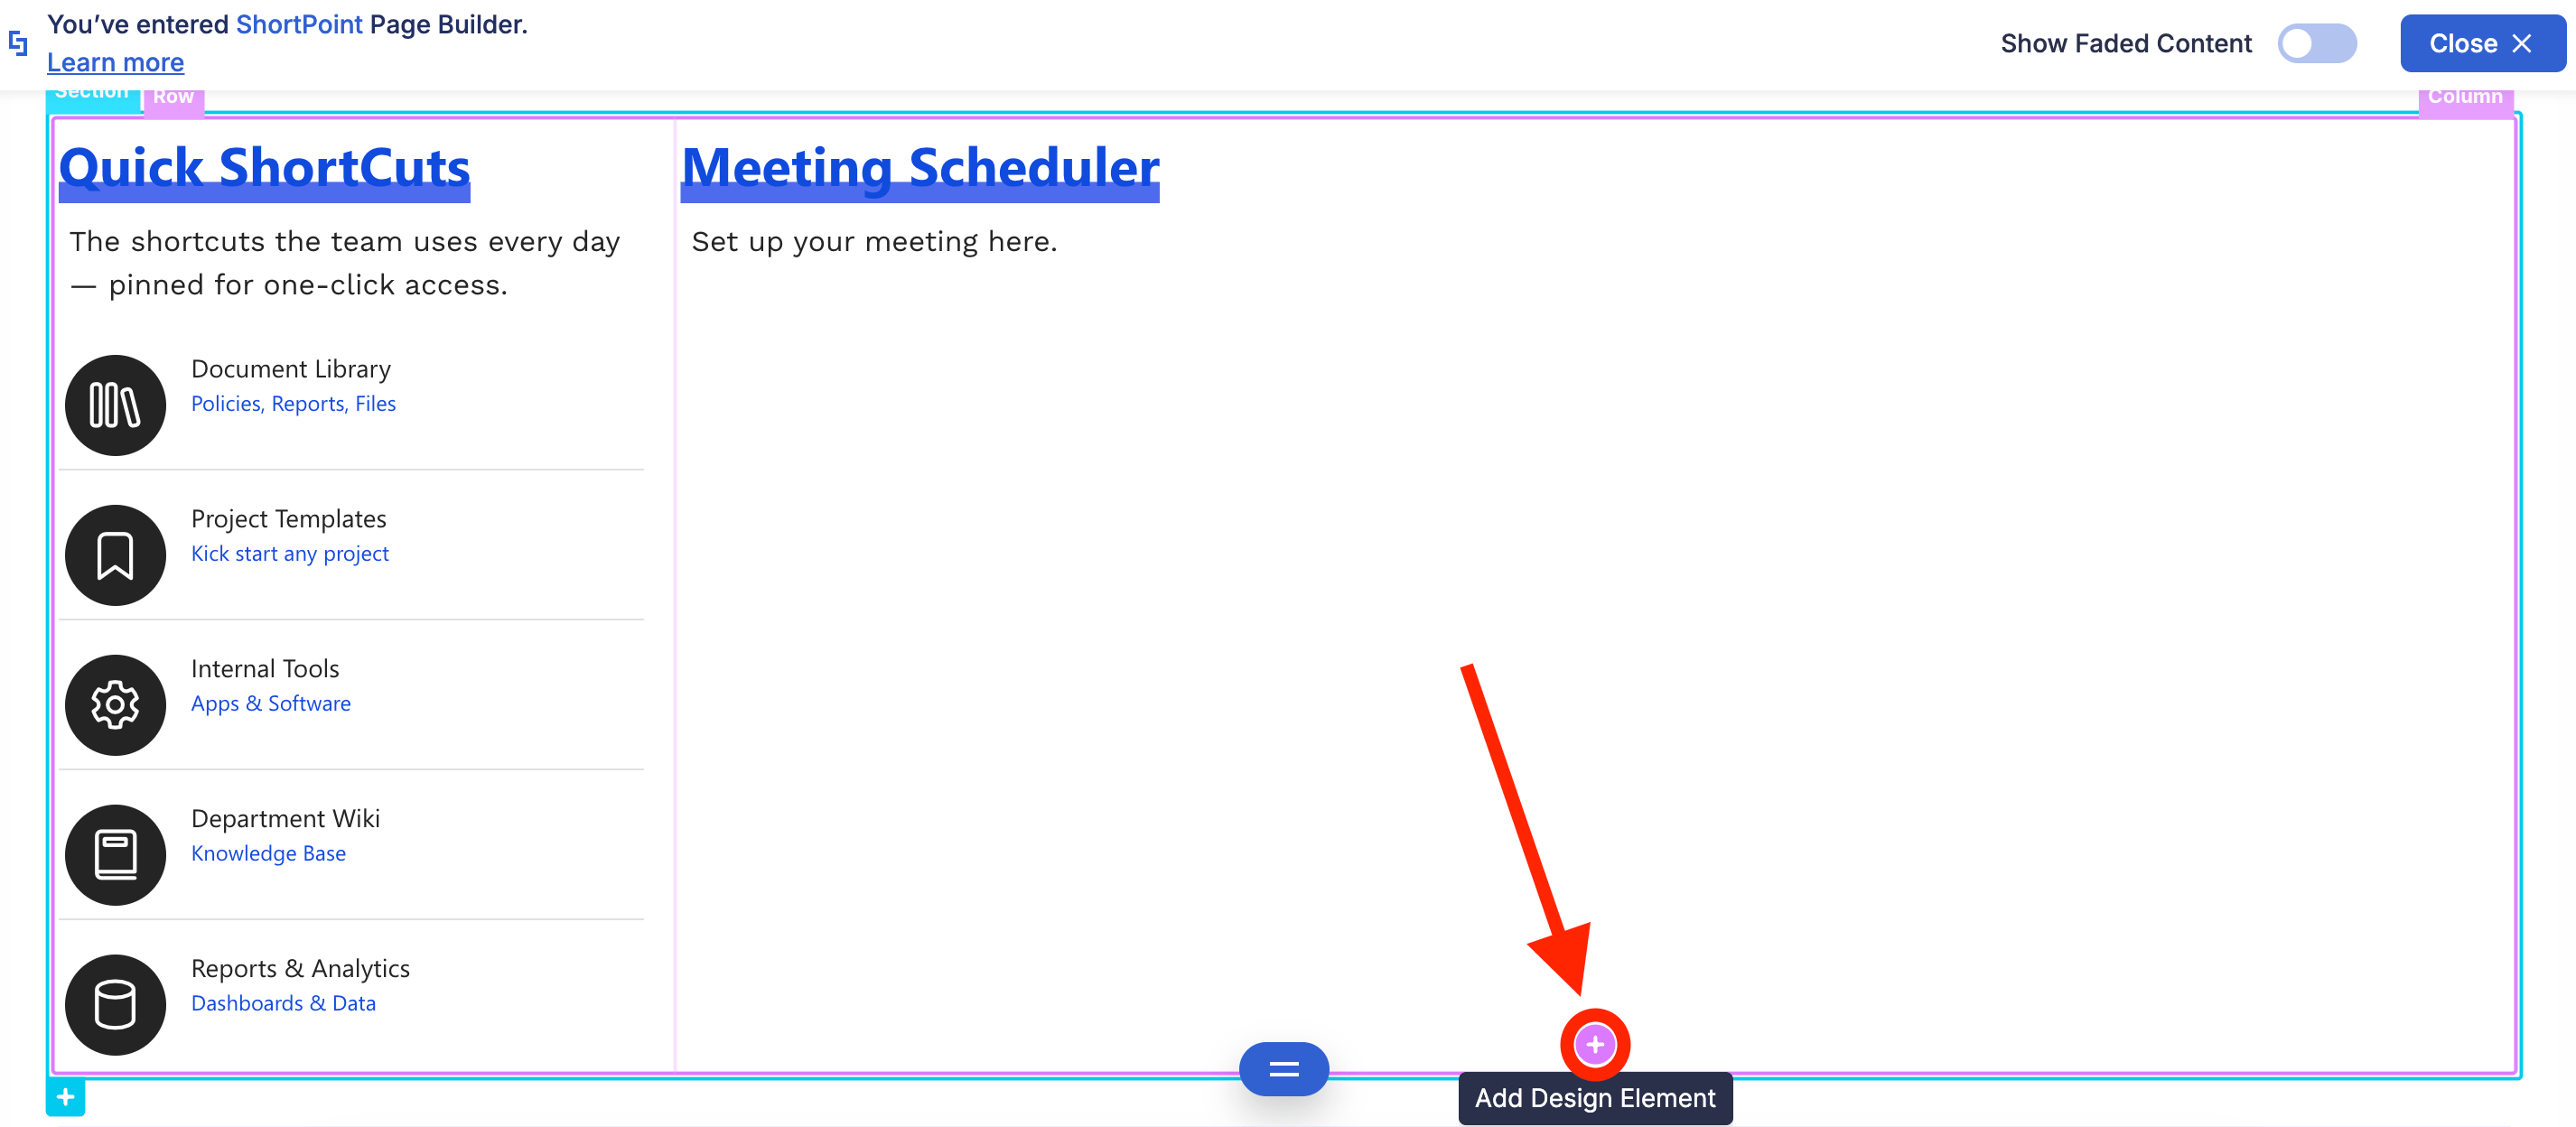
- Navigate to the space where you want to add your Power Apps application and click the plus icon.
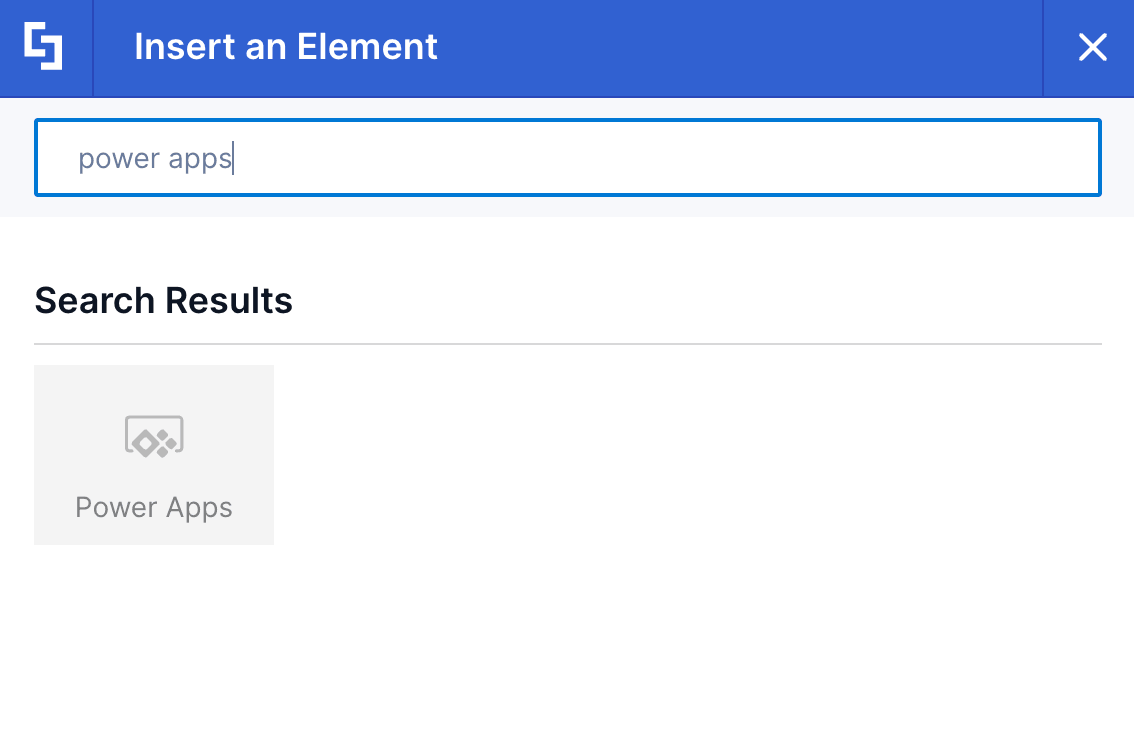
- Scroll down or search for Power Apps and select it:
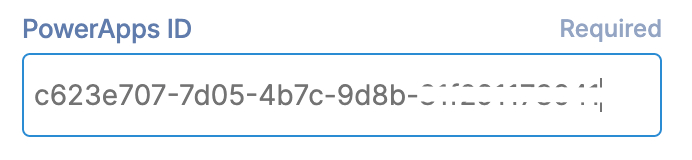
Step 3: Enter Power Apps ID
- Paste your Power Apps ID
Step 4: Customize Size
- Go to the Design tab.
- Select the display option you’d like to use.
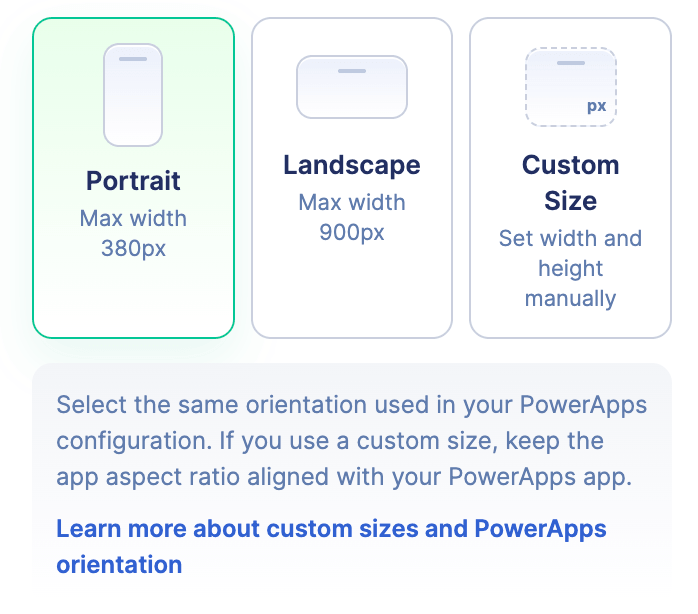
TIPWant to learn more about the sizing options? Check out How to Set Power Apps Orientation and Custom Sizes.
Step 5: Insert and save
- Click the green check mark:

- Click Save to apply your changes:

- Publish the page:

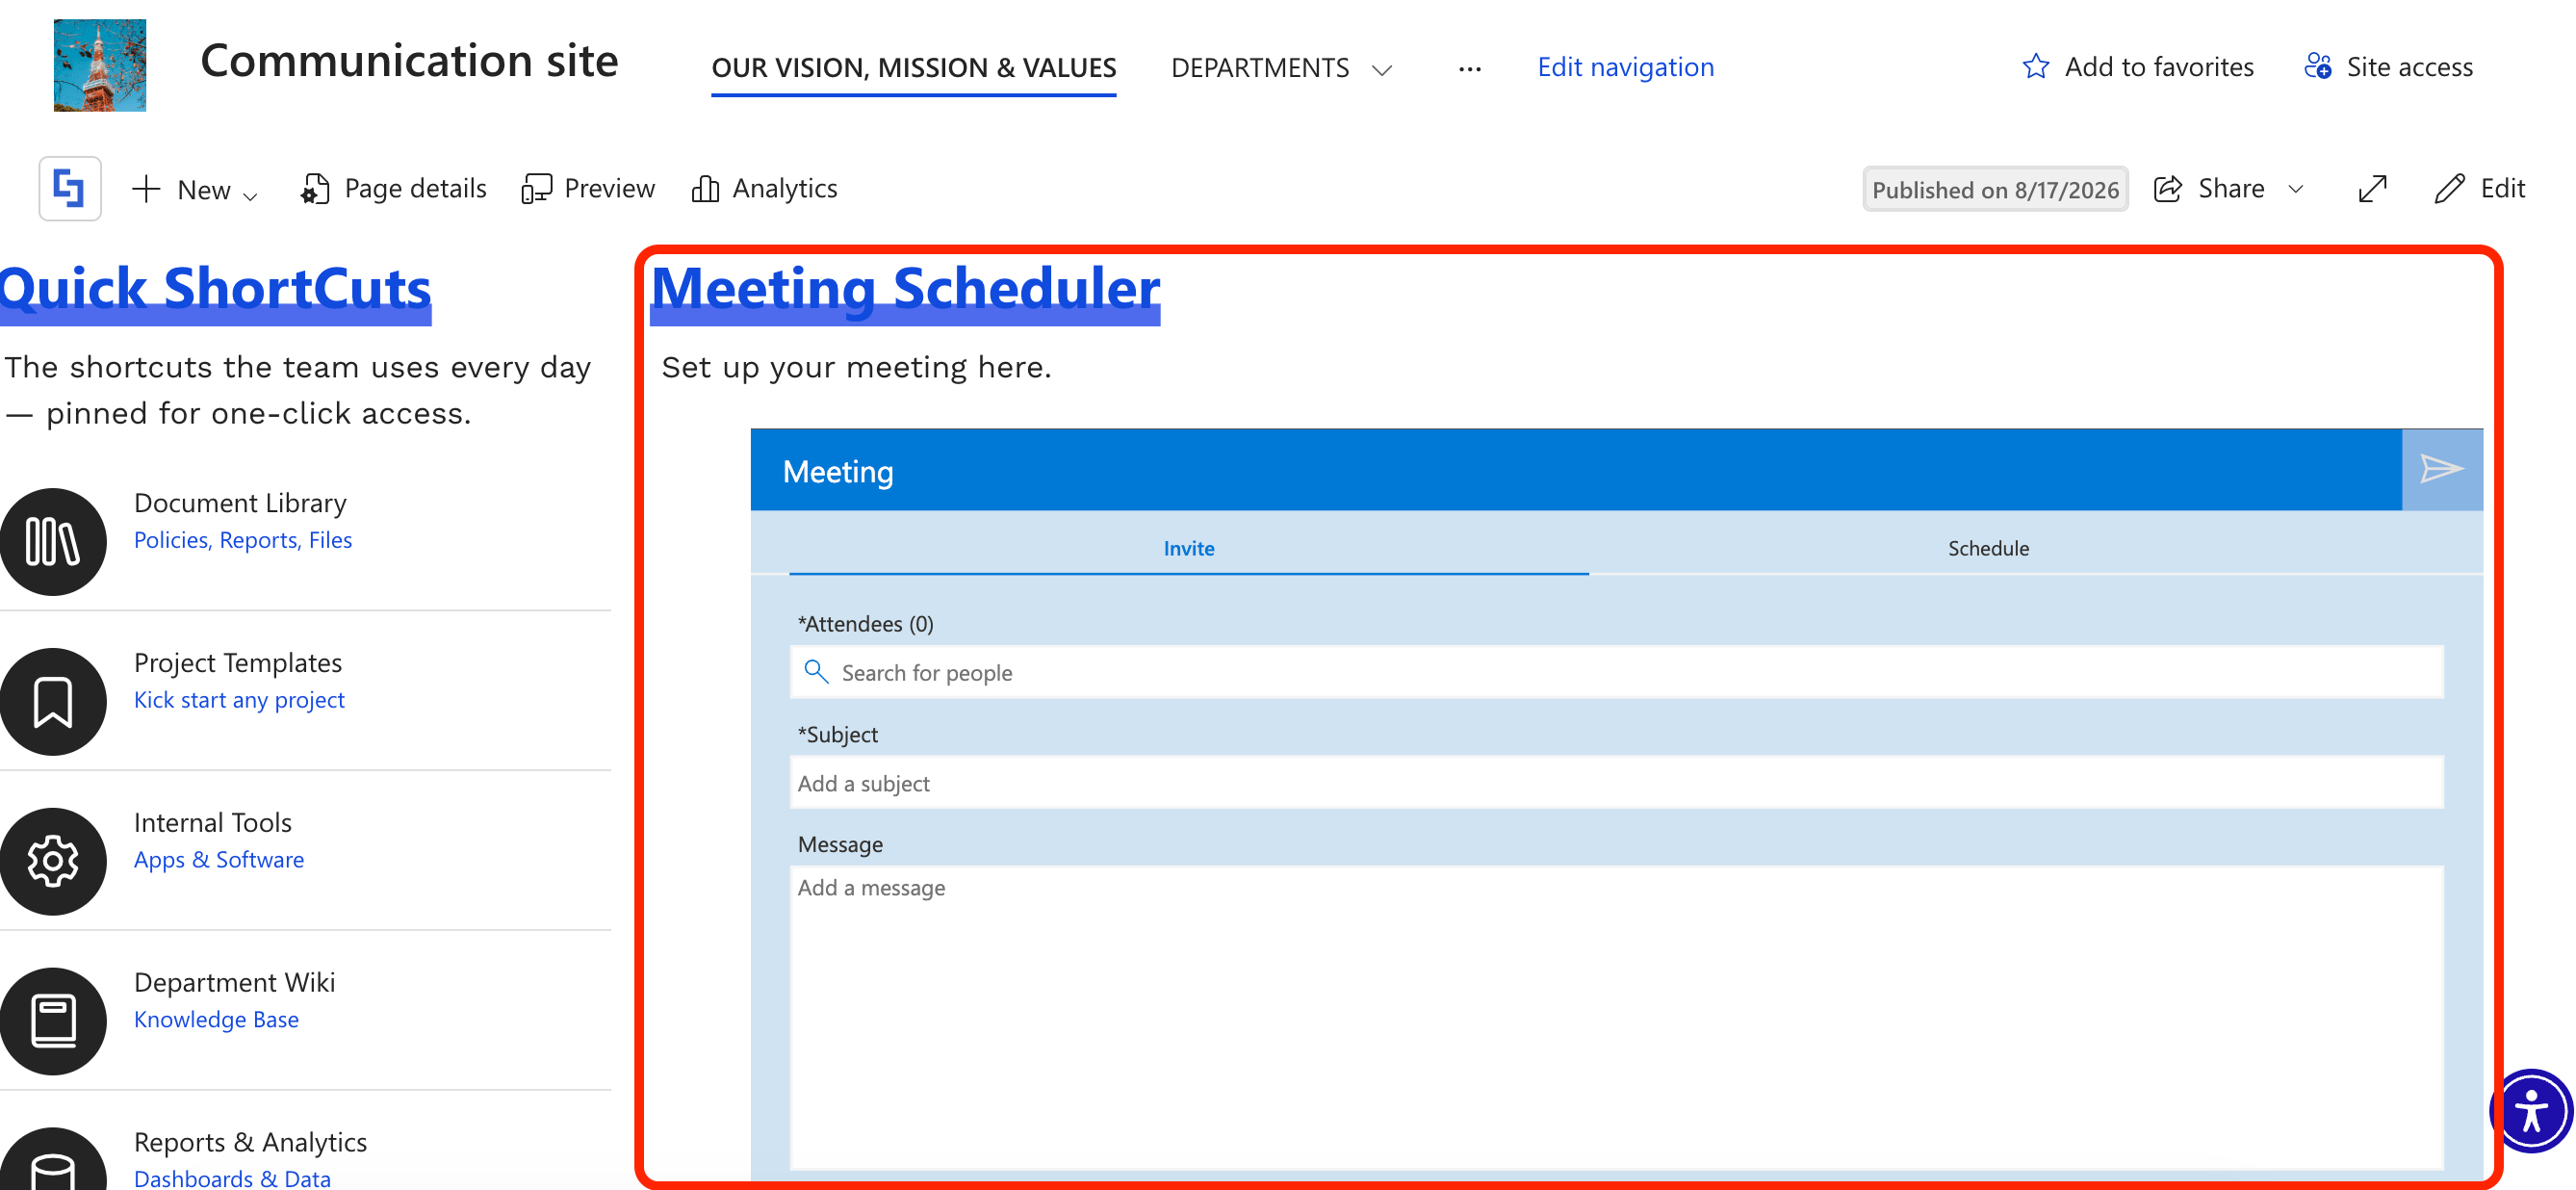
That's it! You now know how to embed Power Apps assets to your SharePoint page.
Power Apps Features
Here are the settings you can find inside the Settings window of Power Apps:
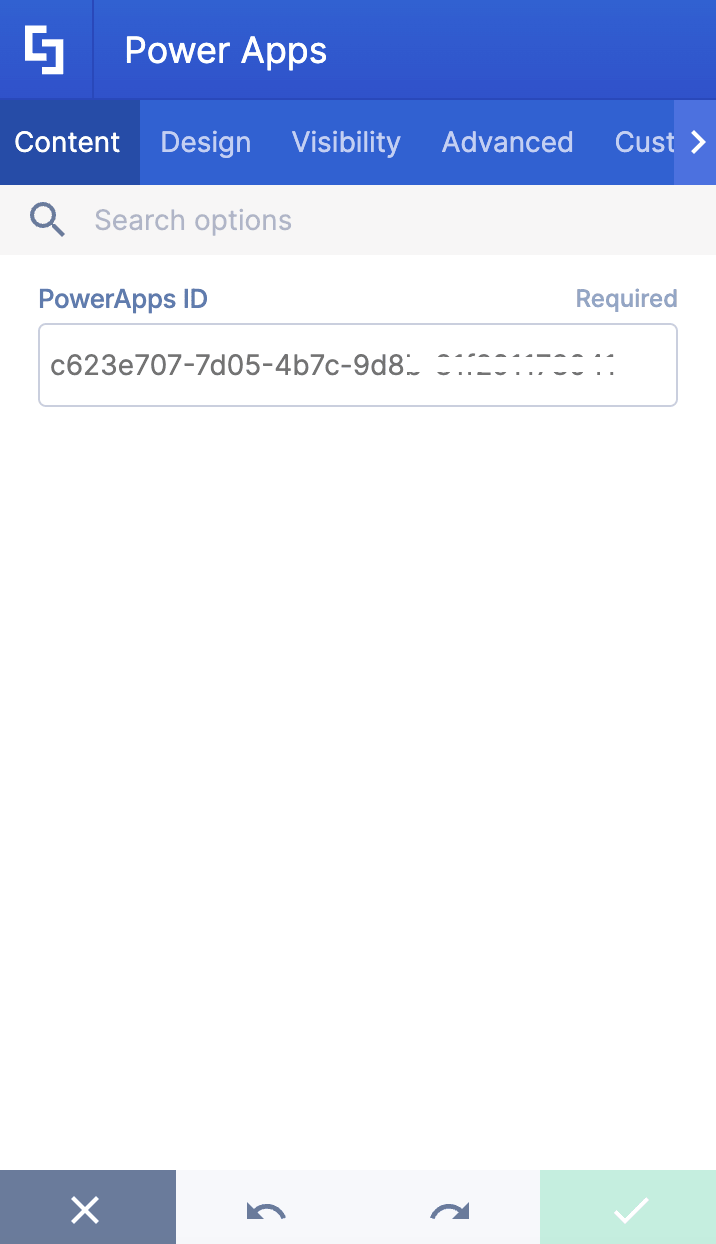
A. Content tab
The Content tab is where you can add the App ID of the Power Apps application. To get the App ID, check out How to Retrieve the Power Apps App ID.
B. Design Tab
The Design tab is where you can customize the size and loading screen color of the Power Apps. Here are the options you can modify:
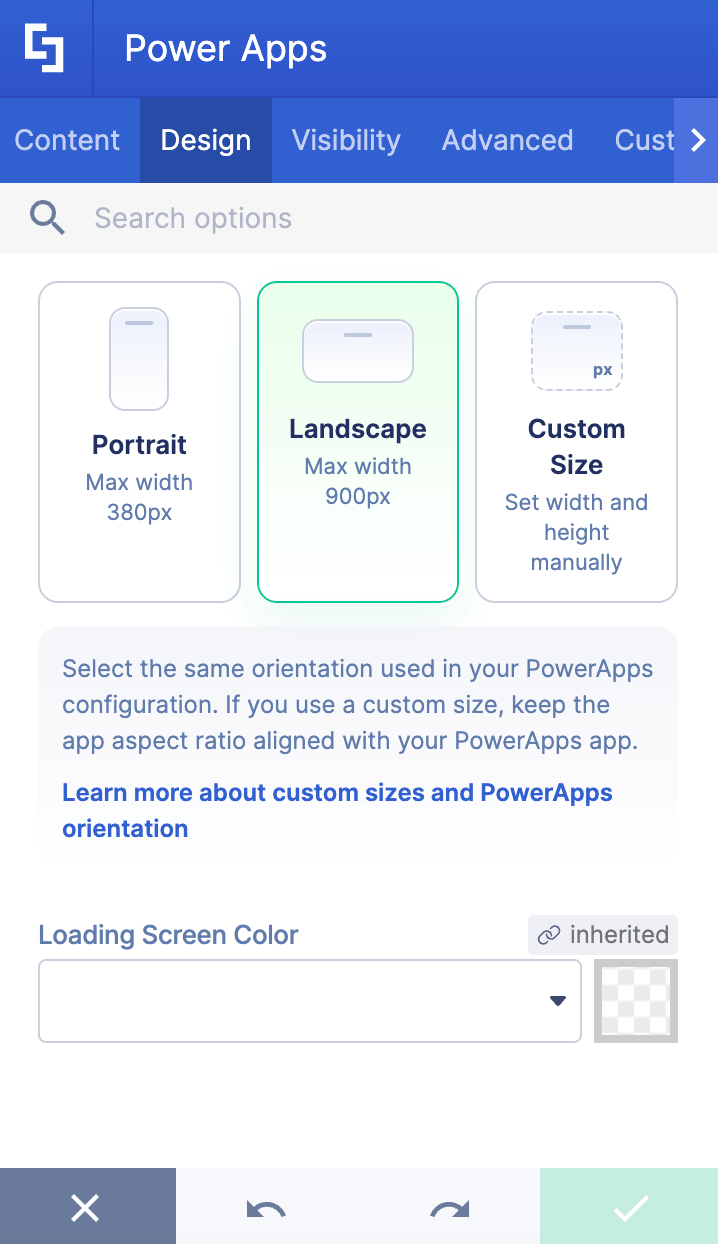
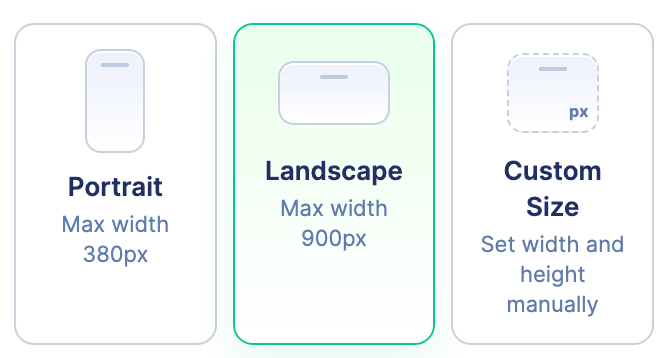 | Display options | allows you to choose the orientation and size of the embedded Power App application. For more information, check out How to Set Power Apps Orientation and Custom Sizes. |
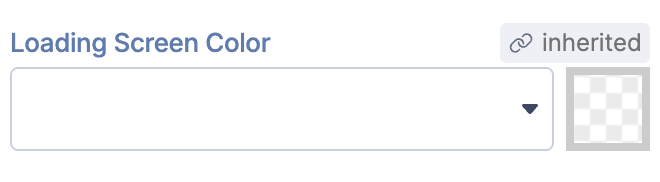 | Loading Screen Color | allows you to choose the color of the Power Apps screen as it loads. Go to How to Change Power Apps Loading Icon and Color. |
C. Visibility Tab
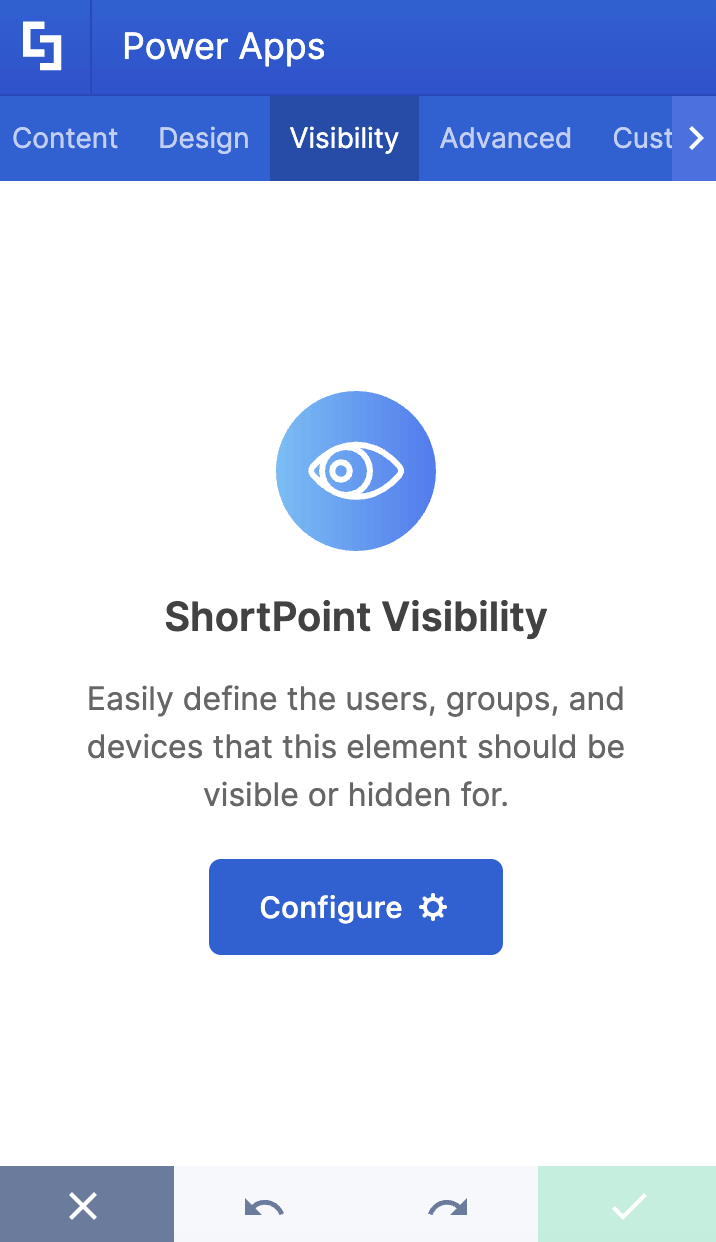
The Visibility tab allows you to specify who can see the Design Element and what type of devices it can be shown on. For more details, check out How to Use the ShortPoint Visibility Feature for Effective SharePoint Access Management.
D. Advanced Tab
The Advanced tab allows you to configure how the app connects and what it can access. These are the options available:
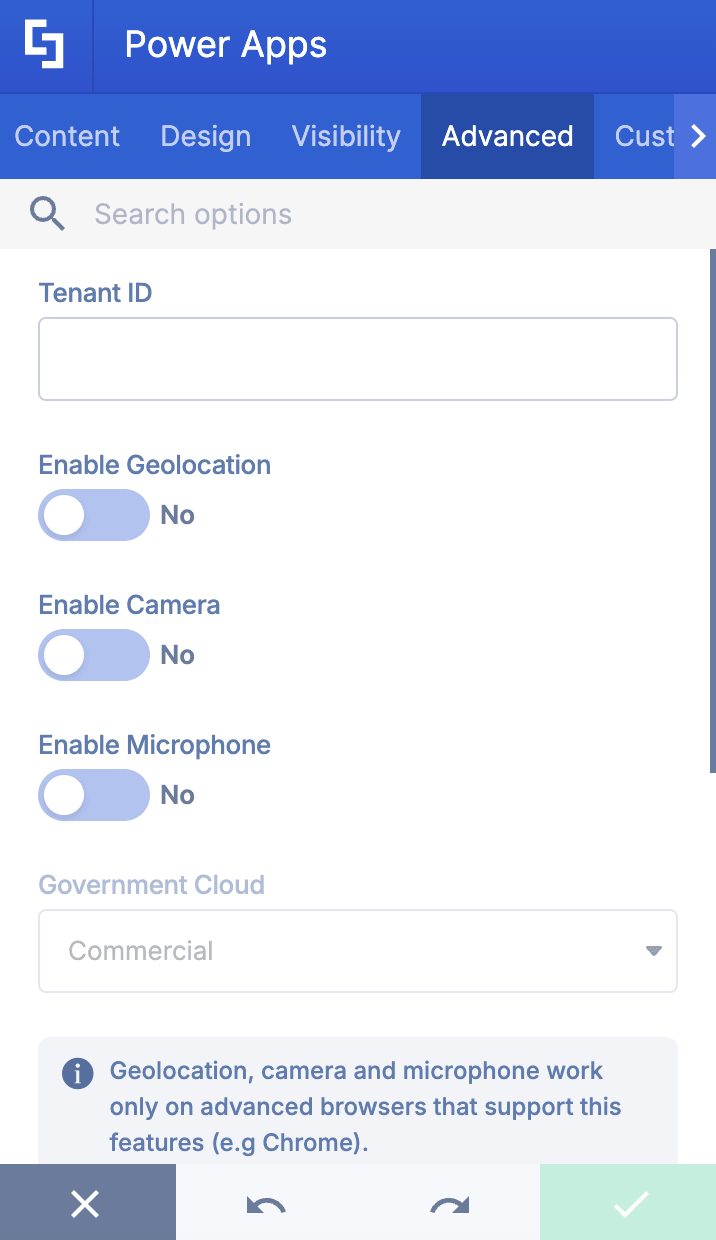
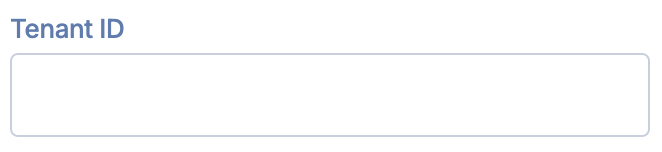 | Tenant ID | allows you to specify the Tenant ID of the Power Apps if you want to embed it from a different tenant. You can leave this field blank if your Power Apps application belongs to the same tenant as your users are logging in from. To find out more about embedding Power Apps from different tenants and guest access, go to Embed Power Apps on SharePoint On-Premises and SharePoint Online (cross-tenant). |
 | Enable Geolocation | toggle on the field when your Power Apps application uses geolocation data. |
 | Enable Camera | toggle on the field when your Power Apps application needs camera access. |
 | Enable Microphone | toggle on the field when your Power Apps application needs microphone access. |
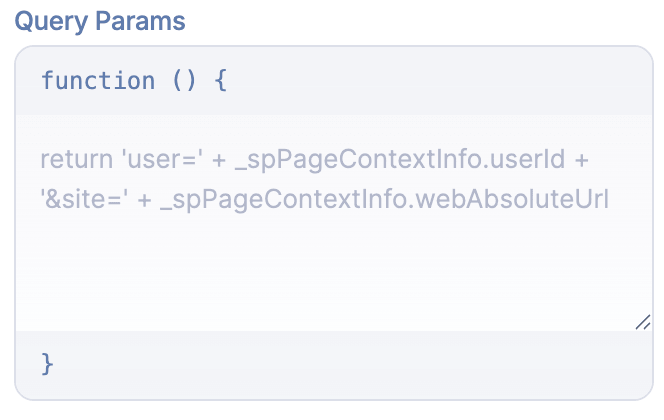 | Query Params | allows you to add JavaScript code to pass dynamic values from your site to your Power Apps application, such as logged-in user ID, current site URL, or the logged-in user's department. For more information, go to How to Pass Dynamic Parameters to Power Apps from ShortPoint. |
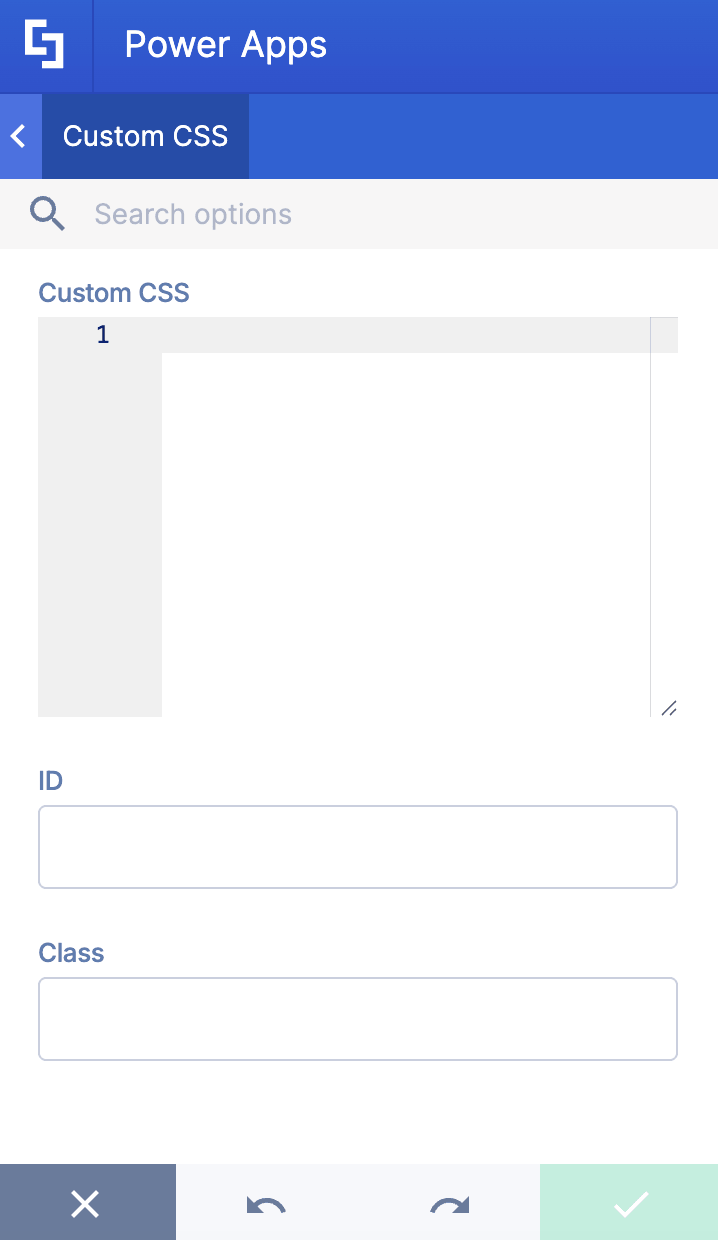
E. Custom CSS Tab
This tab lets you add your own custom touch to the Power Apps Design Element using custom CSS. This gives site owners and designers greater control over how it will look on your page.
NOTECheck out our support article on How to Insert Custom CSS into a Page Builder Element? (Basic Tutorial) to know more about Custom CSS.
Frequently Asked Questions
What do I need to integrate Power Apps using ShortPoint?
You need the latest ShortPoint SPFx version installed on your SharePoint environment, a ShortPoint Designer license (Pro or Enterprise), the appropriate Power Apps license, and the App ID of the Power Apps application you want to showcase.
How do I find the Power Apps App ID?
Refer to the guide "How to Retrieve Power Apps App ID" mentioned in the article for detailed steps.
Can I customize the size of the embedded Power Apps?
Yes, in the Design tab of the Power Apps Design Element settings, you can select display options to customize the size and orientation.
How do I save and publish changes after embedding Power Apps?
Click the green check mark to insert, then save the page and publish it to apply changes.
What advanced features are available in the Power Apps Design Element?
You can specify Tenant ID, enable geolocation, camera, and microphone access, and add JavaScript query parameters to pass dynamic values from your site.
Can I control who sees the embedded Power Apps?
Yes, the Visibility tab allows you to specify who can see the Design Element and on which devices.
Is it possible to add custom CSS to the Power Apps Design Element?
Yes, the Custom CSS tab lets you add your own CSS to customize the look of the embedded app.
Related articles: