 Try ShortPoint now
In this article, we demonstrate how to integrate Power BI dashboards and reports if you have a Capacity-based license (Power BI Embedded + Power BI Pro or Premium per user License).
Overview
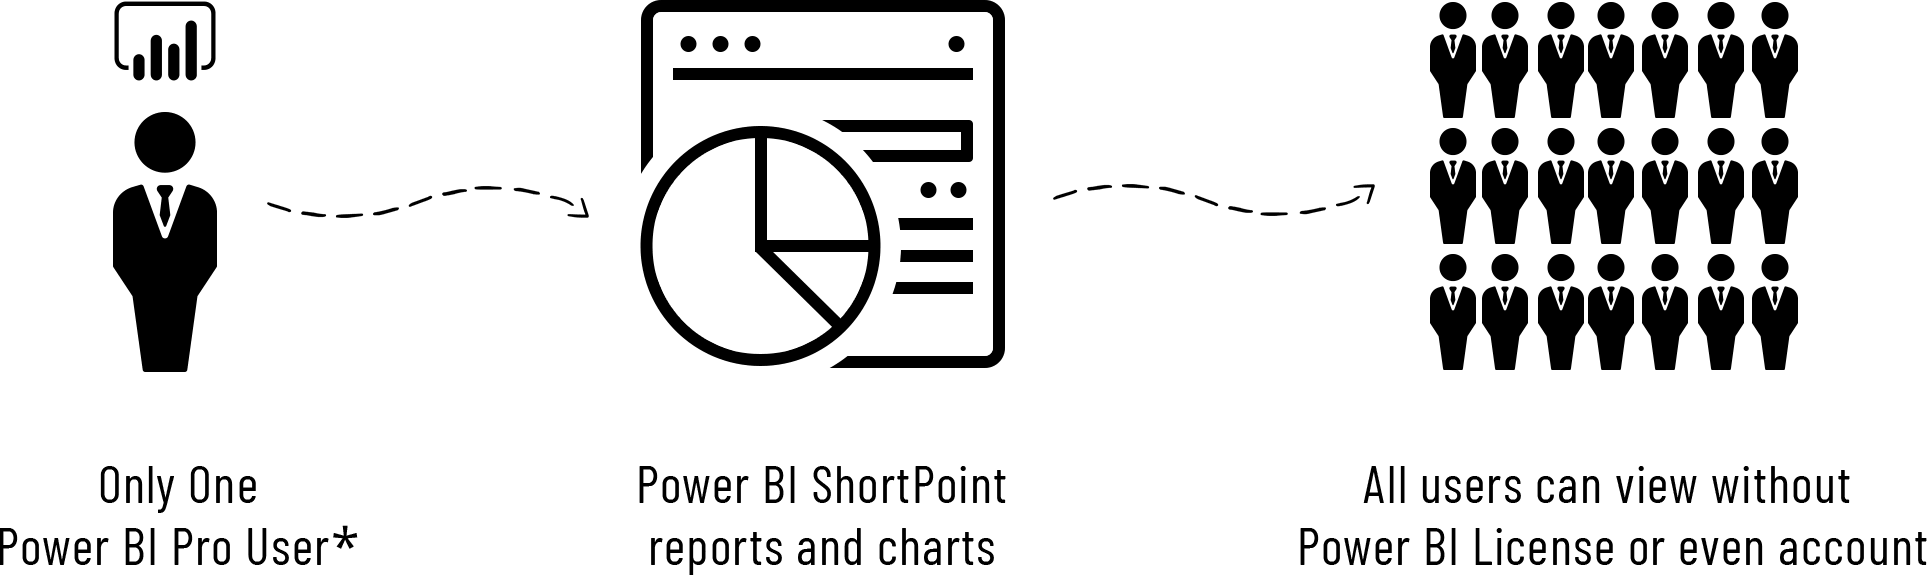
Using a capacity-based license is one of the two options for integrating Power BI dashboards and reports using ShortPoint. Select this option if your organization has a capacity-based license (Power BI Embedded) and you have a Pro or Premium Per User license. These will allow you to seamlessly integrate a Power BI dashboard or report into a SharePoint page using ShortPoint, making it accessible to all users in your organization.
In this option, any visitor with permission to view your site will be able to view your report. They will not be required to log in to view embedded Power BI assets on your page.
Connect One Power BI Pro or Premium per user License with Power BI Embedded. To do this, check out the support article on how to Create Power BI Embedded capacity in Azure.
For more information about the cost, check out the following articles:
- Power BI Embedded pricing
- Power BI Embedded price calculator
- Creating Power BI Embedded capacity in Azure
Note: If you or your organization does not have a Power BI Embedded license, please check out our support article on Power BI Integration Option 1: User-based License Integration instead.
TABLE OF CONTENTS
- Overview
- Prerequisites
- How to integrate a Power BI data visualizations using ShortPoint
Prerequisites
- You have the latest ShortPoint SPFx version installed on your SharePoint environment.
- You are a ShortPoint Designer with an active license.
- You have an active Power BI Pro or Premium per user license.
- Power BI Embedded capacity is configured in Azure.
- You are Global Microsoft 365 Tenant Admin.
- You have a Power BI data you want to present on your SharePoint page.
How to integrate Power BI data visualizations using ShortPoint
The process of integrating a Power BI asset into your SharePoint page involves two main parts.
Part 1: Complete Microsoft Graph and Power BI integration on the ShortPoint dashboard
If this is your first time adding Power BI to your SharePoint page using ShortPoint, you will first have to complete integrations with Microsoft Graph and Power BI. Follow the steps below to do this:
Step 1: Access Integrations in the ShortPoint Dashboard
- Navigate to the ShortPoint Dashboard by hovering over the ShortPoint icon on your command bar or selecting it from your SharePoint Site Contents.

- Hit the Integrations tile.

Step 2: Connect Microsoft Graph
You will see Microsoft Graph and Power BI tiles in the Integrations panel.
- Press Connect on Microsoft Graph.
- You will be asked to sign in. Please ensure that you have, at least, App Administration rights in your Azure AD. If your Power BI tenancy differs from your Microsoft 365 tenancy, use your Power BI tenancy admin credential as we need rights to your Power BI tenancy.
- Once signed in, you will be asked to grant the ShortPoint app a set of permissions required to fetch reports, retrieve dashboard details, and render reports. Click Accept.
- Wait until the connection is configured and the Microsoft Graph button becomes a green Reconnect button.

Step 3: Connect Power BI
- Next, press Connect on the Power BI tile.
- Enter your Power BI Pro or Premium per user credentials. This is the account that we will use when embedding content for you. You should also have full access to Power BI Workspaces (Groups) where the Power BI assets you want to embed are saved.
Note: Please make sure that the credential you will use is configured to use cloud authentication only. Click here to learn more about this requirement.

You have completed the first part of the integration process. This is what you will see after the connection is configured:

Part 2: Embed Power BI asset
Follow these detailed steps to integrate a Power BI report into your SharePoint page:
Step 1: Edit the ShortPoint web part
- Click the Edit button on the SharePoint page where you want to insert your Power BI report.

- Select the ShortPoint web part and enter edit mode by clicking the pencil icon.

Step 2: Insert Power BI Design Element
- The Power BI Design Element is currently accessible only in Grid Mode. Click the Switch to Grid Mode button on the Action Toolbar.

- Navigate to the space where you want to add your Power BI report.
- Press the Add Design Element plus icon. This will open the selection of ShortPoint Design Elements.
- Scroll down or search for Power BI and select it.

Step 3: Select Power BI asset you want to insert
- Fill out fields that will identify the asset you want to embed into your SharePoint page
- Select the workspace where your Power BI asset is located.
- Choose the asset from the What do you want to show? dropdown and complete other required fields.

Step 4: Insert and save
- Click Insert to apply your changes.
- Hit Save on the Action Toolbar. You can now Preview your page to see what the Power BI integration looks like.
- Finally, Republish the page.
That's it! Now, you are ready to embed Power BI reports and dashboards into your pages using ShortPoint.
Related articles:
