 Try ShortPoint now
Need a way to connect your remote team and boost employee engagement? One of the best ways to keep your employees motivated and feel recognized is to add an Employee of the Month (EOM) section in your modern SharePoint online page. It transforms your SharePoint sites from a lifeless file library into a vibrant SharePoint intranet community.
How do you create an EOM section? It's super easy with the ShortPoint Microsoft Graph API connection! This article will demonstrate how you can use this connection to manage a dynamic Employee of the Month, enhancing employee recognition and employee satisfaction.

TIPNeed an Employee of the Month with image highlights? Check out How to Create a Dynamic SharePoint Employee of the Month.
TABLE OF CONTENTS
- Prerequisites
- What is an Employee of the Month Section?
- How to Create an Employee of the Month Section in SharePoint
- Frequently Asked Questions
- What is the importance of having an Employee of the Month section in SharePoint?
- How does the Microsoft Graph API connection enhance the Employee of the Month section?
- What are the prerequisites to set up the Employee of the Month section using ShortPoint?
- How do I create and assign the Employee of the Month attribute in Microsoft Azure?
- Can the Employee of the Month section be customized in SharePoint?
- How does the Employee of the Month section improve employee engagement?
- Is manual updating required for the Employee of the Month section?
- Can multiple employee rankings be featured simultaneously?
Prerequisites
- You must have the latest version of ShortPoint SPFx installed.
- You must be a ShortPoint Designer with a Pro or Enterprise License. For more information, check out Licensing Options.
- You must be assigned the Attribute Definition Administrator and the Attribute Assignment Administrator roles to be able to create and assign attributes in Microsoft Azure. To assign these roles, go to Microsoft Entra admin center > Roles & Admins > Add assignments
- You must already have the ShortPoint Microsoft Graph API connection enabled. To do this, go to How to Enable Microsoft Graph API connection.
What is an Employee of the Month Section?
Employee of the Month is your SharePoint intranet's digital spotlight for publicly celebrating your team's rockstars. Great achievements shouldn't get buried in crowded email inboxes or lost in fast-moving chat threads. This section gives your team the permanent, high-profile recognition they deserve, helping to promote a positive company culture and acknowledge key contributions.
To make your life easier, we love making this section dynamic. That means you won't have to scramble to manually update your main page every time a new employee takes the spotlight.
How does the magic happen?
We use the ShortPoint Microsoft Graph API Connection. This connection seamlessly pulls real-time user data directly into your favorite ShortPoint visual elements (like Image Lists, Person Cards, or Icon List). Once it's set up, your pages update automatically the moment your tenant data changes. No manual coding, no repetitive editing.
Here is a quick look at what a dynamic Employee of the Month section looks like in action:

How to Create an Employee of the Month Section in SharePoint
It's a breeze to build a dedicated Employee of the Month section on your SharePoint page using the Microsoft Graph API connection. The steps have been divided into three parts for clarity. Follow them closely to successfully establish the connection and display your organization's top performers with ease.
Part 1: Create an Employee of the Month Attribute
This section will show you how to create an Employee of the Month attribute in Microsoft Azure.
NOTETo accomplish the steps under this section, you must be assigned the Attribute Definition Administrator role. To assign the roles, go to Microsoft Entra admin center > Roles & Admins > Add assignments.
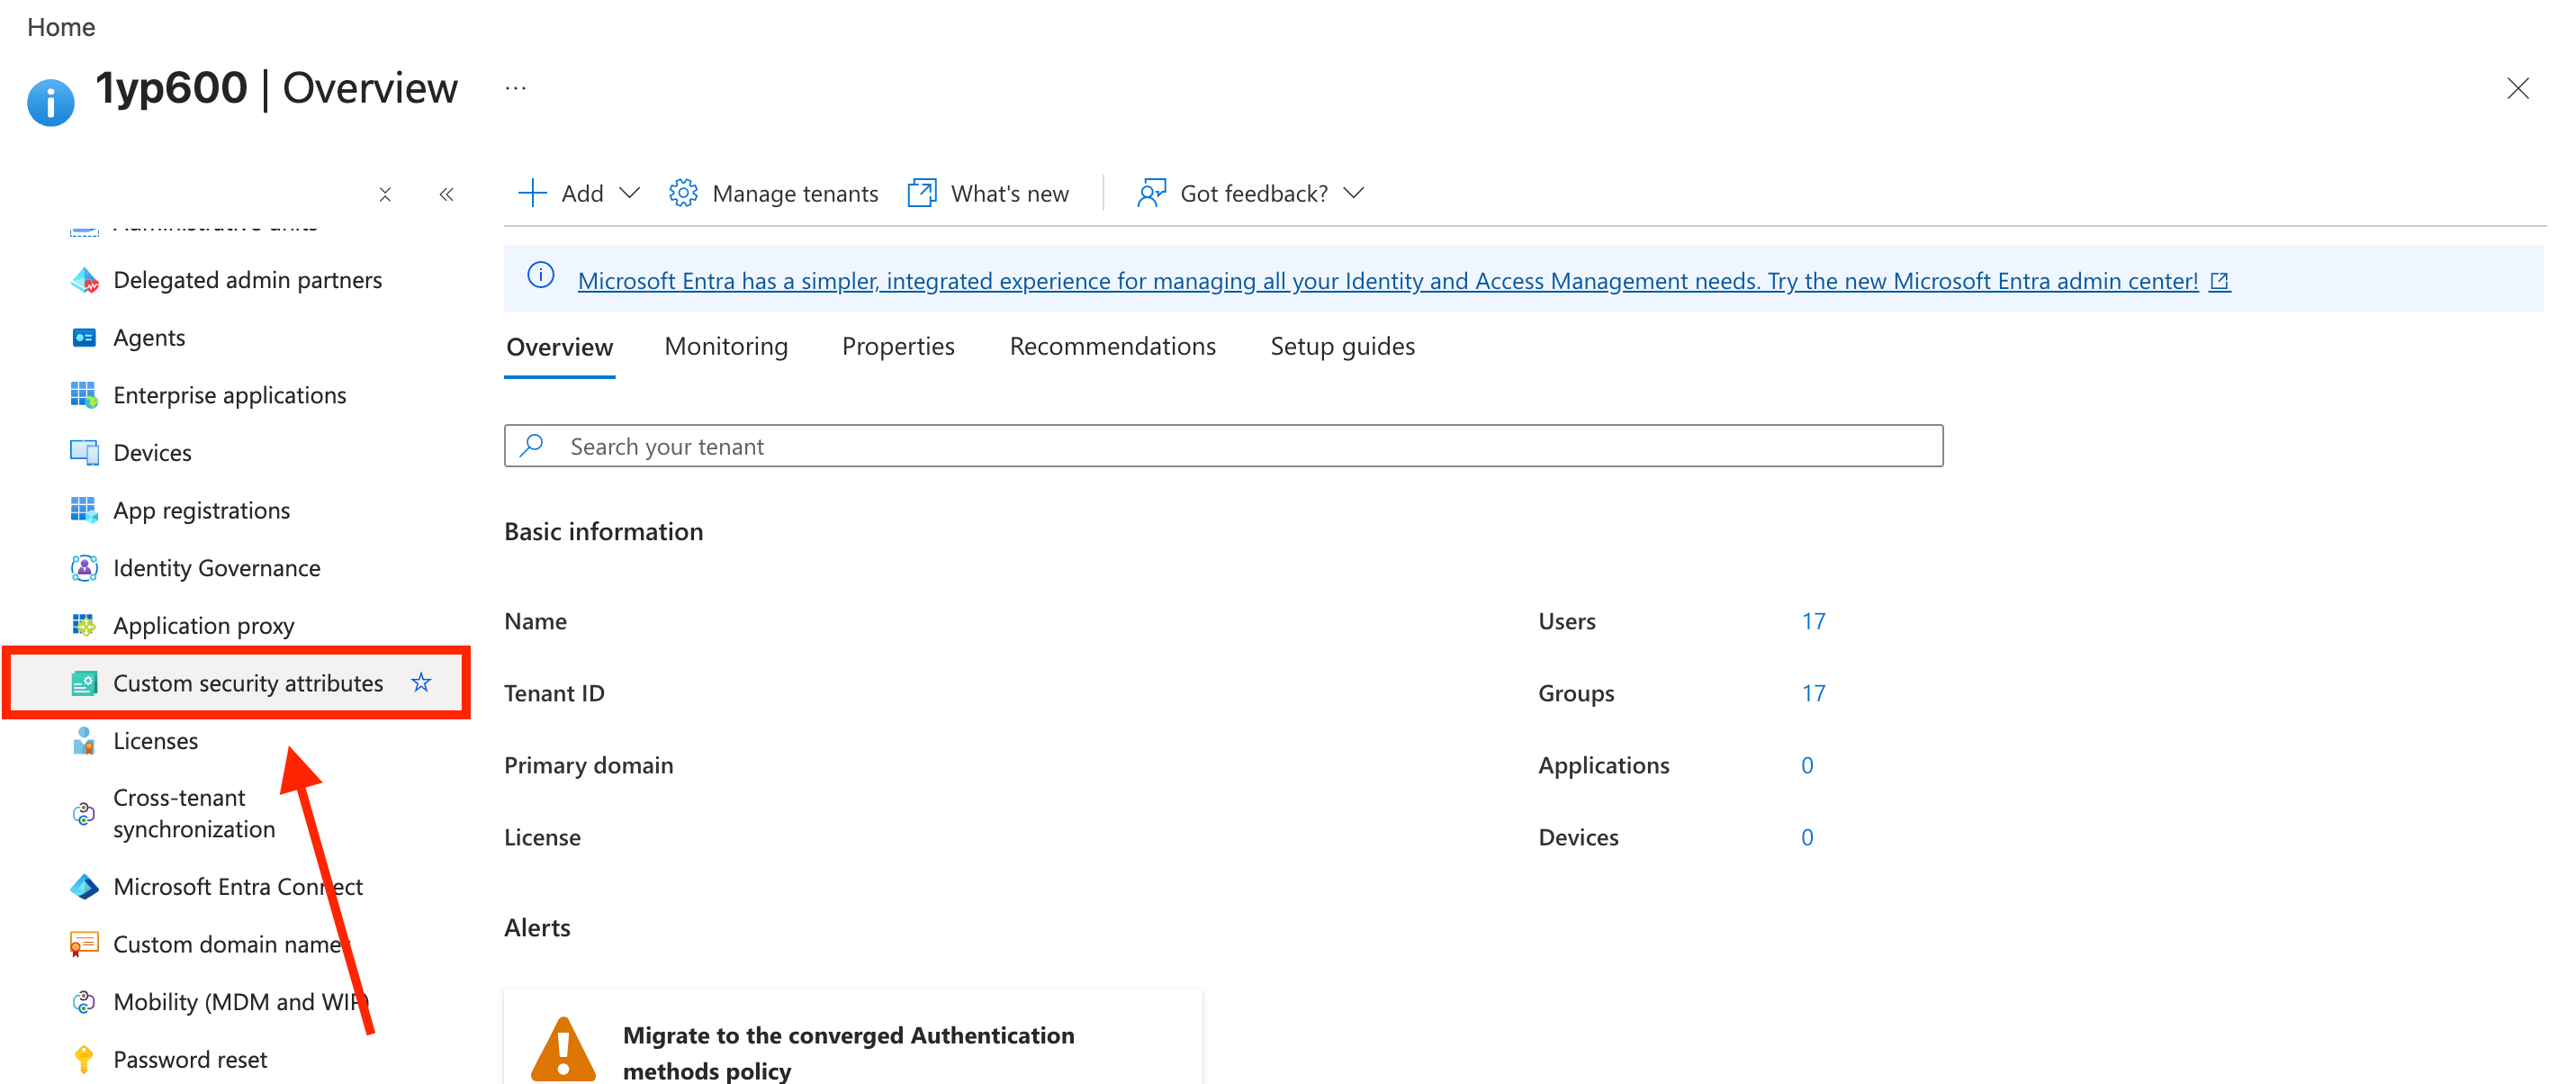
Step 1: Open Custom Security Attributes
Go to Microsoft Azure and select Microsoft Entra ID:

Scroll down and select Custom security attributes:
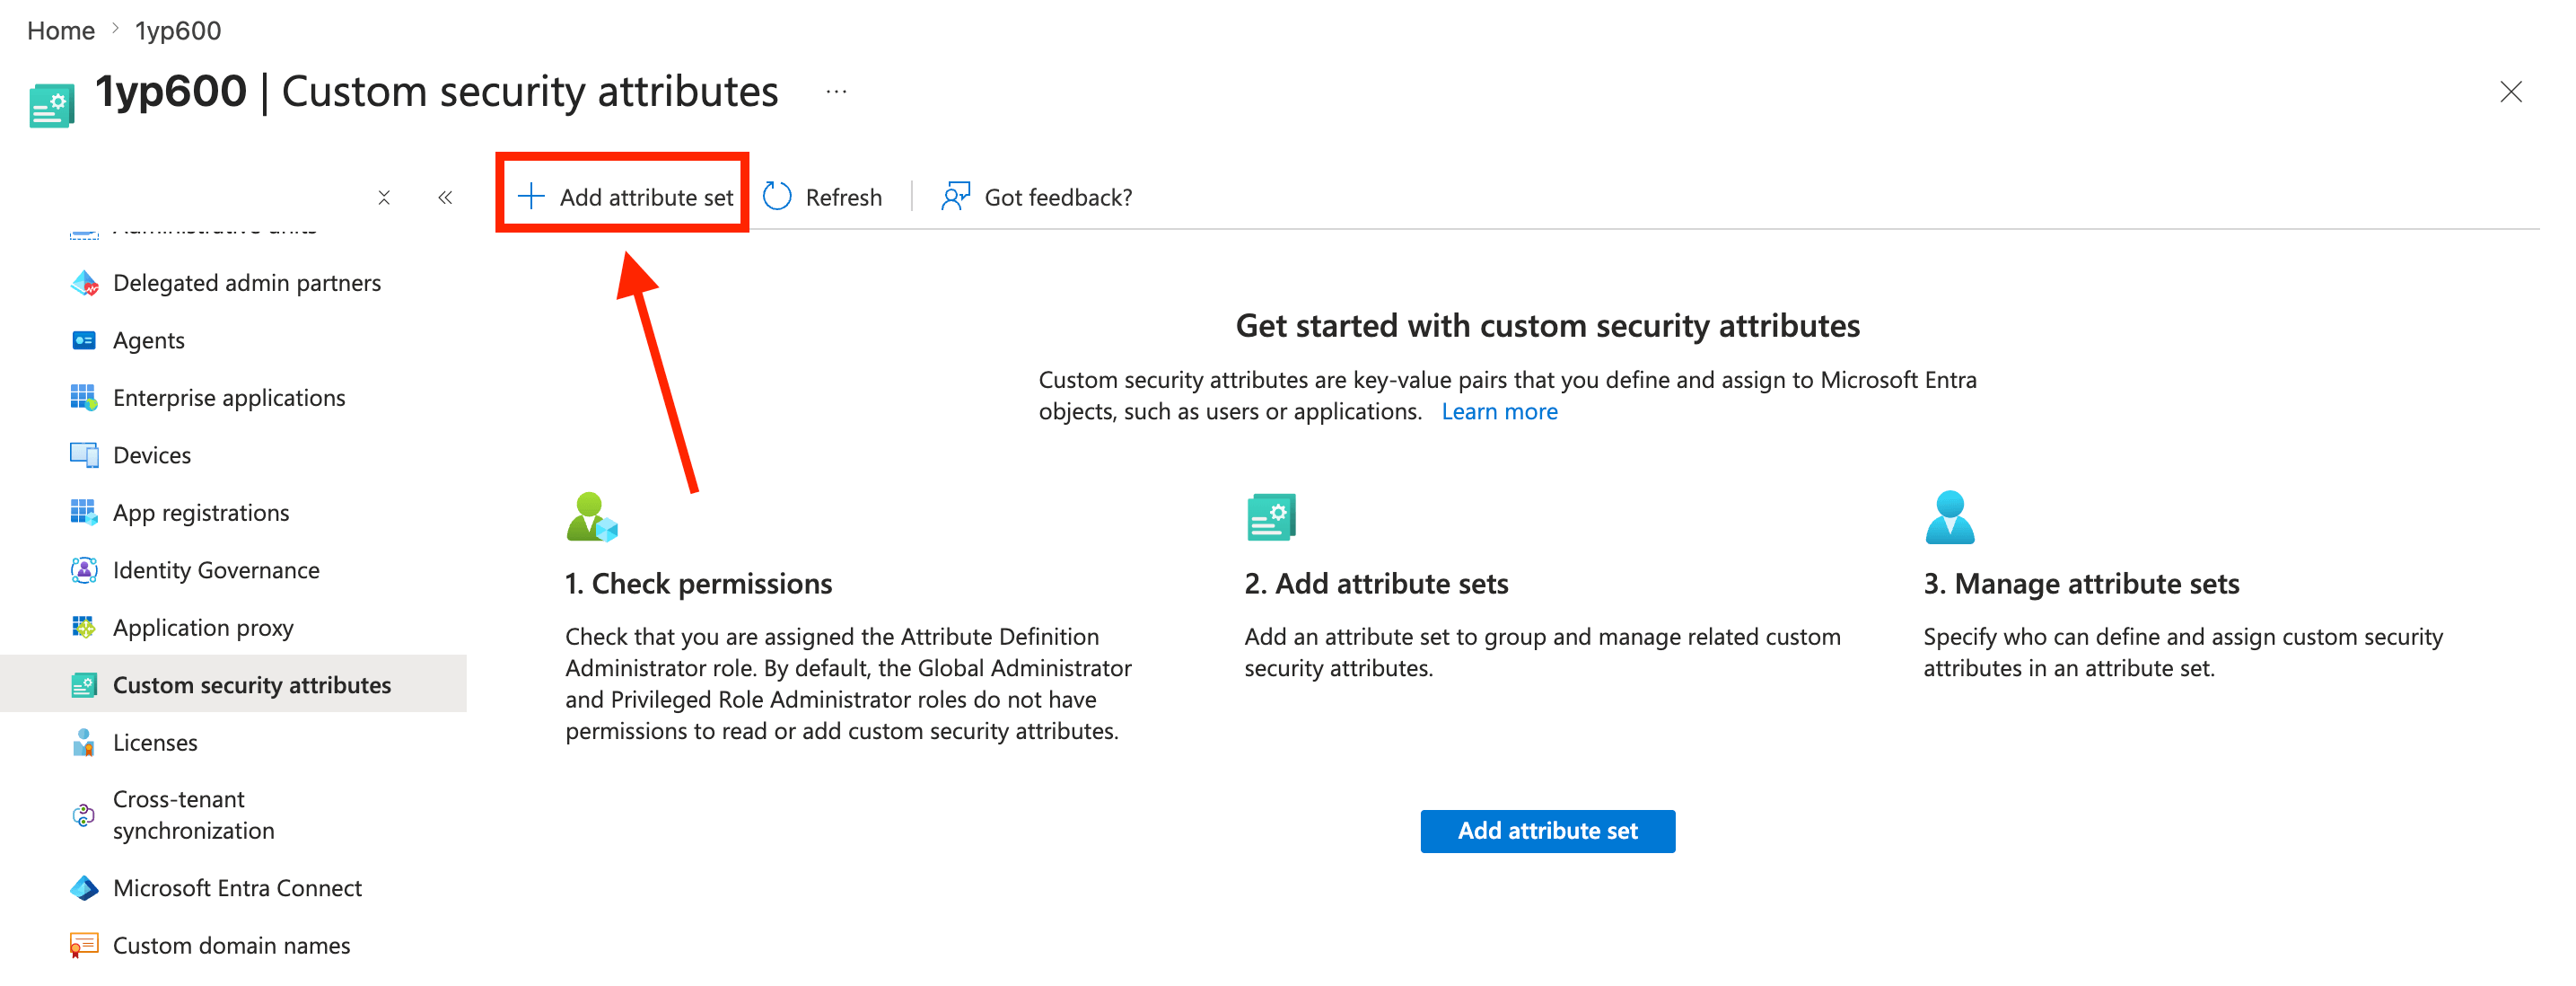
Step 2: Add an Attribute Set
Select Add attribute set:
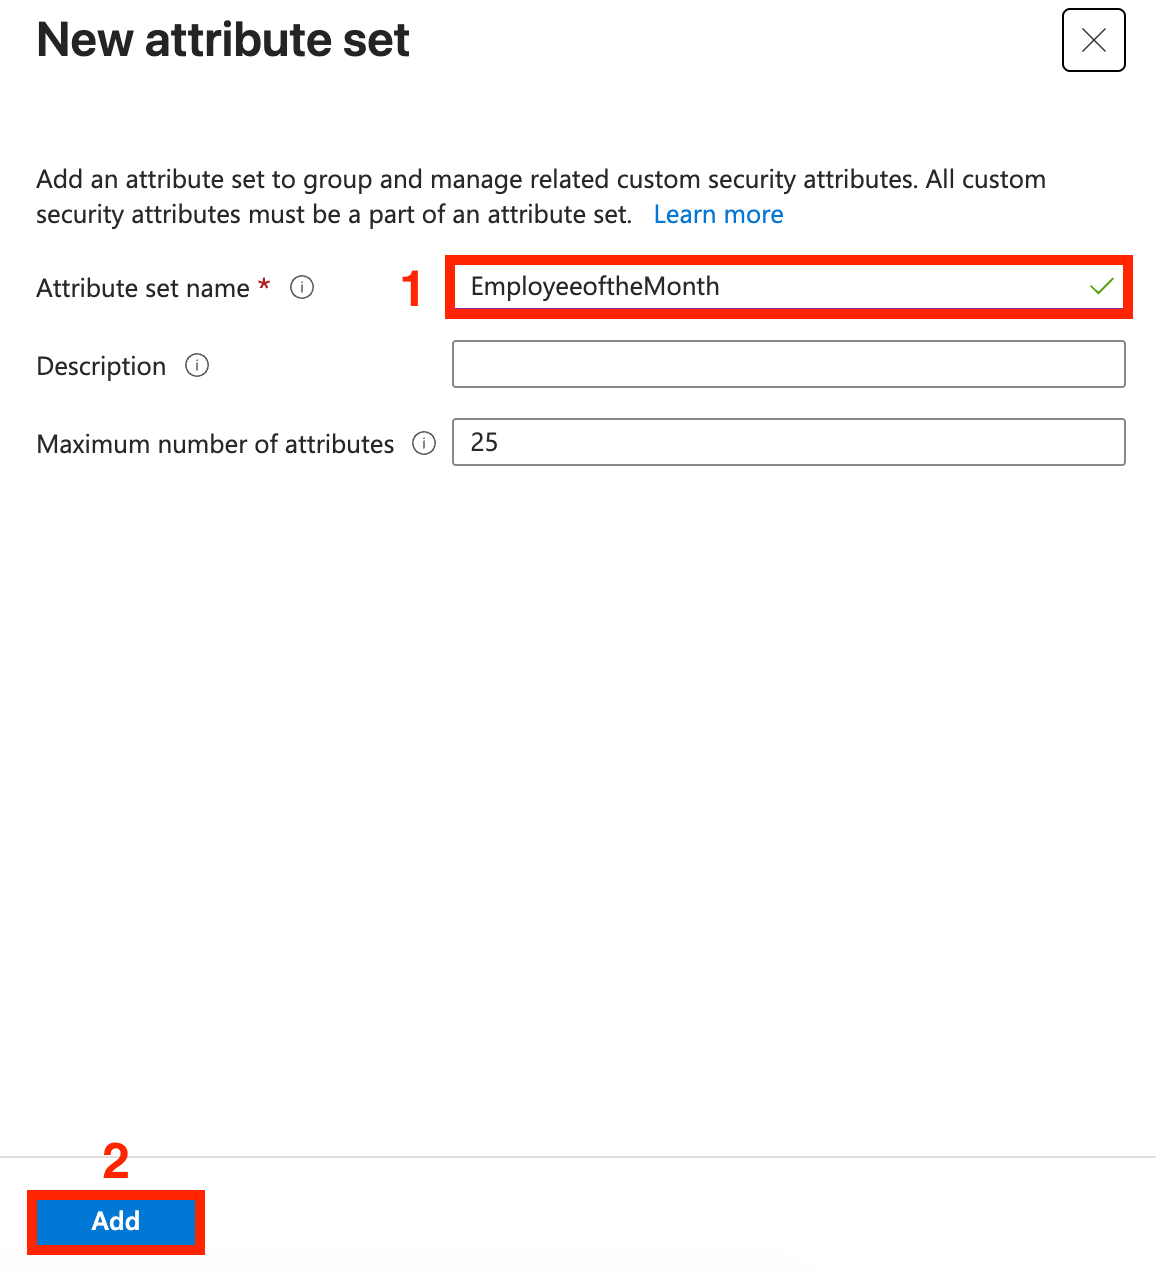
Name the attribute set [1] ‘EmployeeoftheMonth’ and click [2] Add:
Step 3: Add an attribute to the attribute set
Select the attribute set you created:

Then, click Add attribute:

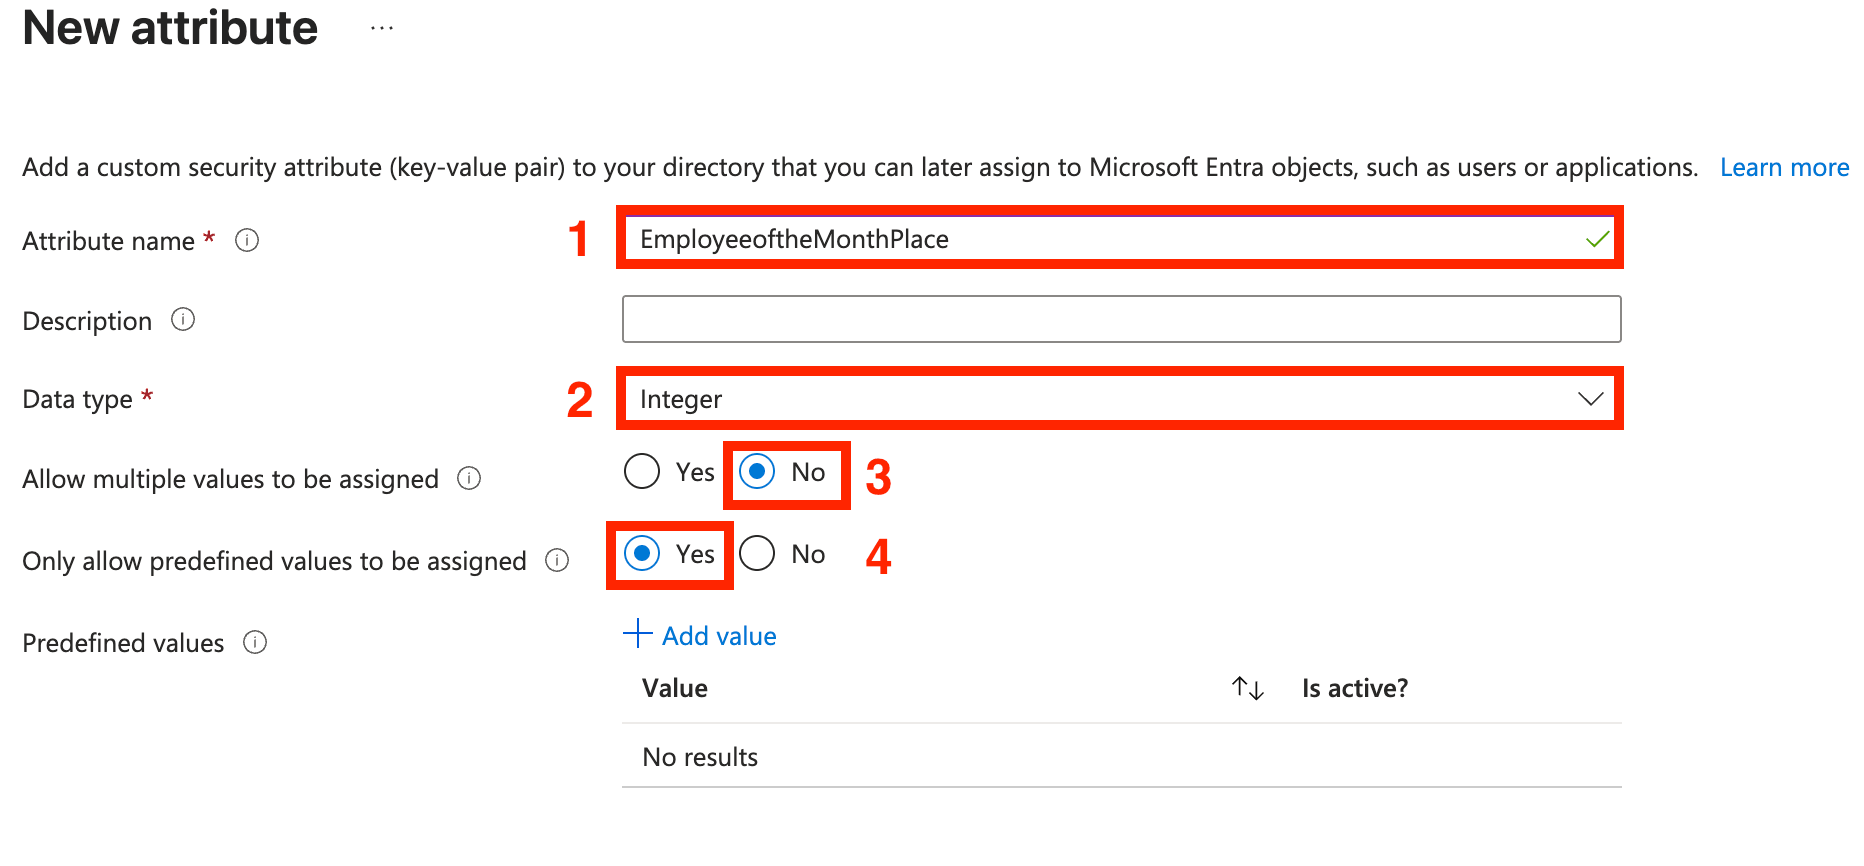
Add the following details:
- Write ‘EmployeeoftheMonthPlace’ as the attribute name;
- Set the Data type as Integer;
- Select No for multiple values; and
- Select Yes for predefined values.
Click Add value to add predefined values. This will determine your employees' ranking in the Employee of the Month spotlight. You can add as many values as you’d like. In our case, we only want to feature the 1st, 2nd, and 3rd ranking employees, so we will add the 1, 2, and 3 values.

[1] Name the value and click [2] Add:

Repeat the add value steps until you have all the predefined values you desire:

Then, click Save:

That’s it! You’ve successfully created an Employee of the Month attribute. You may now proceed to Part 2.

Part 2: Add the Employee of the Month Attribute to User Profiles
This section will show you how to add the created Employee of the Month attribute to the user profile of the employees you want to spotlight.
NOTETo accomplish the steps under this section, you must be assigned the Attribute Definition Administrator role. To assign the roles, go to Microsoft Entra admin center > Roles & Admins > Add assignments.
Step 1: Open User Settings
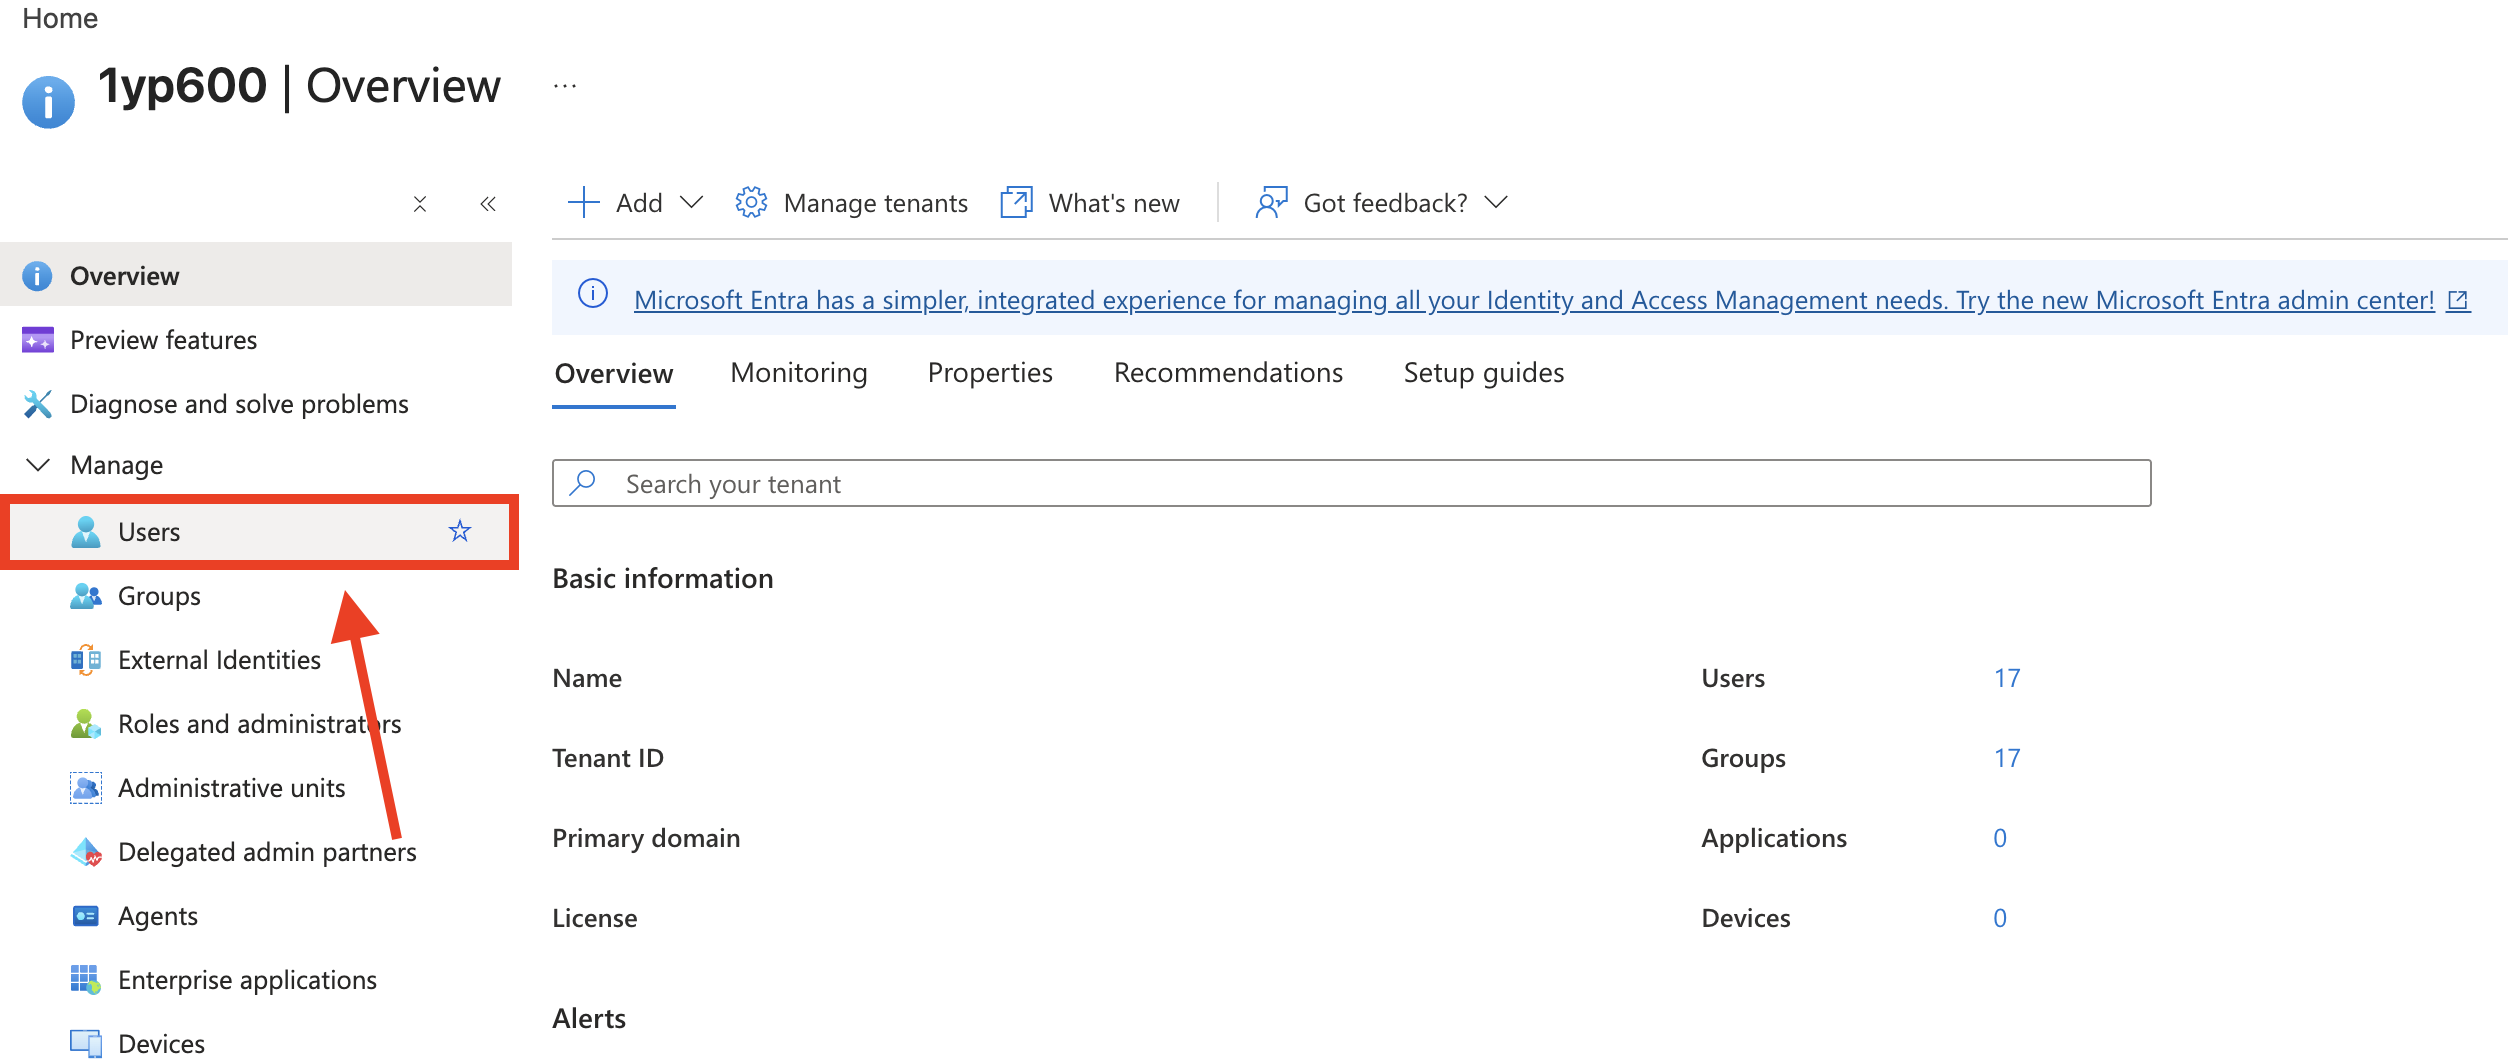
Click Home:

Select Microsoft Entra ID:

Look for Users and select it:
Step 2: Add Employee of the Month Attribute
Look for the employee you want to spotlight and select their profile:

Then, open Custom security attributes:

Click Add assignment:

Select the EmployeeoftheMonth attribute set from the dropdown:

Choose the EmployeeoftheMonthPlace in the attribute name dropdown:

Finally, assign the ranking for the employee:

Save your changes:

Select Users and repeat the steps for the other employees you want to highlight.

Great! You have successfully assigned the Employee of the Month attribute to a user. You may now proceed to Part 3.
Part 3: Build an Employee of the Month Section in SharePoint
This section will show you how to create the Employee of the Month section in SharePoint and connect it to the data we’ve set up in the previous parts.
Step 1: Edit the ShortPoint Web Part
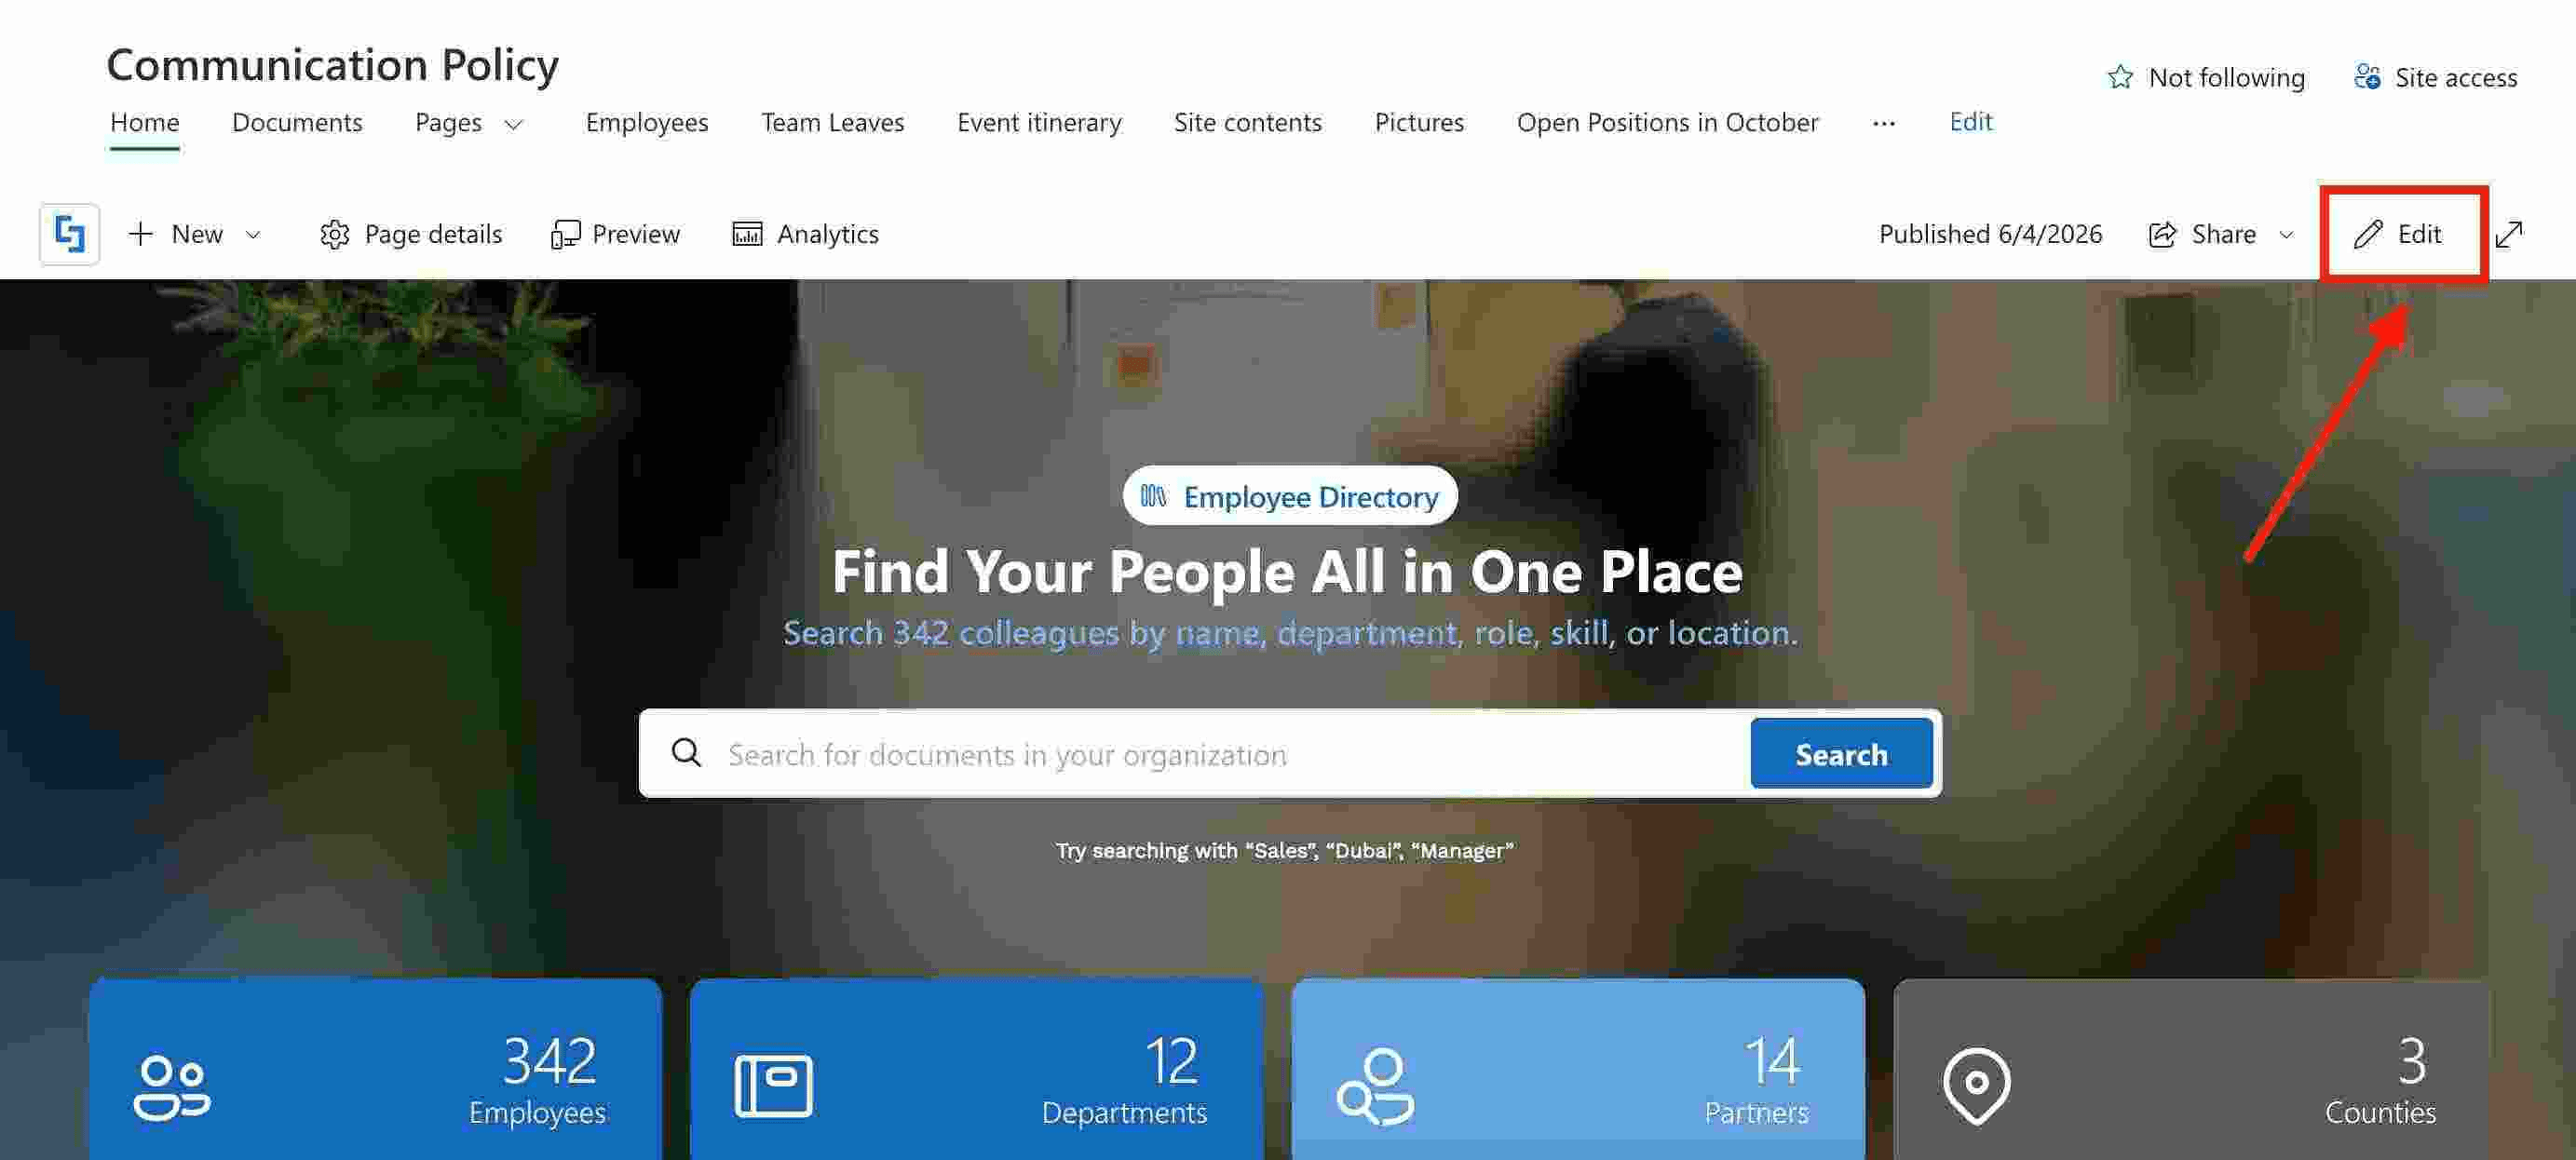
Go to the SharePoint page you want to use and click Edit:
Close the Toolbox:

Click the Edit properties icon:

Step 2: Add the Person Cards Design Element
You will need to set up the connection for each employee ranking separately. Because of this, each Person Card item will have a different connection.
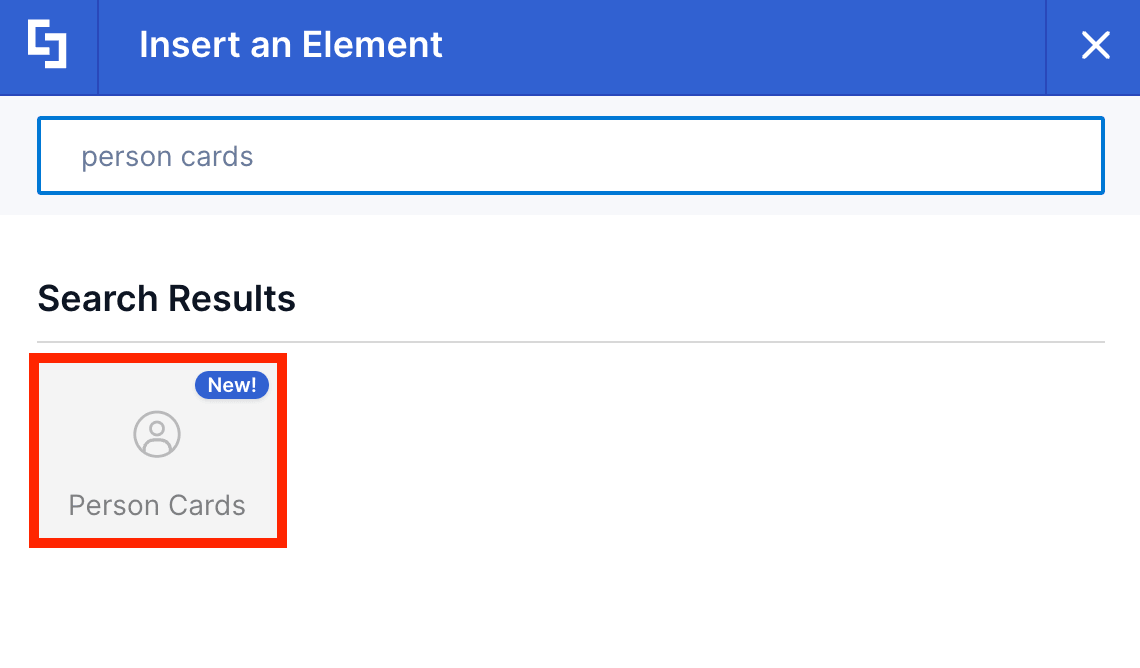
To do this, click the pink plus icon to add the Person Cards Design Element:

Look for Person Cards and select it:
Remove items until you only have one left:
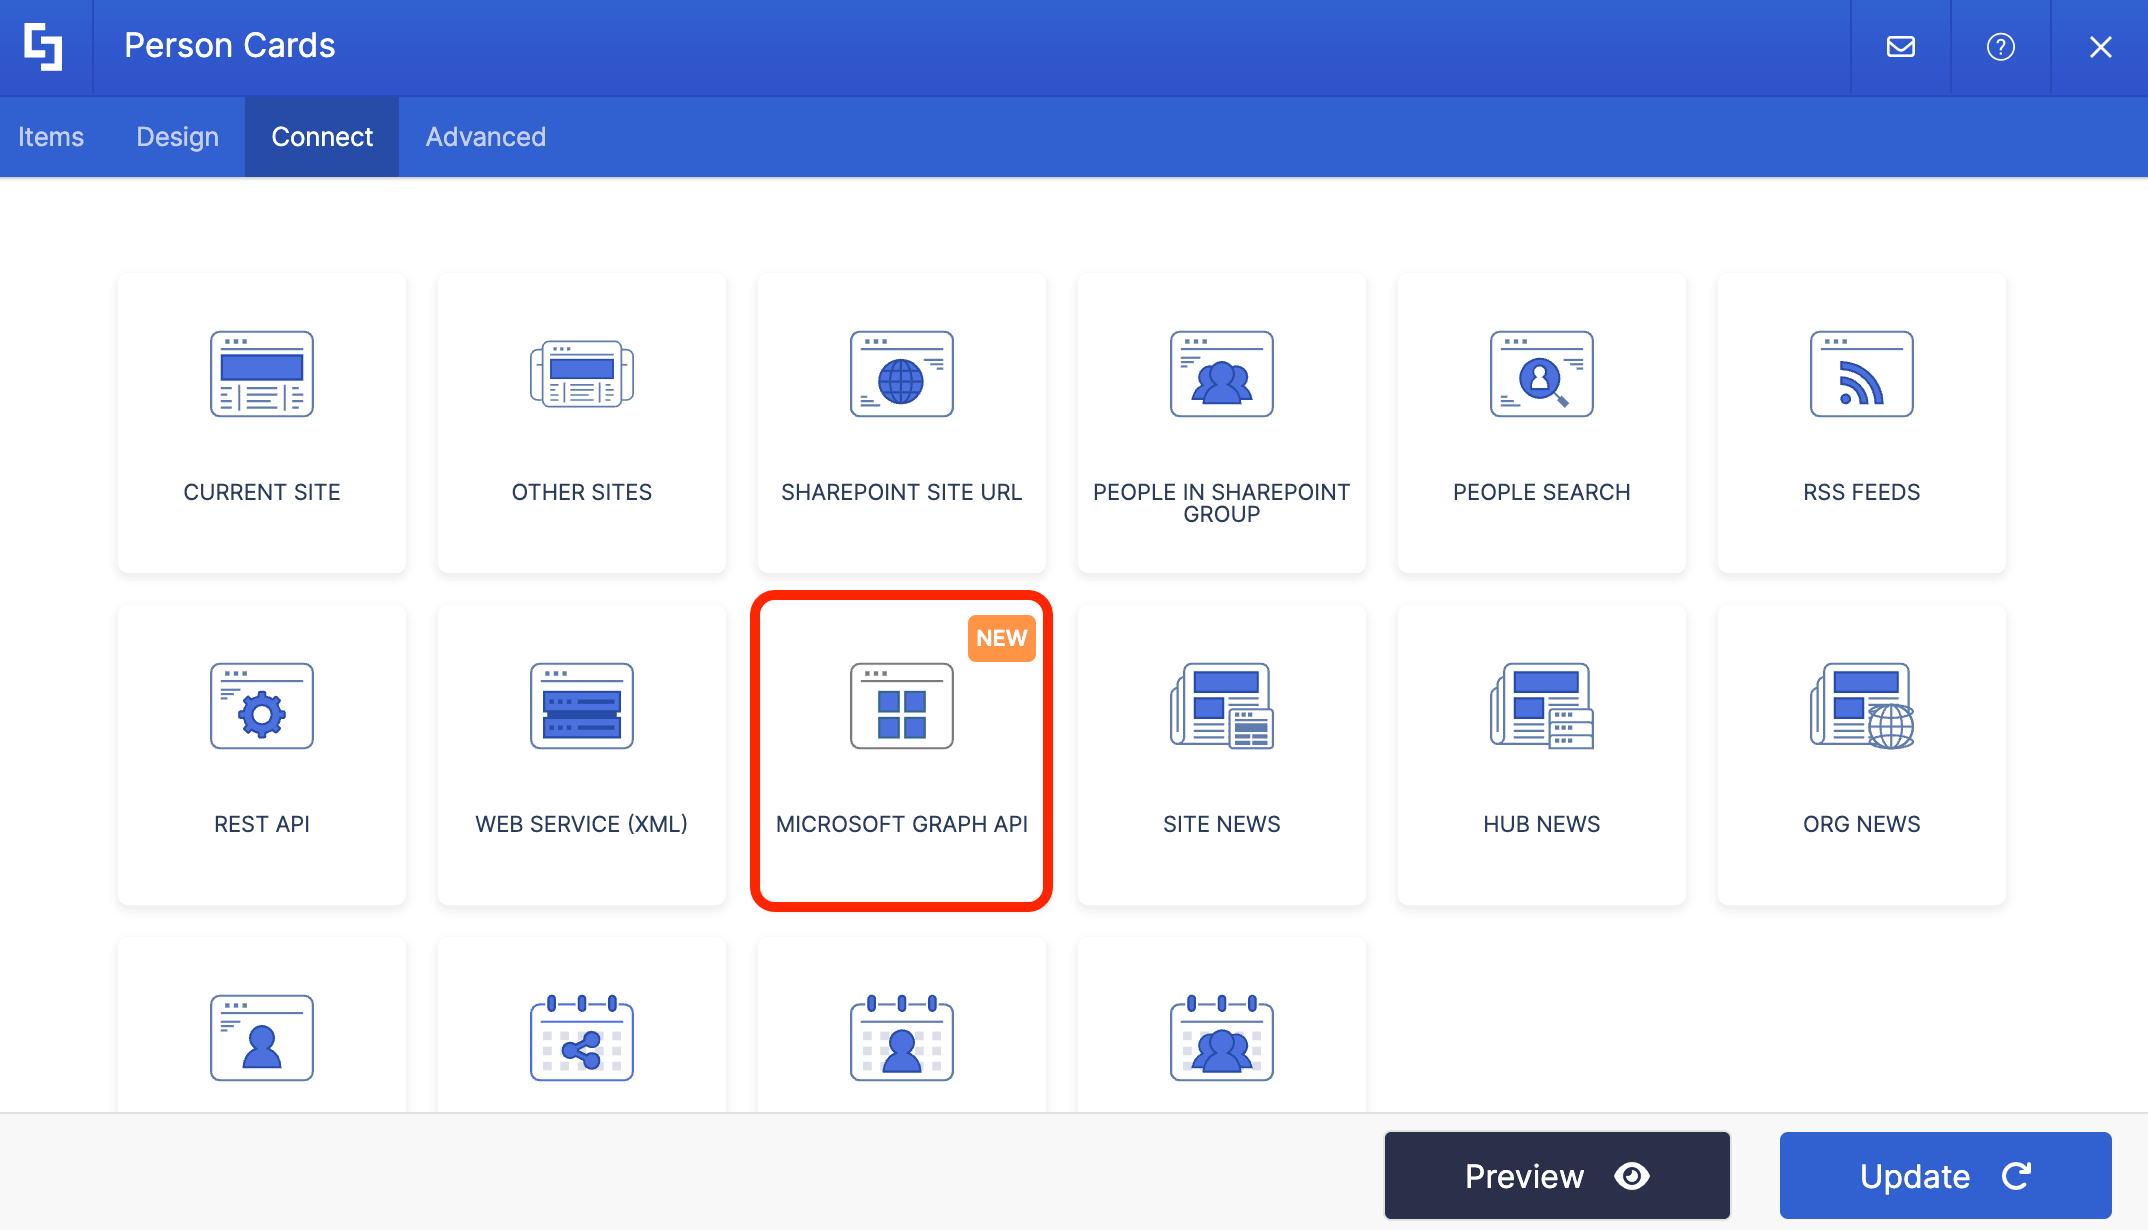
Step 3: Choose Microsoft Graph API connection
Go to the Connect tab:

Click Configure:
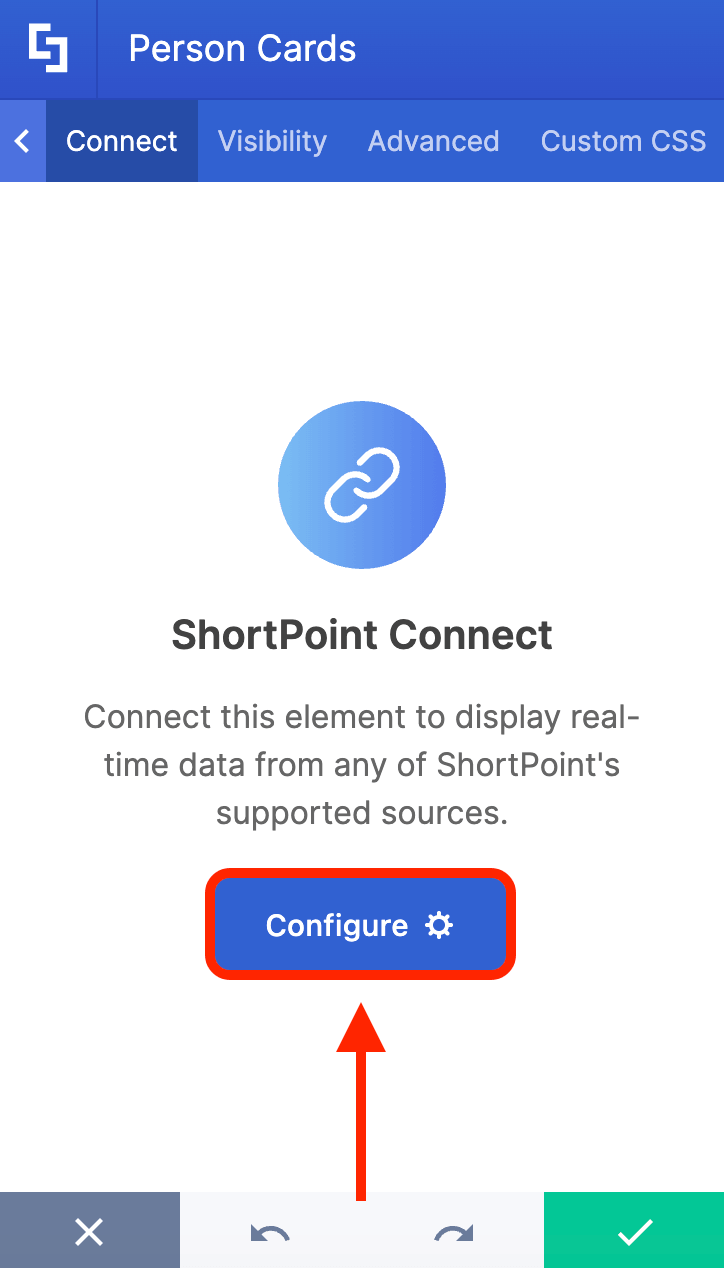
Select Microsoft Graph API:
NOTEYou can only use the Microsoft Graph API connection if you are a ShortPoint Designer with a Pro or Enterprise License. You must also enable the Microsoft Graph API connection. To do this go to How to Enable the MS Graph API Connection.
Step 4: Set up Query
Copy the custom query below:
https://graph.microsoft.com/v1.0/users?$select=displayName,givenName,jobTitle,mail,mobilePhone,surname,userPrincipalName,id,department,EmployeeOfTheMonthPlace&$filter=customSecurityAttributes/EmployeeOfTheMonth/EmployeeOfTheMonthPlace eq [ranking value]Replace [ranking value] with the ranking you want to highlight. In our case, we want to feature the number ‘1’ ranking employee. Our custom query will now look like this:
https://graph.microsoft.com/v1.0/users?$select=displayName,givenName,jobTitle,mail,mobilePhone,surname,userPrincipalName,id,department,EmployeeOfTheMonthPlace&$filter=customSecurityAttributes/EmployeeOfTheMonth/EmployeeOfTheMonthPlace eq 1Step 5: Connect
Click Custom Microsoft Graph API Query:

Paste the custom query you set up in step 4:

Then, scroll down and expand Advanced Settings:

Toggle on Enable Advanced Settings:

Copy the code below:
headers['ConsistencyLevel'] = 'eventual';
return headers;
Paste the code in the Custom headers field:

Click Run Query:

Select Connect:

Step 6: Map Properties
Go to the Items tab:

Delete all default content:
Use the link icon to map the properties you want shown:
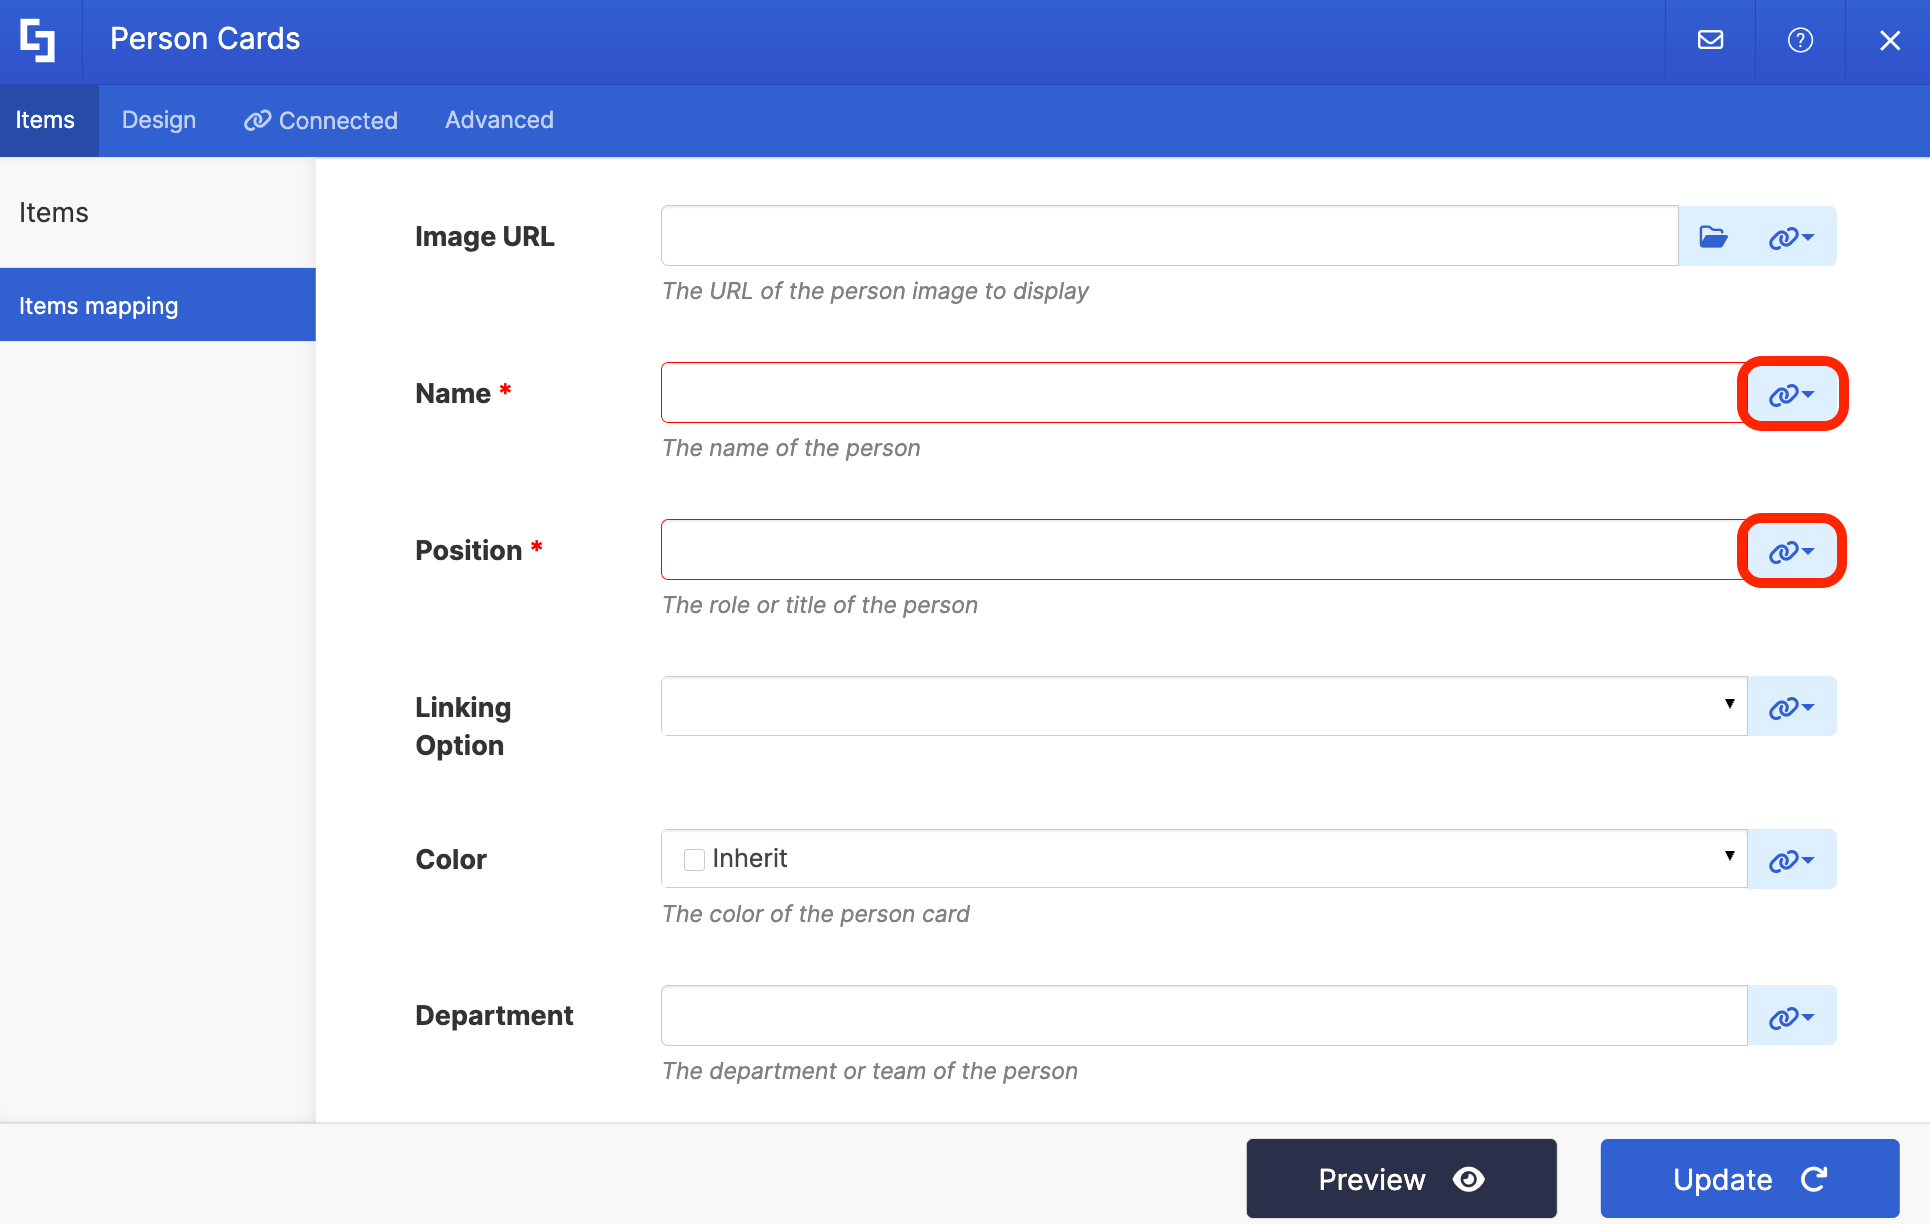
You can map the same properties below or showcase your own:
- #displayName - shows the name of the number 1 ranking employee.
- #jobTitle - shows the work title of the number 1 ranking employee.

(Optional) In the Department field, add the employee rank:

Step 7 (Optional): Customize Design
Go to the Design tab:

Paste the HEX code of the color you want to use for the Person Cards:

Step 8: Update
Click Update:

Step 9: Repeat Steps
Repeat steps 2-8 to feature the other rankings. Once you have every ranking set up, your EOM section will look similar to the example below:

Step 10: Save and Publish
Save your changes:

Publish your page:
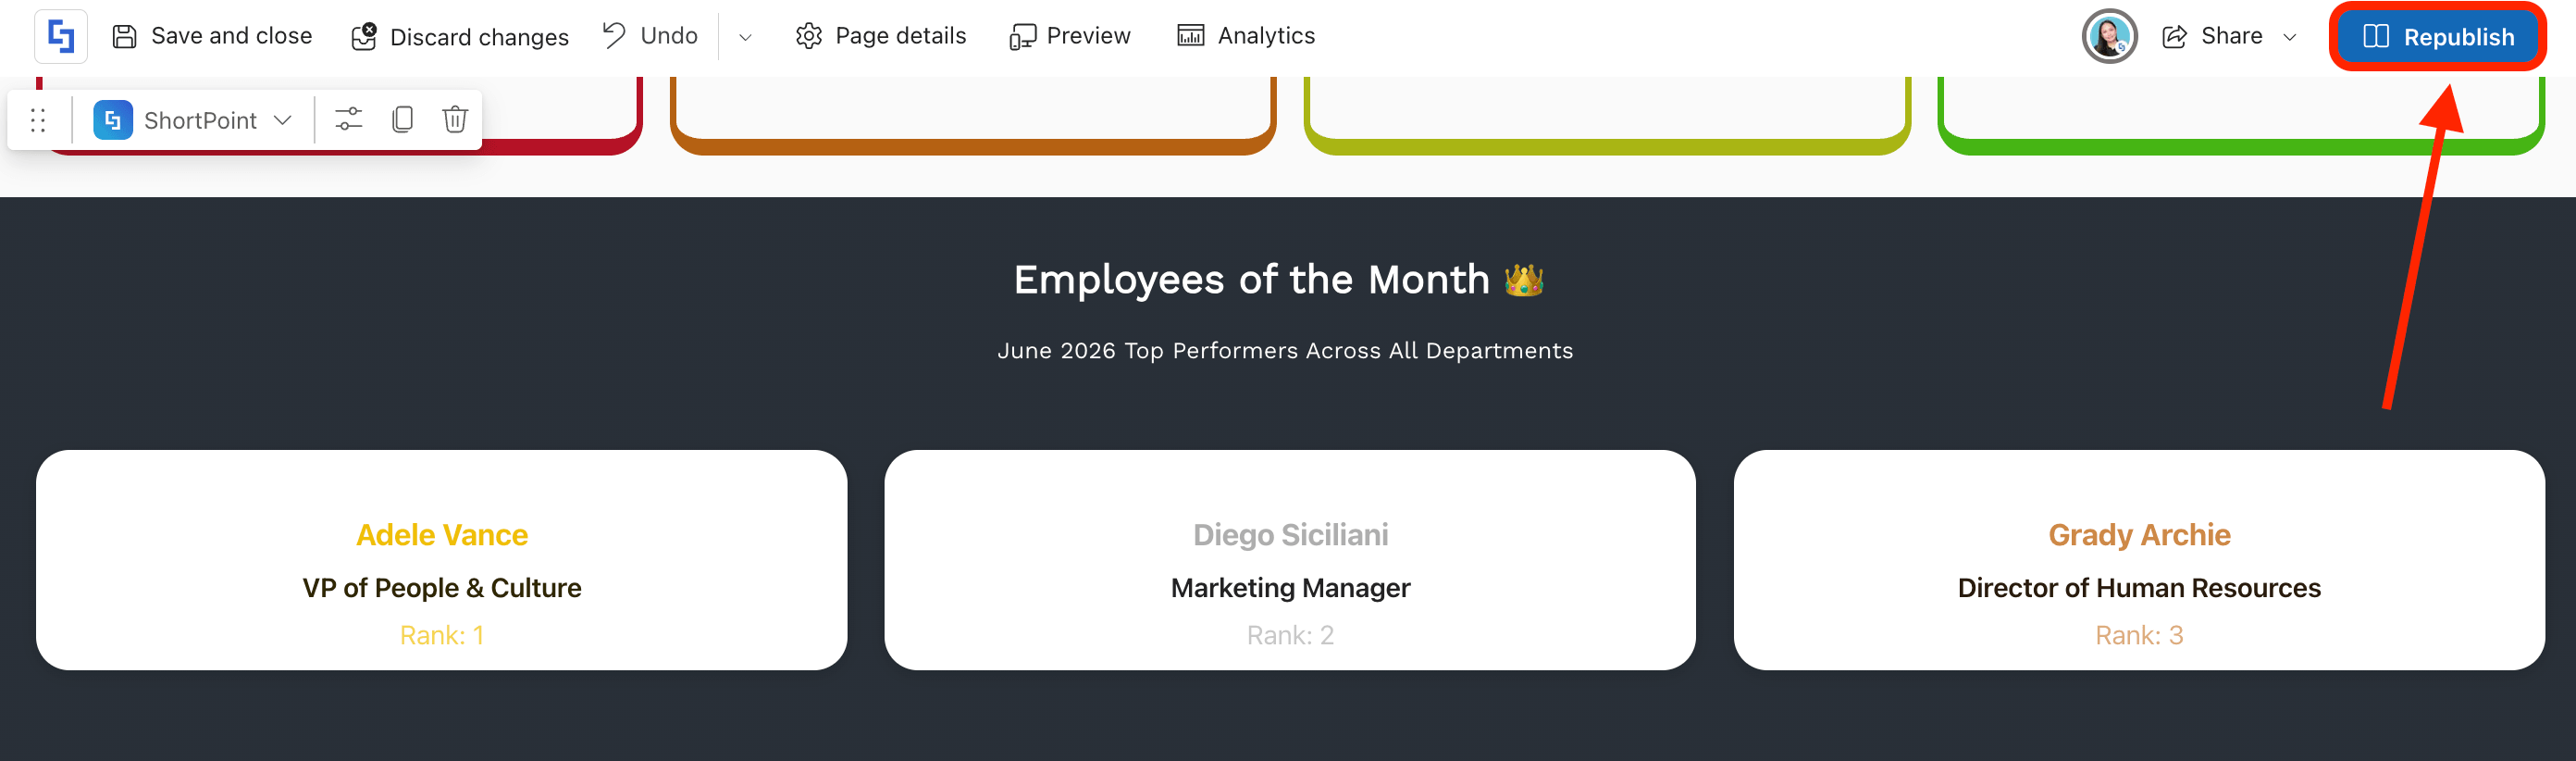
Congratulations! You now have a dynamic Employee of the Month section in your SharePoint page.
Frequently Asked Questions
What is the importance of having an Employee of the Month section in SharePoint?
An Employee of the Month section in SharePoint highlights top performers, boosting employee engagement and promoting a positive company culture. It brings recognition to employees, motivating them and improving overall performance.
How does the Microsoft Graph API connection enhance the Employee of the Month section?
The Microsoft Graph API connection enables real-time user data integration into SharePoint Design Elements like Person Cards. This automation ensures your Employee of the Month section updates dynamically without manual editing, improving the efficiency of employee recognition on your SharePoint platform.
What are the prerequisites to set up the Employee of the Month section using ShortPoint?
You need the latest ShortPoint SPFx version, a Pro or Enterprise License, and assigned Attribute Definition Administrator and Attribute Assignment Administrator roles in Microsoft Azure. These permissions allow you to create and assign custom attributes for employees within Microsoft Entra.
How do I create and assign the Employee of the Month attribute in Microsoft Azure?
First, create a custom security attribute set named "EmployeeoftheMonth" in Microsoft Entra ID and add an integer attribute called "EmployeeoftheMonthPlace" with predefined ranking values. Then, assign this attribute to user profiles to rank employees accordingly, which SharePoint uses to display the Employee of the Month.
Can the Employee of the Month section be customized in SharePoint?
Yes, using ShortPoint's design elements like Person Cards, you can customize the appearance, including colors and mapped properties such as display name and job title. This flexibility allows the recognition section to align with your company branding and intranet design.
How does the Employee of the Month section improve employee engagement?
By providing visible, ongoing recognition within the SharePoint intranet, employees feel valued and motivated. This boosts morale, encourages performance, and fosters a culture of appreciation, which contributes to higher employee satisfaction and productivity.
Is manual updating required for the Employee of the Month section?
No, once configured with the Microsoft Graph API connection, the section updates automatically based on the assigned custom attributes in Azure. This reduces administrative effort and ensures the recognition is always current and accurate.
Can multiple employee rankings be featured simultaneously?
Yes, you can set up multiple Person Cards with different Microsoft Graph API queries for each ranking (e.g., 1st, 2nd, 3rd place). This allows showcasing several top performers at once on your SharePoint page.
Related articles:
