Try ShortPoint now
TL;DR: Items Mapping is the step in ShortPoint Connect where you tell a Design Element which piece of your source data goes into each of its fields. For example, the Name column of a SharePoint list fills the Title field and Job Title fills the Subtitle. After you connect the element to a data source, open the Items tab and delete the default content. Then click the link icon next to each field and pick the property (source column) it should show. Leave a field unmapped if you don’t need it, then click the green check mark and Save and Publish the page.
Ever used ShortPoint Connect to build dynamic SharePoint pages? If you have, you know just how powerful it is. But did you know that the real force behind the capabilities of ShortPoint Connect lies with a feature called Items Mapping?
Items Mapping is the bridge between your raw data and those beautiful design elements your users love. Let’s dive into what it is, how it works, and why it’s about to become your new best friend.
TABLE OF CONTENTS
- Prerequisites
- What is Items Mapping?
- How Does Items Mapping Work?
- Why Is Items Mapping So Useful?
- Ready to Give Items Mapping a Try?
- Frequently Asked Questions
Prerequisites
- You must have the latest version of ShortPoint SPFx installed.
- You must be a ShortPoint Designer with an active license.
- You must have a data source (SharePoint List, Document Library, etc.) you want to use to connect.
- You must have the Design Element you want to use for the connection on your SharePoint page.
What is Items Mapping?
Before you can understand the logic behind items mapping, you’ll need to know about ShortPoint Connect first.
ShortPoint Connect is a feature that creates a real-time link between a Design Element and a Data Source. Basically, it fetches data from a SharePoint List, a Document Library, an Outlook Calendar, or even an external RSS feed and connects that data to any ShortPoint Design Element (Tiles, Image List, Slideshow, etc).
ShortPoint Connect is inseparable from Items Mapping. To put it simply, Items Mapping is the process of telling a Design Element (like a Ticker, a List, or a Tiles element) exactly which piece of data goes where.
For example, if connect fetches a list of employee data (with basic information including name, job title, and department), items mapping is deciding where each basic information goes: name will be the title, job title will be the subtitle, and department will be the description.
Without items mapping, ShortPoint might know where the data is, but it won't know how to display it.
How Does Items Mapping Work?
The beauty of Items Mapping is that you don't need to be a developer to master it. It usually happens right after you’ve established a ShortPoint Connection.
Connecting to a Source
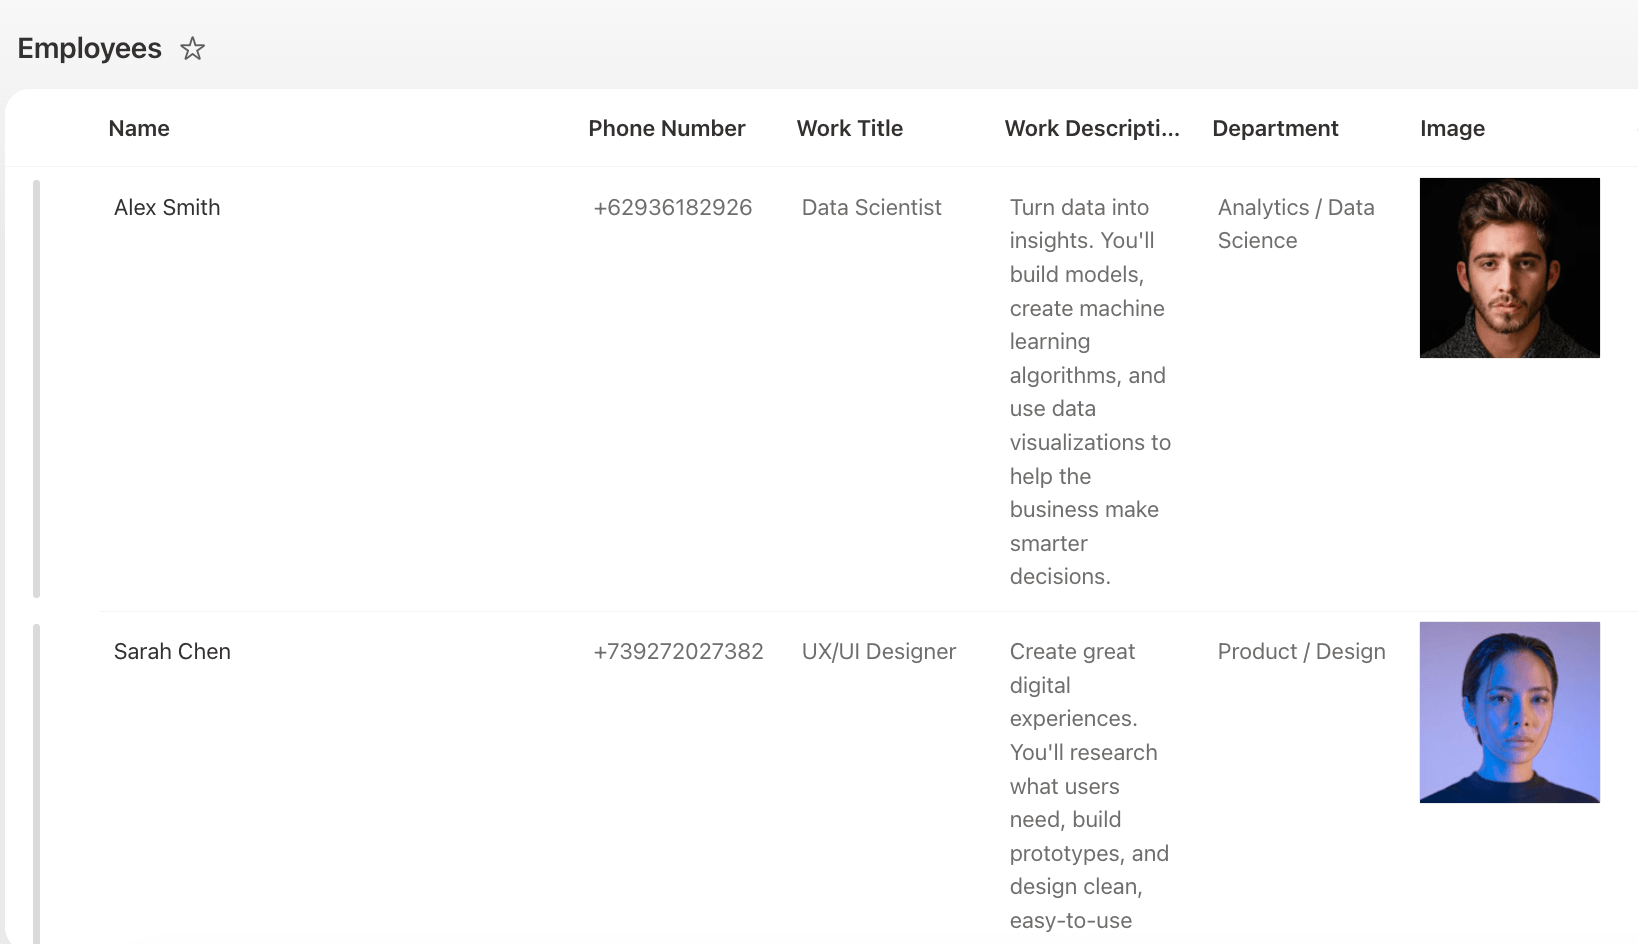
Before you can start items mapping, you’ll need to connect a Design Element to a source. For this guide, we’ll use an Image List Design Element and this SharePoint List below as the data source.
Step 1: Edit the ShortPoint web part
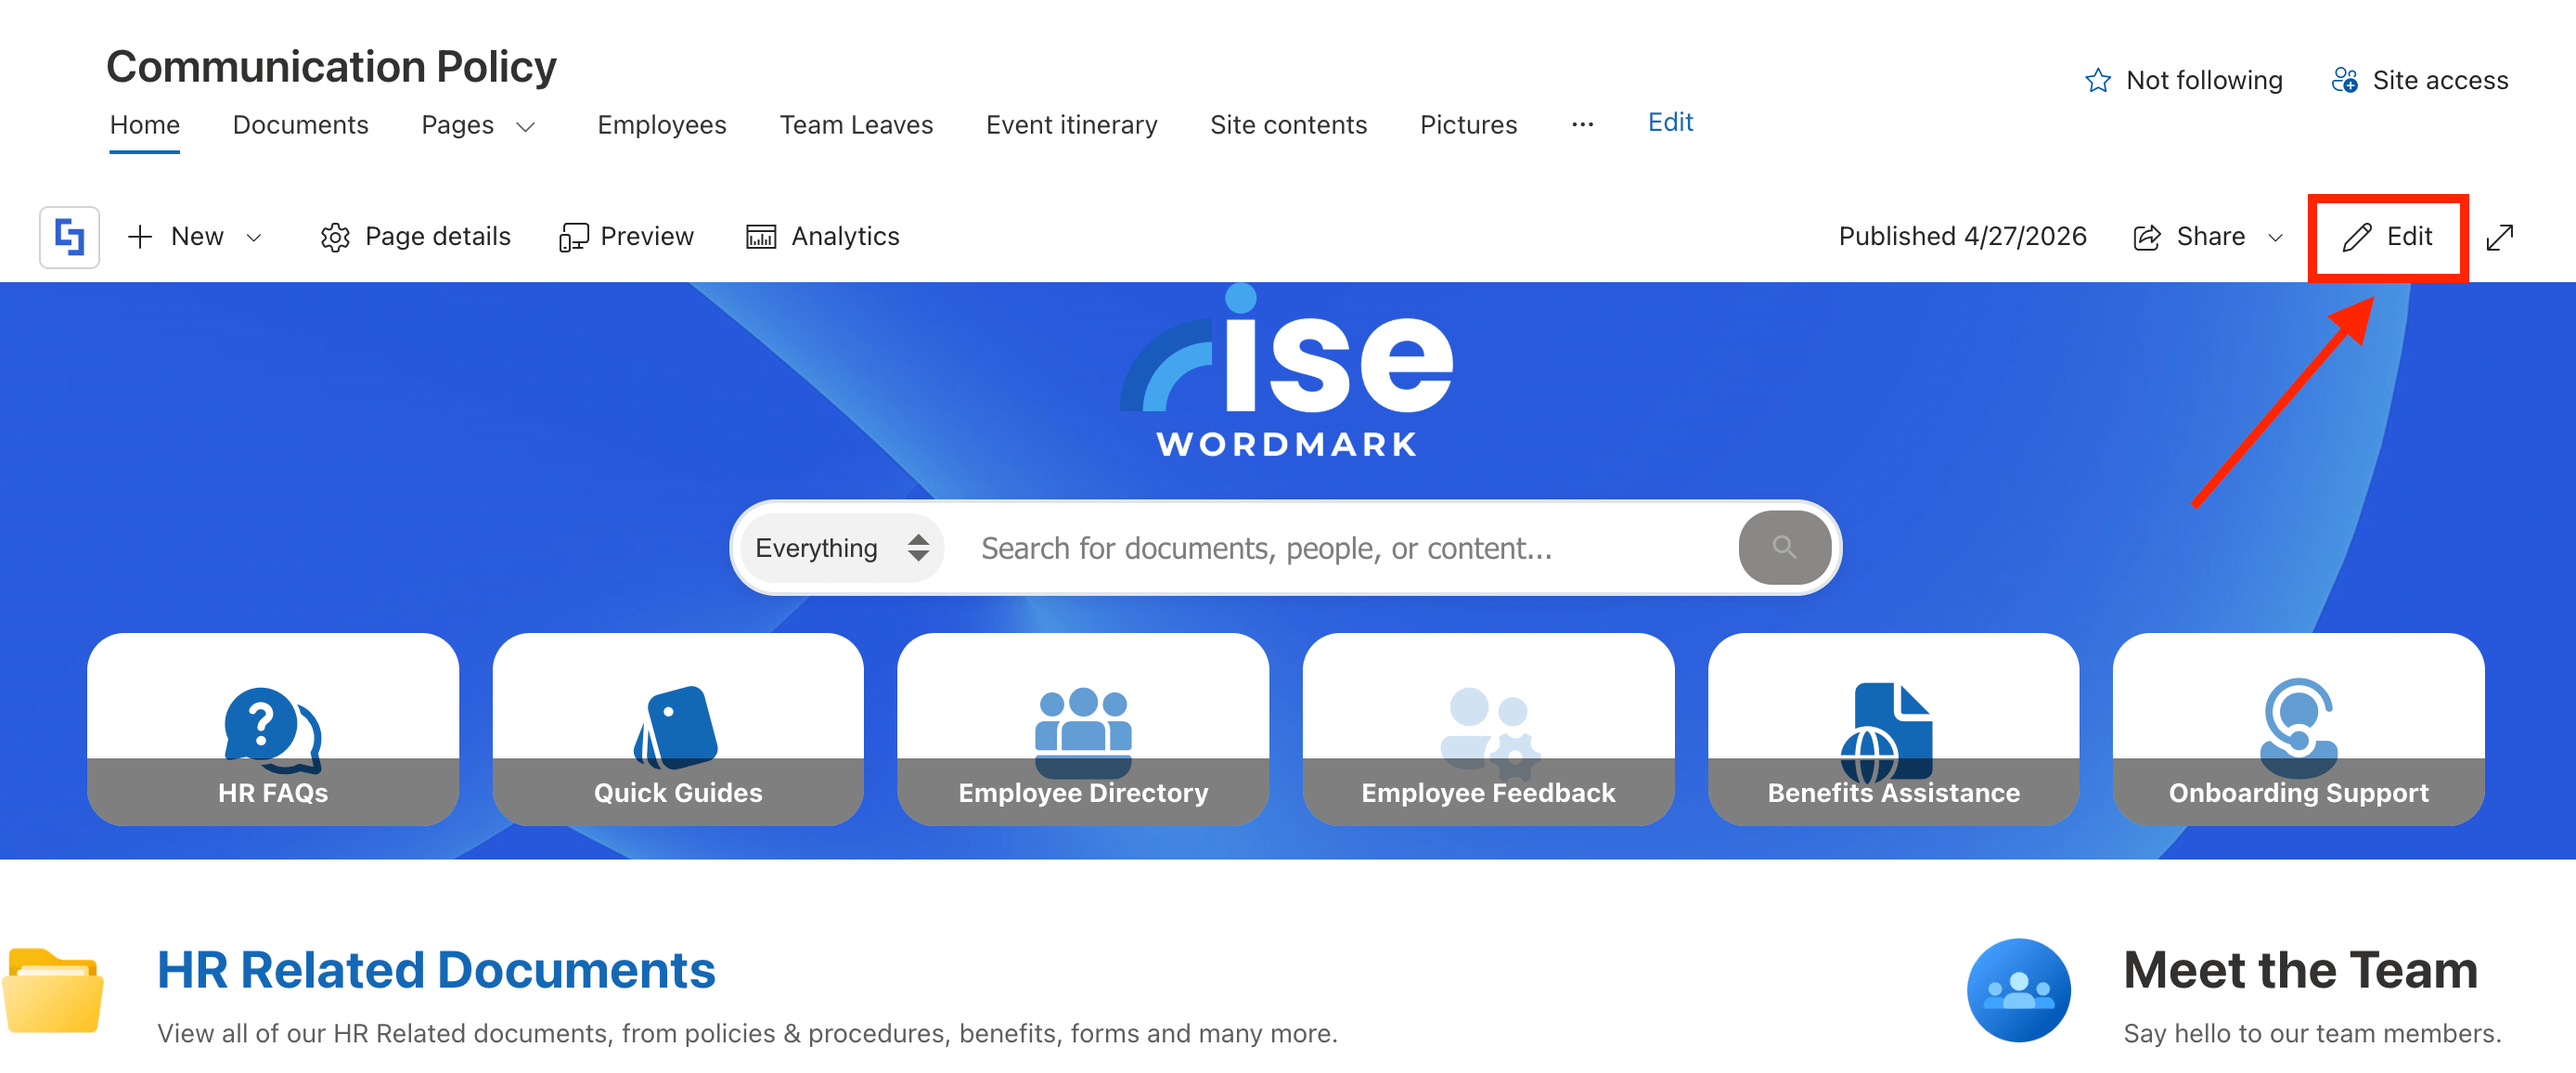
- Go to a SharePoint page and edit it:
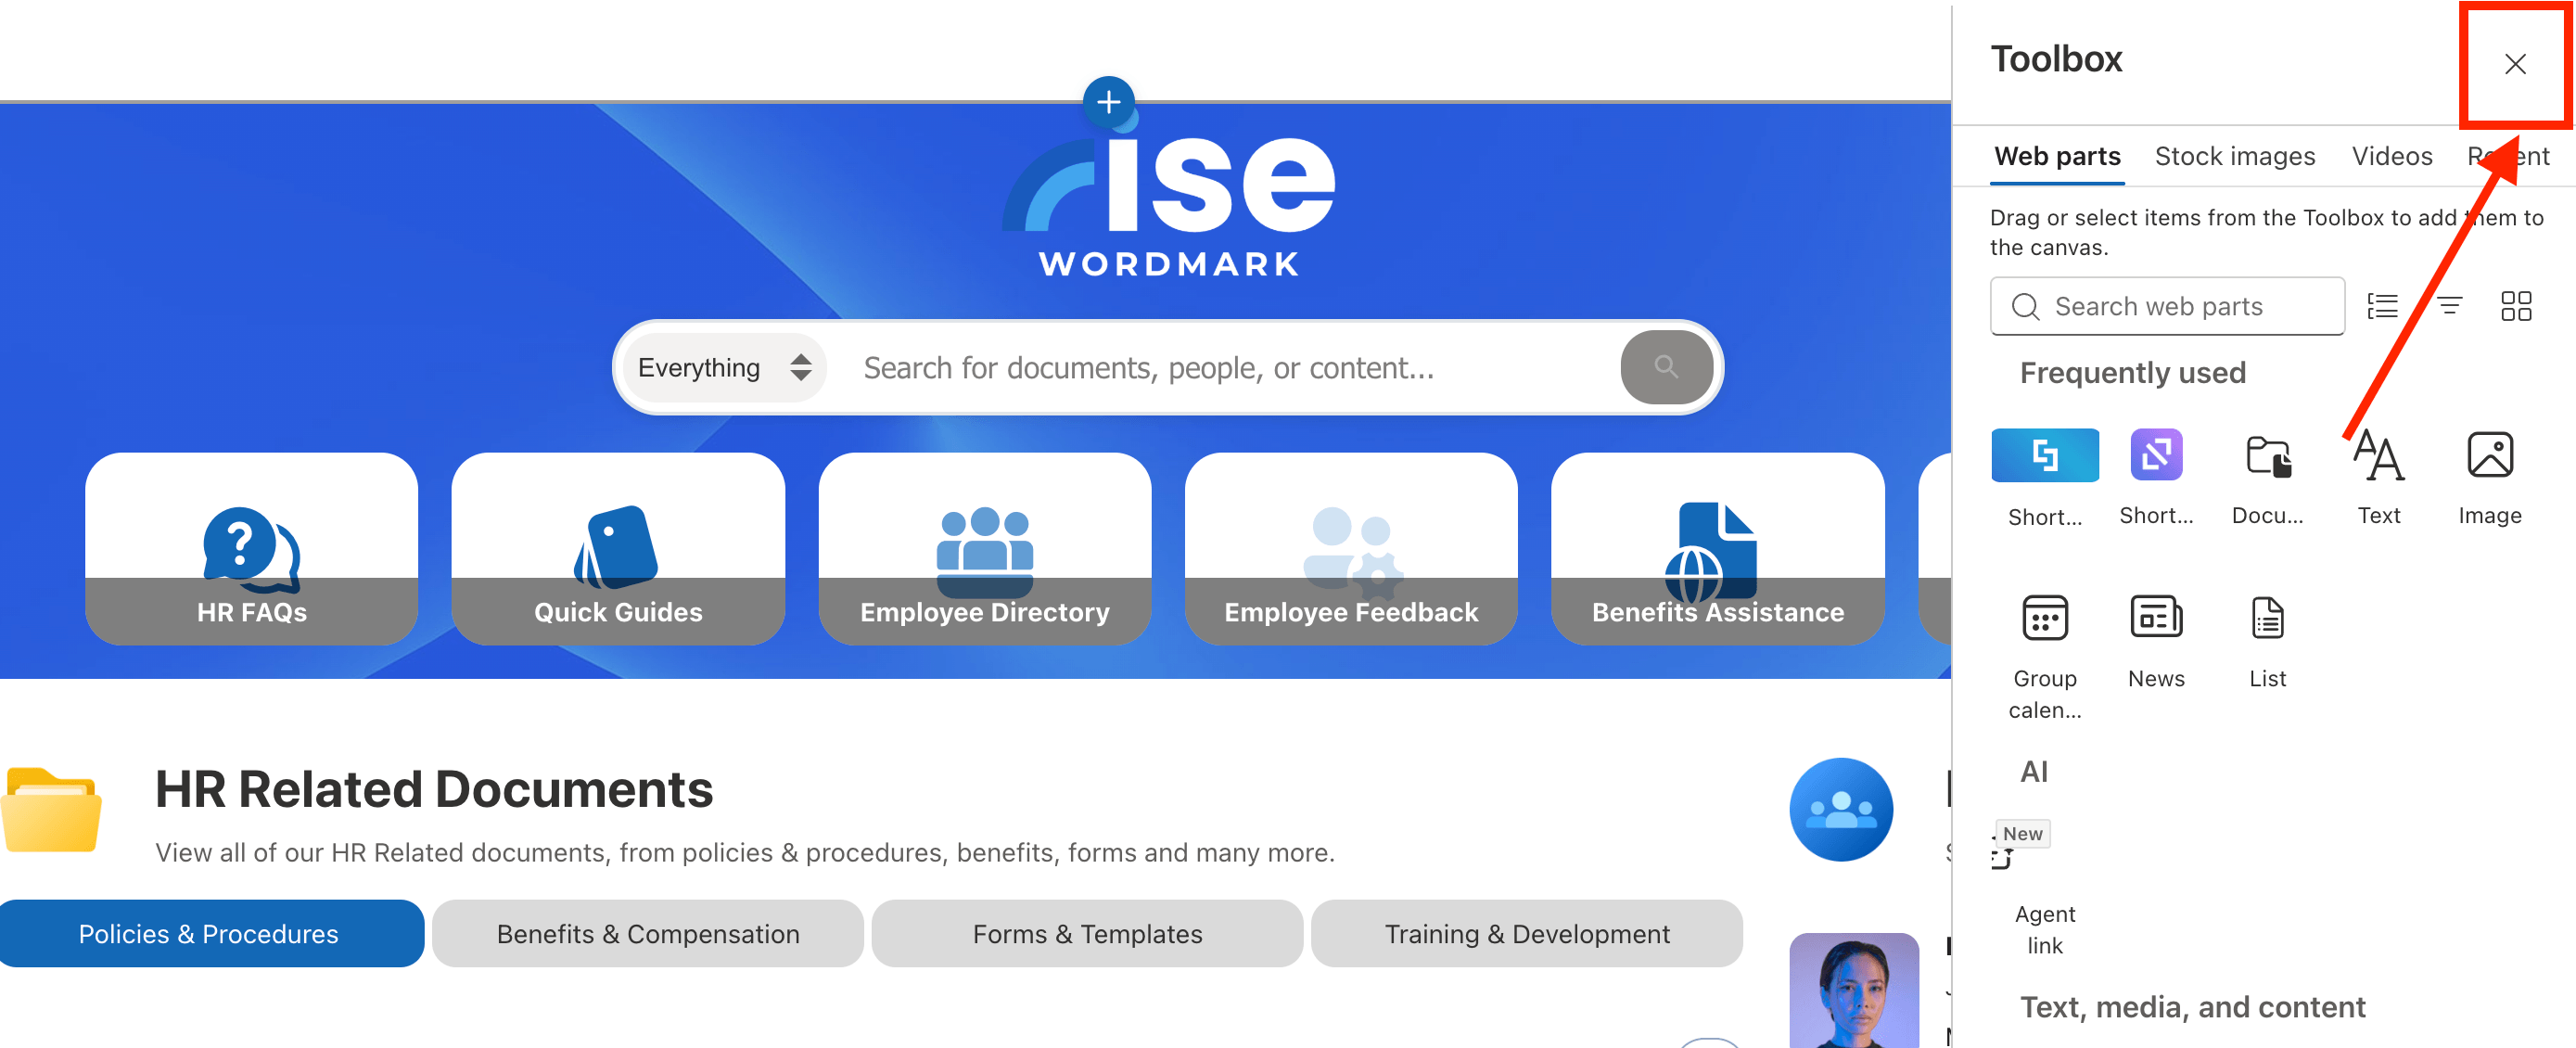
- Close the Toolbox:
- Edit the ShortPoint web part:
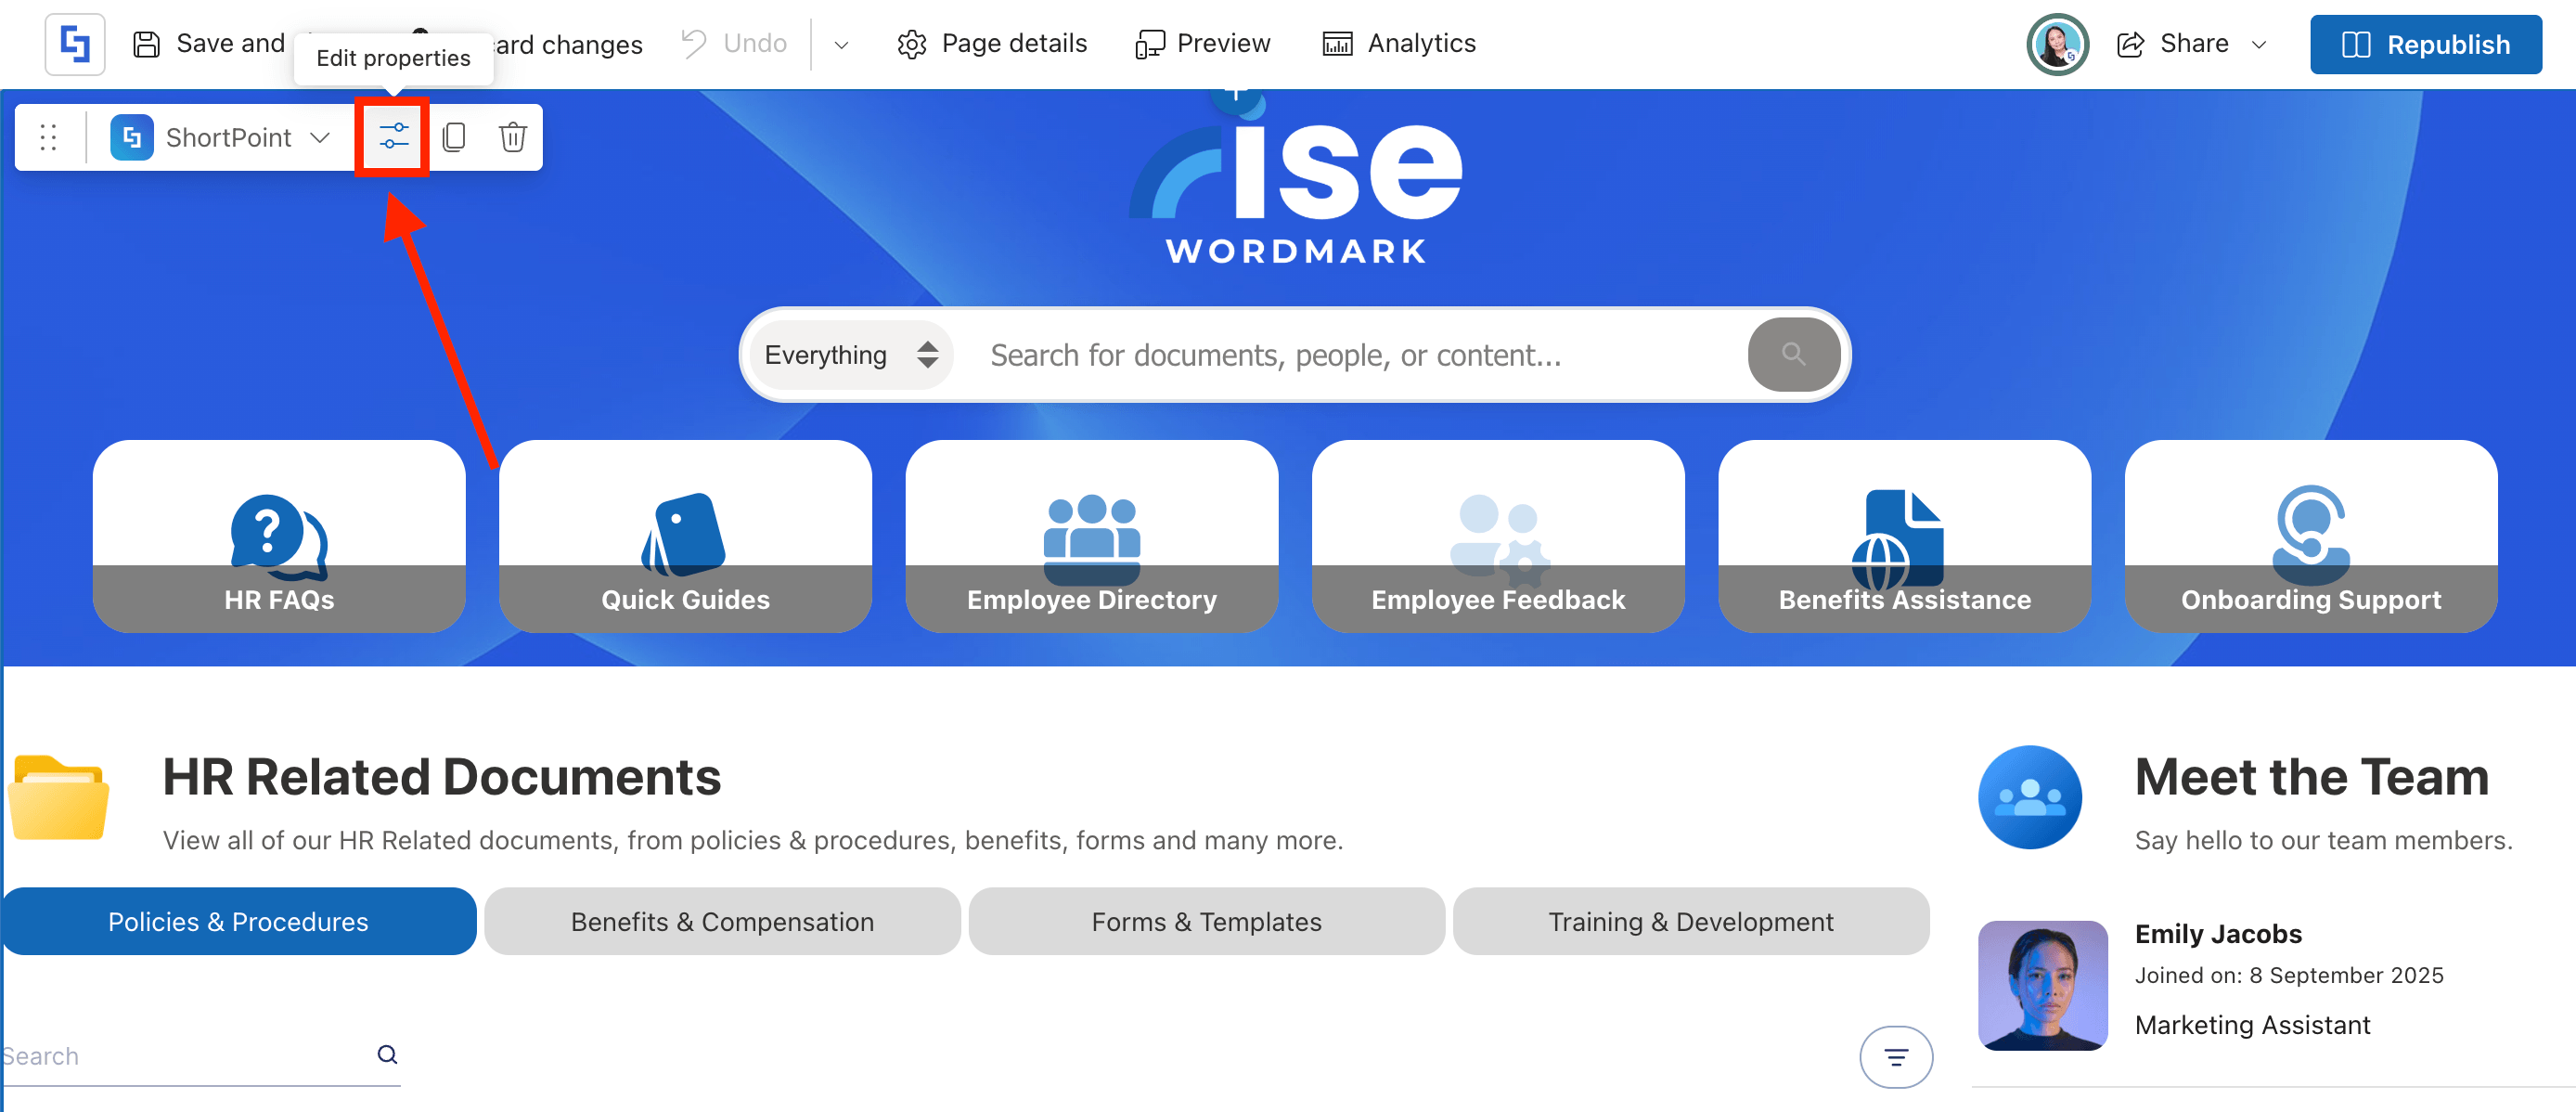
Step 2: Edit the Design Element
NOTEBefore proceeding, you must have the Design Element you want to use to connect on your page. In this case, we’ll use Image List.
- Click the EasyPass tag of the Design Element:
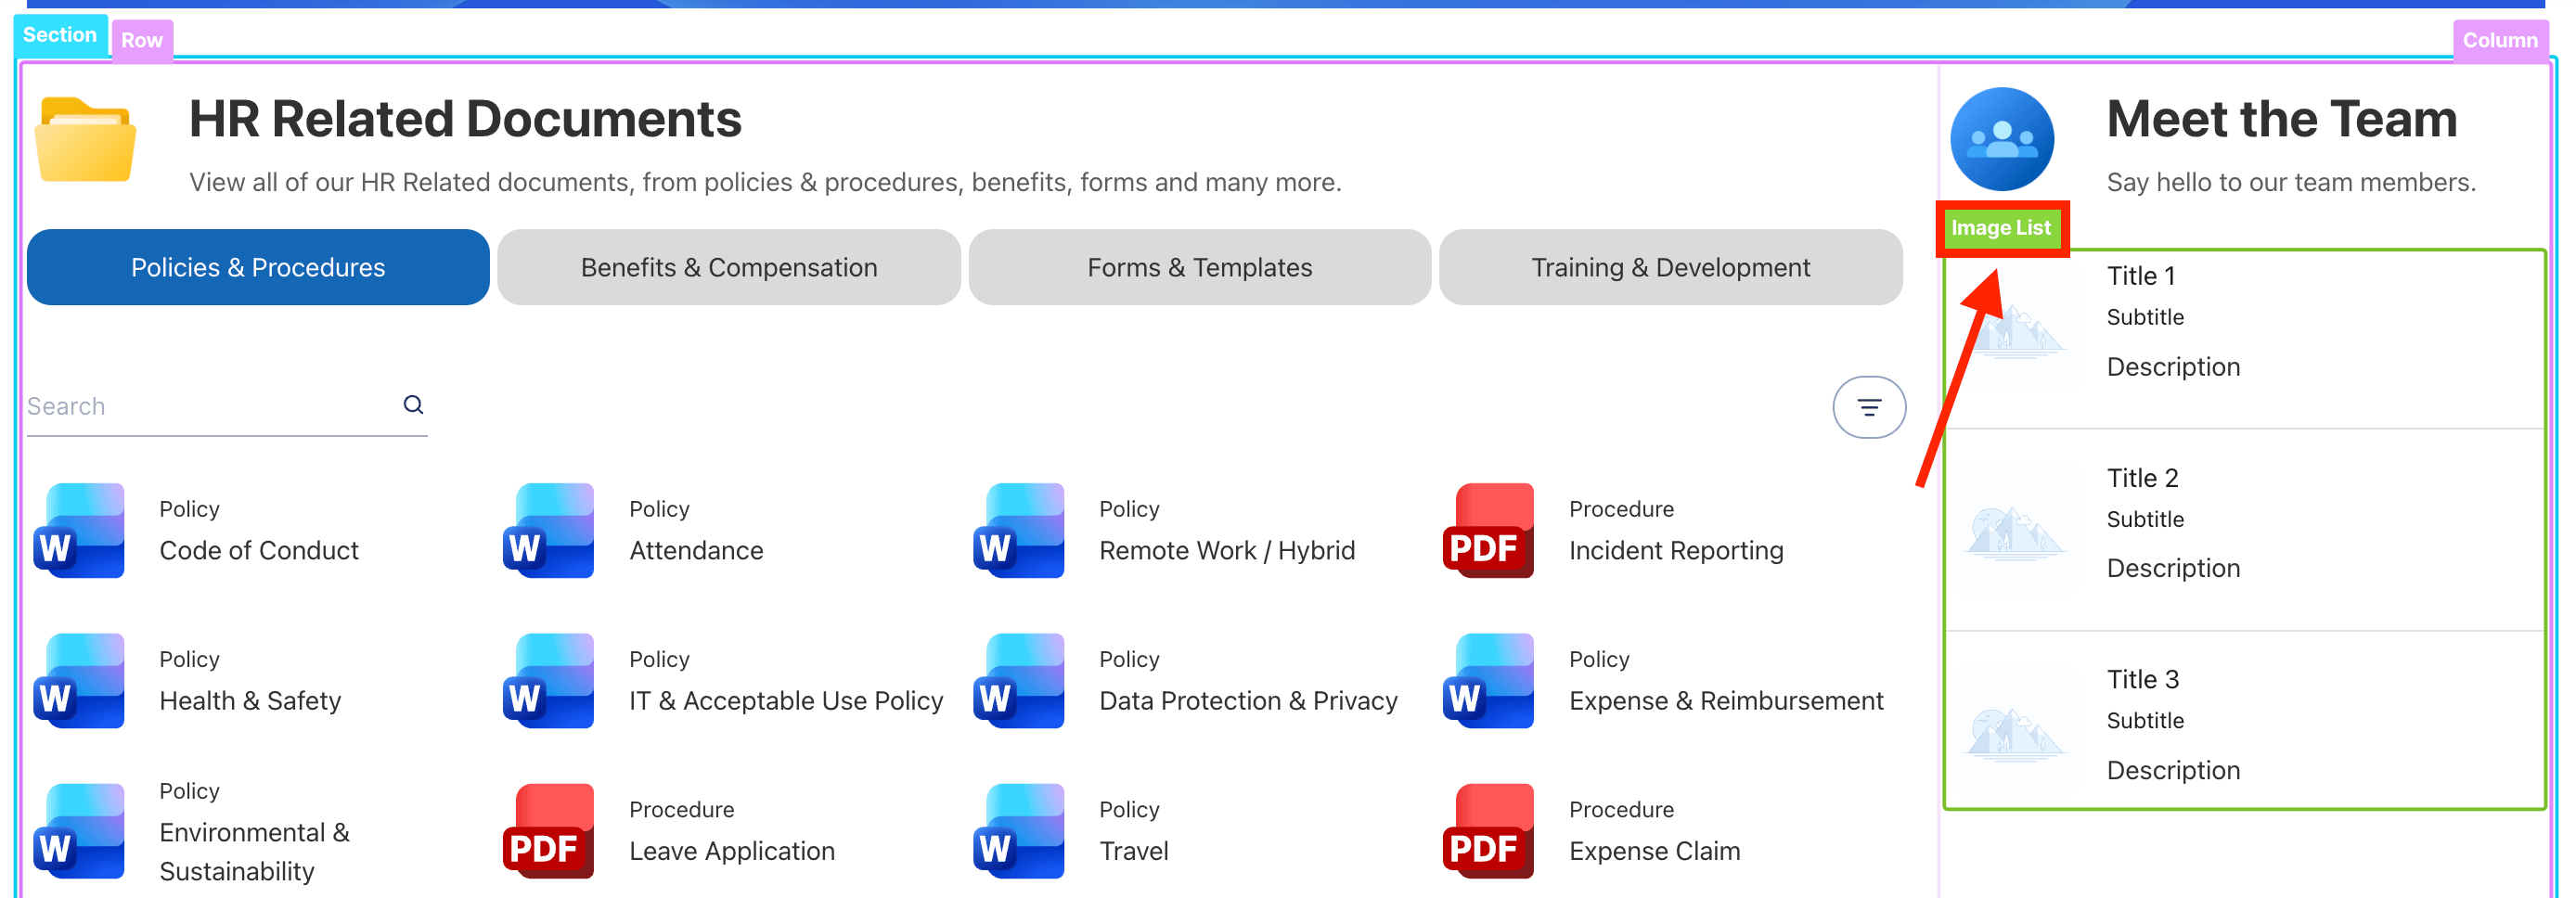
- Select the cogwheel icon:
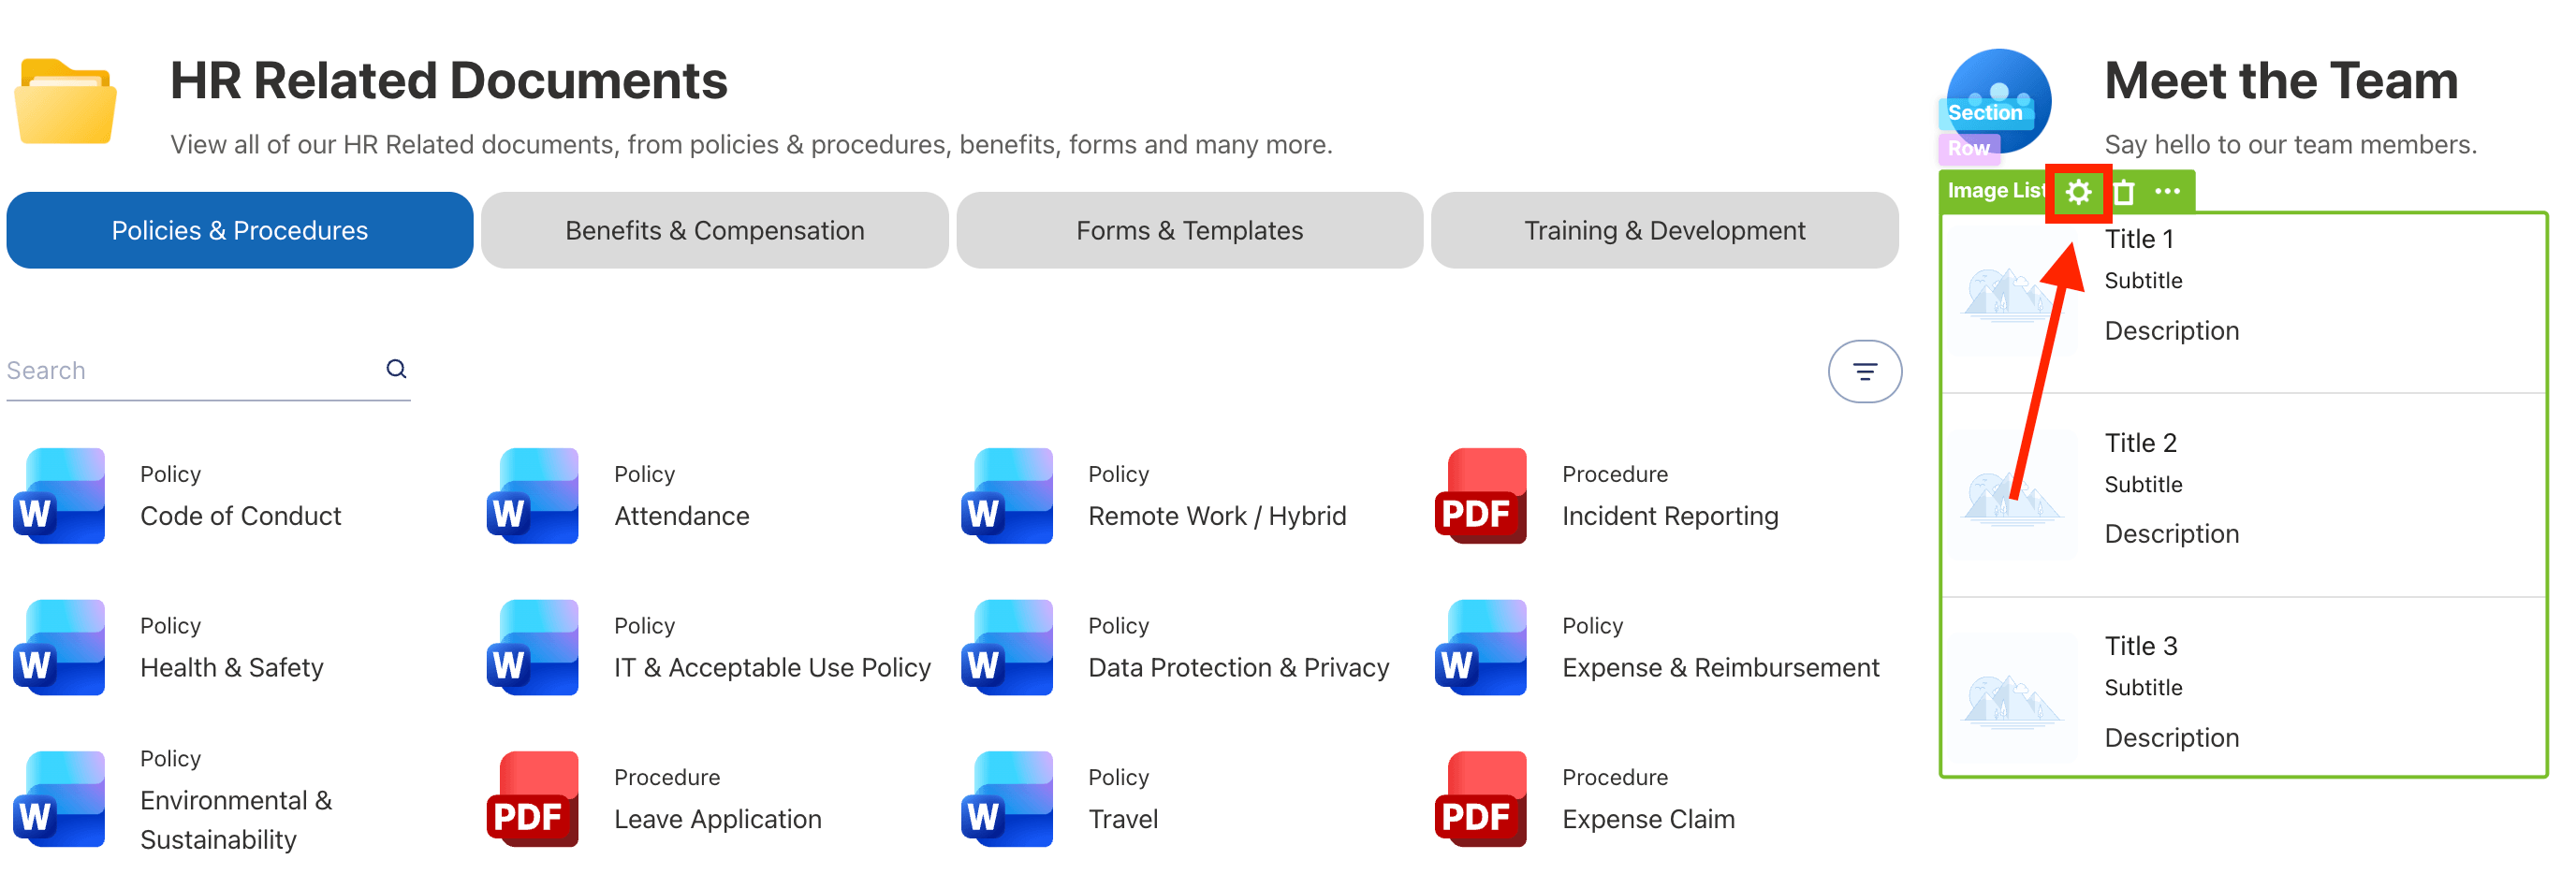
Step 3: Establish Connection
- Go to the Connect tab:
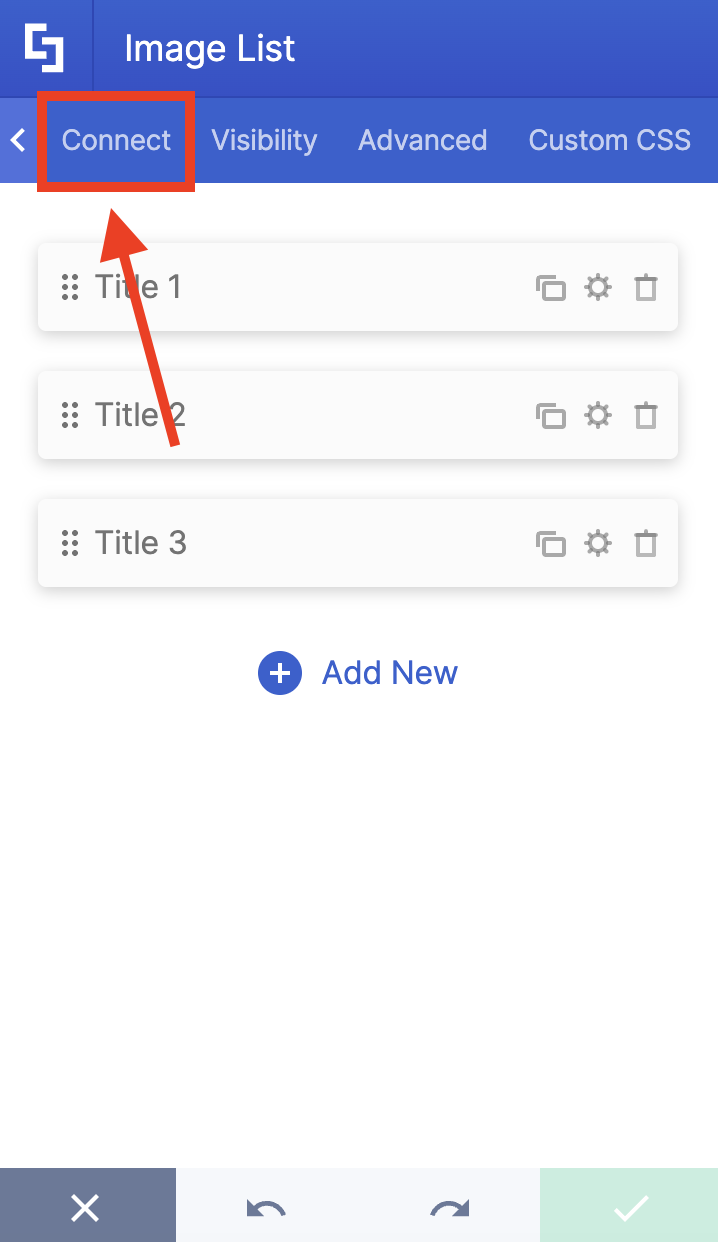
- Click Configure:
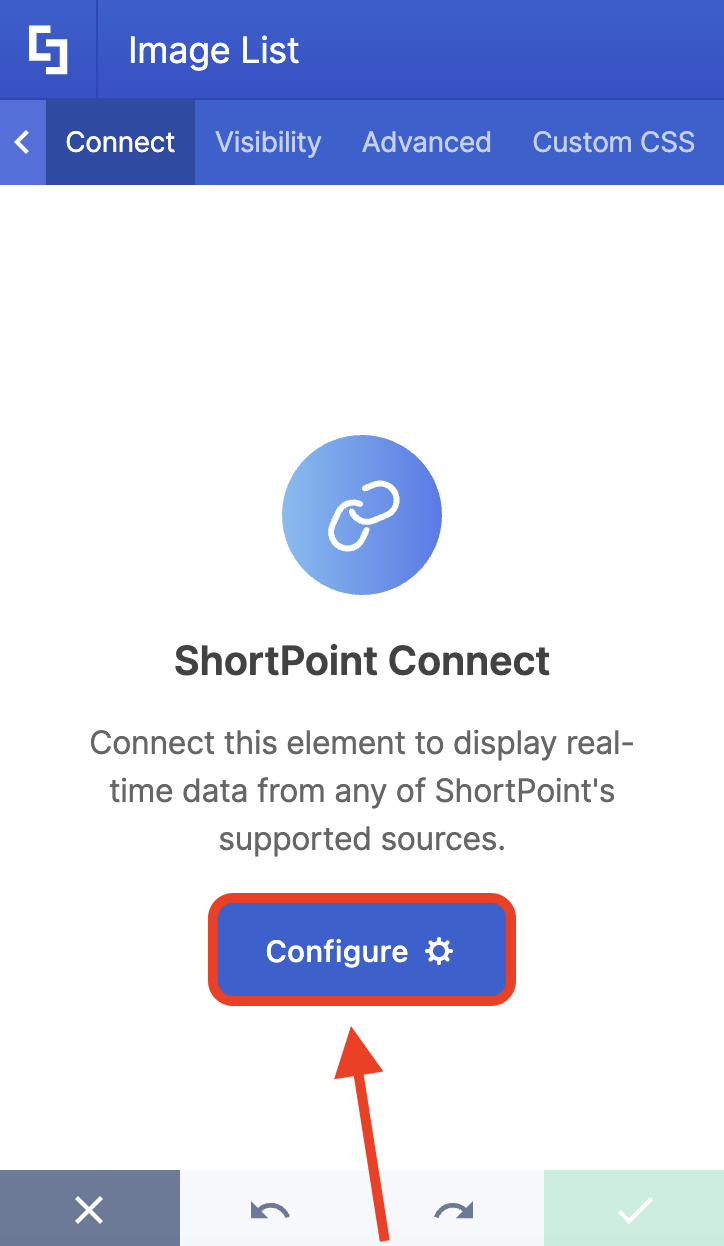
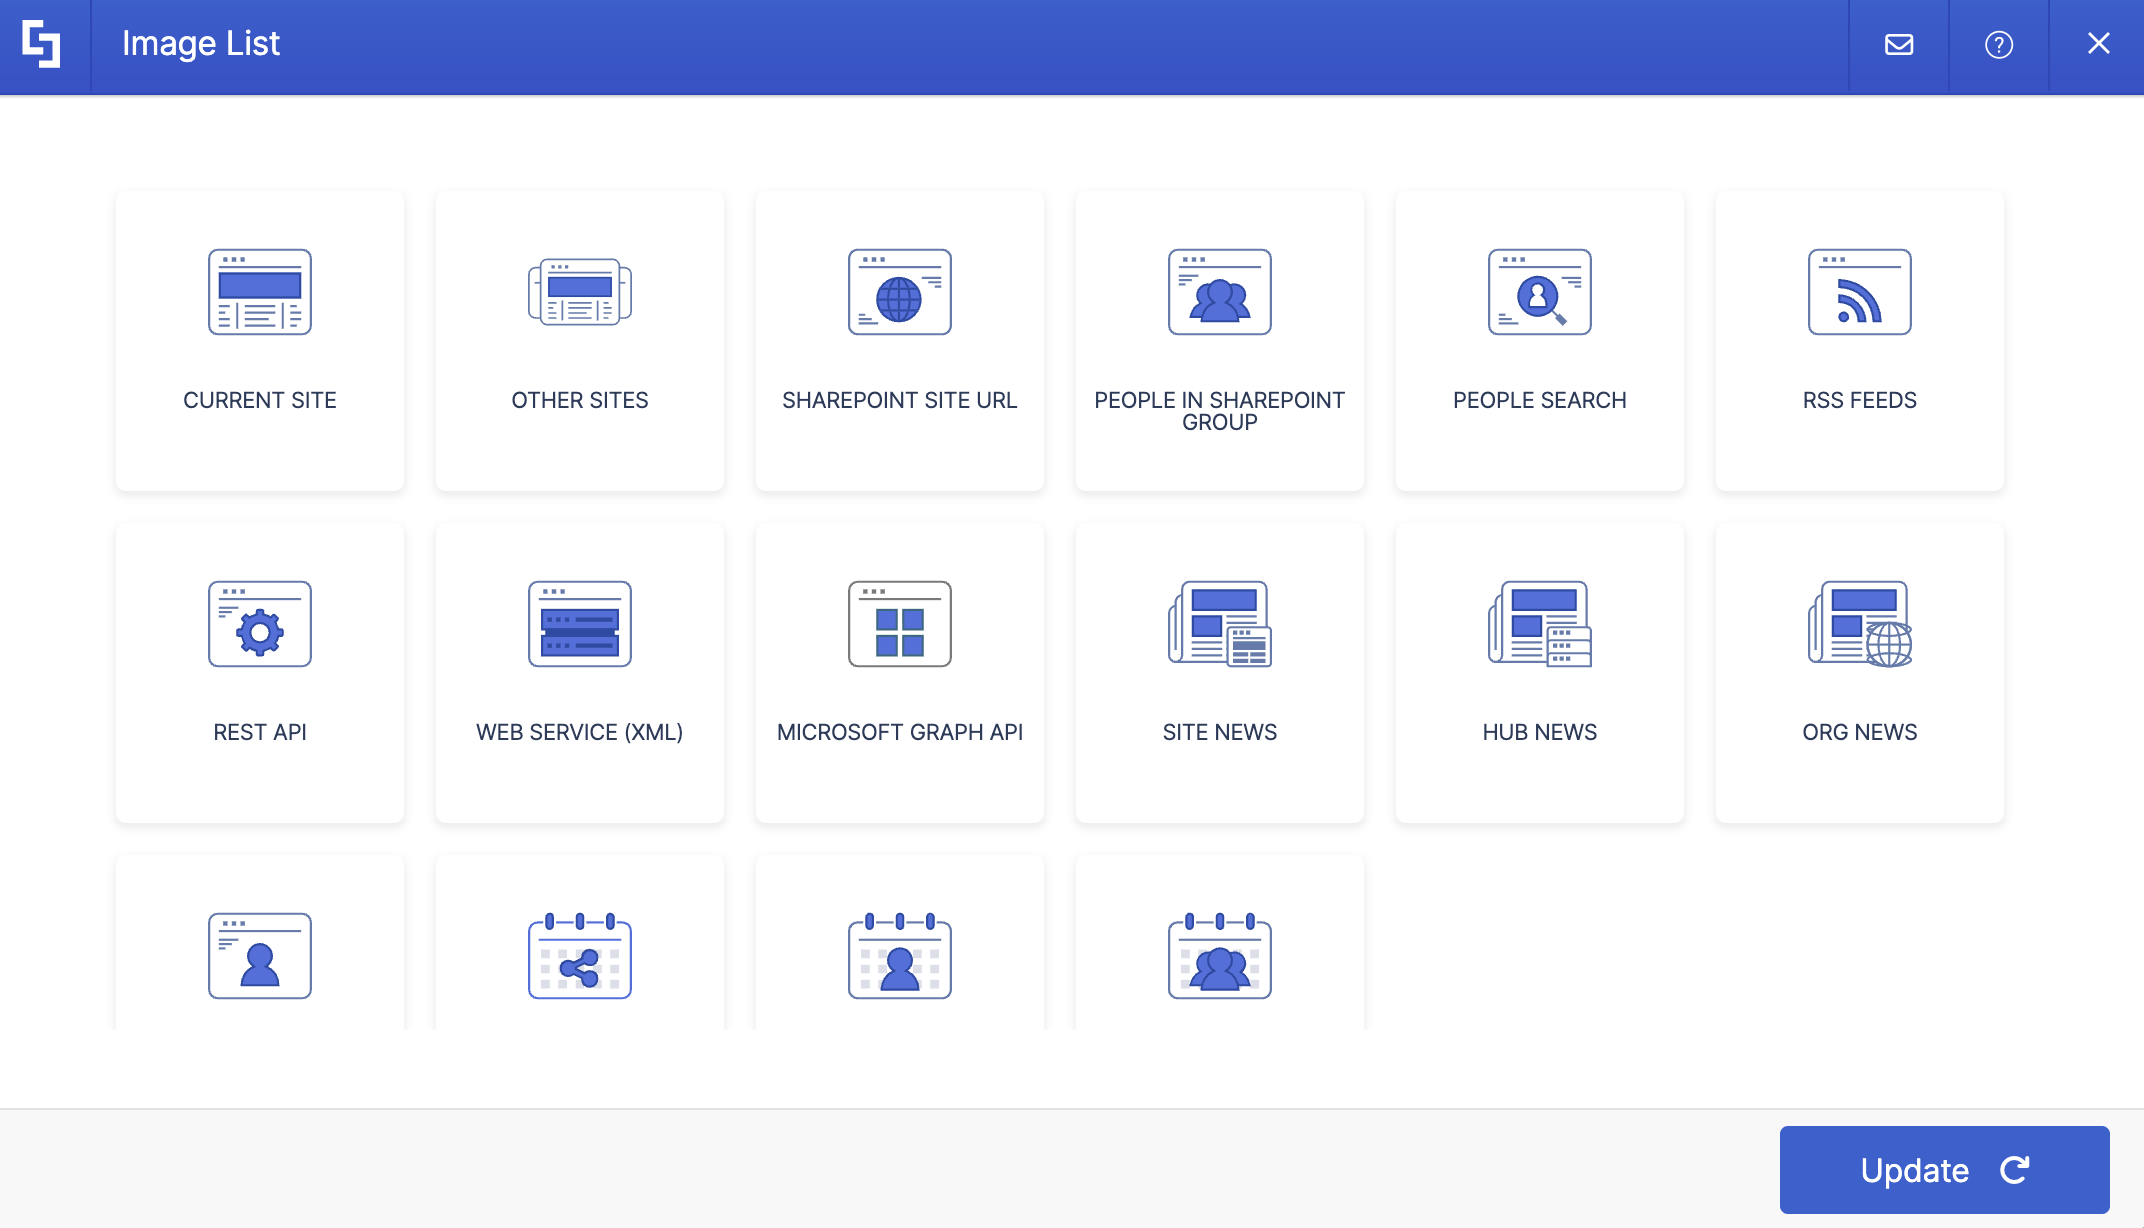
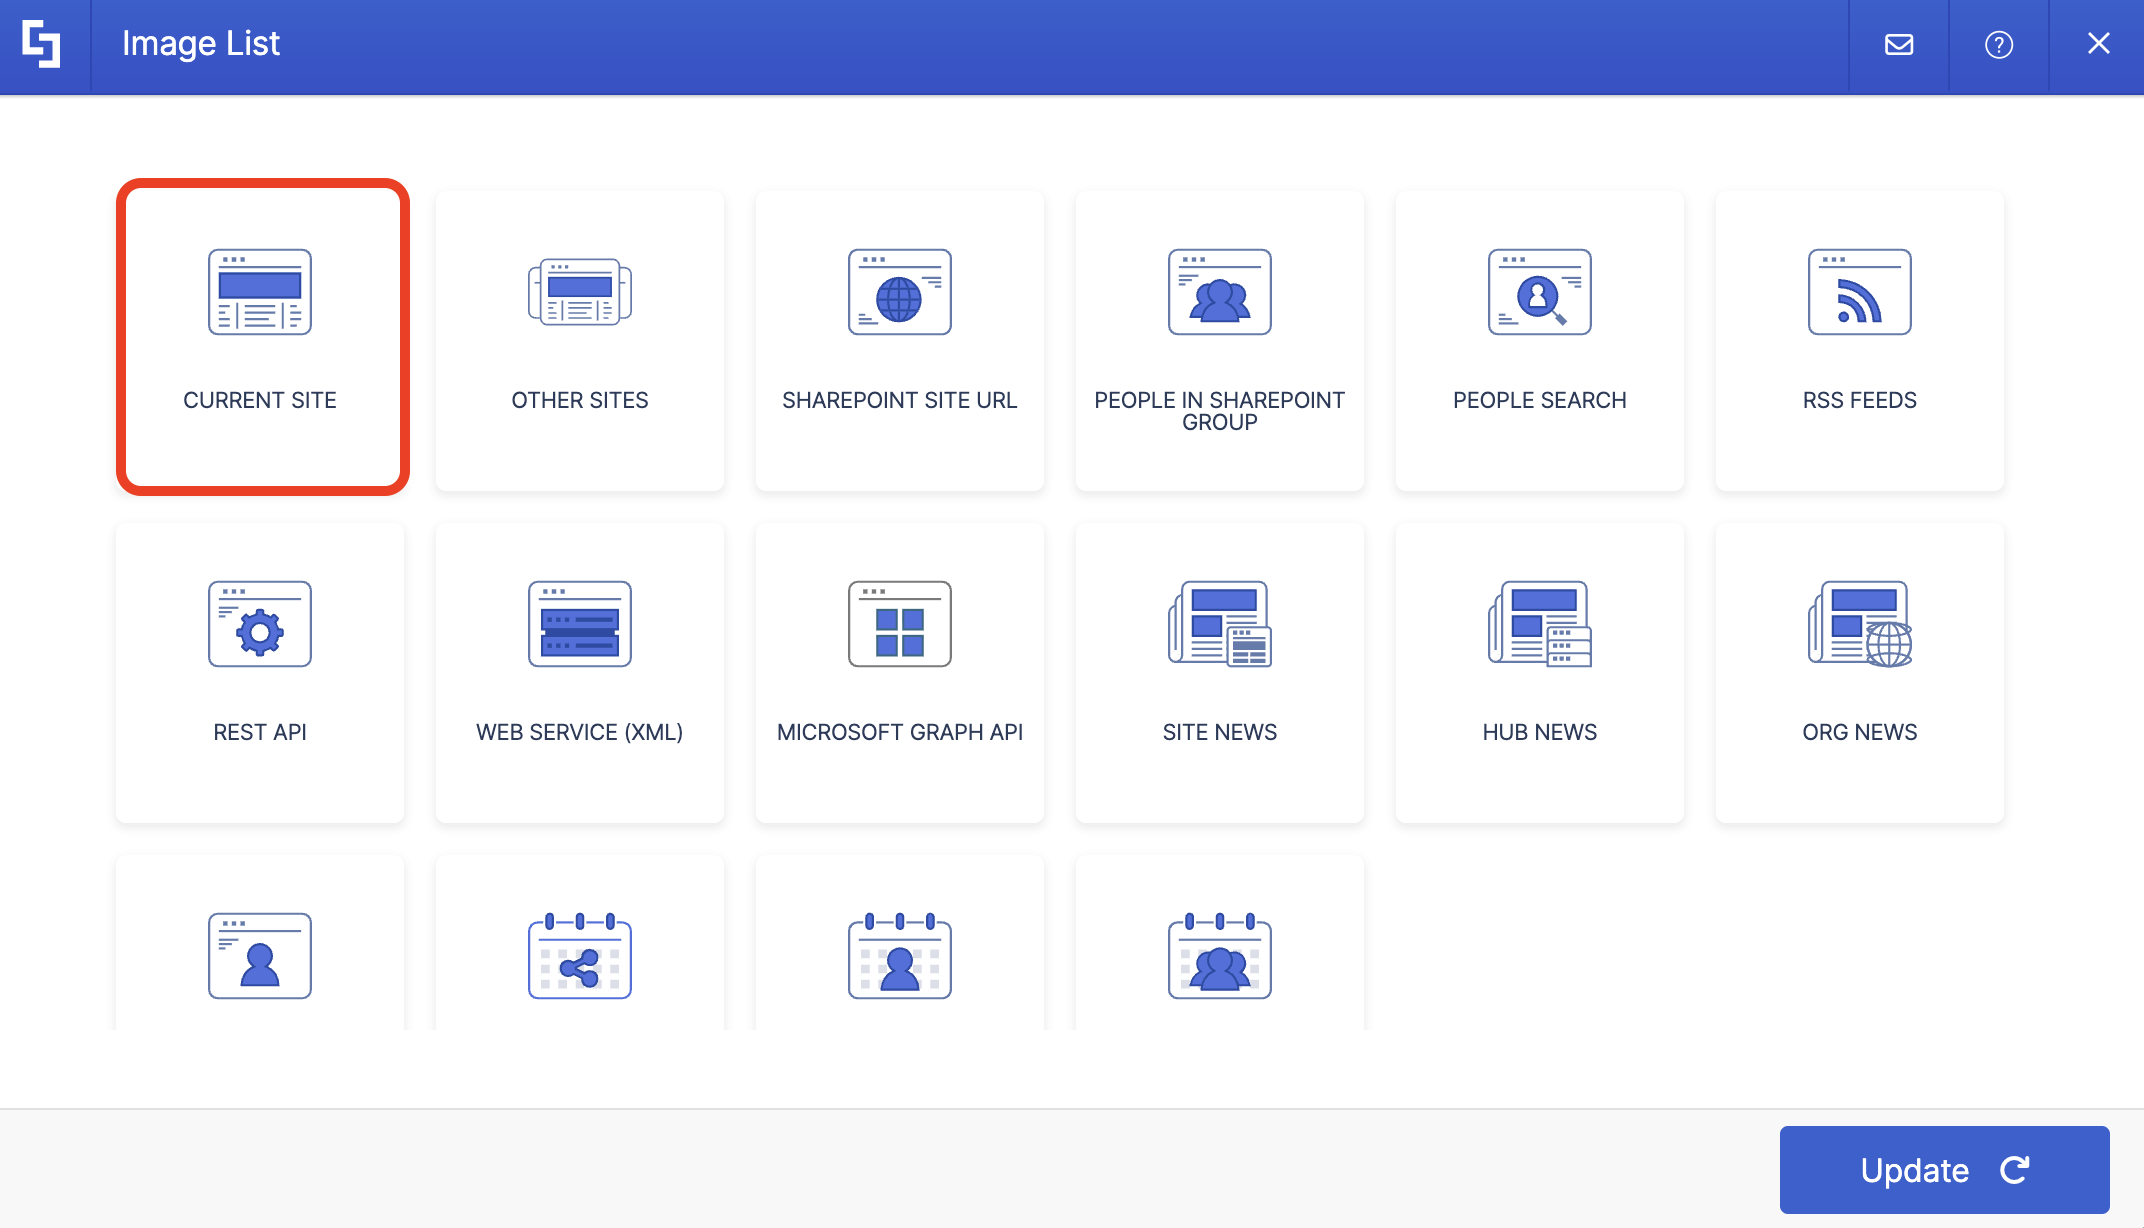
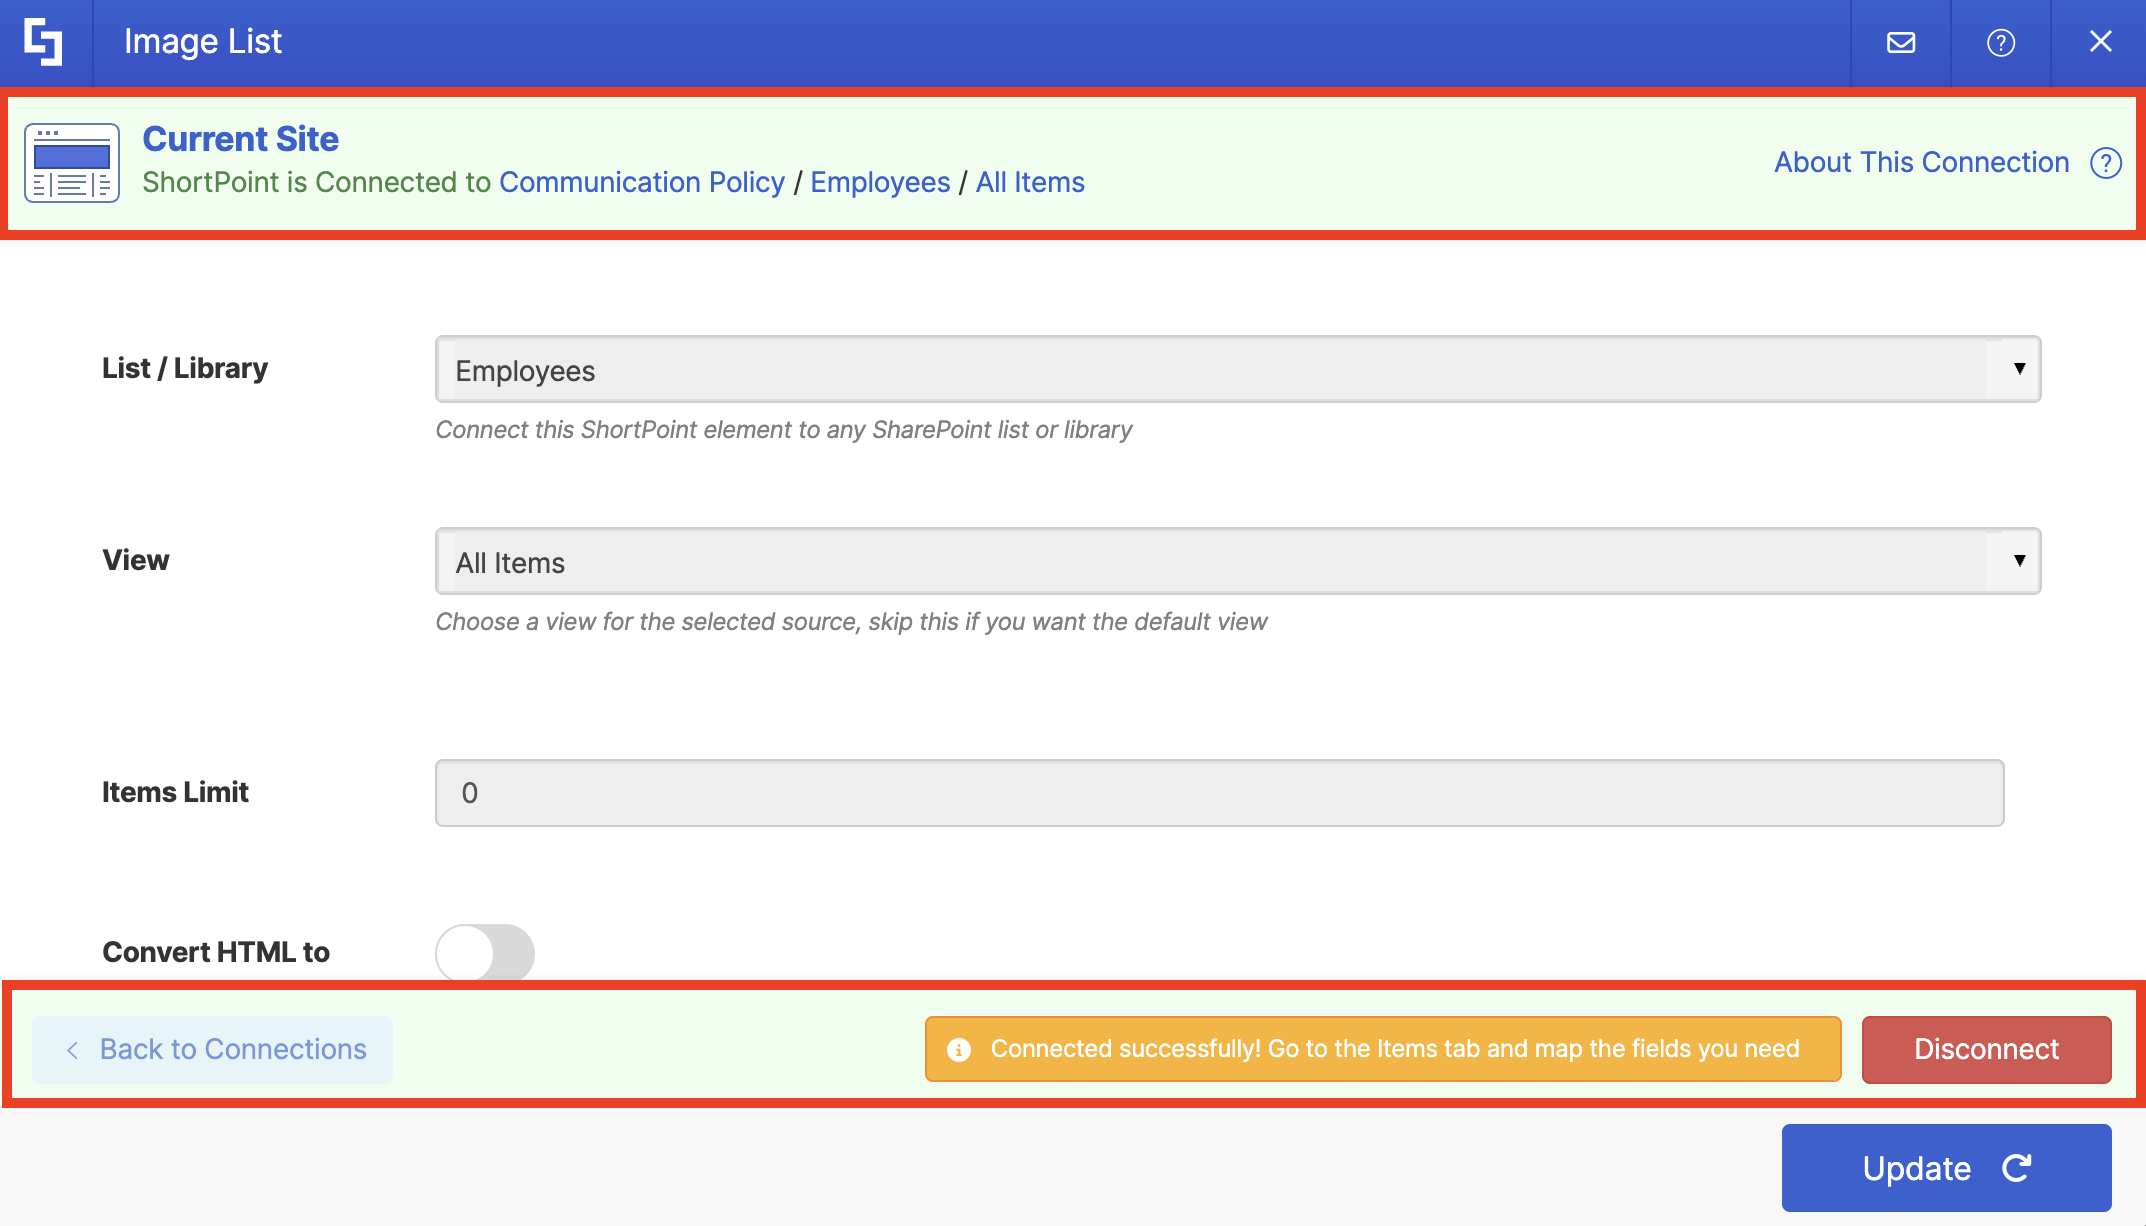
- Choose the connection type you’ll use. ShortPoint has over 20 integrations, depending on the type of data you have. For this guide, we’ll use the Current Site connection since the SharePoint List we’ll use is located in the SharePoint site we’re currently using.
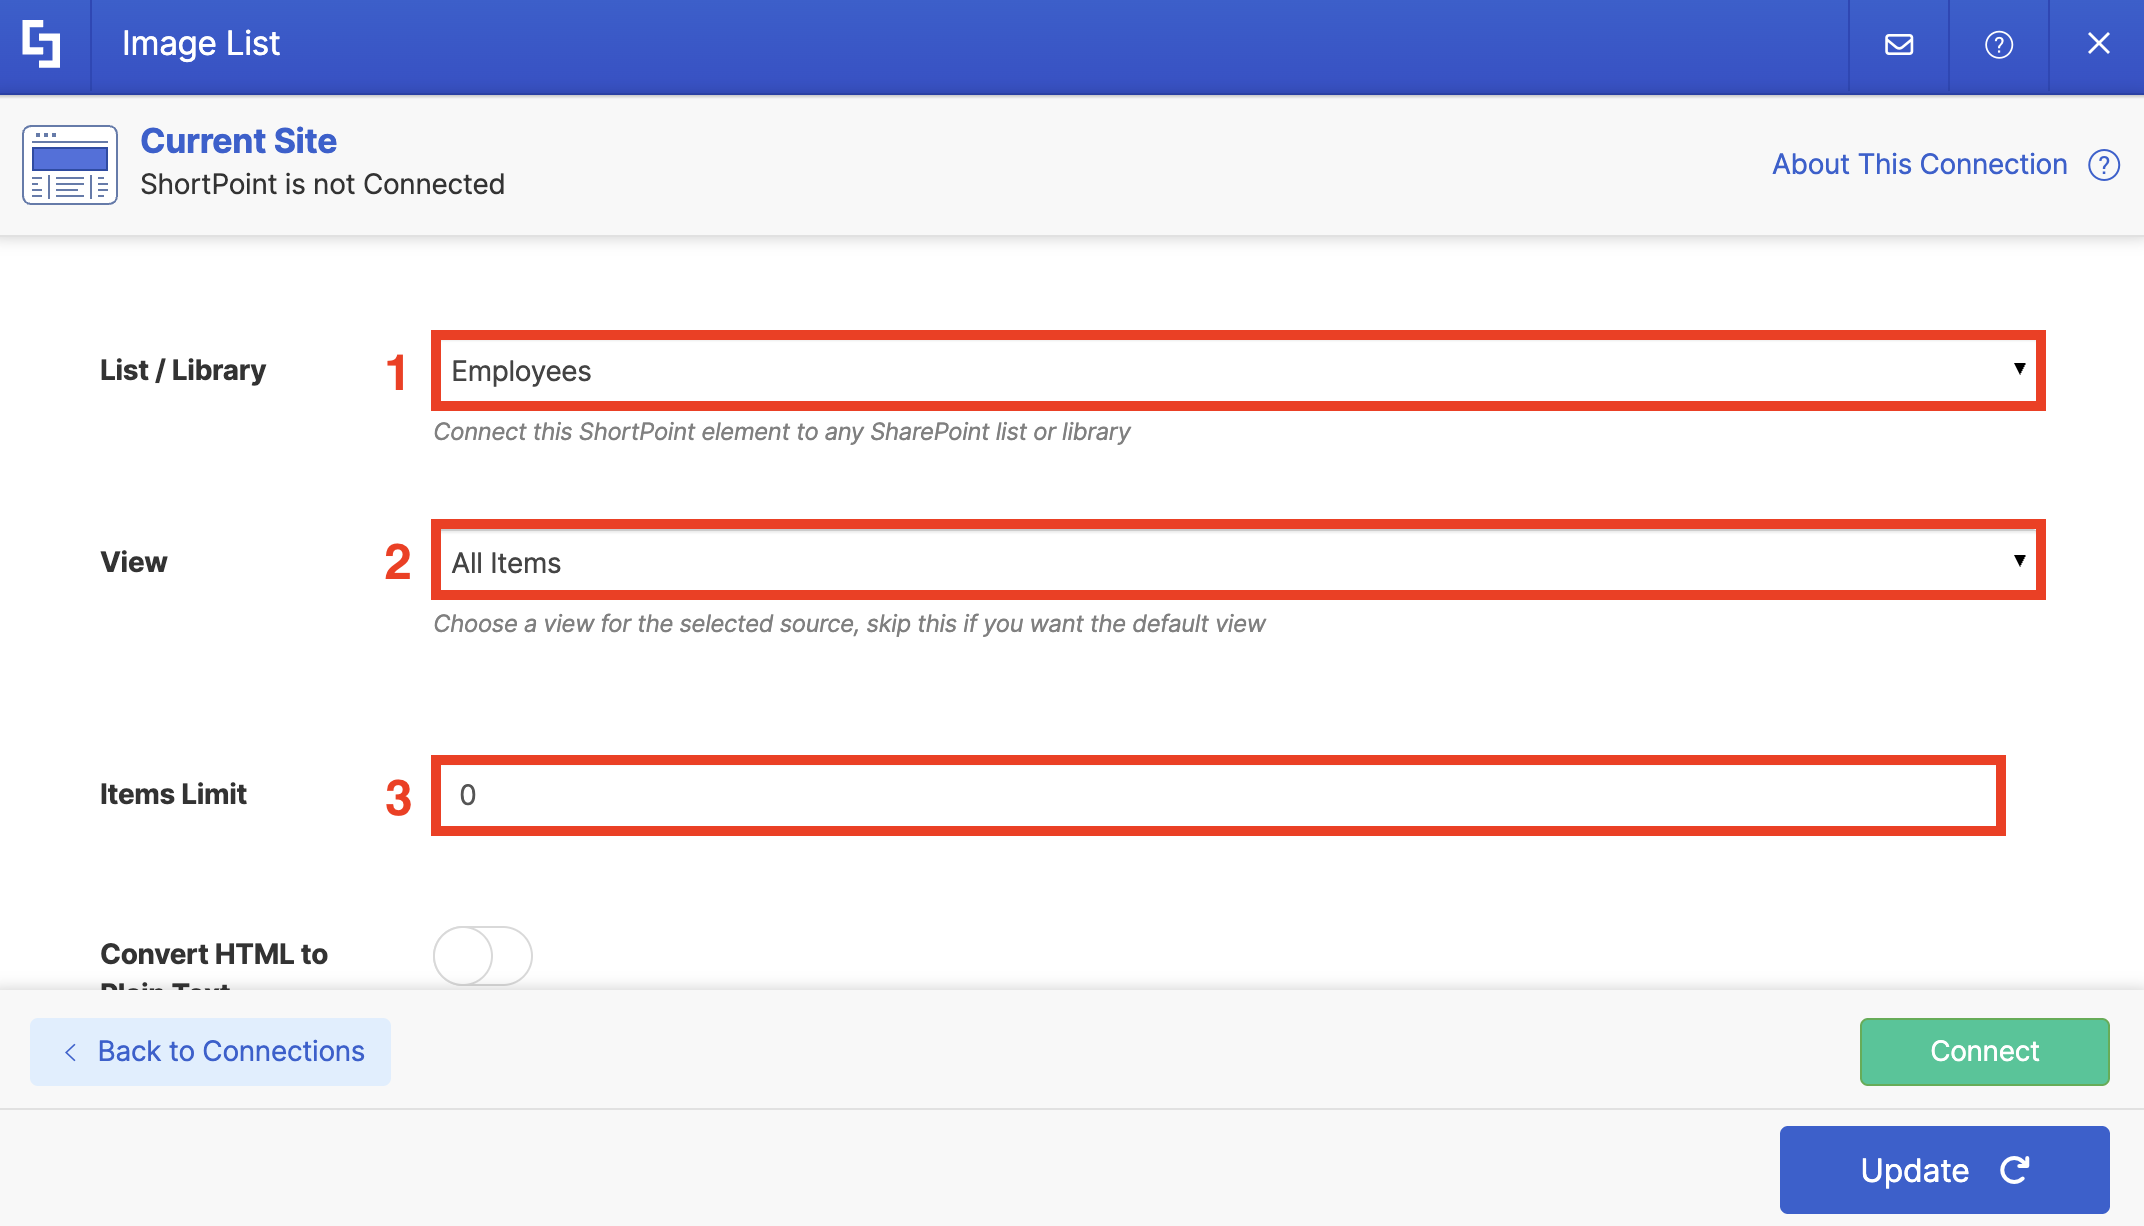
- Add in the necessary details. In our case, we need to add the [1] name of the SharePoint List, the [2] view type, and the [3] items limit:
NOTEThe details you’ll need to fill in will vary depending on the connection type you used. For more information, check out ShortPoint Connect articles.
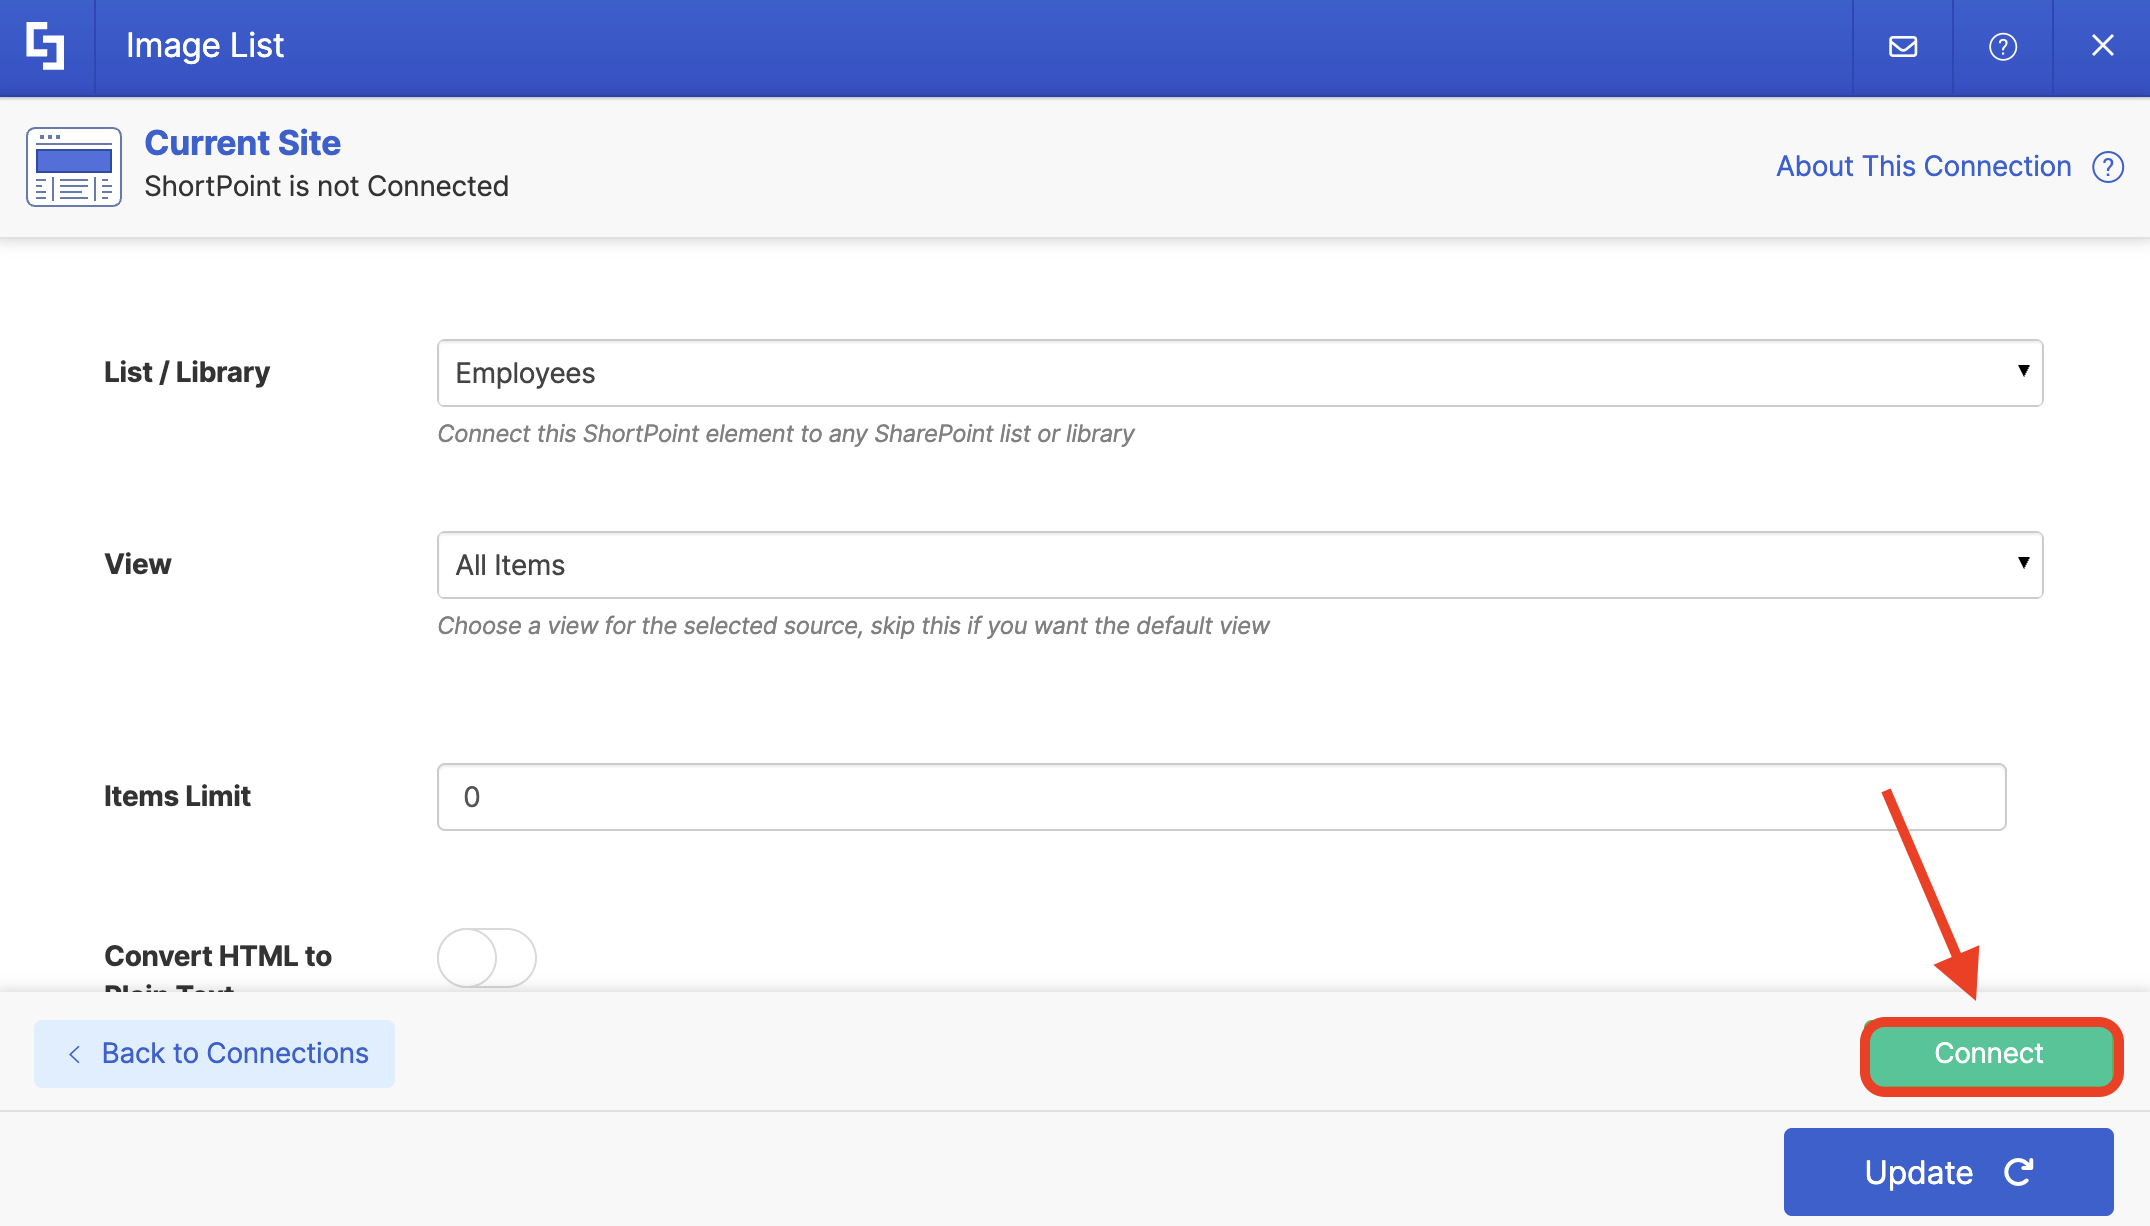
- Once done, click Connect.
- You’ll see a success banner if the connection has been established successfully.
Then, click Update:
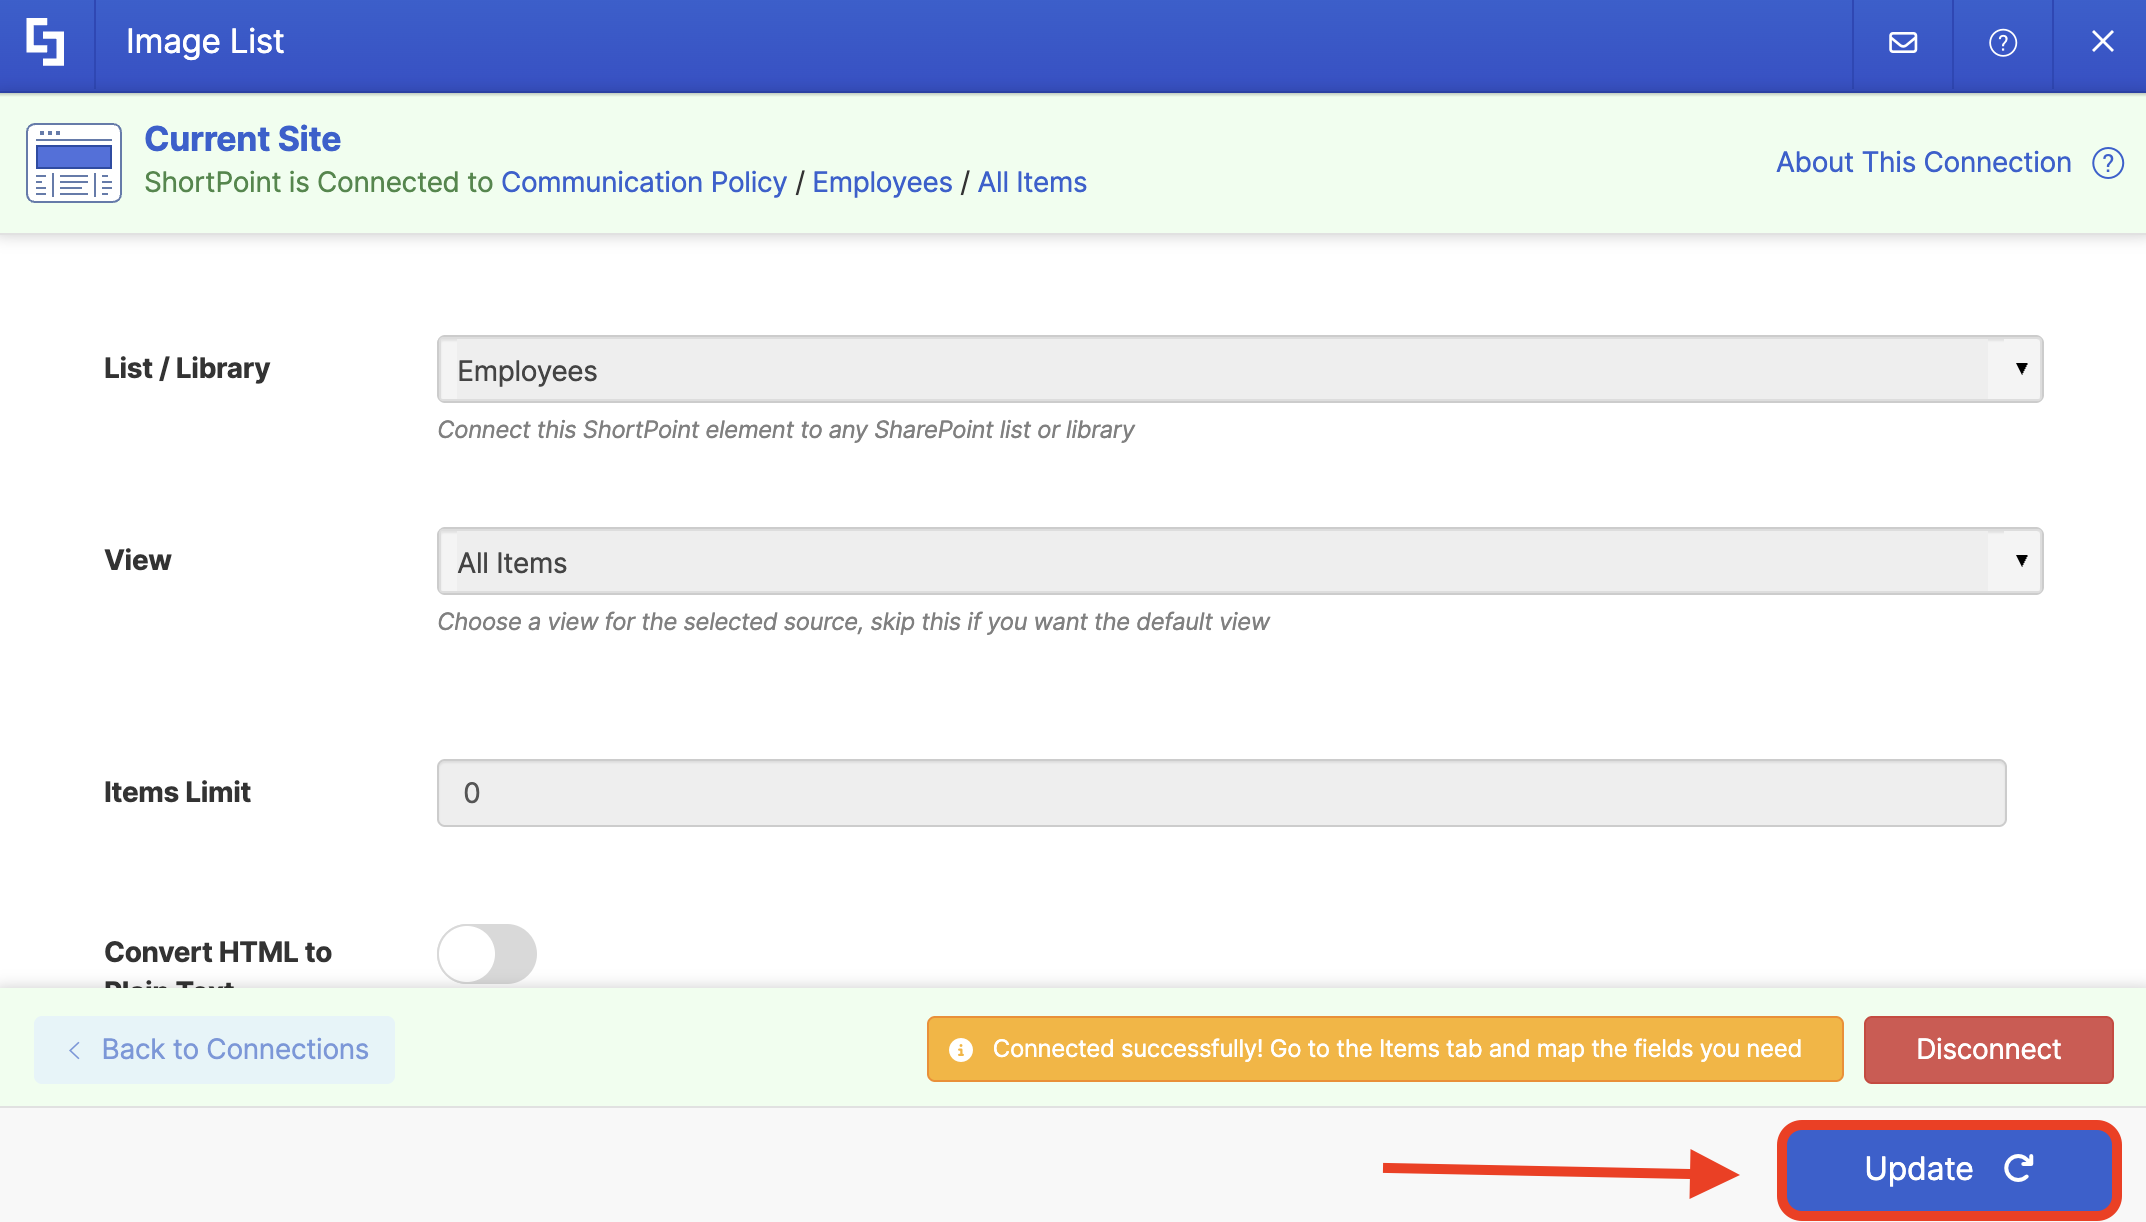
Great work! Now that you have connected a Design Element to a data source, you can now proceed to the actual items mapping.
Items Mapping
Before we start the actual items mapping, we need to talk about the secret ingredient that makes mapping work: Properties.
To keep things simple, let’s take a look at the sample SharePoint List you see below. Properties are the main data fields (or labels) inside your source. They are the specific bits of information you want to pull onto your page.
Looking at our list, our Properties are Name, Phone, Number, Work Title, Work Description, Department, and Image.
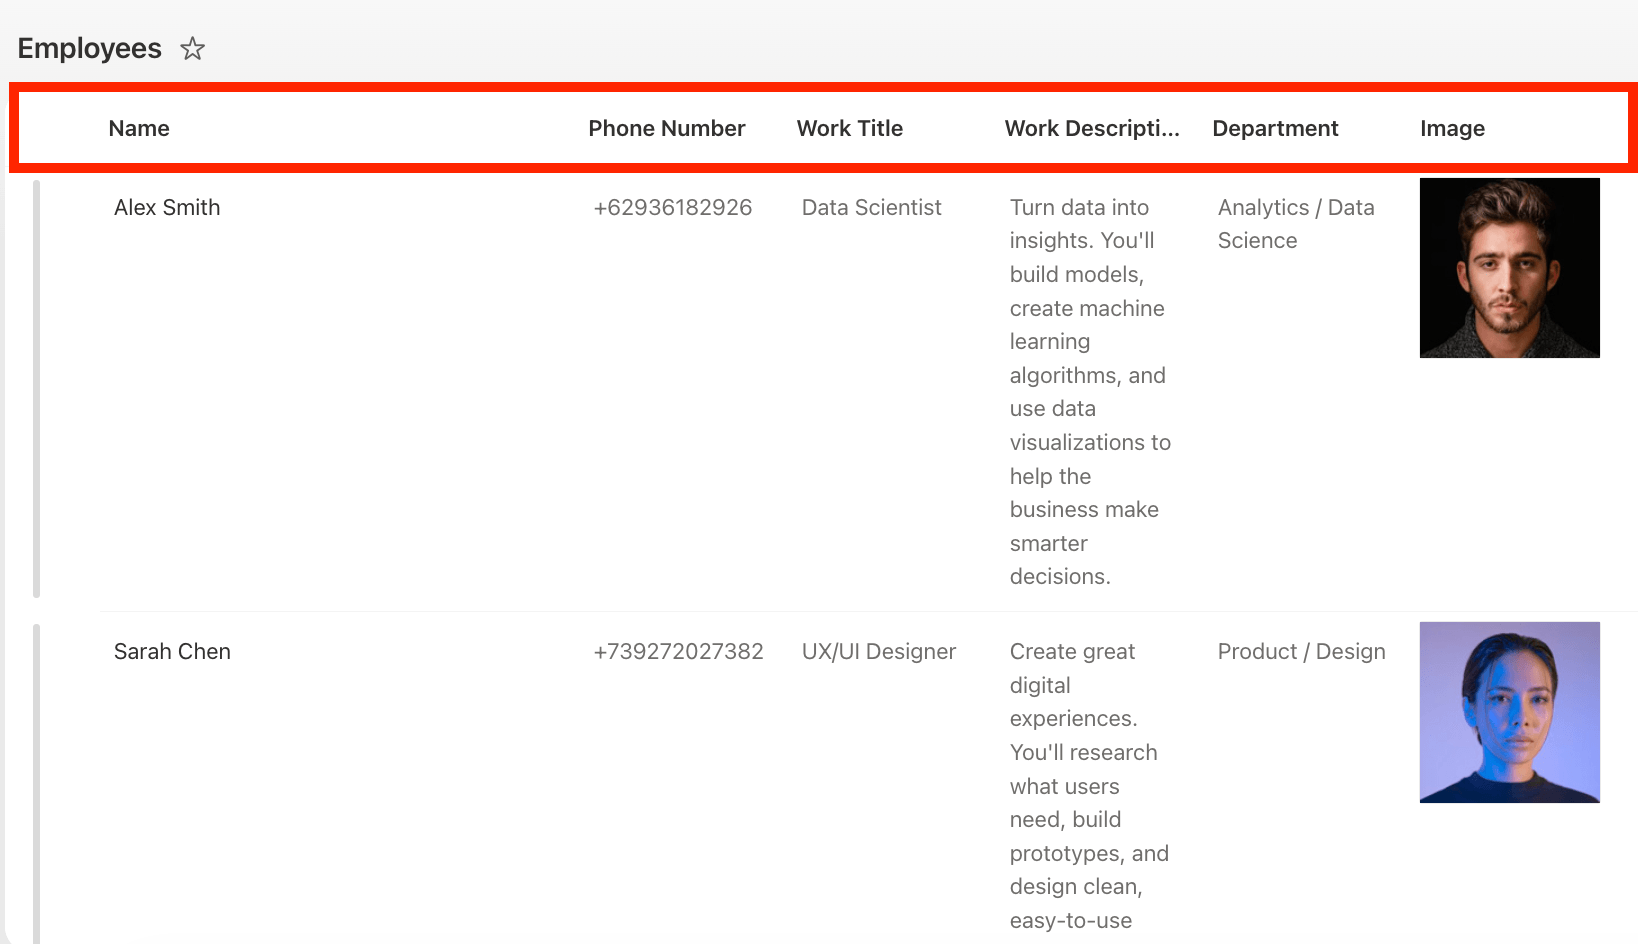
When we move into the mapping phase, you’ll be telling ShortPoint exactly which of these labels should fill the slots in your design. For example, you’ll likely want to map the Name property to the Title slot of your Design Element. Easy, right?
Now that we know what we're working with, let's get to the fun part and start mapping!
Step 1: Prepare the Items tab
- Go to the Items tab. This is where items mapping happens.
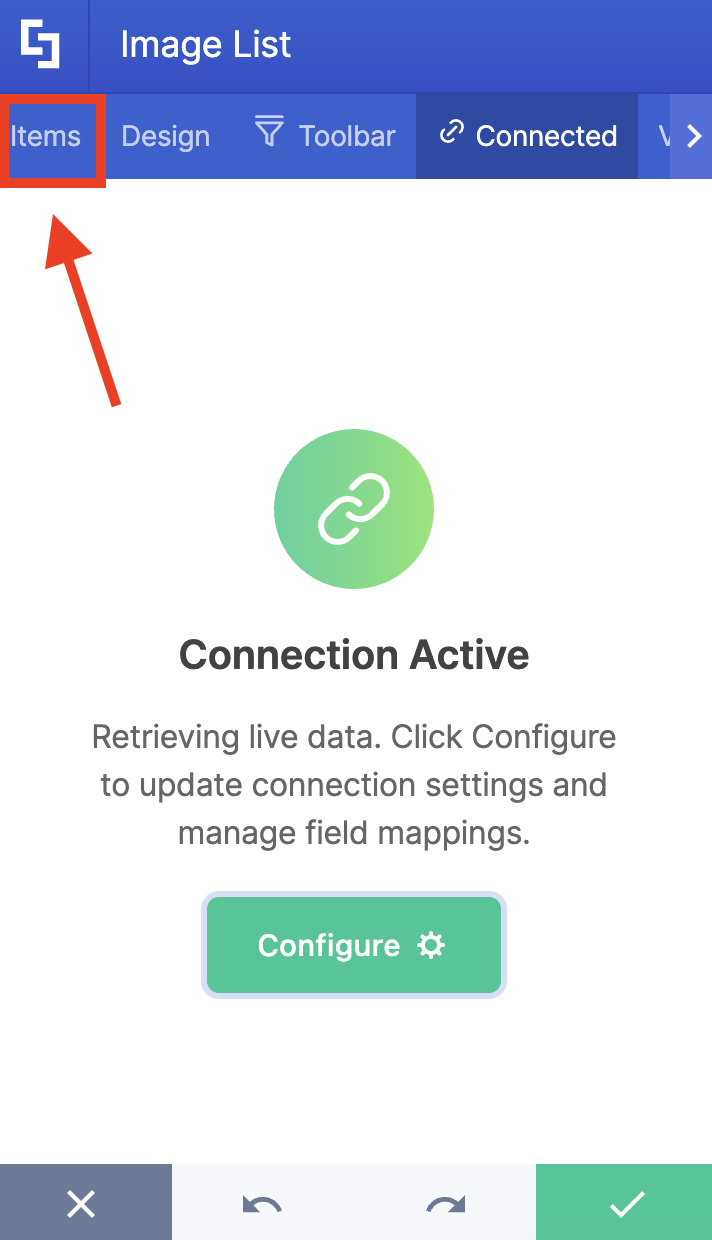
- Delete all default content. You need to remove all existing content so that only the information from your data source will be shown.
Step 2: Pick Properties to Showcase
Before we start picking properties, let’s explain some components inside the Items tab first.
Each Design Element has built-in fields. For the Image List, you’ll see Title, Subtitle, Description, Image, Link, etc. These fields will hold the information that appears in the Design Element.
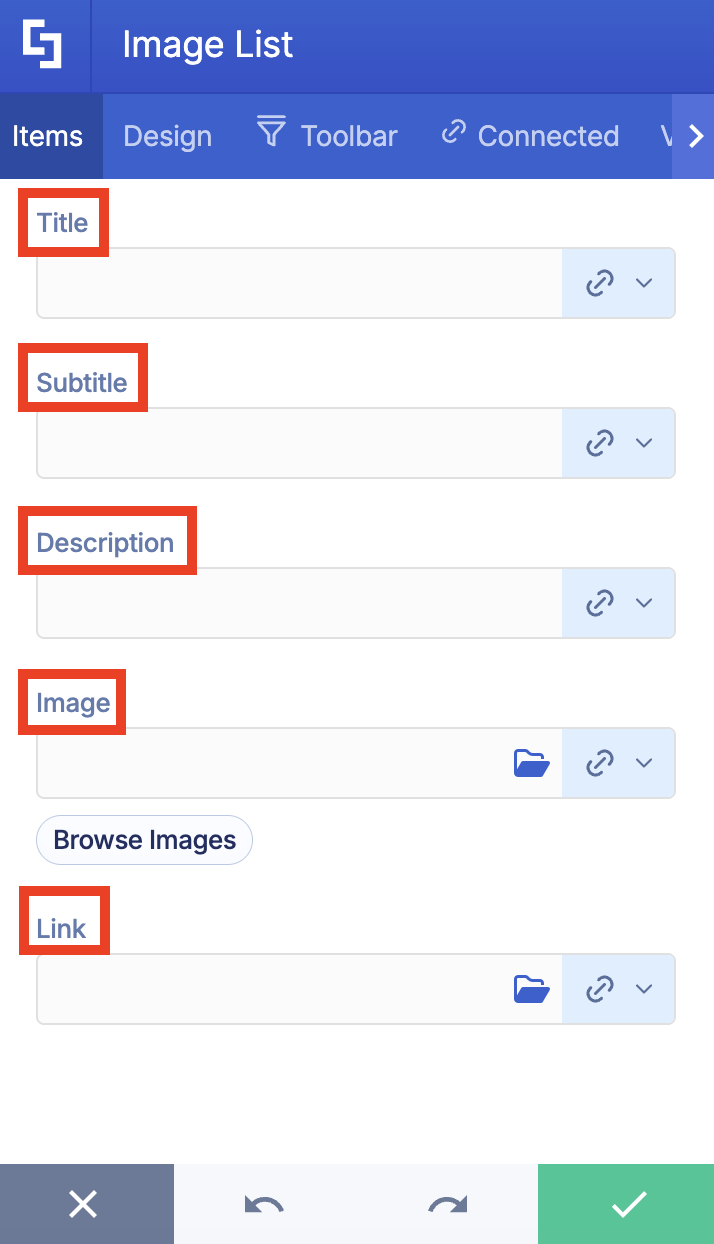
Each field has a corresponding link icon.
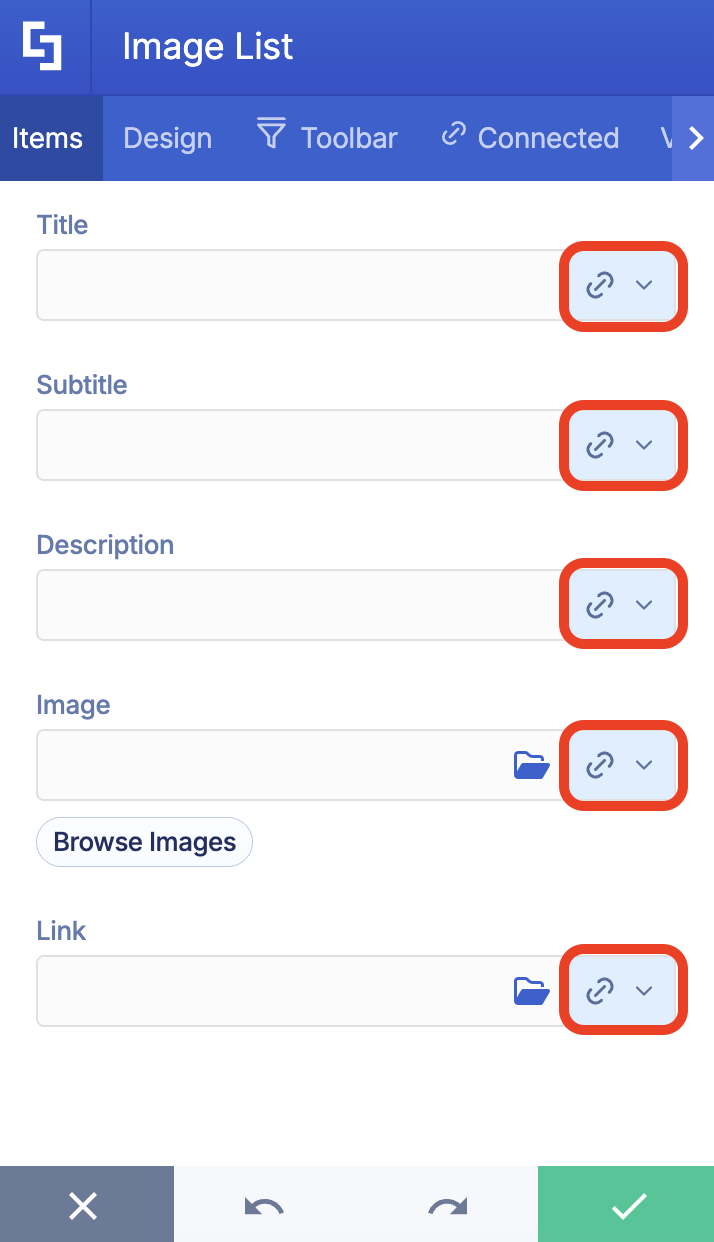
The link icon holds the properties you can map. As mentioned earlier, the properties listed reflect the data points/labels found on your source data.
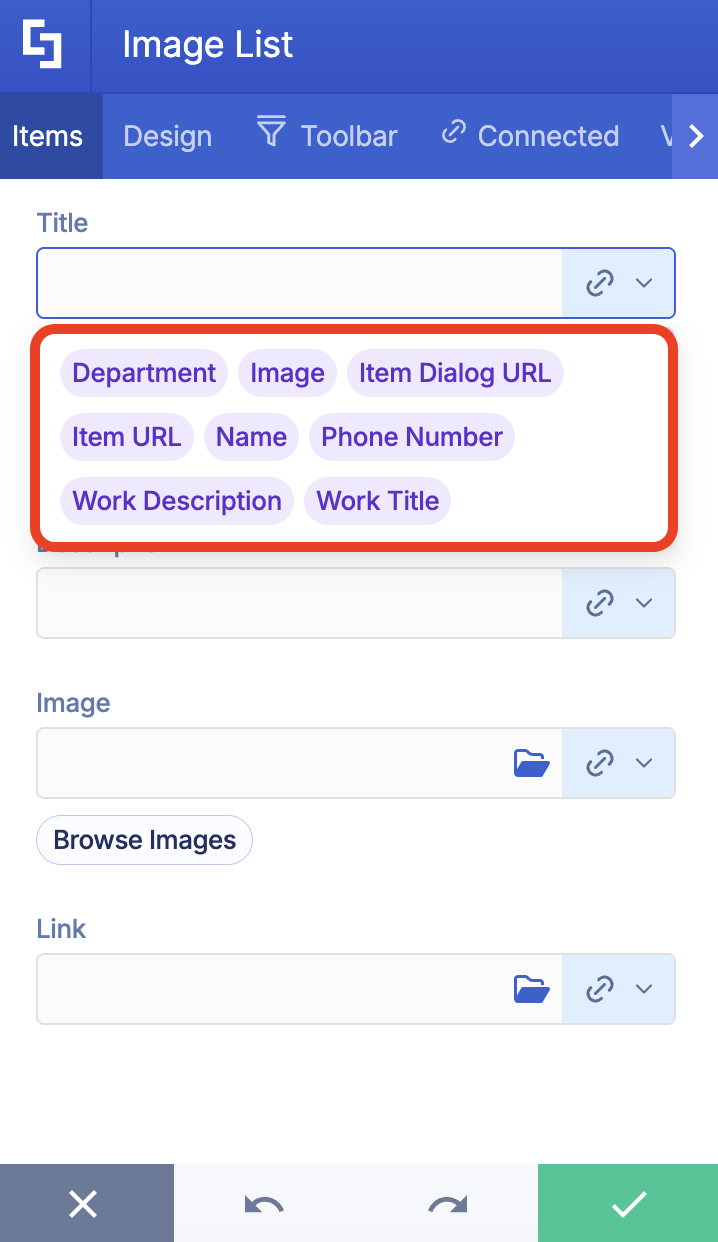
Let's now start picking properties to showcase!
- Use the link icon to map the properties you want to show up in each field. Let’s take the Title field as an example. We want all the names of the employees to appear as the title. So, we’ll choose the Name property from the property list. Now, you'll see all the employee names in our SharePoint List.
- Repeat the same process for the other fields.
NOTEYou don’t have to map every field in the Design Element. Only map what you want to show. If you leave a field blank in the Items tab, ShortPoint simply won't display anything for that specific field.
Step 3: Save
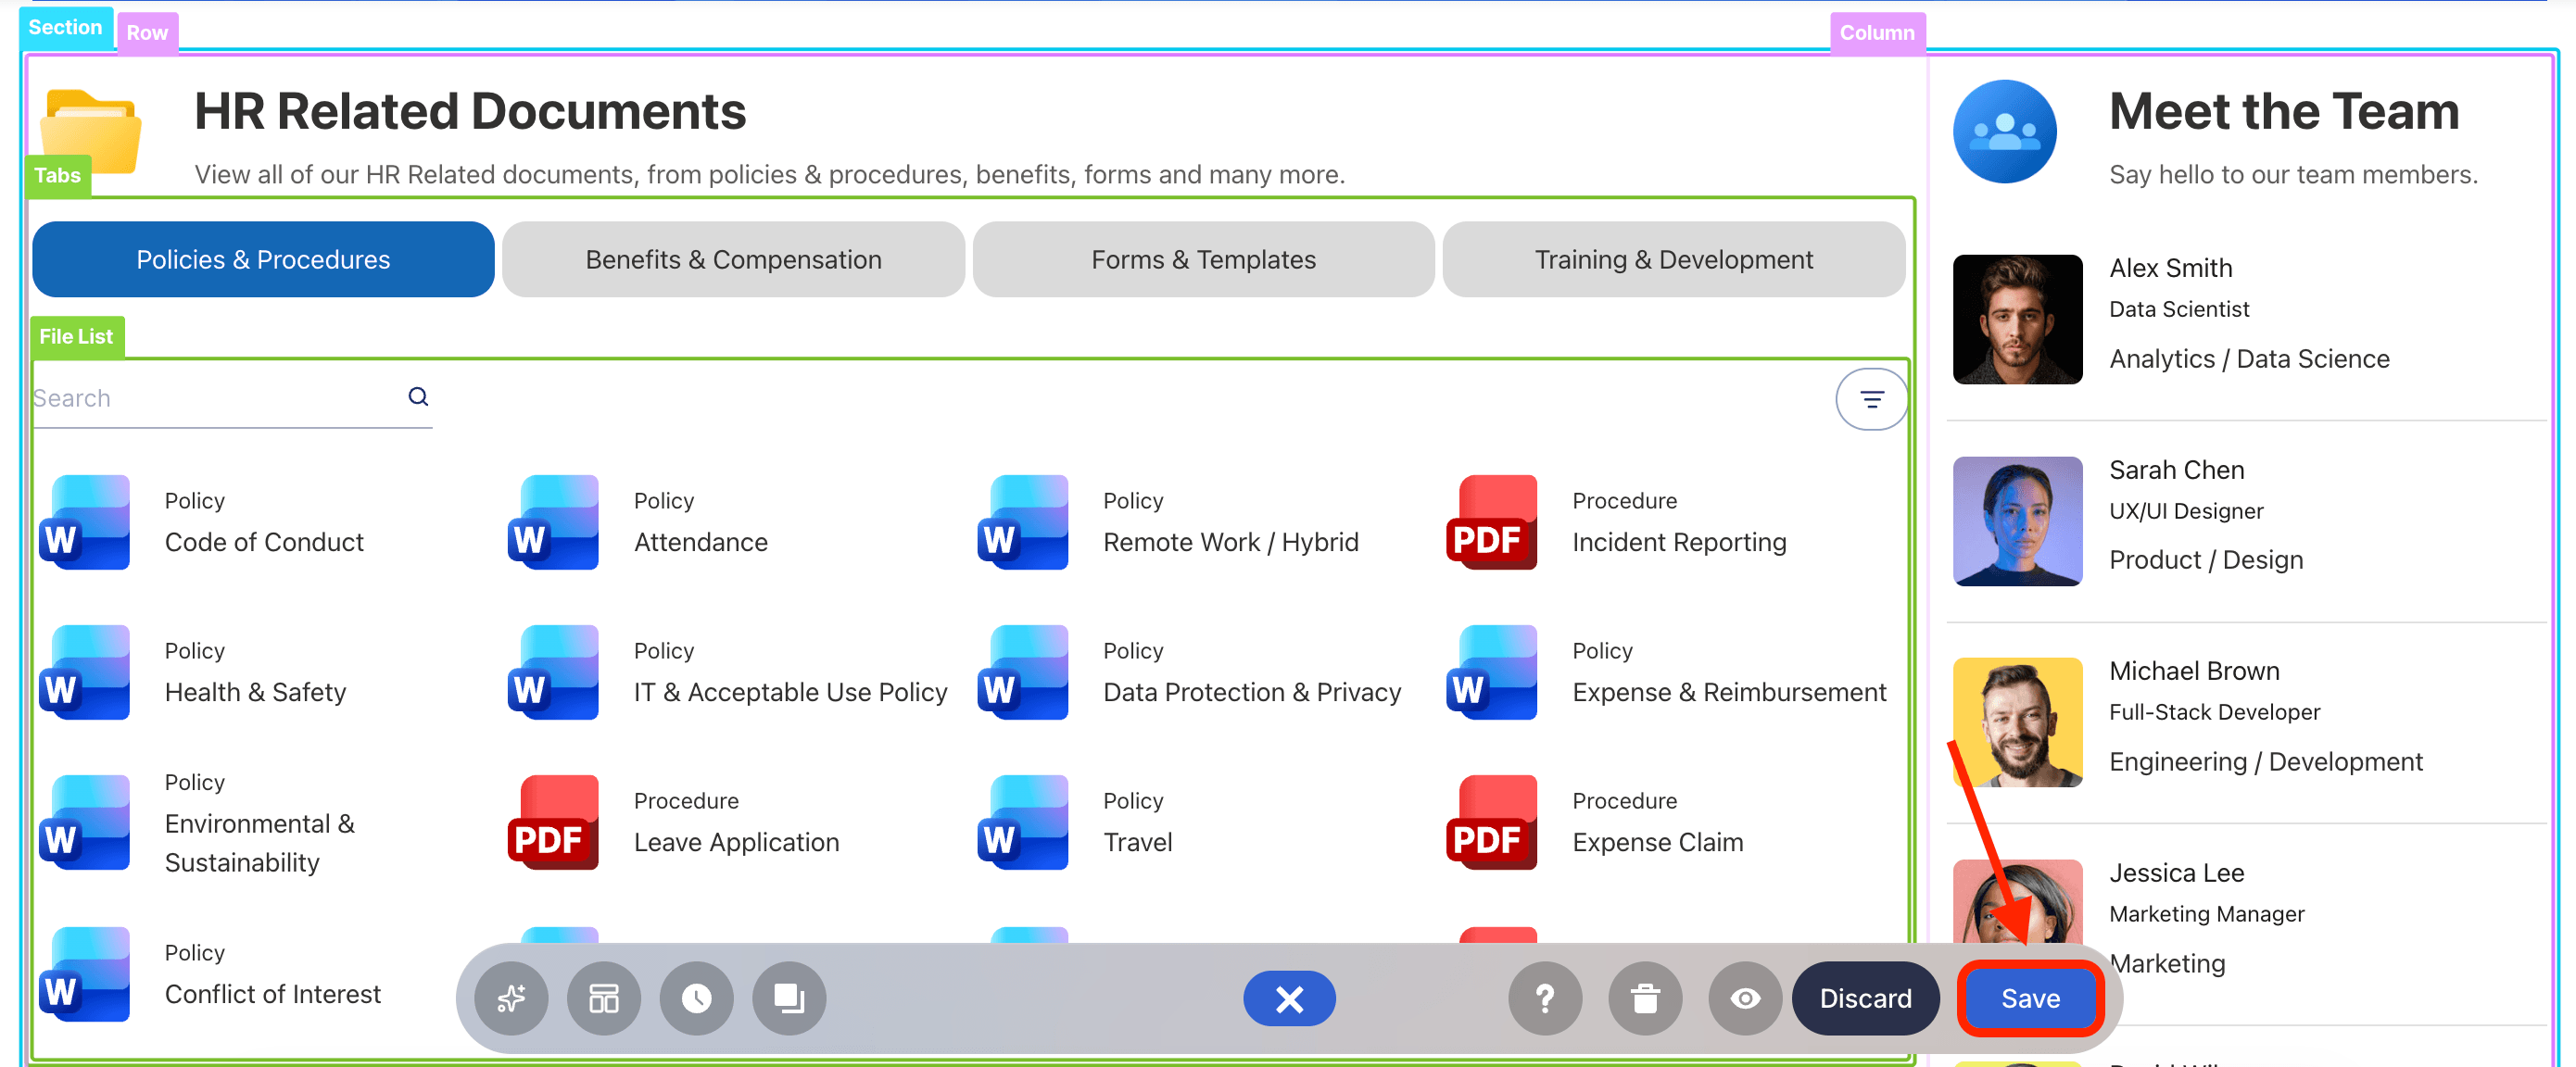
- Click the green check mark:
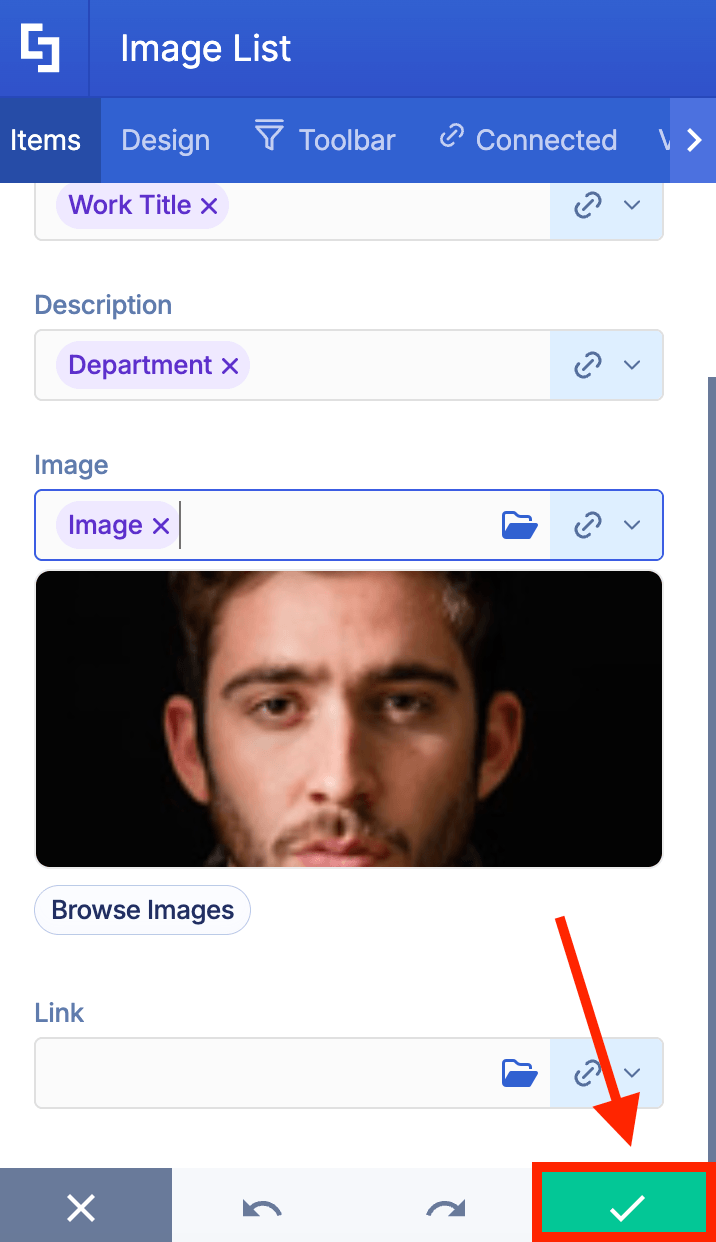
- Save your changes:
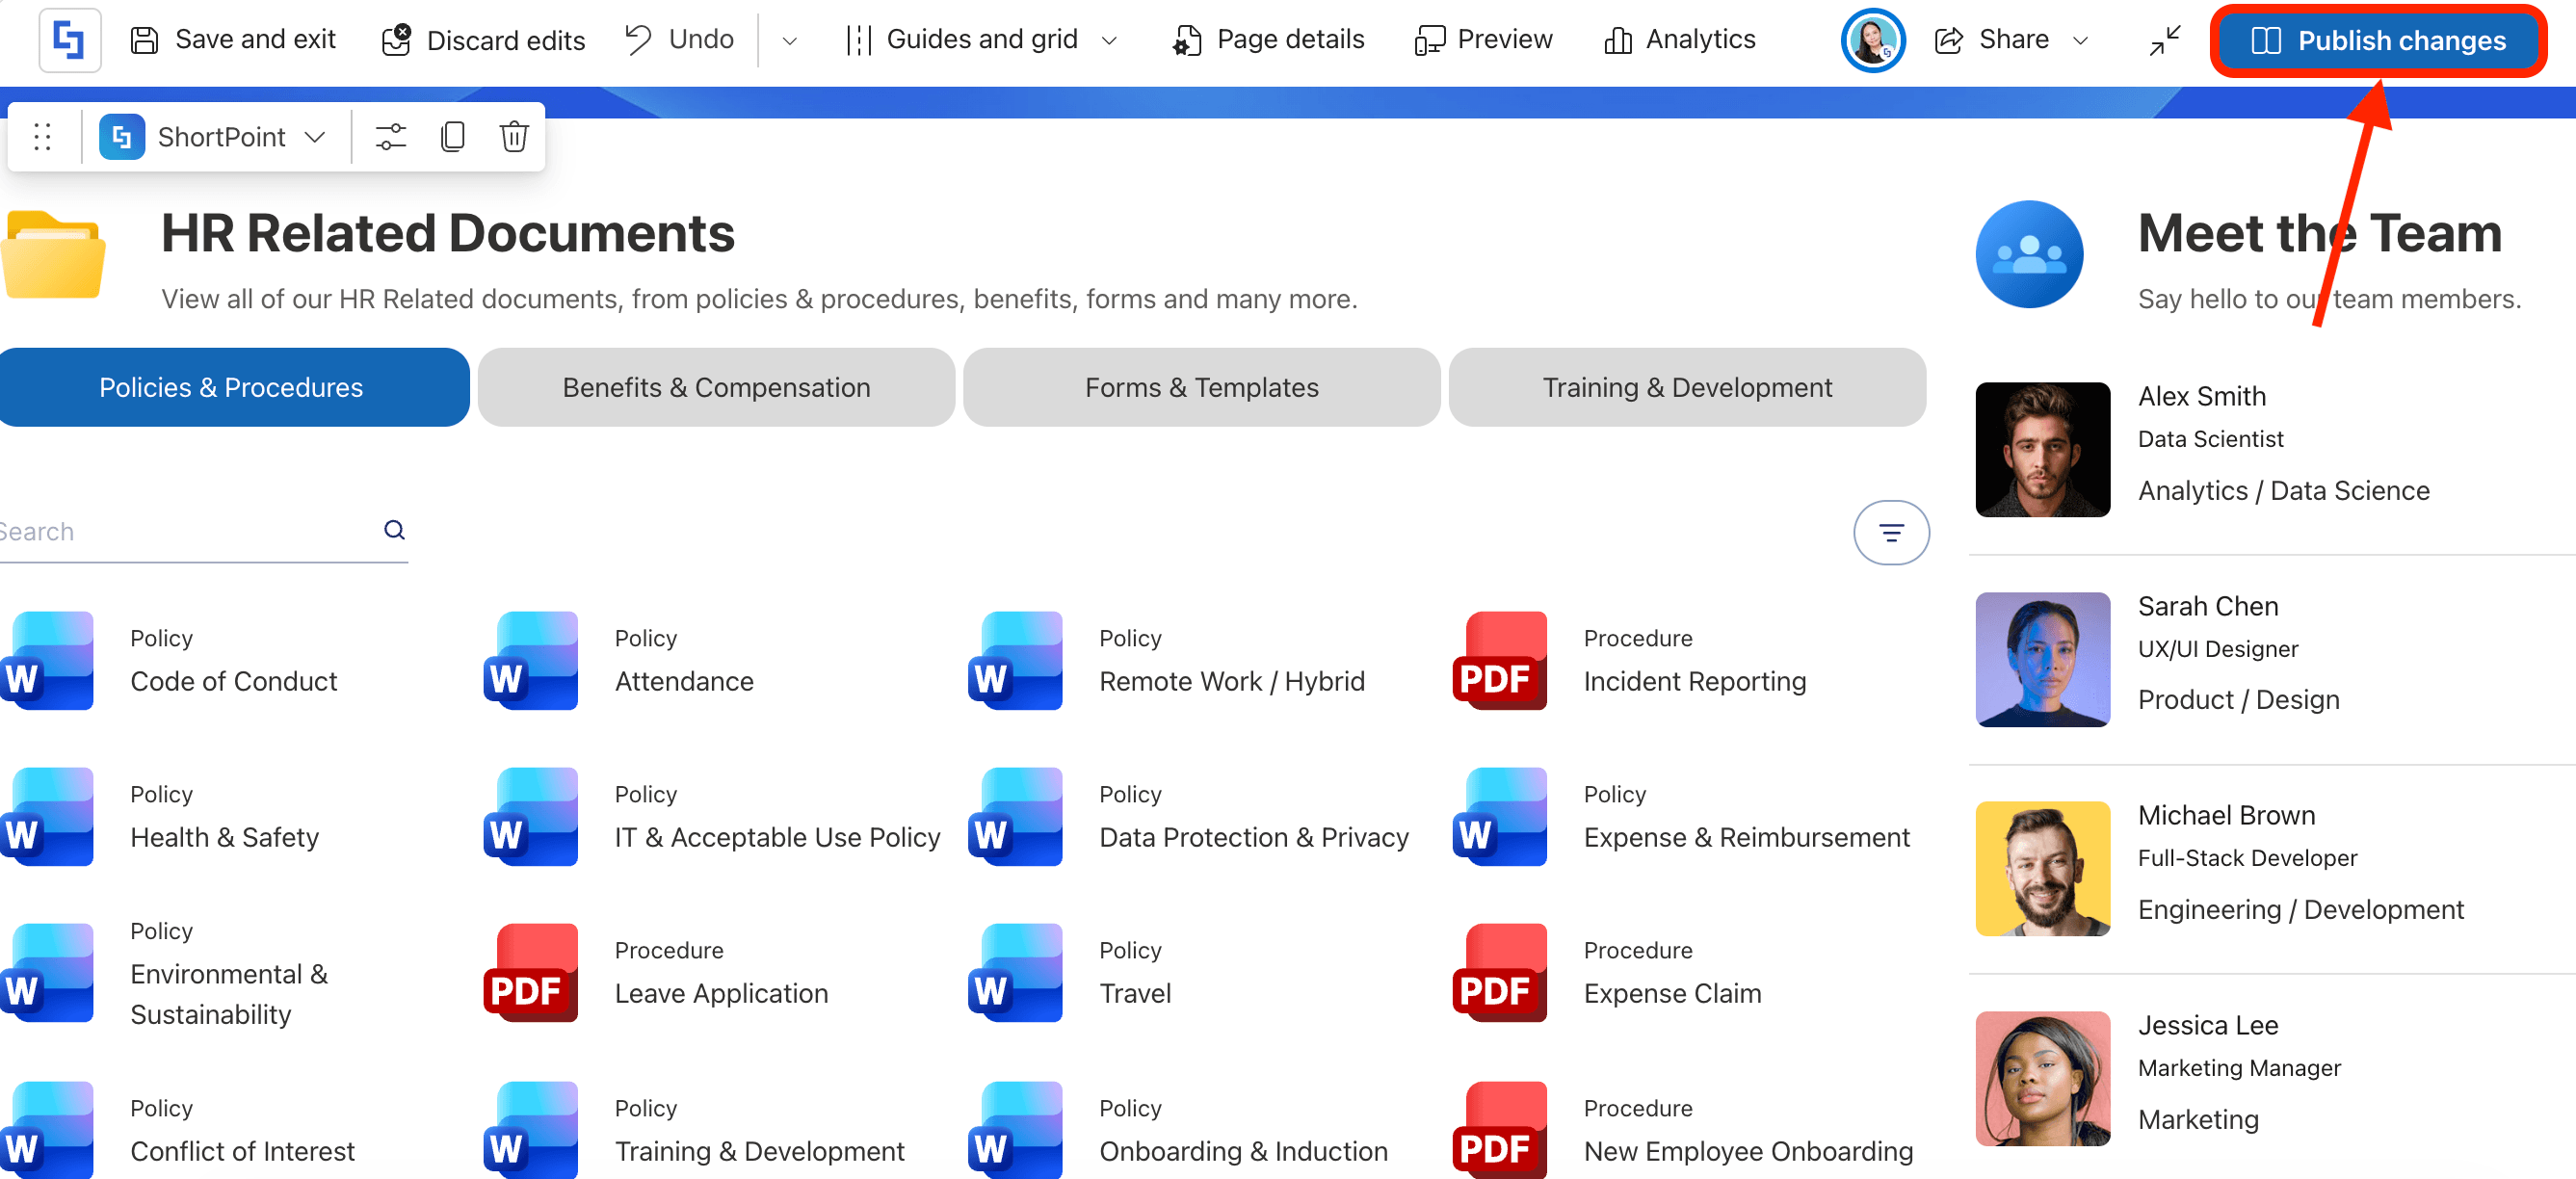
- And Publish your page:
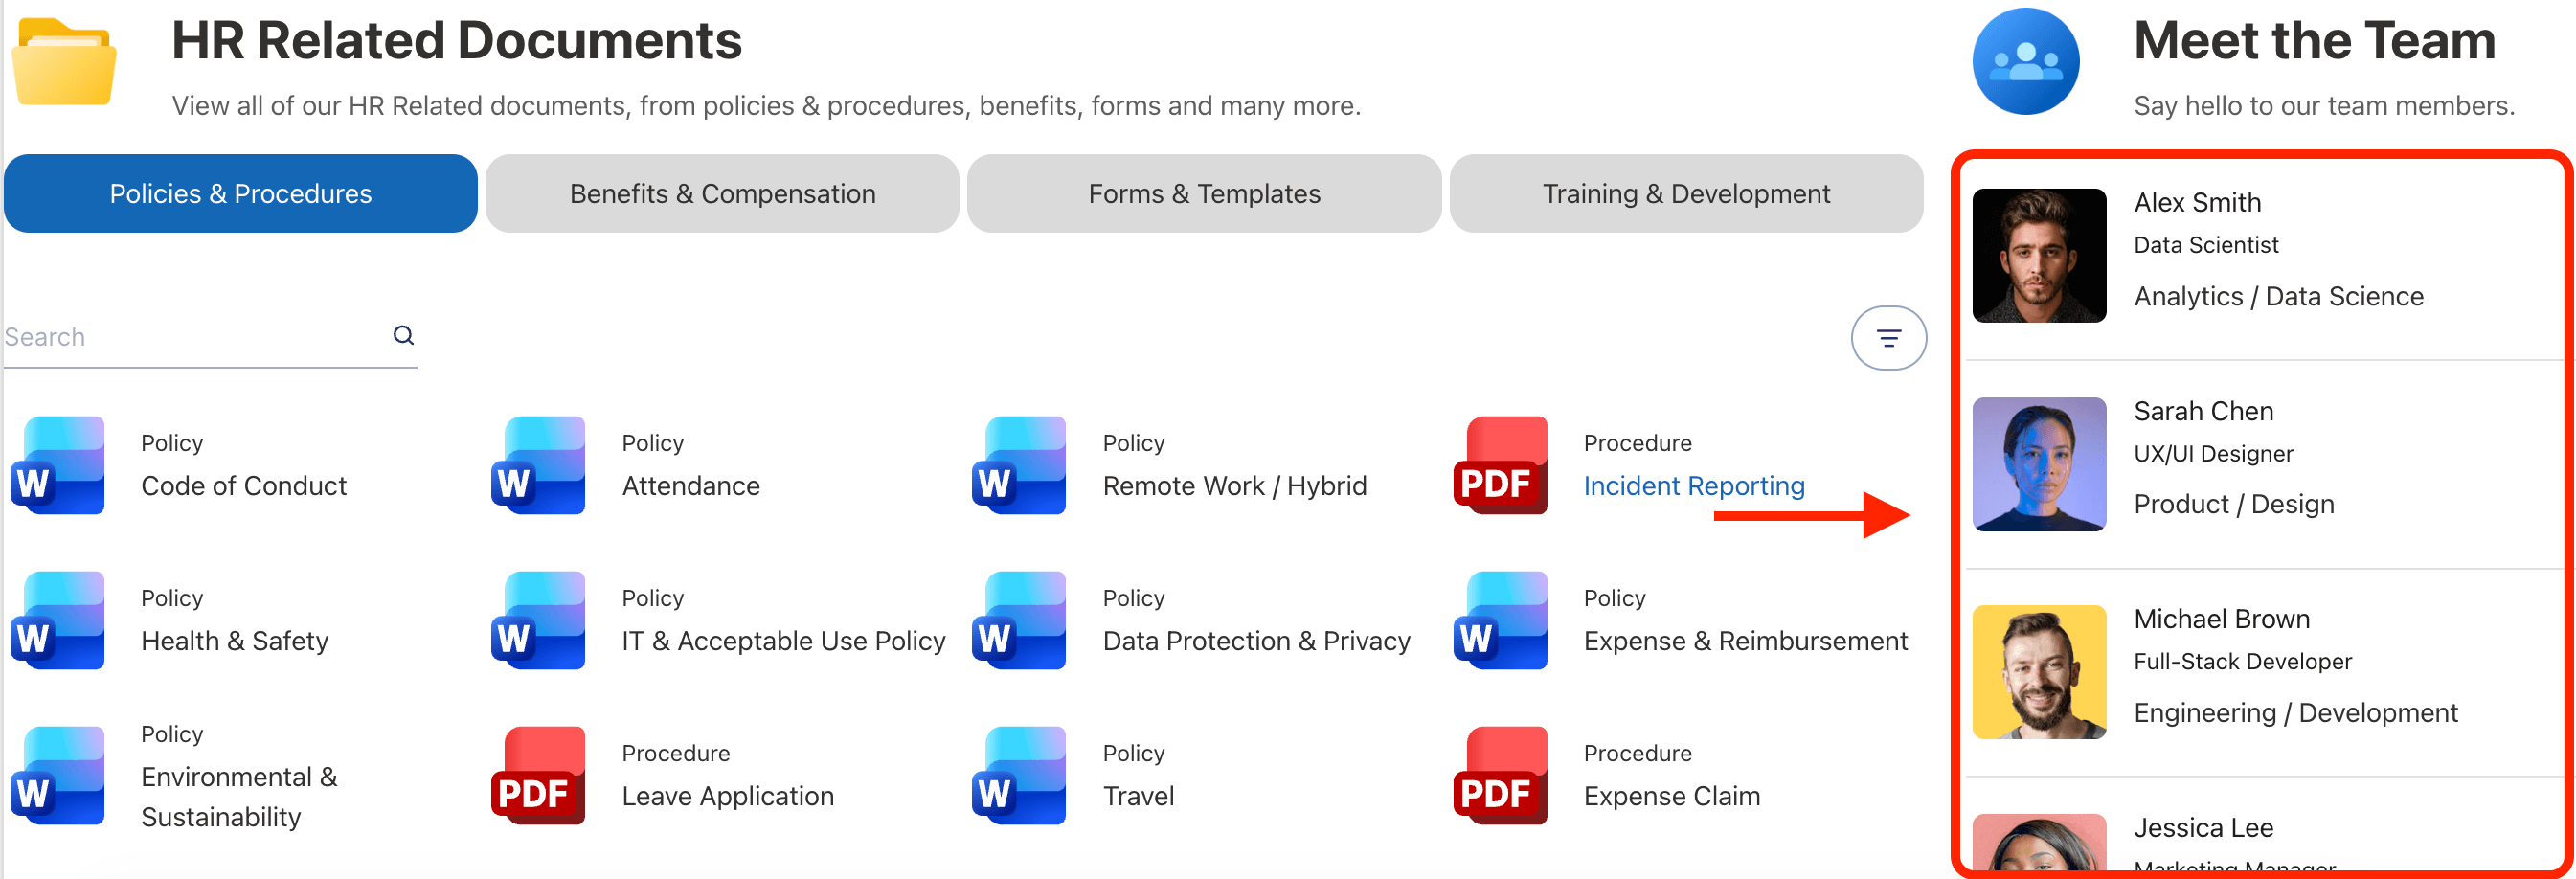
It’s super easy, right?! You can now map your own data using ShortPoint Connect. You’re on your way to creating dynamic SharePoint sites.
Why Is Items Mapping So Useful?
You might be thinking, "Can't I just type this in manually?" Of course, you can. ShortPoint will always have that option for you. But if you want to reduce the amount of work you have to do once a single piece of information changes, Items Mapping is a game-changer. Here are more reasons why you should give this a try:
- Real-Time Updates: When someone updates the SharePoint List, the page updates automatically. No manual edits required.
- Consistency: You design the layout once, and every item follows the same beautiful theme.
- Scale: Mapping works just as well for 5 items as it does for 500. It’s the ultimate "set it and forget it" tool.
- No Coding Required: It replaces complex XSLT or JavaScript coding with a simple point-and-click interface.
Ready to Give Items Mapping a Try?
Items Mapping is the difference between a static page that goes out of date in a week and a dynamic, living intranet that stays fresh forever. Once you get the hang of "linking" your data properties to your design, you’ll never want to build a manual list again.
If you’re already a ShortPoint Designer, head over to your ShortPoint Page Builder and start mapping!
Not yet a ShortPoint Designer? We’ll be happy to give you a tour. You can get a FREE 15-day trial from us. No strings attached. You can also get a one-on-one demo with our experts to learn more about ShortPoint and all it has to offer.
Frequently Asked Questions
Can I map data from different SharePoint sites?
Absolutely! By using the "SharePoint Site URL" connection type, you can pull data from a completely different site collection and map it just like a local list.
What if my data doesn't look right in the preview?
Check your mapping! Sometimes we map a "Date" column to a "Title" field by mistake.
Do I have to map every single field?
Nope. Only map what you want to show. If you leave a field blank in the Items tab, ShortPoint simply won't display anything for that specific property.
Can I use "Items Mapping" with external data like a News RSS feed?
Yes! ShortPoint is very flexible. If the connection is successful, you can map the properties provided by the RSS feed (like Author, PubDate, or Summary) to your Design Element.
Related articles:
- How to Add SharePoint Icon Images to ShortPoint Design Elements
- How to Change the Default Date Format of a Connected Design Element to the European Date Format
- How to Generate an RSS Feed URL