 Try ShortPoint now
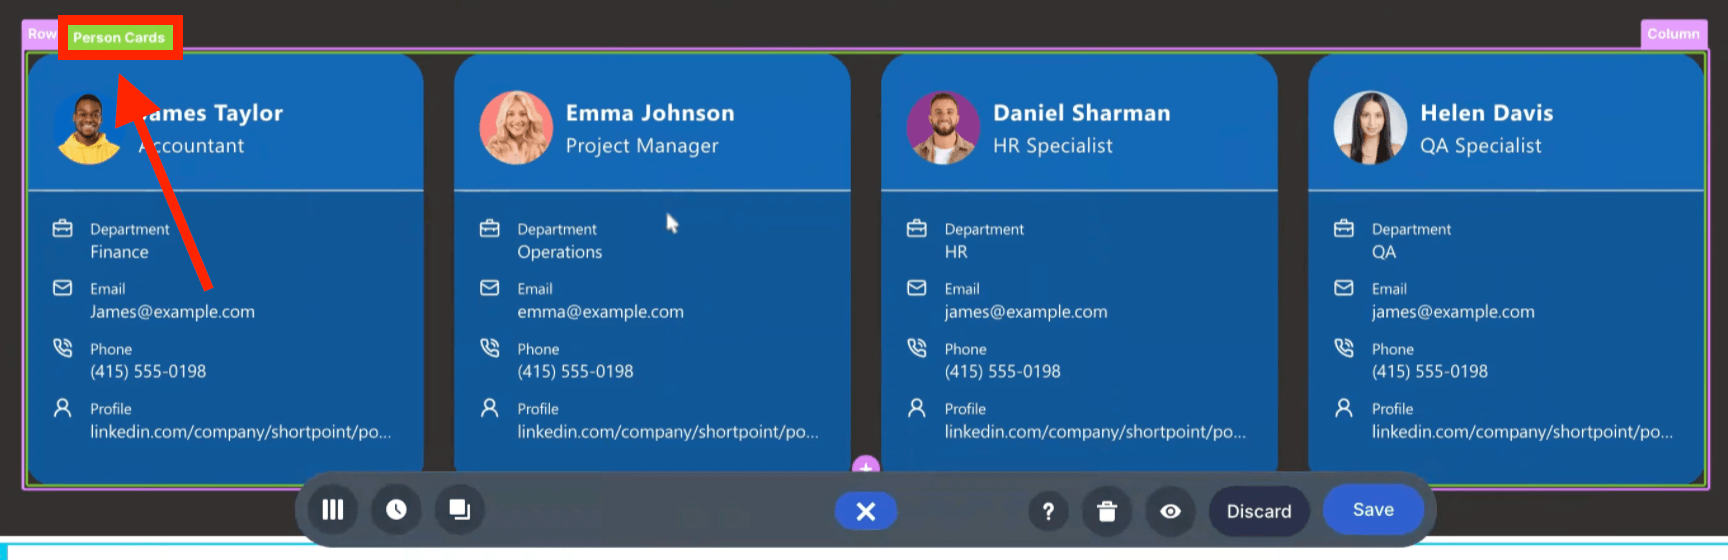
As is, the Person Cards Design Element is already packed with everything you need to showcase your team effectively. It comes ready with a rich set of fields, including Name, Position, Department, Email, Phone, and much more.
But what if you need to add a custom field that only applies to your organization? No worries! The Person Cards Design Element can do that too. This article will show you how.
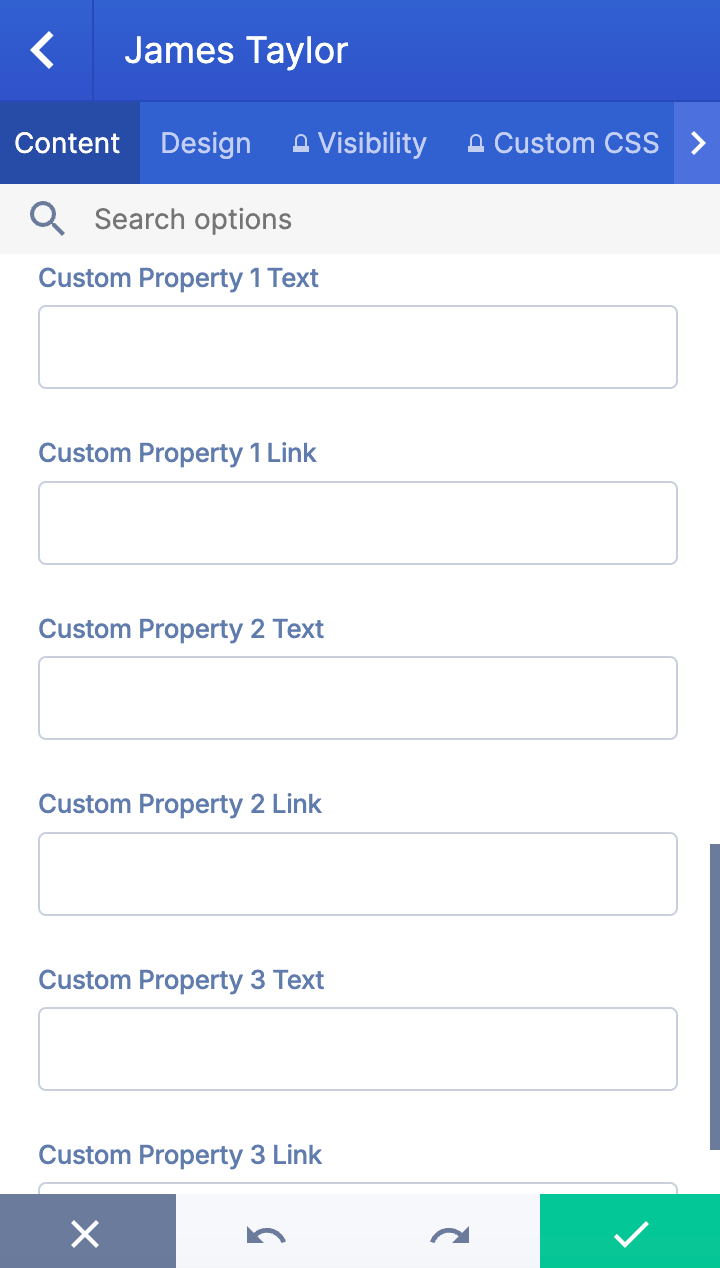
TABLE OF CONTENTS
Prerequisites
- You must have the latest version of ShortPoint SPFx installed.
- You must be a ShortPoint Designer with an active license.
- You must already have Person Cards on your SharePoint page.
Interactive Tutorial
Start the interactive tutorial to start adding custom properties to Person Cards:
Step-by-step Tutorial
Follow the detailed guide below to add custom properties:
Step 1: Edit the ShortPoint Web Part
- Go to the SharePoint page you want to use and click Edit.
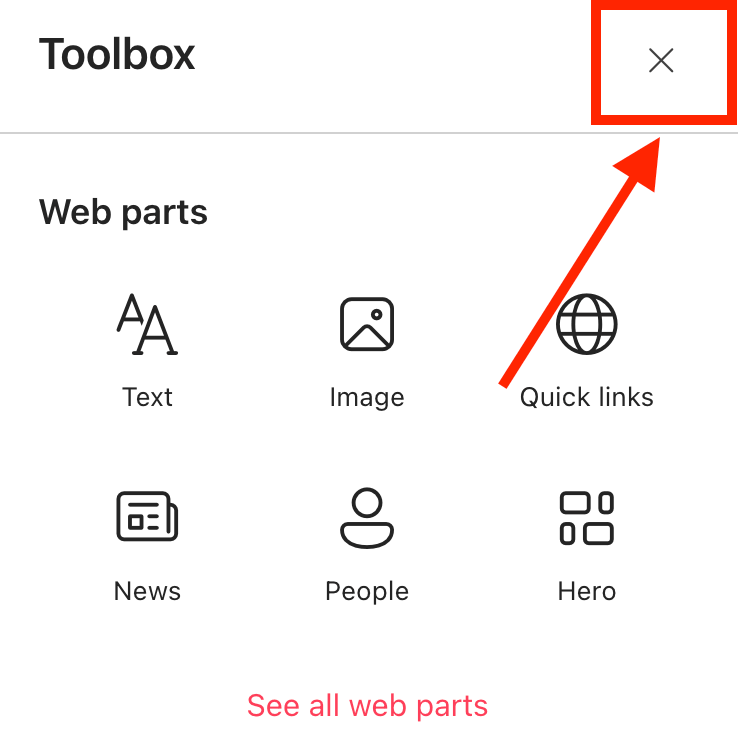
- Close the Toolbox:
- Edit the ShortPoint web part:

Step 2: Edit the Person Cards Design Element
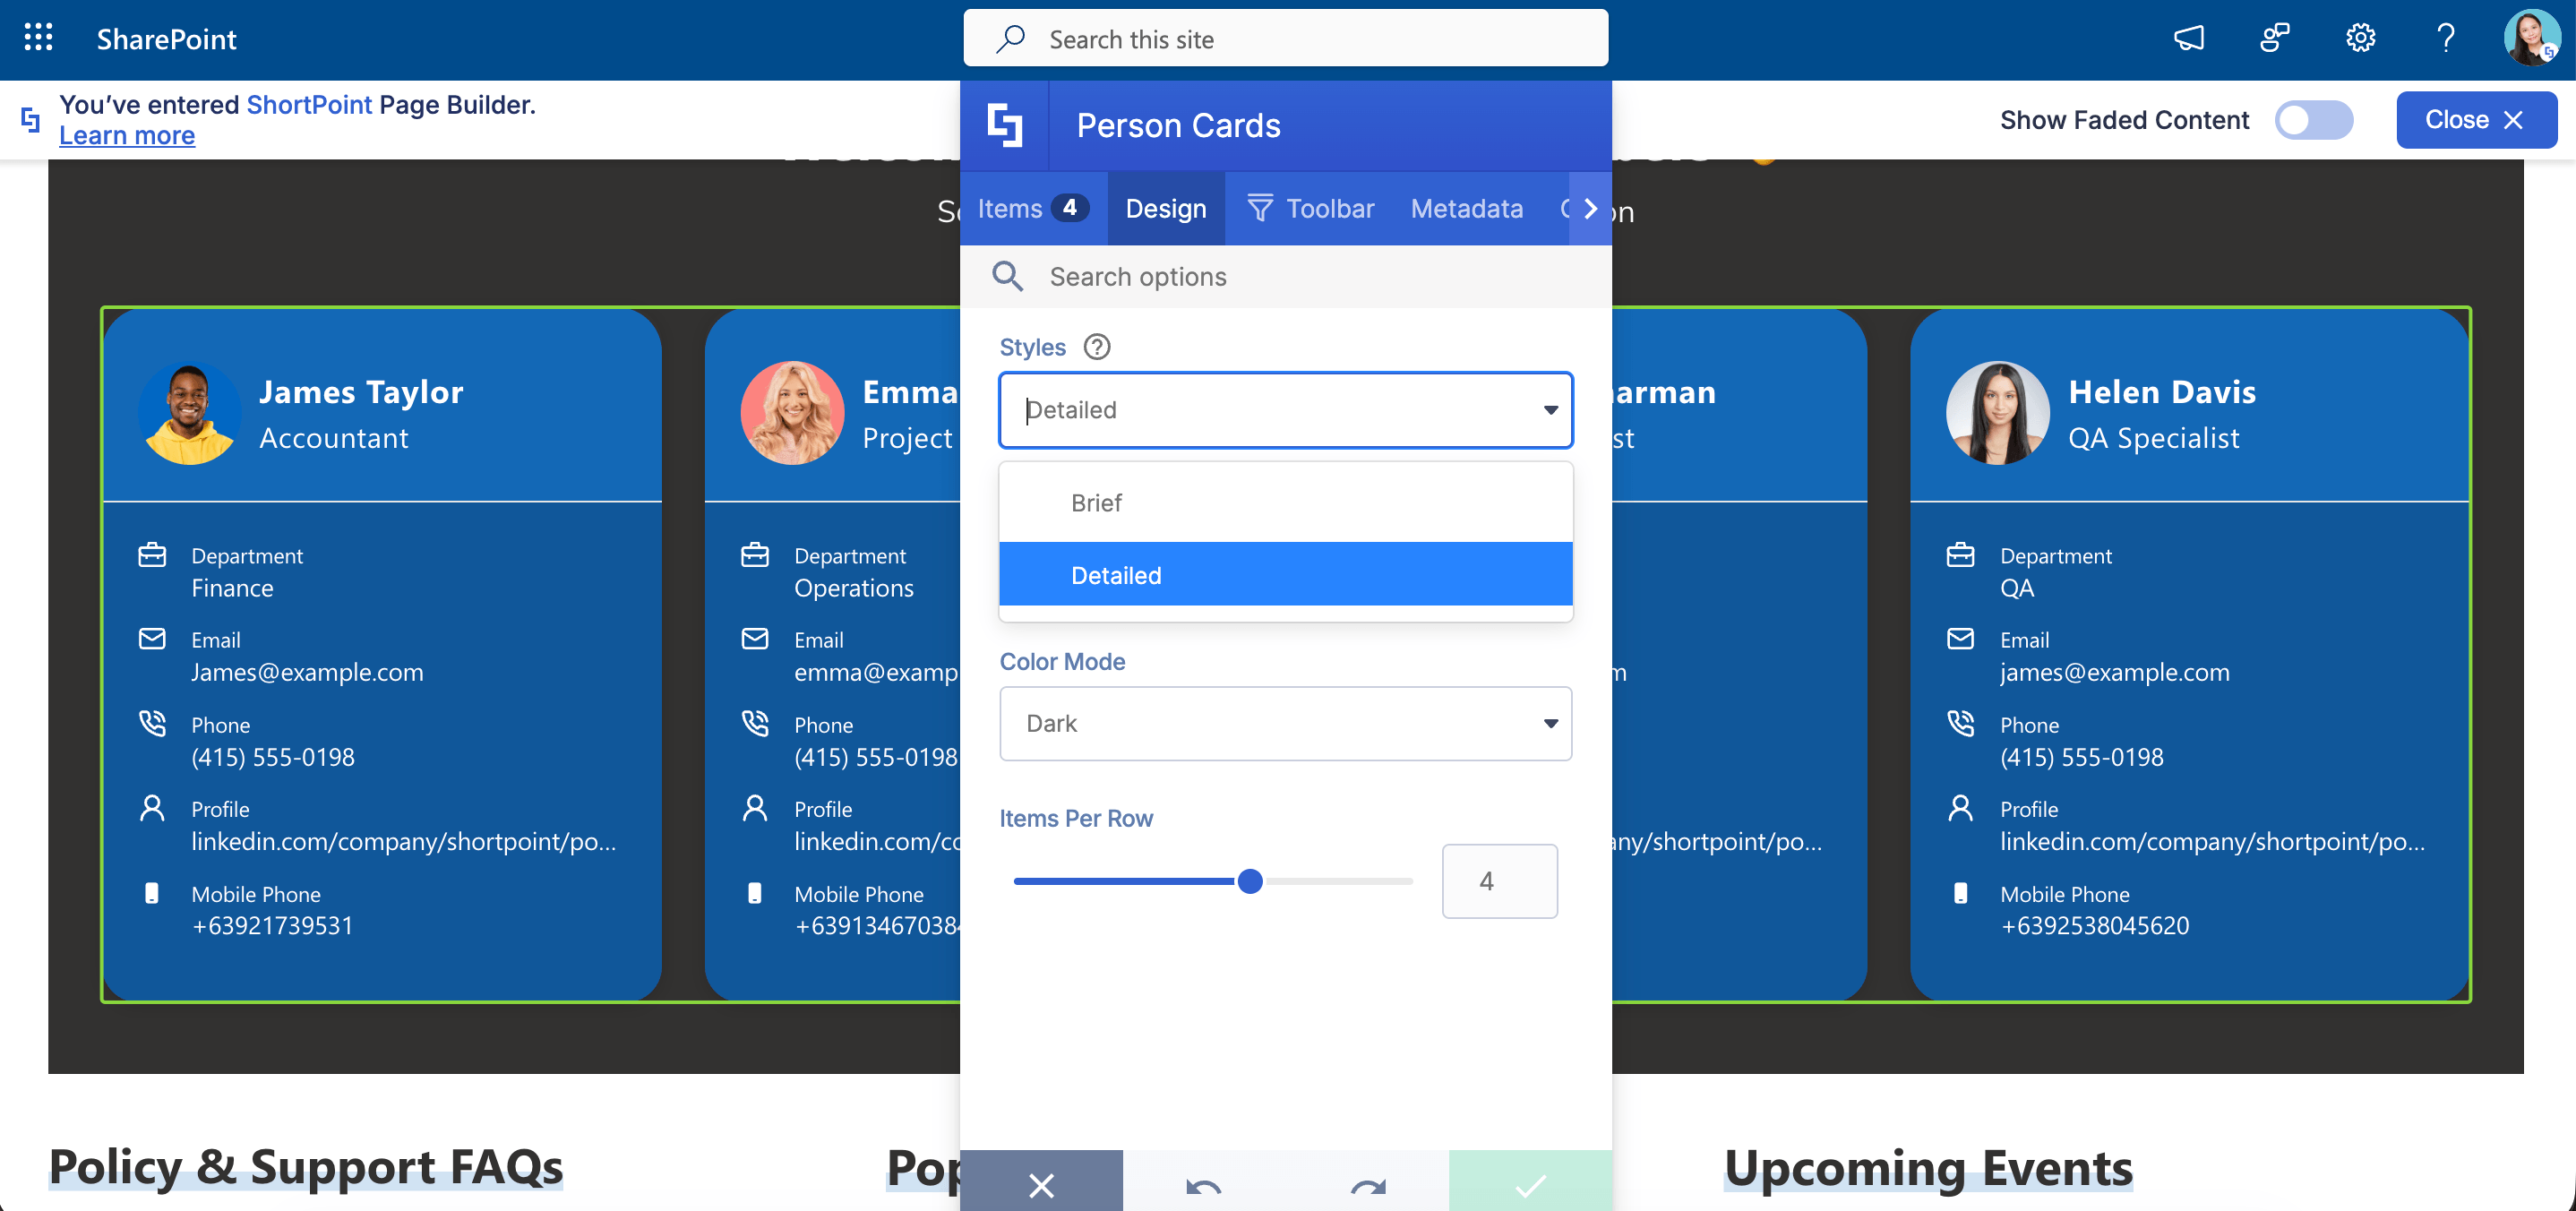
NOTEBefore proceeding, make sure the Person Cards Design Element is already on your page. We also recommended using the Detailed Person Cards Style to ensure that your custom property will be shown correctly:
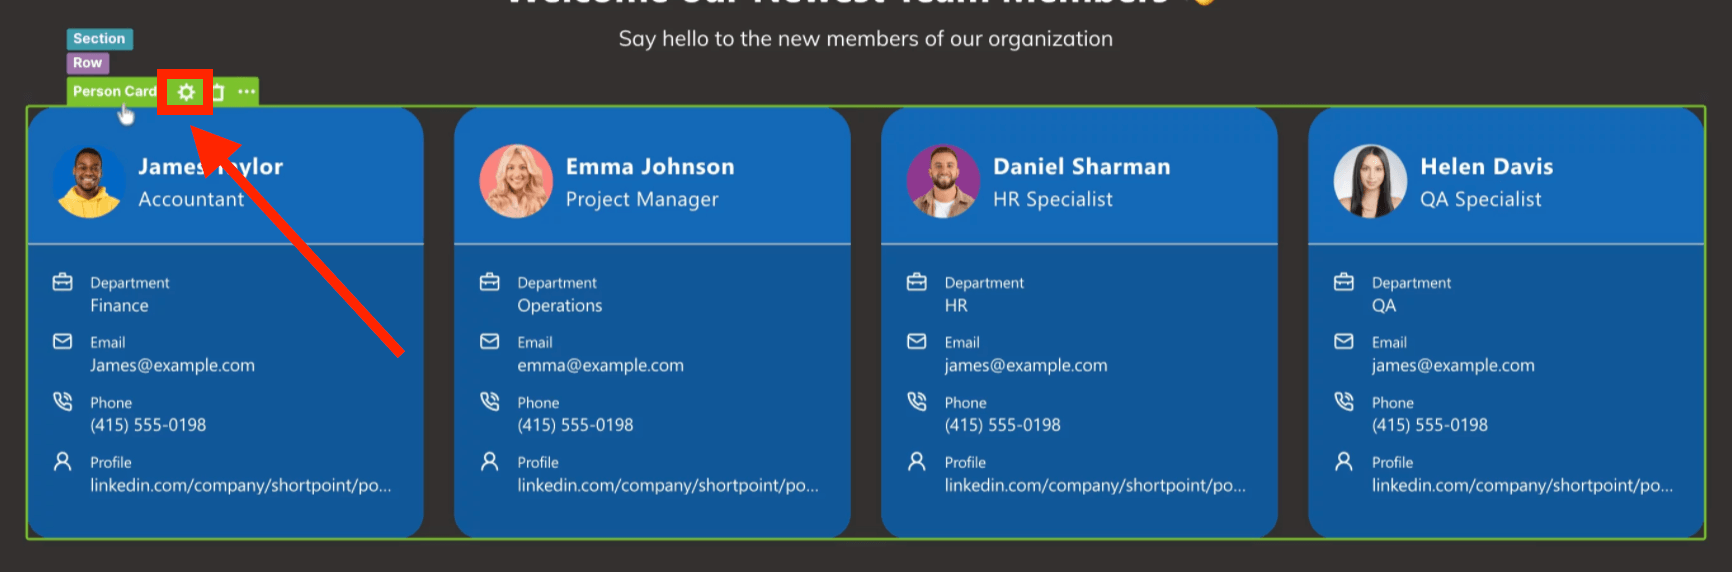
- Click the EasyPass tag of the Person Cards:
- Select the cogwheel icon:
Step 3: Add Custom Property
- Go to the Advanced tab.
- Expand Custom Properties:

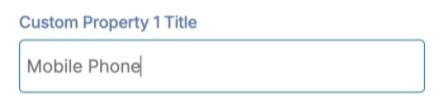
- Write the Title you want to assign to the custom property:
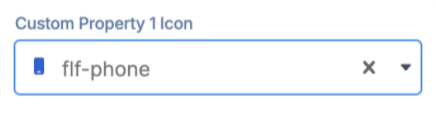
- Choose the Icon you want to assign to the custom property:
NOTEYou can add up to 3 custom properties in the Person Cards.
Step 4: Add Content to Custom Property
Depending on the Person Cards Design Element you’re using, choose the path that suits you:
For Non-connected Person Cards:
- Go to the Items tab.
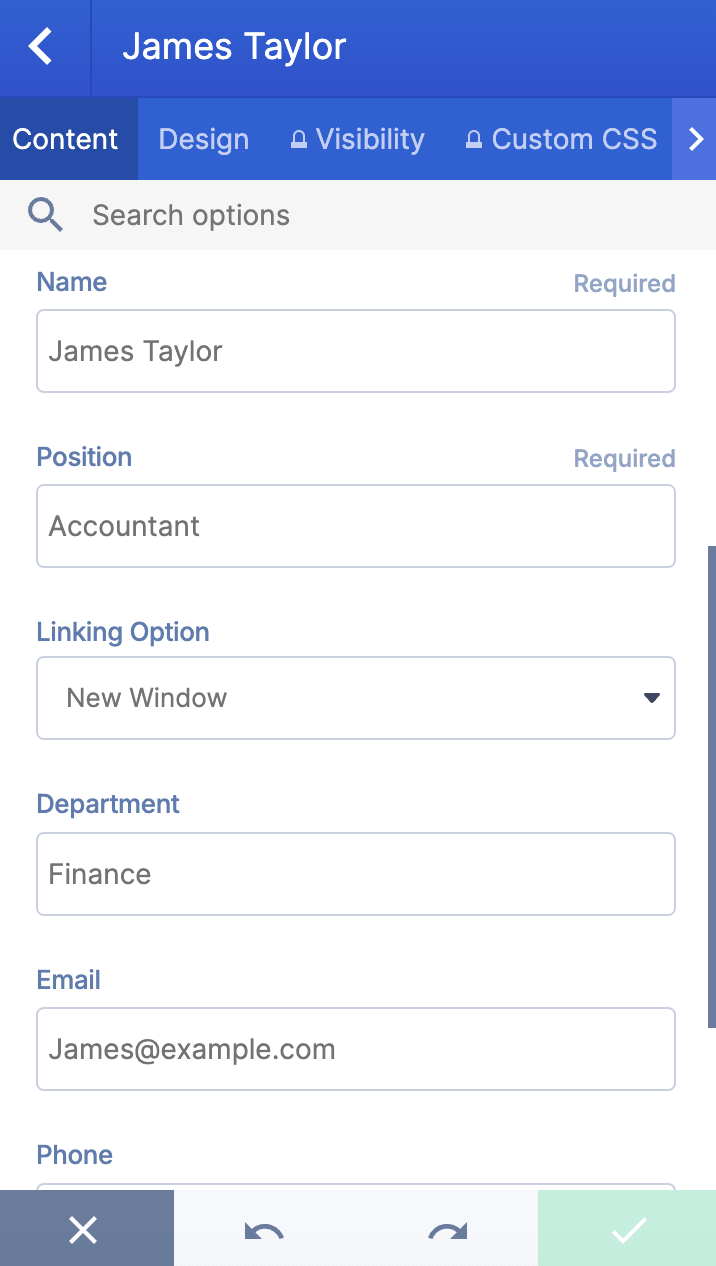
- Click the cogwheel icon of the first item:

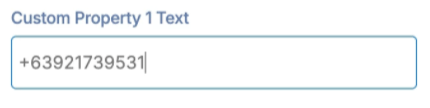
- Add content to the custom property you created:
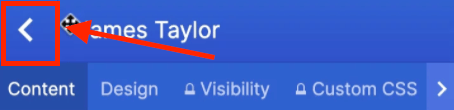
- Click the back icon:
- Repeat the steps for the other items.
For Connected Person Cards:
- Go to the Items tab.
- Click Configure:
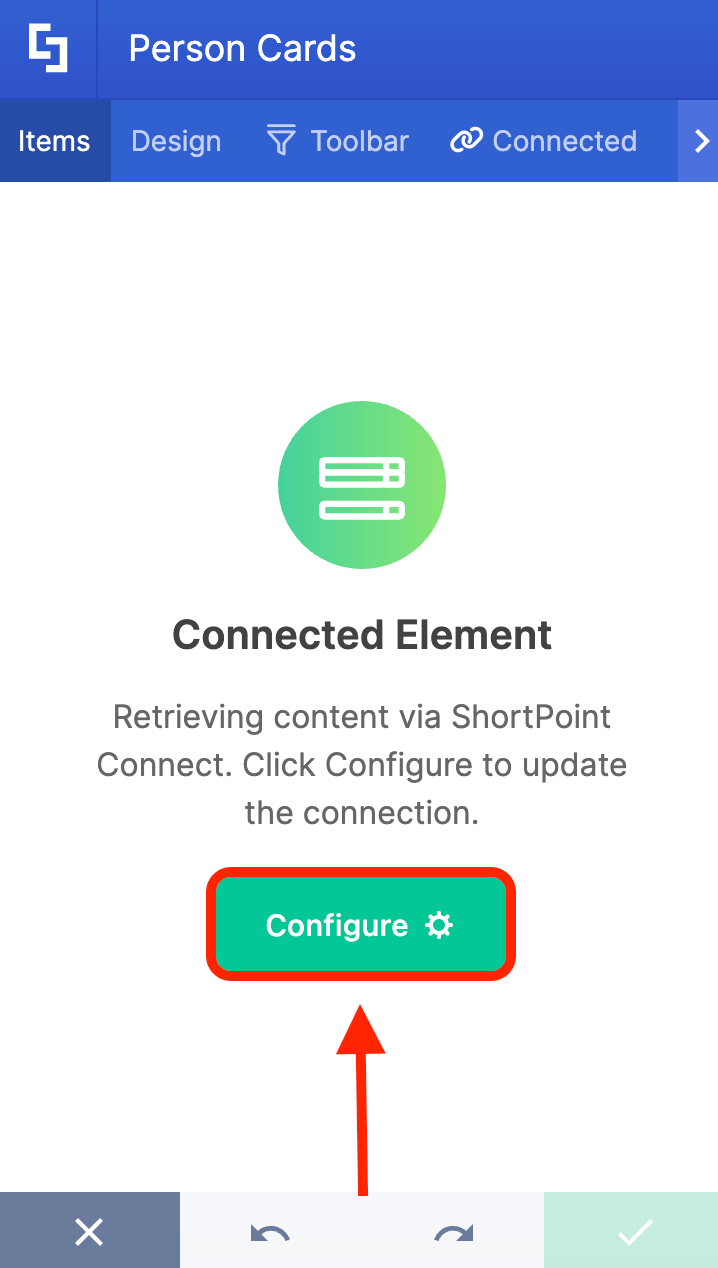
- Map the property you want shown in the custom property.

Step 5: Save
- Once done, click the green checkmark.
- Save your changes:

- And publish your page:

Well done! You can now add custom properties to the Person Cards Design Element.
Related articles:
- Person Cards: How to Showcase Your Team in SharePoint
- How to Customize the Abbreviation Design Element
- How to Customize the Lead Design Element
- How to Customize the Small Design Element
- How to Customize the Search Box Design Element
- How to Customize the Image Boxes Design Element
- How to Customize the Icon Boxes Design Element
