 Try ShortPoint now
Want to add a specific icon to ShortPoint Design Elements, but it's not in the built-in icon library? We got the perfect solution for you — high-quality icon images.
Curious to see how this works? It’s super simple! All you need to do is follow the steps in this tutorial.

TABLE OF CONTENTS
- Prerequisites
- What are Icon Images?
- Step-by-step Tutorial
- Frequently Asked Questions
Prerequisites
- You must have the latest version of ShortPoint SPFx installed.
- You must be a ShortPoint Designer with an active license.
- You must already have the ShortPoint Design Element you want to use on your SharePoint site. The Design Element should allow adding of images (e.g., Image List, Tiles, Image Caption, etc.).
- You must have a SharePoint Document Library with all the icon images you want to use.

What are Icon Images?
Icon images are image versions of the visual symbols found in ShortPoint's icon library. They come in many popular formats, including:
- PNG and JPG — traditional raster image files that are great for photographic or detailed icons and photos
- SVG (Scalable Vector Graphics) — the gold standard for web icons, as they scale perfectly to any size without losing quality, and are fully editable
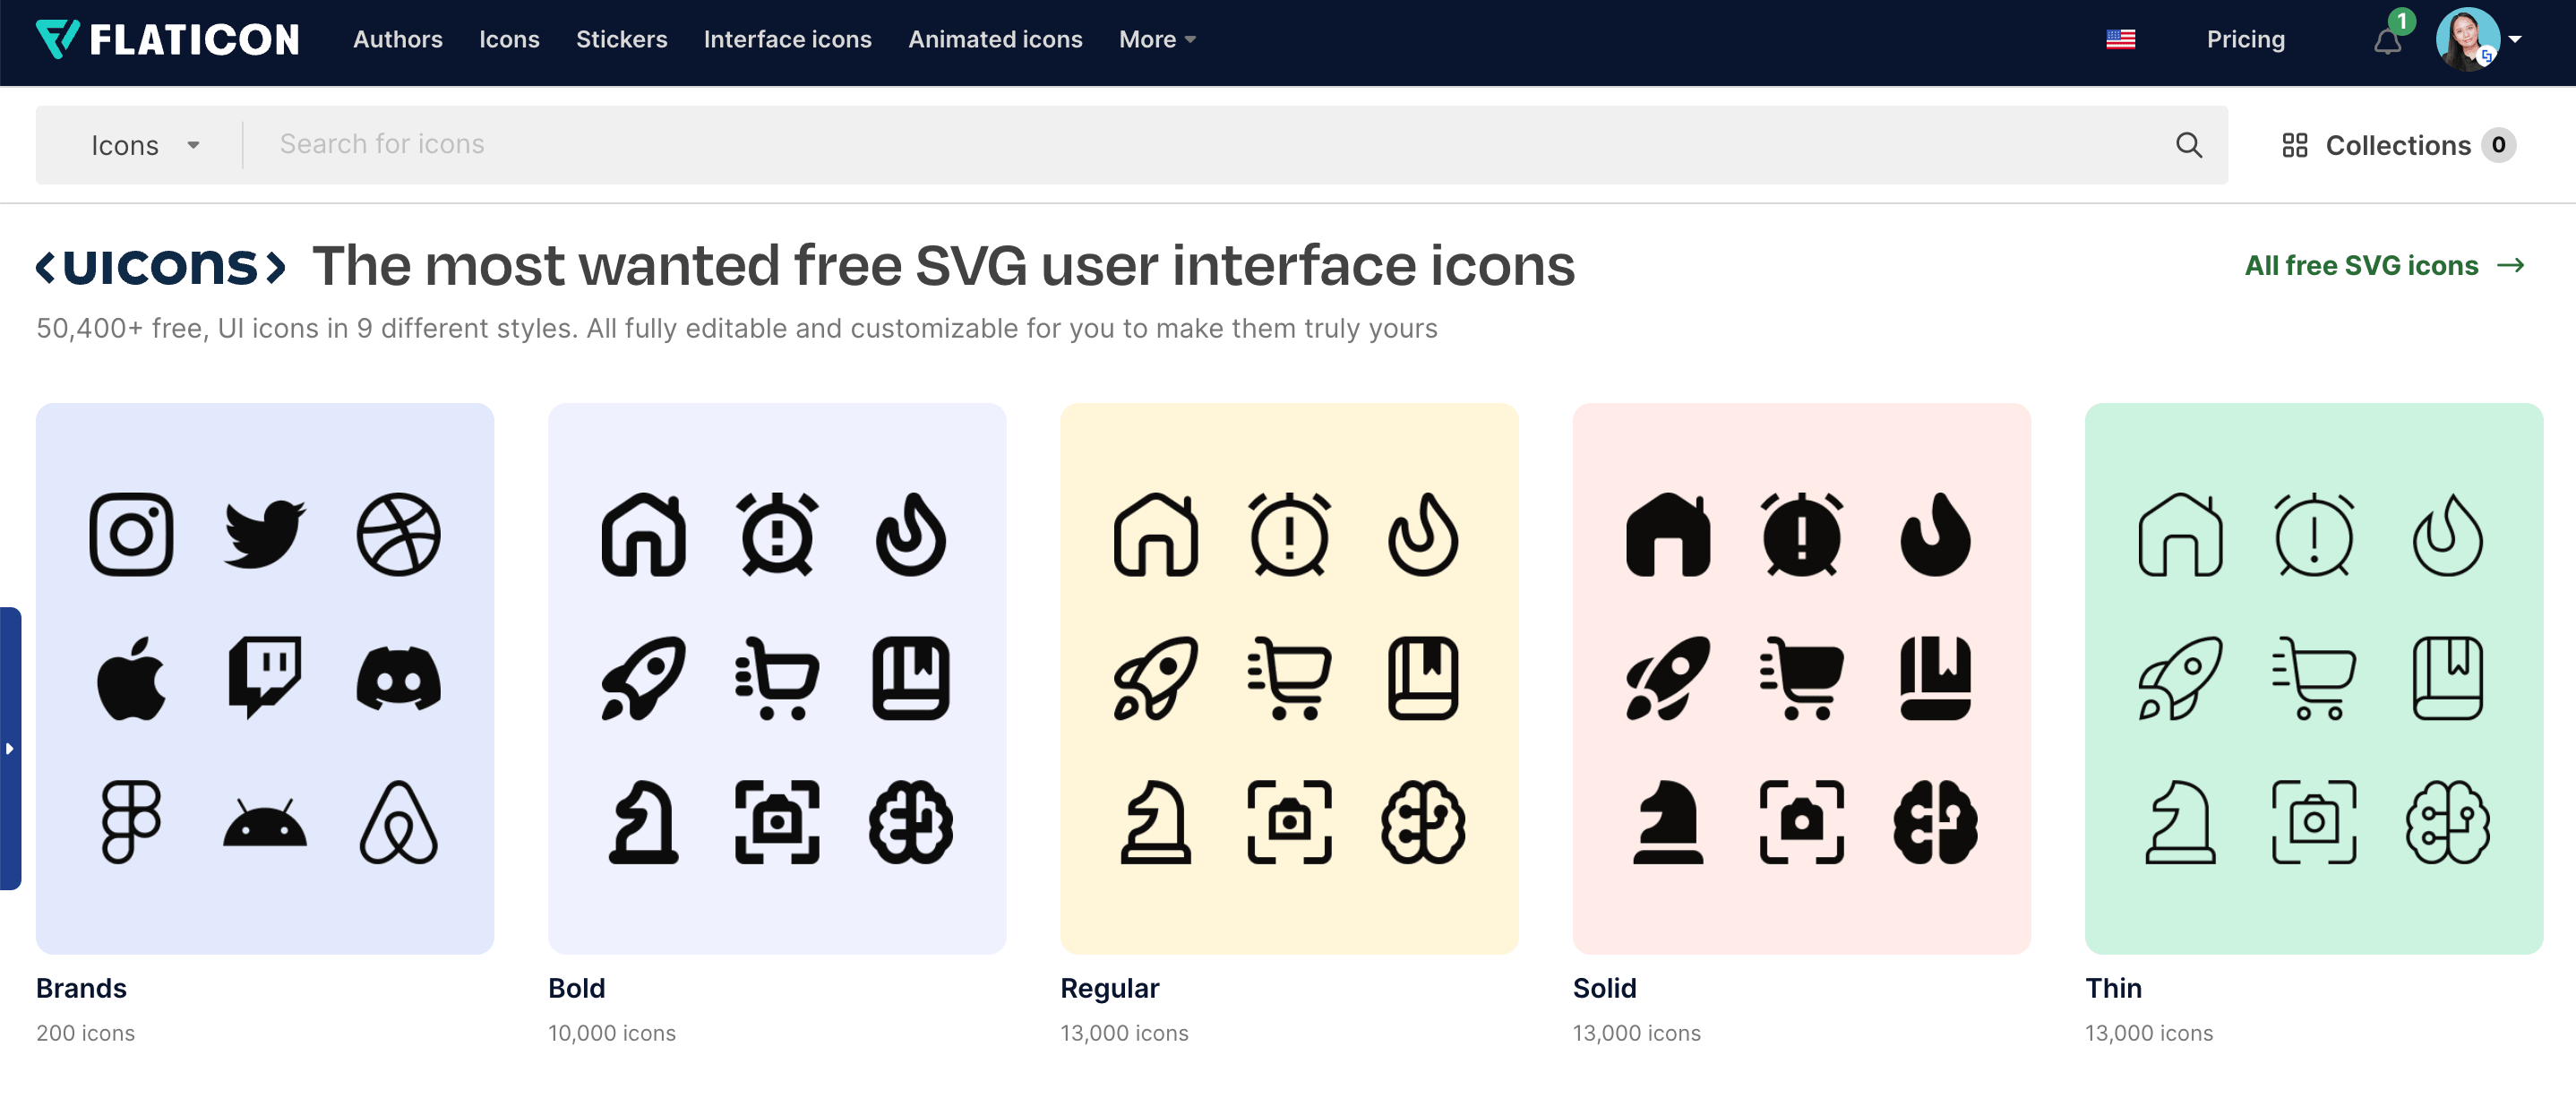
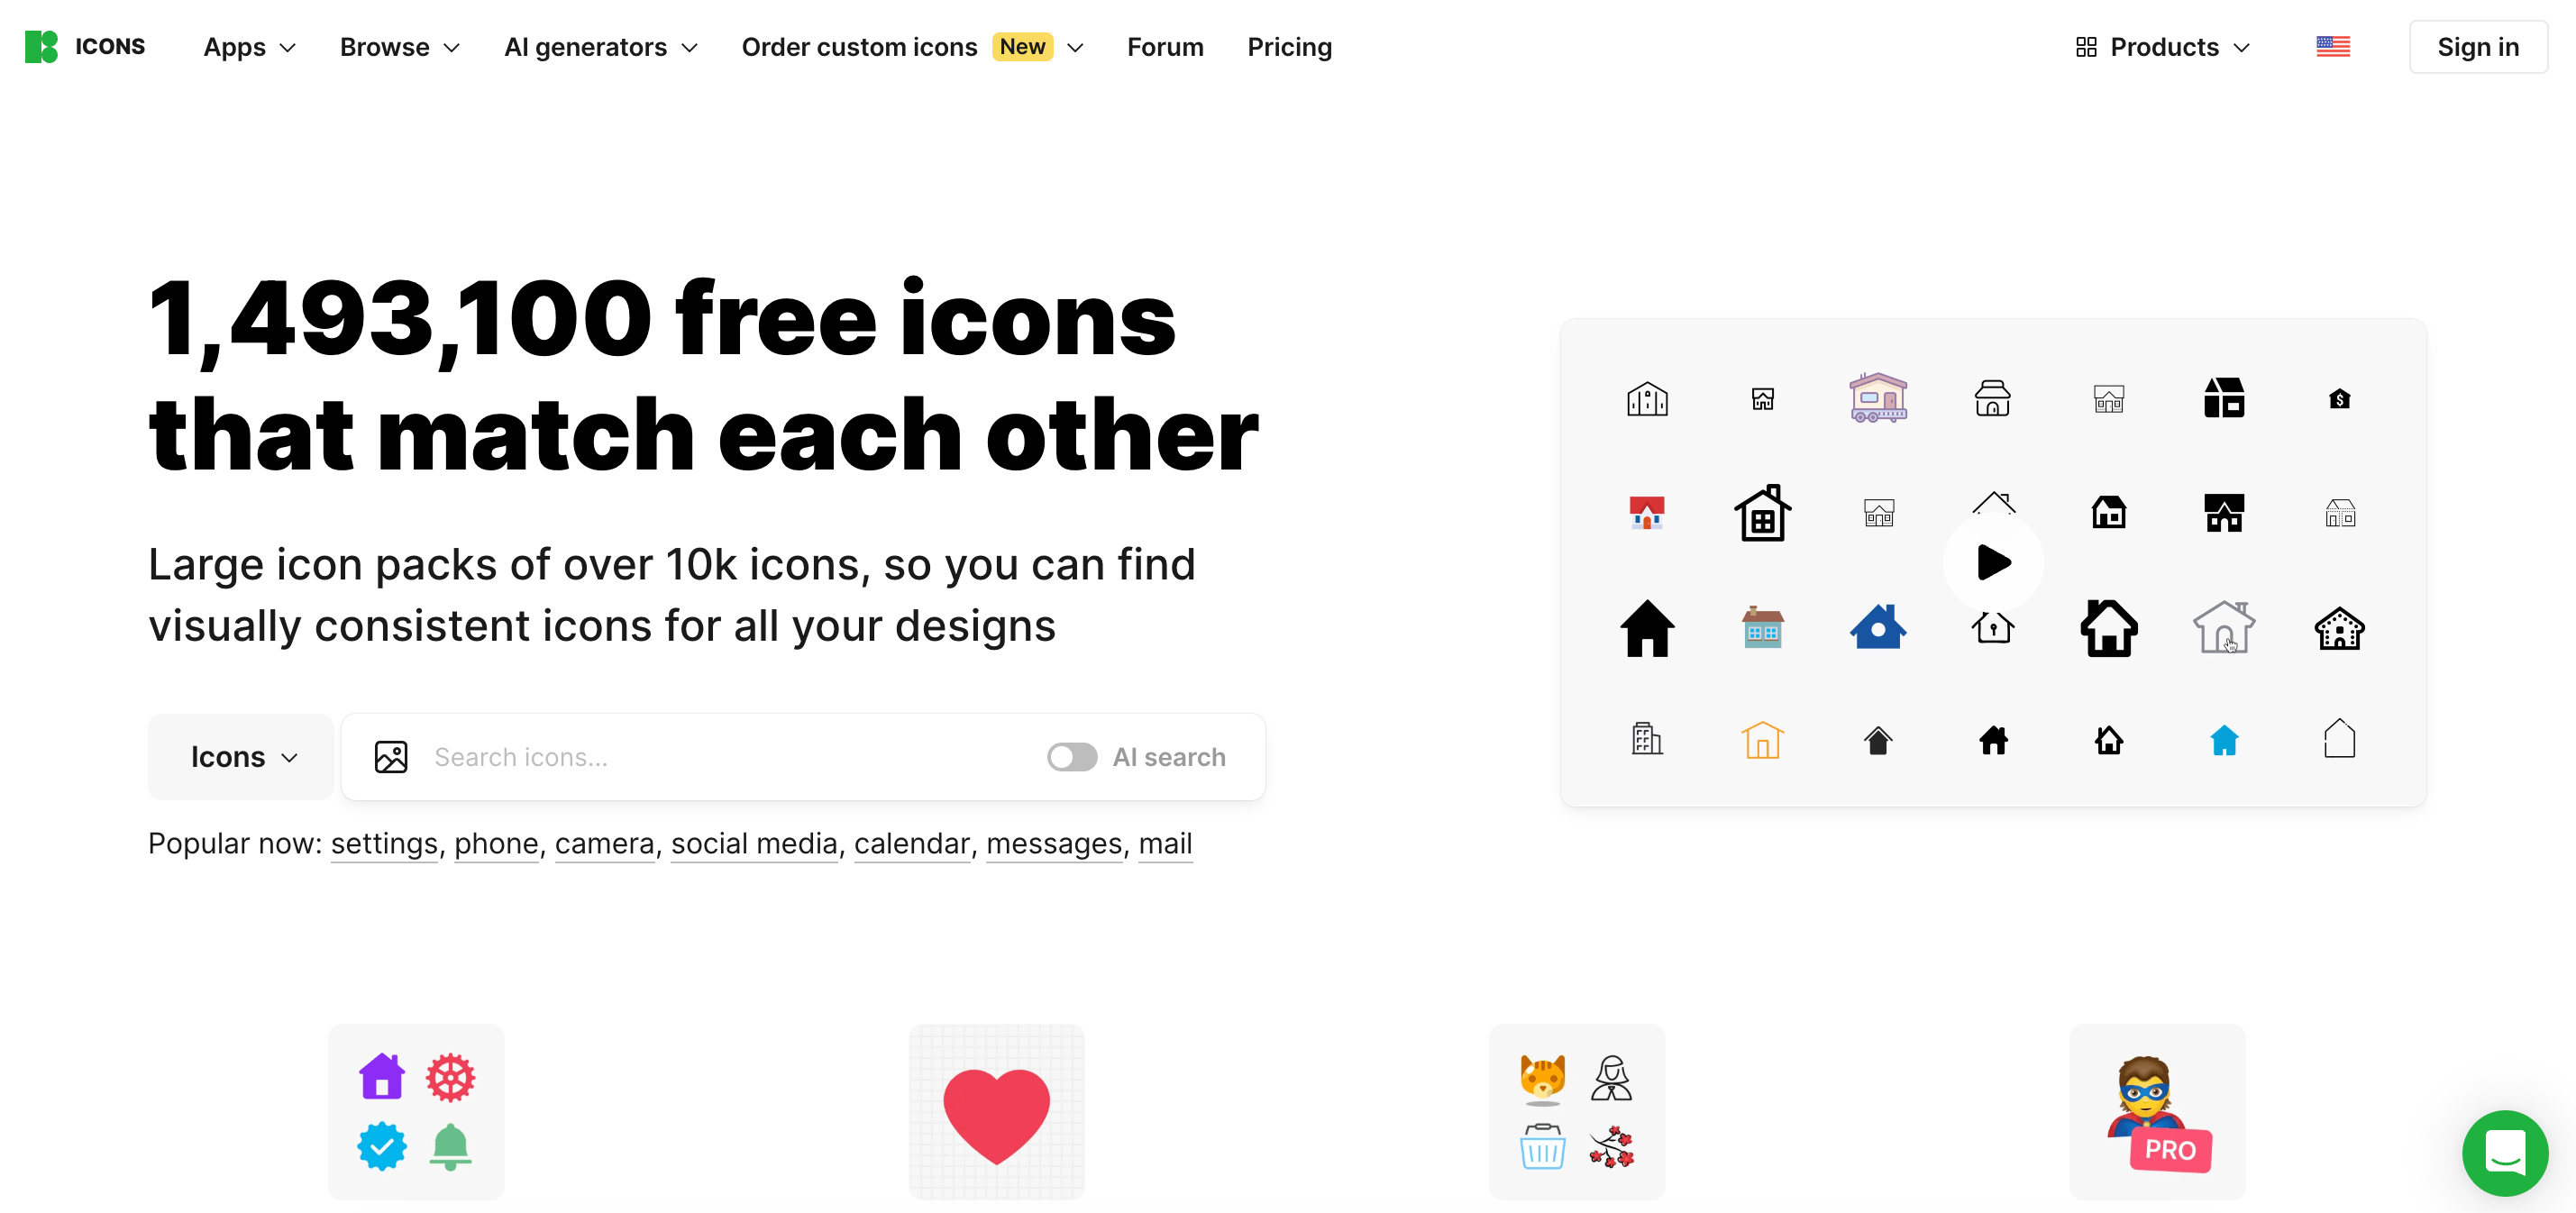
The good news is you don't need a big budget to access these premium assets. There are fantastic free resources out there, ranging from single-icon downloads to massive collections with thousands of options. Here are some of the best:
The best part? You can easily add these icon images to ShortPoint Design Elements, creating a unique twist to the usual icon format.

Step-by-step Tutorial
Excited to give icon images a try? We've prepared two easy ways for you to start adding these high-quality icons to your SharePoint page, so you can enhance your sites with beautifully crafted visuals.
Option 1: Using ShortPoint Connect (Recommended)
This option utilizes ShortPoint Connect to create a dynamic icon image library for you. Follow the steps below to learn how:
Step 1: Prepare your SharePoint Document Library
To start off, you must download all the icon images you want to use and add them to a SharePoint Document Library:
TIPYou can use Flaticon by Freepik or Icons8 to look for the icon images you want to use.

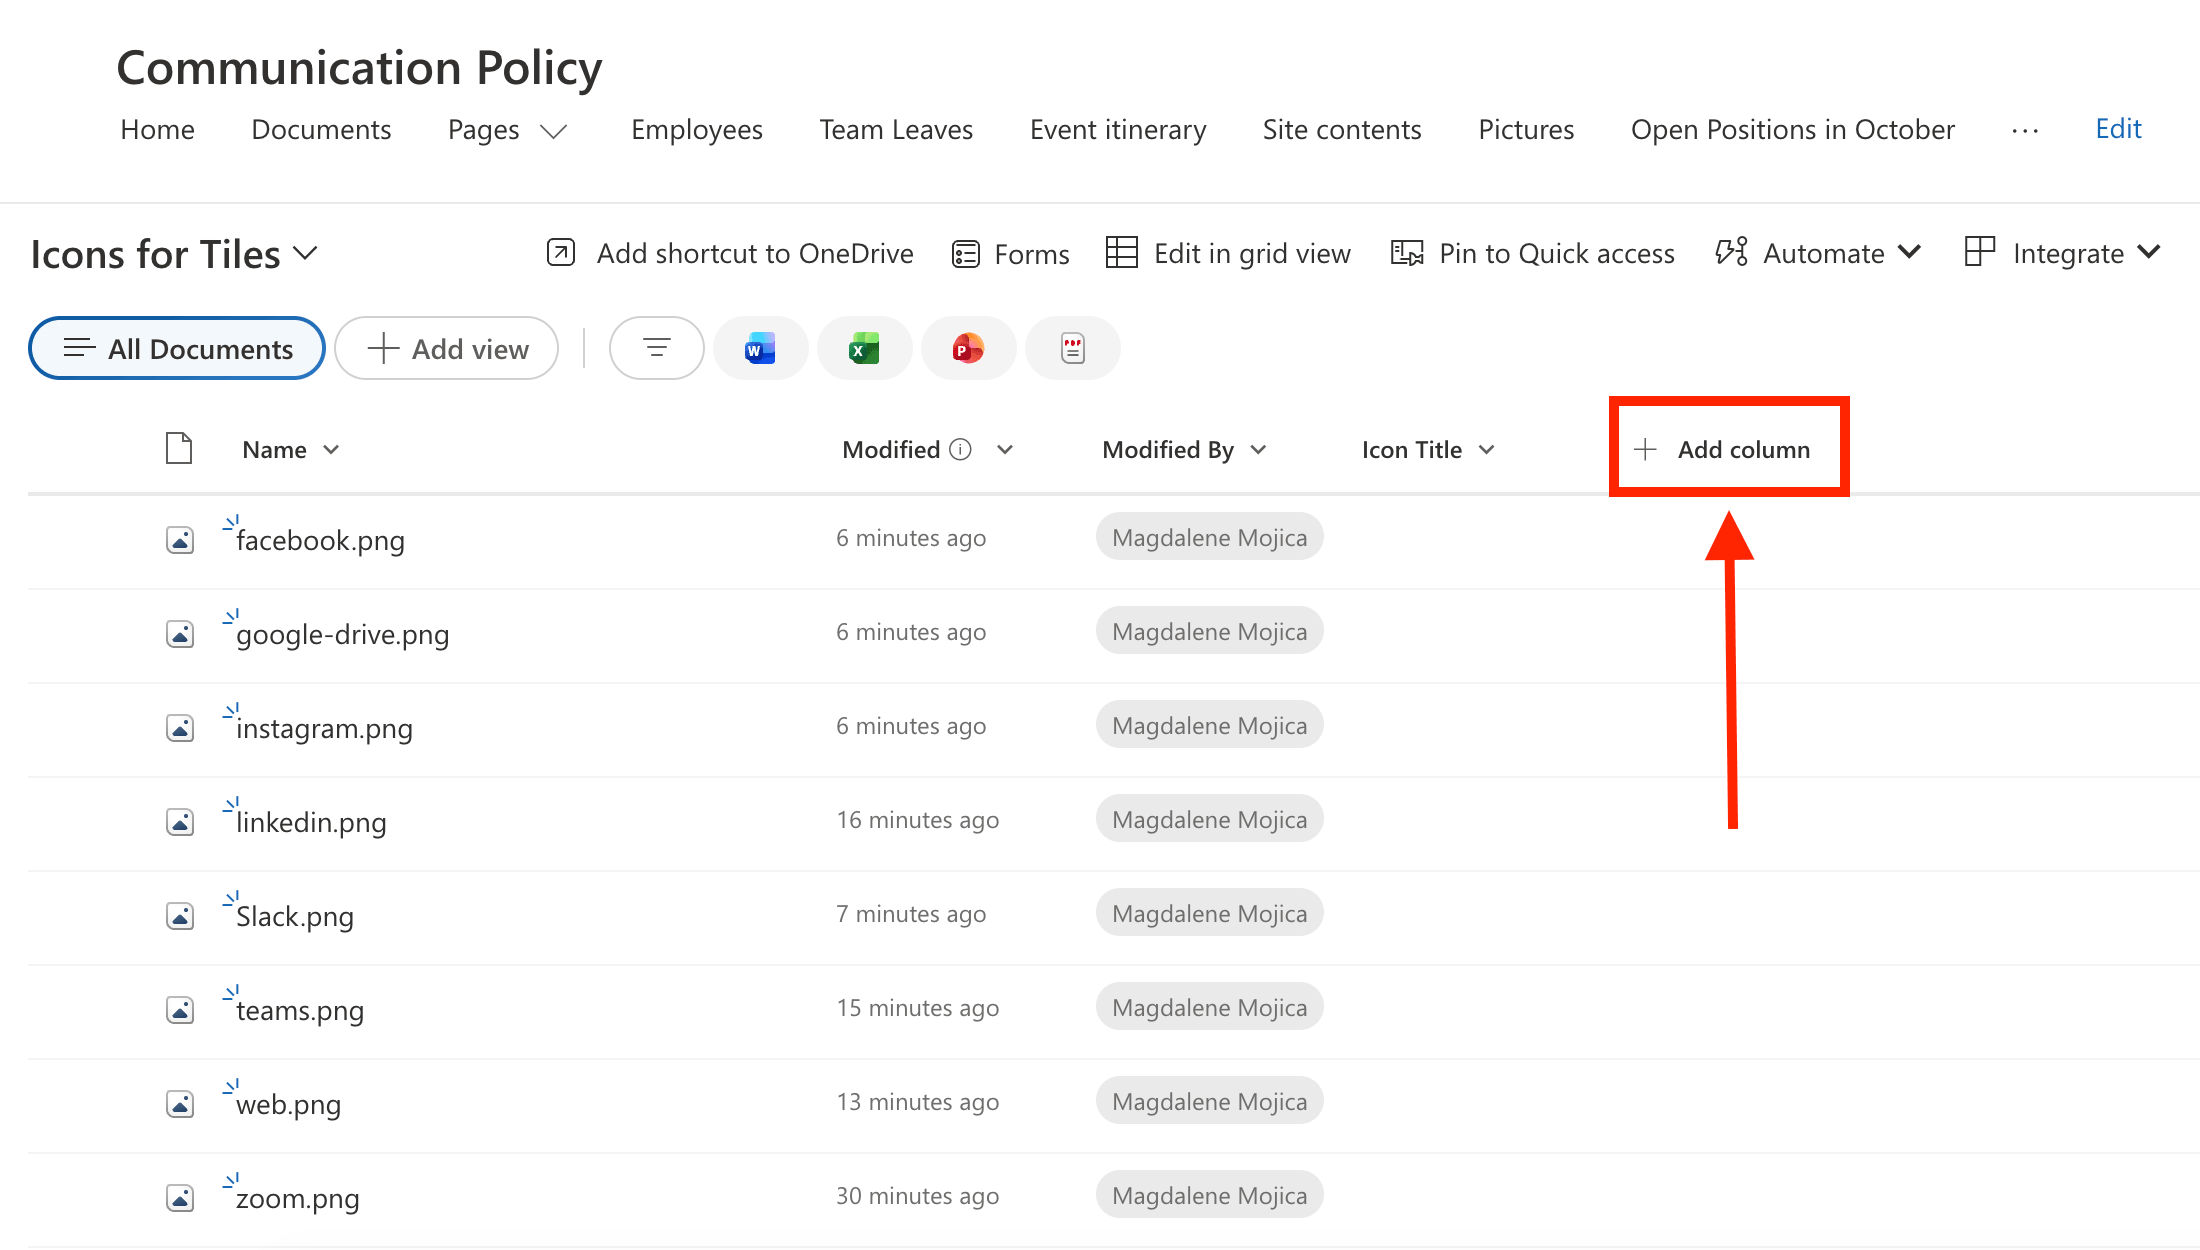
Then, you need to add an Icon Title column. The content under this column will serve as the titles when you connect it to a ShortPoint Design Element. To do this, select Add Column:

Choose [1] Text and click [2] Next:

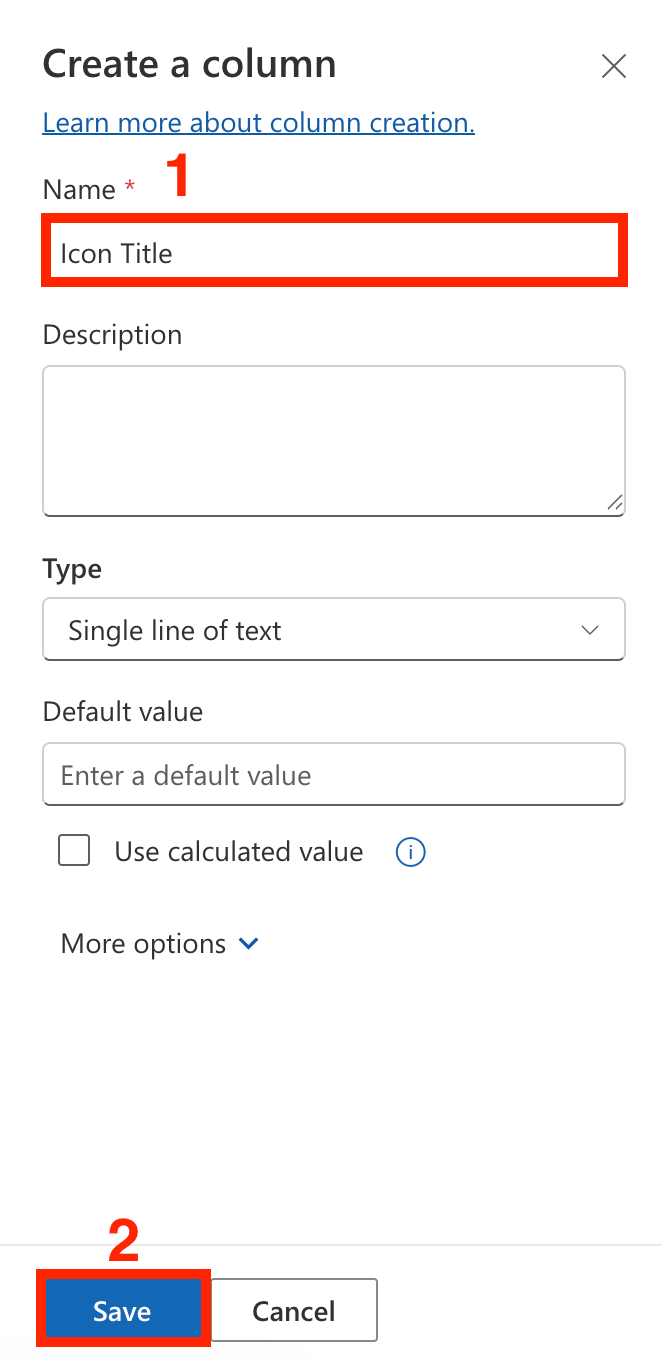
In the name field, write [1] 'Icon Title' and select [2] Save:
Once that's done, you now need to add a Link column. The content under this column will serve as clickable links when you connect it to a ShortPoint Design Element. Simply select Add Column again:
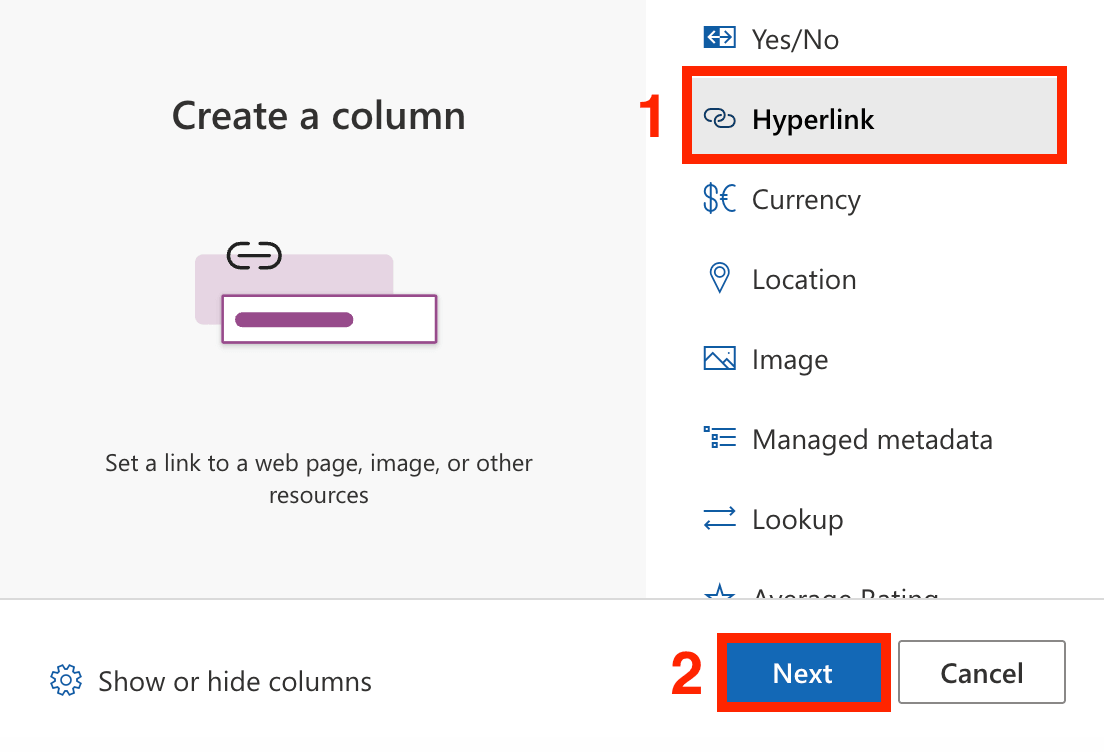
Then, select [1] Hyperlink and click [2] Next:
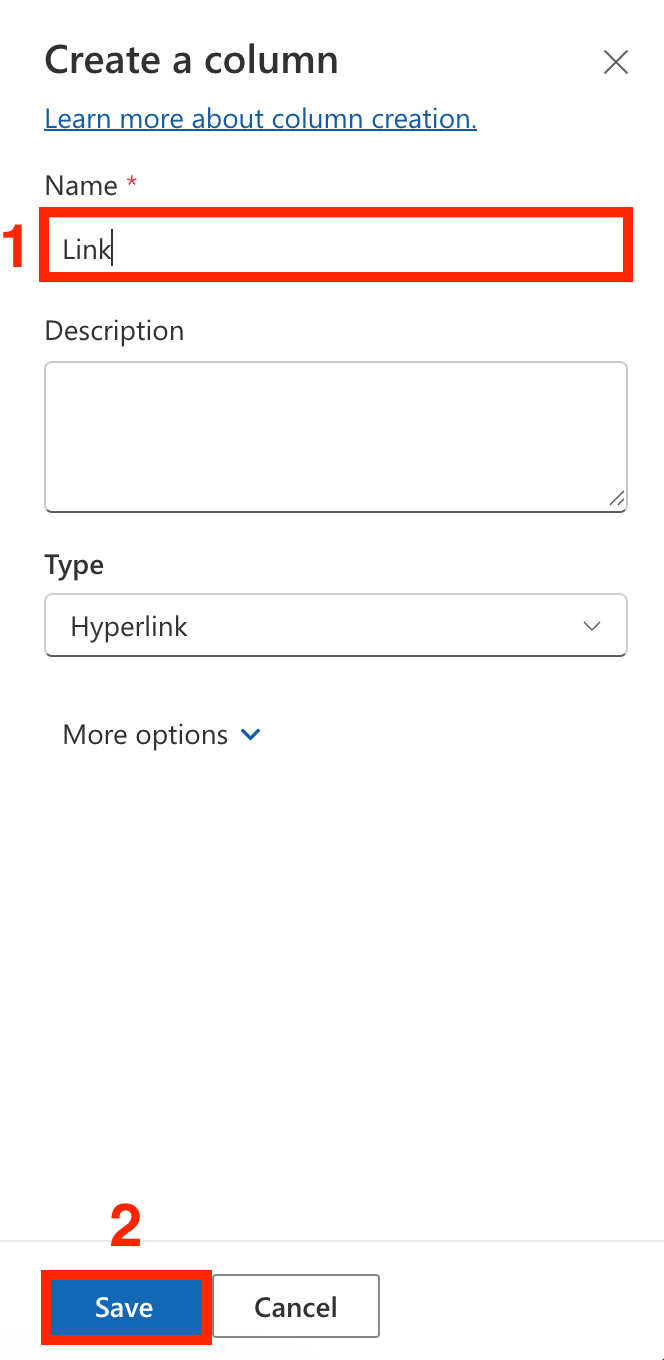
In the name field, write [1] 'Link' and select [2] Save:
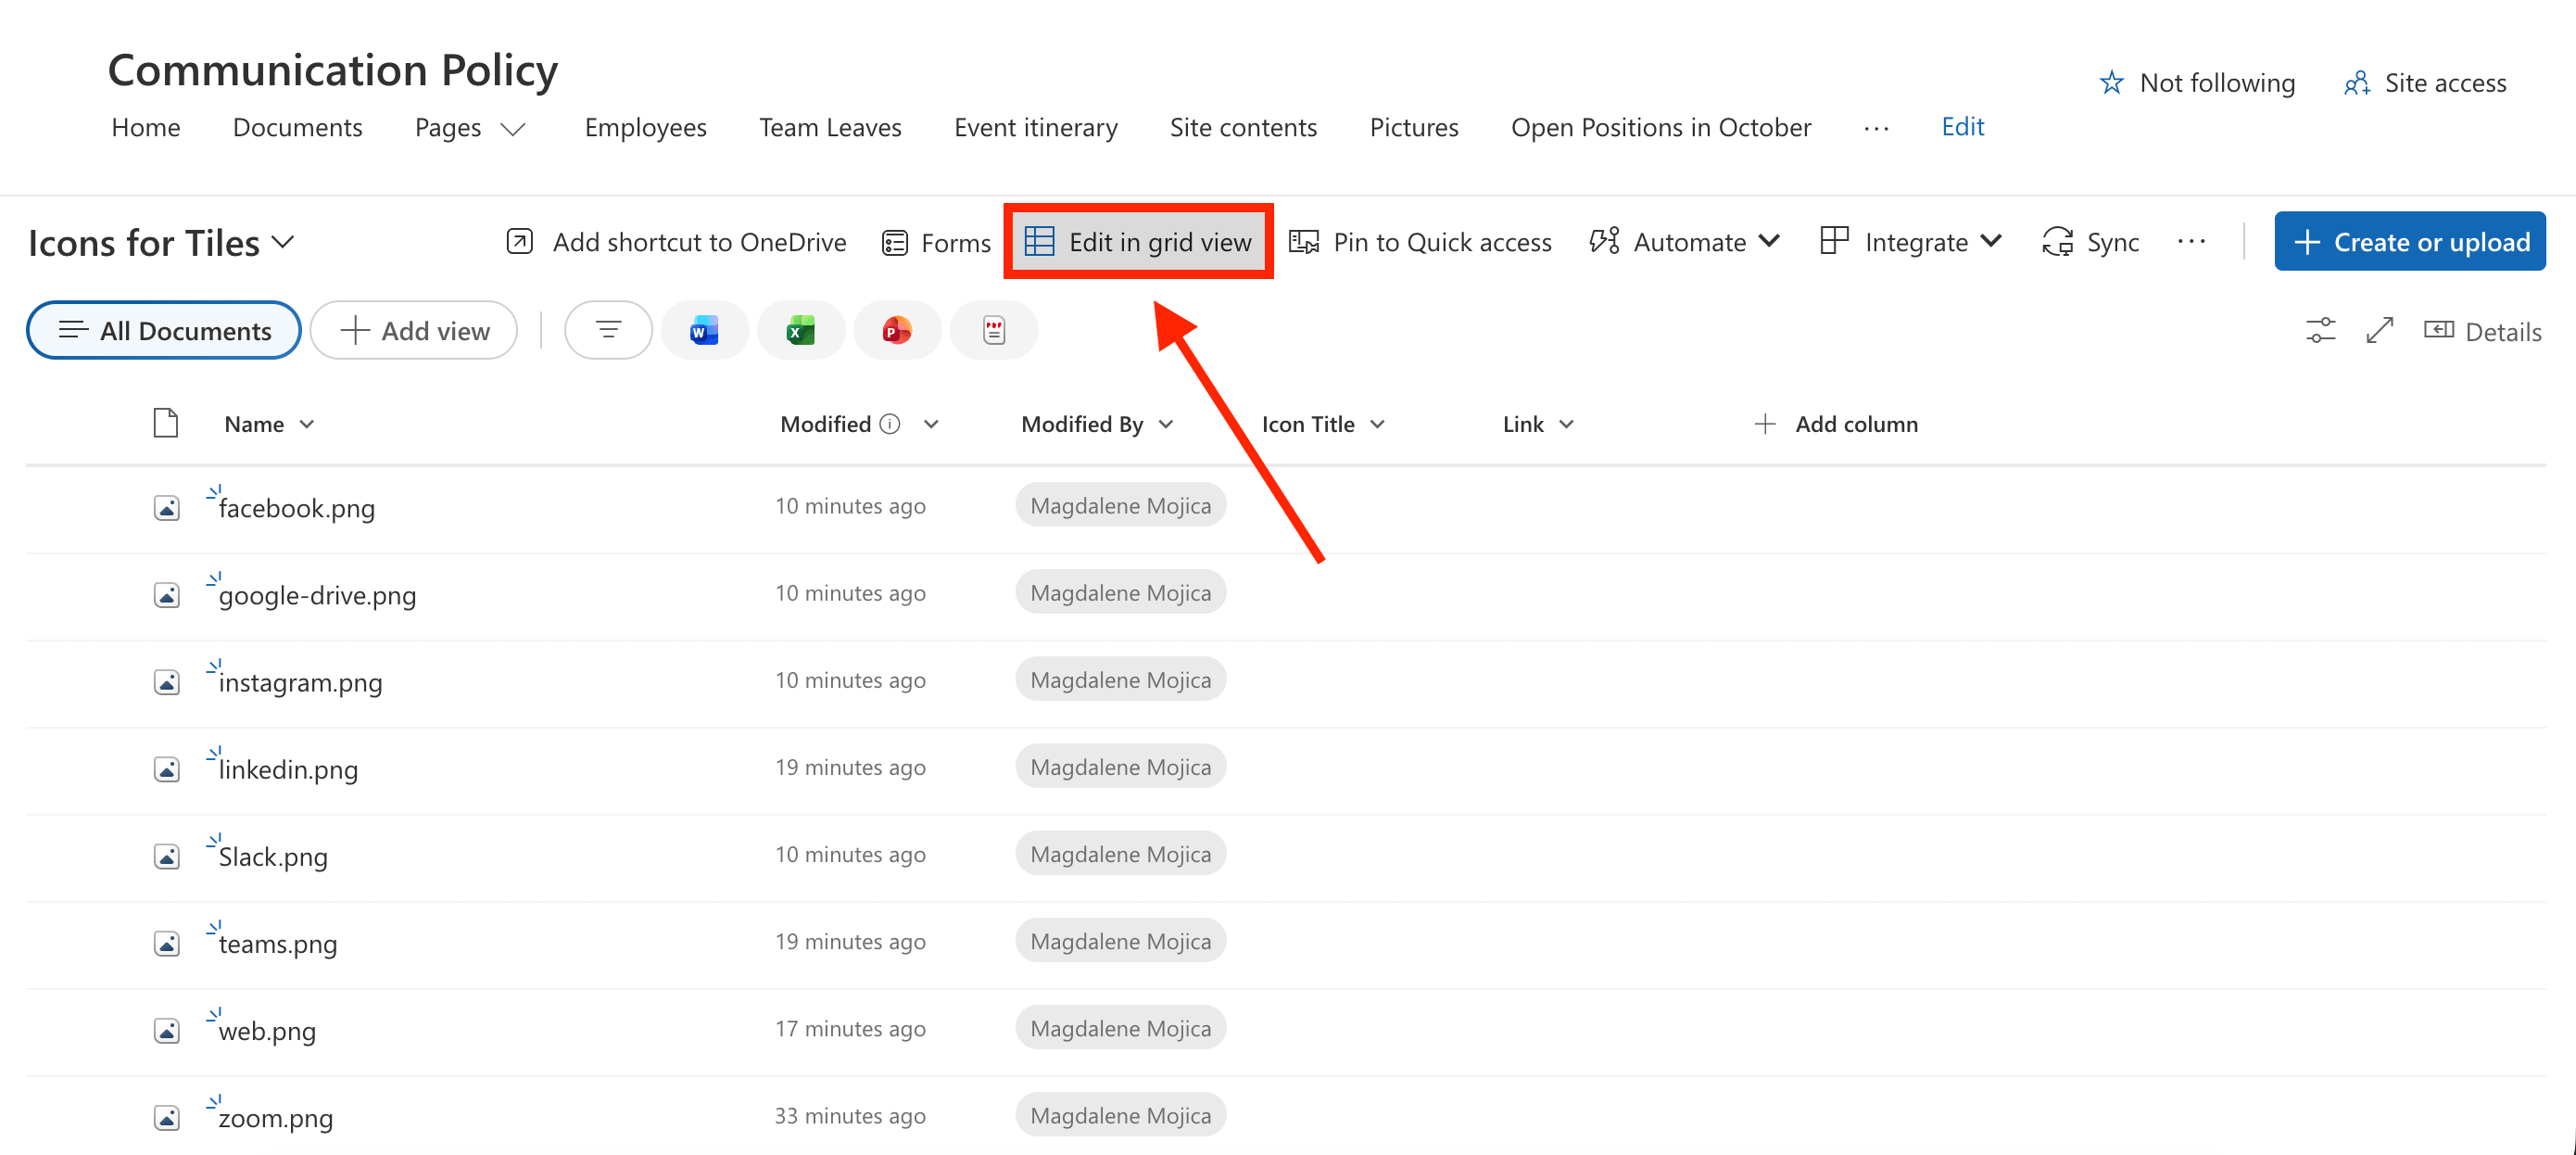
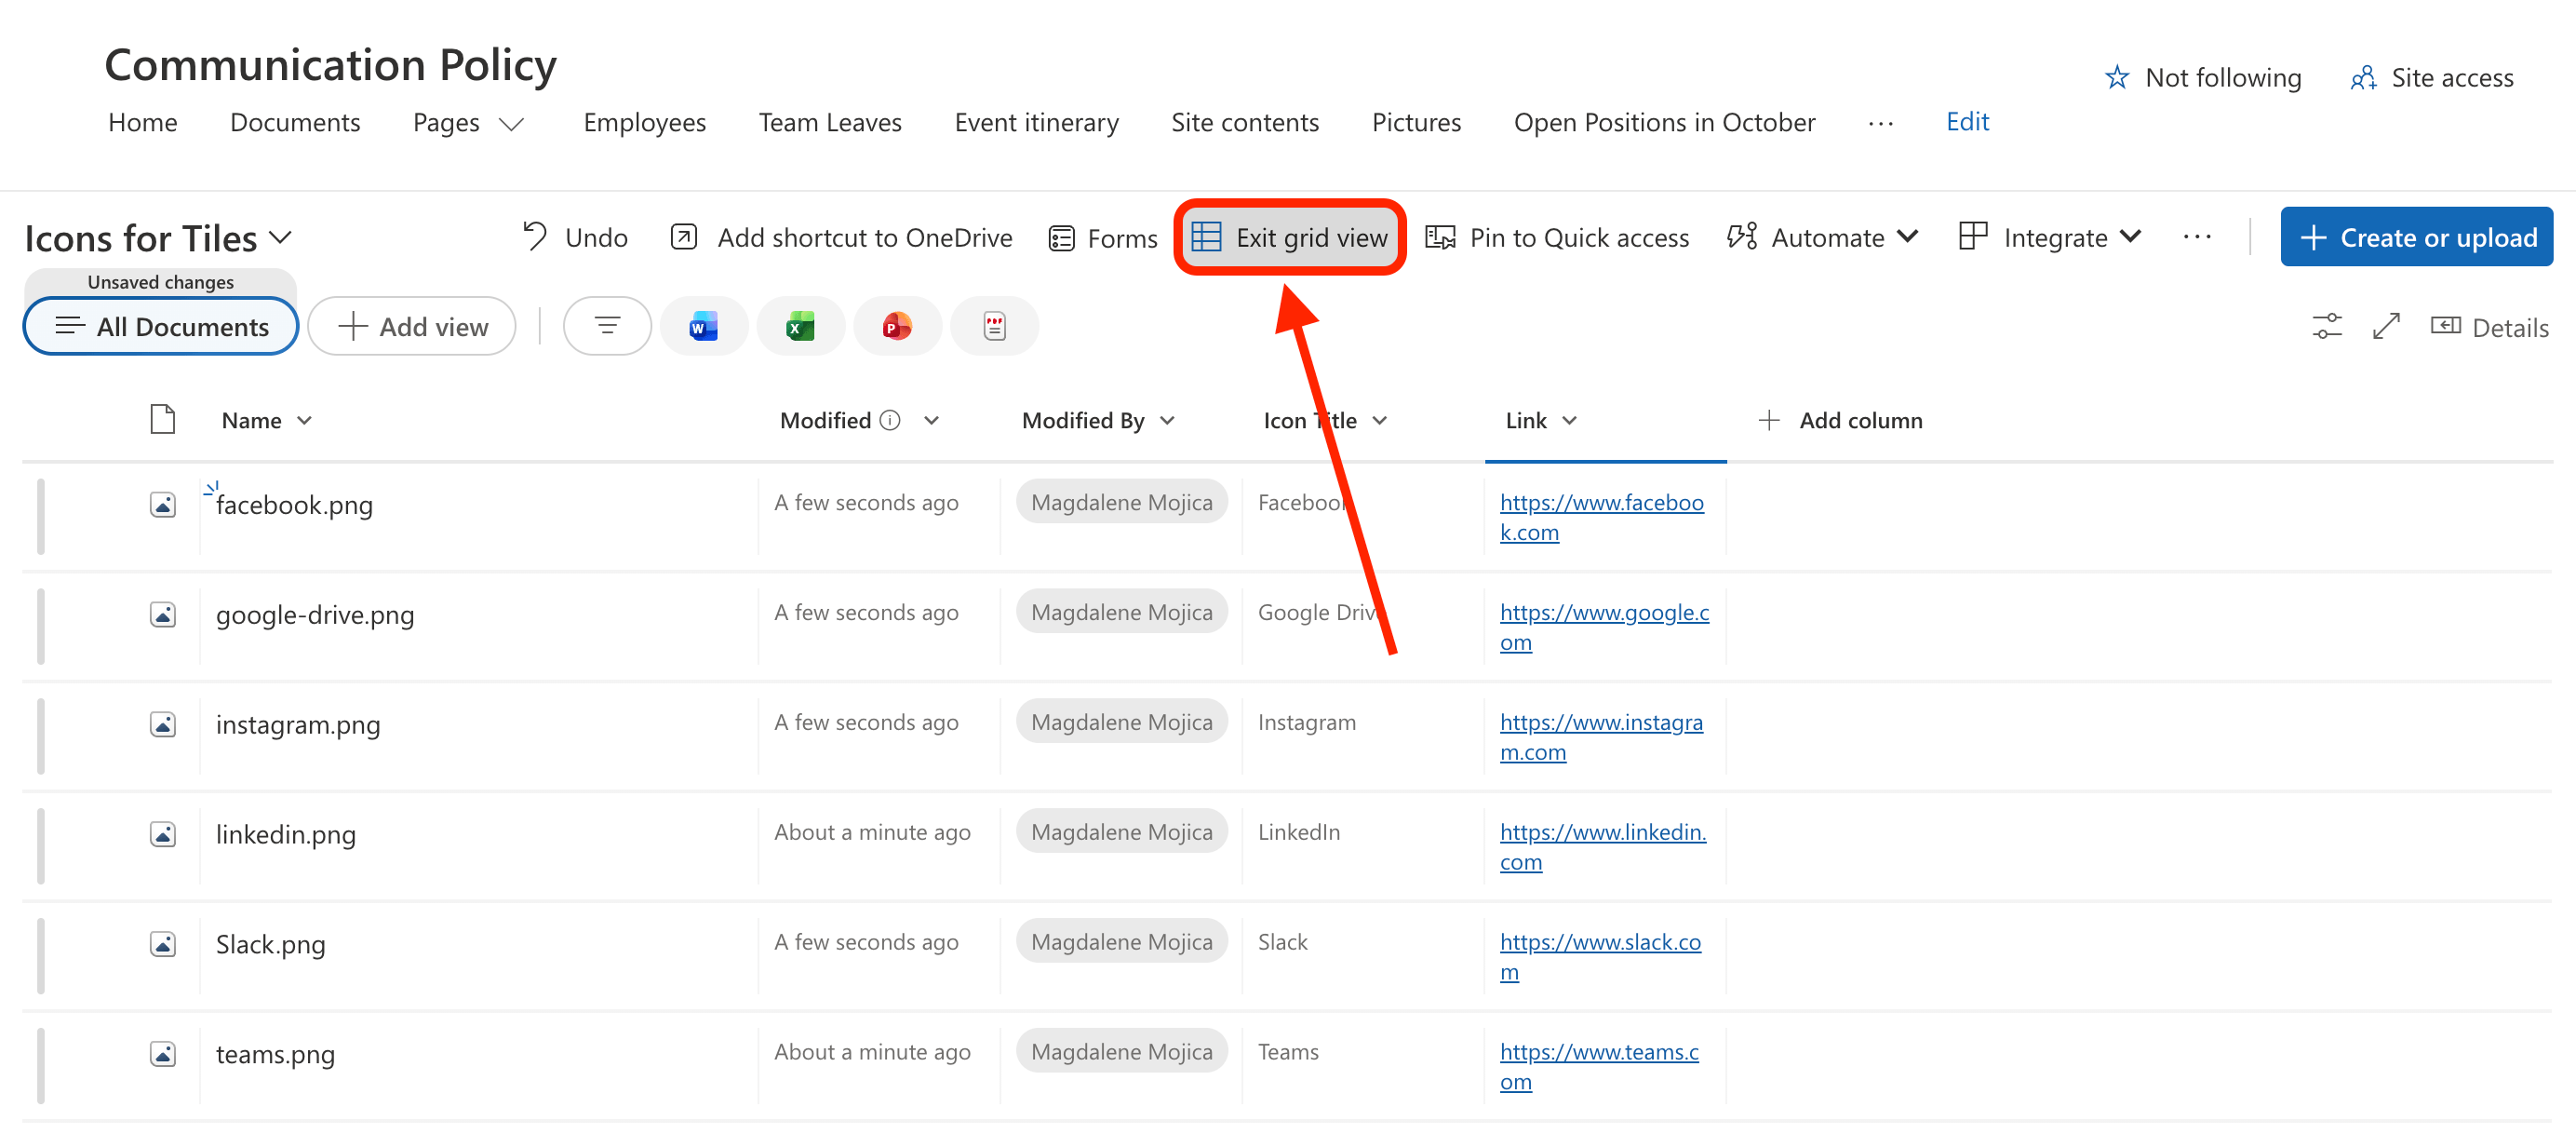
From there, you need to fill in the Icon Title column and Link column with the necessary information. To do that, simply click Edit in Grid View.
Then, add the details needed:
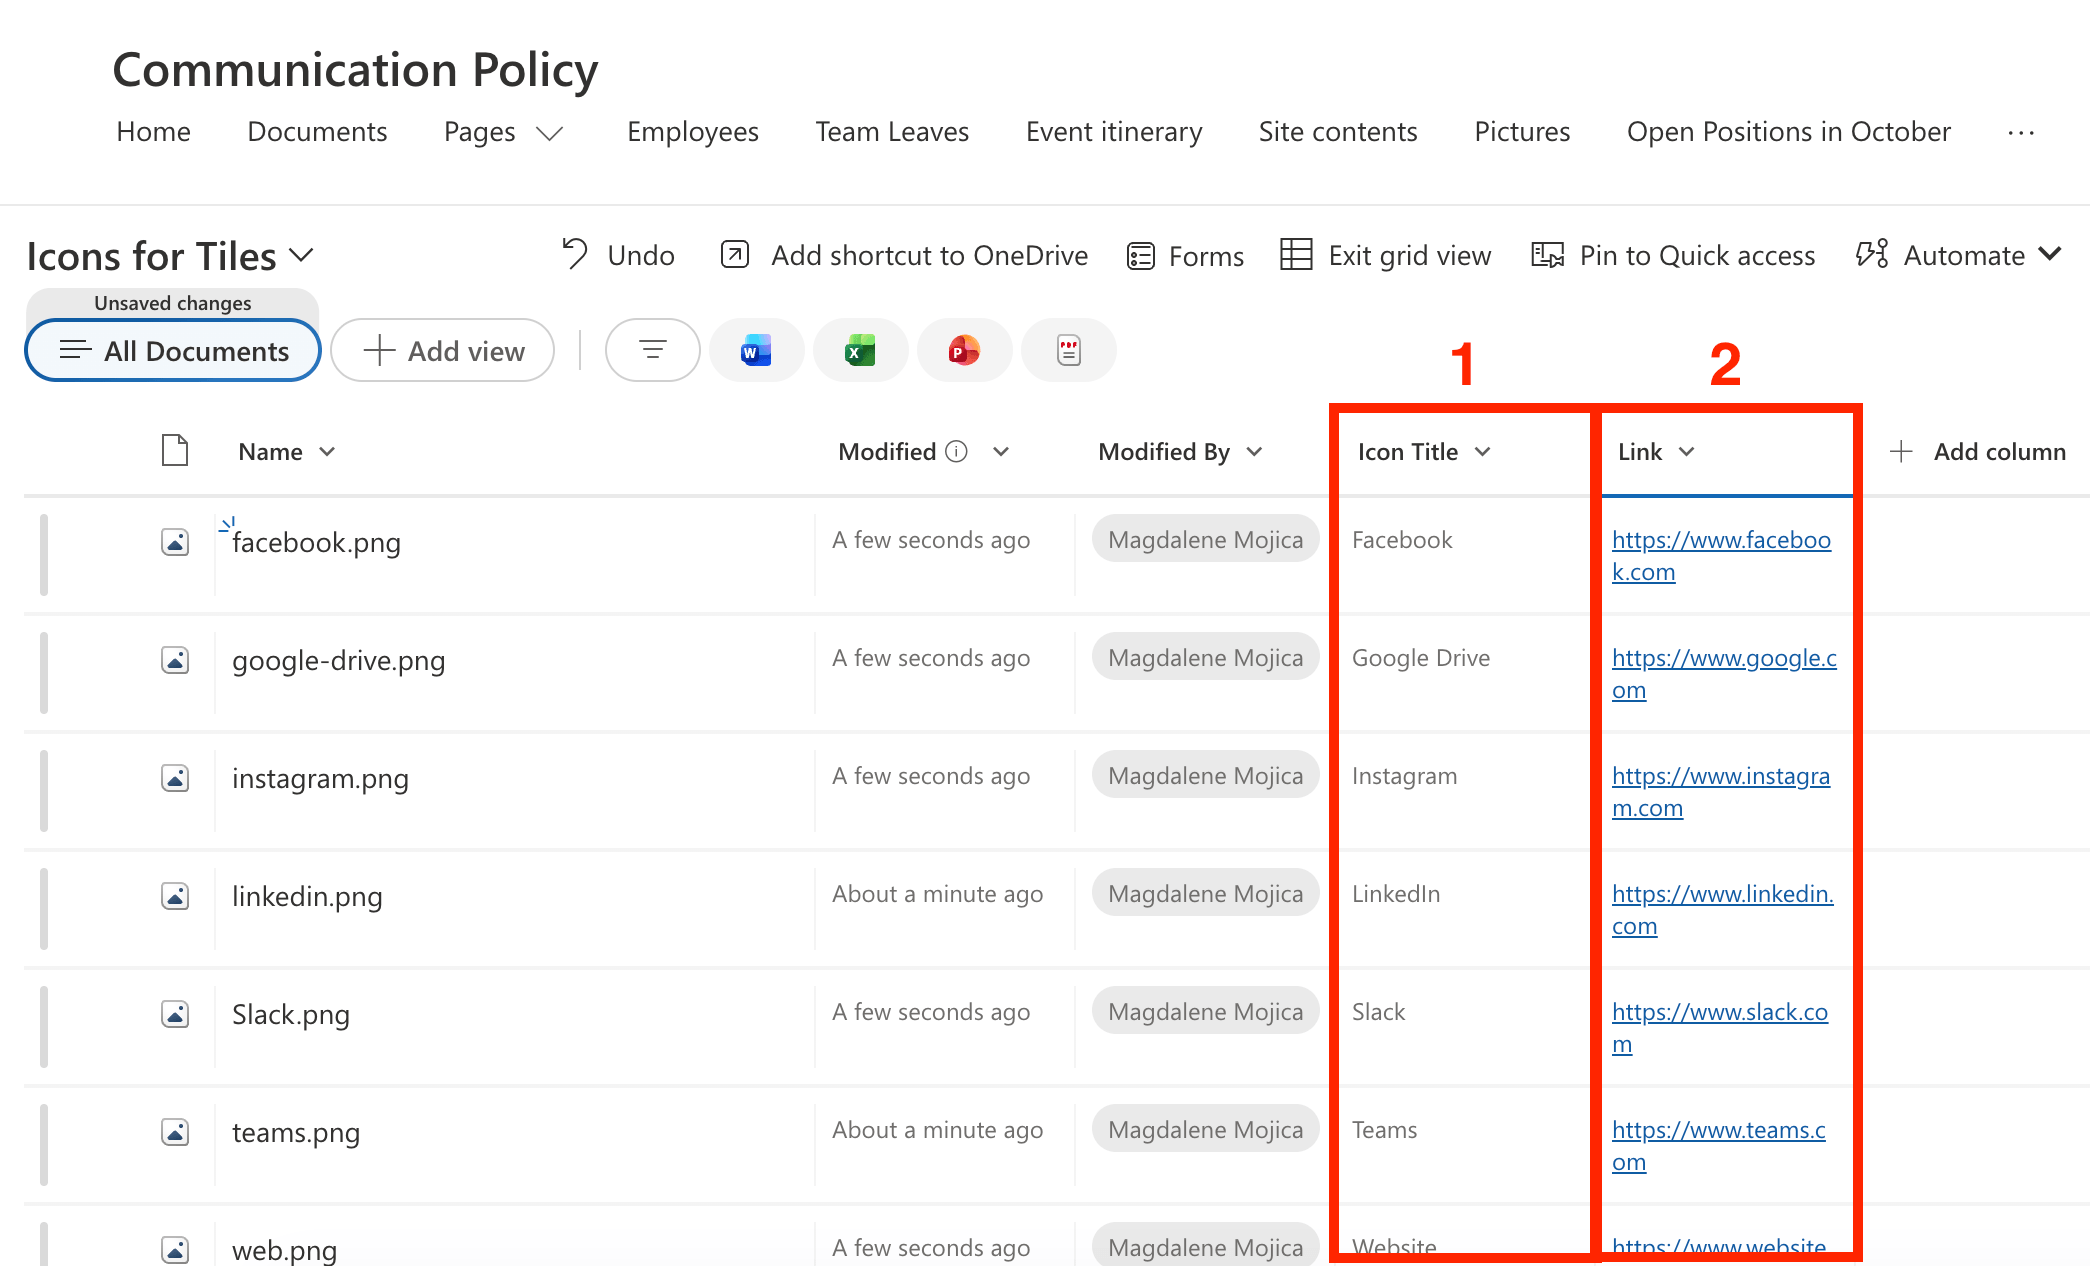
Once satisfied, Exit Grid View:
Step 2: Edit the ShortPoint Web Part
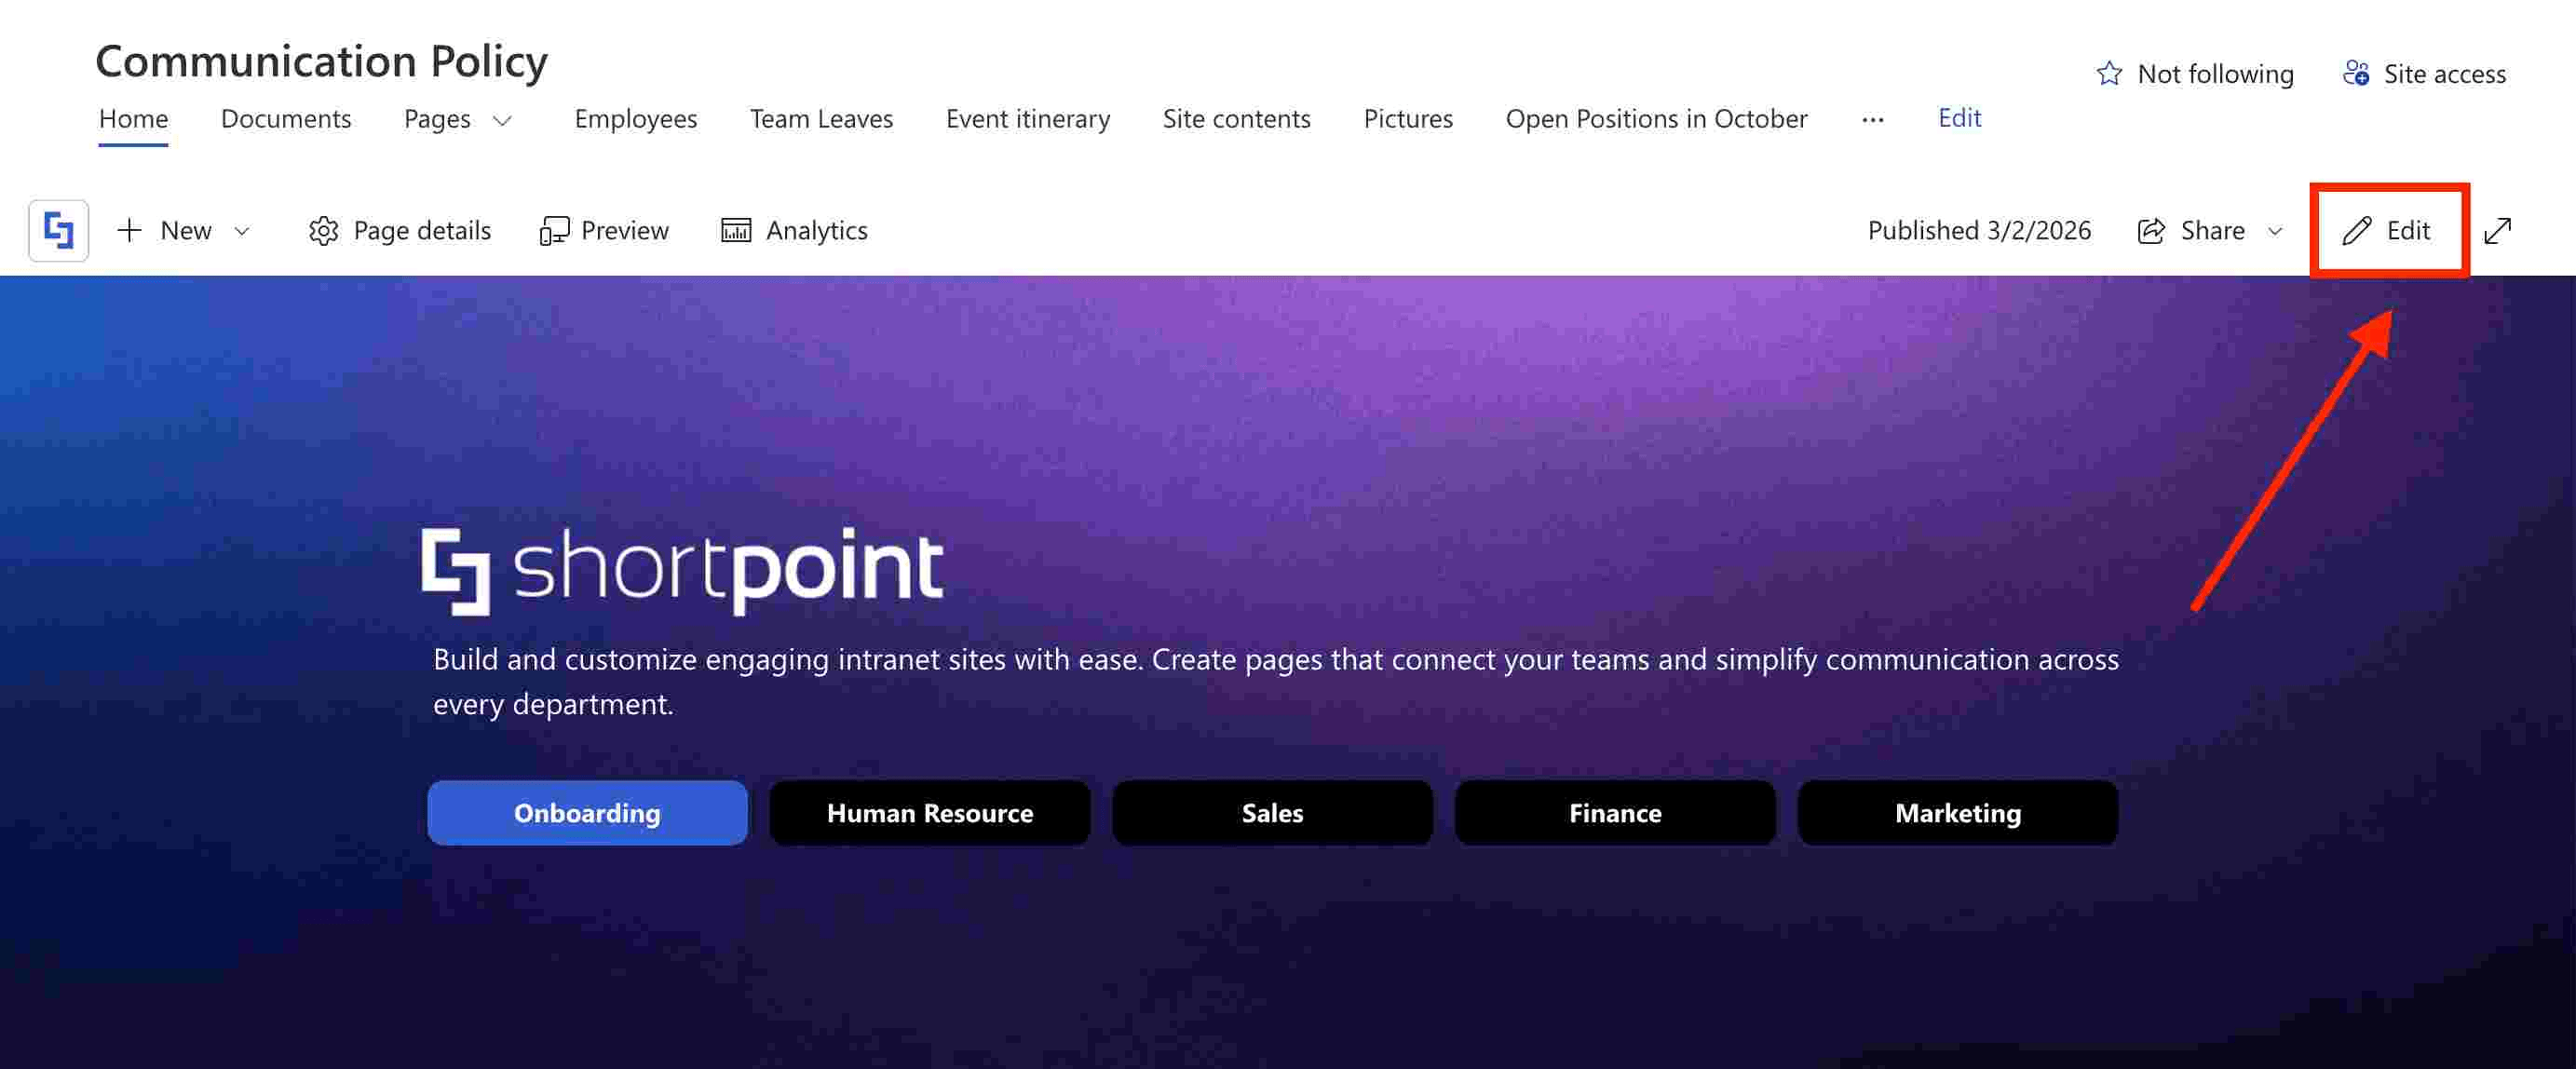
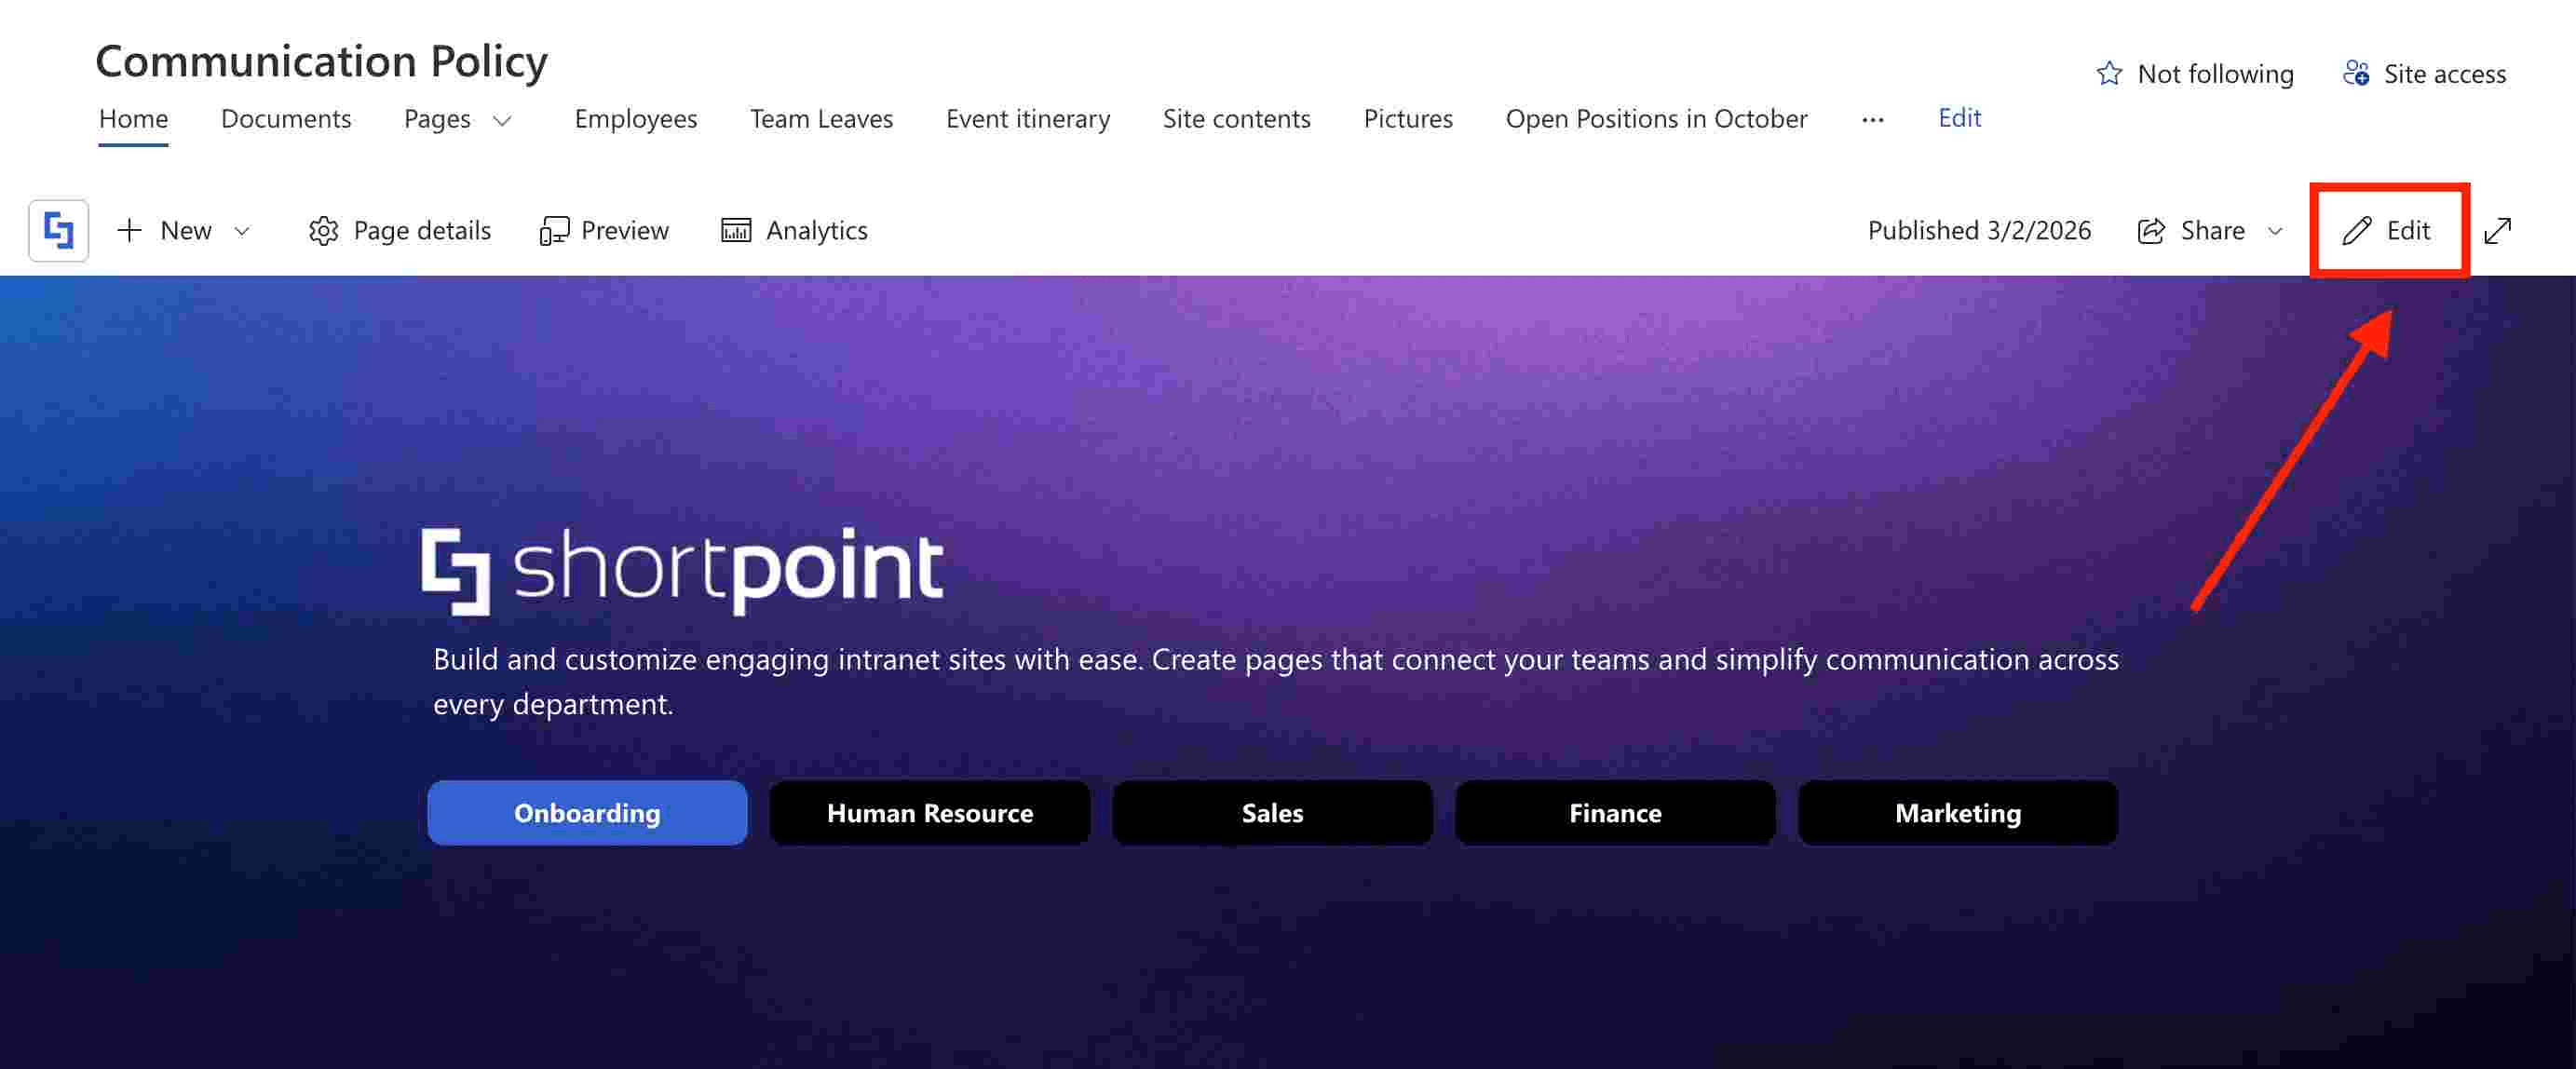
Go to the SharePoint page where the Document Library you prepared in Step 1 is located and click Edit:
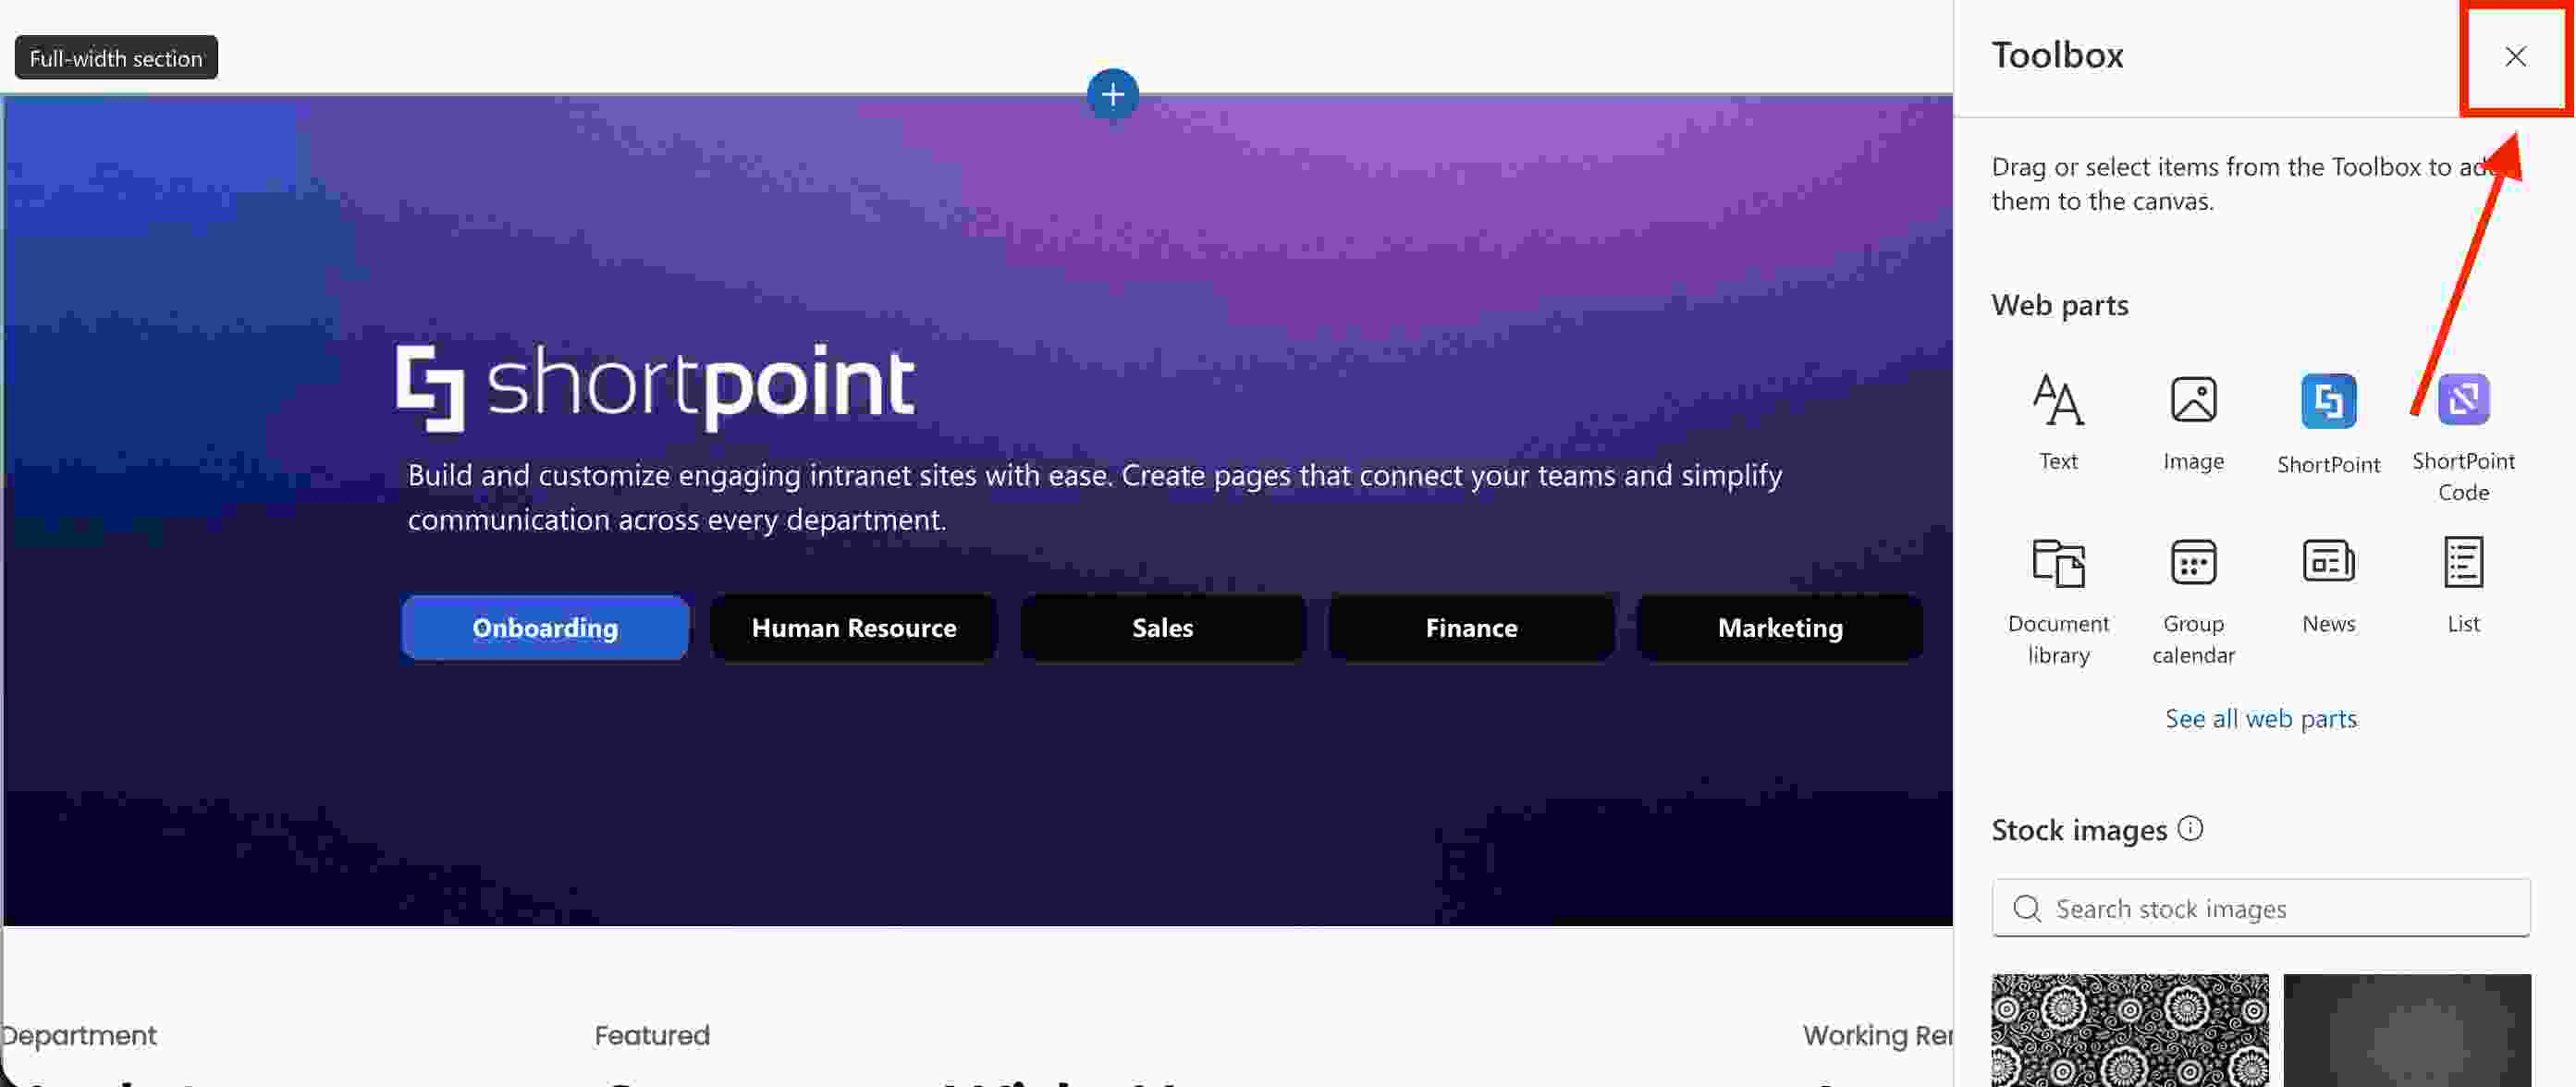
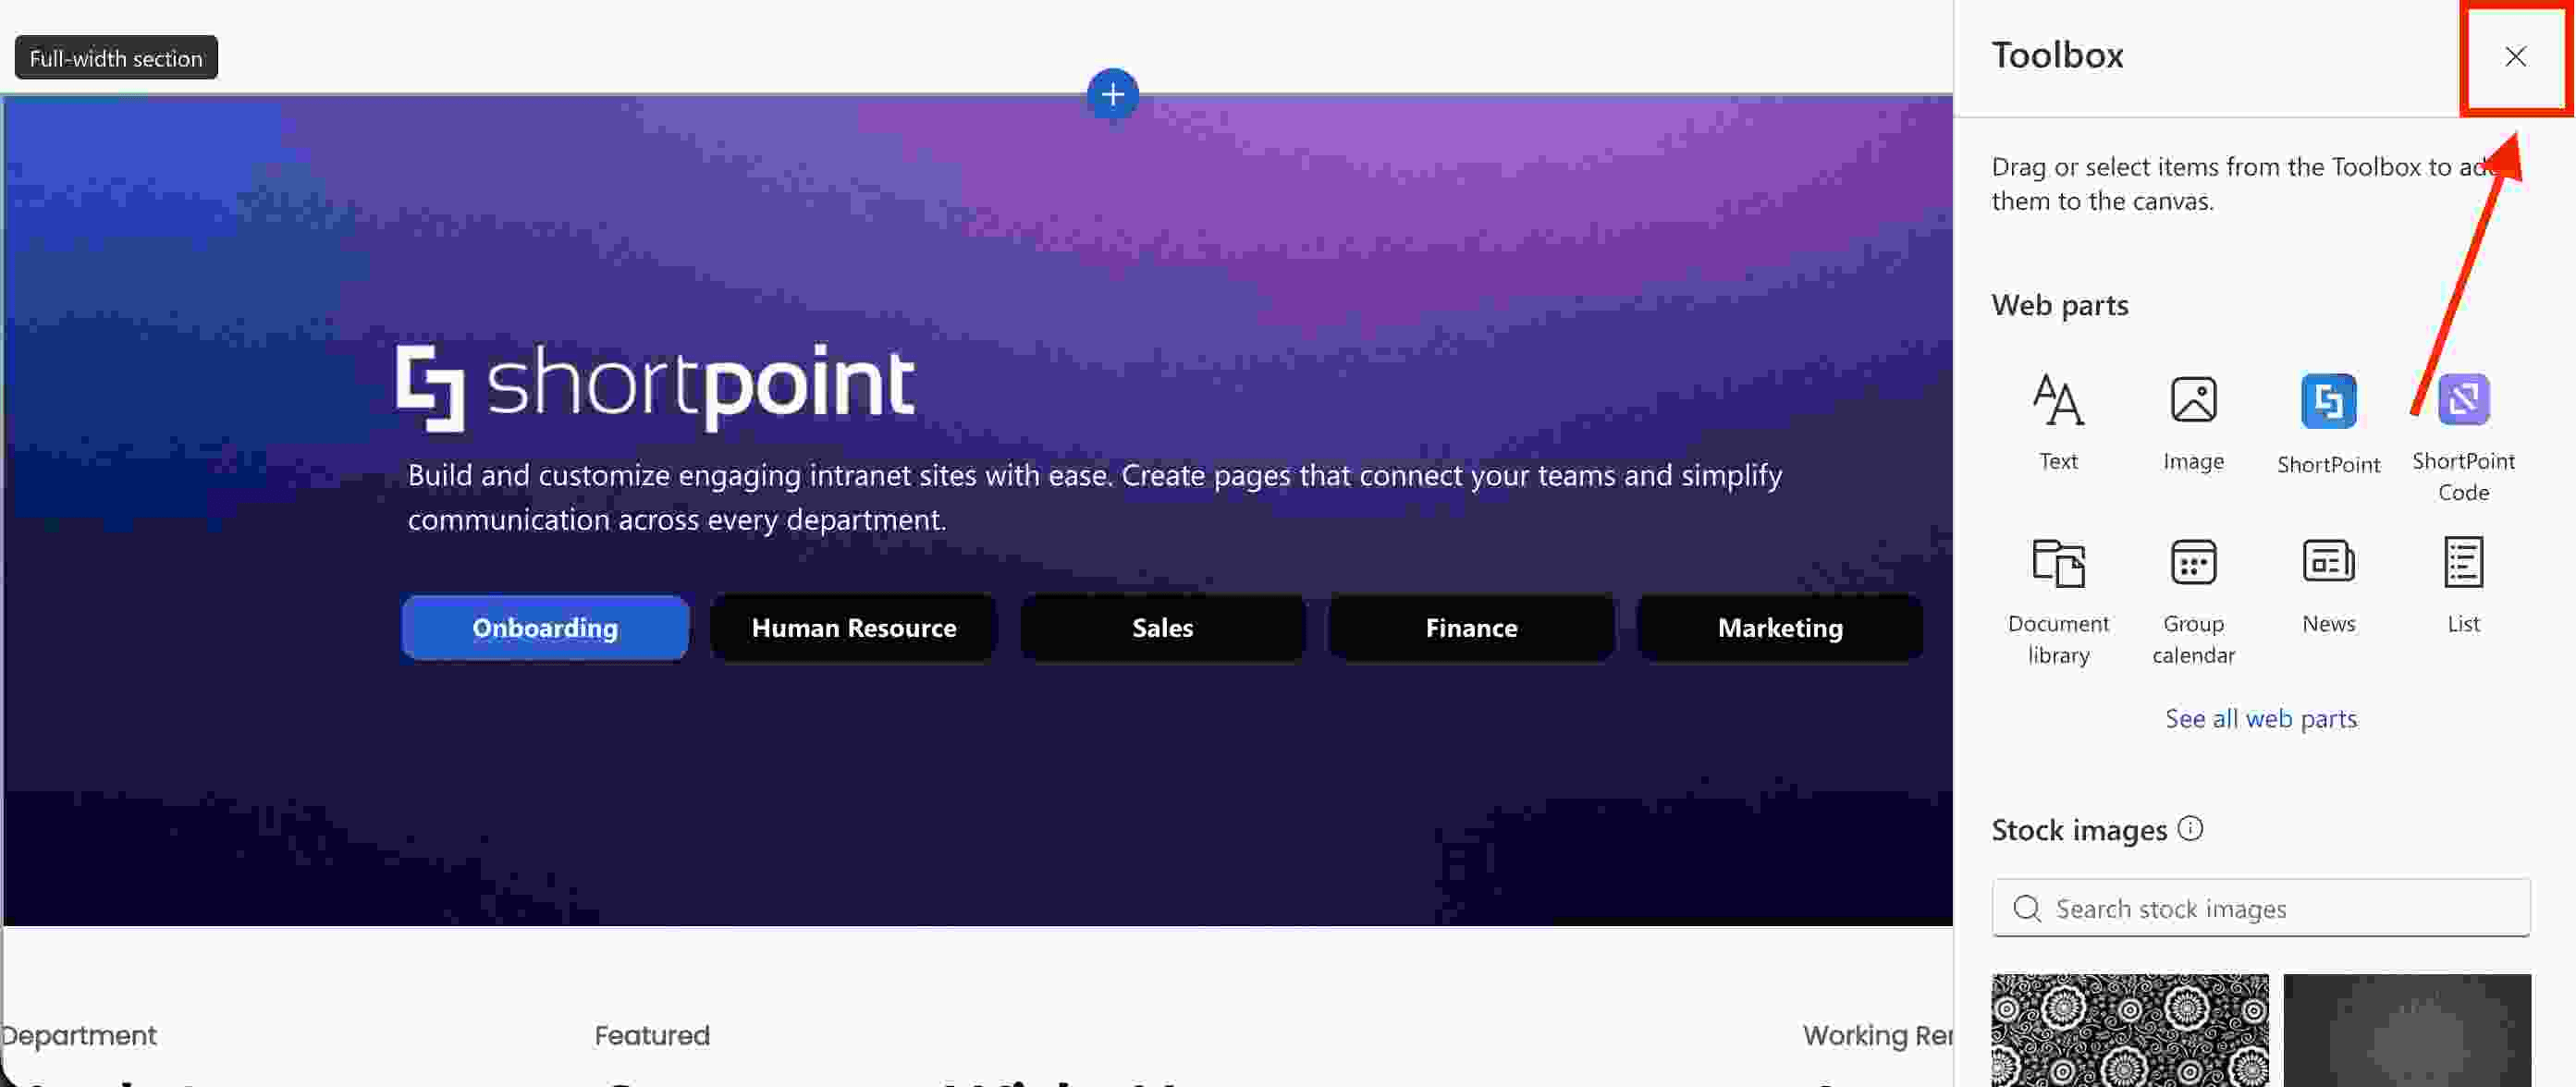
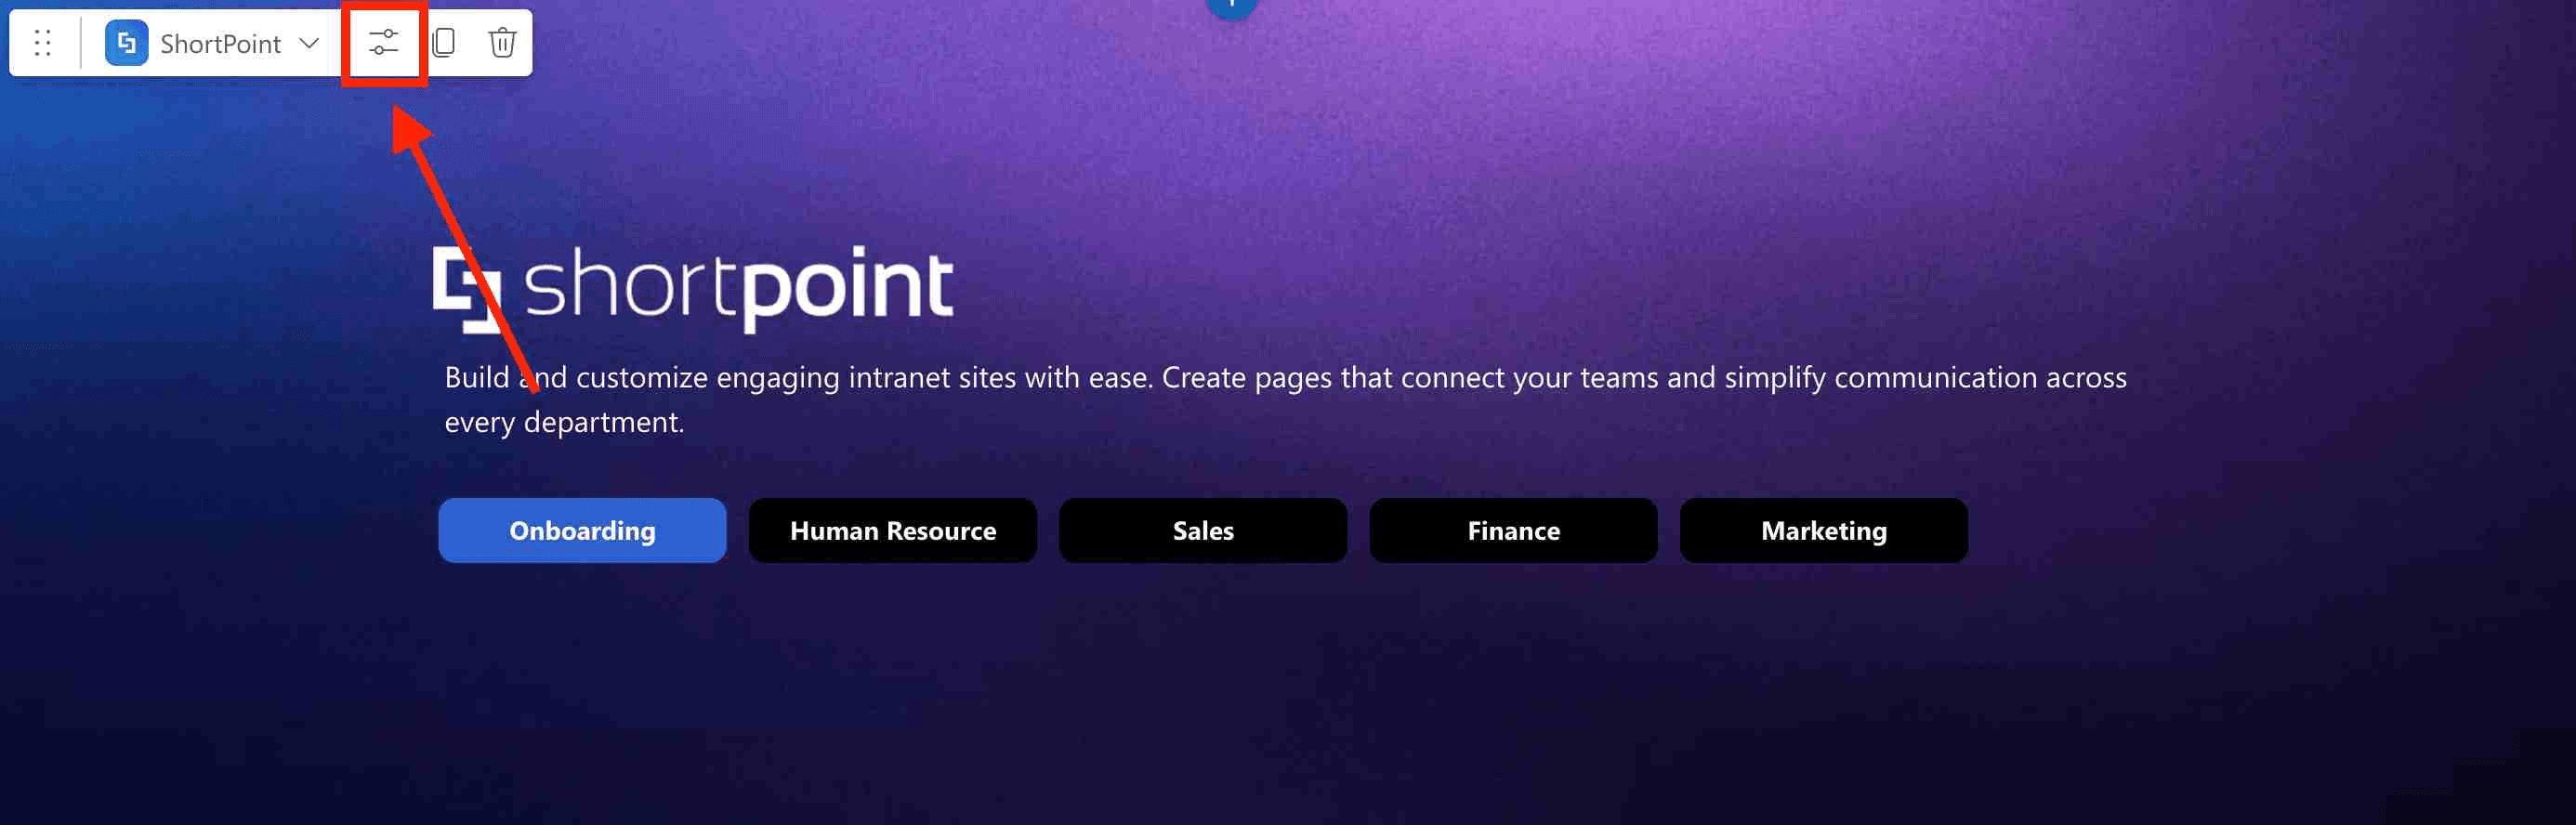
Close the Toolbox:
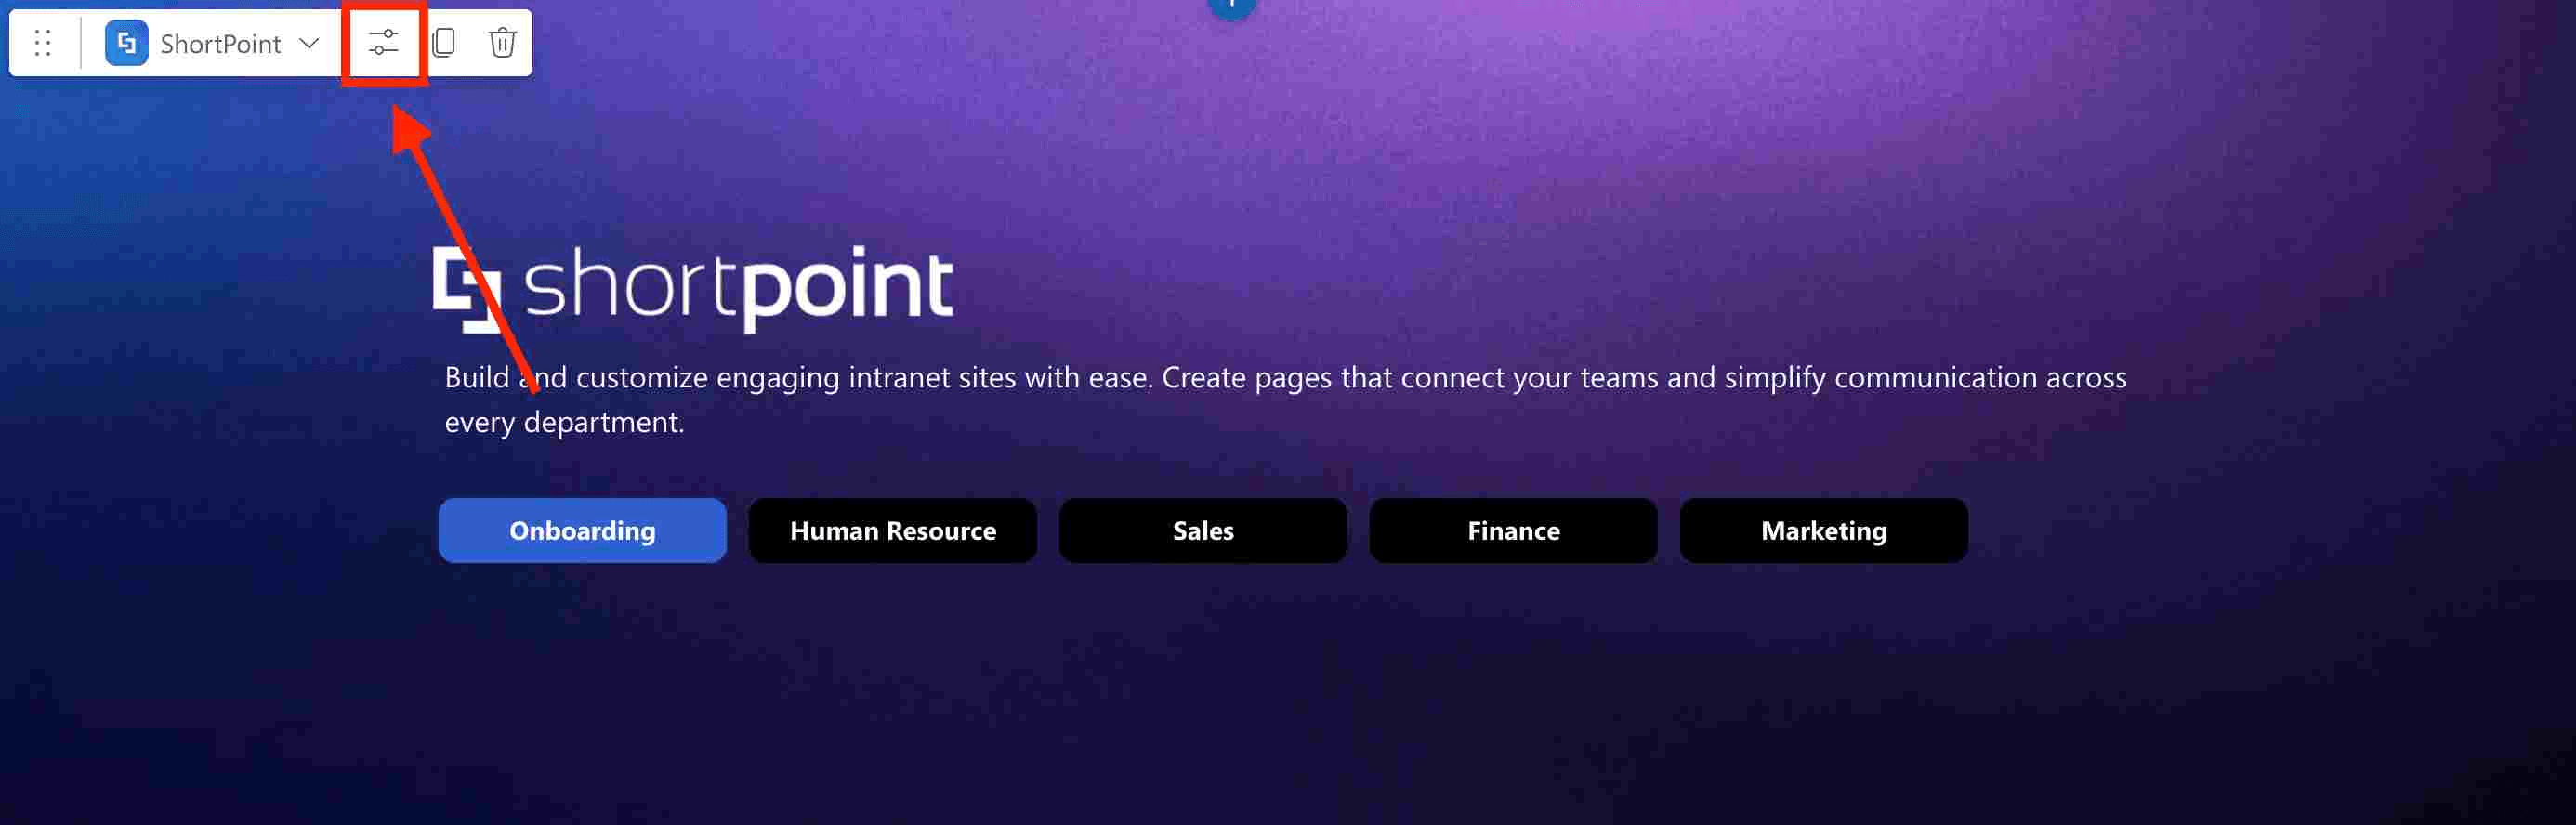
Select the Edit Properties icon:
Step 3: Edit the Design Element
NOTEBefore proceeding, you must already have the Design Element you want to use on your page. It's best to use Design Elements that allow adding of images (e.g., Tiles, Quick Links, Image List, Image Caption, etc.). For this guide, we'll use the Tiles Design Element.
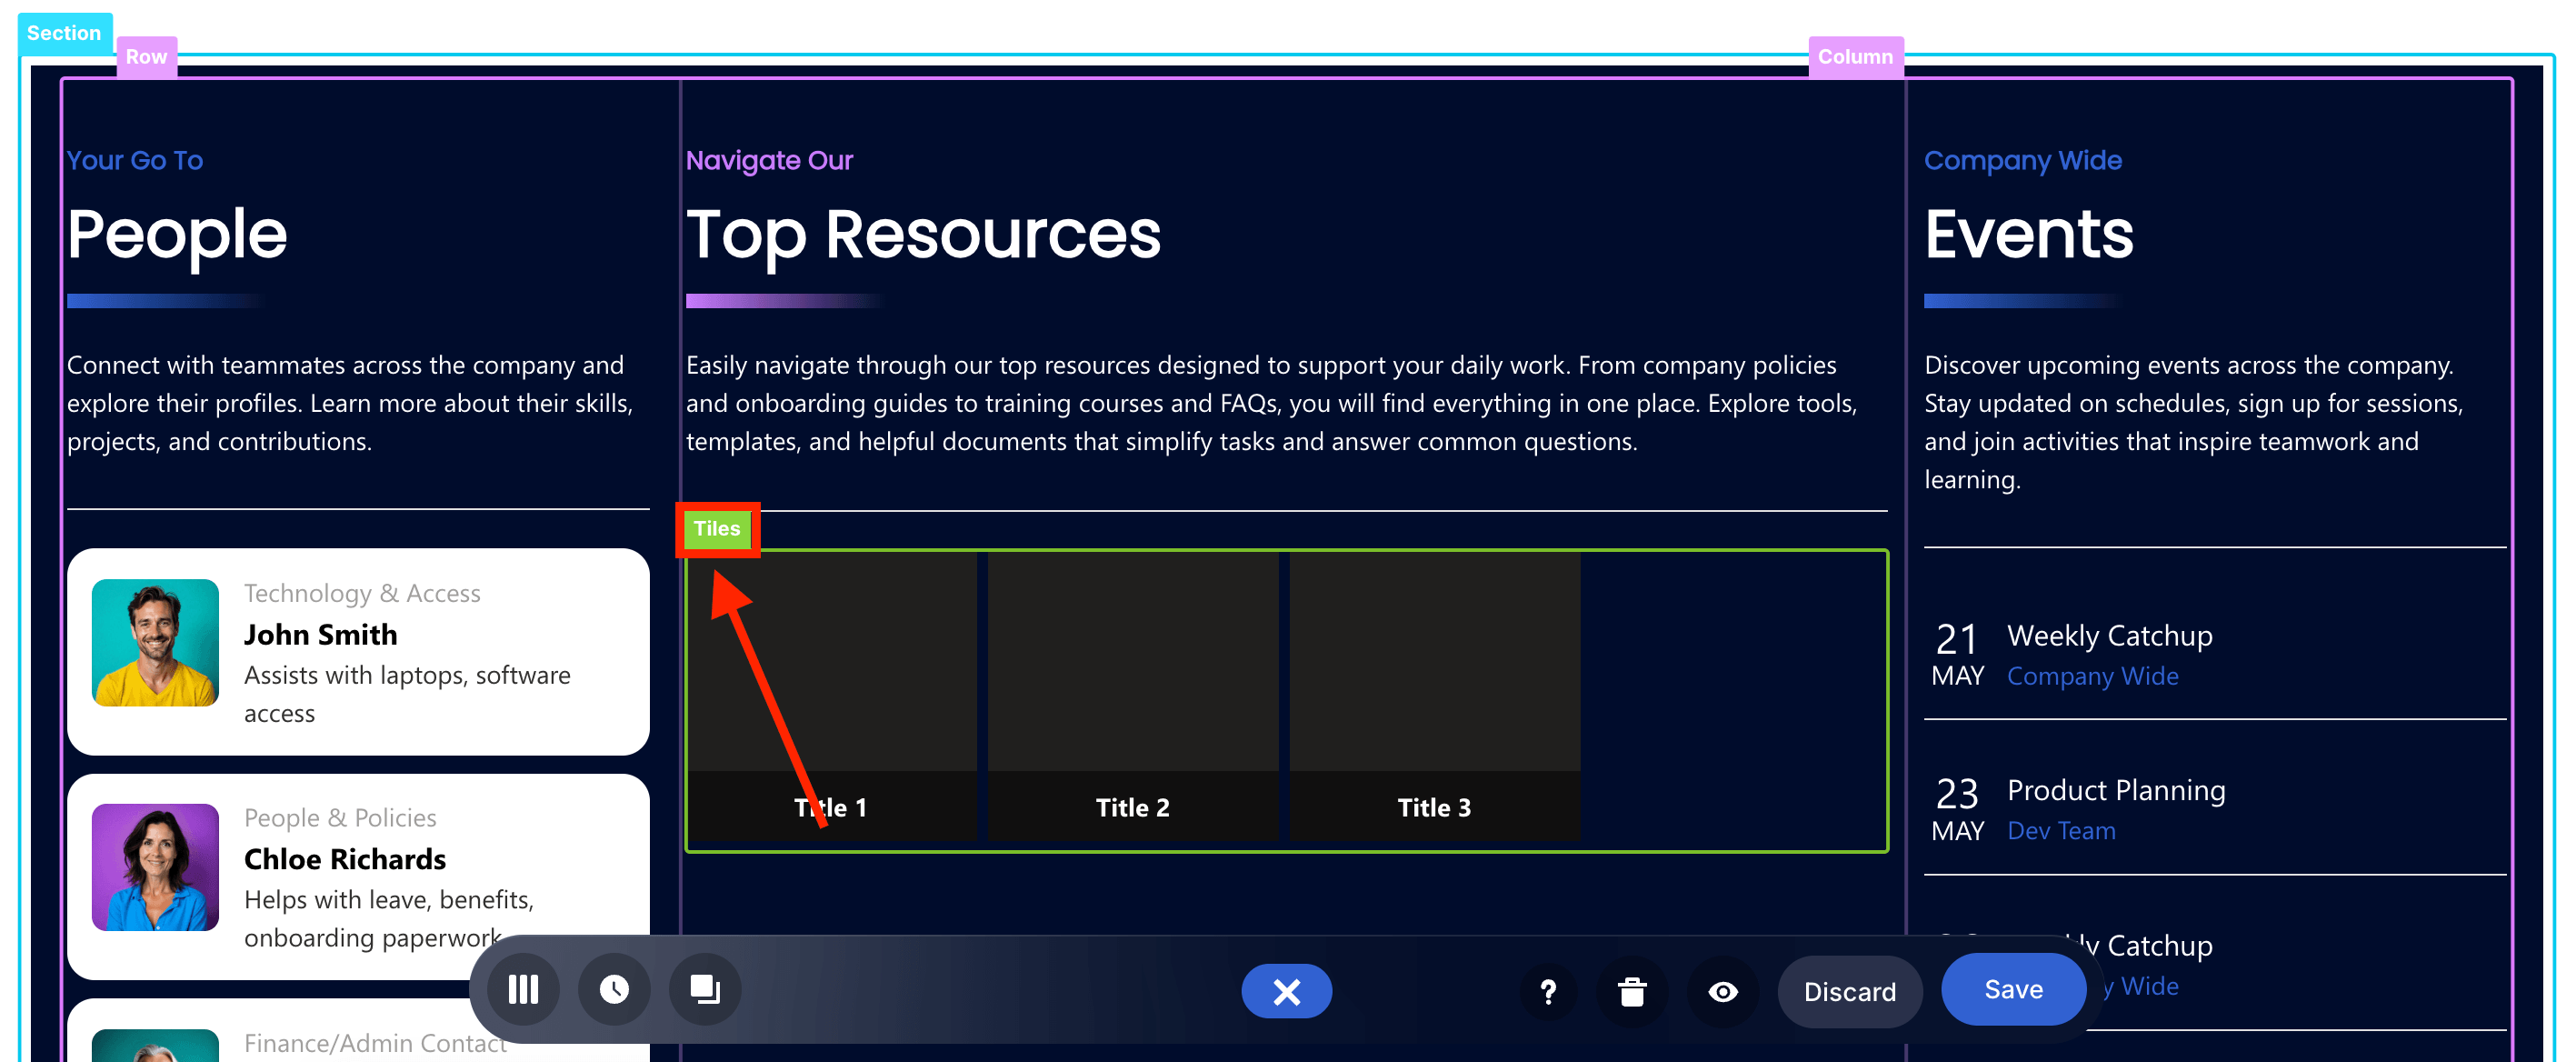
Click the EasyPass tag of the Design Element:

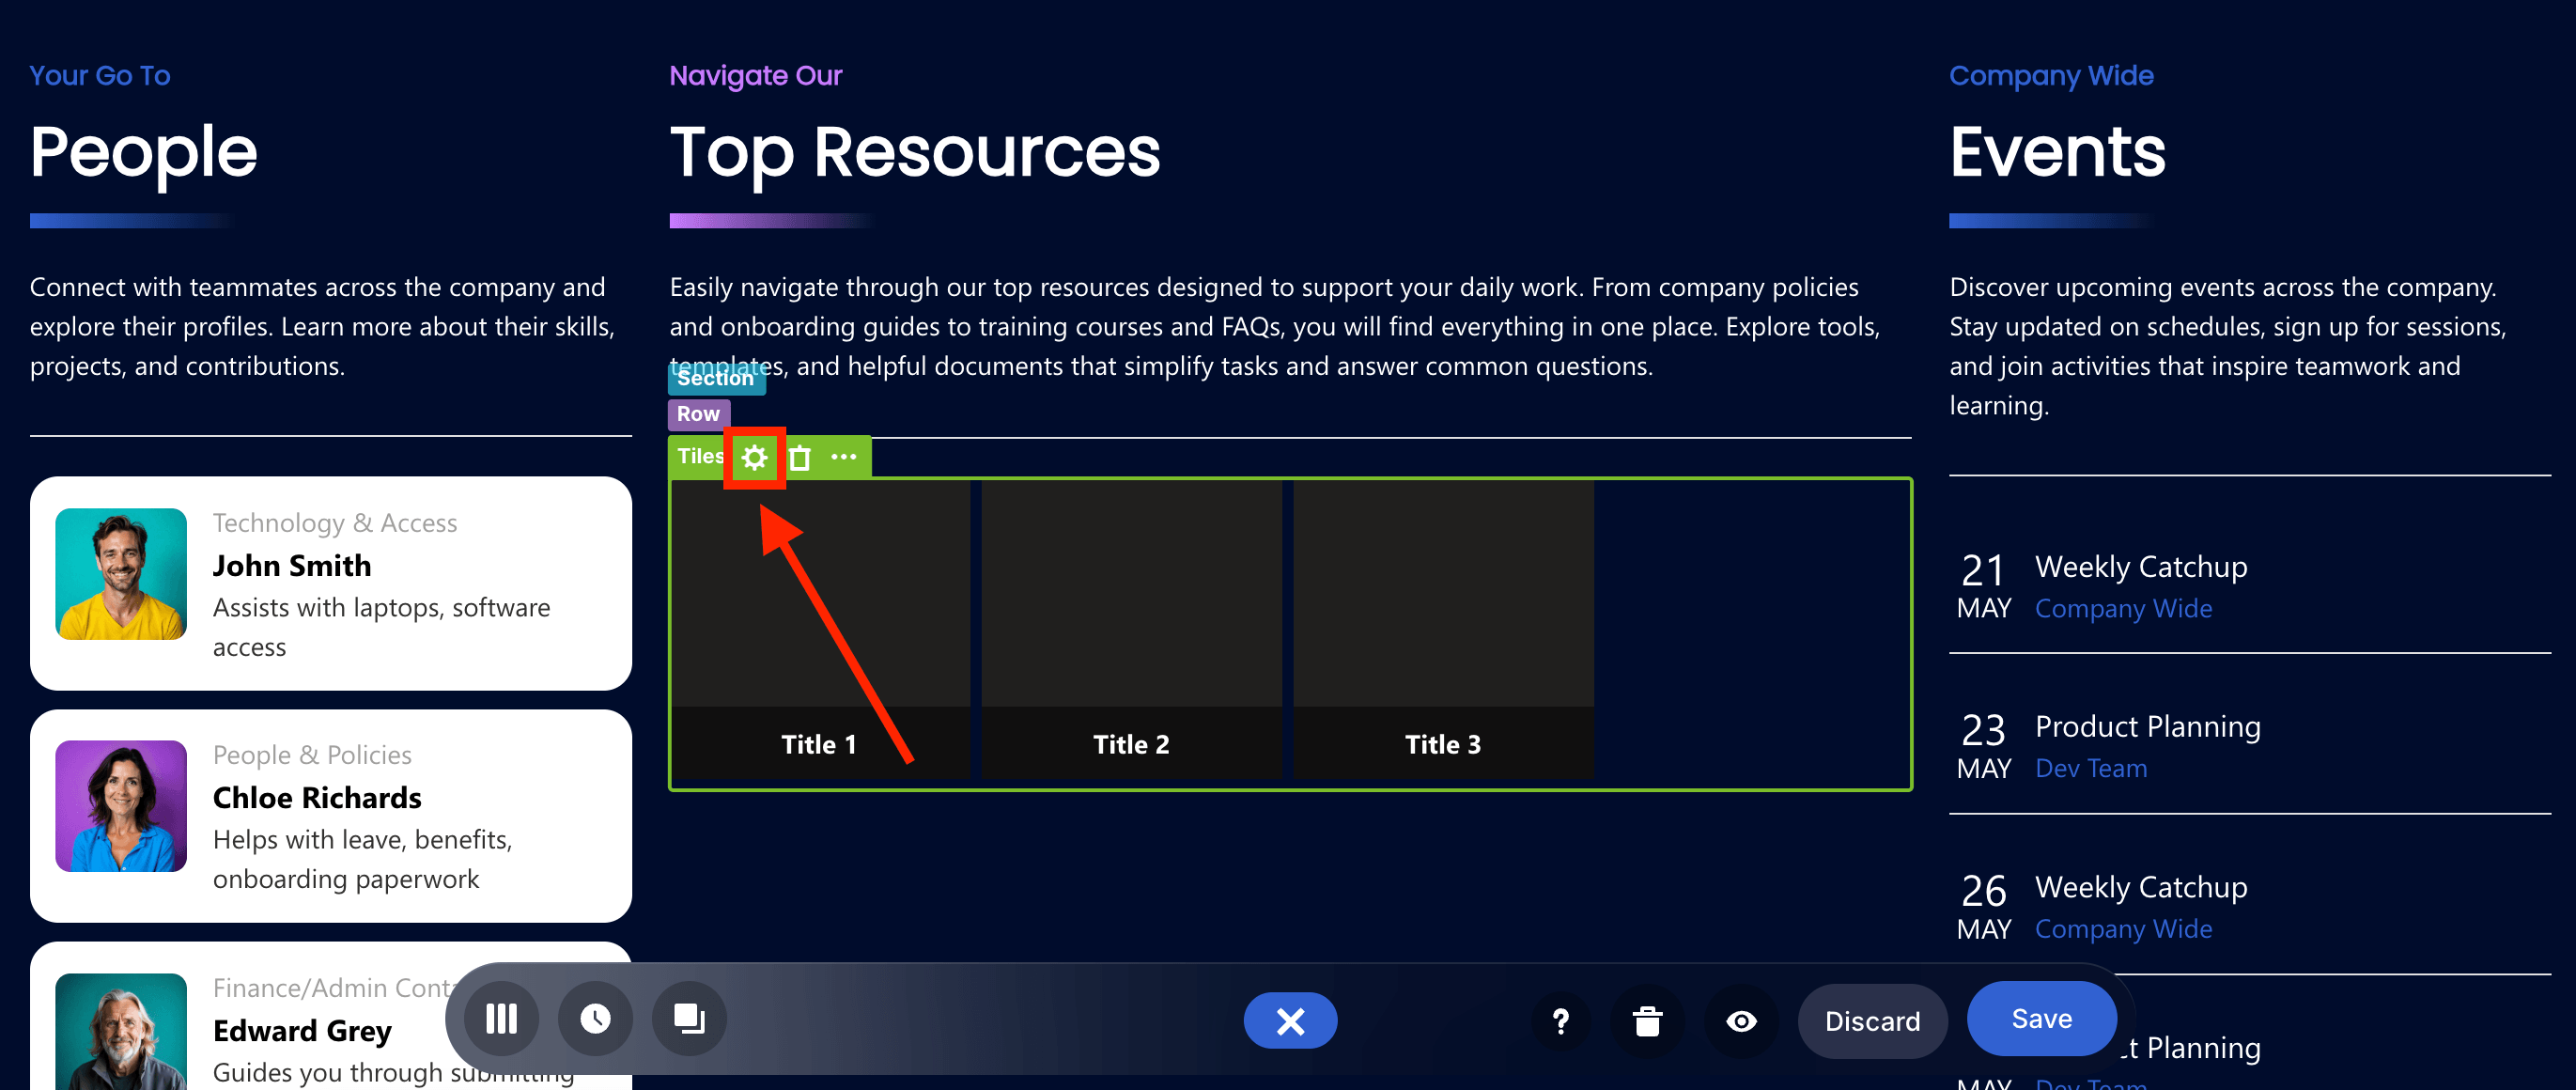
Select the cogwheel icon:

Step 4: Connect
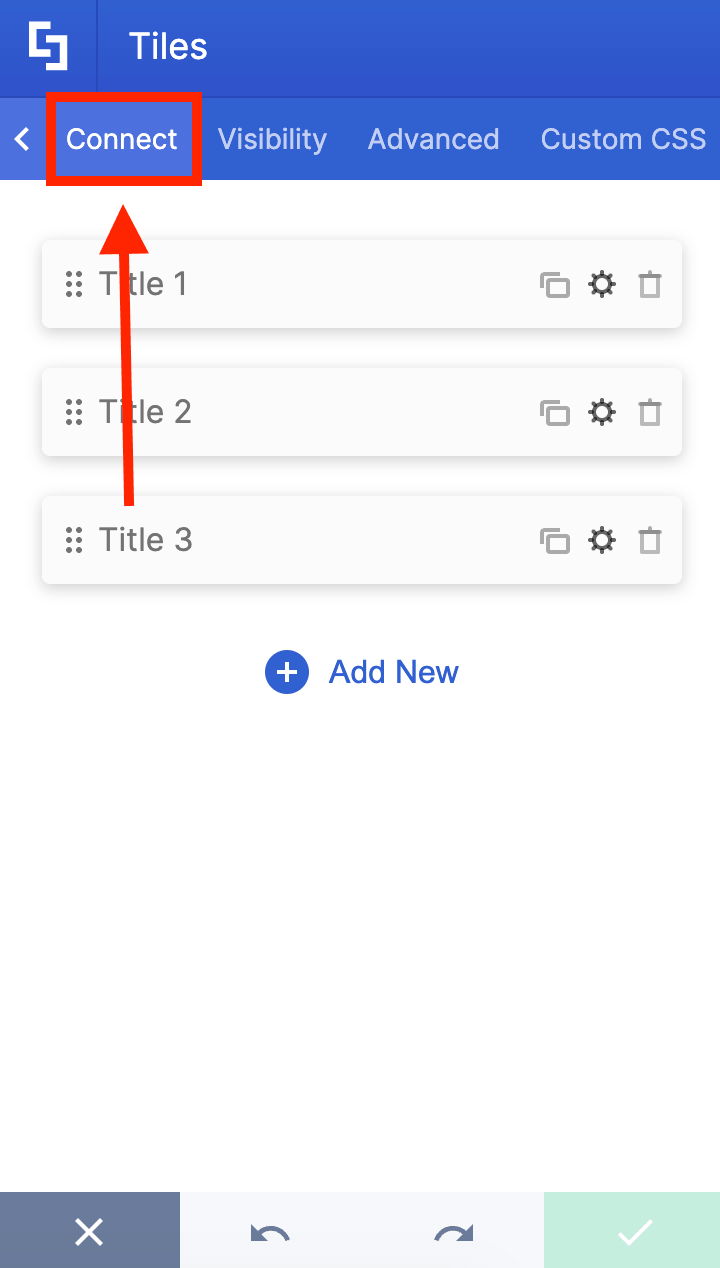
Go to the Connect tab:
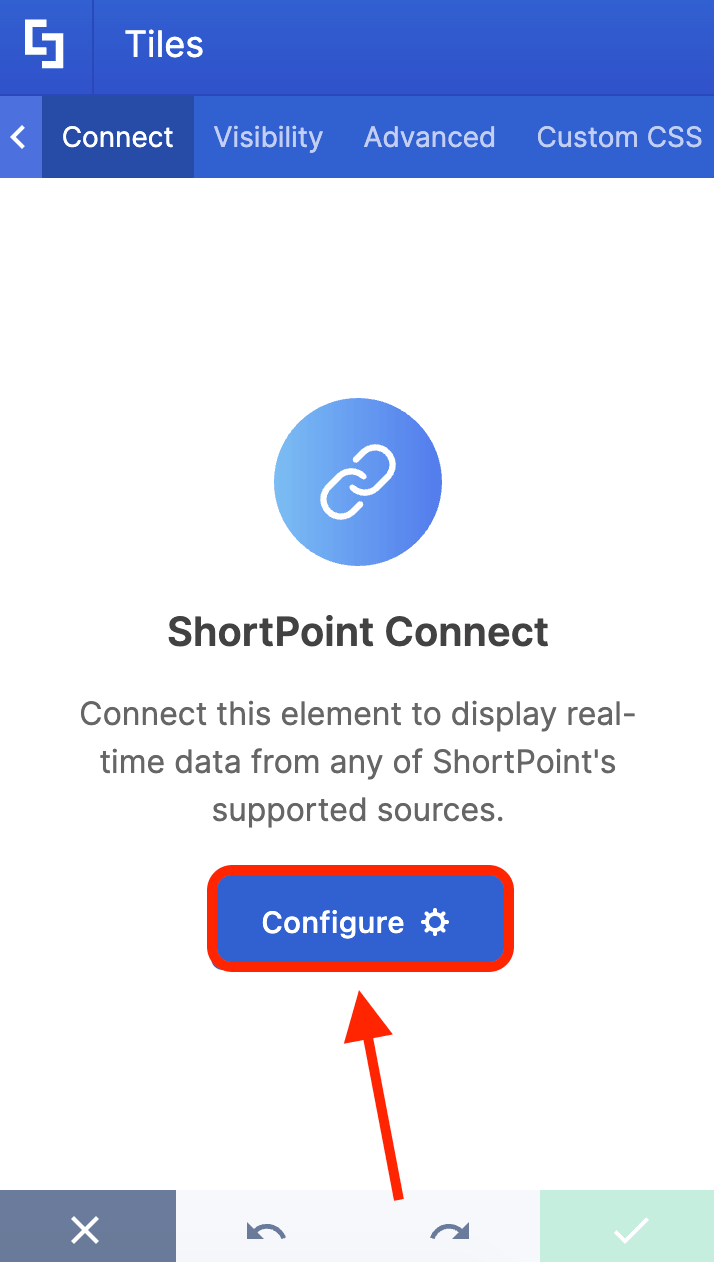
Click Configure:
Select Current Site:

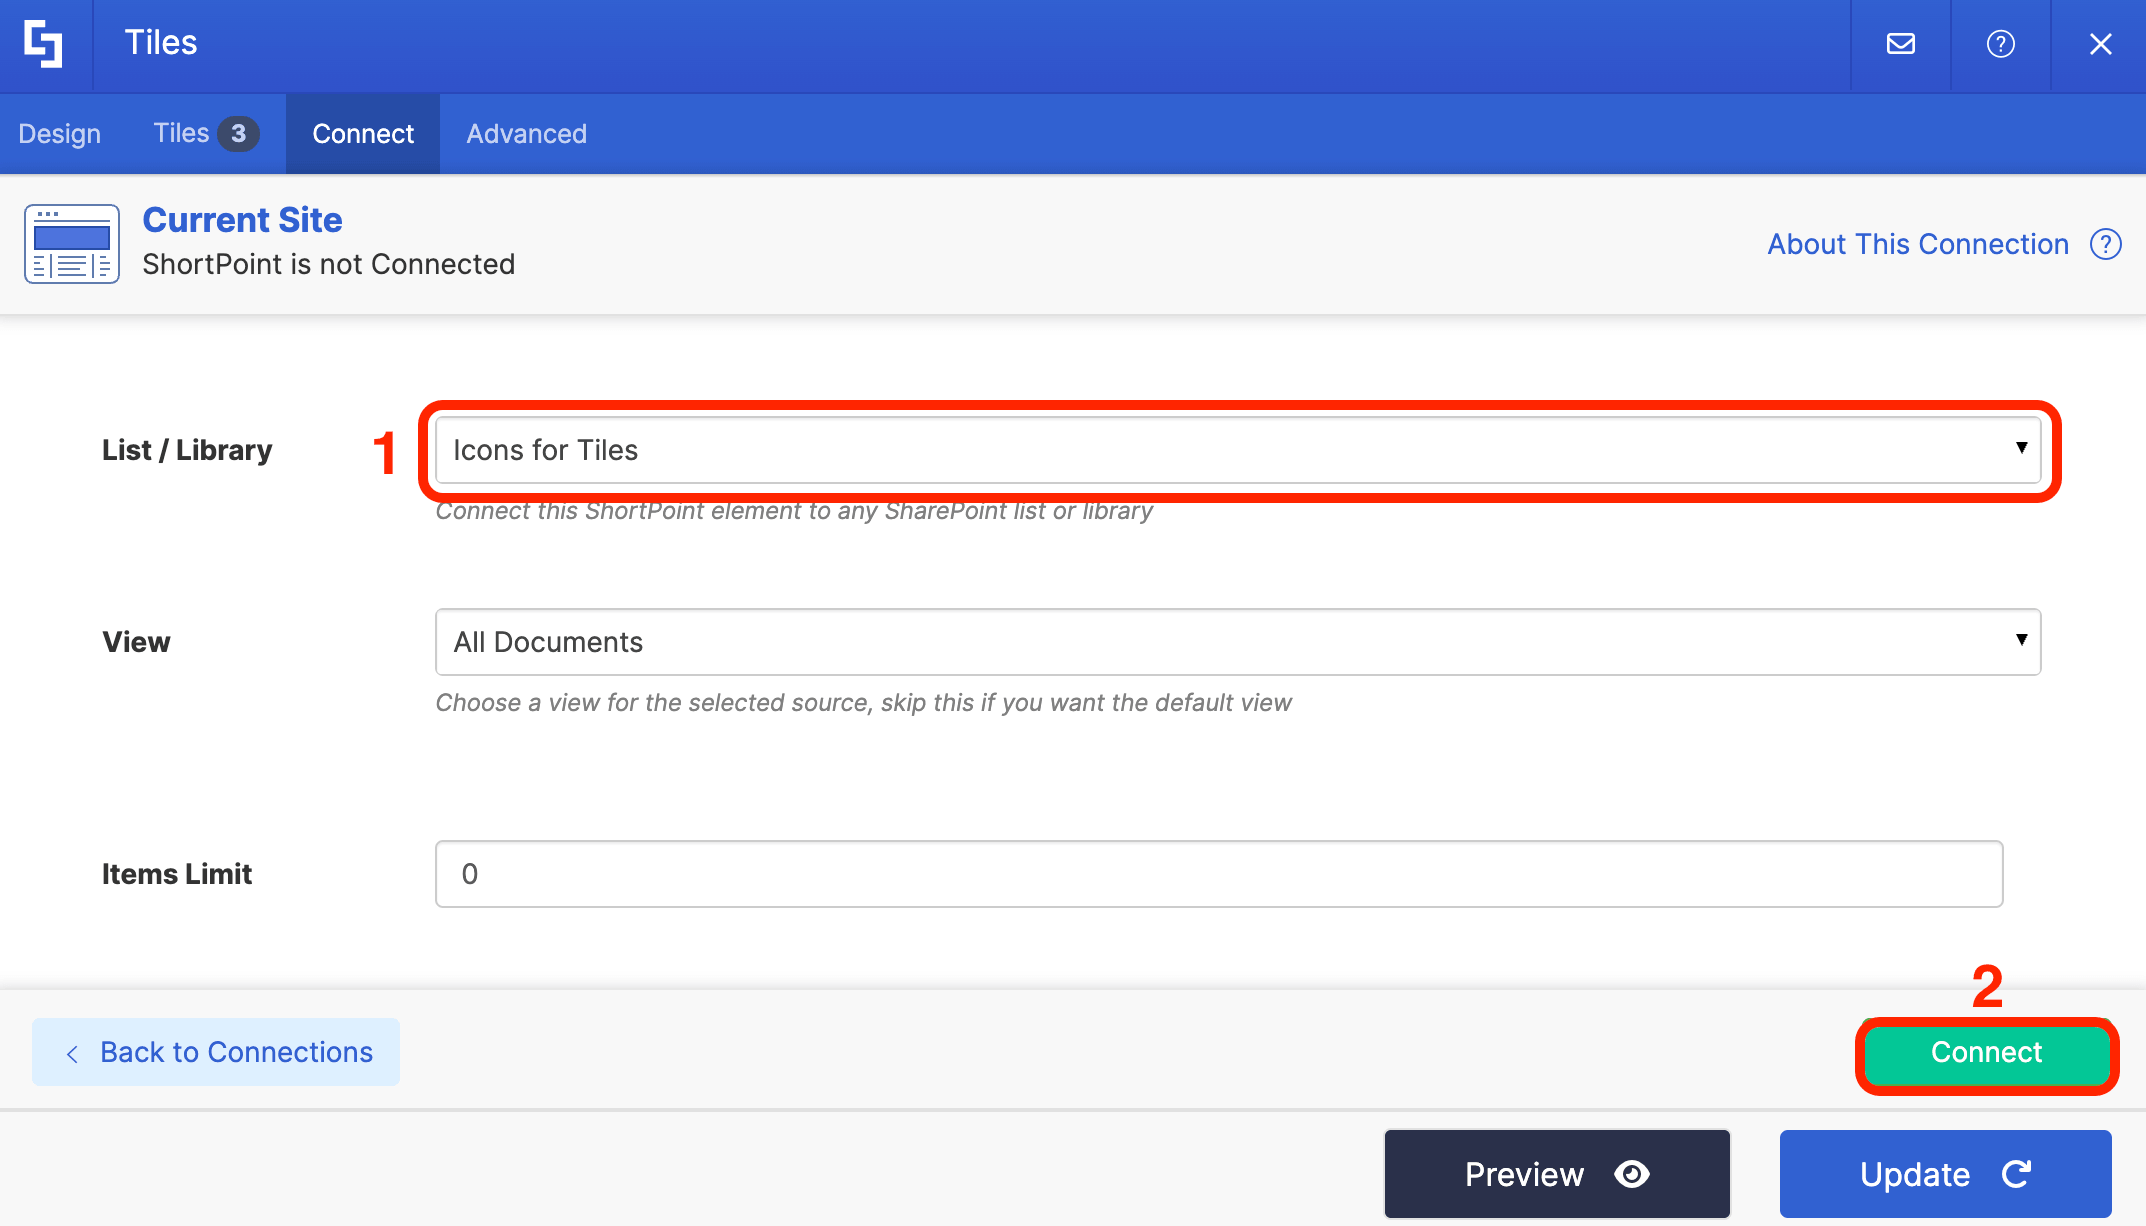
Choose the [1] name of your Document Library and click [2] Connect:
Step 5: Map Items
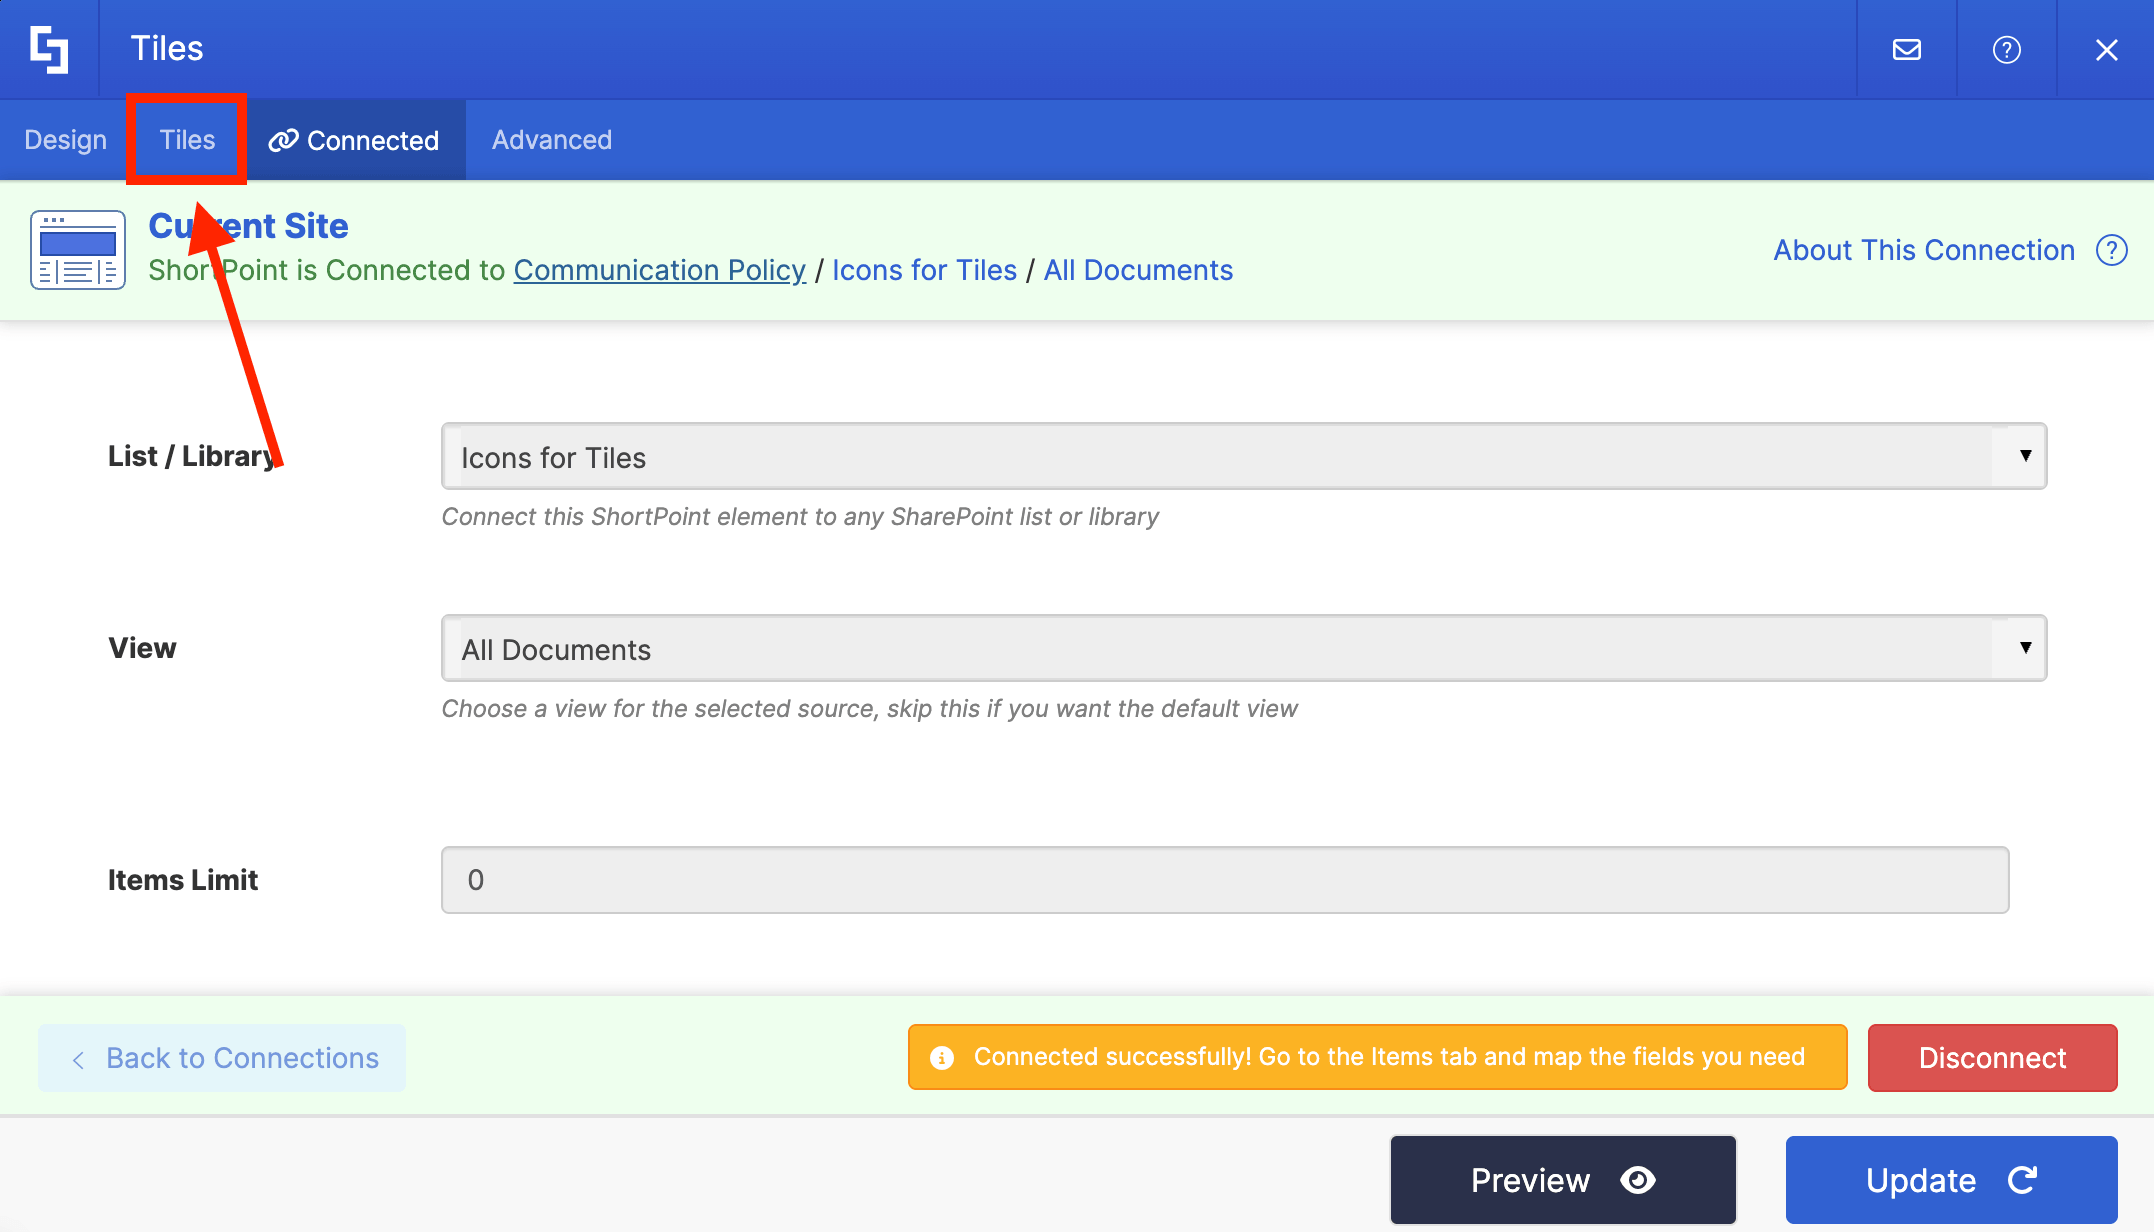
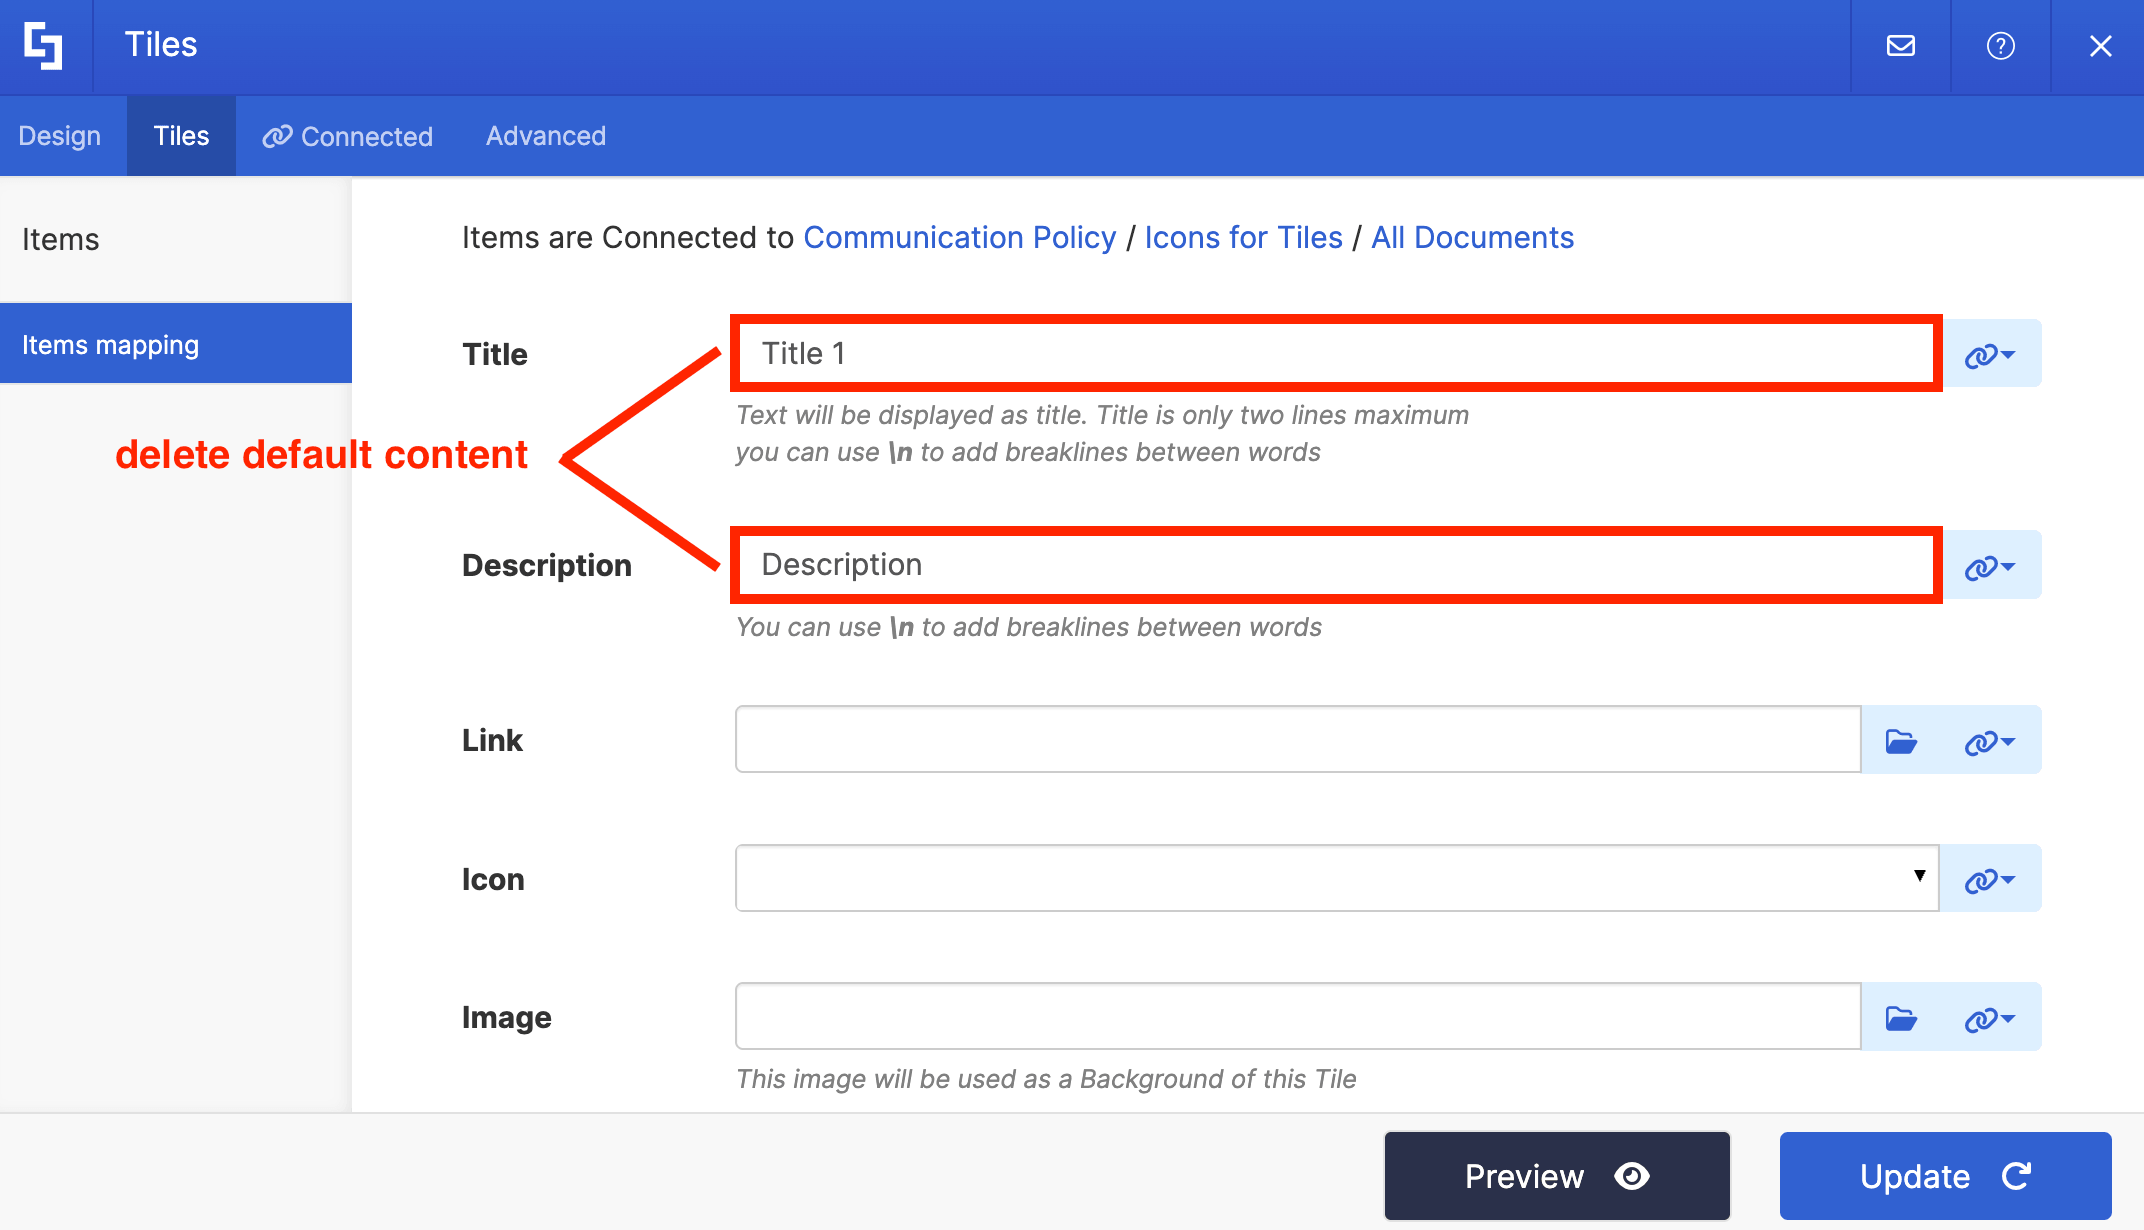
Go to the Tiles tab:
NOTESince we're using the Tiles Design Element, item mapping is done in the Tiles tab. However, for most Design Elements, item mapping is done in the Items tab.
Delete all default content:
Then, use the link icon to map properties:
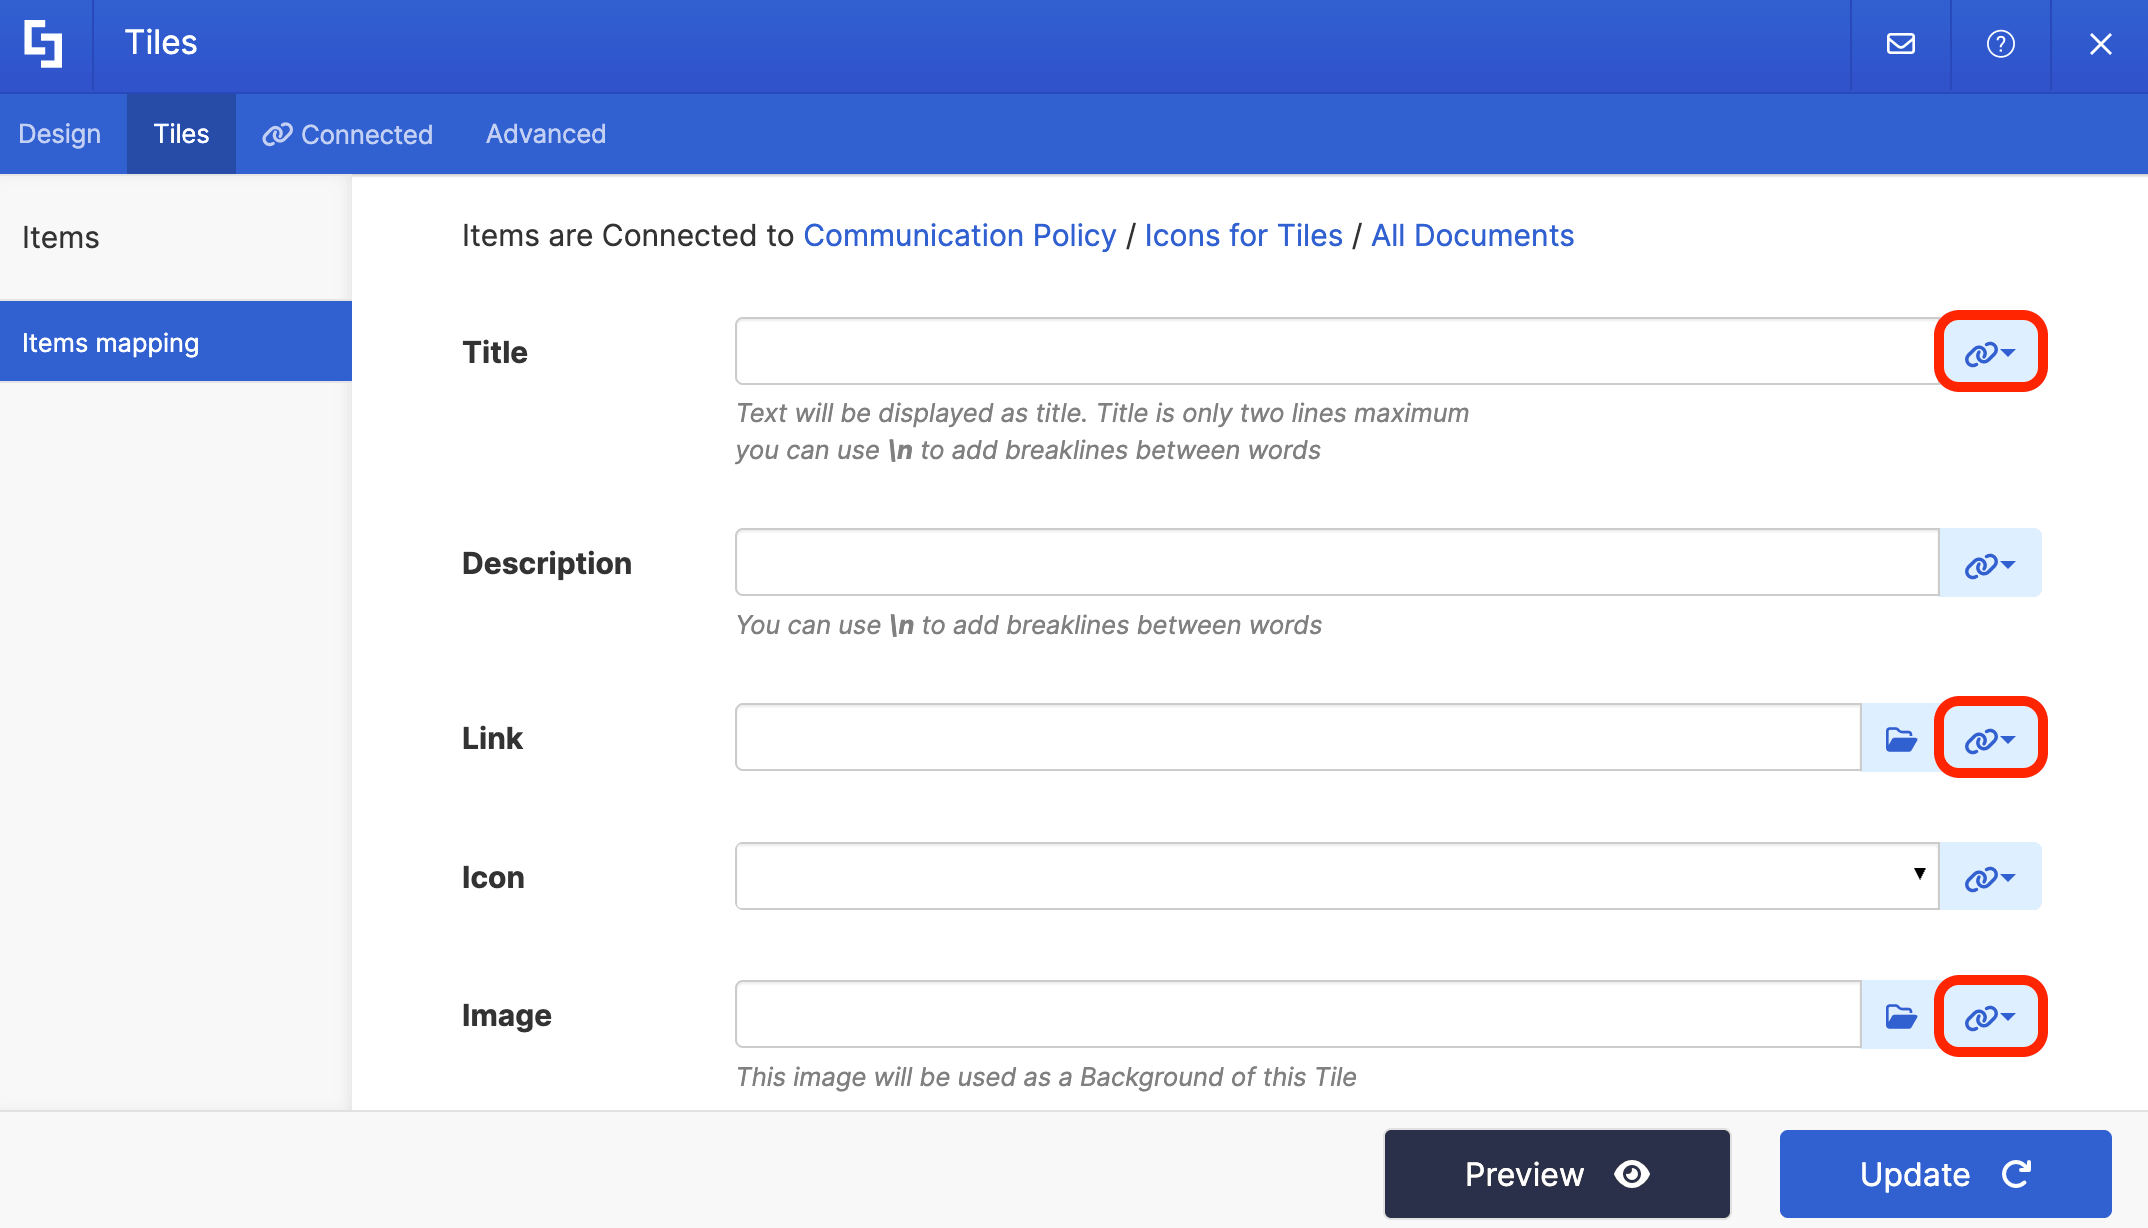
Below are the properties that should be mapped:
- #IconTitle - the content you added under the Icon Title column will serve as your titles.
- #Link_SHORTPOINT_URL - the URLs you added under the Link column will serve as the clickable links.
- #_SHORTPOINT_DocumentPreview - ShortPoint will pull the images of each icon you added to your Document Library.
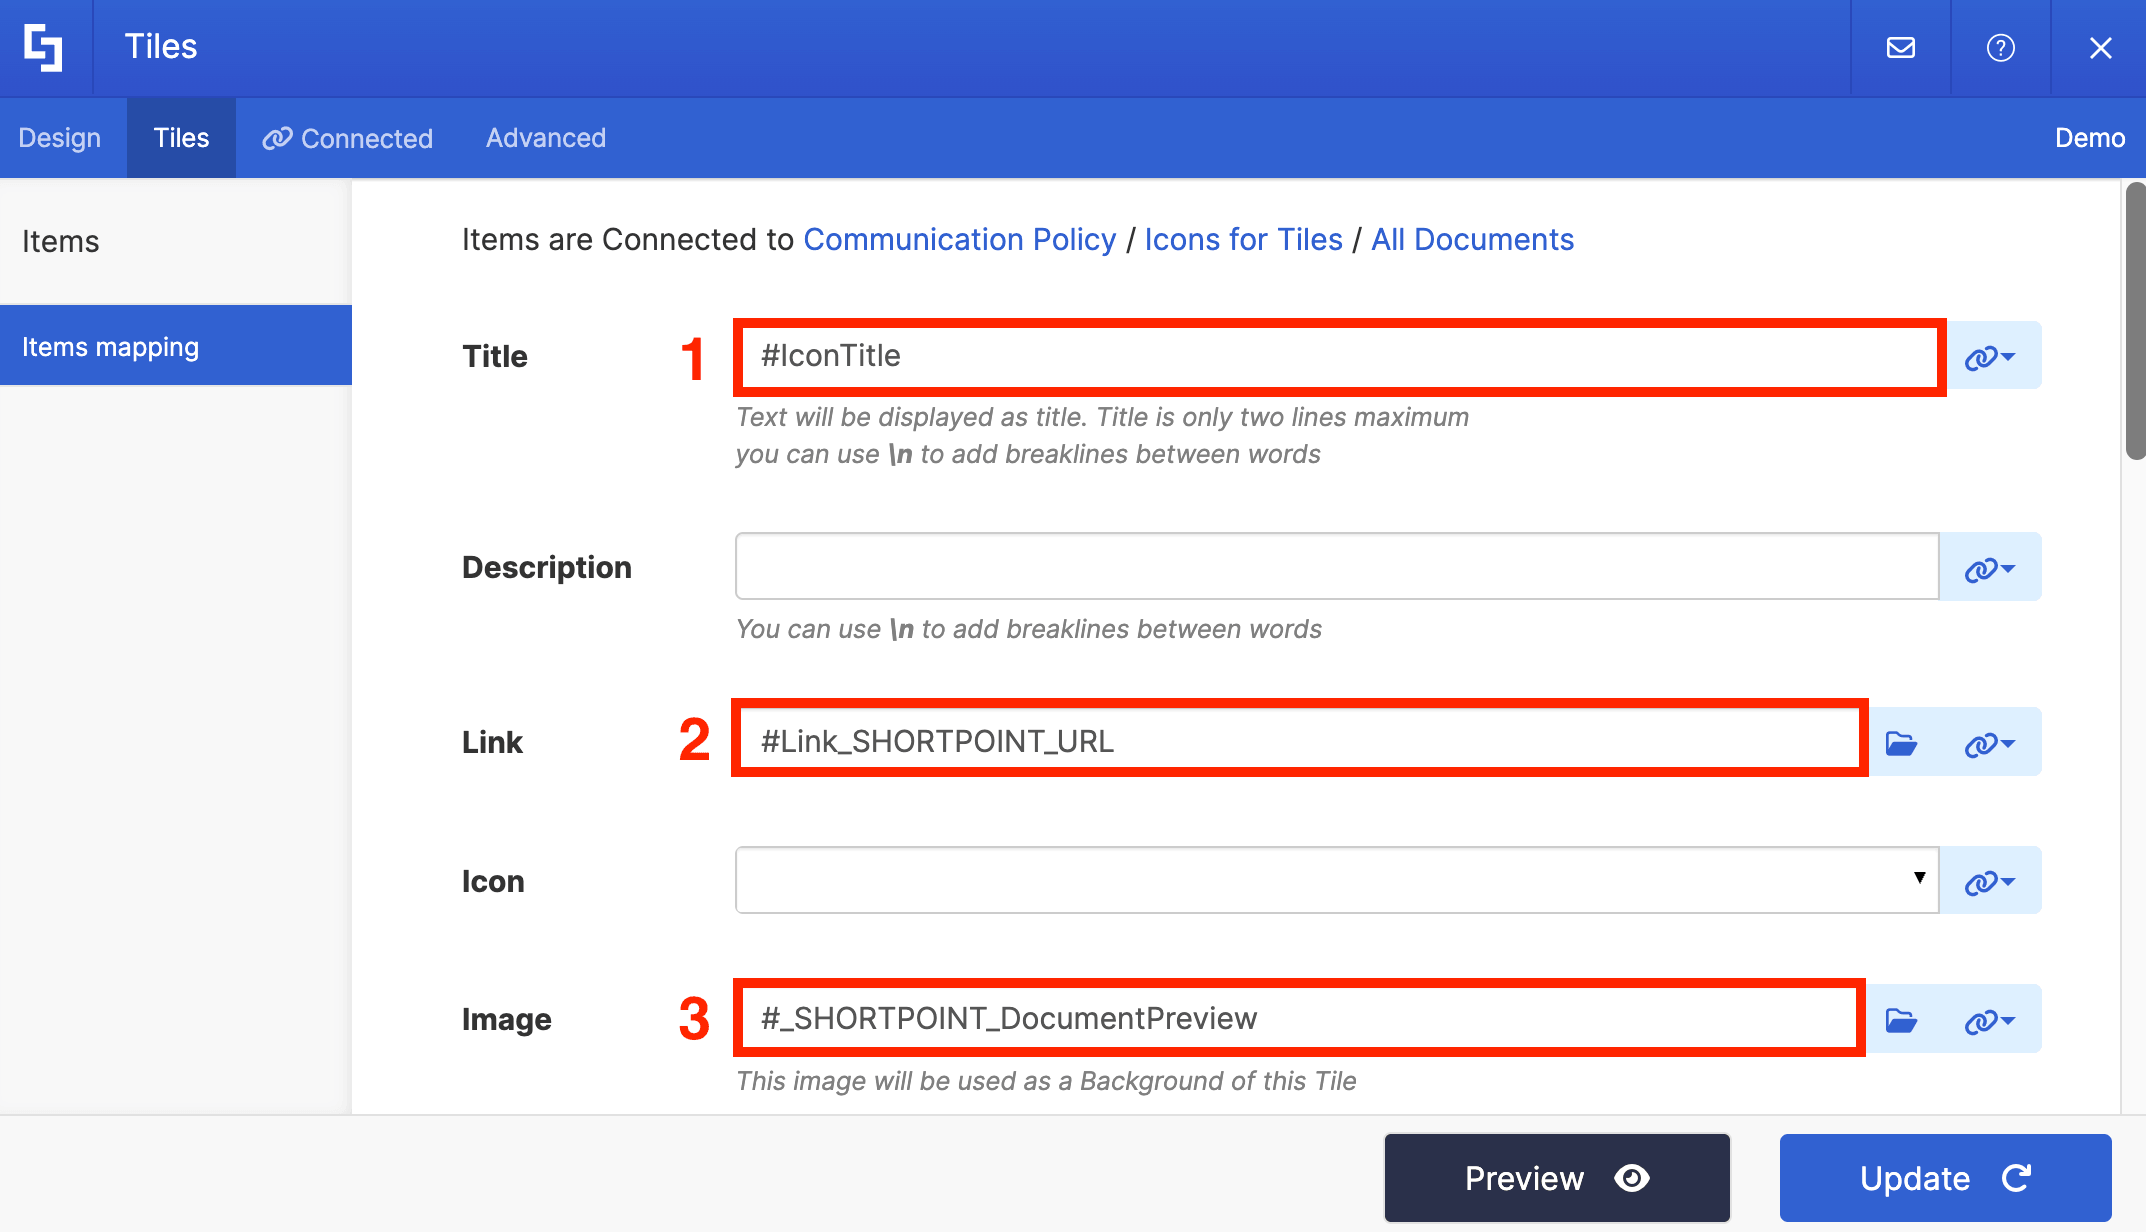
NOTEYou can map additional properties depending on your preferences. But the properties we listed are the basics you need to show off the icon images you have in your Document Library.
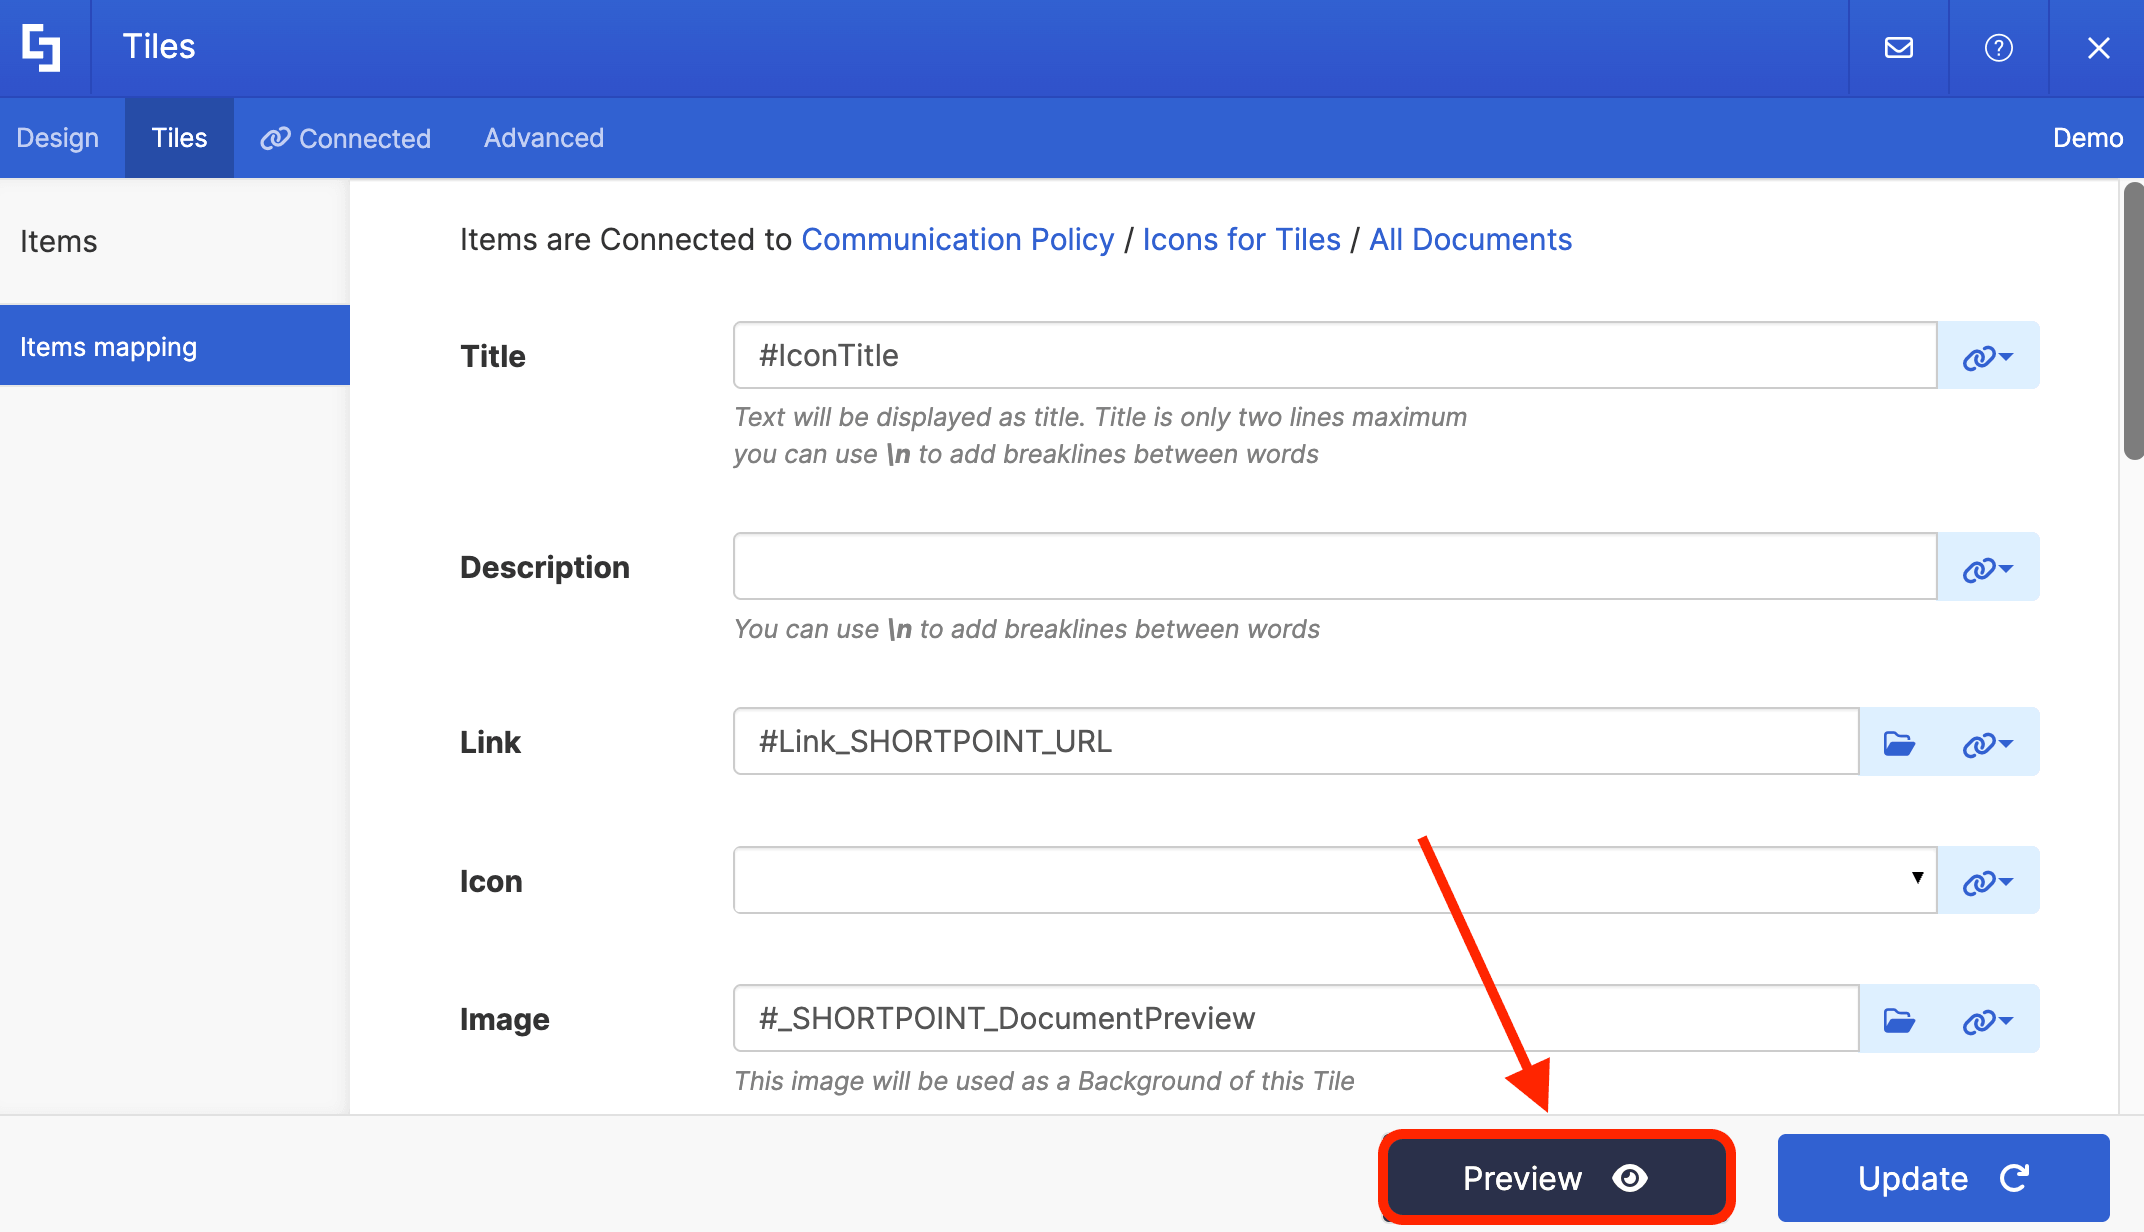
Step 6: Save
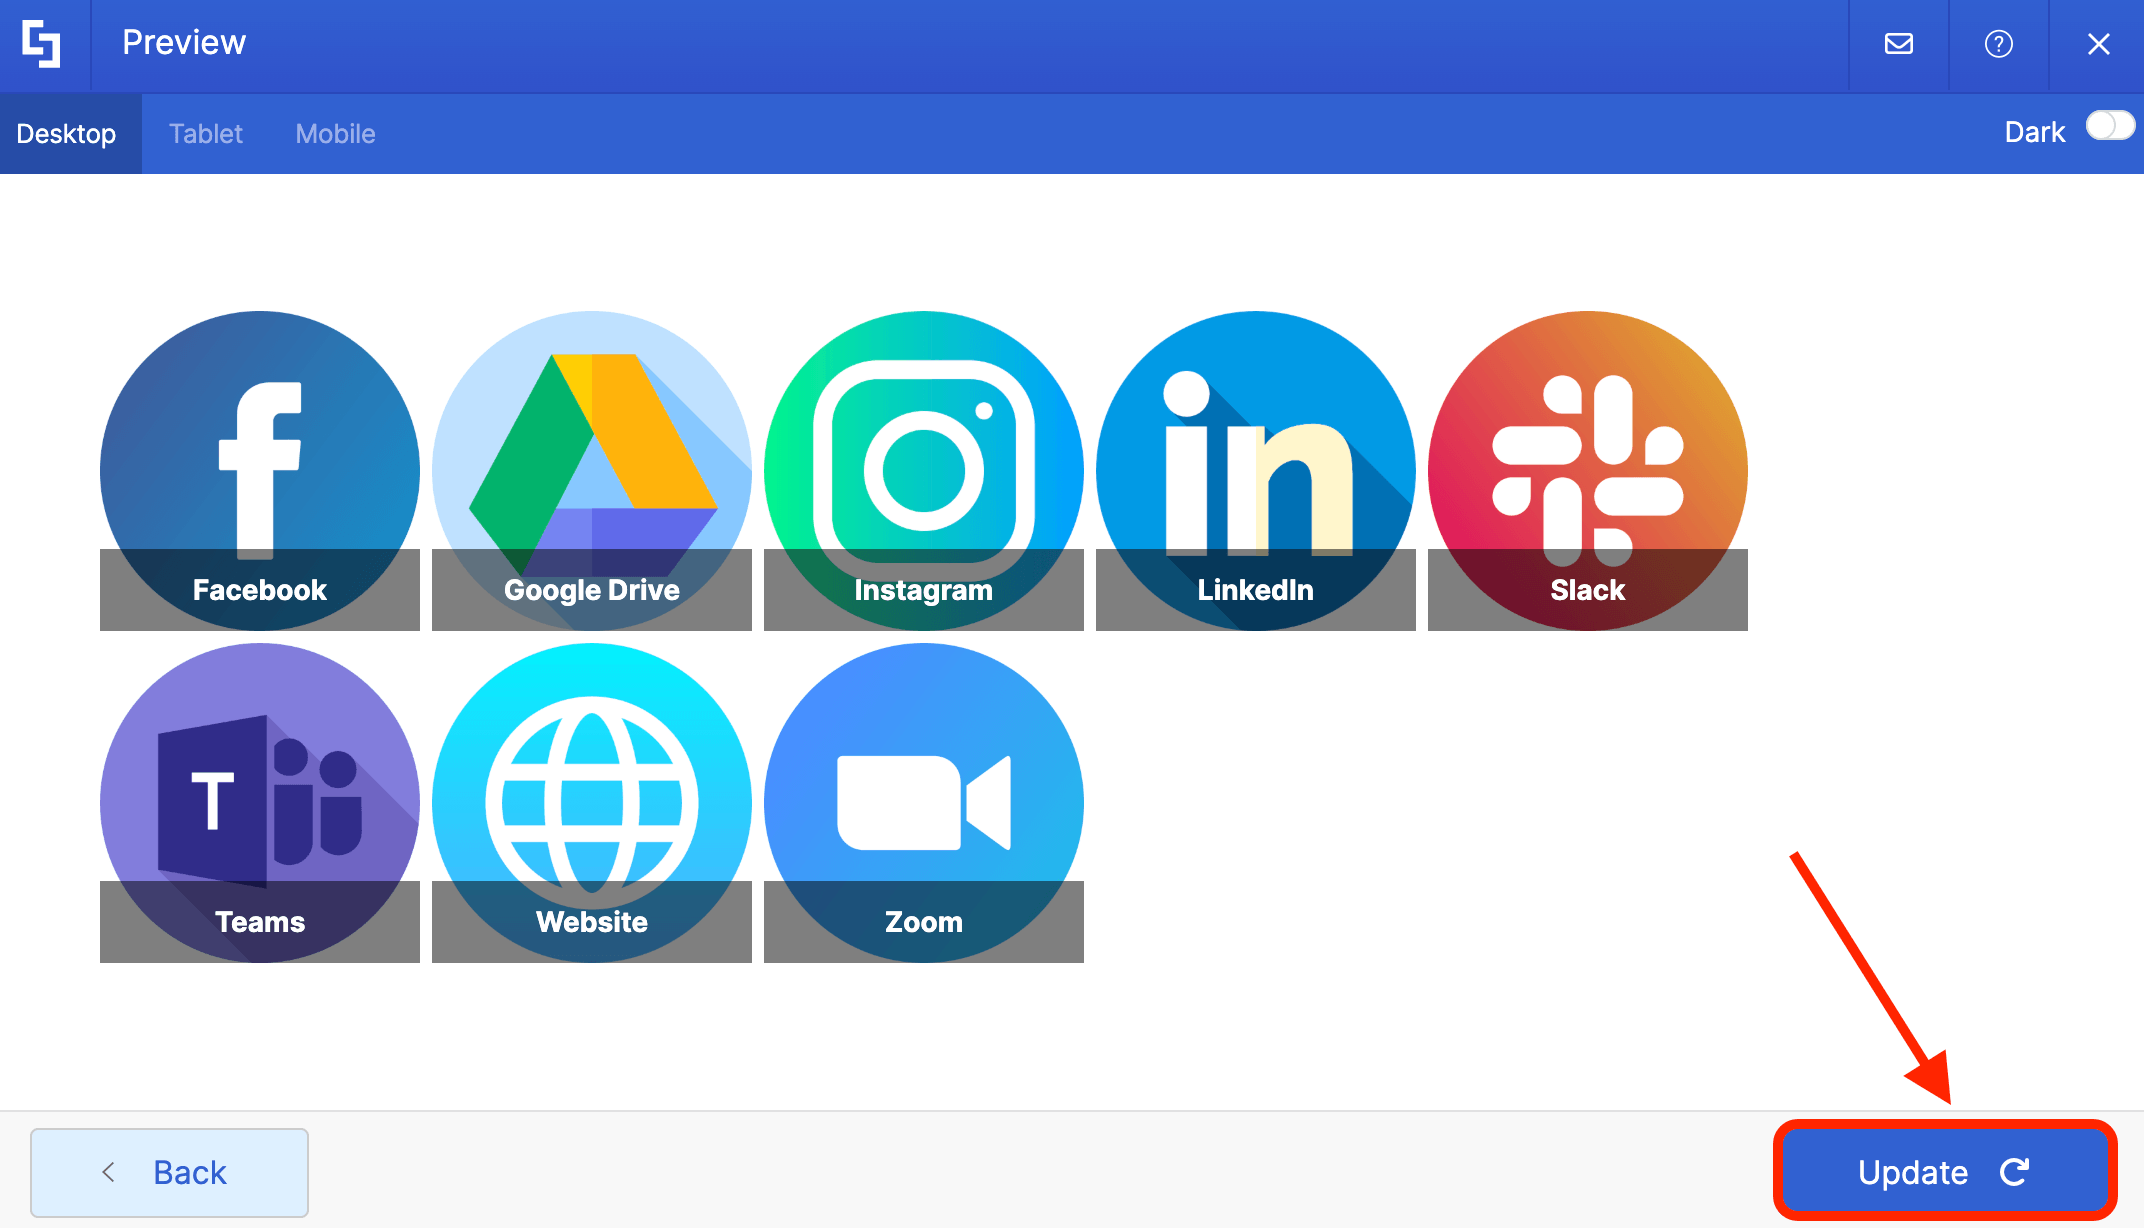
Click Preview to see how the Design Element looks:
Once Satisfied, click Update:
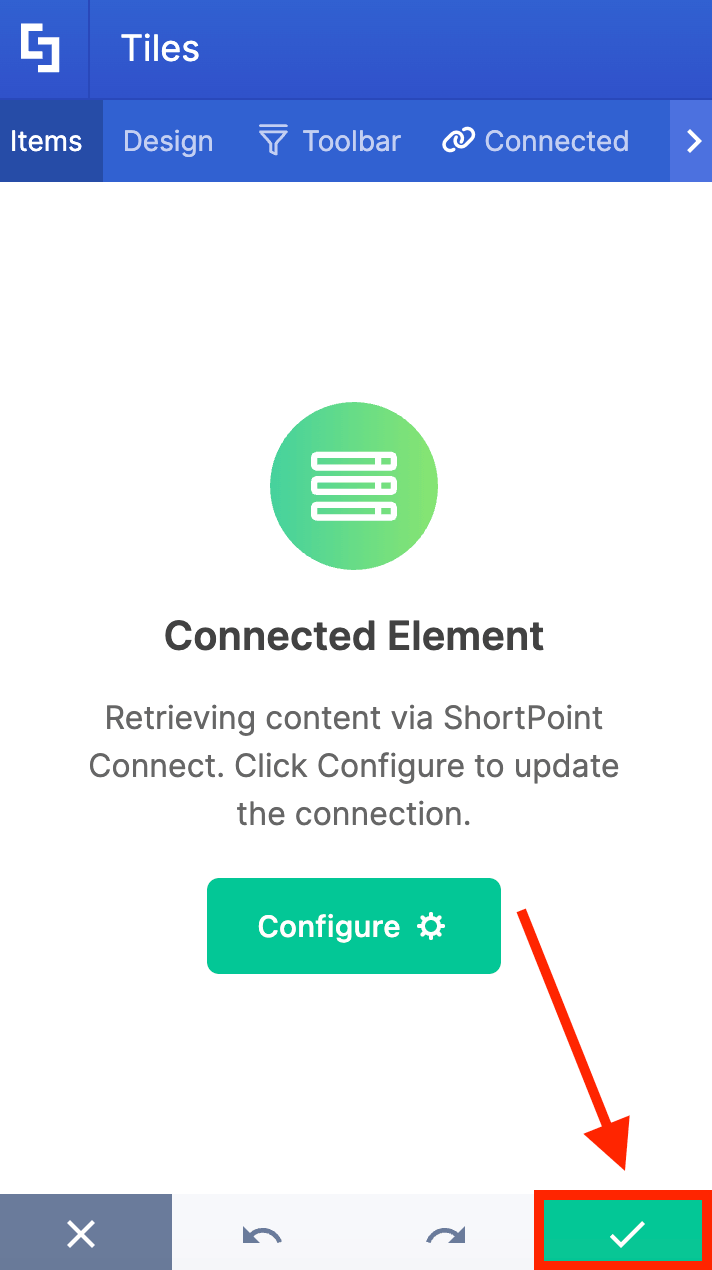
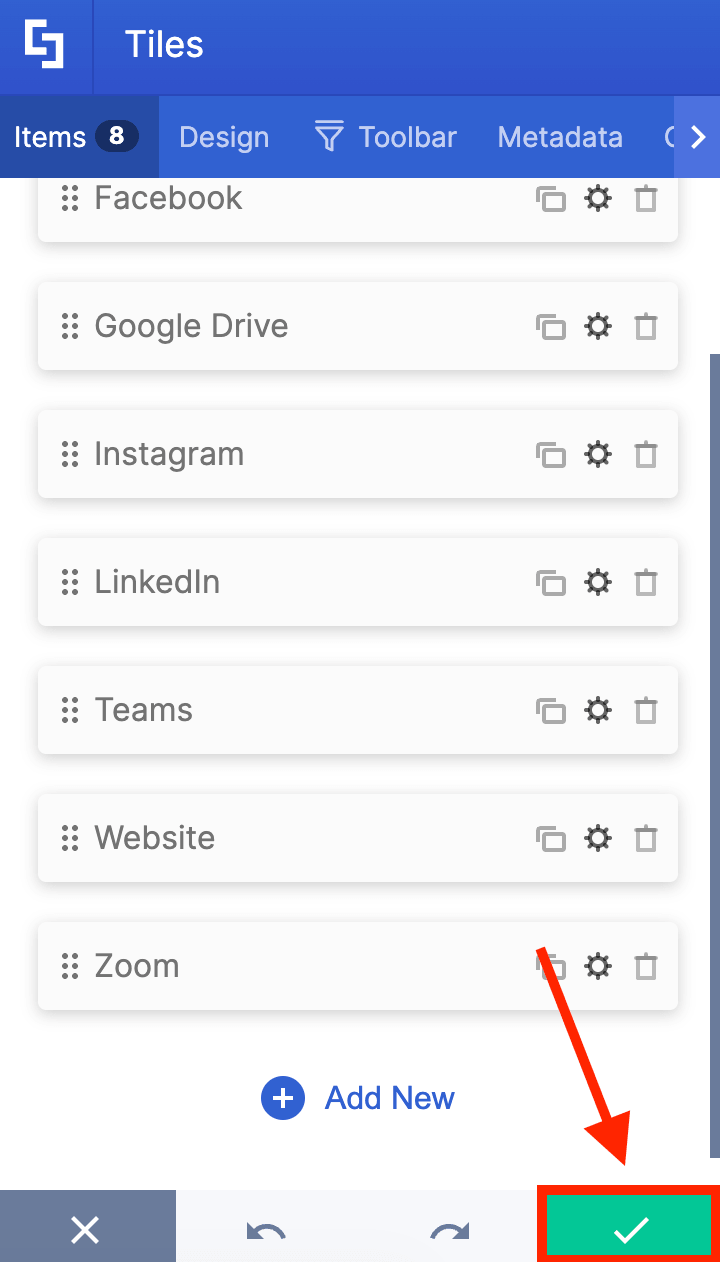
Click the green check mark:
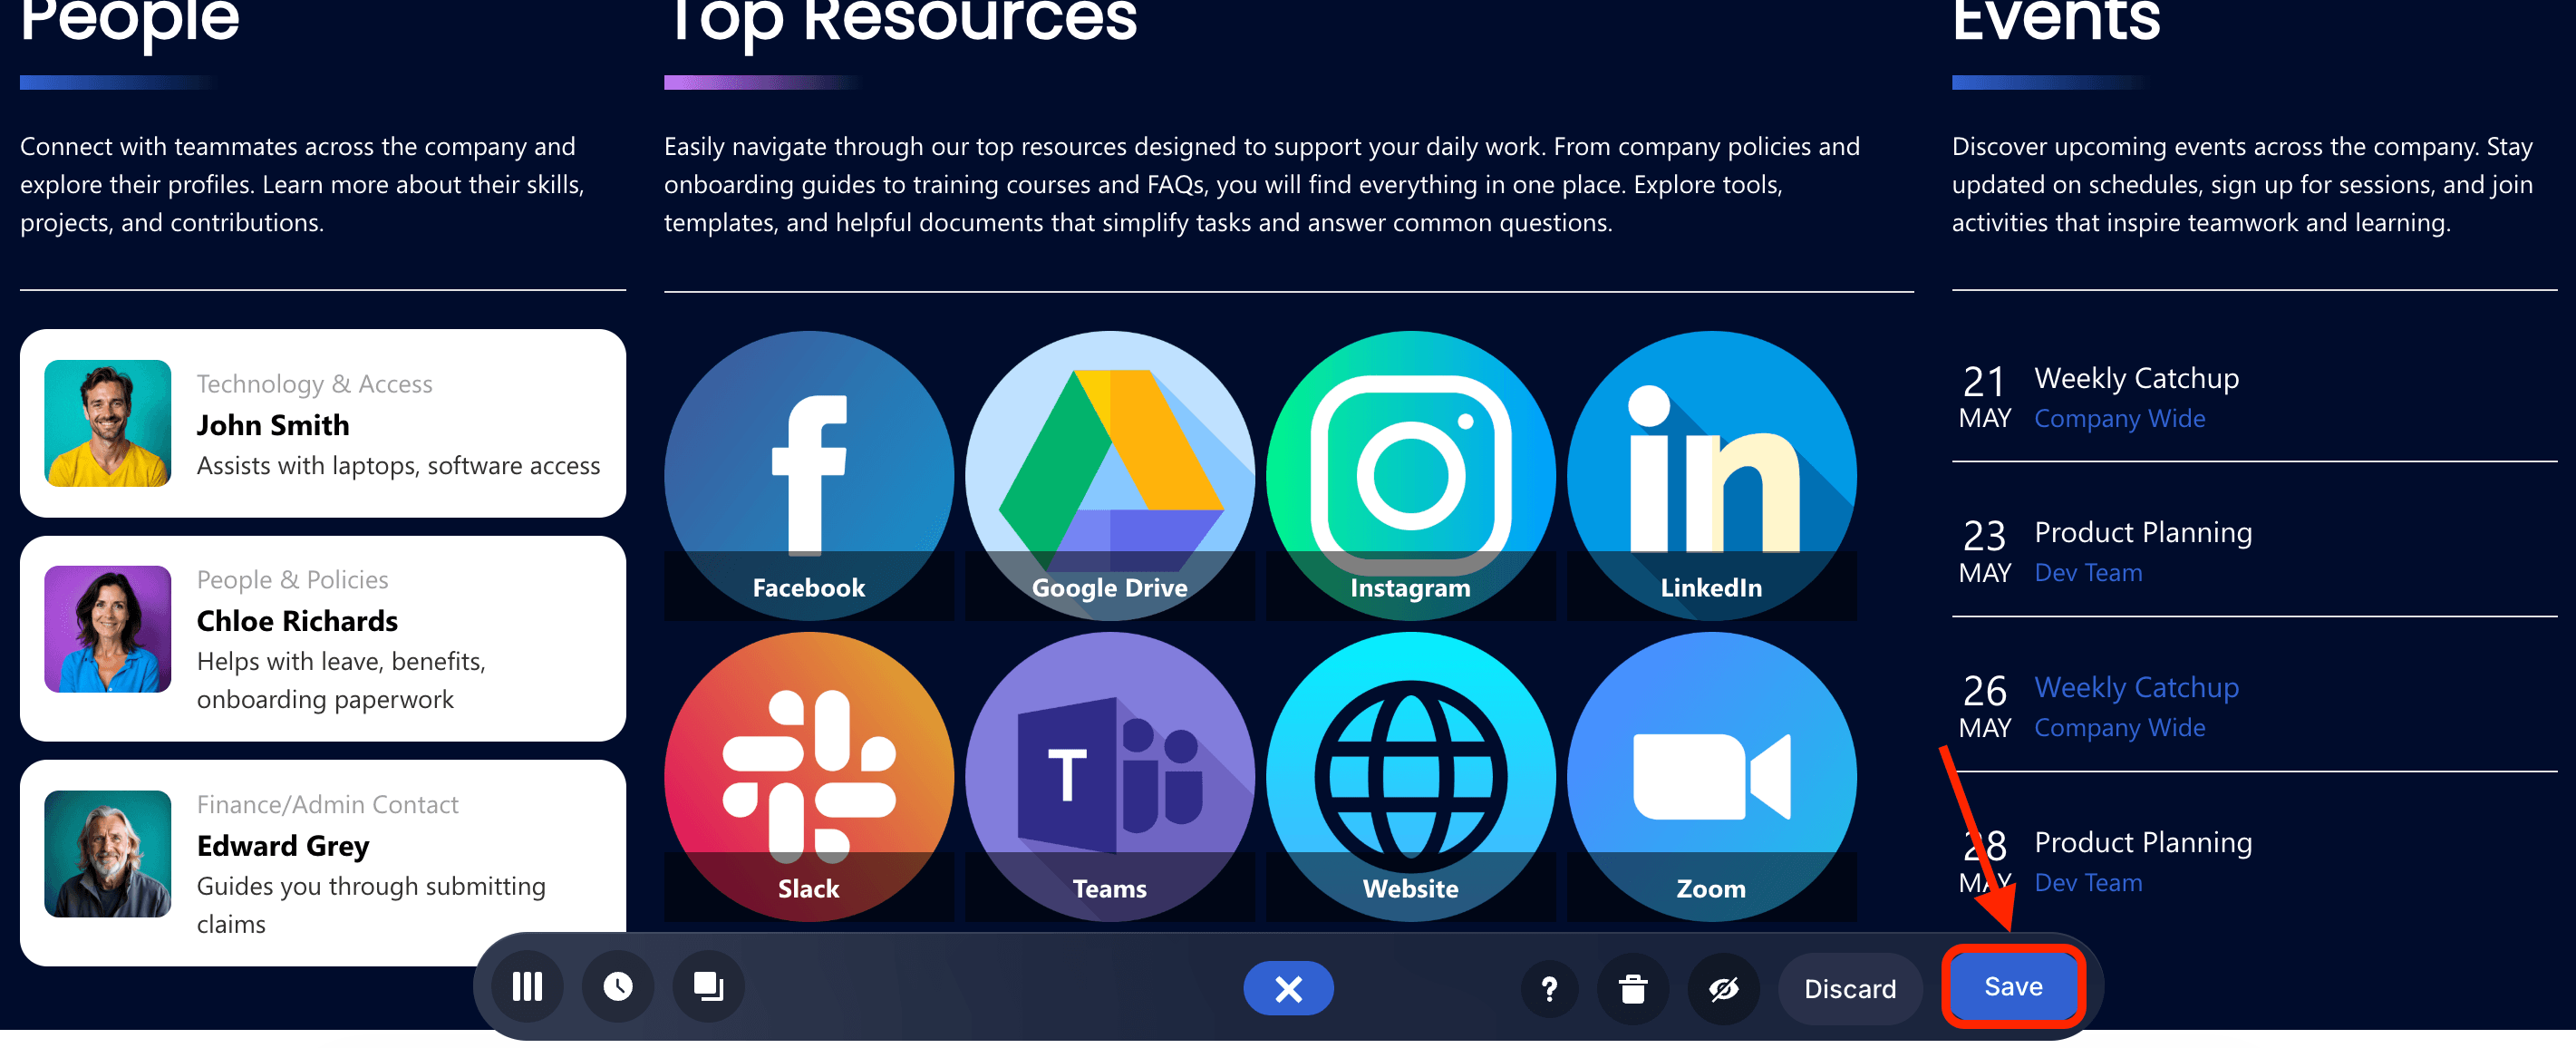
Select the eye icon to see your page in real-time:

Save your changes:

Congratulations! You now have a dynamic icons gallery on your SharePoint page. With it, you don't have to manually edit the Design Element whenever you want to add an icon image. Once you update the Document library, the changes will automatically reflect in the Design Element as well.
Option 2: Manually Adding Icon Images
This option will show you how to manually add icon images to ShortPoint Design Elements.
TIPIt's best to have a Document Library with all the Icon Images you want to use, so you can easily select them when manually adding icon images to ShortPoint Design Elements. You can use Flaticon by Freepik or Icons8 to look for the icon images you want to use.

Step 1: Edit the ShortPoint Web Part
Go to the SharePoint page you want to use and click Edit:
Close the Toolbox:
Select the Edit Properties icon:
Step 2: Edit the Design Element
NOTEBefore proceeding, you must already have the Design Element you want to use on your page. It's best to use Design Elements that allow adding of images (e.g., Tiles, Image List, Image Caption, etc.). For this guide, we'll use the Tiles Design Element.
Click the EasyPass tag of the Design Element:
Select the cogwheel icon:
Step 3: Add Icon Image
NOTEDepending on the Design Element you're using, the Image field may be found in a different tab. But, in most cases, it can be found in the Content tab or Items tab.
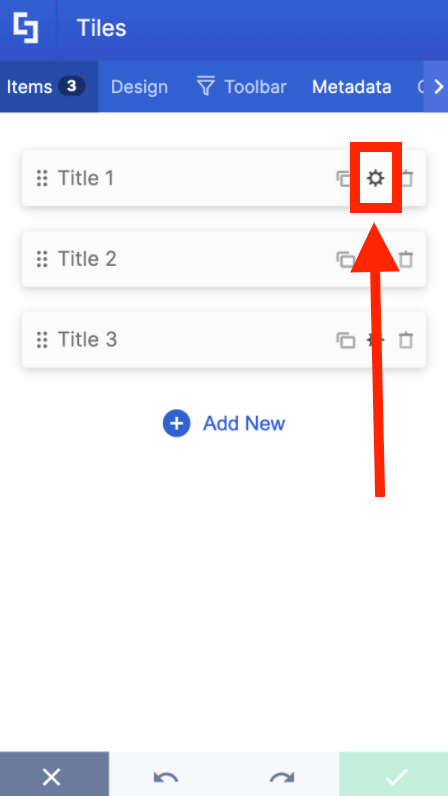
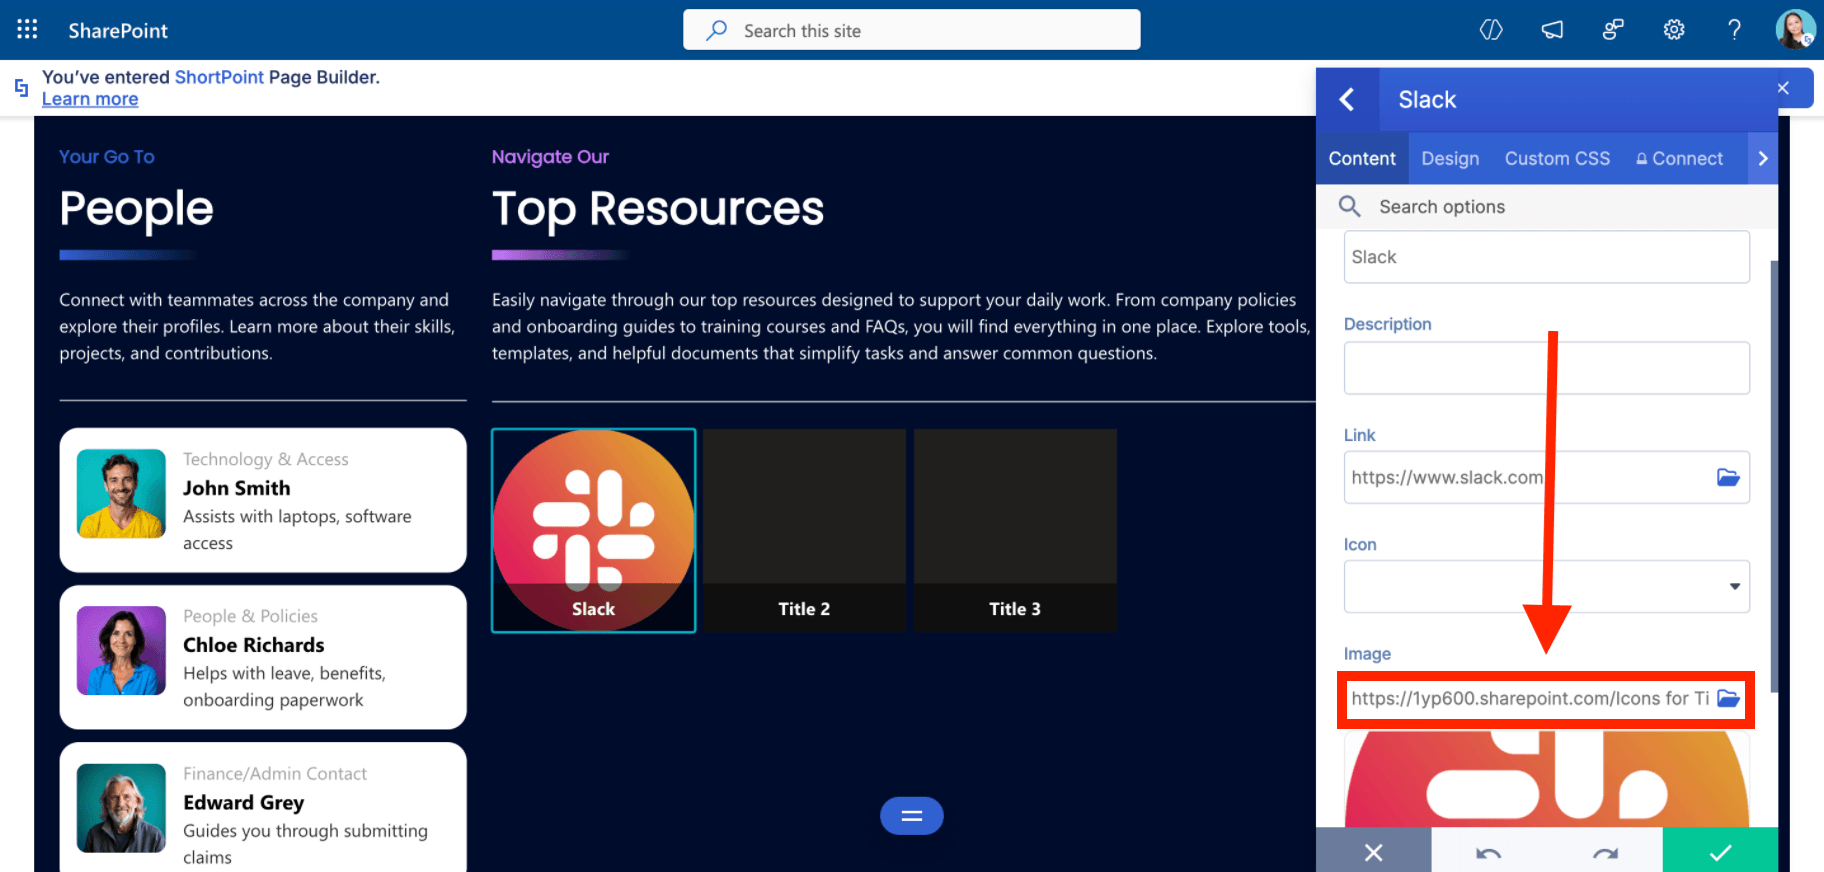
Since we're using the Tiles Design Element, the Image field is in the Items tab. Click the cogwheel icon of the first item:
Fill in the necessary details:
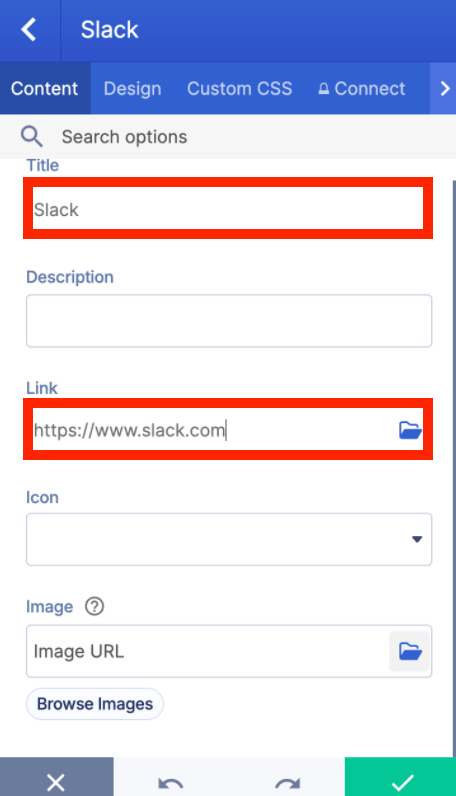
Then, in the Image field, there are two ways to add your icon image:
- Paste the URL path of the icon image you want to use in the field provided:
- Use the file picker and select the icon image you want to use:
Click the back icon:
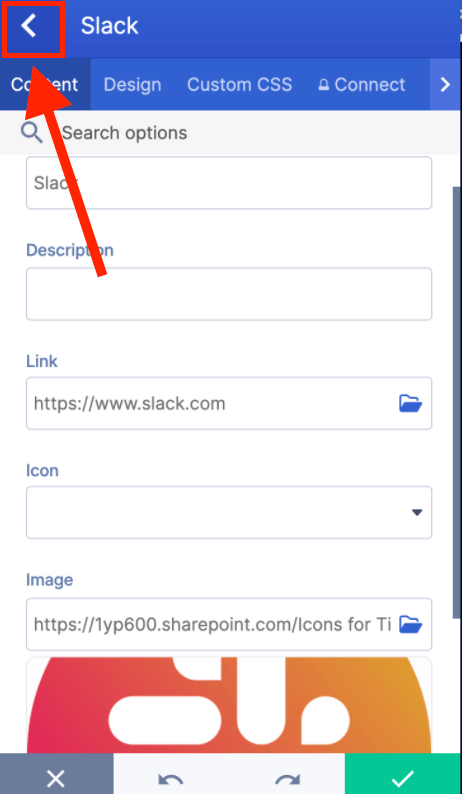
Repeat the steps.
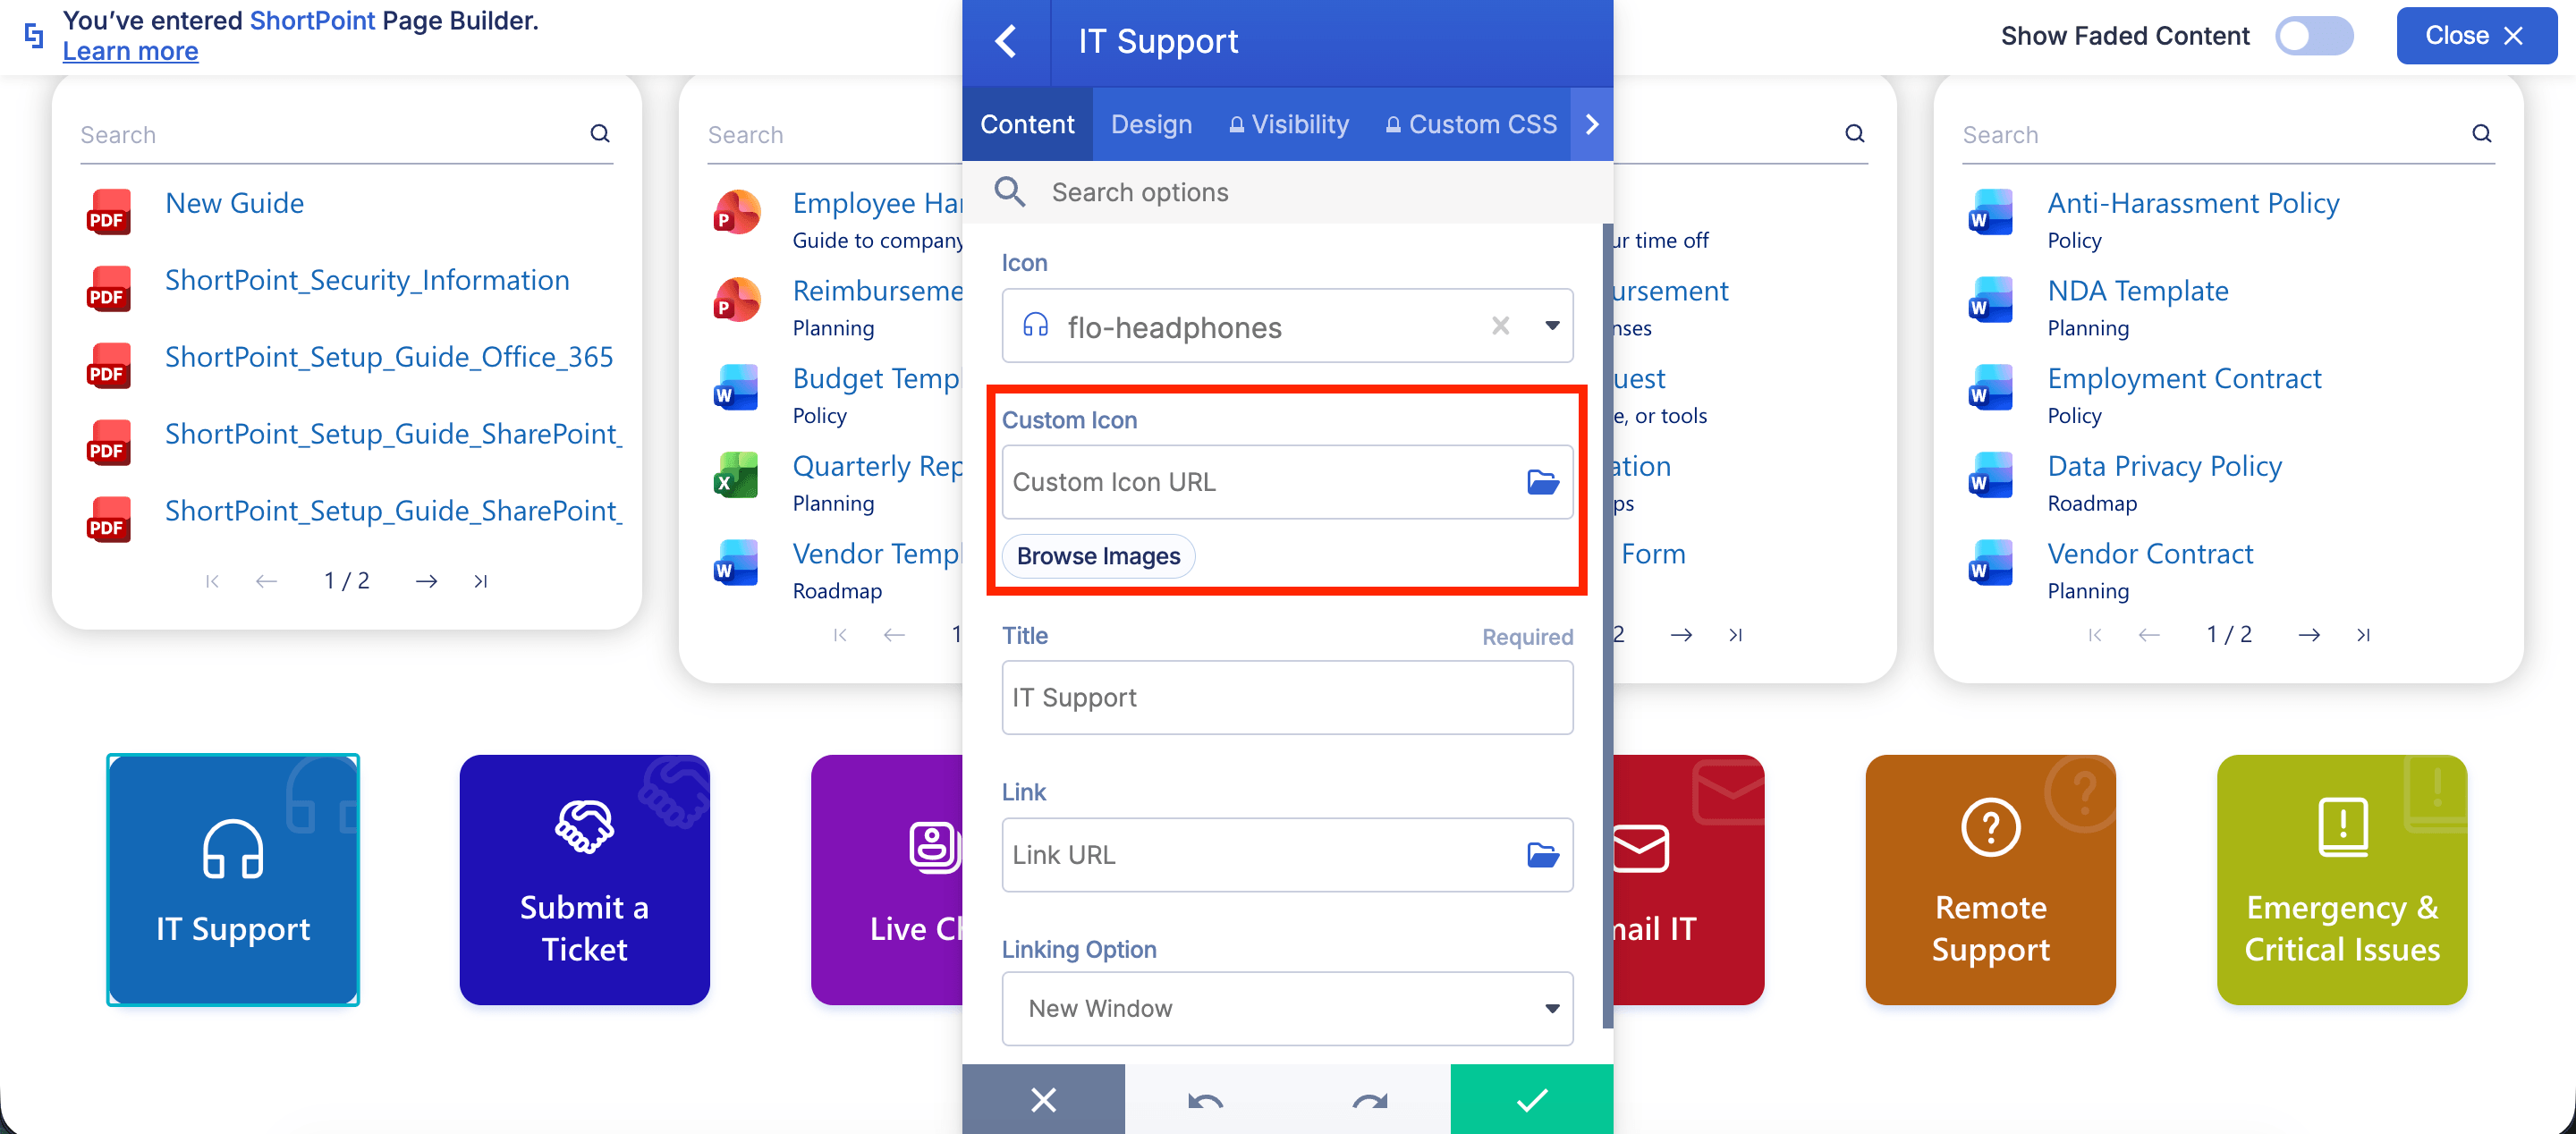
TIPYou can also add icon images to the Quick Links Design Element. Simply add your image to the Custom Icon field.
Step 4: Save
Once satisfied, click the green check mark:
Then, click the eye icon to see your page in real-time:

Save your changes:
There you have it! You now know how to manually add icon images to ShortPoint Design Elements.
Frequently Asked Questions
What's the best icon format to use on a website?
SVG is generally the best choice for web icons. SVGs are infinitely scalable (so they look sharp on retina/high-DPI screens), lightweight, and can be styled with CSS. For more complex, photographic icons, PNG or WebP may be more appropriate.
Can I use free icons for commercial projects?
It depends on the license. Many icon libraries (like Heroicons, Feather, and Material Icons) use the MIT or Apache 2.0 licenses, which allow commercial use freely. Others may require attribution or offer premium tiers for commercial use. Always read the license terms before using icons in a commercial project.
Should I always pair icons with text labels?
It's generally a good idea, especially for less universally understood icons. Combining an icon with a text label reduces ambiguity and improves accessibility. However, for very common icons (like a search magnifying glass or a settings gear), text labels can sometimes be omitted when space is tight.
Can I customize the color and size of free icons?
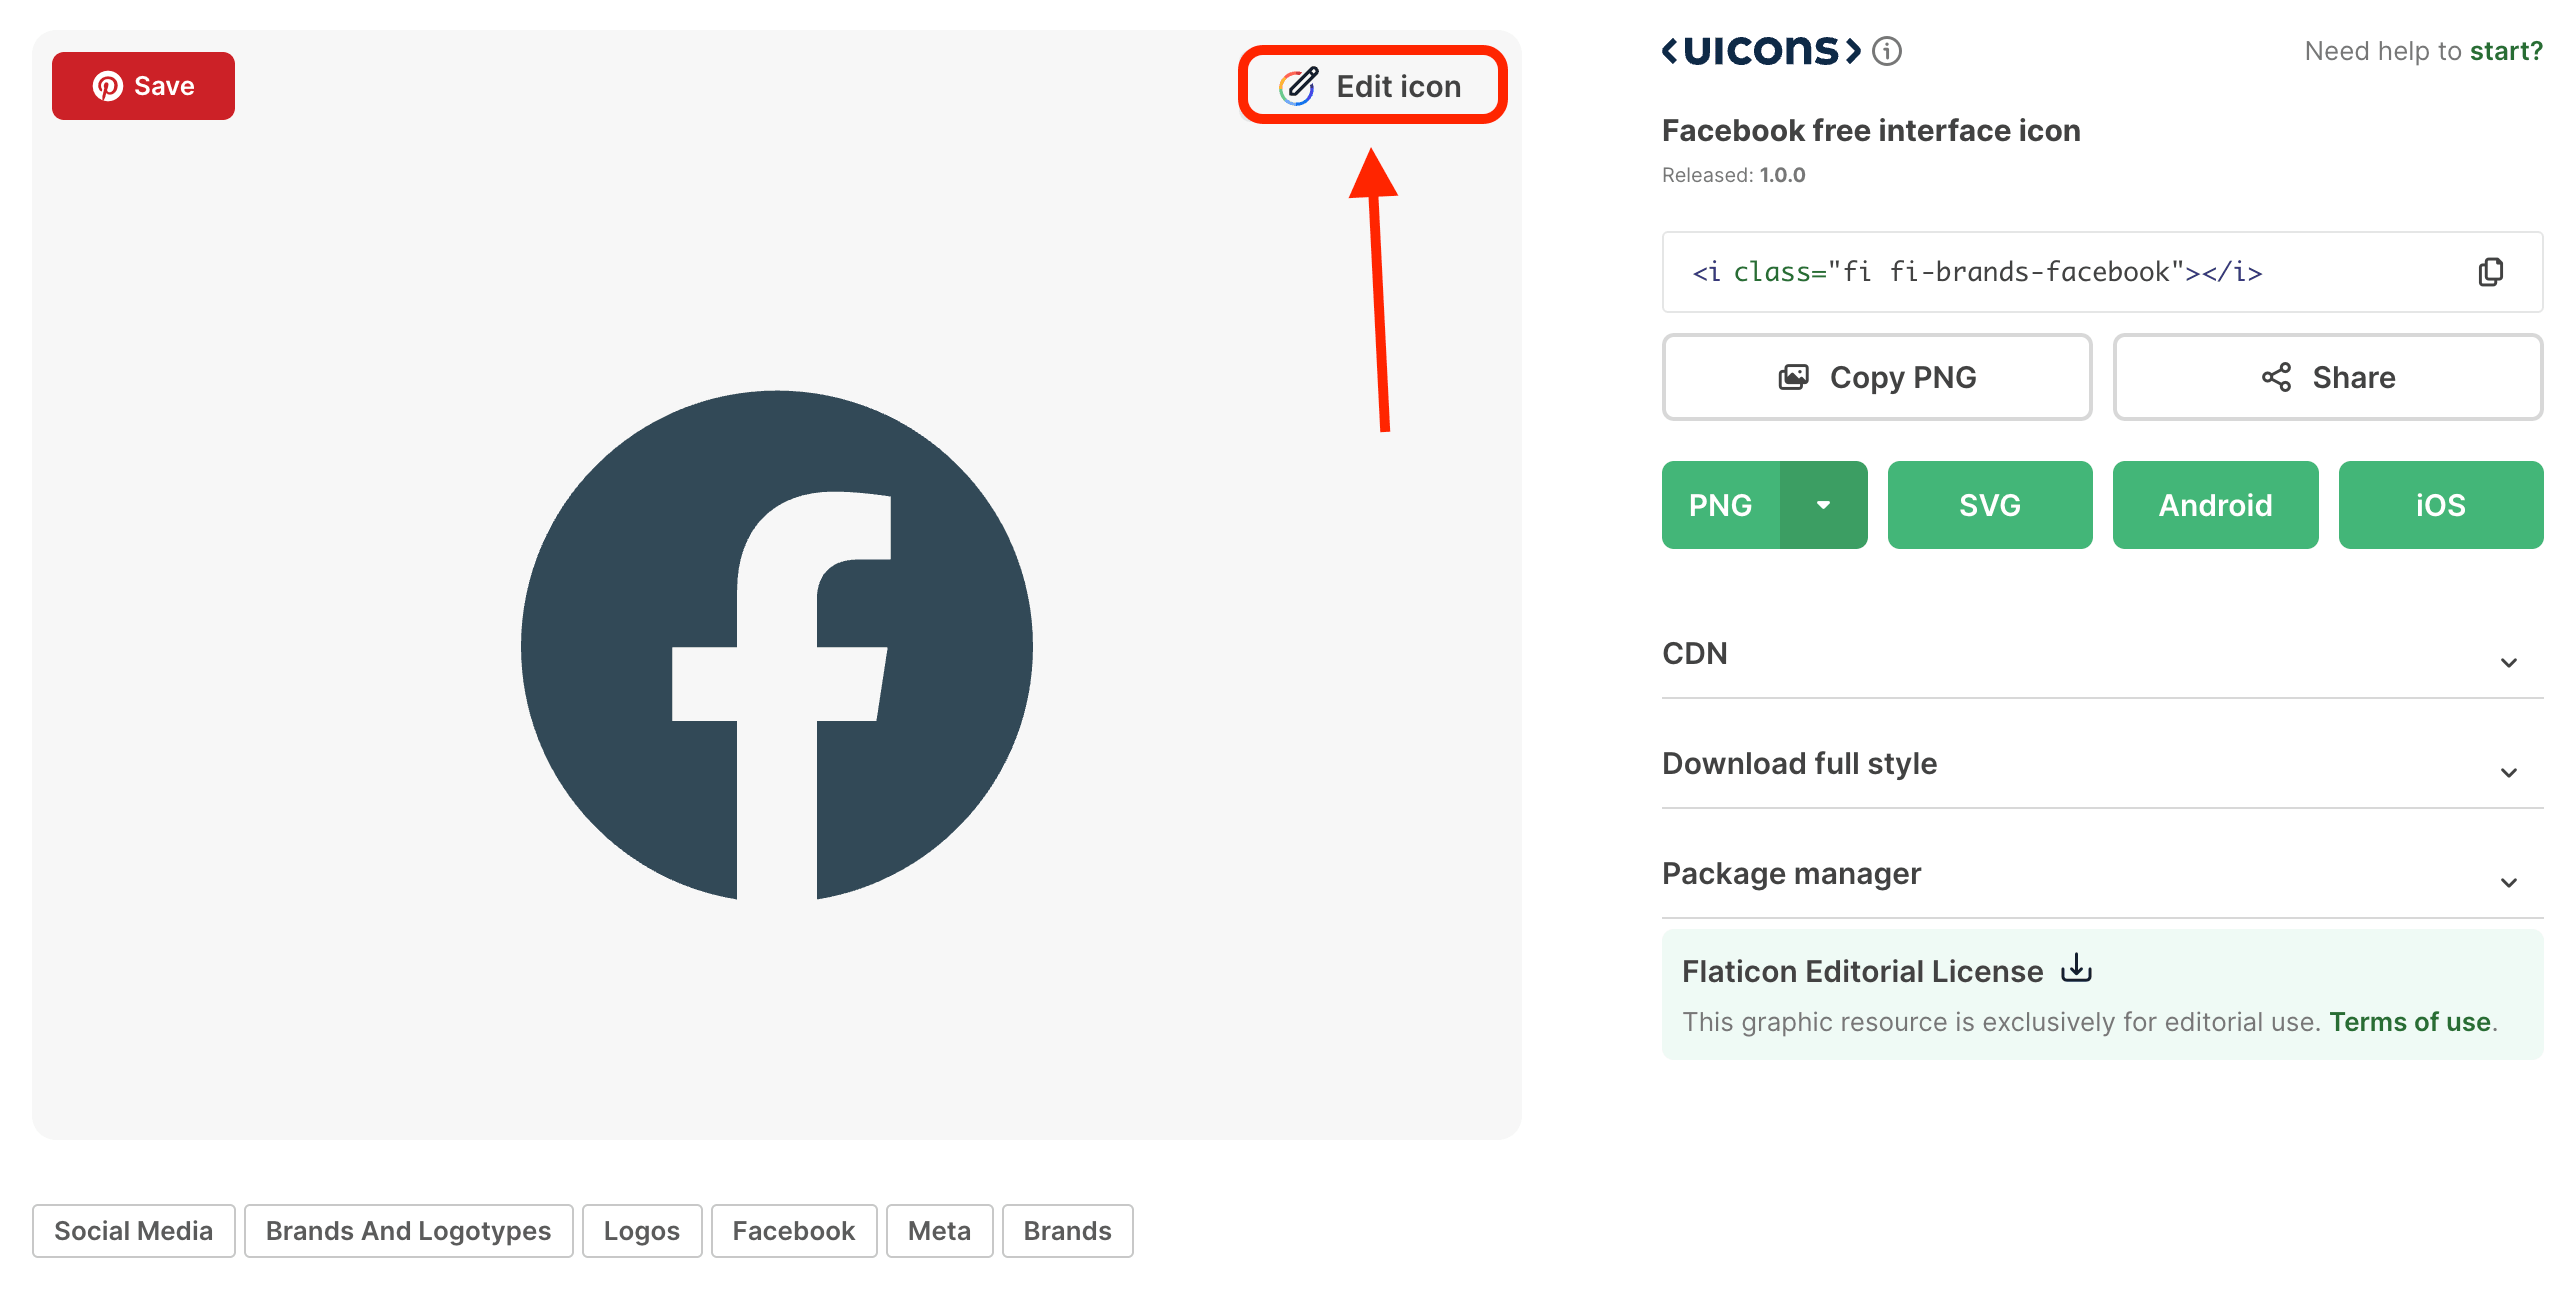
Yes! Platforms, like Flaticon by Freepik, have an Edit option where you can customize the color of the icons. Just take note that some limitations may apply if you're using a free plan.
How can I add icon images to ShortPoint Design Elements?
You can add icon images either dynamically using ShortPoint Connect by linking a SharePoint Document Library or manually by uploading and selecting images within the Design Element settings.
What resources provide high-quality icon images?
Popular resources include Flaticon by Freepik, Icons8, and Noun Project, offering collections of free and premium icons in various formats suitable for different projects.
Related articles
