 Try ShortPoint now
If you've ever found yourself clicking through endless SharePoint sites trying to find what you need, hub site navigation might just be your new best friend. Let's walk through what it is, how to set it up, and some practical tips to make the most of it.

TABLE OF CONTENTS
- What is SharePoint Hub Navigation?
- How to Create Hub Navigation
- Bonus: Brand Your Hub Navigation
- Hub Navigation Editing Features
- Useful Tips for Hub Navigation
- Conclusion
- Frequently Asked Questions
- Who can edit hub navigation?
- Will changing hub navigation affect all associated sites immediately?
- How many links can I add to the hub navigation?
- Can I link to external websites in hub navigation?
- What happens when I disassociate a site from a hub?
- Can I have different hub navigation for different audiences?
- How is hub navigation different from global navigation?
- Can I copy hub navigation from one hub to another?
- What should I do if hub navigation isn't appearing on an associated site?
- How do I change the design of the hub navigation?
What is SharePoint Hub Navigation?
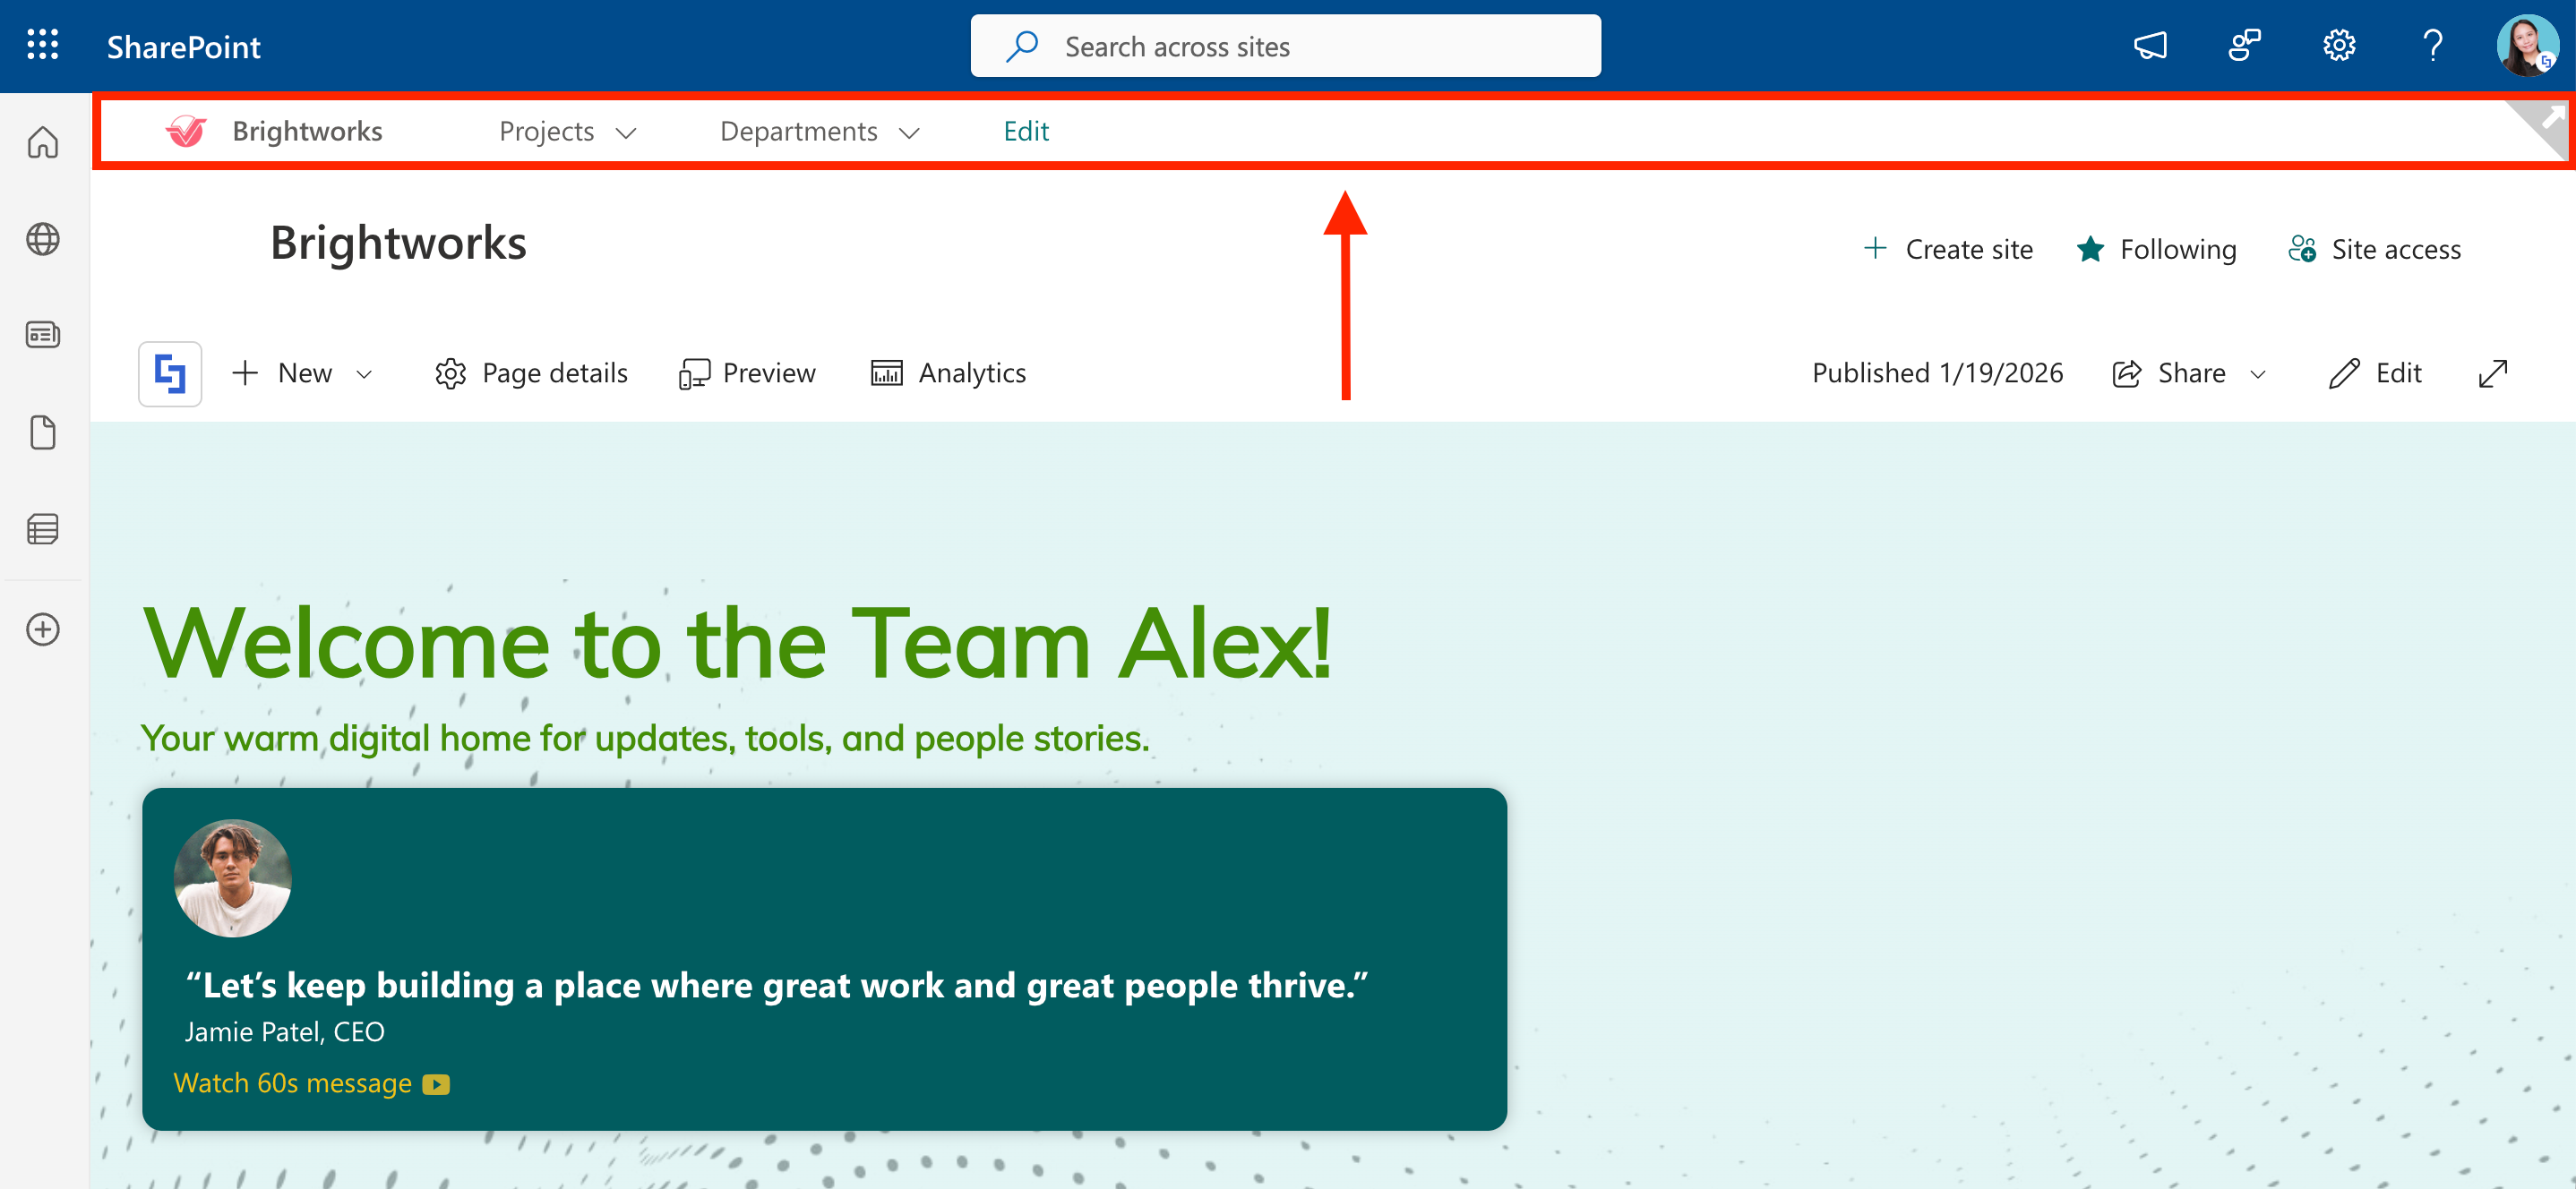
SharePoint hub site navigation is essentially a shared navigation menu that appears across all associated sites connected to a hub. Hub navigation appears at the top of the page, just above the site navigation, creating a clear hierarchy of information. It's particularly useful for large organizations or departments that manage multiple related team sites and communication sites based on organizational attributes.
The real beauty here is consistency. Instead of each team creating their own navigation structure (and inevitably doing it differently), hub navigation gives everyone a common starting point. Your HR site, your project sites, and your department sites can all share the same top-level navigation, making it much easier for people to find what they're looking for.

How to Create Hub Navigation
Setting up hub site navigation isn't complicated, but you'll need the right site permissions and access to the SharePoint admin center. We've divided the steps into 5 parts for clarity. Here's how to get it done:
Part 1: Assign a Main Hub Site
This section shows you how to assign a SharePoint site as a Hub site.
NOTEBefore proceeding, make sure you have SharePoint admin or Global admin access. If you don't have permissions to create a hub site, you can reach out to your IT team to assist you.
Step 1: Open SharePoint Admin Center
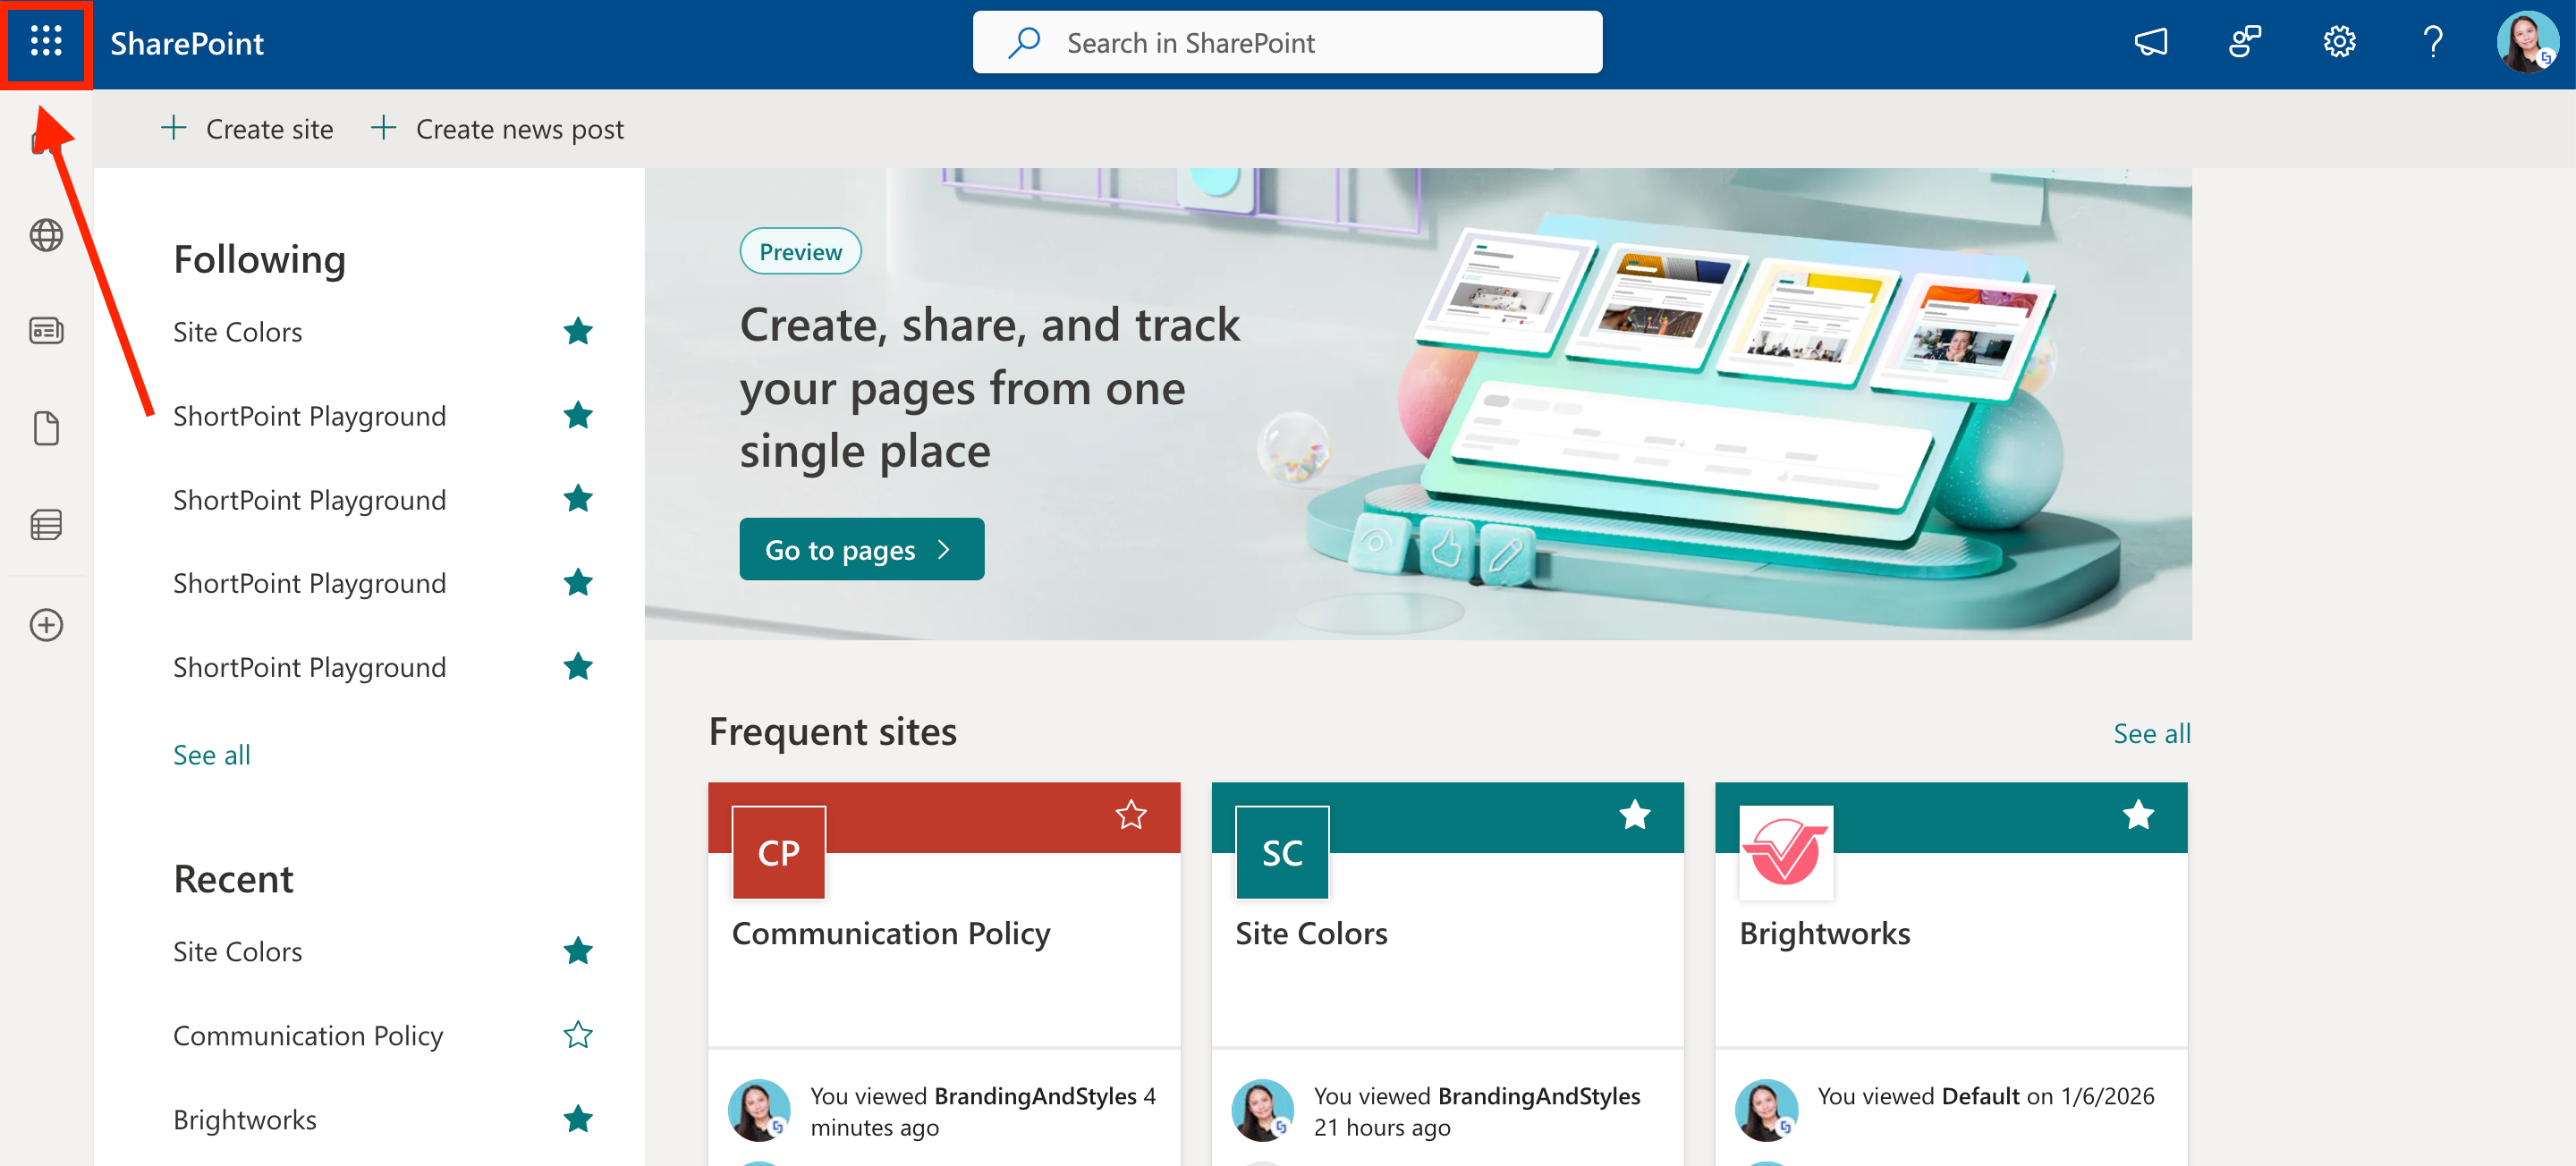
Click the App Launcher:
Select Admin:
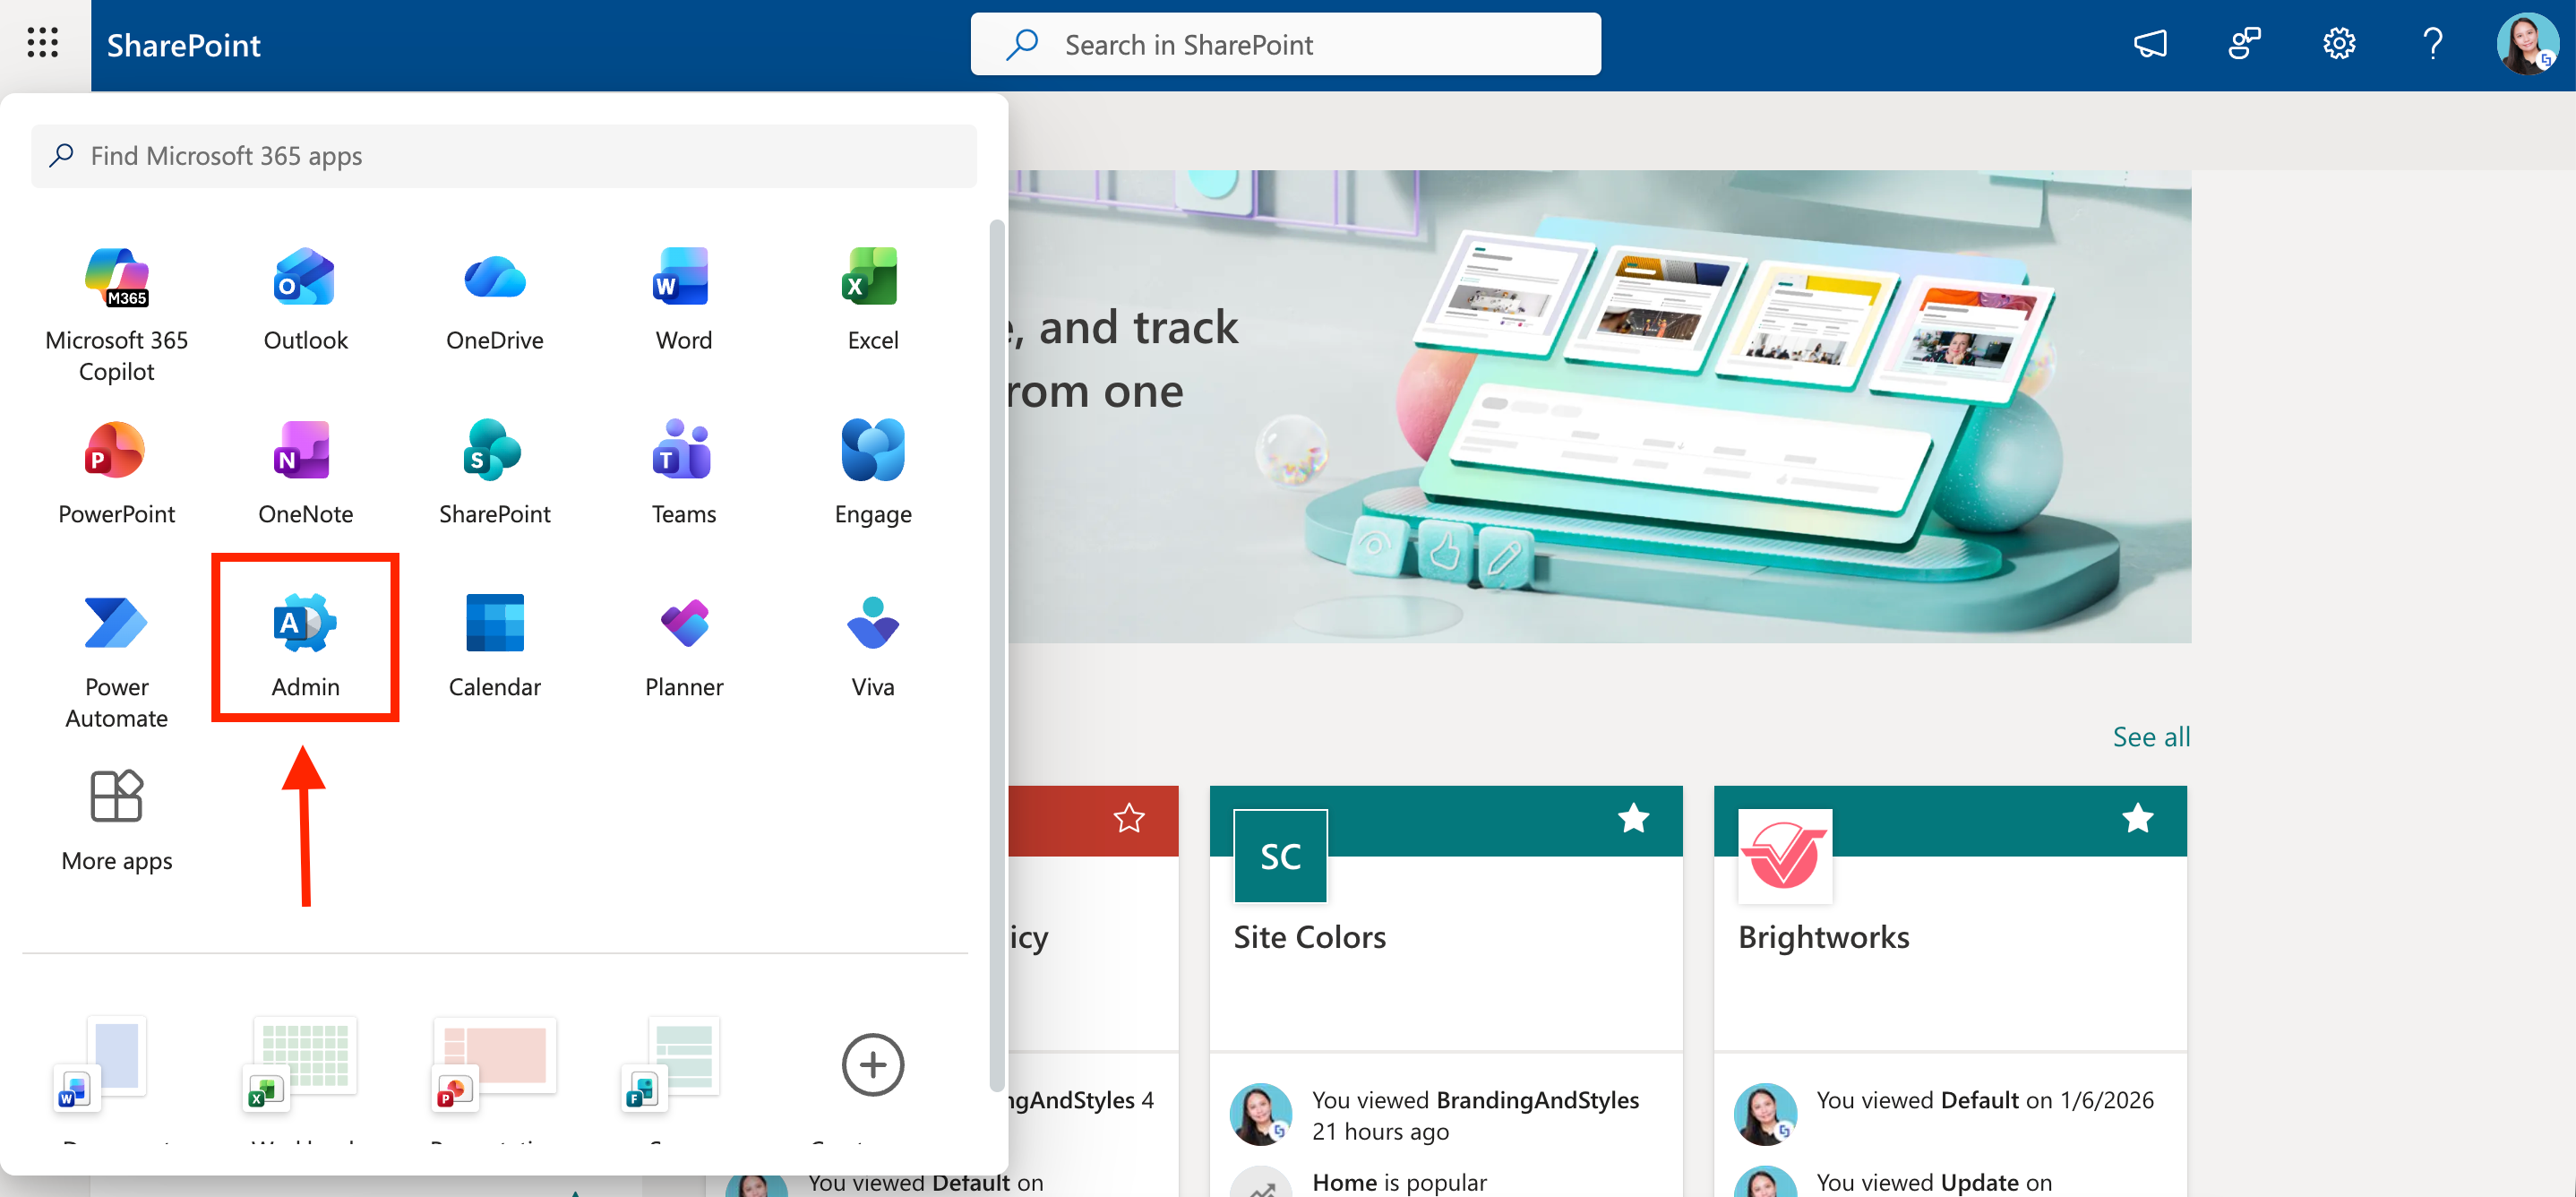
Click Show All:

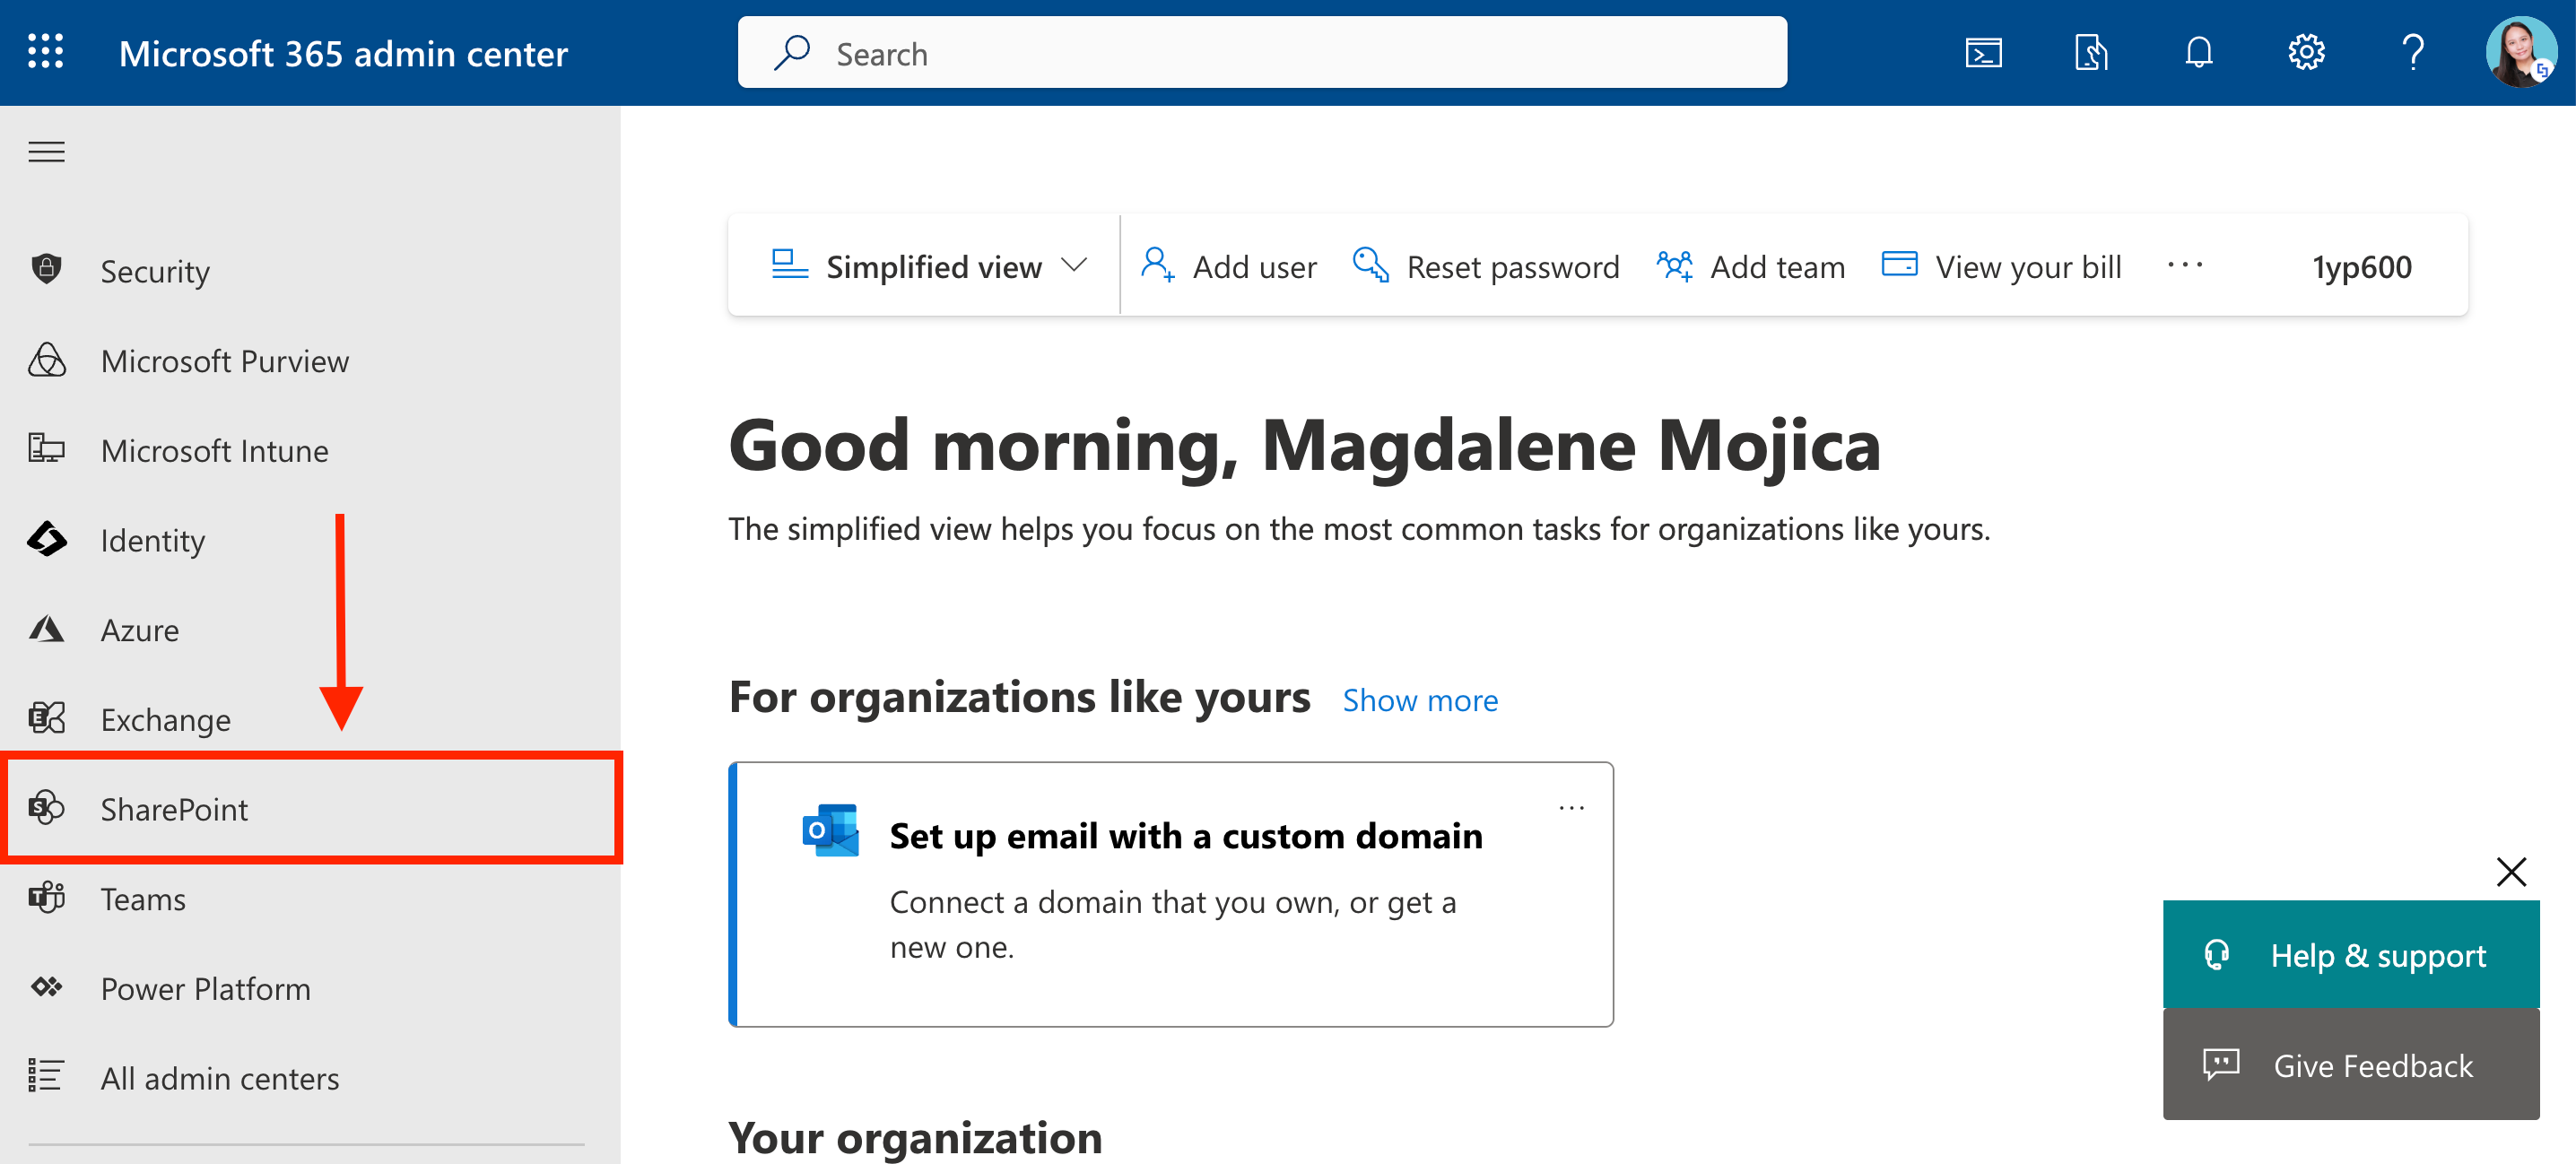
Look for SharePoint:
Step 2: Assign a Hub site
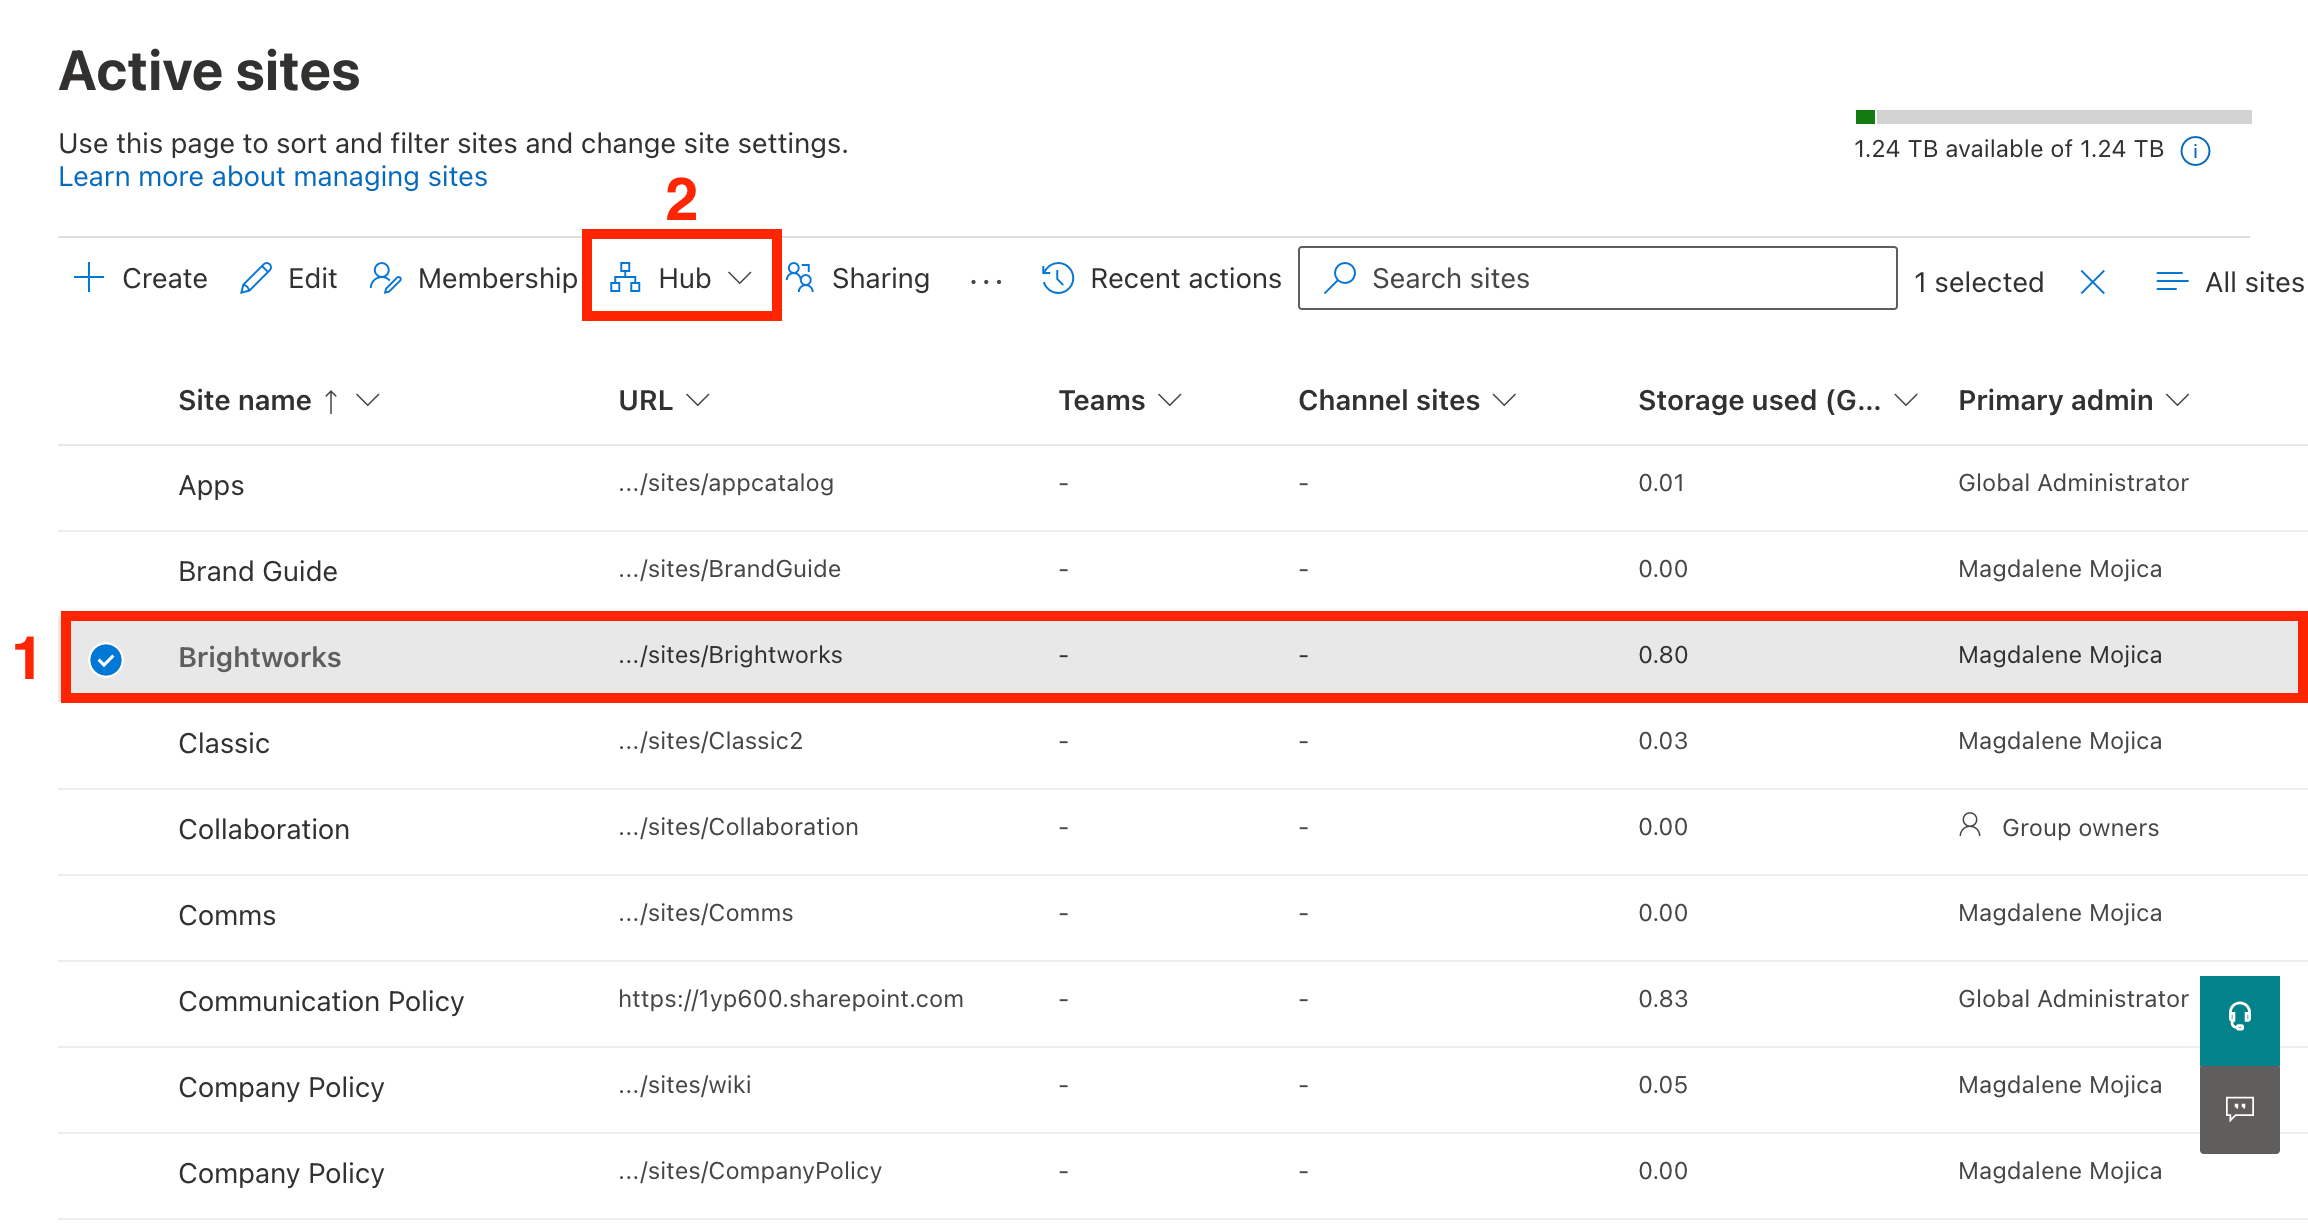
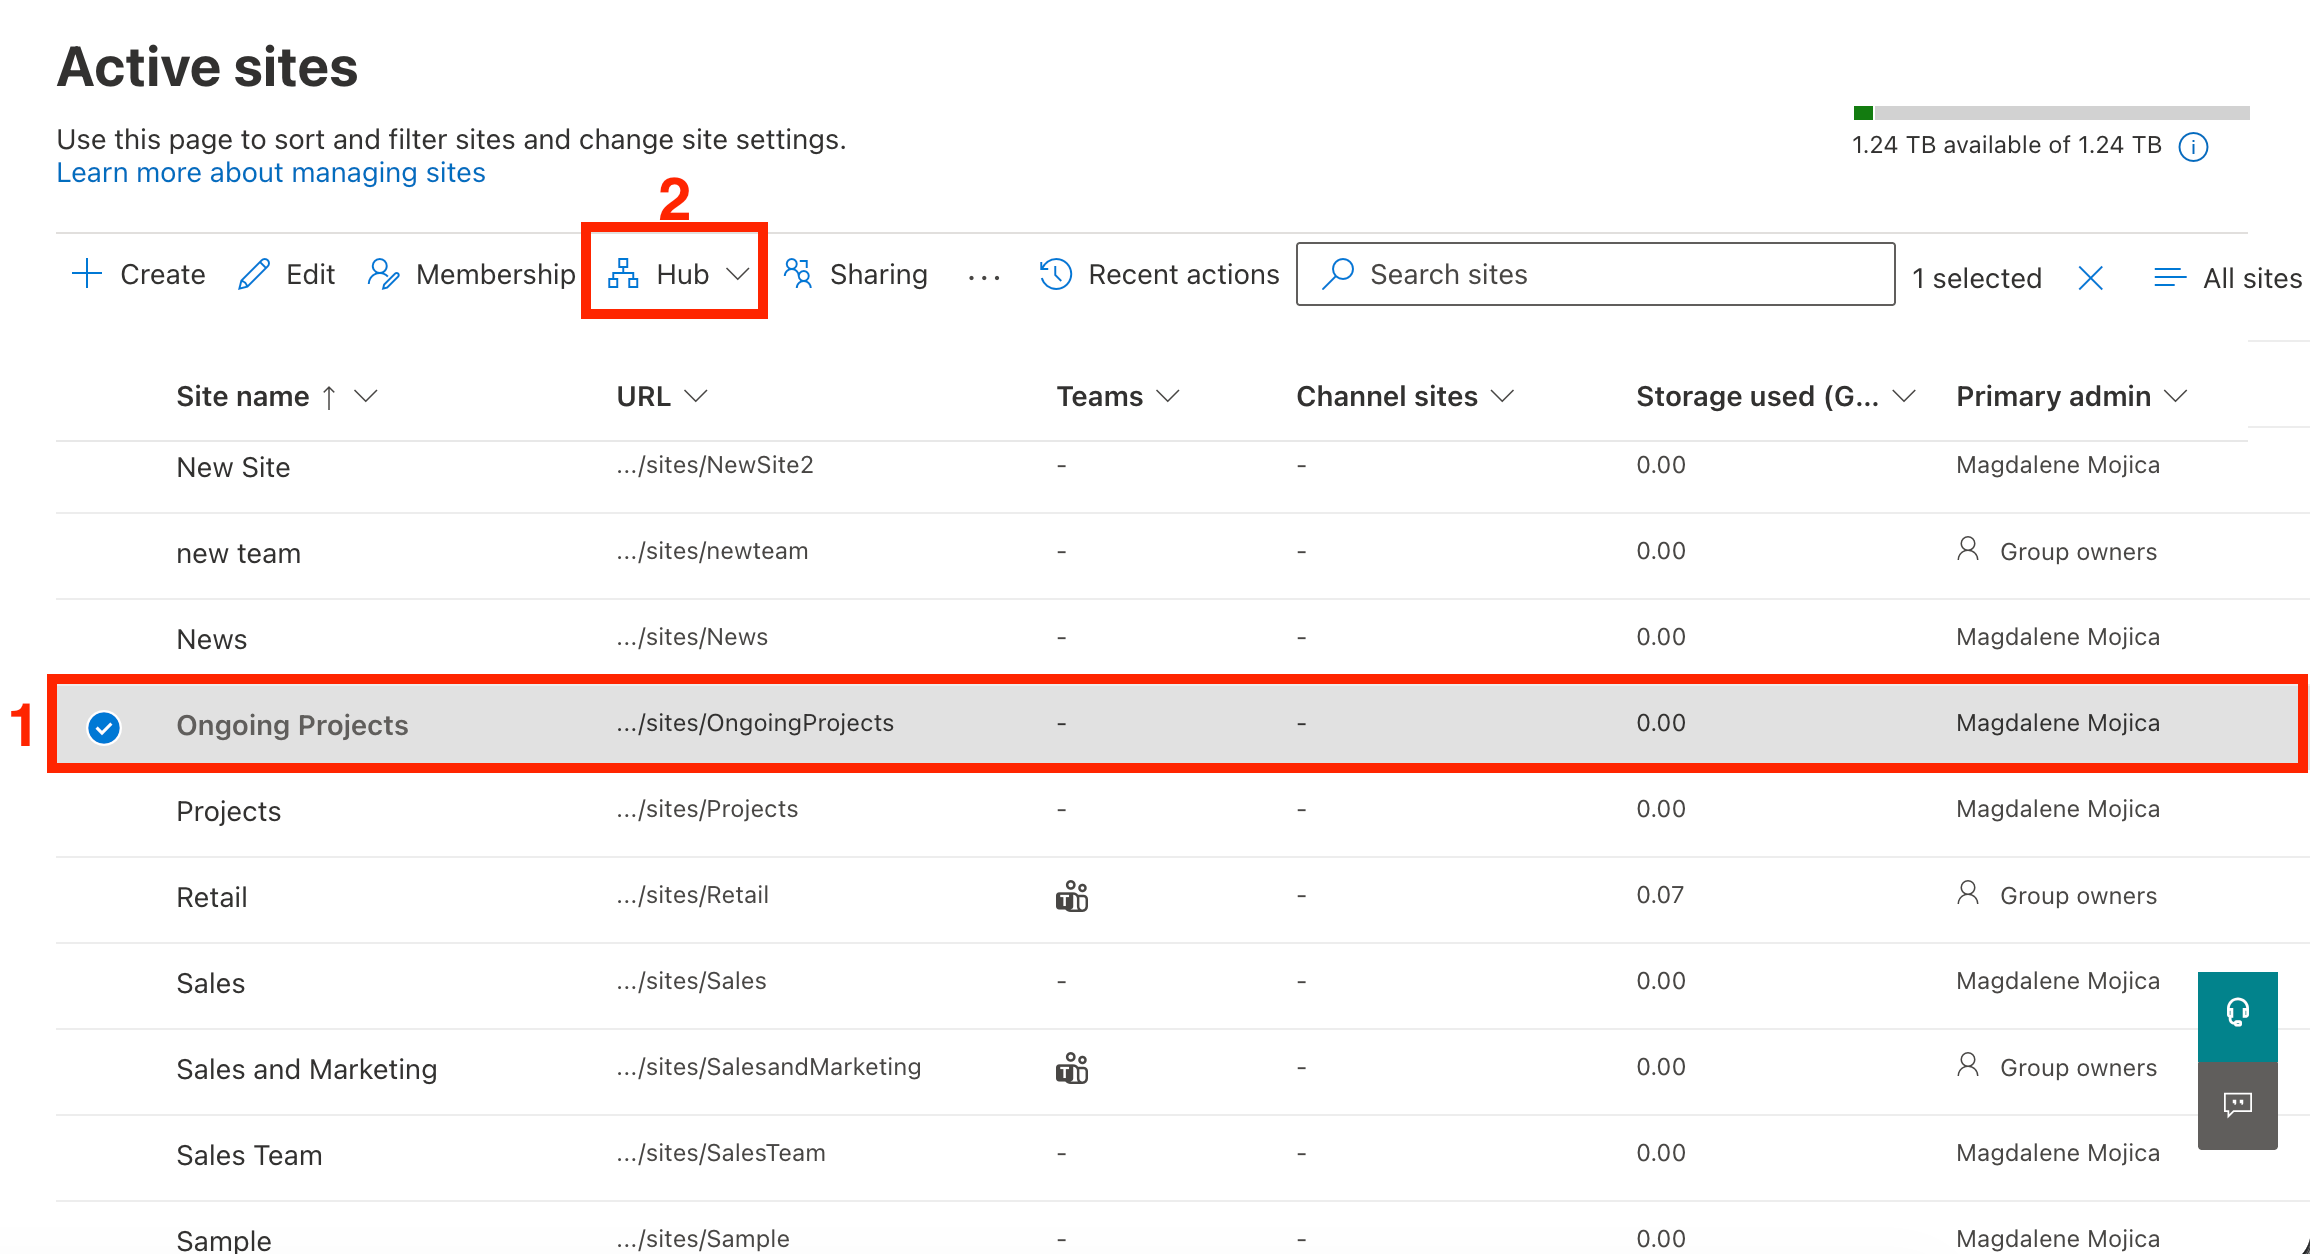
Click Active Sites:

[1] Select the site you want to be the main Hub site and click the [2] Hub drop-down:
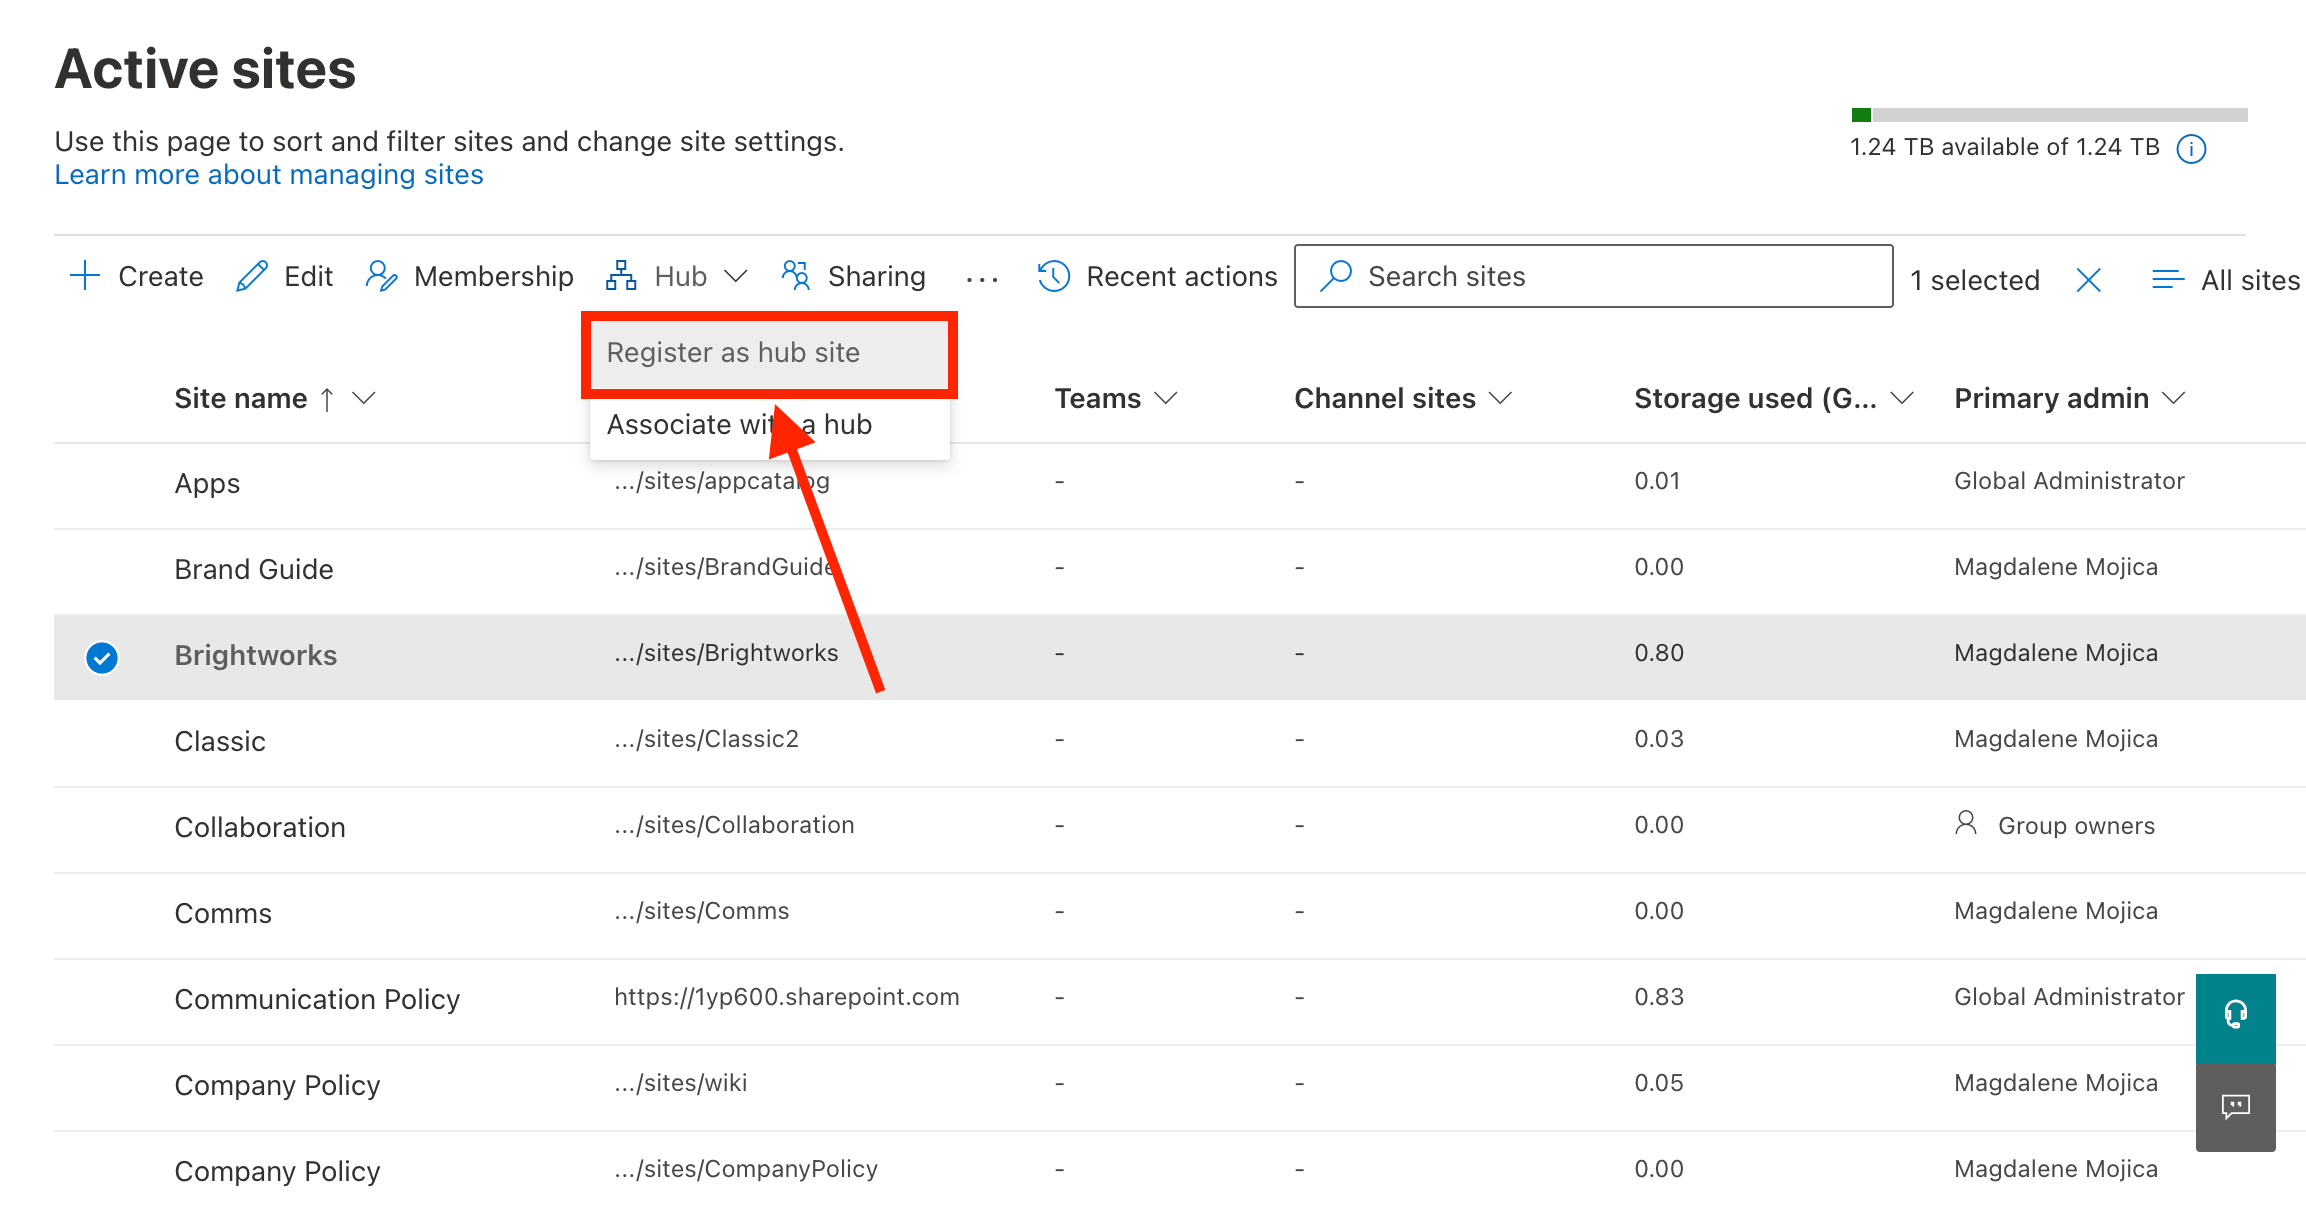
From the drop-down, choose Register as hub site:
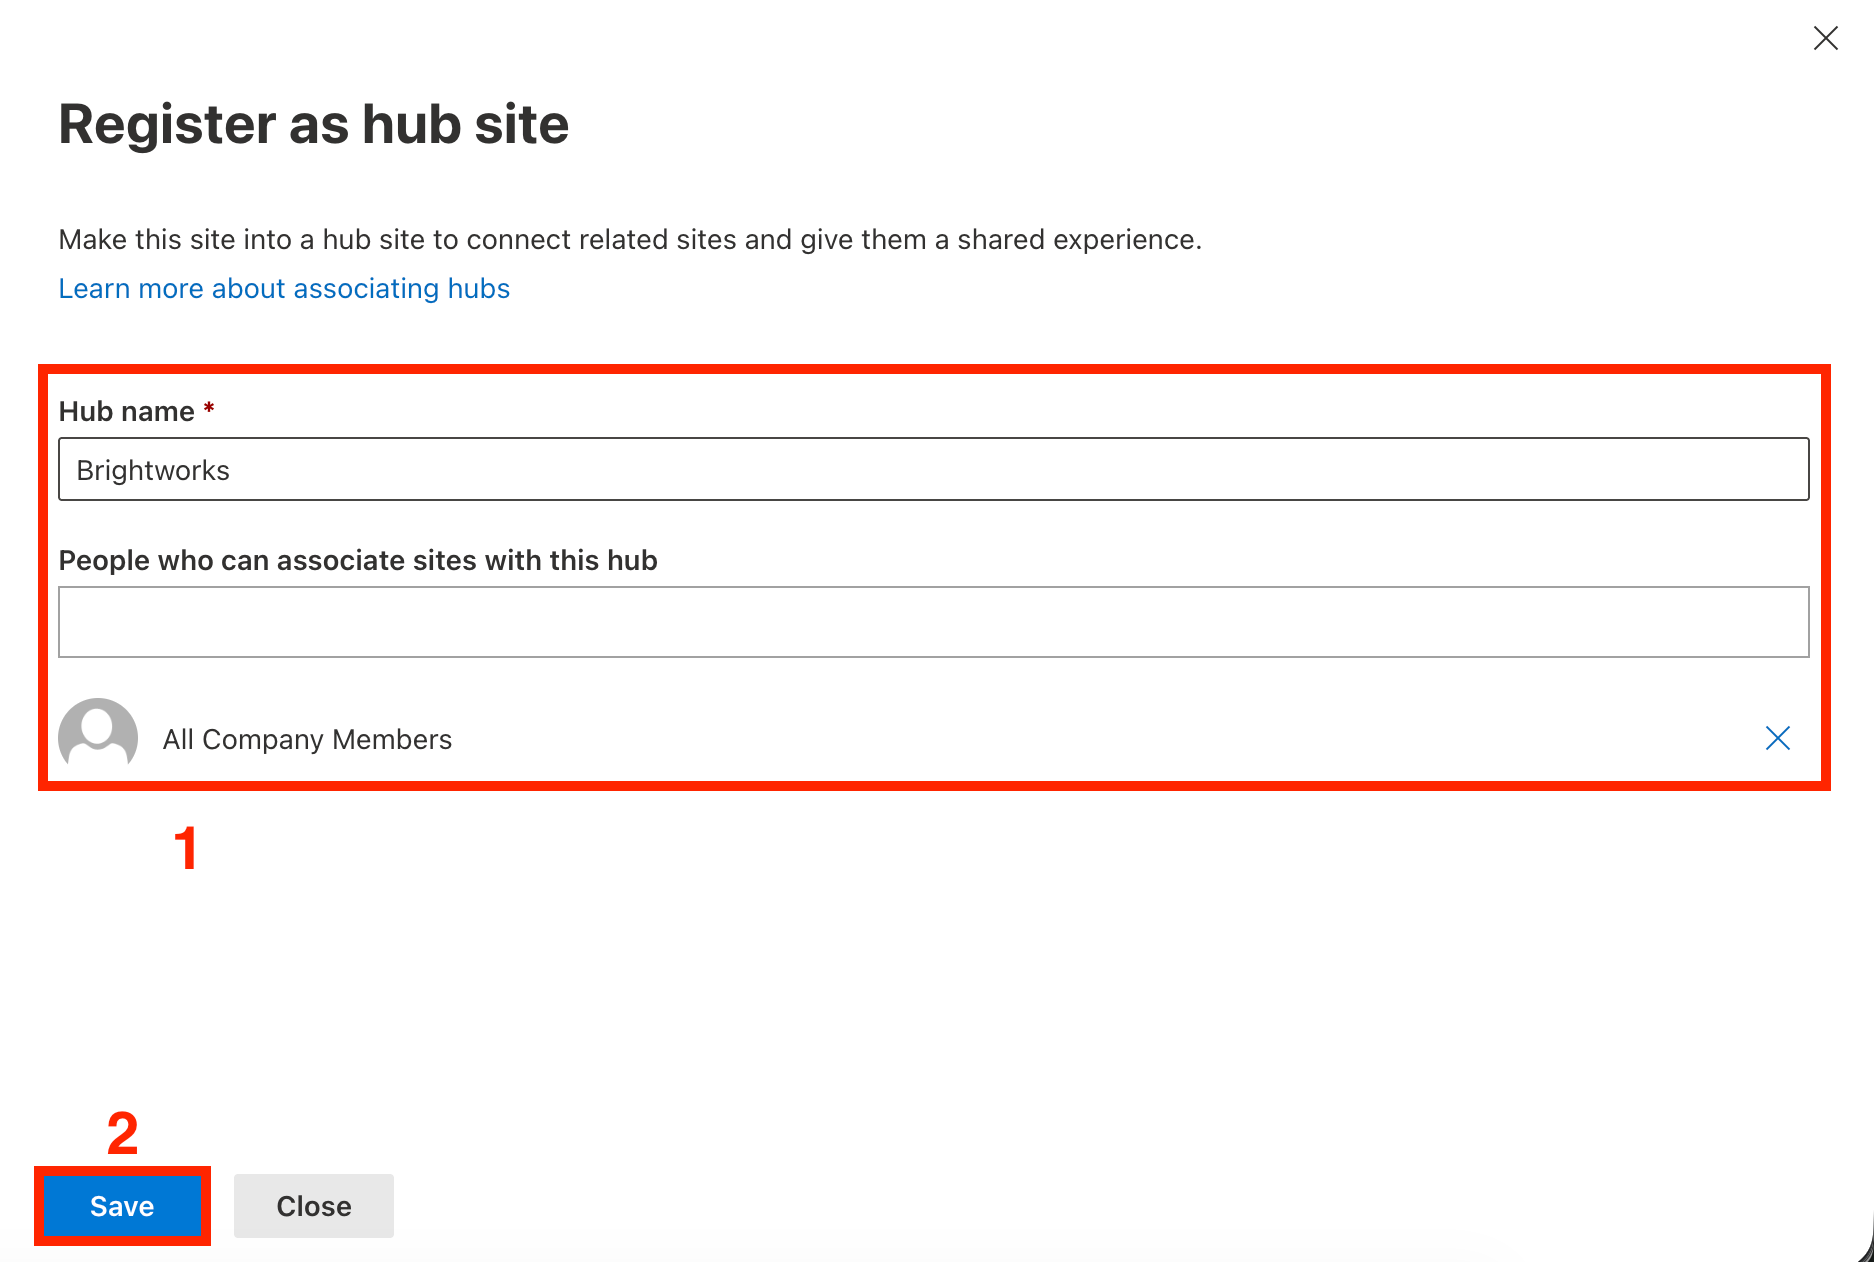
Add the [1] details needed (hub name and people who can associate sites) and click [2] Save:
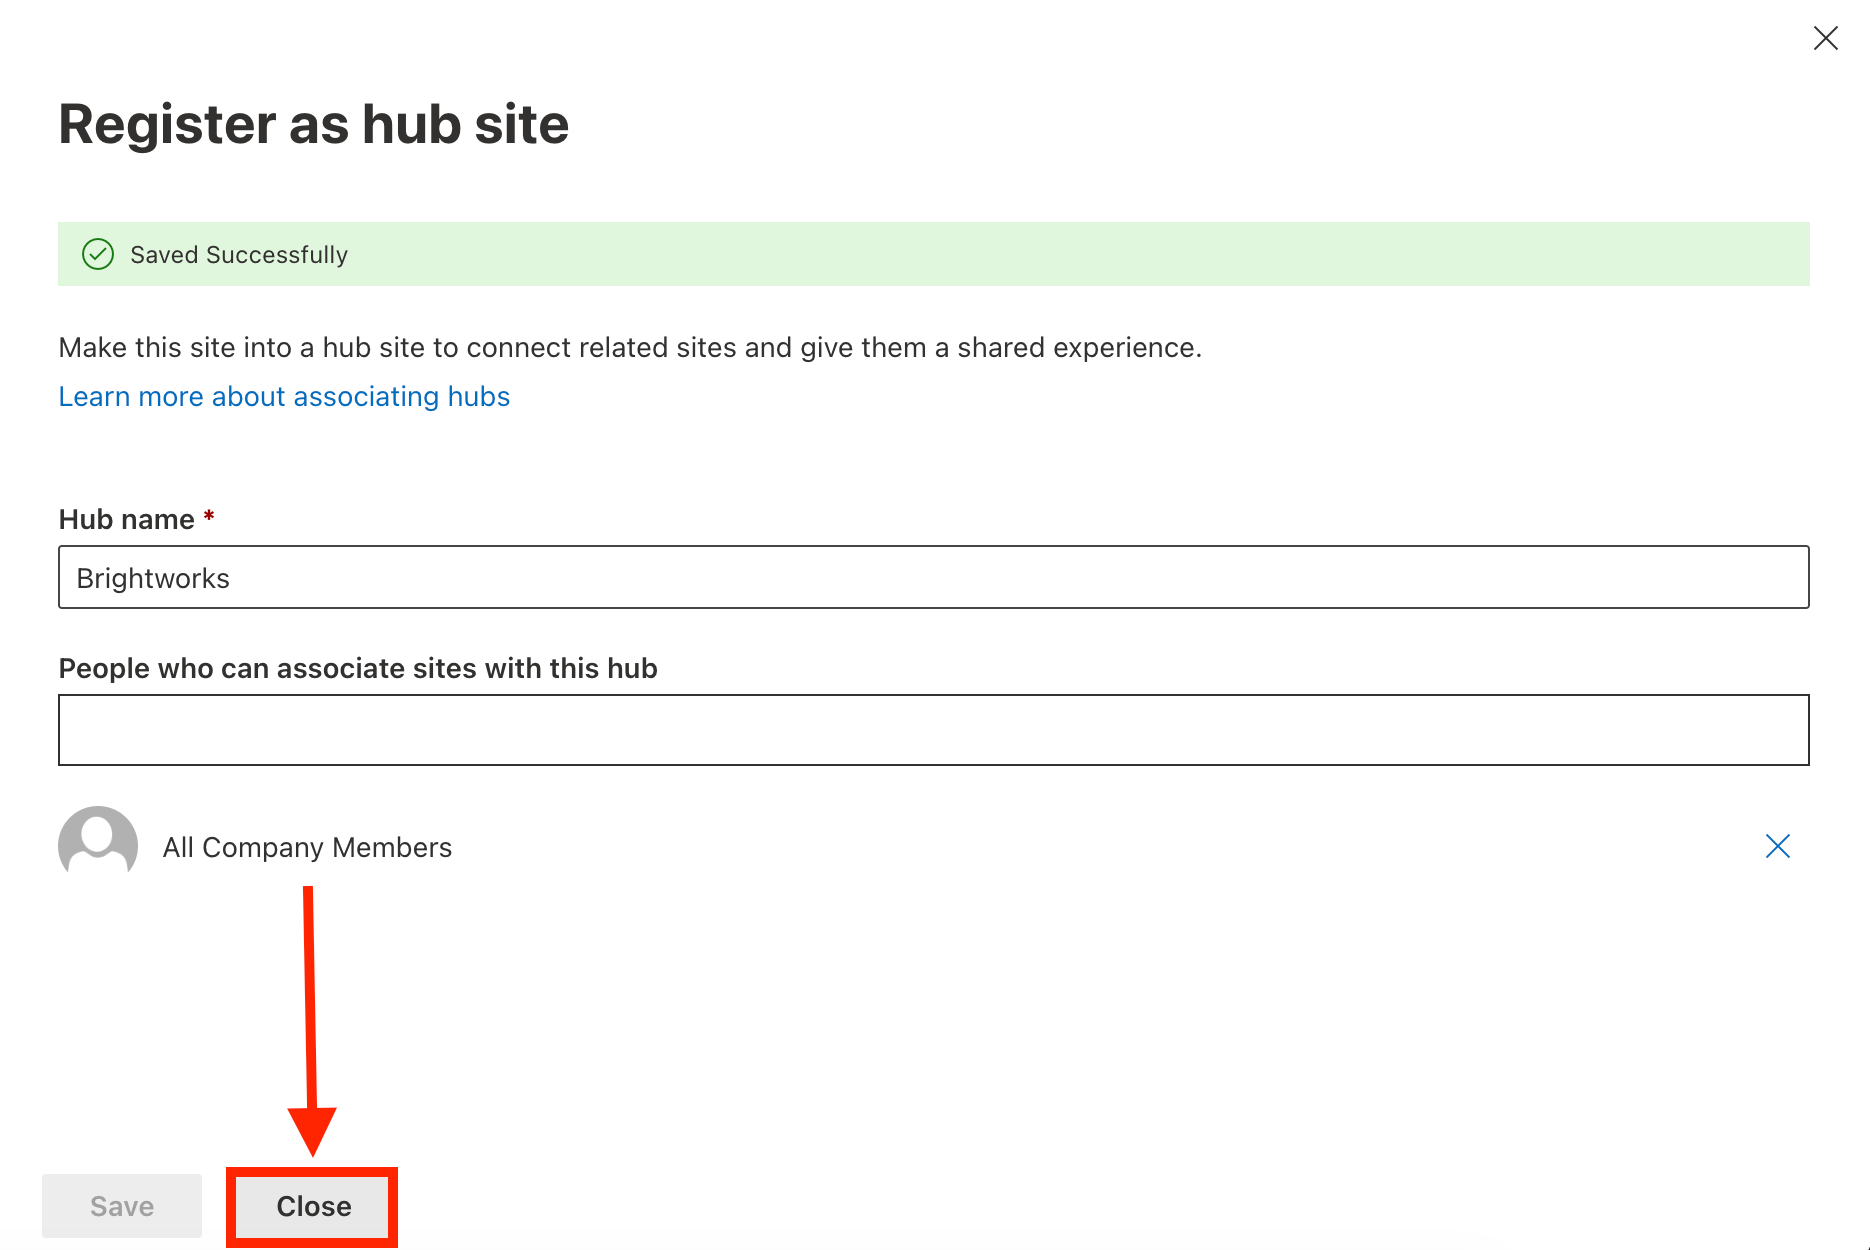
Then, click Close:
That's it! You've successfully assigned a main hub site. You can now proceed to part 2.
Part 2: Associate Sites to the Hub Site
This section demonstrates how to associate sites with the main Hub site you created in part 1. These sites will have the same hub navigation menu.
Step 1: Open Associate with a Hub Menu
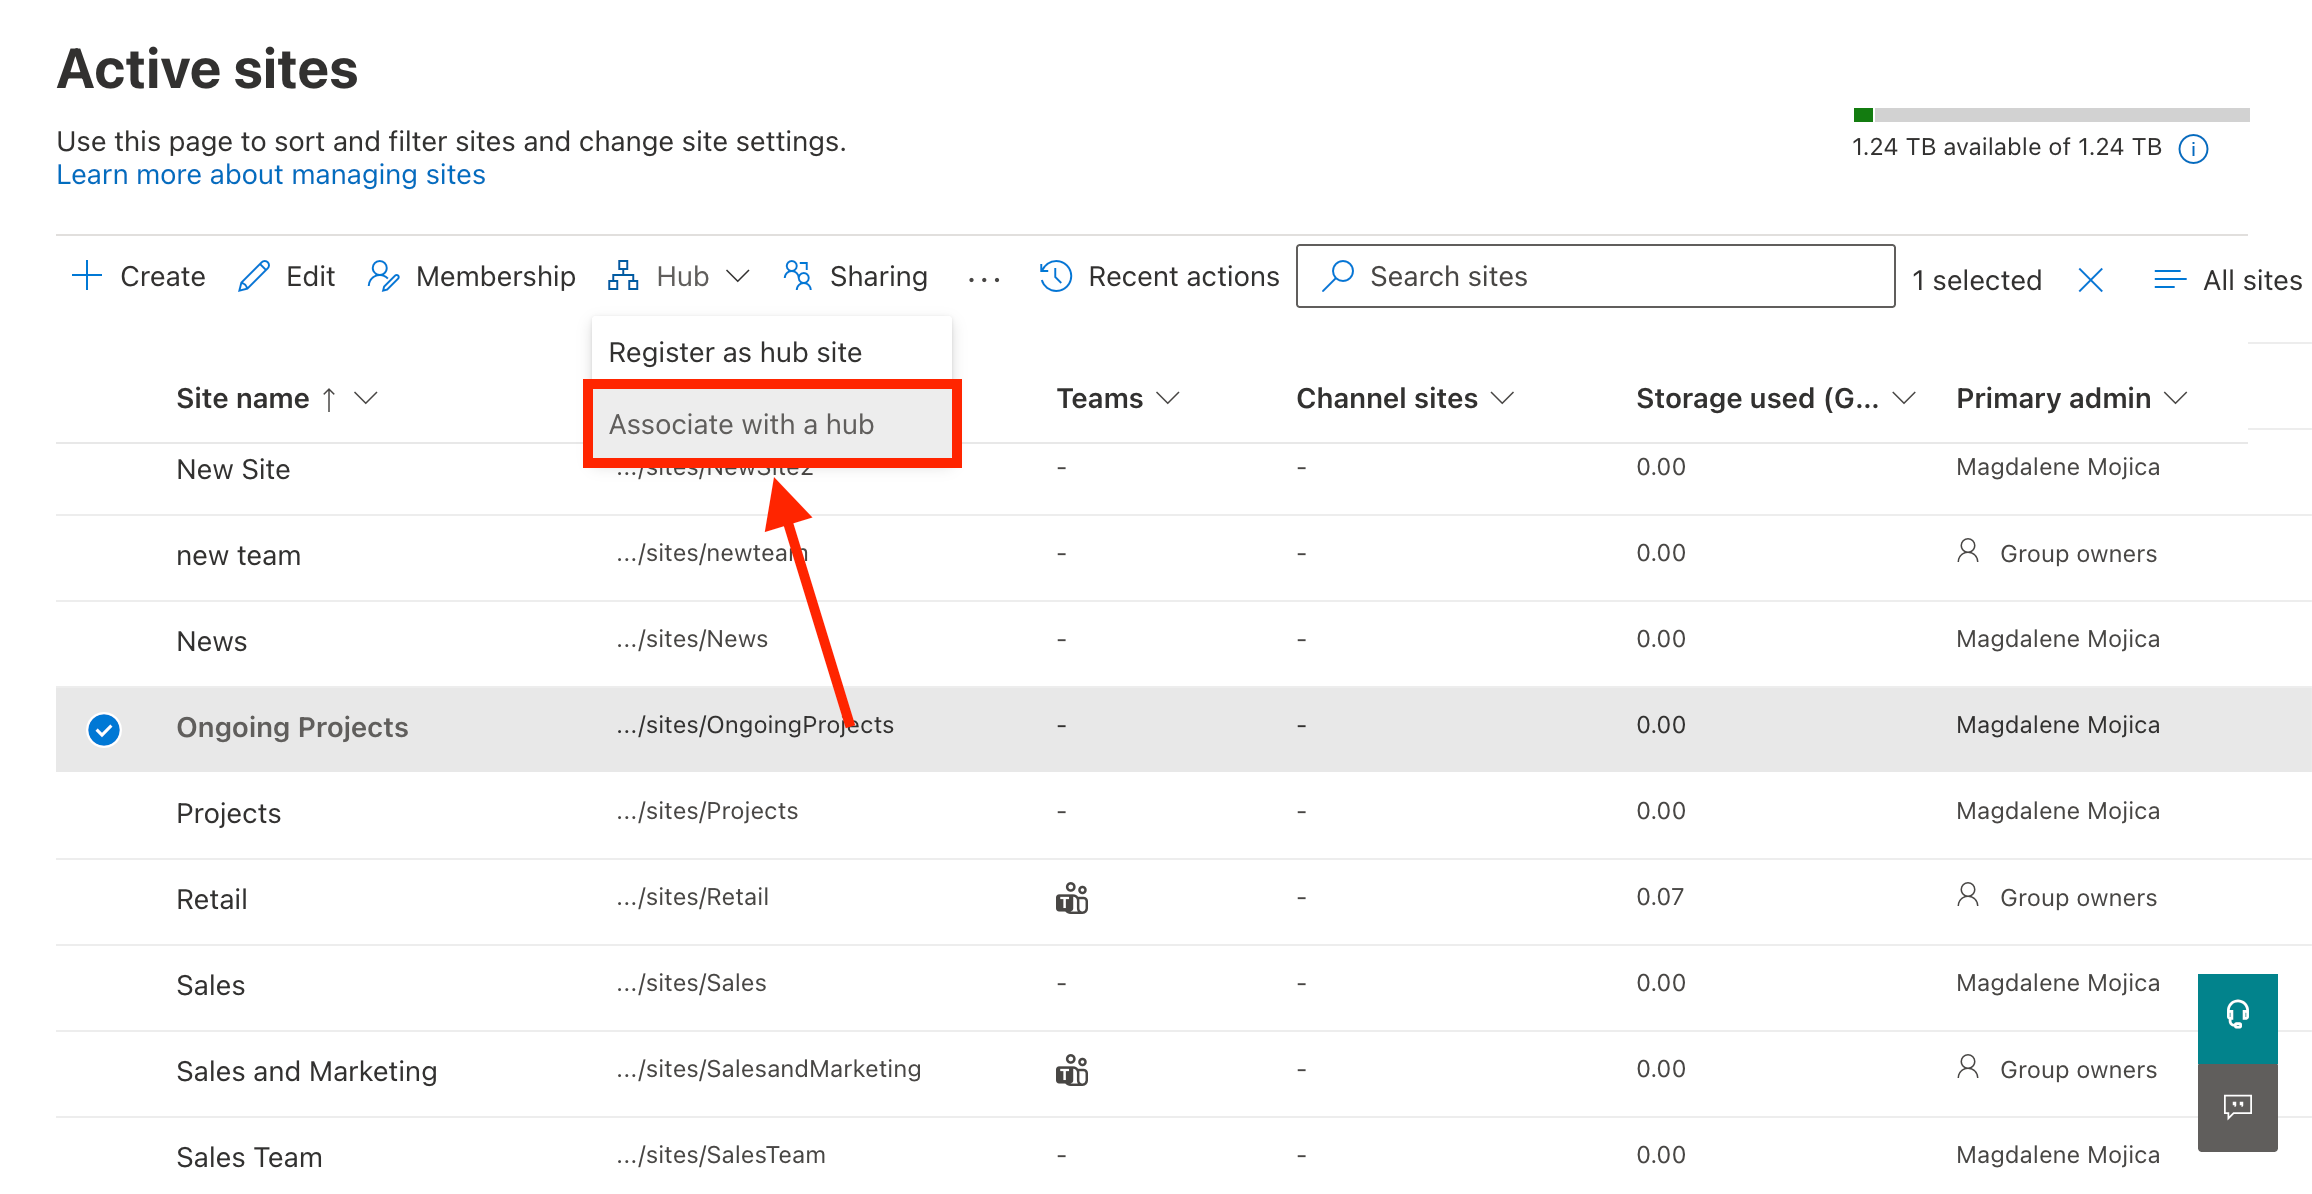
[1] Select the site you want to associate with the hub site and click the [2] Hub drop-down:
Choose Associate with a hub:
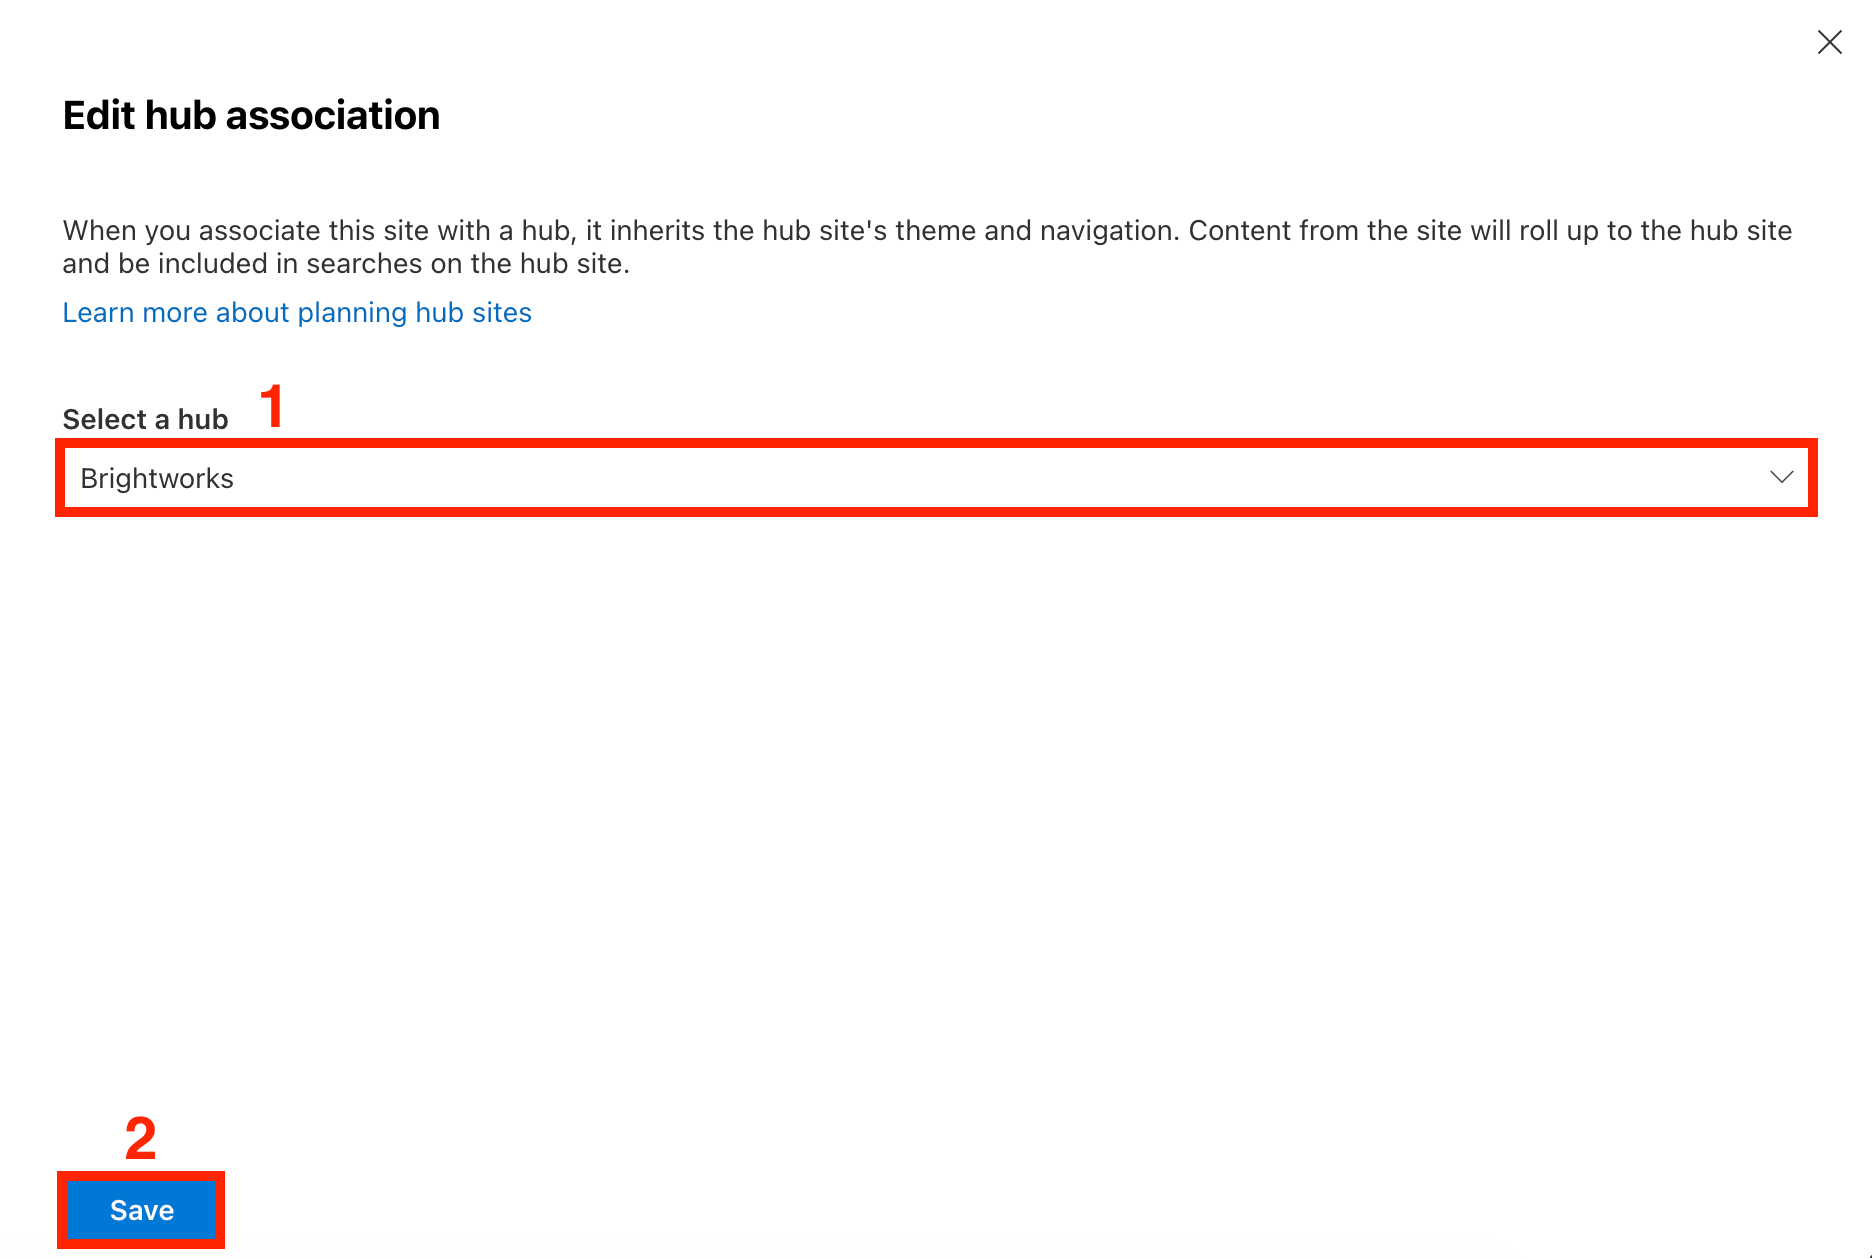
Step 2: Edit hub association
[1] Select the name of the hub you want the site to be associated with. Then, click [2] Save:
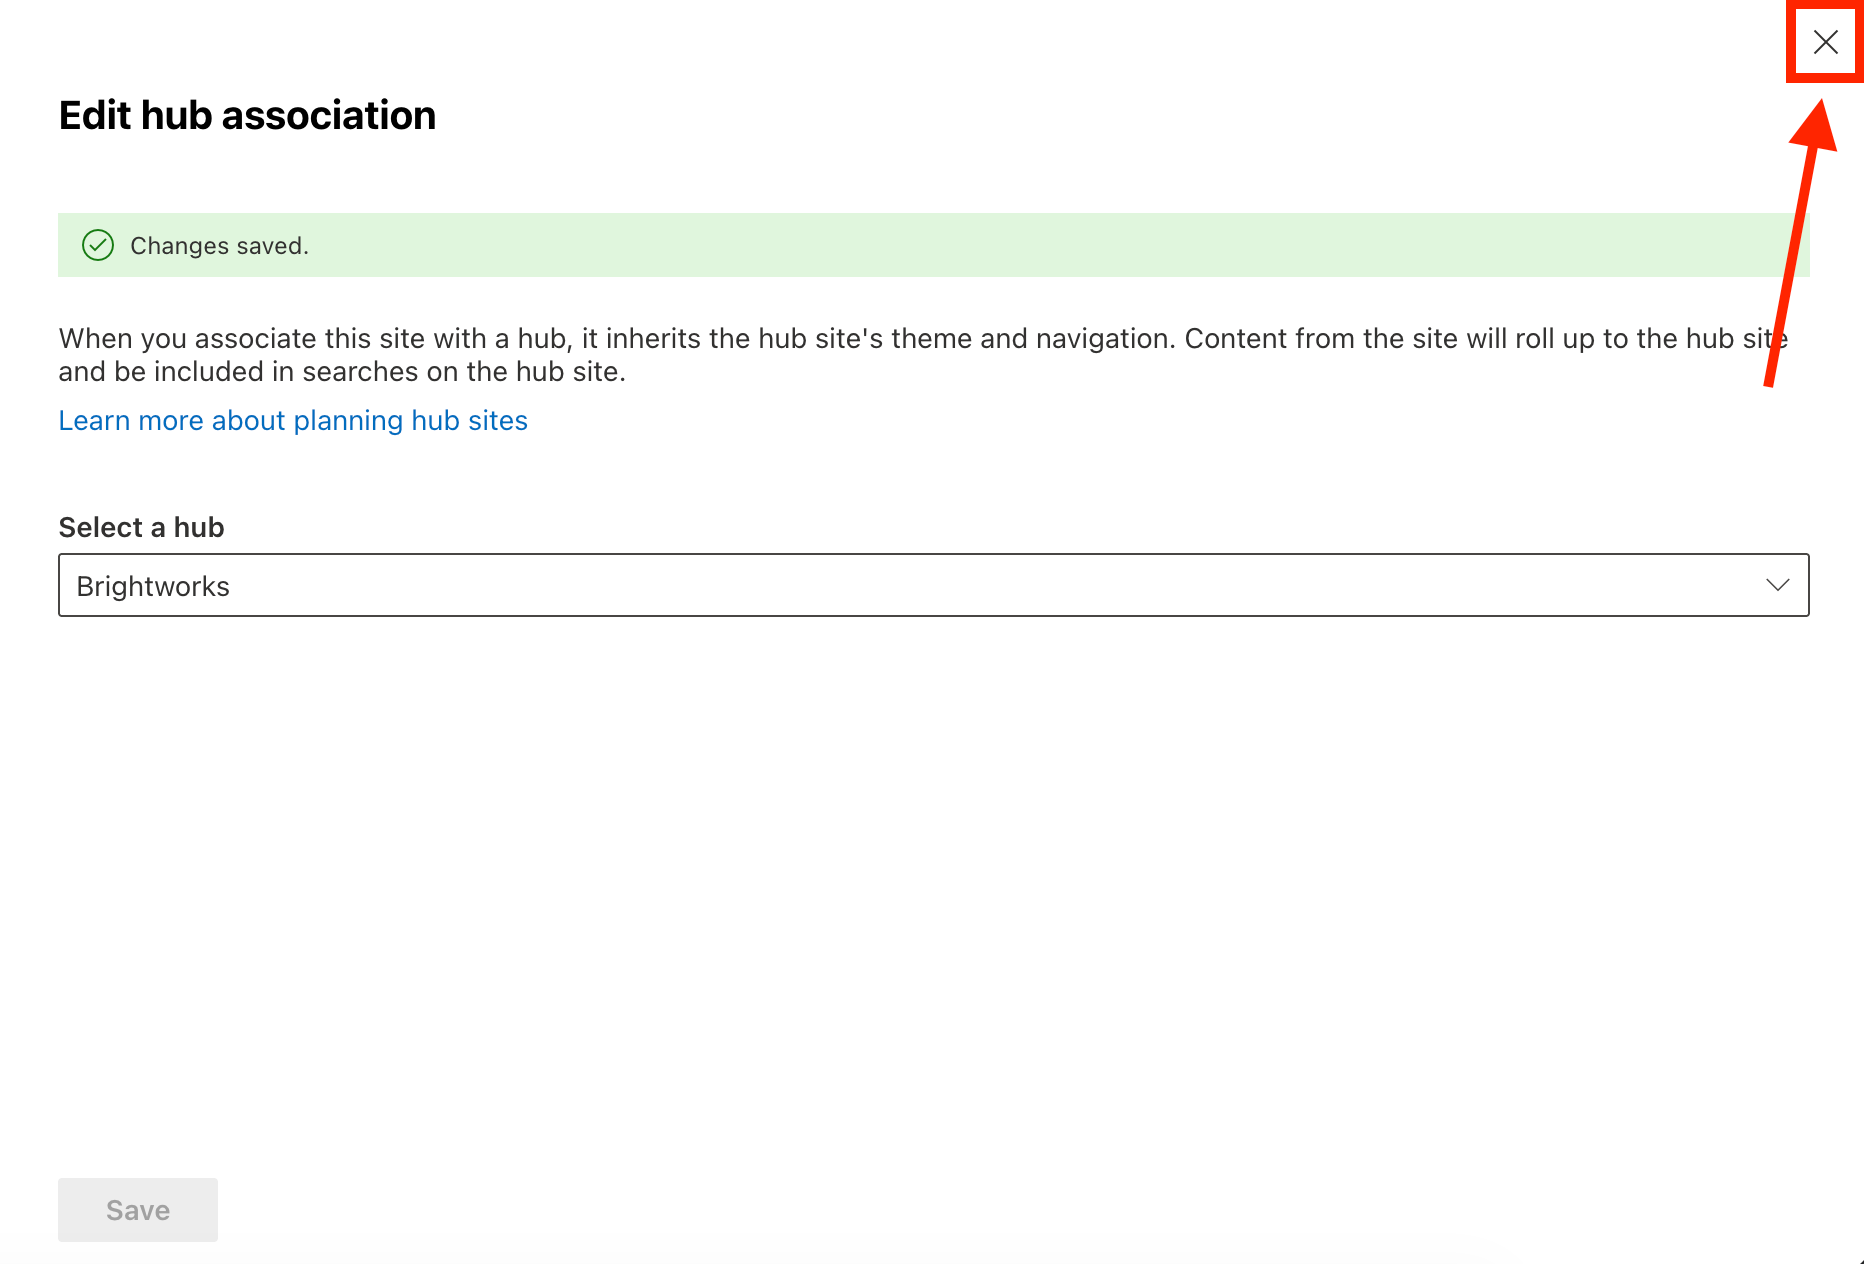
Close the Associate with a hub menu:
Repeat steps 1 and 2 for the other sites you want to associate with the hub site.
Part 3: Edit Hub Site Settings
This section shows you how to add a logo, modify the hub name, and configure other settings for the Hub navigation menu.
Step 1: Open Hub Site Settings
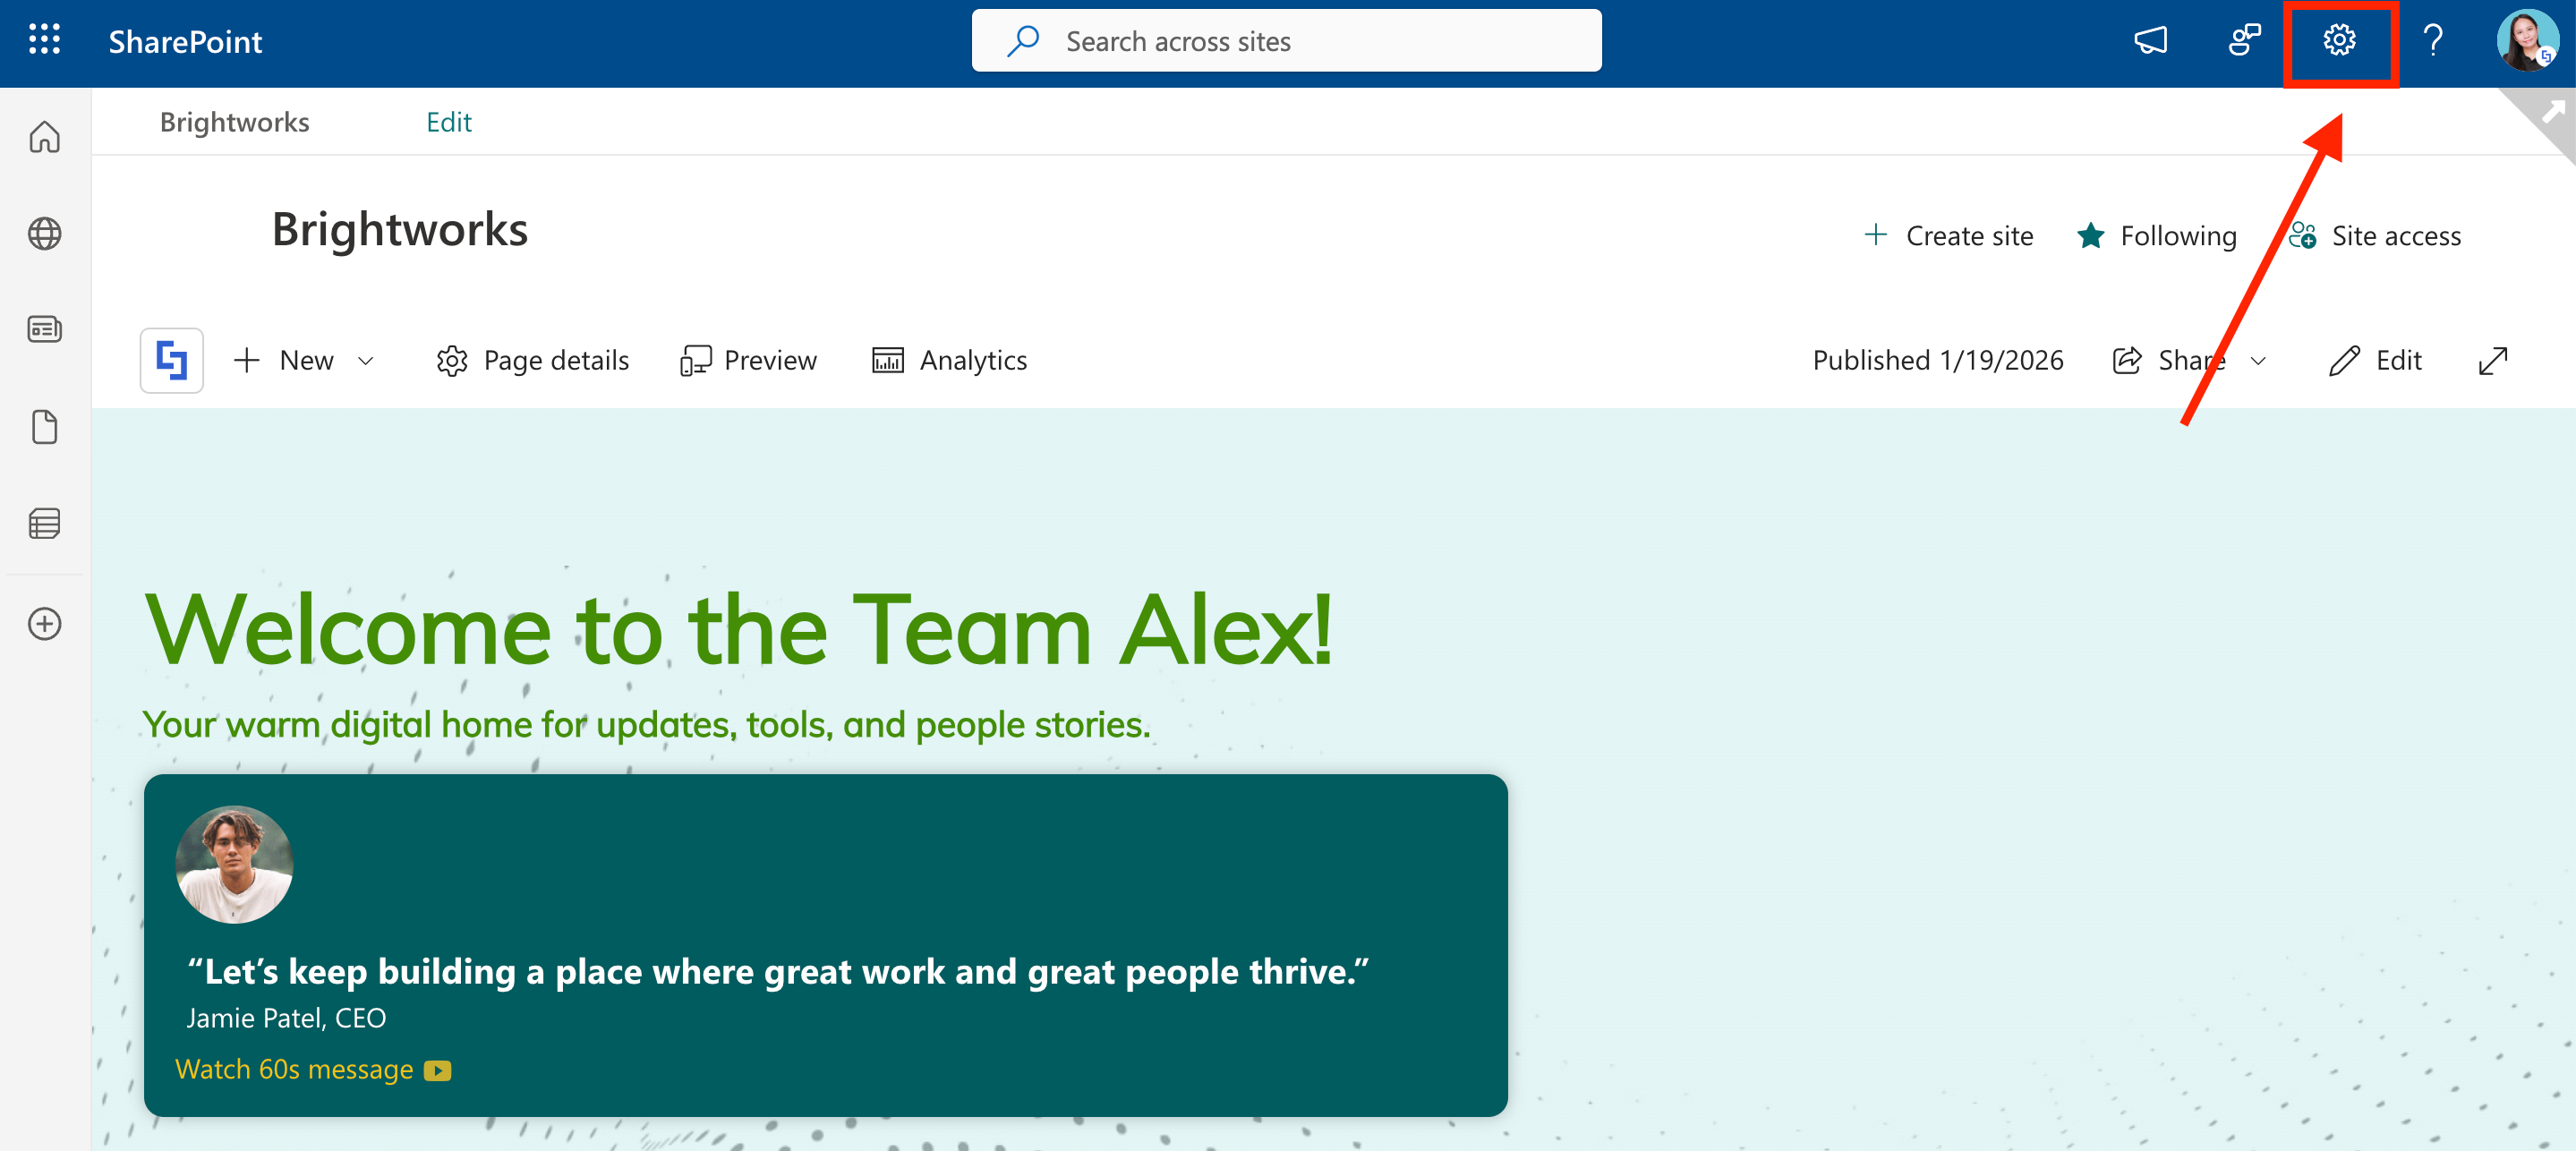
Go to your main Hub site and click the cogwheel icon:
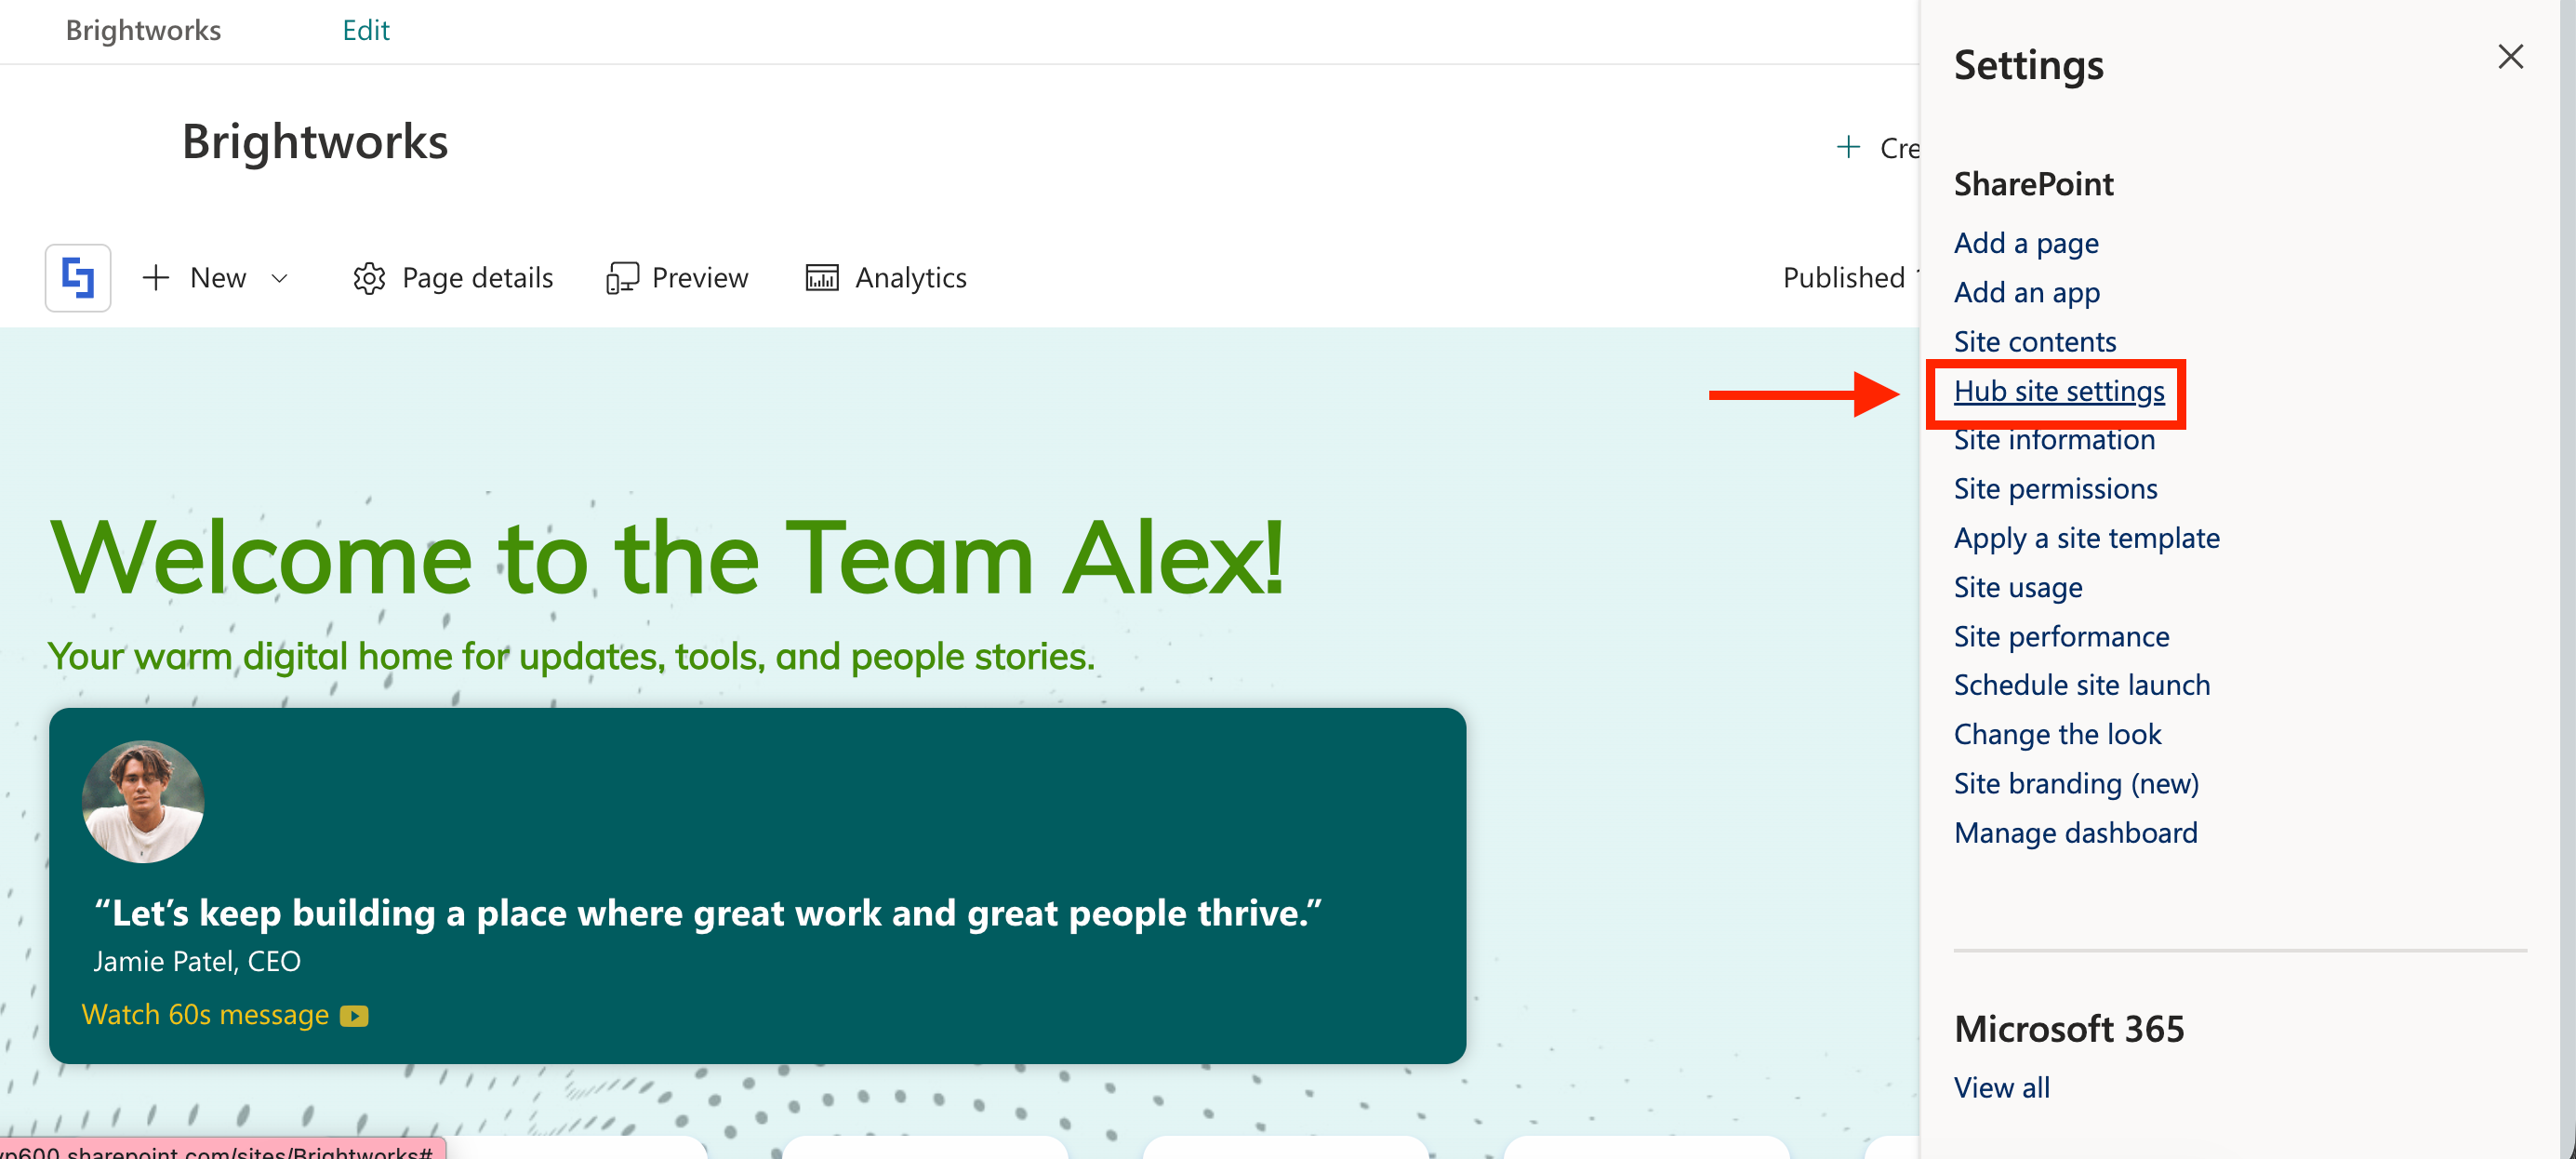
Select Hub site settings:
Step 2: Edit Hub Site
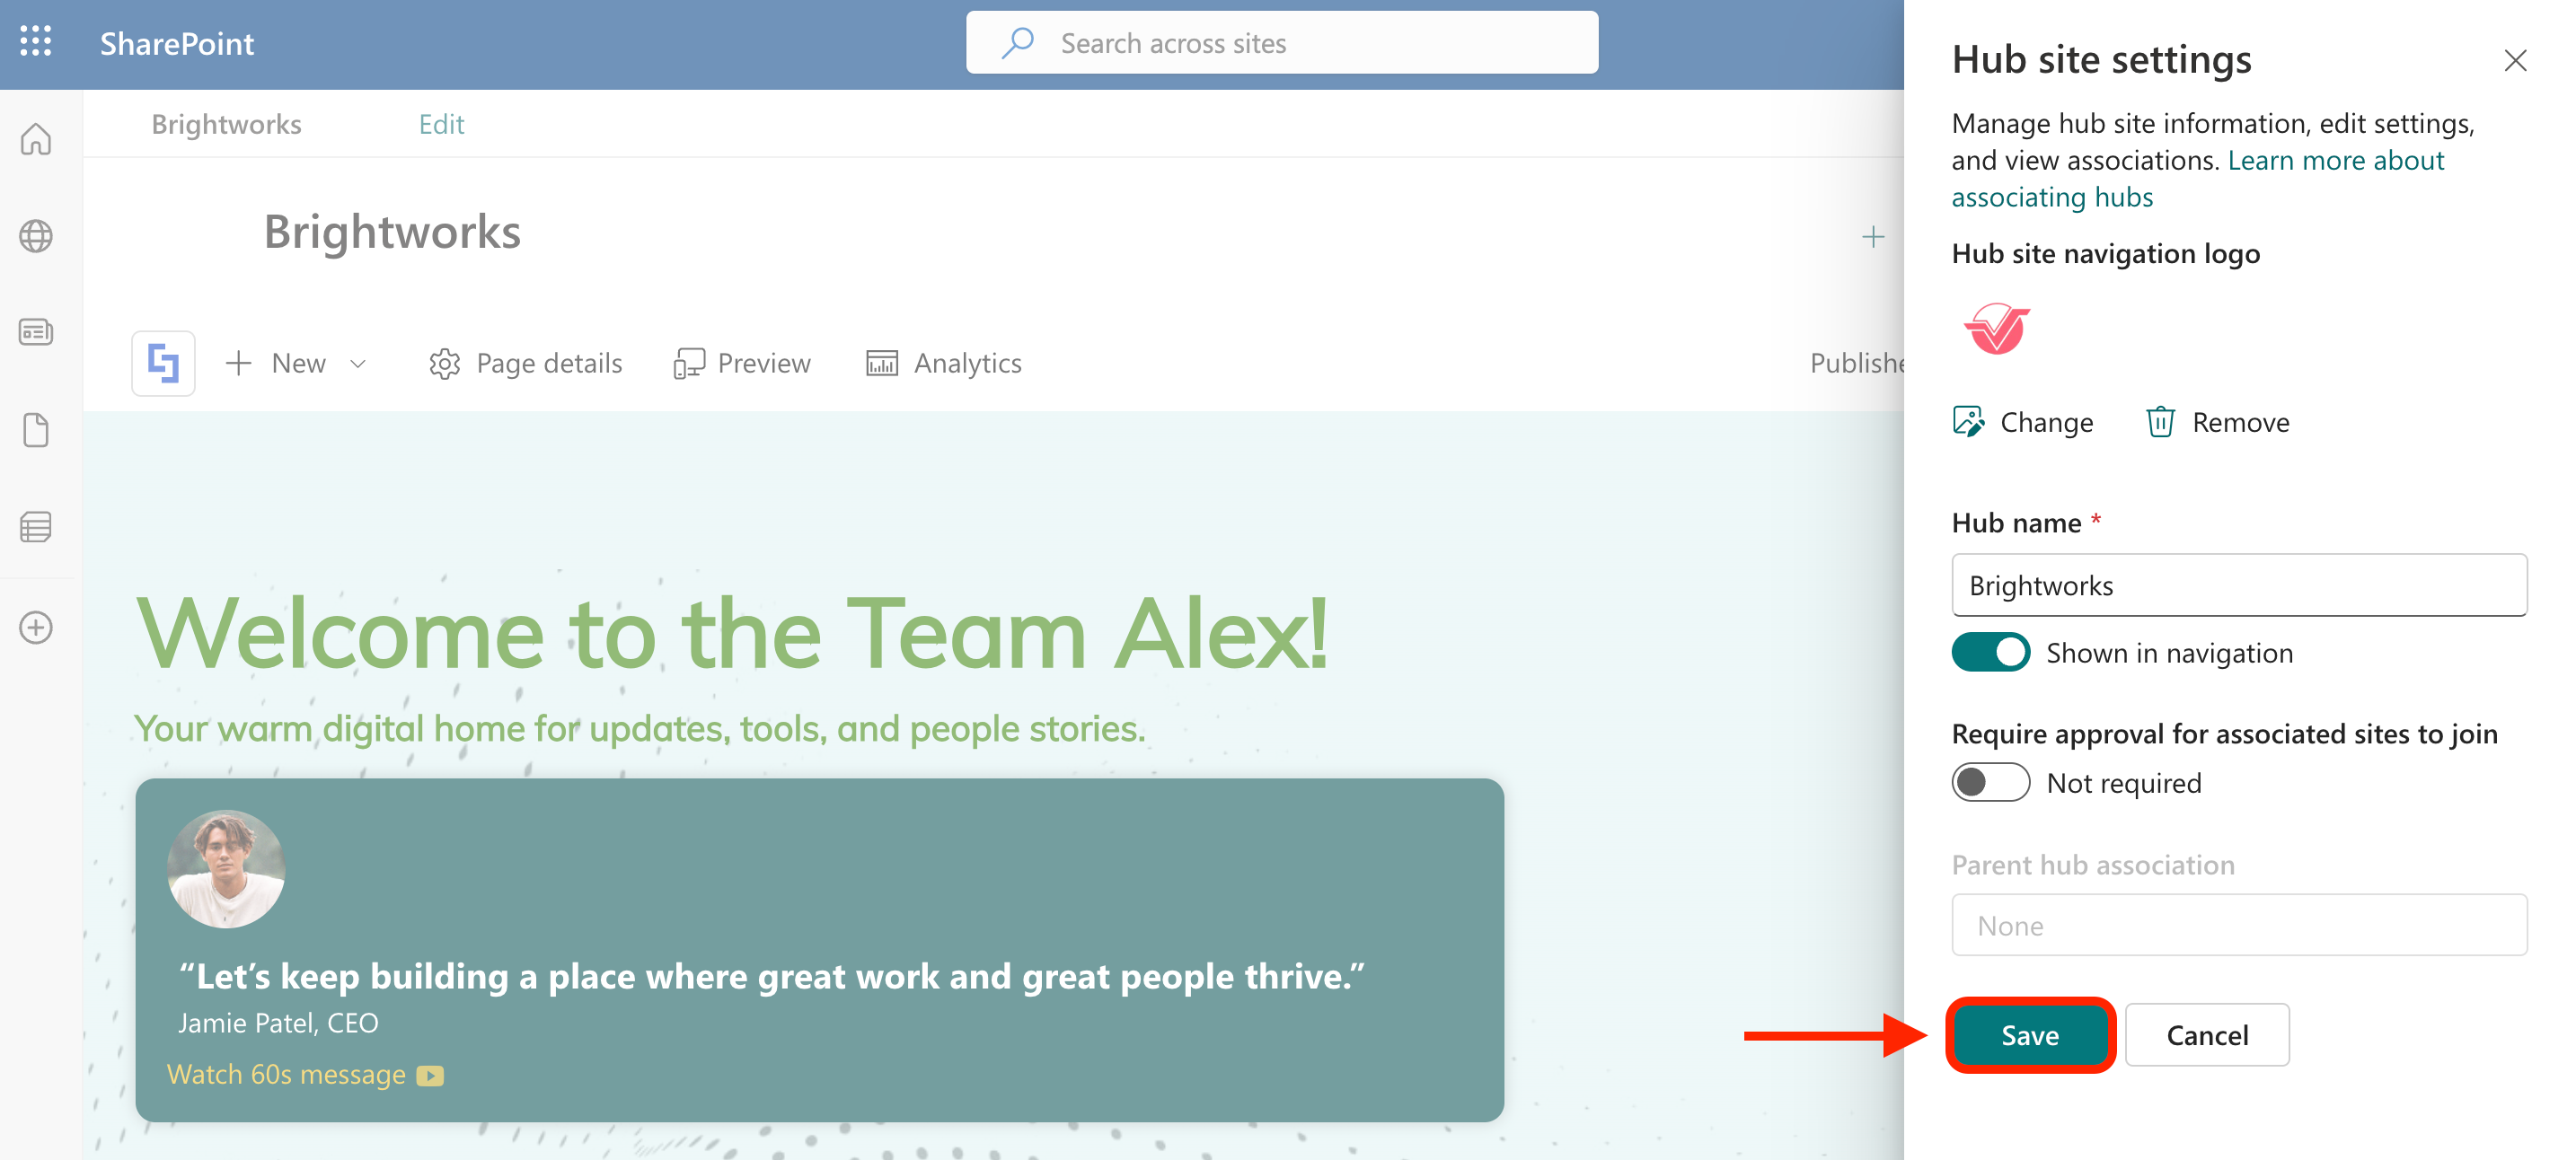
Here, you can add a logo , modify the hub name, or configure other settings. Customize it to your liking:
Save your changes:
That's it! You will see the changes you made in the hub site navigation. You can now proceed to Part 4.
Part 4: Modify the Hub Navigation
This section demonstrates how you can add items to the hub site navigation menu and set up its structure.
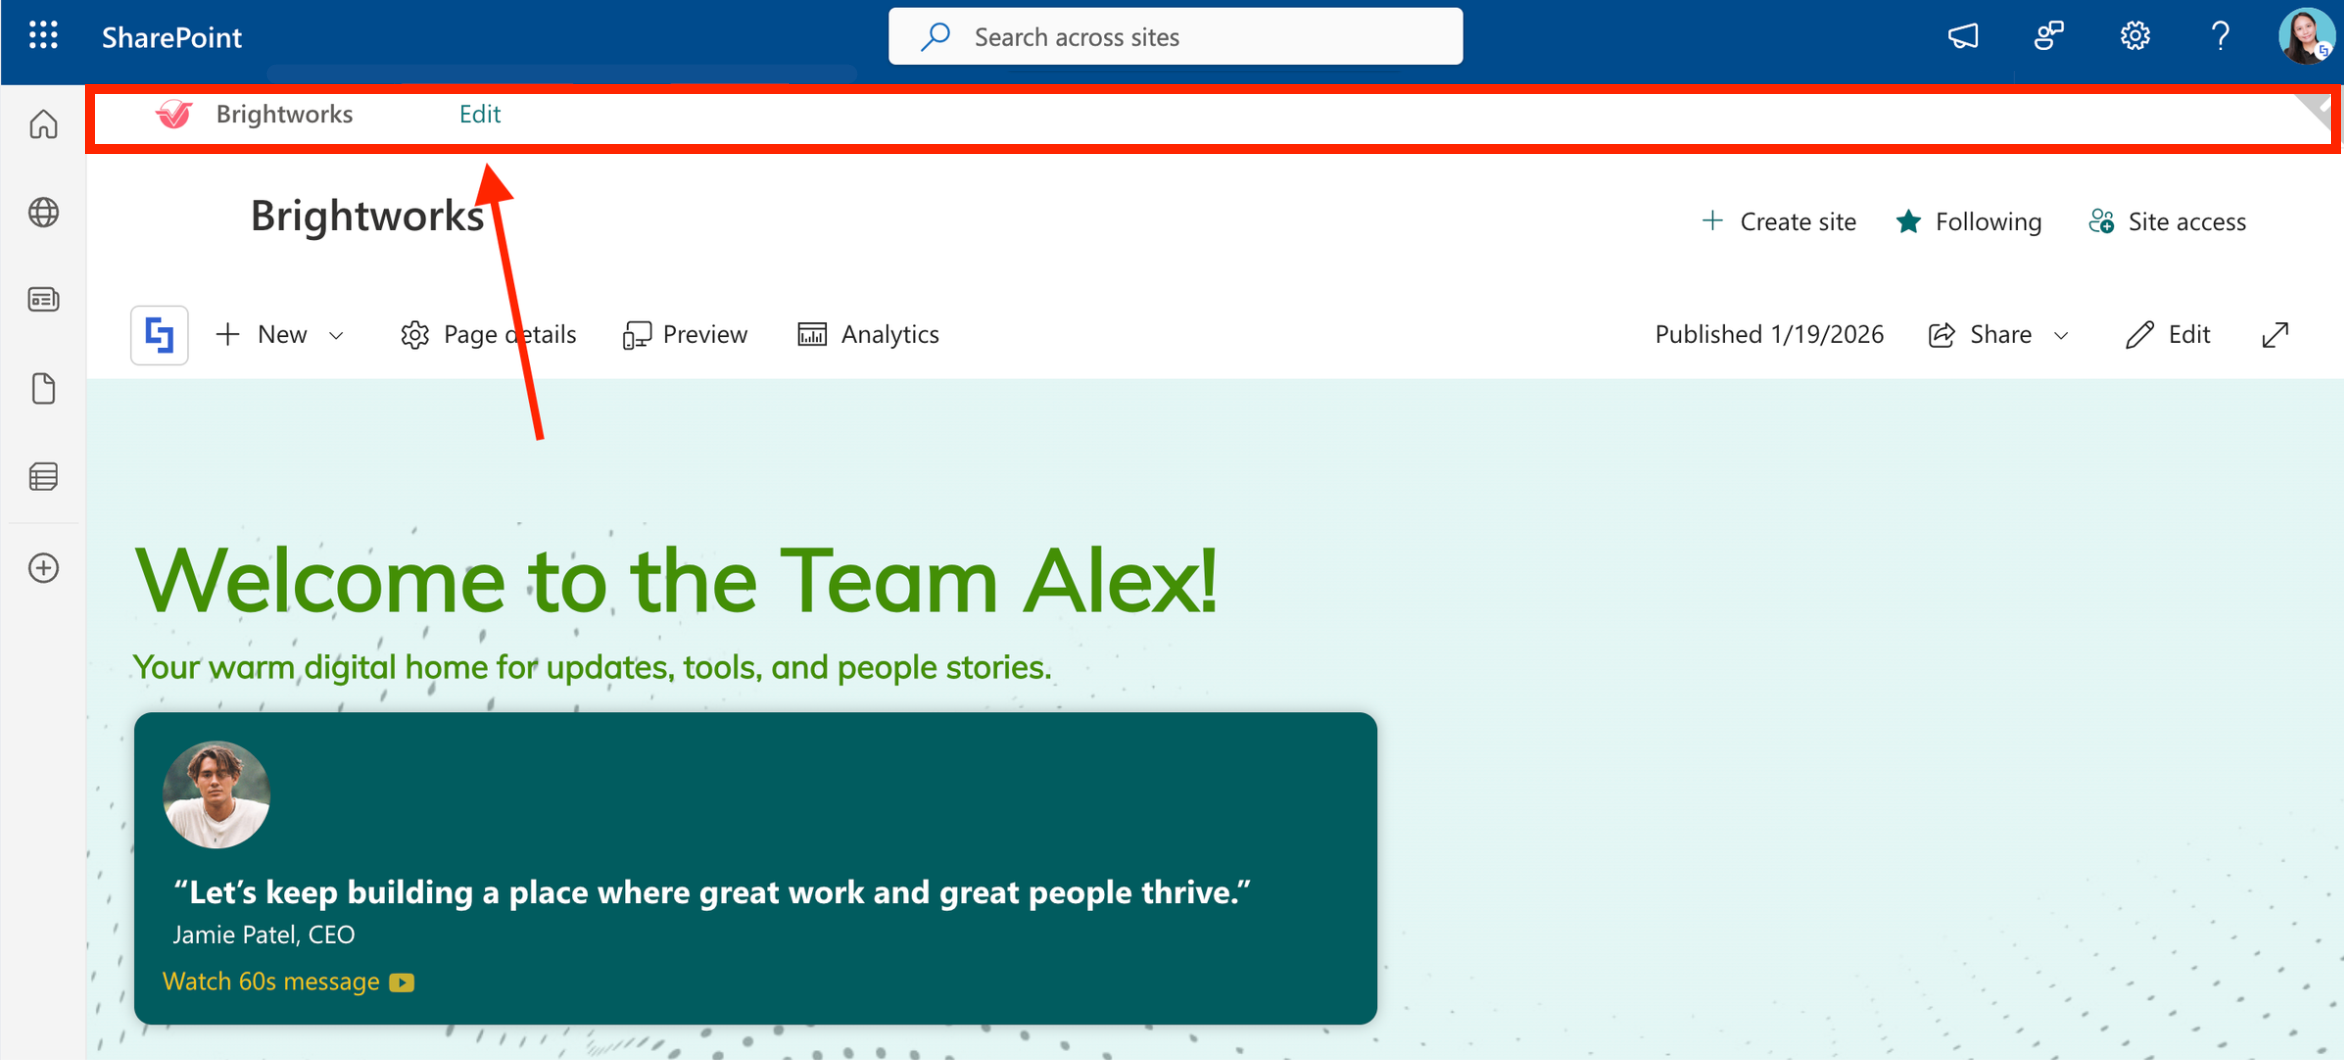
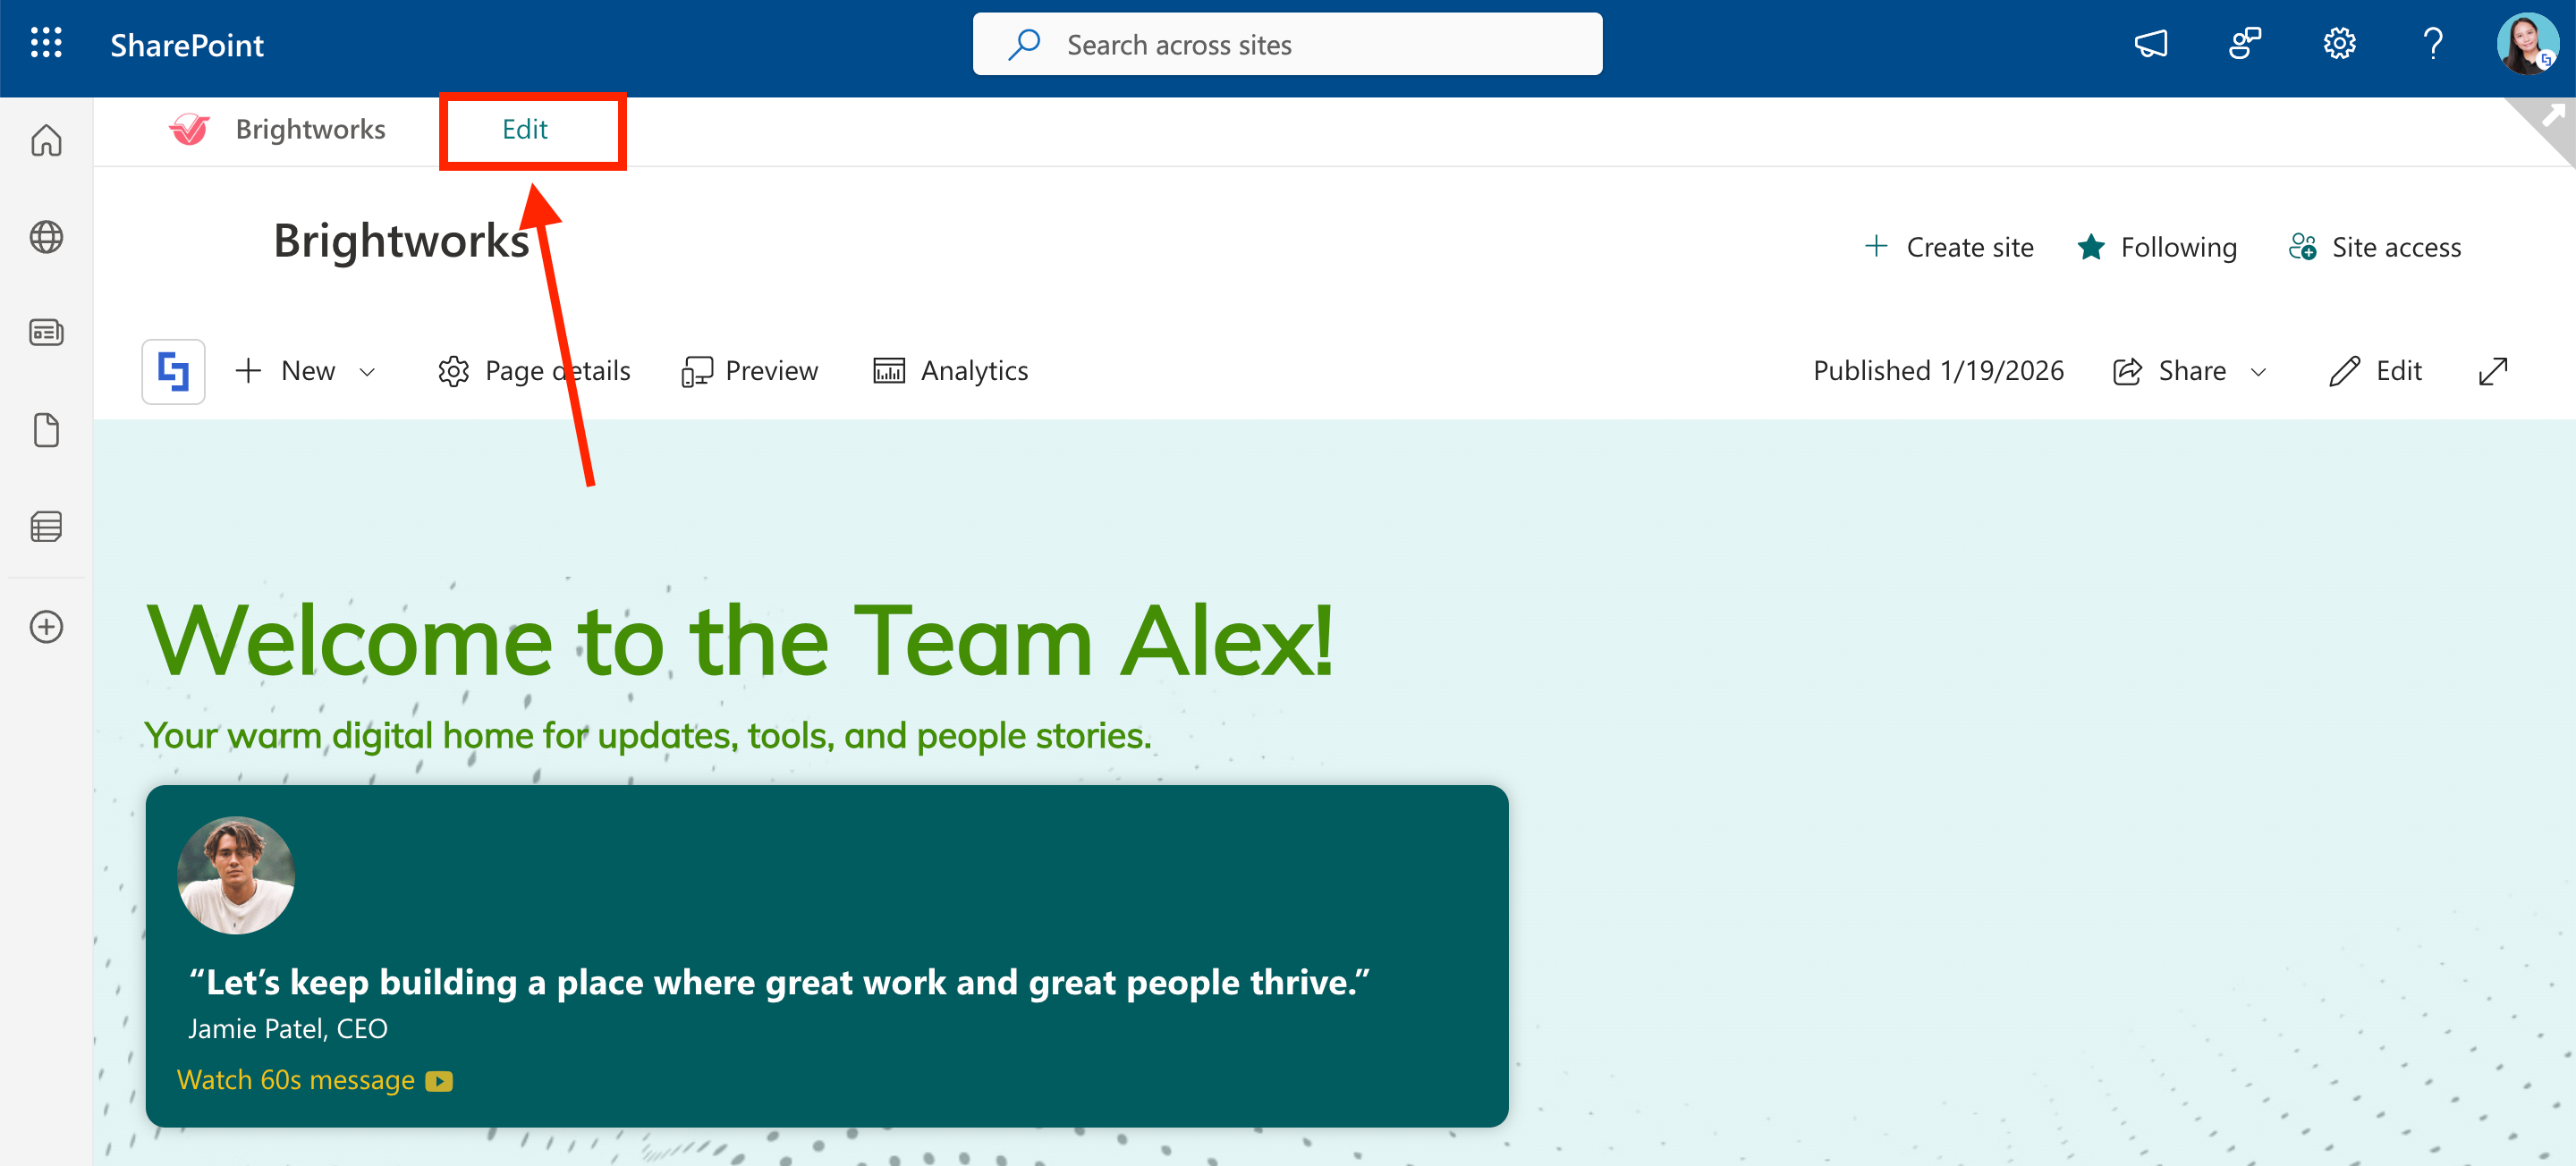
Step 1: Edit the navigation Menu
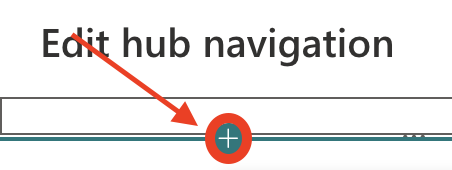
Click Edit:
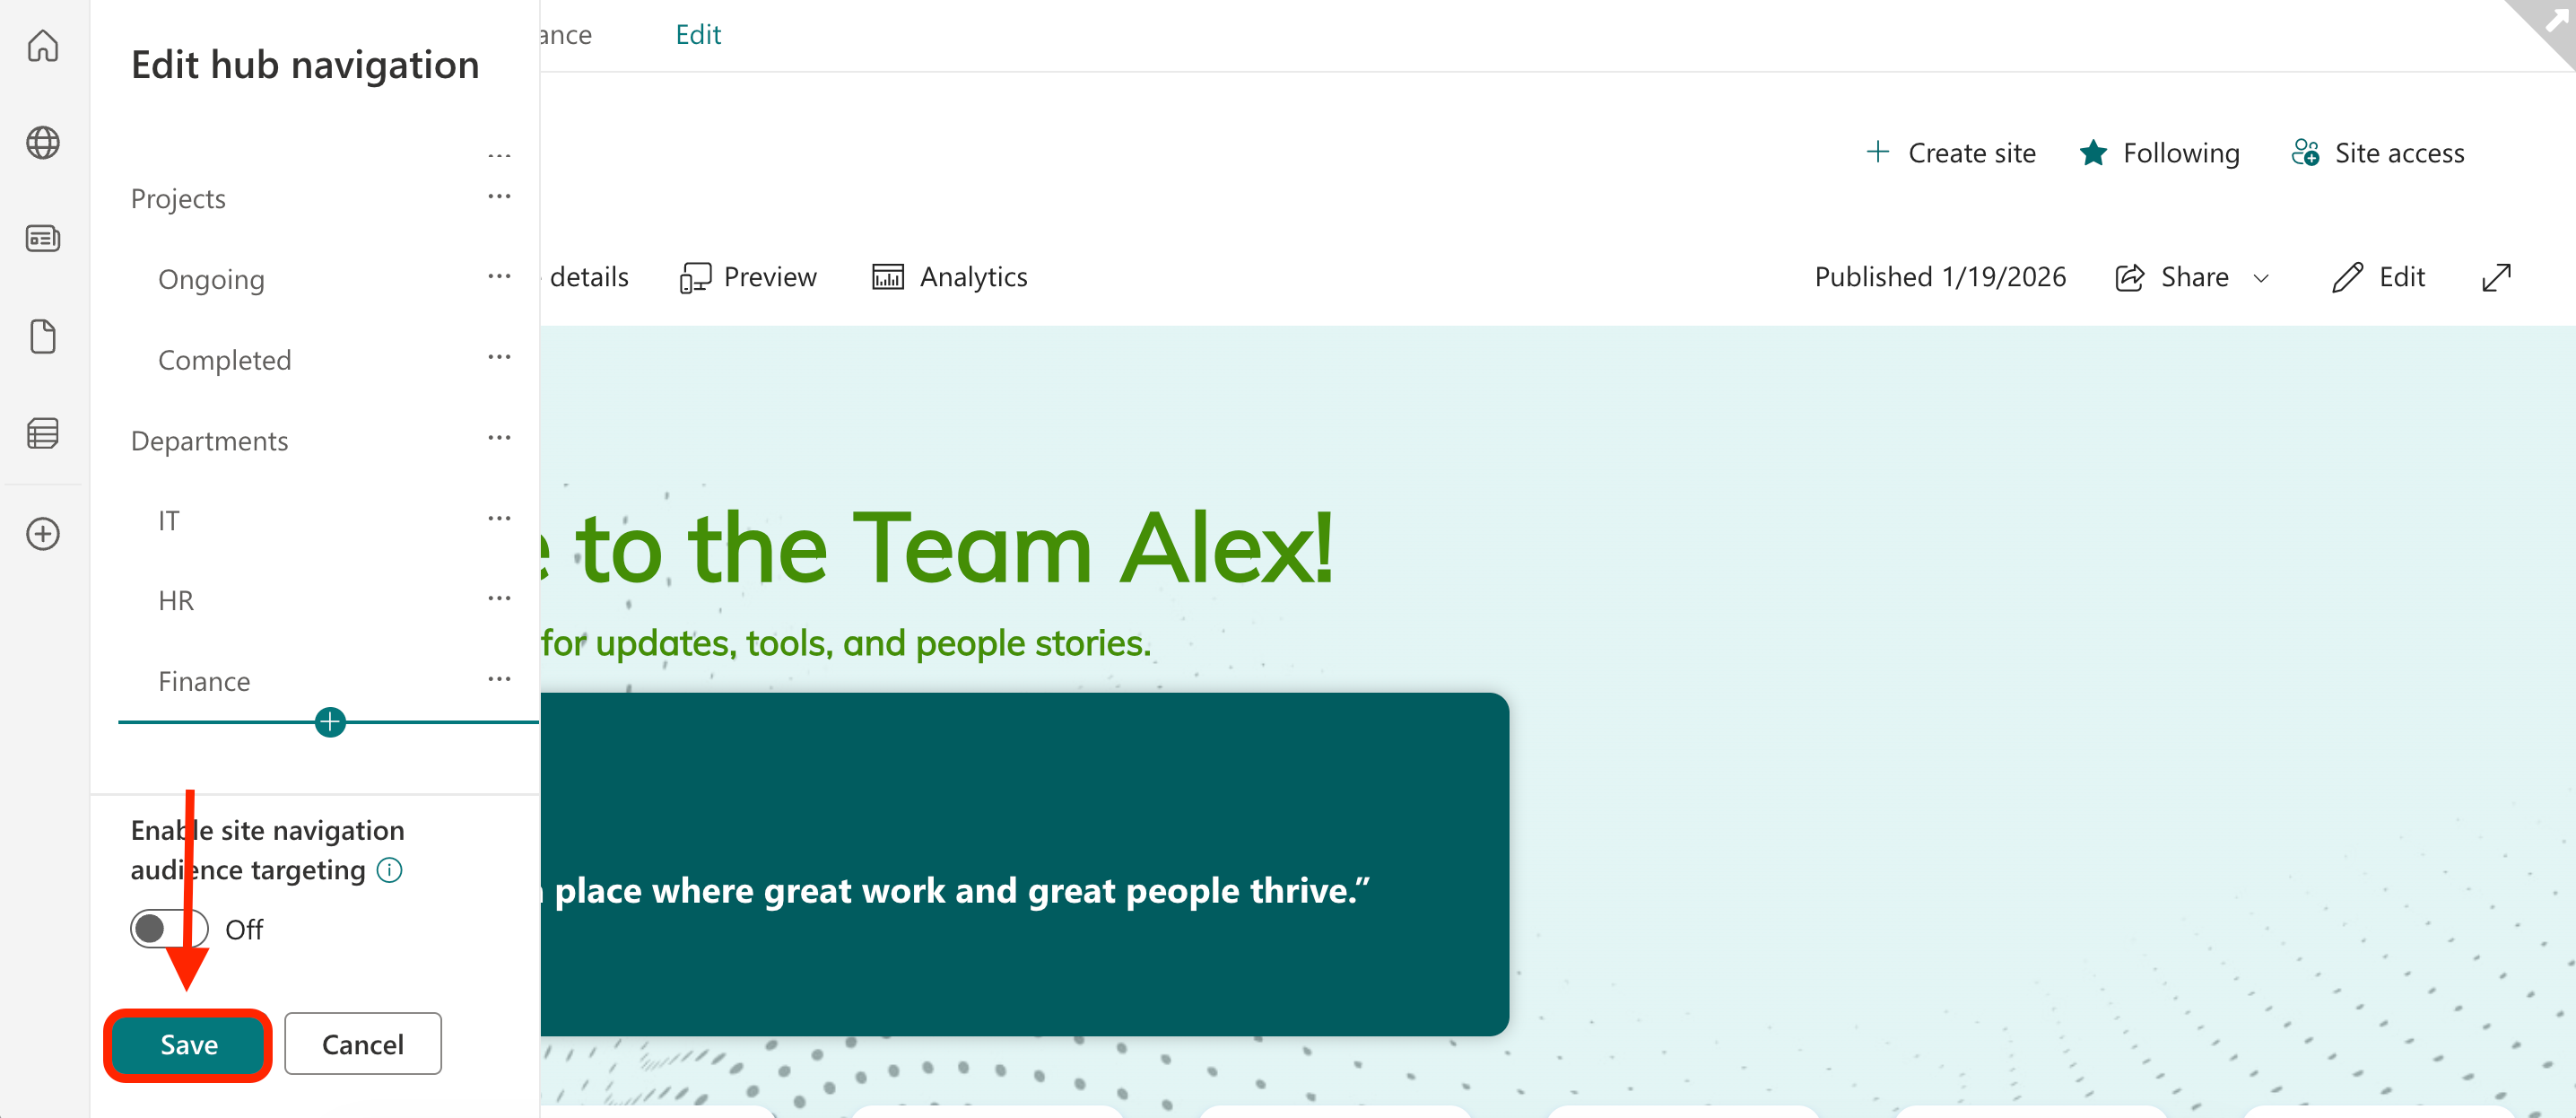
Select the plus icon to add a new navigation item and enter details to configure its settings. You can continue to add more navigation items and customize the menu to your liking:
NOTEFor more details about the features you can edit, check out Hub Navigation Editing Features.
Step 2: Save
Once satisfied, Save your changes:
Congratulations! You now have a functional hub navigation. You may now proceed to Part 5.
Part 5: Enhance the Hub Site Navigation Design
This section shows you how to customize the design of the Hub site
Step 1: Open the Change the Look Menu
Click the cogwheel icon:
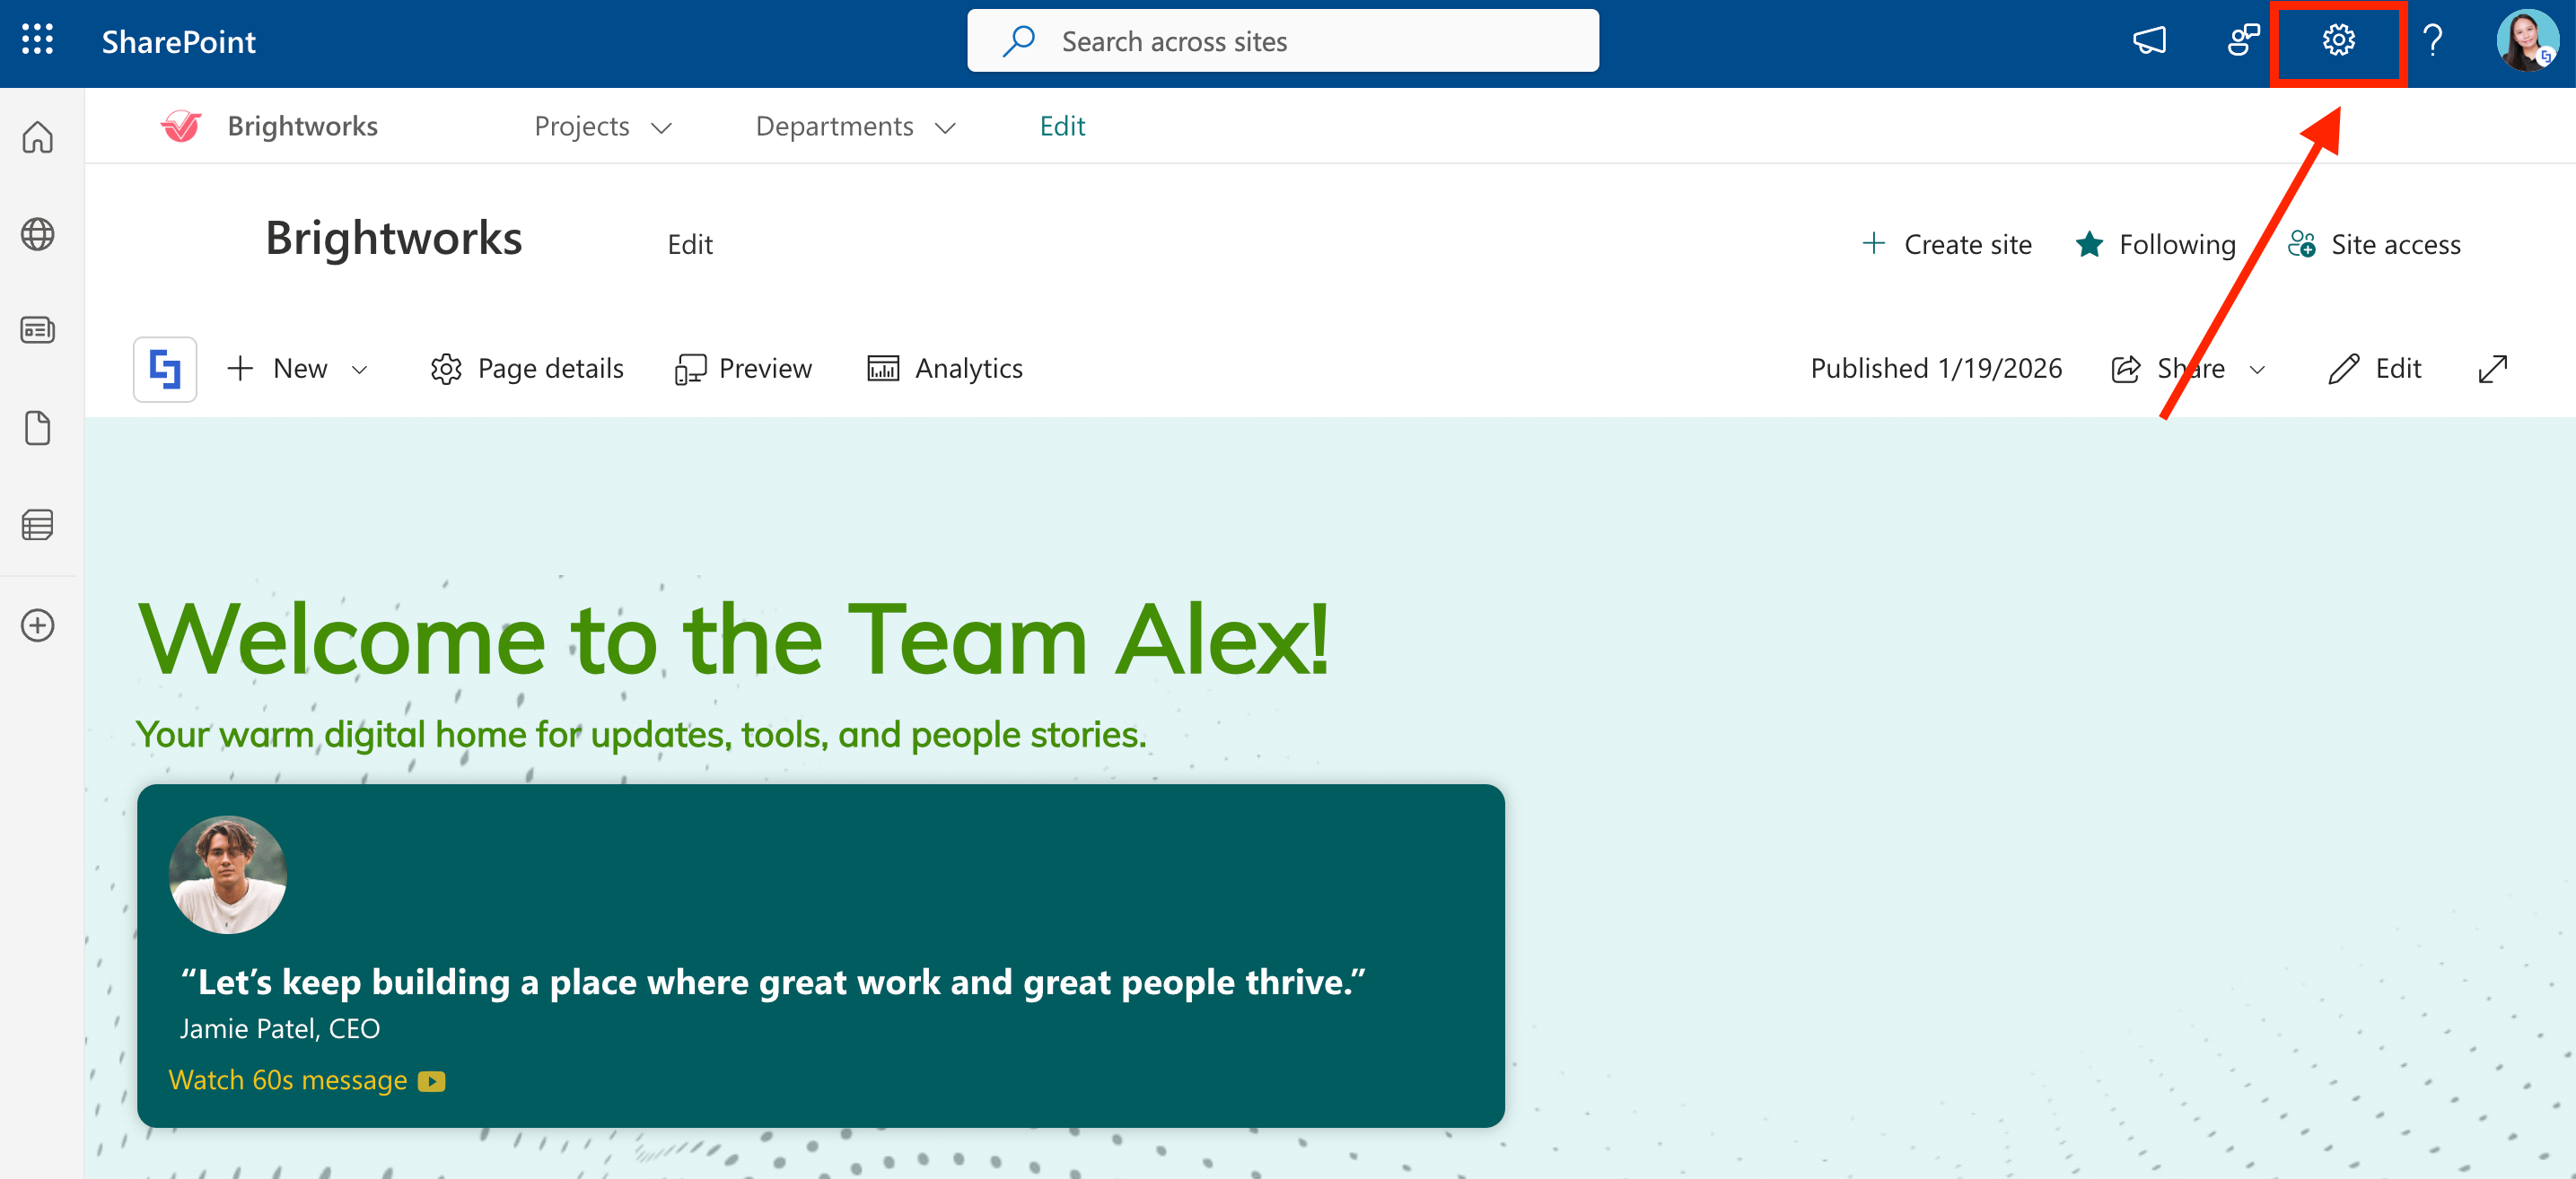
Select Change the Look:

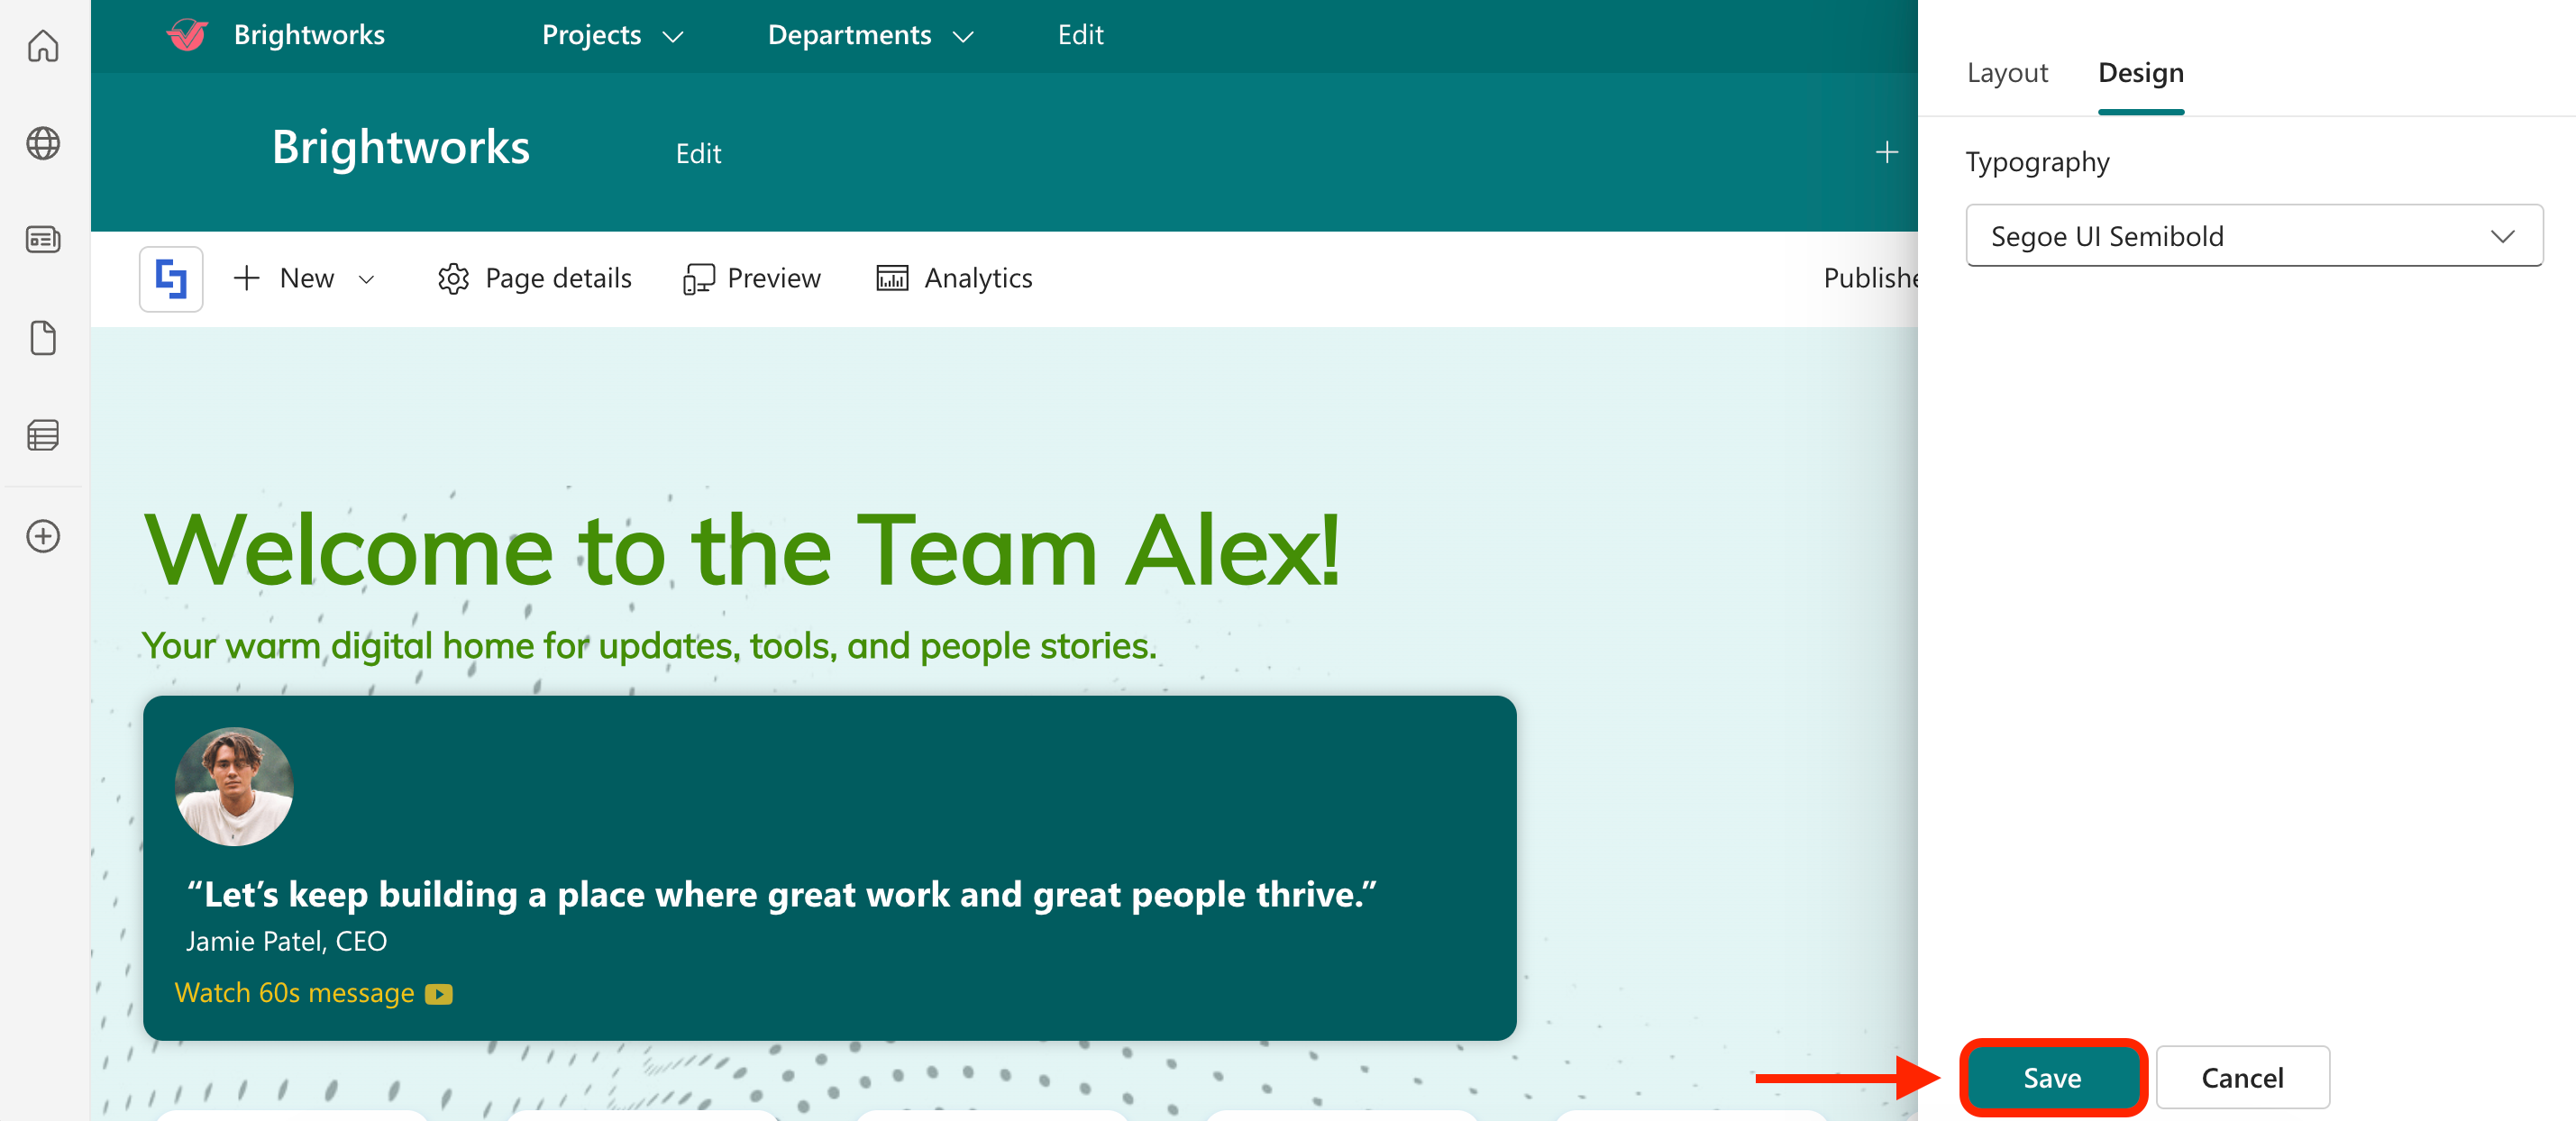
Step 2: Customize the design
Customize the design of the hub navigation as you like:
Step 3: Save
Save your changes:
Great work! You've successfully created a Hub navigation menu. This navigation will be shown across all sites associated with the main hub site, making it easier for your page viewers to go to the resources they need.
NOTEWhen you associate a site with a hub, SharePoint automatically pushes the hub's theme (colors and branding) to the associated site to ensure a consistent "family" look. However, if you want a specific site to have its own unique identity, you can override this by manually changing the theme of an associated hub site.
Bonus: Brand Your Hub Navigation
Your Hub navigation menu should feel like a natural extension of your site while reflecting your company's unique branding. Unfortunately, SharePoint's built-in design options for hub navigation are somewhat limited. Good thing, ShortPoint Theme Builder provides an excellent solution!
With ShortPoint Theme Builder, you can customize your hub navigation in several ways:
- Hide unnecessary elements from your SharePoint Header to keep users focused on what matters most: your hub navigation.
- Adjust the size to match your design preferences and create the perfect visual balance:
- Customize positioning, hover effects, and colors to align with your brand identity:
- Experiment without limitation. All the edits you make while in Theme Builder can't be seen by your page viewers. They'll only see it once you publish your pages.
These are just a few of the many customization options available to help you create a polished, professional hub navigation experience. Ready to try it out? If you're already a ShortPoint Designer, you can check out these articles to get you started:
- Getting Started with ShortPoint Theme Builder - Modern SharePoint Sites (Part 1)
- Getting Started with ShortPoint Theme Builder - Modern SharePoint Sites (Part 2)
- How to Adjust the Size of the Hub Navigation Logo
If not, no need to worry! You can experience this powerful tool too. Just sign up for a FREE 15-day trial with us or talk to our design experts. They can surely help you create a better design for your SharePoint users.
Hub Navigation Editing Features
Here are the features you can edit while customizing the hub navigation:
 | Add item icon | allows you to add a new item to the navigation menu. Take a look at the table below to see what you can edit when you select the add item icon. |
 | Drag icon | allows you to rearrange the items. |
 | Ellipsis icon | allows you to further edit the item. |
Add and Edit Item Options
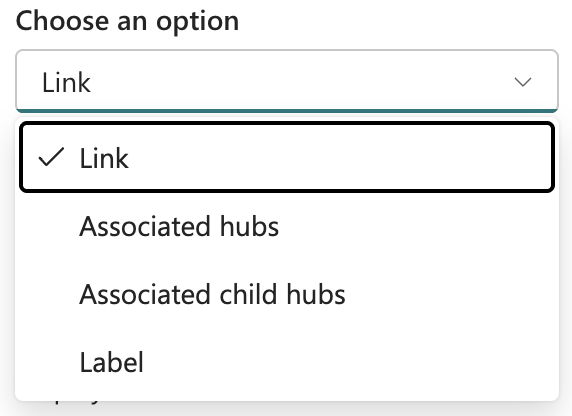 | Choose an option | Choose how you want the item to appear. It has the following options:
|
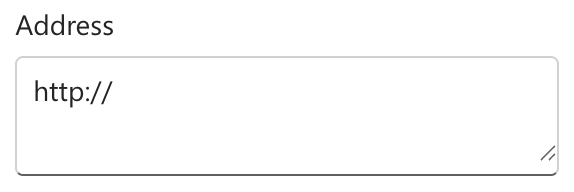 | Address | allows you to add the URL destination. This only available when you select the Link option. |
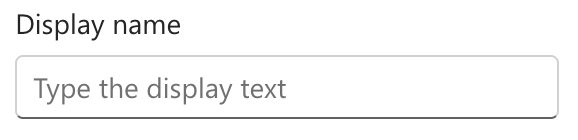 | Display Name | allows you to assign a display name. |
 | Open in a new tab | when enabled, the item will be opened in another tab. |
Ellipsis Icon Options
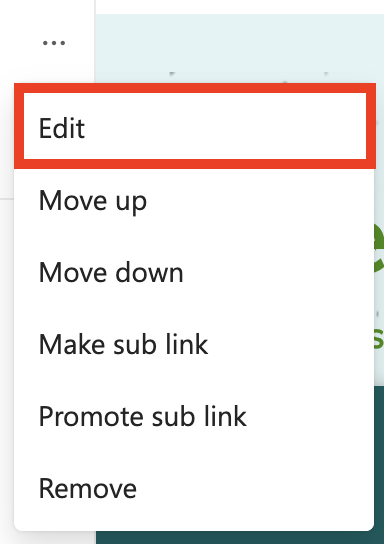 | Edit | allows you to edit an item. |
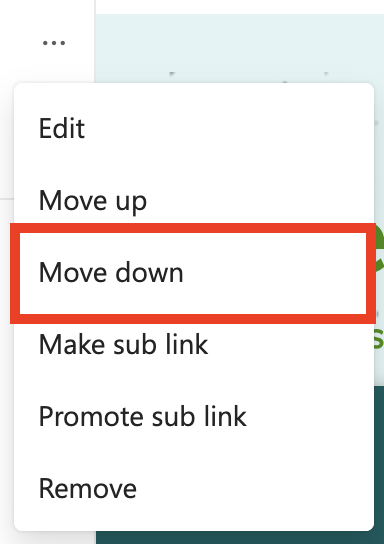 | Move down | allows you to move an item upward. |
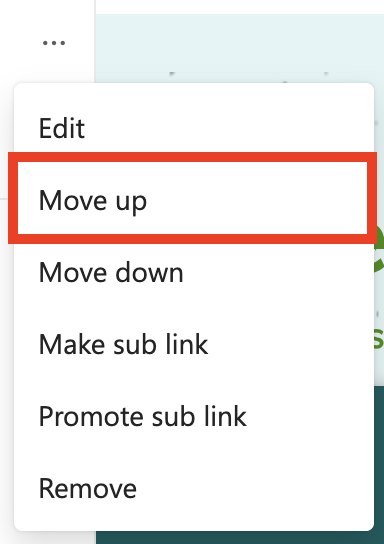 | Move up | allows you to move an item downward. |
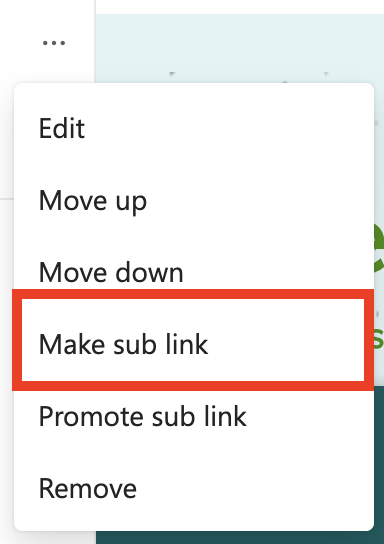 | Make sublink | allows you to turn an item into a sublink. |
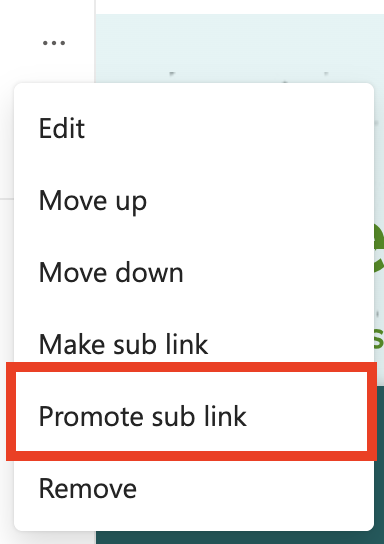 | Promote sublink | allows you to promote an item. |
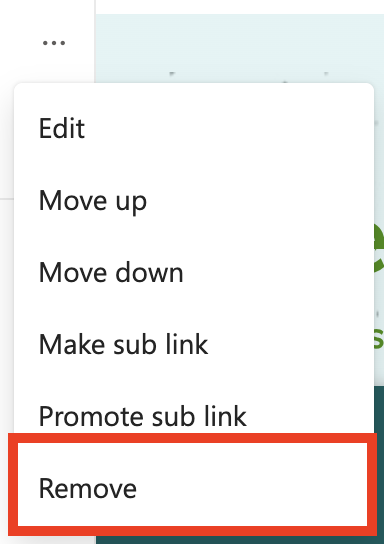 | Remove | allows you to delete an item. |
Useful Tips for Hub Navigation
Getting hub navigation set up is one thing, but making it truly useful requires a bit of strategy. Here are some tips from the trenches:
Keep it simple and focused
Resist the urge to include everything in your hub navigation. The best hub navigation menus are lean and focused on the most important, frequently accessed resources. If people see too many options, they often end up more confused than when they started. Aim for five to seven top-level items at most.
Use clear, descriptive labels
Your navigation labels should be immediately understandable to your audience. Avoid internal jargon, acronyms, or clever names that only insiders would understand. "Employee Resources" is better than "EmpRes Central," and "Submit a Request" beats "Ticketing Portal" for most audiences.
Test with real users
Before rolling out your hub navigation to everyone, test it with a small group of actual users. Watch how they interact with it and ask for honest feedback. You might find that what made perfect sense to you is confusing to others, or that you've missed an important resource everyone needs.
Keep it maintained
Hub navigation isn't a "set it and forget it" feature. As your organization changes, your navigation should too. Remove links to outdated resources, add new ones as needed, and periodically review whether your structure still makes sense. Assign someone the responsibility of keeping things current.
Conclusion
Hub navigation is one of those SharePoint features that seems simple on the surface but can really transform how people work with your content. Take the time to plan it thoughtfully, keep it maintained, and you'll create a much better navigation experience for everyone in your organization. Properly organizing your hub site navigation with clear navigation labels, sublinks, and consistent branding ensures users can easily navigate through associated sites, reducing the number of clicks and improving overall usability.
Frequently Asked Questions
Who can edit hub navigation?
Only hub site owners can edit the hub navigation. If you're an owner of an associated site but not the hub site itself, you won't be able to modify the hub navigation. You can, however, still customize your own site's local navigation.
Will changing hub navigation affect all associated sites immediately?
Yes, changes to hub navigation are reflected across all associated sites almost instantly. This is actually one of the great advantages; you can update navigation in one place and have it propagate everywhere. Just be aware that there's no "draft" mode, so make sure your changes are ready before you save.
How many links can I add to the hub navigation?
While there's no hard technical limit, Microsoft recommends keeping your navigation manageable. Too many links defeat the purpose of easy navigation. Practically speaking, you'll want to stay under ten top-level items to keep things user-friendly.
Can I link to external websites in hub navigation?
Absolutely. Hub navigation can include links to any URL, whether it's within SharePoint or an external site. This is useful for linking to commonly used tools, partner portals, or other resources your team needs.
What happens when I disassociate a site from a hub?
When a site is removed from a hub, it immediately loses the hub navigation. The site's own local navigation remains unchanged. If you later re-associate the site with the hub, the hub navigation will reappear.
Can I have different hub navigation for different audiences?
Not directly through the standard hub navigation feature. Hub navigation is the same for everyone who visits sites associated with that hub. However, you can use audience targeting on individual links within the navigation to show certain links only to specific groups. This requires some additional configuration, but can be quite powerful.
How is hub navigation different from global navigation?
Global navigation appears across all sites in your tenant and is typically used for organization-wide resources. Hub navigation is specific to a hub and its associated sites, making it more focused on a particular department, division, or set of related projects. Many organizations use both: global navigation for company-wide resources and hub navigation for division-specific content.
Can I copy hub navigation from one hub to another?
There's no built-in "copy" function, but you can manually recreate navigation on a different hub. If you have many hubs with similar navigation needs, you might consider using PowerShell scripts to automate the setup, though that's a more advanced approach.
What should I do if hub navigation isn't appearing on an associated site?
First, verify that the site is actually associated with the hub (check in site settings). If it is, try refreshing your browser or clearing your cache. In rare cases, it might take a few minutes for changes to propagate. If problems persist, check with your SharePoint admin; there might be a permissions or configuration issue at play.
How do I change the design of the hub navigation?
SharePoint offers built-in options inside its "Change the look" feature. However, if you want a more comprehensive way to brand your hub navigation, you can use ShortPoint Theme Builder. With it, you can hide unnecessary elements, change the menu's position, modify colors, and so much more.
Related articles:
