 Try ShortPoint now
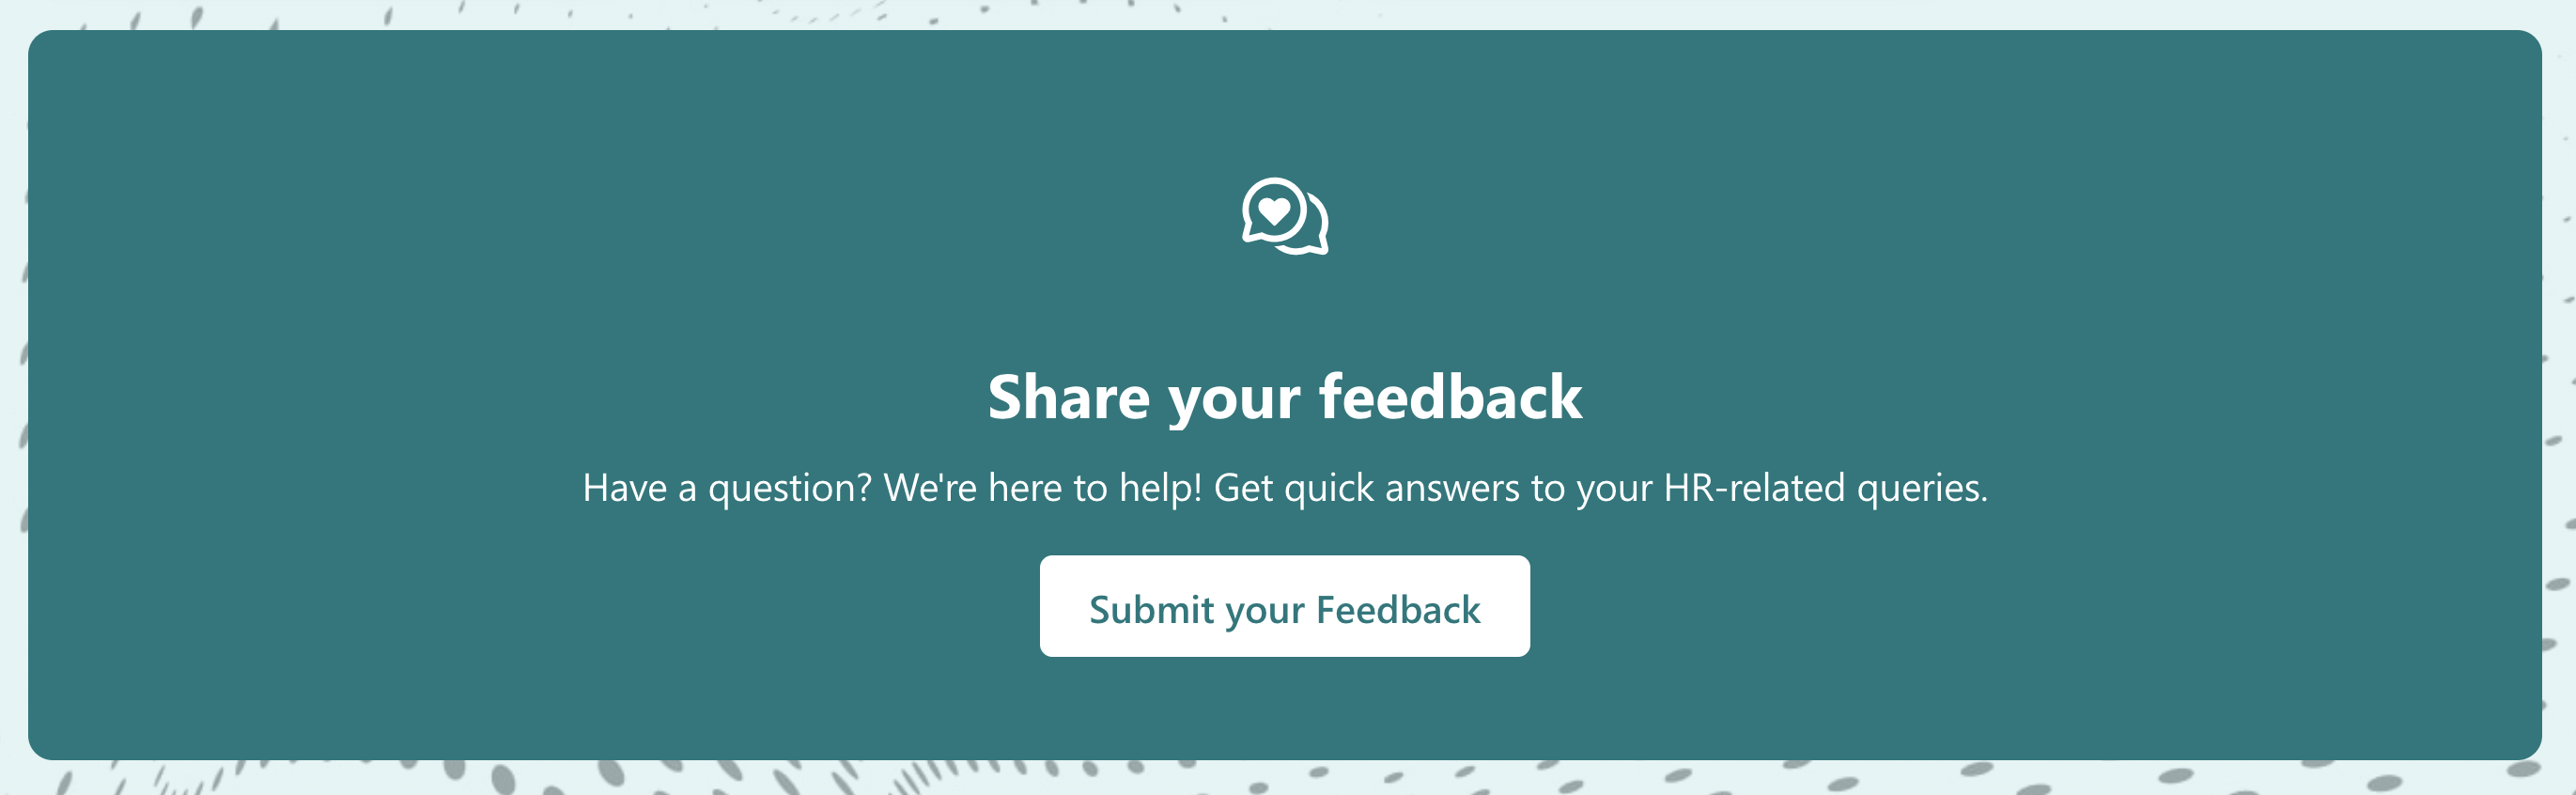
By default, the content inside CTA Cards is at the center:
This article will show you how to align the content to the right or to the left using Custom CSS code.

TABLE OF CONTENTS
Prerequisites
- You must have the latest version of ShortPoint SPFx installed on your SharePoint environment.
- You must be a ShortPoint Designer with an active license.
- You must already have a CTA Card Design Element on your SharePoint page. If you don’t have it yet, check out How to Create a SharePoint Announcement Banner Using the CTA Card Design Element.
Interactive Tutorial
Before starting the tutorial, choose the Custom CSS code you want to use:
Option 1: Align Content to the Left
.spx-de-cta-card {
  padding: 50px 60px;
}

.spx-de-cta-card__icon {
    adisplay: flex;
    justify-content: flex-start;
    width: 100%;
    margin-bottom: 20px;
}

.spx-de-cta-card__text {
    align-items: flex-start;
     width: 100%;
    text-align: left;
}

.spx-de-cta-card__description {
    padding: 0 0px;
    text-align: left;
}

.spx-de-cta-card__buttons {
    align-items: start;
    width: 100%;
    justify-content: flex-start;
}
Option 2: Align Content to the Right
.spx-de-cta-card {
  padding: 50px 60px;
}

.spx-de-cta-card__icon {
    adisplay: flex;
    justify-content: flex-end;
    width: 100%;
    margin-bottom: 20px;
}

.spx-de-cta-card__text {
    align-items: flex-end;
    width: 100%;
    text-align: right;
}

.spx-de-cta-card__description {
    padding: 0 0px;
    text-align: right;
}

.spx-de-cta-card__buttons {
    align-items: end;
    width: 100%;
    justify-content: flex-end;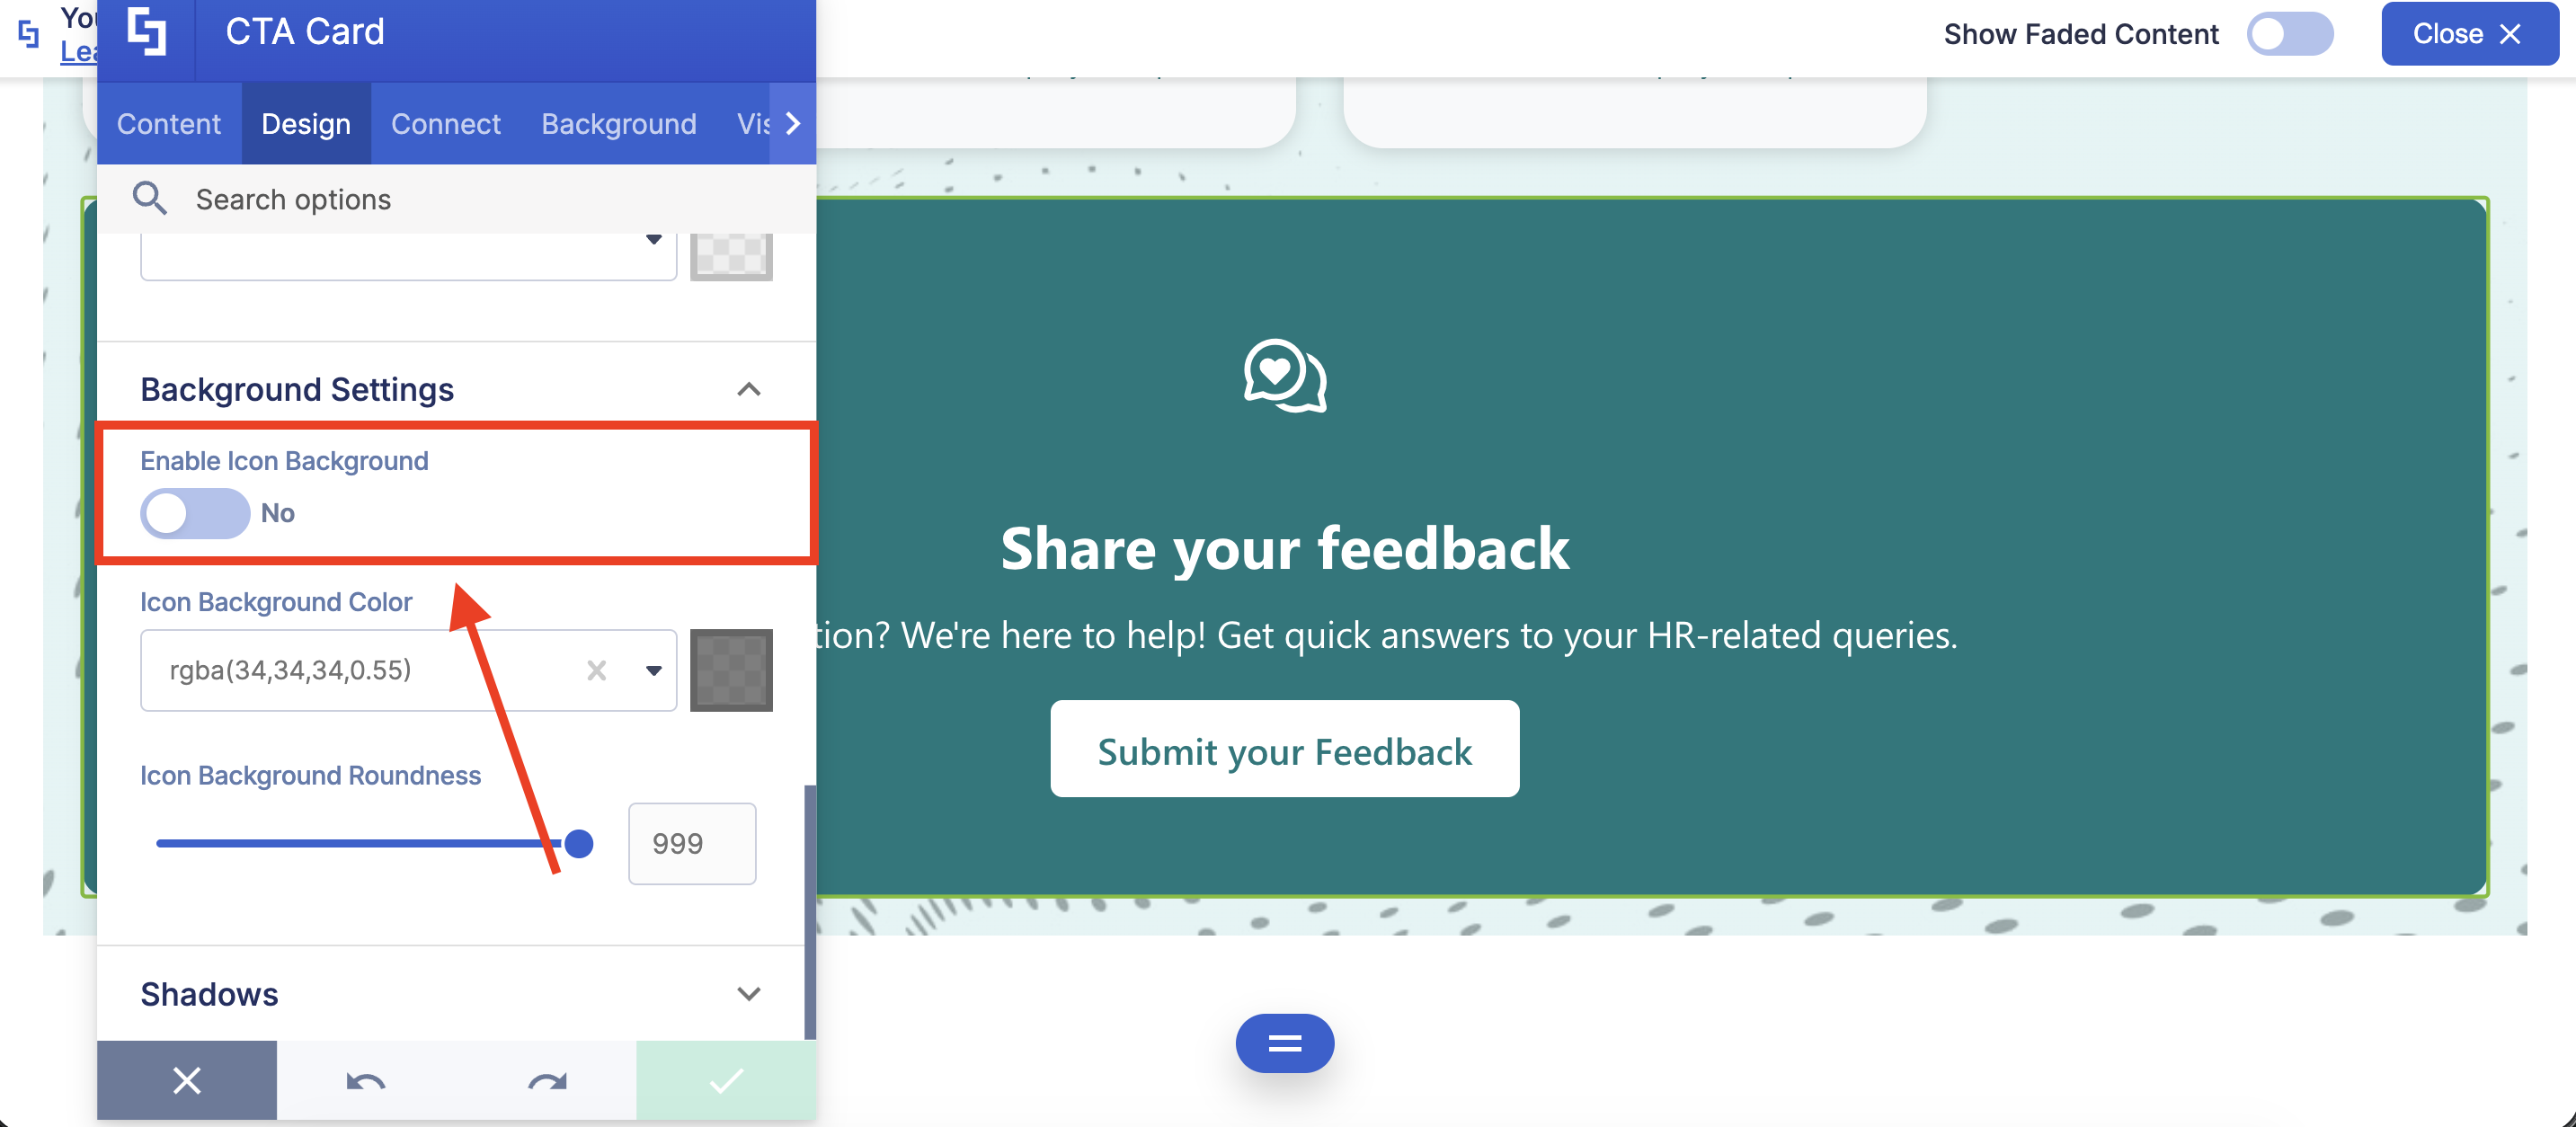
}NOTEMake sure that the Enable Icon Background option is disabled. Otherwise, the Custom CSS code will not work as expected.
Step-by-step Tutorial
Follow the detailed guide below to start changing the alignment of the content inside CTA Cards:
Step 1: Edit the ShortPoint Web Part
- Go to the SharePoint page you want to use and click Edit:

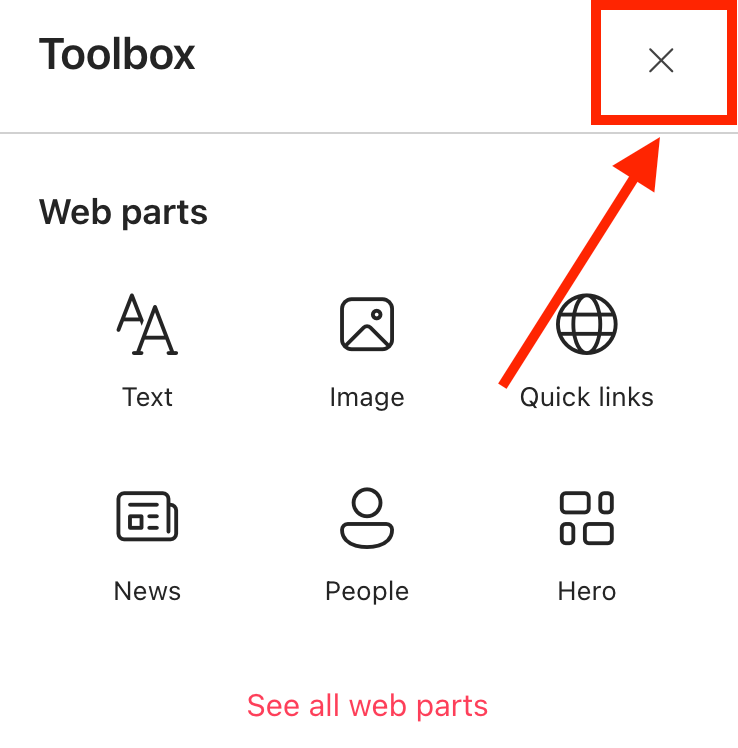
- Close the Toolbox:
- Edit the ShortPoint web part:

Step 2: Copy the Code
- Choose the Custom CSS code you want to use:
Option 1: Align Content to the Left
.spx-de-cta-card {
  padding: 50px 60px;
}

.spx-de-cta-card__icon {
    adisplay: flex;
    justify-content: flex-start;
    width: 100%;
    margin-bottom: 20px;
}

.spx-de-cta-card__text {
    align-items: flex-start;
     width: 100%;
    text-align: left;
}

.spx-de-cta-card__description {
    padding: 0 0px;
    text-align: left;
}

.spx-de-cta-card__buttons {
    align-items: start;
    width: 100%;
    justify-content: flex-start;
}
Option 2: Align Content to the Right
.spx-de-cta-card {
  padding: 50px 60px;
}

.spx-de-cta-card__icon {
    adisplay: flex;
    justify-content: flex-end;
    width: 100%;
    margin-bottom: 20px;
}

.spx-de-cta-card__text {
    align-items: flex-end;
    width: 100%;
    text-align: right;
}

.spx-de-cta-card__description {
    padding: 0 0px;
    text-align: right;
}

.spx-de-cta-card__buttons {
    align-items: end;
    width: 100%;
    justify-content: flex-end;
}
Step 3: Edit the CTA Card
NOTEYou must already have a CTA Card Design Element on your SharePoint page. If you don’t have it yet, check out How to Create a SharePoint Announcement Banner Using the CTA Card Design Element.
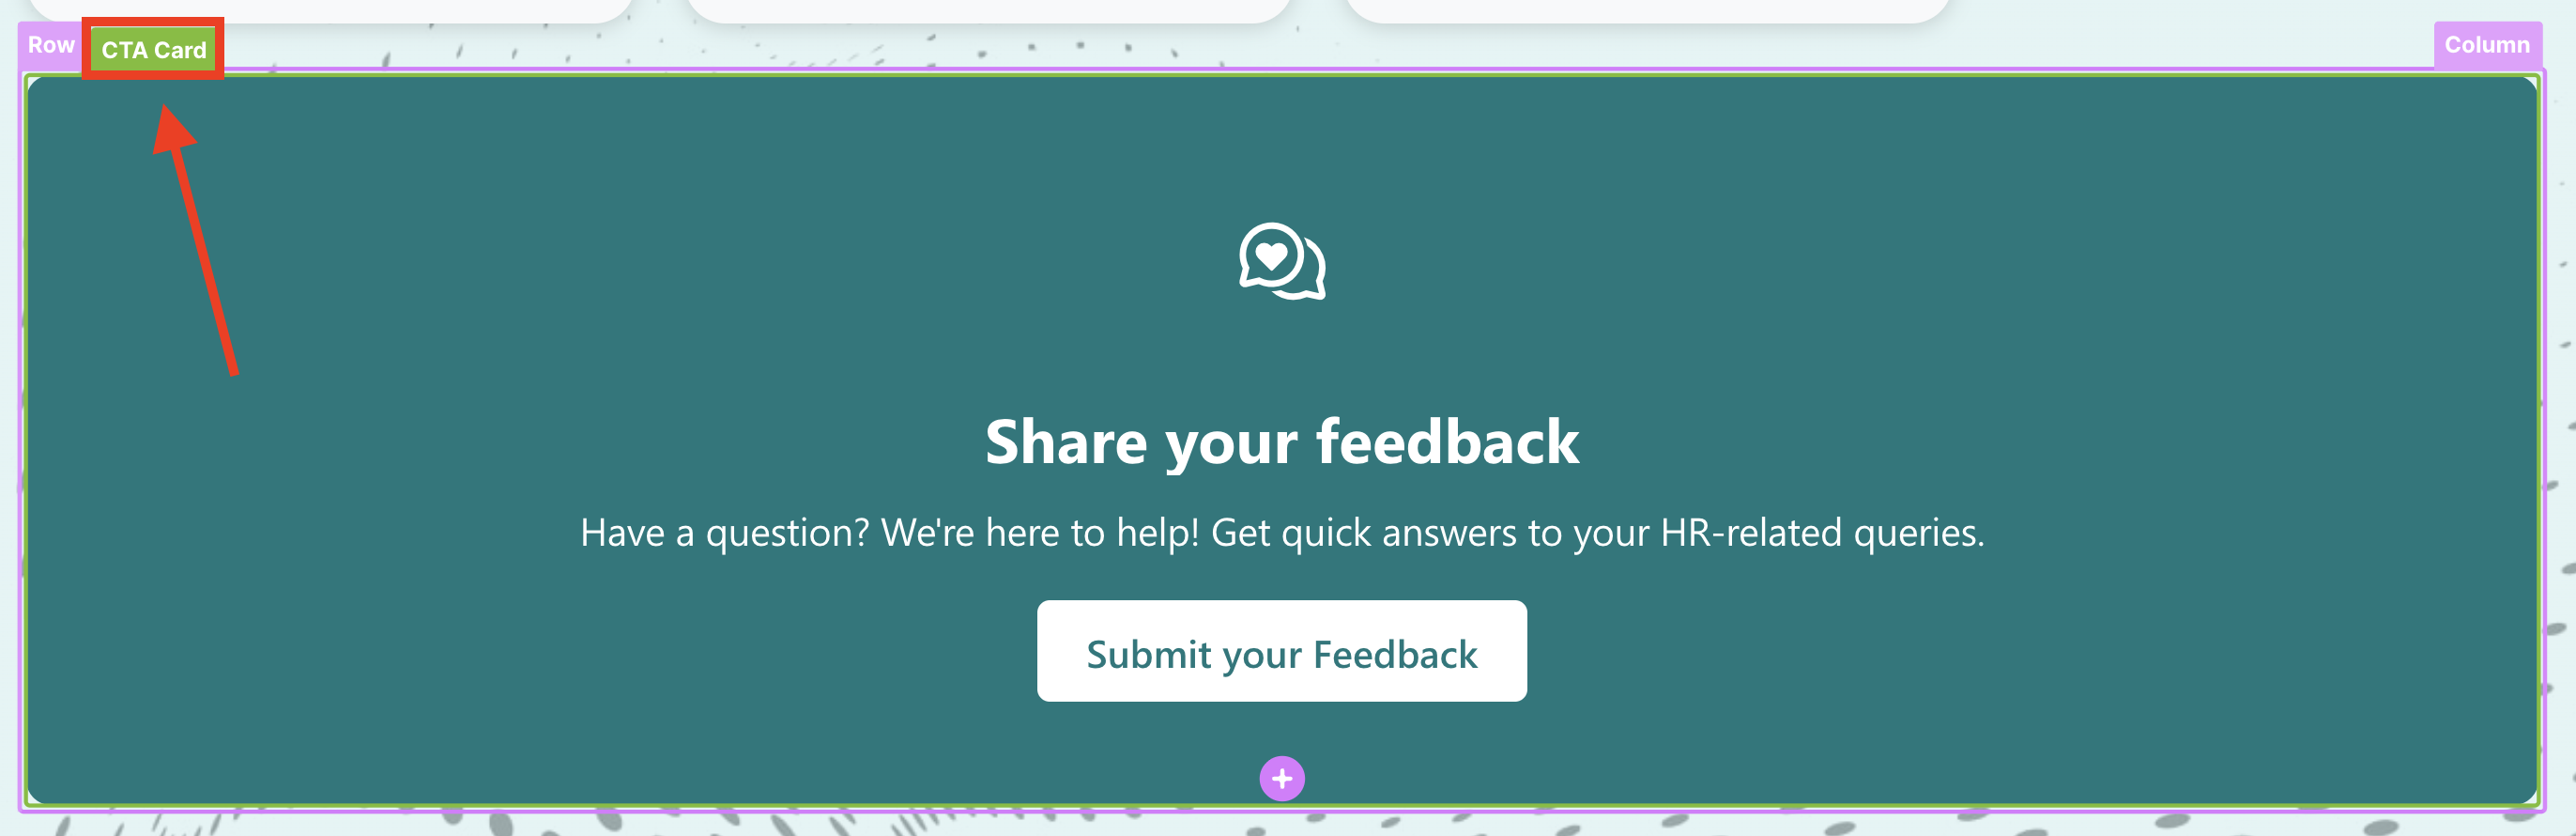
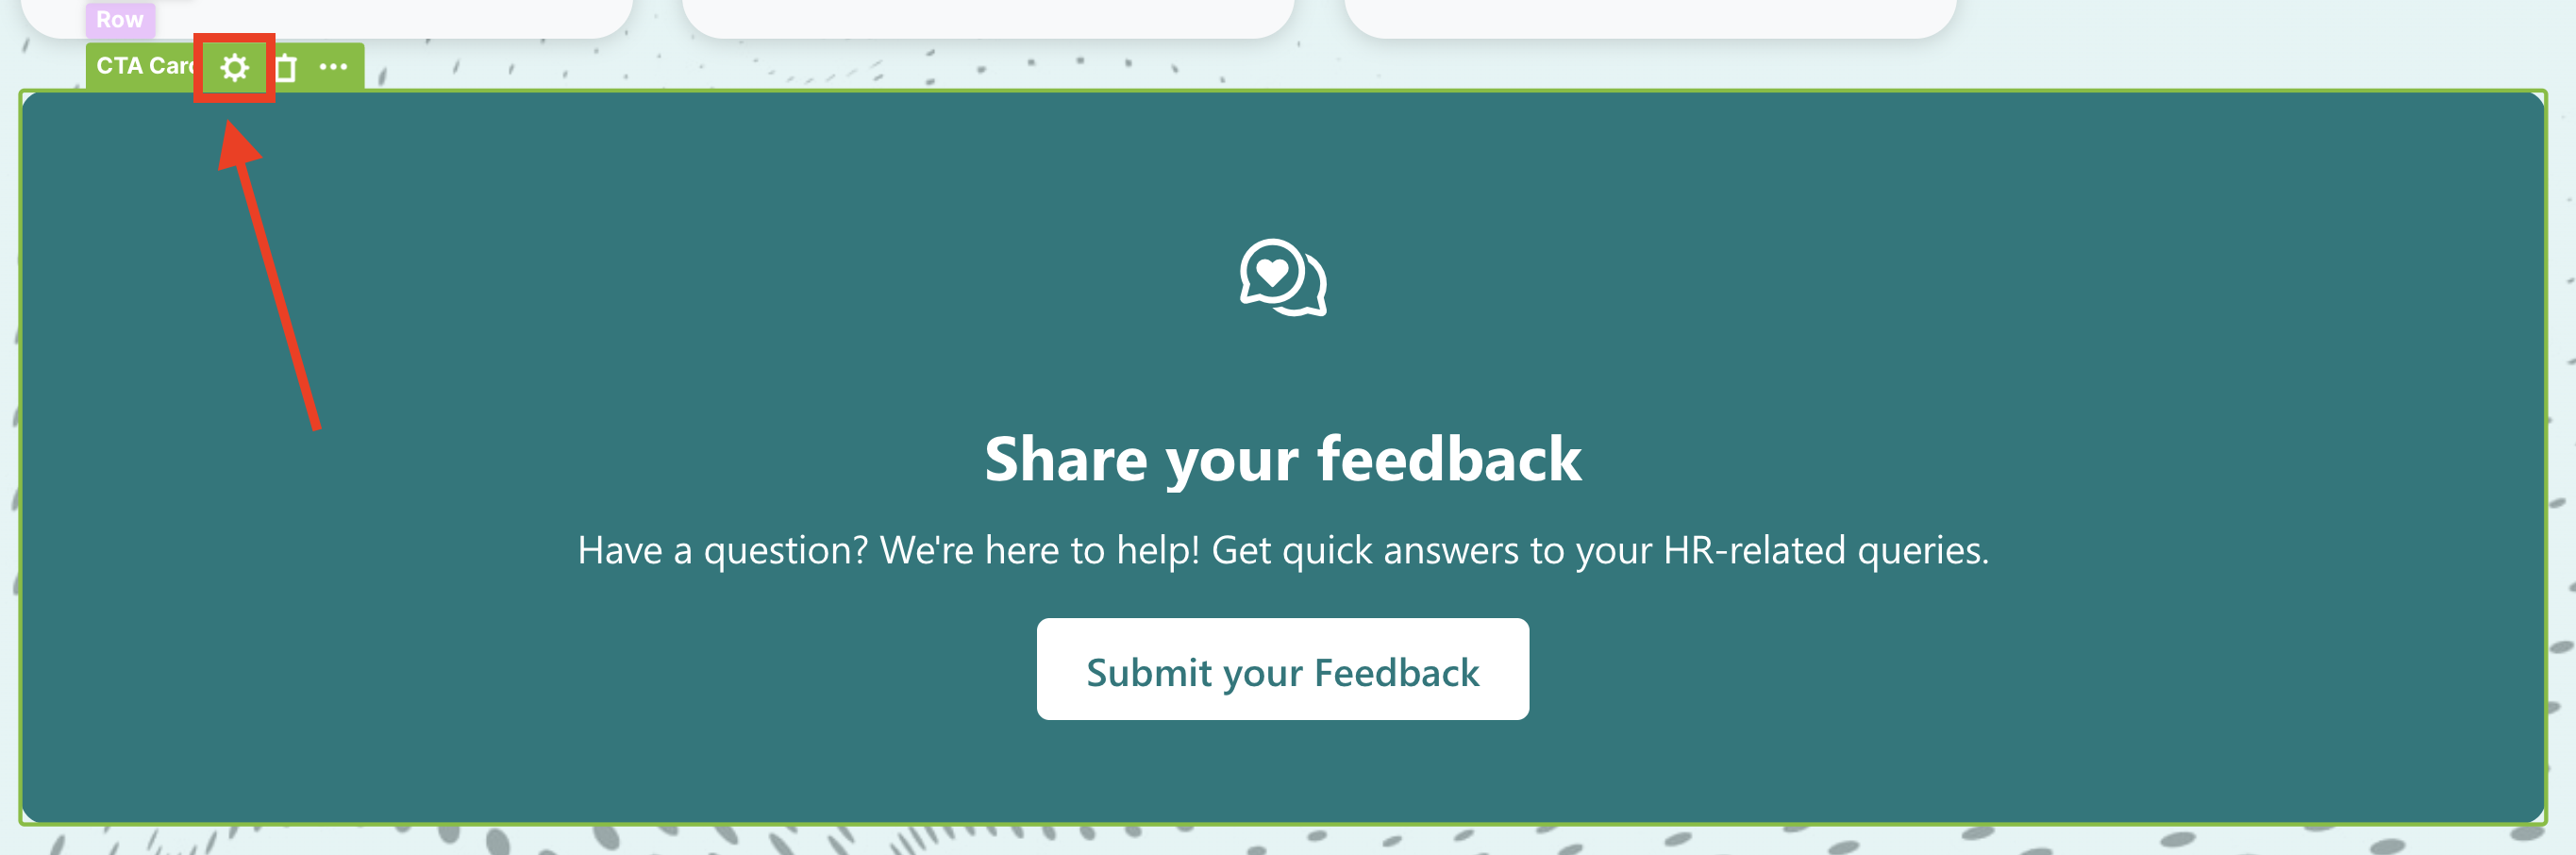
- Click the CTA Card tag:
- Select the cogwheel icon:
Step 4: Paste Code
- Click the next icon:
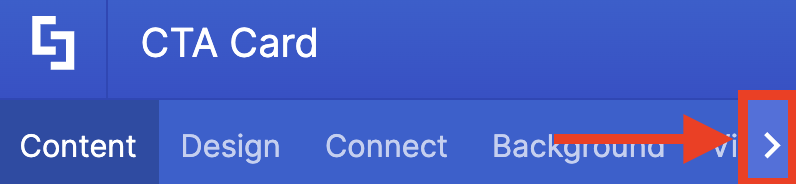
- Go to the Custom CSS tab.
- Paste the code in the Custom CSS field.
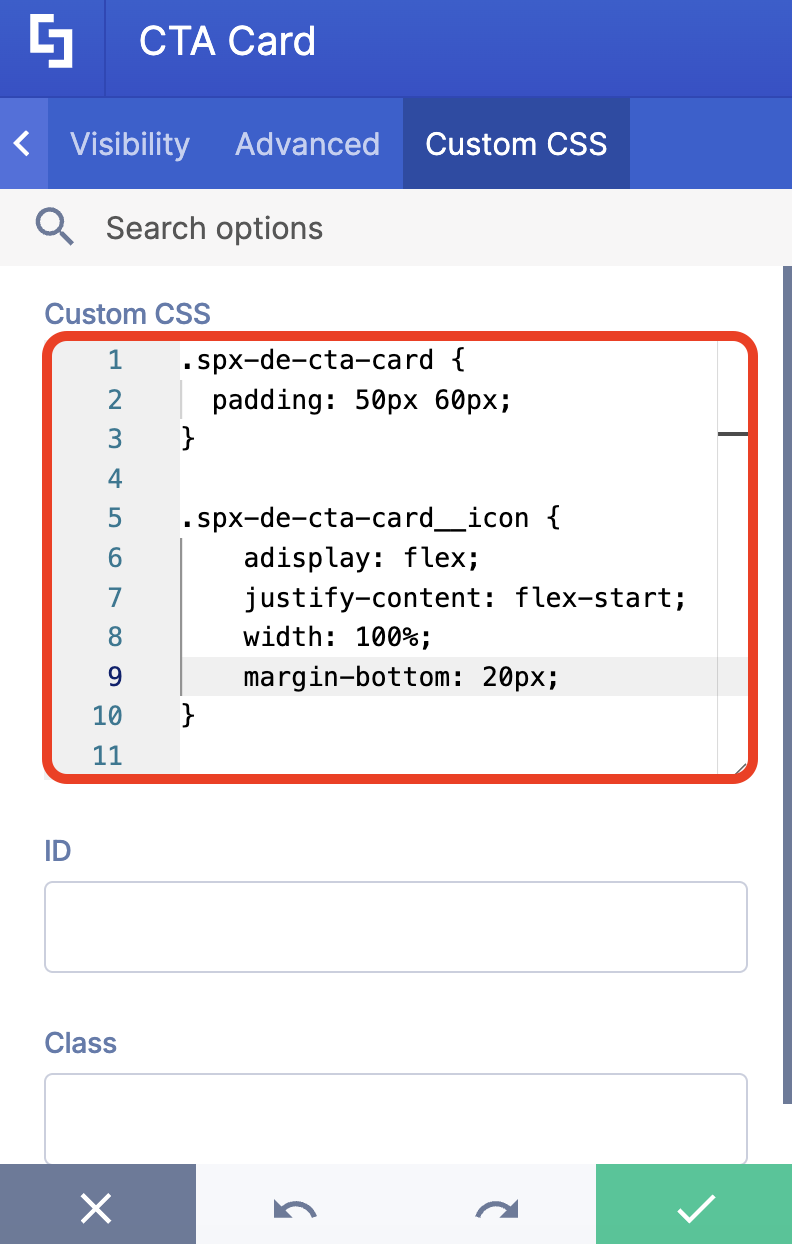
- Customize the code as you prefer.
- Once satisfied, click the green checkmark.
NOTEMake sure that the Enable Icon Background option is disabled. Otherwise, the Custom CSS code will not work as expected.
Step 5: Save
- Click the eye icon to see your page in real-time:

- Save your changes:

Congratulations! You have successfully changed the content alignment of the CTA Card Design Element.

Related articles:
