 Try ShortPoint now
Learn how to add customer testimonials in SharePoint using the Testimonial Design Element. These visual testimonials make it easy to highlight positive feedback and good reviews on your SharePoint page. Surely, having these will inspire the whole team.

TABLE OF CONTENTS
- Prerequisites
- What Is the Testimonials Design Element?
- Interactive Tutorial
- Step-by-step Tutorial
- Testimonials Features
- Testimonials Styles
- Practical Use Cases for the Testimonial Design Element
- Start Designing with the Testimonials Design Element
- Frequently Asked Questions
- What are ShortPoint Design Elements?
- What are customer testimonials, and why are they important?
- How can I add customer testimonials to my SharePoint page?
- What customization options are available for the Testimonial Design Element?
- Can I control the visibility of testimonial content on my SharePoint page?
Prerequisites
- You must have the ShortPoint SPFx version 8.8.4.0 or later installed in your SharePoint environment.
- You must be a ShortPoint Designer with an active license.
What Is the Testimonials Design Element?
The Testimonials Design Element is available in ShortPoint's library starting with SPFx version 8.8.4.0.

It's designed to make collecting feedback and displaying customer testimonials on your SharePoint sites straightforward and flexible. You can customize the content however you'd like and add unlimited quote testimonials.
To top it off, you have complete control over the testimonial's appearance. From its style to colors and beyond, you can create a design that will fit your site's aesthetic and effectively showcase success stories and positive reviews.

Interactive Tutorial
Click Get Started to easily add customer testimonials in SharePoint:
NOTETo learn more about the features you can customize for Testimonials, check out Testimonials Features.
Step-by-step Tutorial
Use this simple step-by-step guide to add customer testimonials to SharePoint. This will help you showcase positive feedback and build social proof for your product or service.
Step 1: Edit the ShortPoint Web Part
- Go to the SharePoint page you want to use and click Edit.

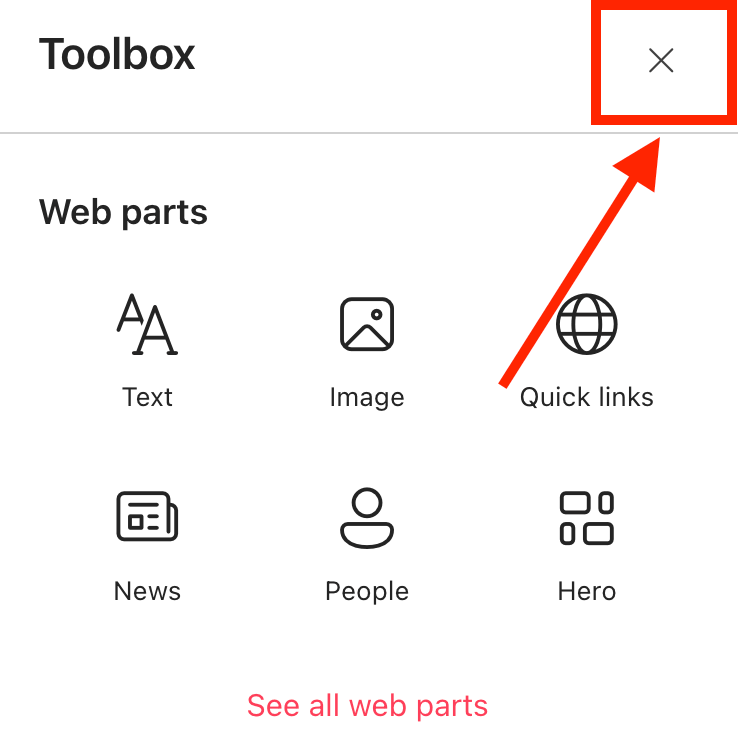
- Close the Toolbox:
- Click the Edit properties icon:

Step 2: Insert the Testimonials Design Element
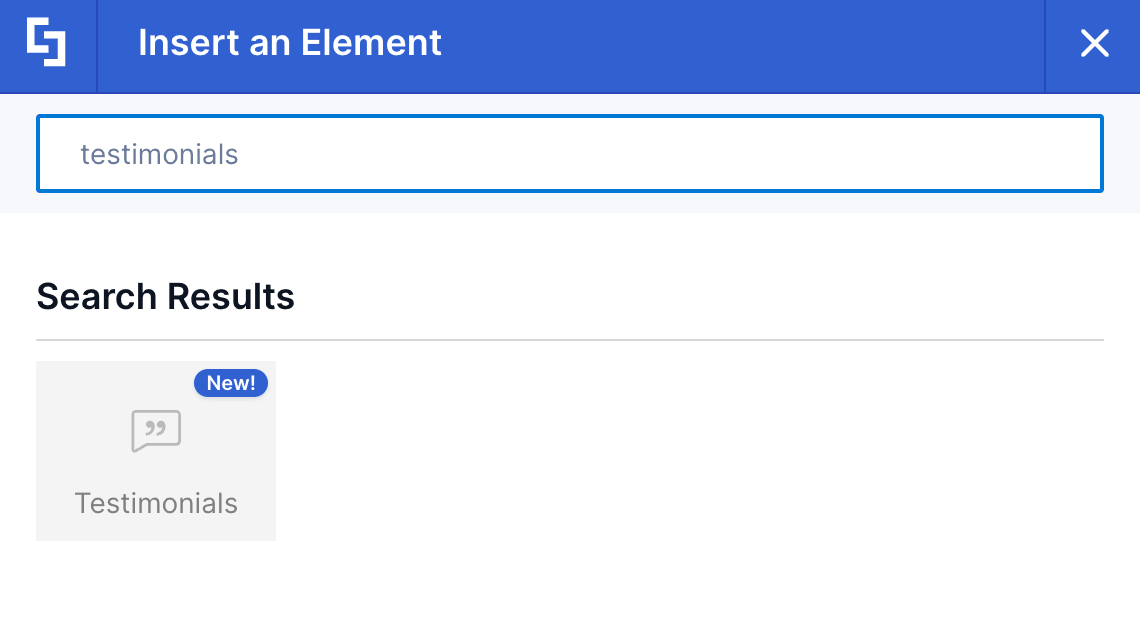
- Choose where you want to add Testimonials and click the plus icon:

- Use the search box to look for Testimonials and click it:
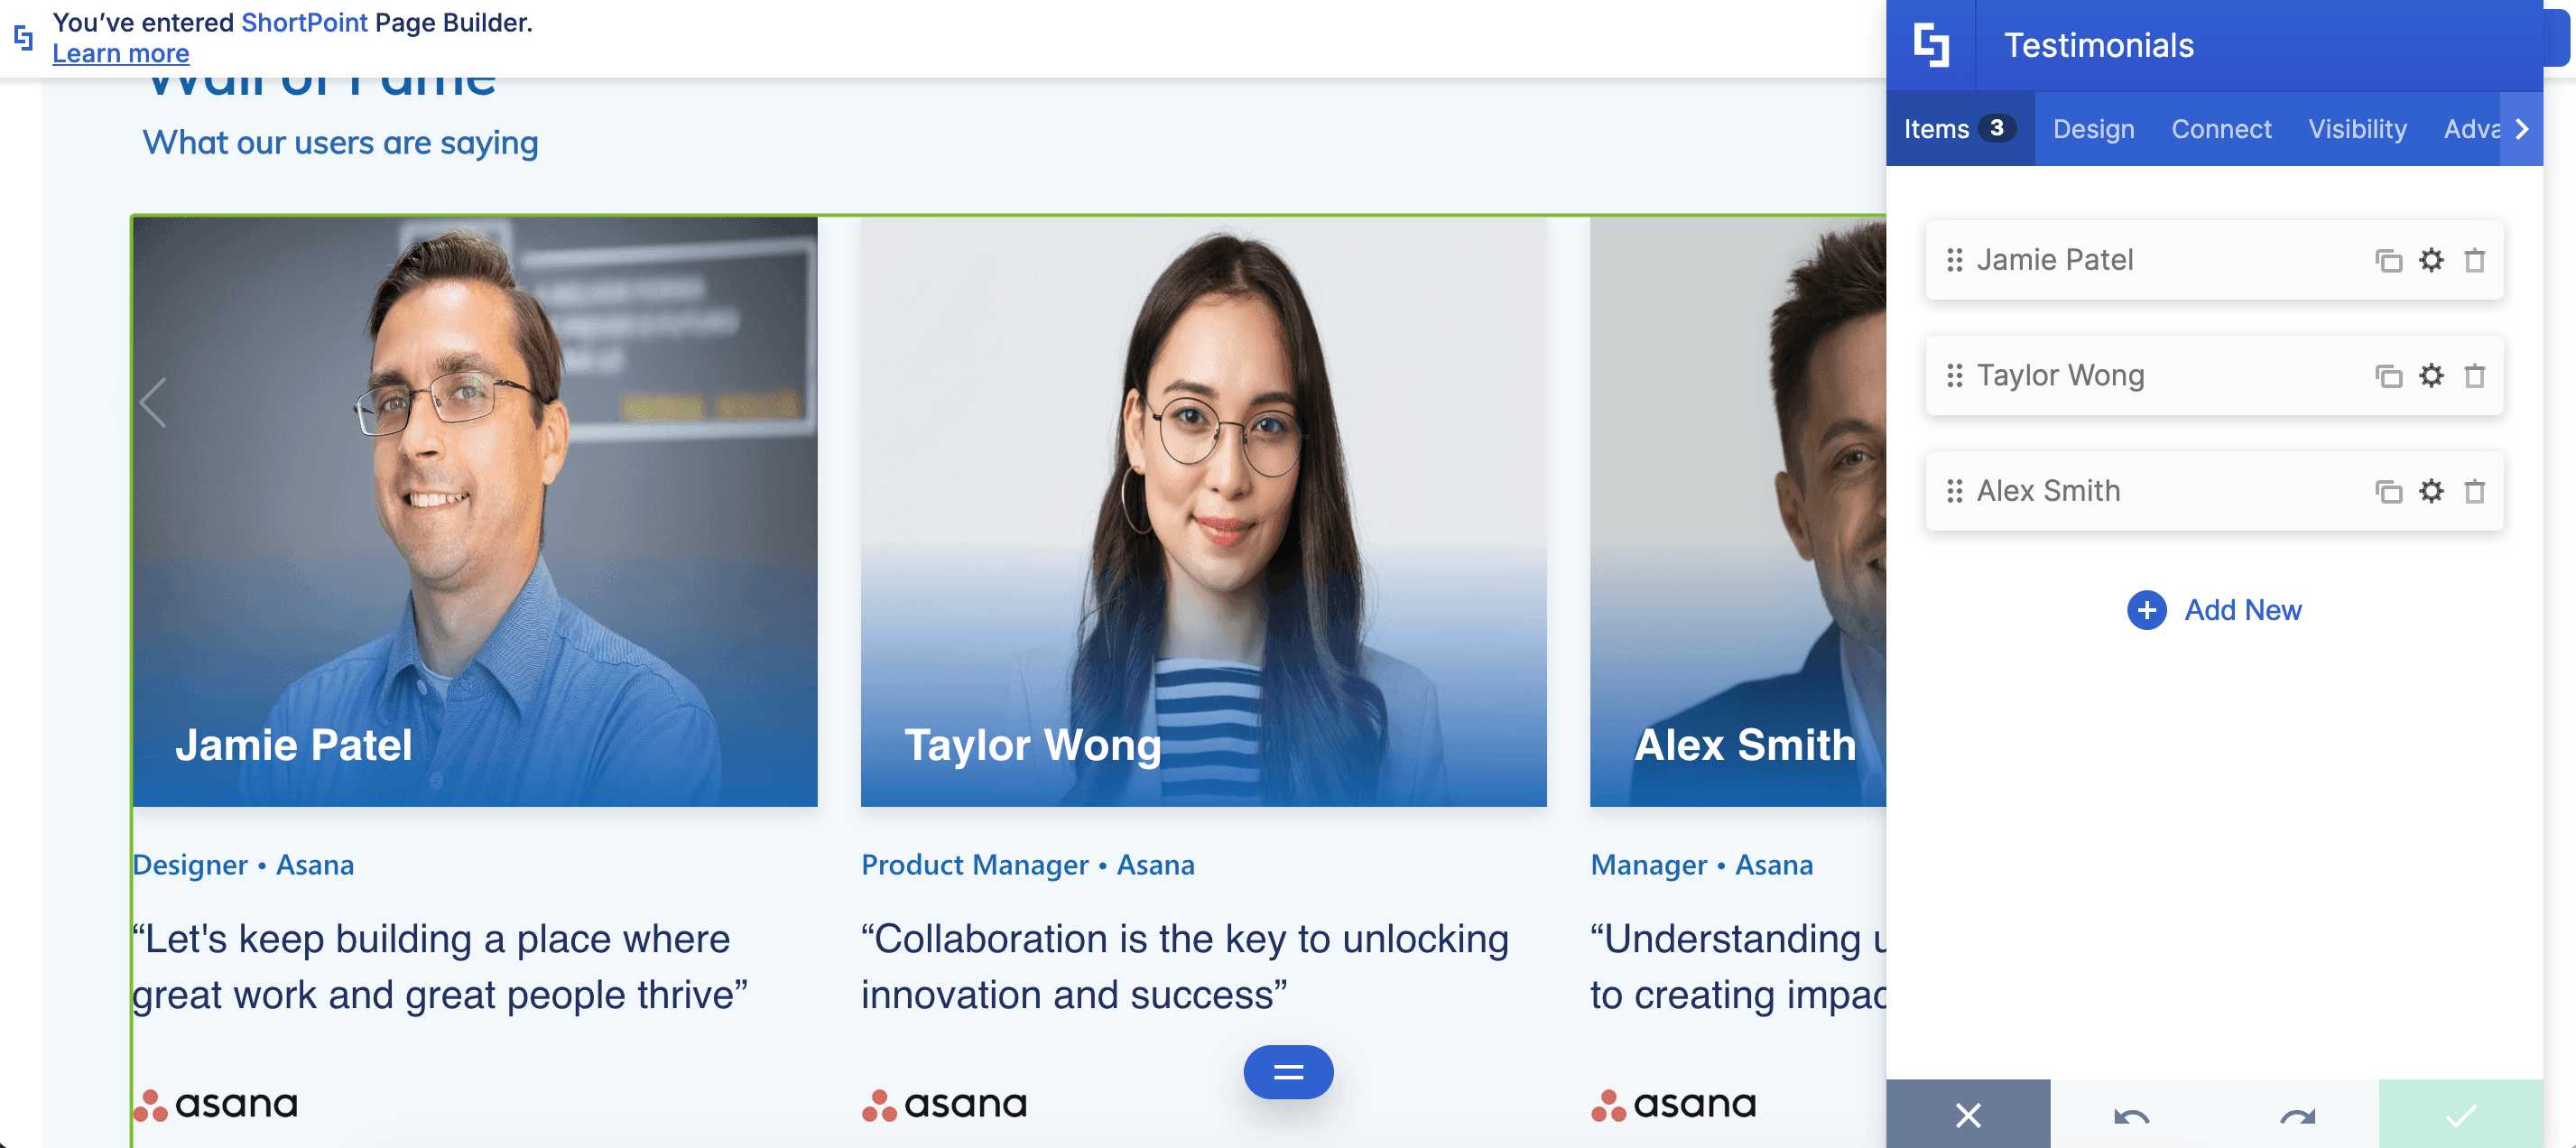
Step 3: Customize the Content
- Go to the Content tab.
- Click Add New to add testimonials:
- Click the cogwheel icon to edit its content:

- Customize the content of the Testimonial according to your preferences.
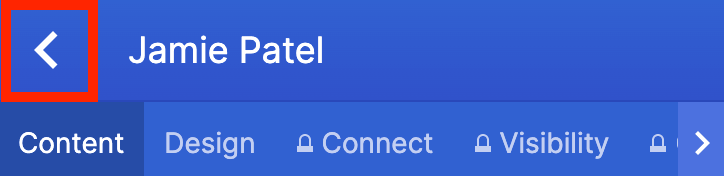
- Click the back icon:
- Repeat the steps for the other testimonials you want to add.
NOTETo learn more about the features you can customize for Testimonials, check out Testimonials Features.
Step 4: Customize the Design
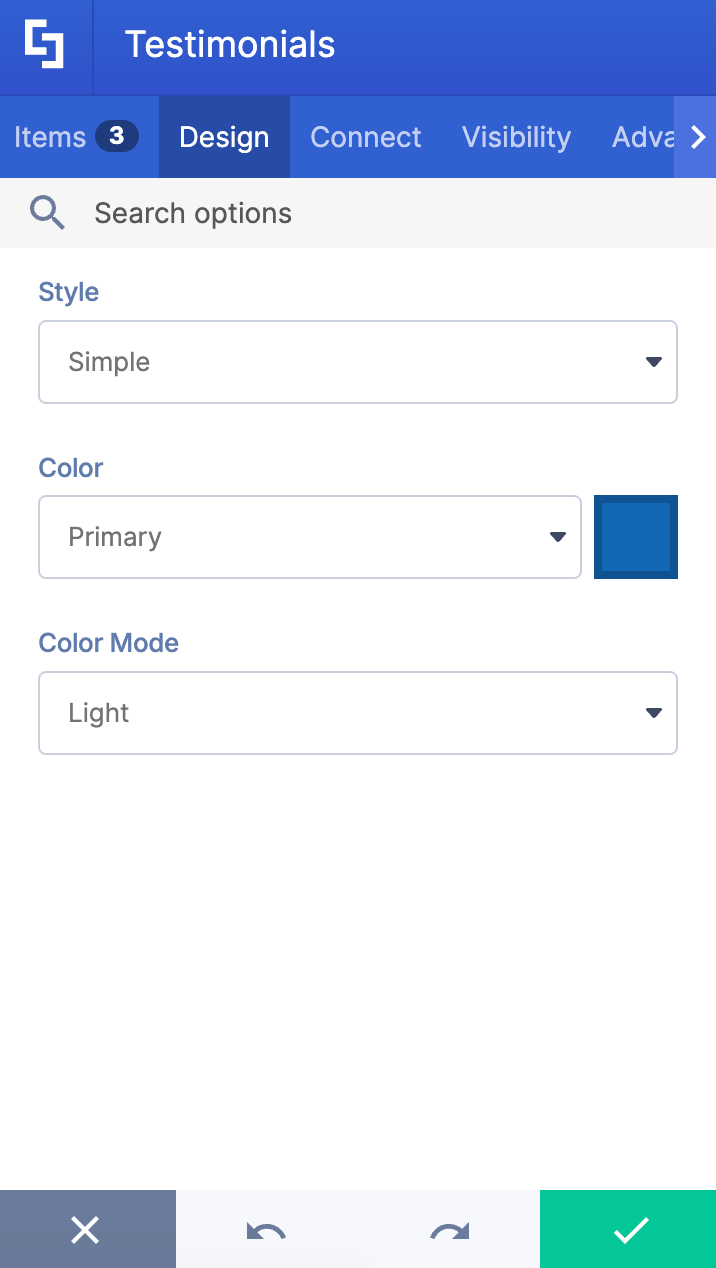
- Go to the Design tab.
- Customize the look of the Testimonials according to your preferences.
- Go to the Advanced tab.
- Modify the design even further.
- Once satisfied, click the green check mark.
NOTETo learn more about the features you can customize for Testimonials, check out Testimonials Features.
Step 5: Save
- Click the eye icon to see your page in real-time:

- Save your changes:

You've successfully added customer testimonials to SharePoint! Your team will surely love seeing great positive feedback and good reviews from satisfied customers.
Testimonials Features
Need to customize your Testimonial? The Testimonial Settings window has plenty of useful options to help you make it work just the way you want. It gives you full control to create testimonials that showcase customer feedback effectively.
A. Content Tab
The Content tab is where you can edit the content inside the Testimonial. Here are the options you can tweak:
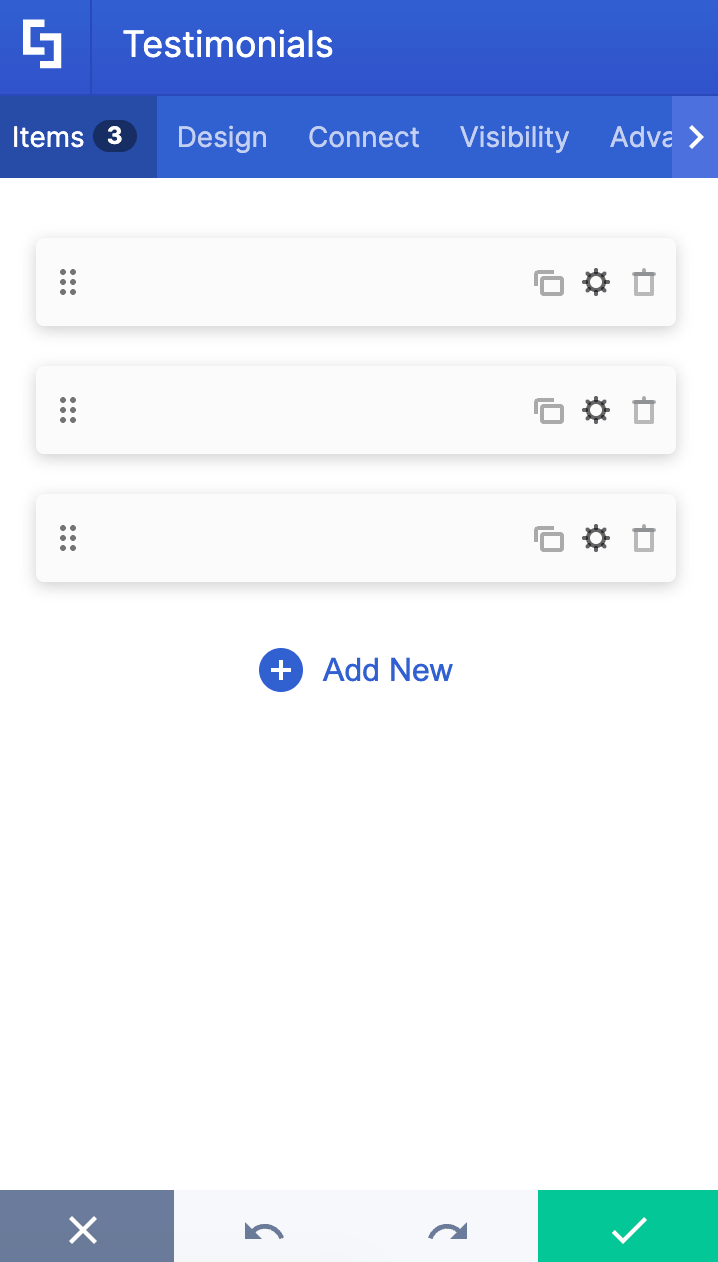
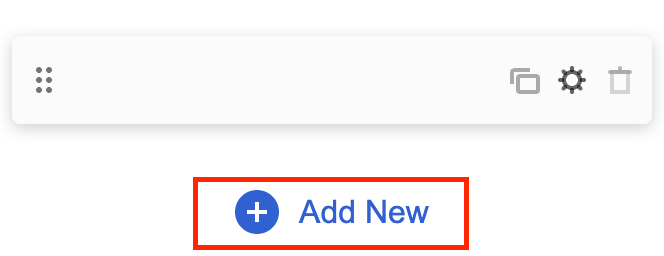 | Add New | allows you to add a new item. |
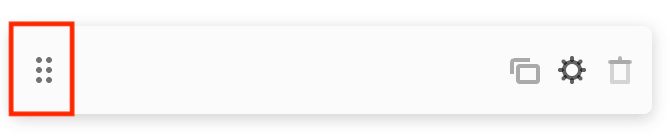 | Drag icon | will enable you to rearrange the items. |
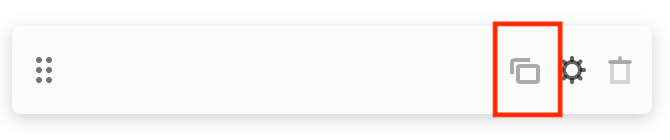 | Duplicate icon | allows you to copy an item. |
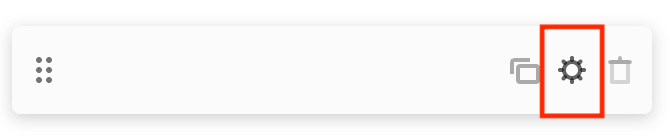 | Cogwheel icon | allows you to edit the content of an item. See the table below to see the options you can find inside. |
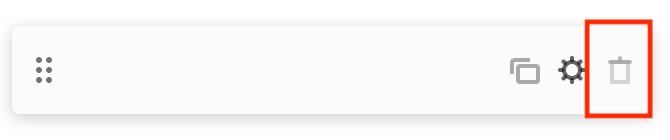 | Trash icon | allows you to remove an item. |
COGWHEEL ICON OPTIONS (Content tab)
 | Name | allows you to add the name of the person whose review will be shown. |
 | Feedback | allows you to add a detailed review. |
 | Photo | allows you to insert the photo of the person whose review will be shown. You can paste the photo URL or click the folder icon to start adding an image. You can also click Browse Images to browse through thousands of stock images and videos. To learn more, check out ShortPoint Gallery: How to Add Professional SharePoint Pictures to Your Pages Instantly. |
 | Role | allows you to write the job title of the person whose review will be shown. |
 | Company Logo | allows you to insert a company logo. You can paste the photo URL or click the folder icon to start adding an image. You can also click Browse Images to browse through thousands of stock images and videos. To learn more, check out ShortPoint Gallery: How to Add Professional SharePoint Pictures to Your Pages Instantly. |
 | Company Name | allows you to write the company name of the person whose review will be shown. |
COGWHEEL ICON OPTIONS (Design tab)
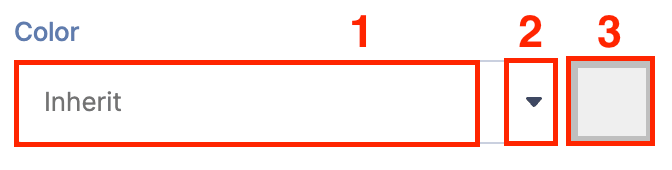 | Color | allows you to specify the color of the selected item. |
B. Design Tab
The Design tab is where you get to have fun customizing the look and feel of your customer testimonials. Here are the options you can modify to create top-notch testimonials that enhance your landing page:
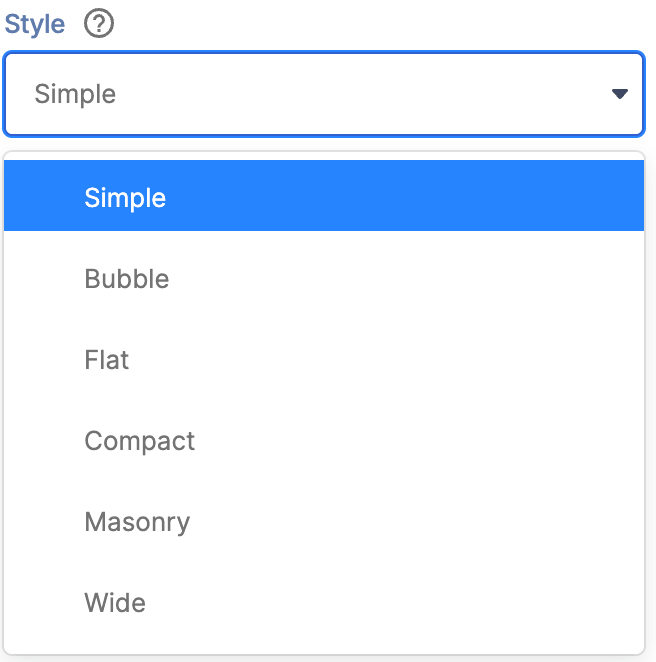 | Style | allows you to choose the testimonial style you prefer. You can choose from 6 styles. Check out Testimonials Styles to learn more. |
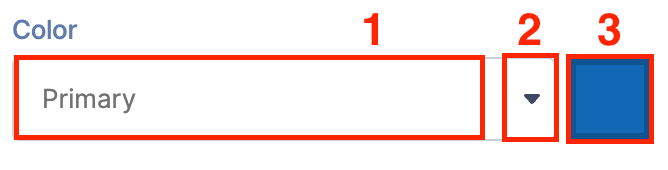 | Color | allows you to change the primary color of the testimonial. You can change the color by [1] typing the HEX code, [2] using the drop-down, or [3] using the color picker. |
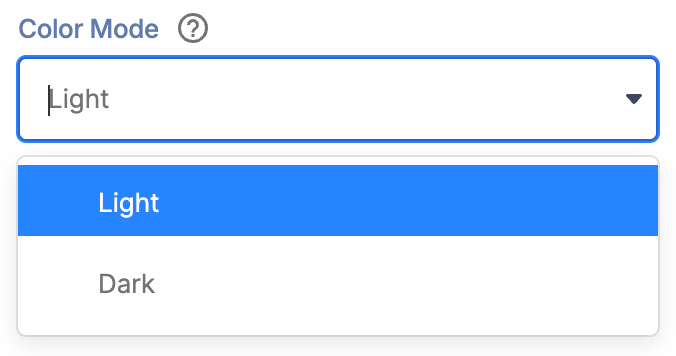 | Color Mode | allows you to choose from light or dark color mode. |
SHADOW
 | Shadow Enabled | when enabled, a shadow effect will be added to the testimonial. |
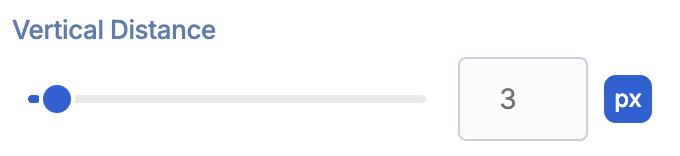 | Vertical Distance | allows you to modify the vertical distance value of the shadow. |
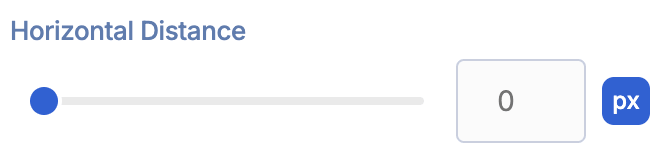 | Horizontal Distance | allows you to modify the horizontal distance value of the shadow. |
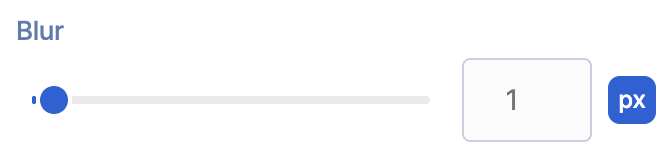 | Blur | allows you to add and control the blur effect for the shadow. |
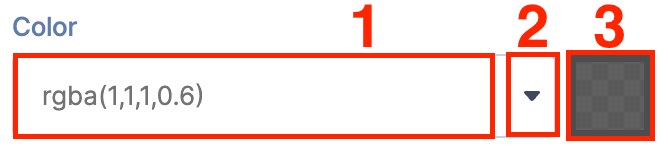 | Color | allows you to choose the color of the shadow. You can change the color by [1] typing the HEX code, [2] using the drop-down, or [3] using the color picker. |
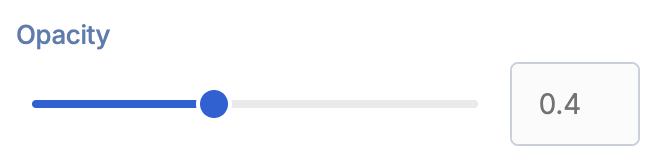 | Opacity | allows you to control the opacity of the shadow. |
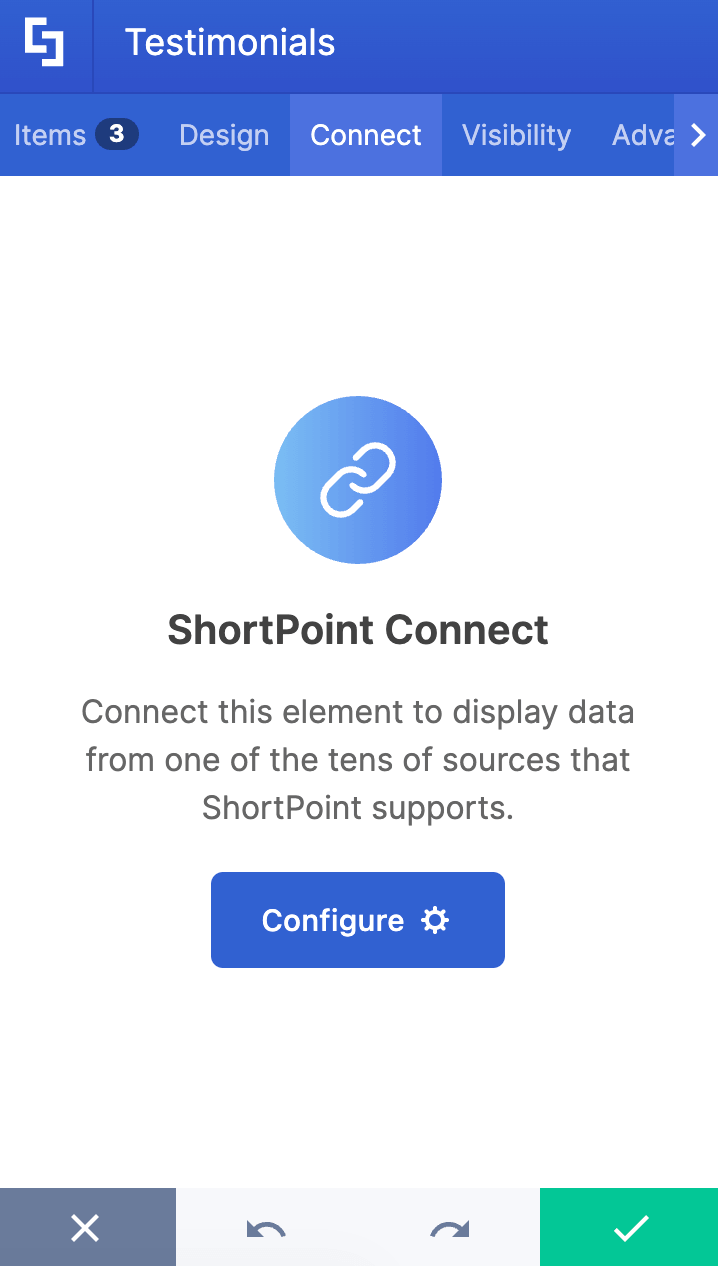
C. Connect Tab
The Connect tab allows you to link the Design Element to SharePoint sources (List, Document Library, News, etc.) and other external sources (Microsoft Graph API, Teams, Outlook, etc.). For more details about ShortPoint Connect, check out Basic Tutorial: How to Establish Seamless SharePoint Connection with ShortPoint Connect.
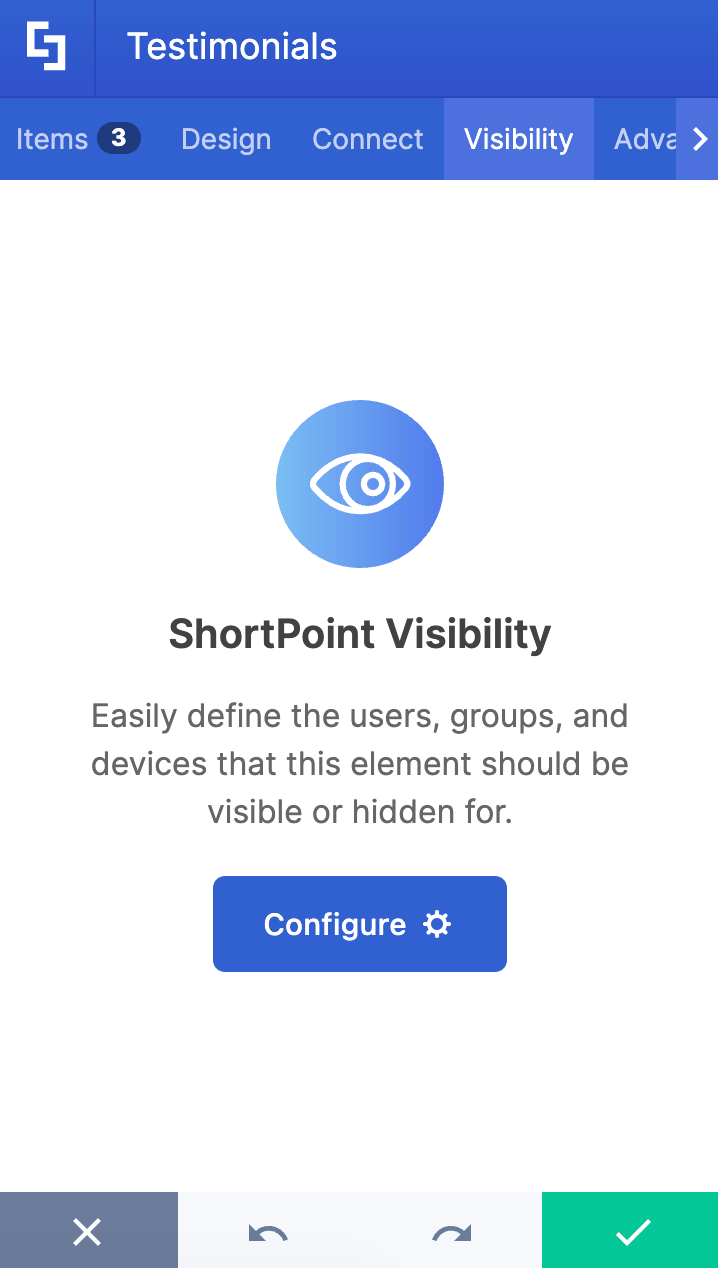
D. Visibility Tab
The Visibility tab allows you to specify who can see the Design Element and what type of devices it can be shown on. For more details, check out How to Use the ShortPoint Visibility Feature for Effective SharePoint Access Management.
E. Advanced Tab
The Advanced tab allows you to further customize the appearance of the customer testimonials. Below are the options you can modify:
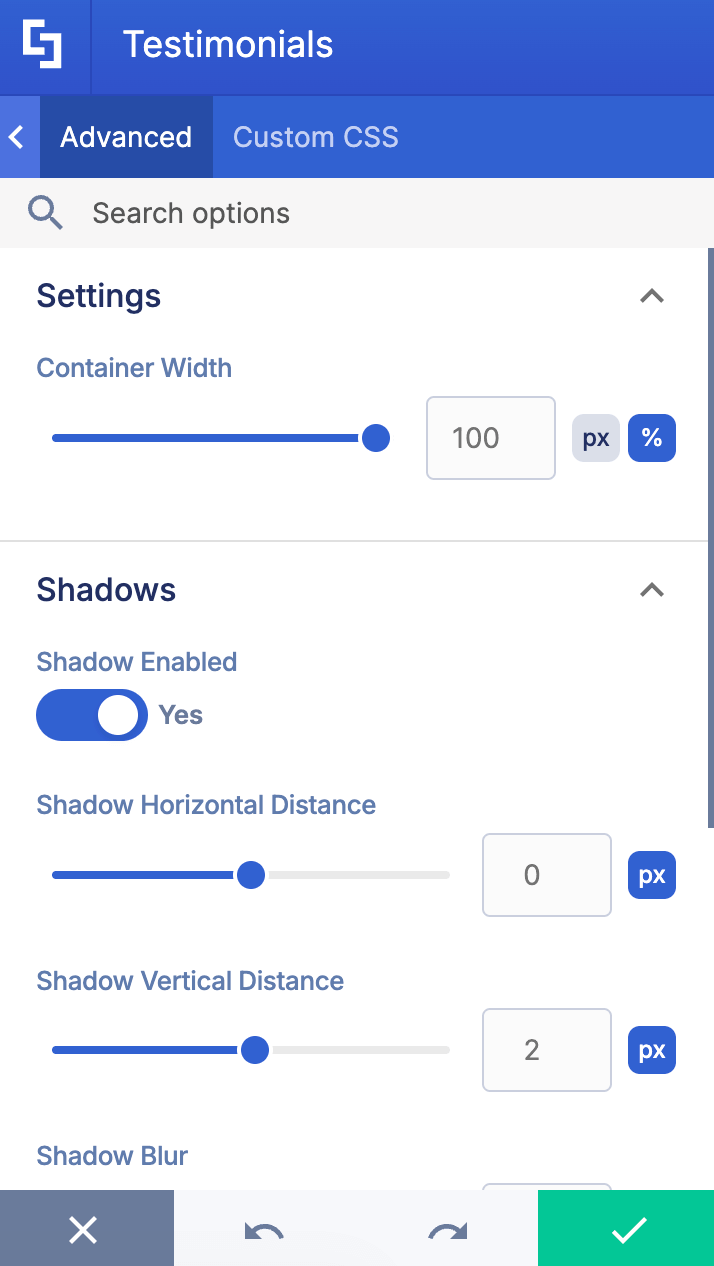
SETTINGS
 | Container Width | allows you to control the width of the container in px or %. |
SPACING
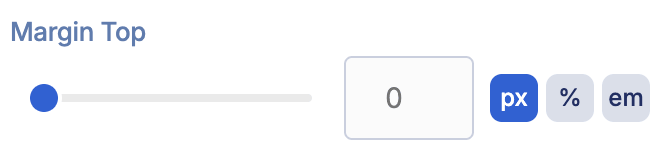 | Margin Top | allows you to adjust the top margin of the buttons. |
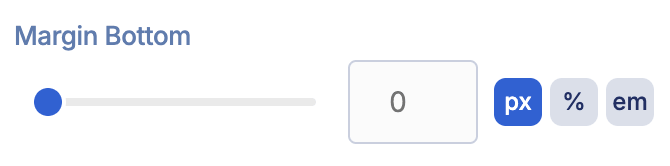 | Margin Bottom | allows you to adjust the bottom margin of the buttons. |
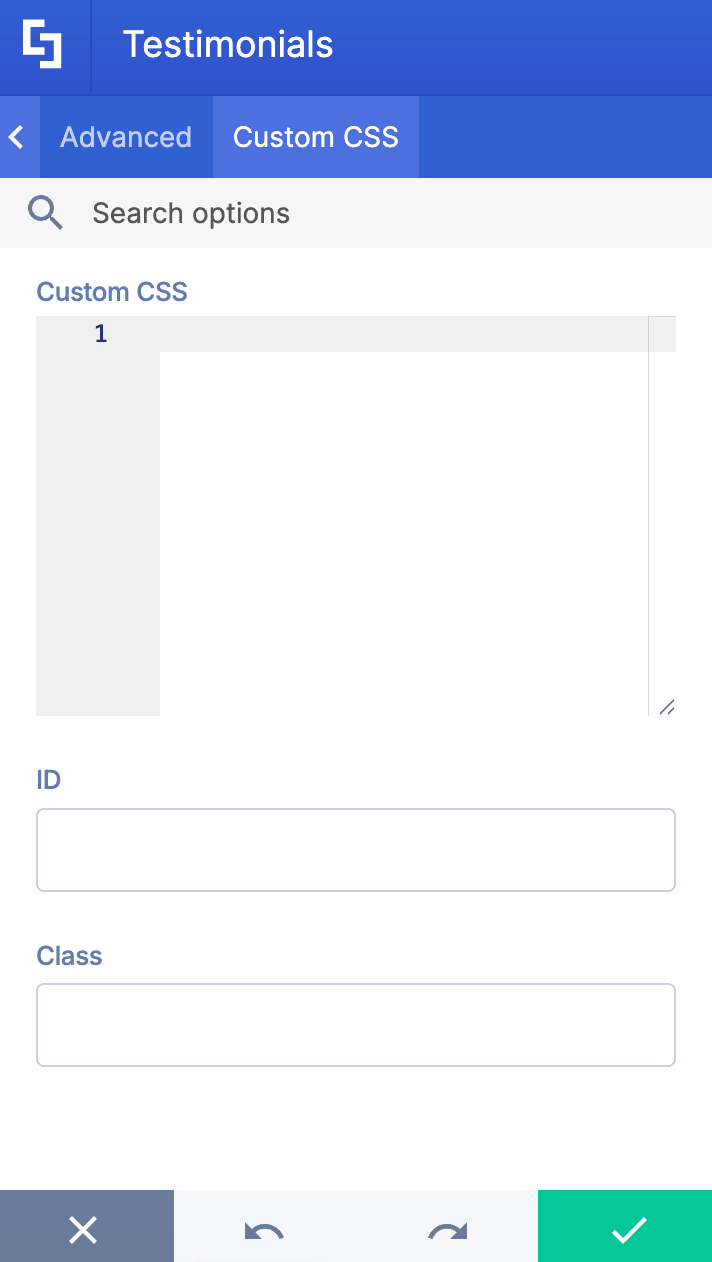
F. Custom CSS Tab
This tab lets you add your own custom touch to the Testimonial Design Element using custom CSS, HTML, and JavaScript.
NOTECheck out our support article on How to Insert Custom CSS into a Page Builder Element? (Basic Tutorial) to know more about Custom CSS.
Testimonials Styles
Ready to start designing? The Testimonials Design Element has 6 styles you can use. We'll run through each one:
- Simple presents a classic vertical card layout. It's clean, straightforward, and perfect when you want a traditional approach that keeps everything neatly organized and easy to read at a glance.
- Bubble adds a playful touch by placing the testimonial text inside a speech bubble above the profile photo.
- Flat takes a minimalist approach. The streamlined design focuses on the content with subtle visual separators, making it ideal when you want a modern, no-frills presentation that emphasizes the words themselves.
- Compact maximizes space efficiency. This condensed format works beautifully when you need to fit multiple testimonials in a tight space while maintaining readability and visual appeal.
- Masonry creates bold visual impact by featuring large, full-width profile photos with beautiful gradient overlays.
- Wide offers a spacious, horizontal layout. This format creates breathing room and works wonderfully when you want to give each testimonial its own featured moment with plenty of visual real estate.
Practical Use Cases for the Testimonial Design Element
The Testimonial Design Element in SharePoint offers versatile applications to enhance your intranet by showcasing customer testimonials and positive feedback effectively. Here are some practical use cases where this design element can add value:
Employee Recognition: Highlight internal success stories and employee achievements by displaying quote testimonials from team members or leadership. This builds morale and fosters a culture of appreciation within your organization.
Product Launches: Use the element to feature customer feedback and success stories related to new product releases or updates. Displaying authentic positive reviews can build social proof and encourage prospective customers to engage with your offerings.
Service Highlights: Showcase how your product or service has helped various clients by adding detailed testimonials with company logos and professional photos. This builds credibility and trust among potential customers visiting your SharePoint site.
Marketing Campaigns: Integrate testimonials to create dynamic content that captures attention across various channels. Adding these to your intranet or landing pages can encourage customers to share their experiences in their own words, enhancing the authenticity of your marketing campaigns.
Customer Support: Feature stories and feedback from satisfied clients to demonstrate your commitment to quality service. This can help build trust and reassure target customers about your company’s dedication to their success.
Start Designing with the Testimonials Design Element
The Testimonials Design Element allows you to present compelling testimonials that resonate with both internal teams and external audiences, boosting engagement and reinforcing your brand’s value.
Good thing that getting your first Testimonials up and running is quick and easy! A few clicks are all it takes to keep your team engaged. Update to the latest ShortPoint SPFx version (8.8.4.0) and follow our interactive tutorial. You'll be set in no time.
New to ShortPoint? We'd love to welcome you with a FREE 15-day trial — full access, no commitment required. You can also book a personal demo with our team to see how Testimonials work and everything else ShortPoint brings to the table.
Frequently Asked Questions
What are ShortPoint Design Elements?
ShortPoint Design Elements are pre-built, customizable content that ShortPoint Designers can insert into SharePoint pages using the ShortPoint Page Builder. This allows advanced design, layout, and functionality without writing any code. There are over 60 Design Elements to choose from, including News Cards, Accordions, Quick Links, Buttons, and so much more.
What are customer testimonials, and why are they important?
Customer testimonials are endorsements from satisfied customers highlighting positive experiences with your product or service. They serve as a powerful tool for building social proof and increasing credibility on your website or landing pages.
How can I add customer testimonials to my SharePoint page?
You can easily add customer testimonials in SharePoint using the Testimonial Design Element available in ShortPoint’s library. This element allows you to showcase positive feedback and success stories with customizable styles, colors, and layouts to fit your site’s branding.
What customization options are available for the Testimonial Design Element?
The Testimonial Design Element offers multiple customization options, including styles, colors, and advanced settings like shadows and blur effects. You can also add company logos and photos to create top-notch testimonials that enhance your marketing efforts.
Can I control the visibility of testimonial content on my SharePoint page?
Yes, using ShortPoint’s Visibility tab, you can control who sees specific testimonial content based on user roles, groups, or devices. This ensures personalized experiences for your audience and helps target the right audience with relevant customer feedback.
Related articles:
- How to Add an Online World Clock to SharePoint Sites Using the World Clock Design Element
- How to Embed Canva into SharePoint Using the Canva Design Element
- How to Create a FlipBox in SharePoint Using the FlipBoxes Design Element
- How to Create a Breadcrumb Navigation in SharePoint Online Using the Breadcrumb Design Element
- How to Create SharePoint Calendar Using the Calendar Design Element
- How to Create SharePoint Announcements Using the Announcement Design Element
