 Try ShortPoint now
Looking for more ways to manage your content? You’ve come to the right place! Starting from ShortPoint SPFx version 8.7.0.0 or later, you can now start adding SharePoint Metadata tags to your content, making it easier to organize your data when using the Search and Filter Toolbar.
This article will detail all you need to know about SharePoint Metadata tagging, including what it is, how to use it, and what options you can modify.
TABLE OF CONTENTS
Prerequisites
- You must have ShortPoint SPFx version 8.7.0.0 or later installed on your SharePoint environment.
- You must be a ShortPoint Designer with an active license.
- You must already have any of these ShortPoint Design Elements on your page: Date List, File List, Icon List, Image List, Events, Image Titles, Simple List, Tiles, Person Cards, FAQs, Toggles, Accordions, Icon Boxes, News Cards, or Quick Links. The Design Element must not be connected to any internal or external source.
What Is Metadata?
Metadata is the additional information you provide about a particular piece of content that further explains and describes it. Think of it as a detailed label or tag that provides context and characteristics about a piece of information without being the actual content itself, meaning it isn’t visible to your page viewers. To put it simply, it is defined as “data about data”.
In ShortPoint, adding metadata to your content makes it easier to organize it, especially if you’re using the Search & Filter Toolbar. While it is not visible to your users, it provides powerful structure and sorting capabilities in elements where grouping logic is crucial, making it an extremely useful addition to the Search & Filter Toolbar widgets.
The MetaData feature is available starting from ShortPoint SPFx version 8.7.0.0 or later. It is available for static (non-connected) ShortPoint Design Elements, including Date List, File List, Icon List, Image List, Events, Image Titles, Simple List, Tiles, Person Cards, FAQs, Toggles, Accordions, Icon Boxes, News Cards, or Quick Links.
Adding Metadata
Start the interactive tutorial to learn how to add metadata:
Step 1: Edit the ShortPoint Web Part
- Go to the SharePoint page you want to use and click Edit:

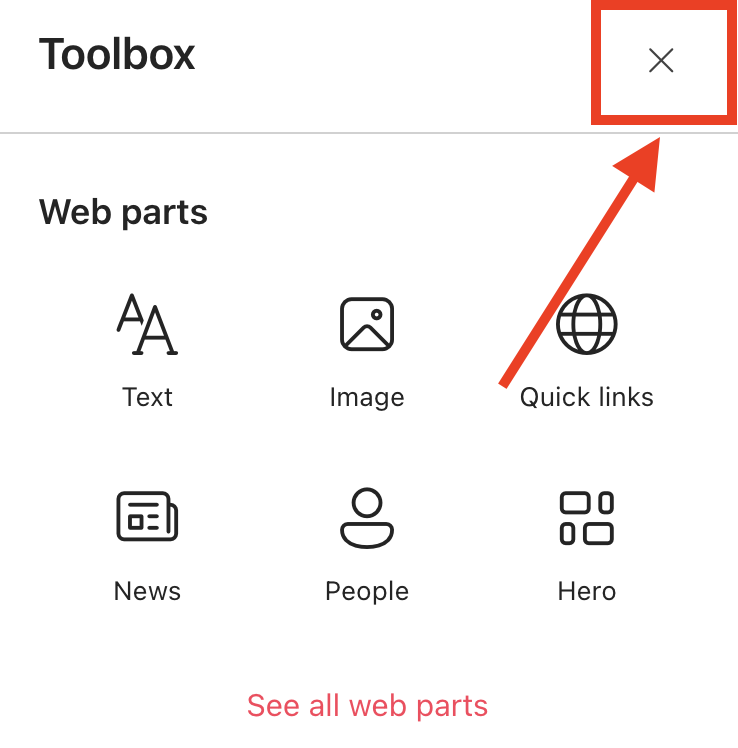
- Close the Toolbox:
- Click the Edit properties icon:

Step 2: Edit the Design Element
NOTEBefore proceeding make sure you have any of these static/non-connected Design Elements on your page: Date List, File List, Icon List, Image List, Events, Image Titles, Simple List, Tiles, Person Cards, FAQs, Toggles, Accordions, Icon Boxes, Person Cards, News Cards, or Quick Links.
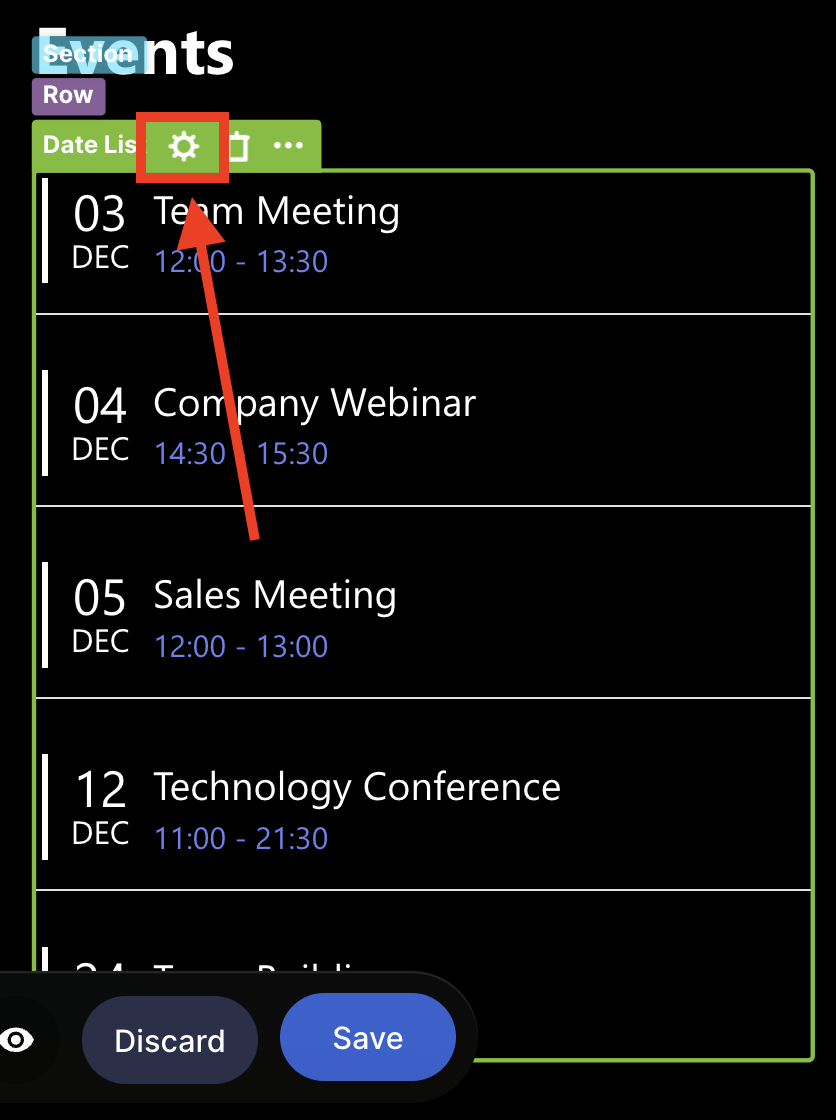
- For this guide, we’ll use Date List. Click its EasyPass tag:

- Select the cogwheel icon:
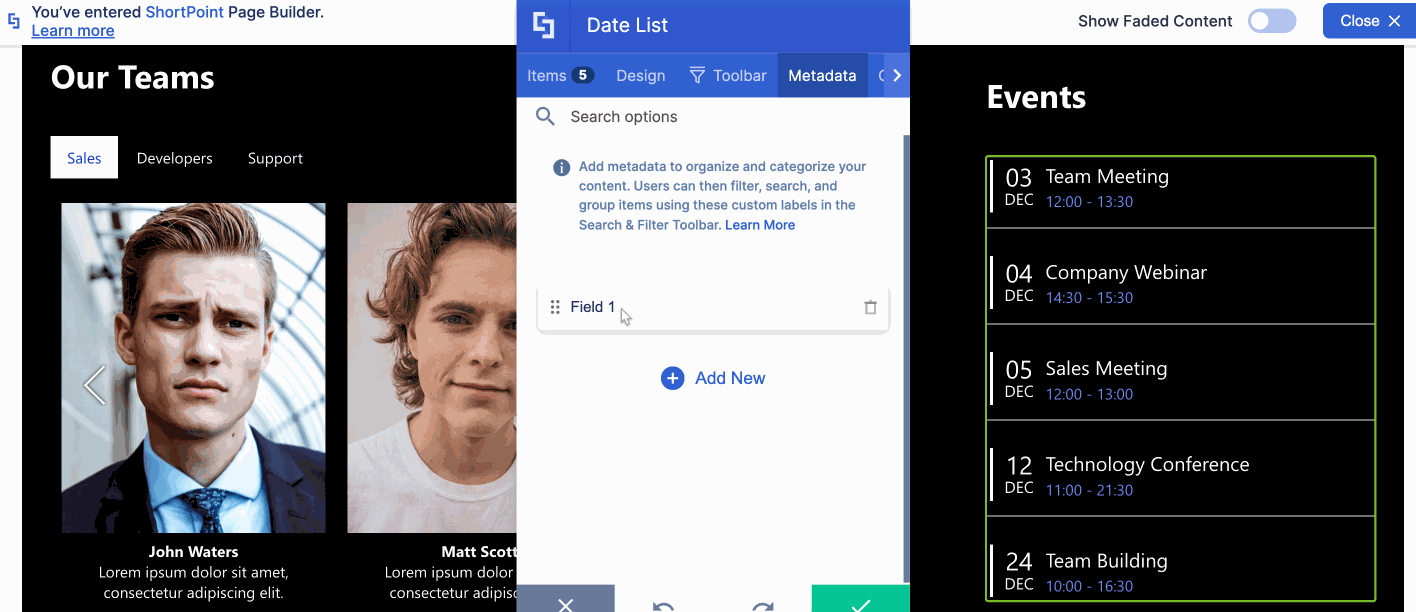
Step 3: Create a Metadata Field
- Go to the Metadata tab.
- Click Add New.
- Double-click the created field and write the name you prefer:
Step 4: Add Metadata to Each Item
NOTENow that you have created a Metadata field, you can add additional context to the items in your Design Element. The information you add will help further organize your data.
For this guide, we will use metadata to categorize the events we have in the Date List. We will categorize the events into three: Meetings, Webinars, and HR Events.
- Go to the Items tab.
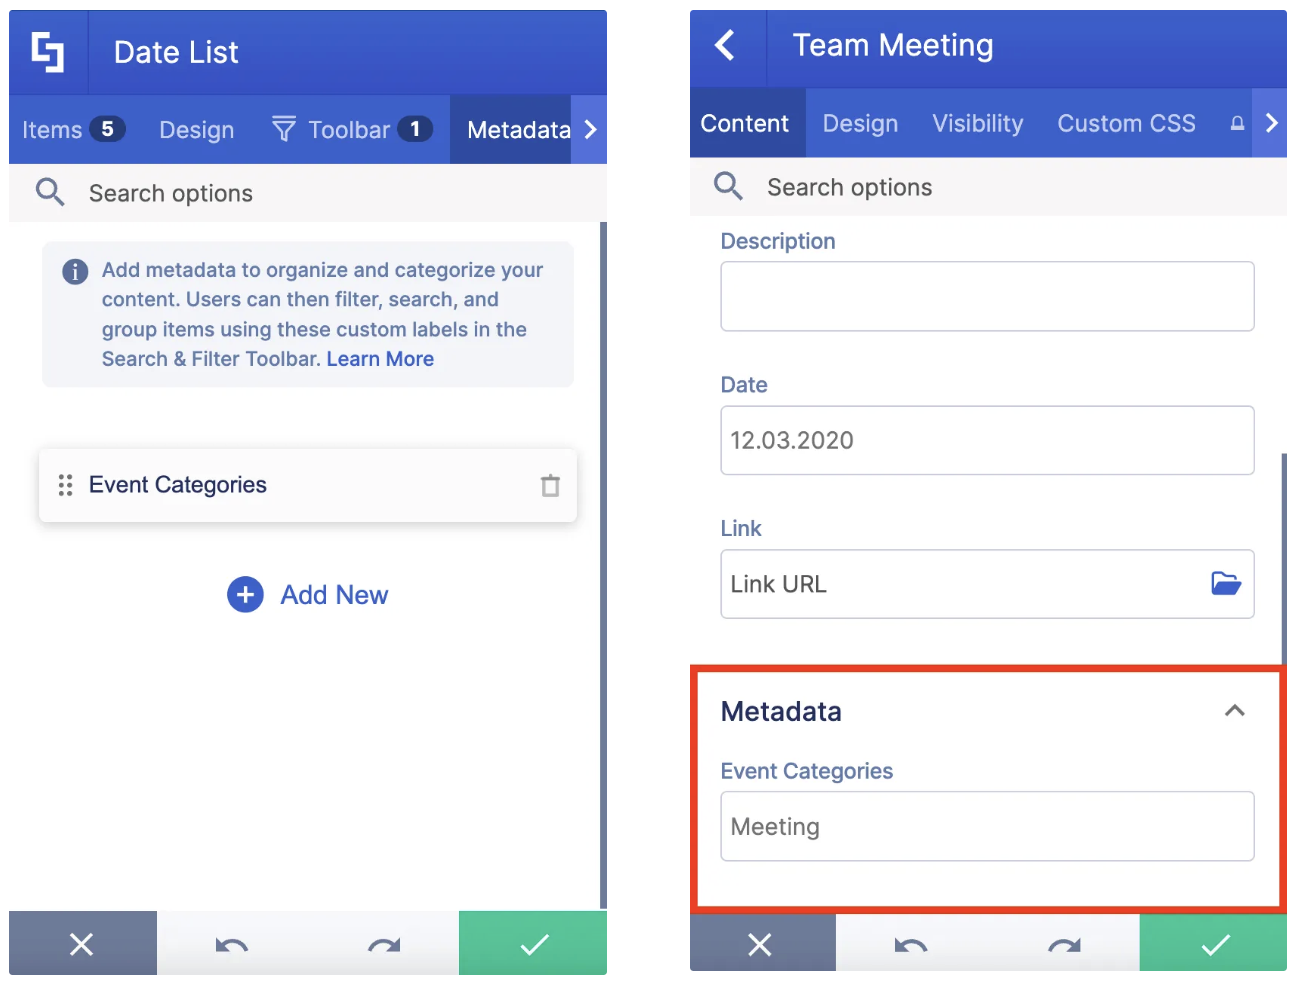
- Click the cogwheel icon of the first item:

- Select Metadata.
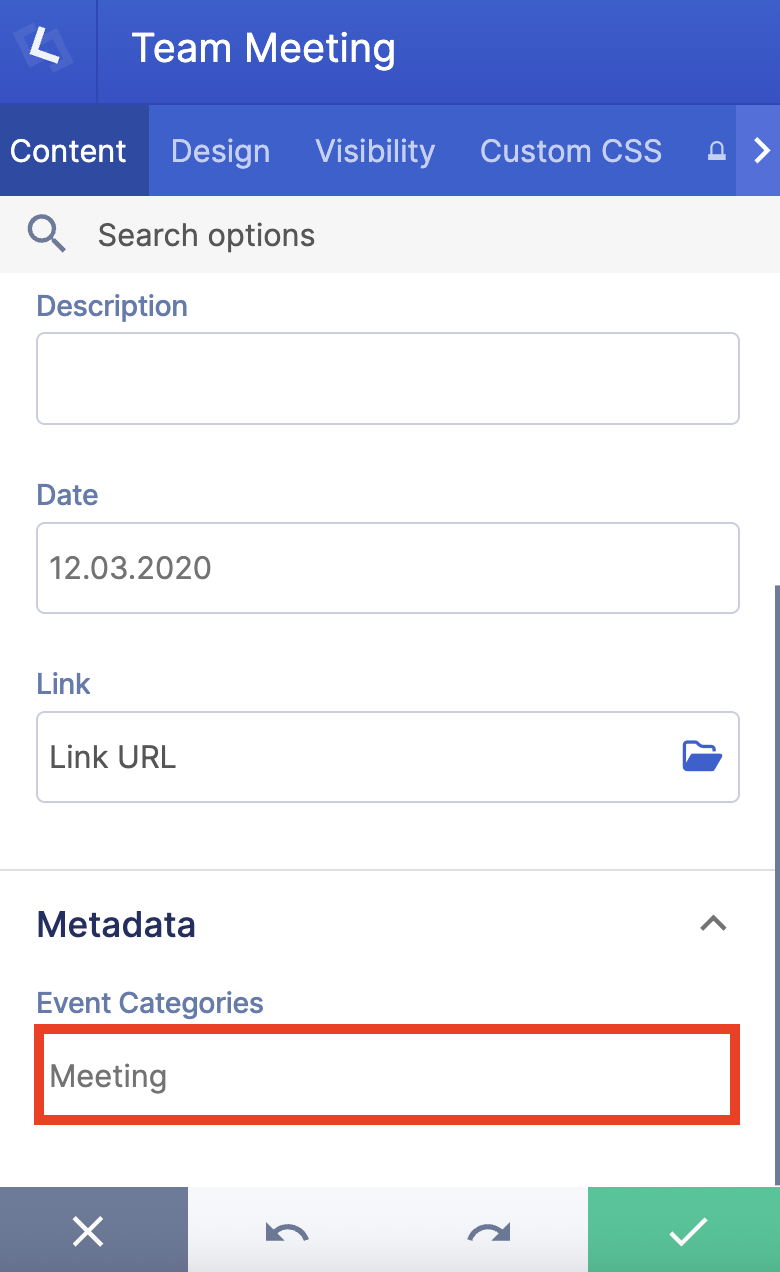
- Write the Metadata you want to use under the Metadata field you created in Step 3. As mentioned earlier, we will categorize our events into three: Meetings, Webinars, and HR Events. Since this event is a meeting, we will write 'Meeting':
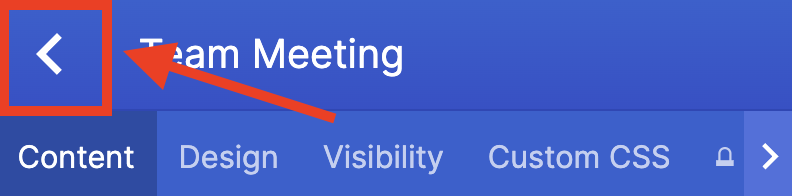
- Click the back icon:
- Repeat the same steps for the other items:

Step 5: Activate a Search & Filter Widget
- Go to the Toolbar tab.
- Select the widget you want to activate.
- Remove the default property:

- Select the name of the Metadata field you created in Step 3. In our case, it’s Event Categories:

- Customize the look of the widget according to your preferences.
- Click the green check mark once satisfied.
Step 6: Save
- Click the eye icon to see your page in real-time:

- Save your changes:

Congratulations! You now know how to add SharePoint Metadata tags to further manage your content.

Metadata Tab Features
Below are the options you can find inside the Metadata tab:
 | Add New | allows you to add a new Metadata field. |
 | Drag and drop icon | allows you to rearrange the order of the created Metadata fields. |
 | Trash icon | allows you to delete a Metadata field. |
Related articles:
- Search & Filter Toolbar: How to Use the Search Widget
- Search & Filter Toolbar: How to Use the Filter Widget
- Search & Filter Toolbar: How to Use the Sort Widget
- Search & Filter Toolbar: How to Use the Tabs Widget
- Search & Filter Toolbar: How to Use the Pagination Widget
- Search & Filter Toolbar: How to Use the Date Filter Widget
- How to Activate Multiple Search & Filter Toolbar Widgets
- How to Deactivate Active Search & Filter Toolbar Widgets
