Try ShortPoint now
NOTEThis element is not released yet! Please stay posted for a shortly upcoming release to receive it.
Creating a clean, visually appealing SharePoint page often comes down to the little details, like getting the spacing between your content just right. If you need to create breathing room between your page components, the ShortPoint Spacer Design Element is the perfect tool for the job.
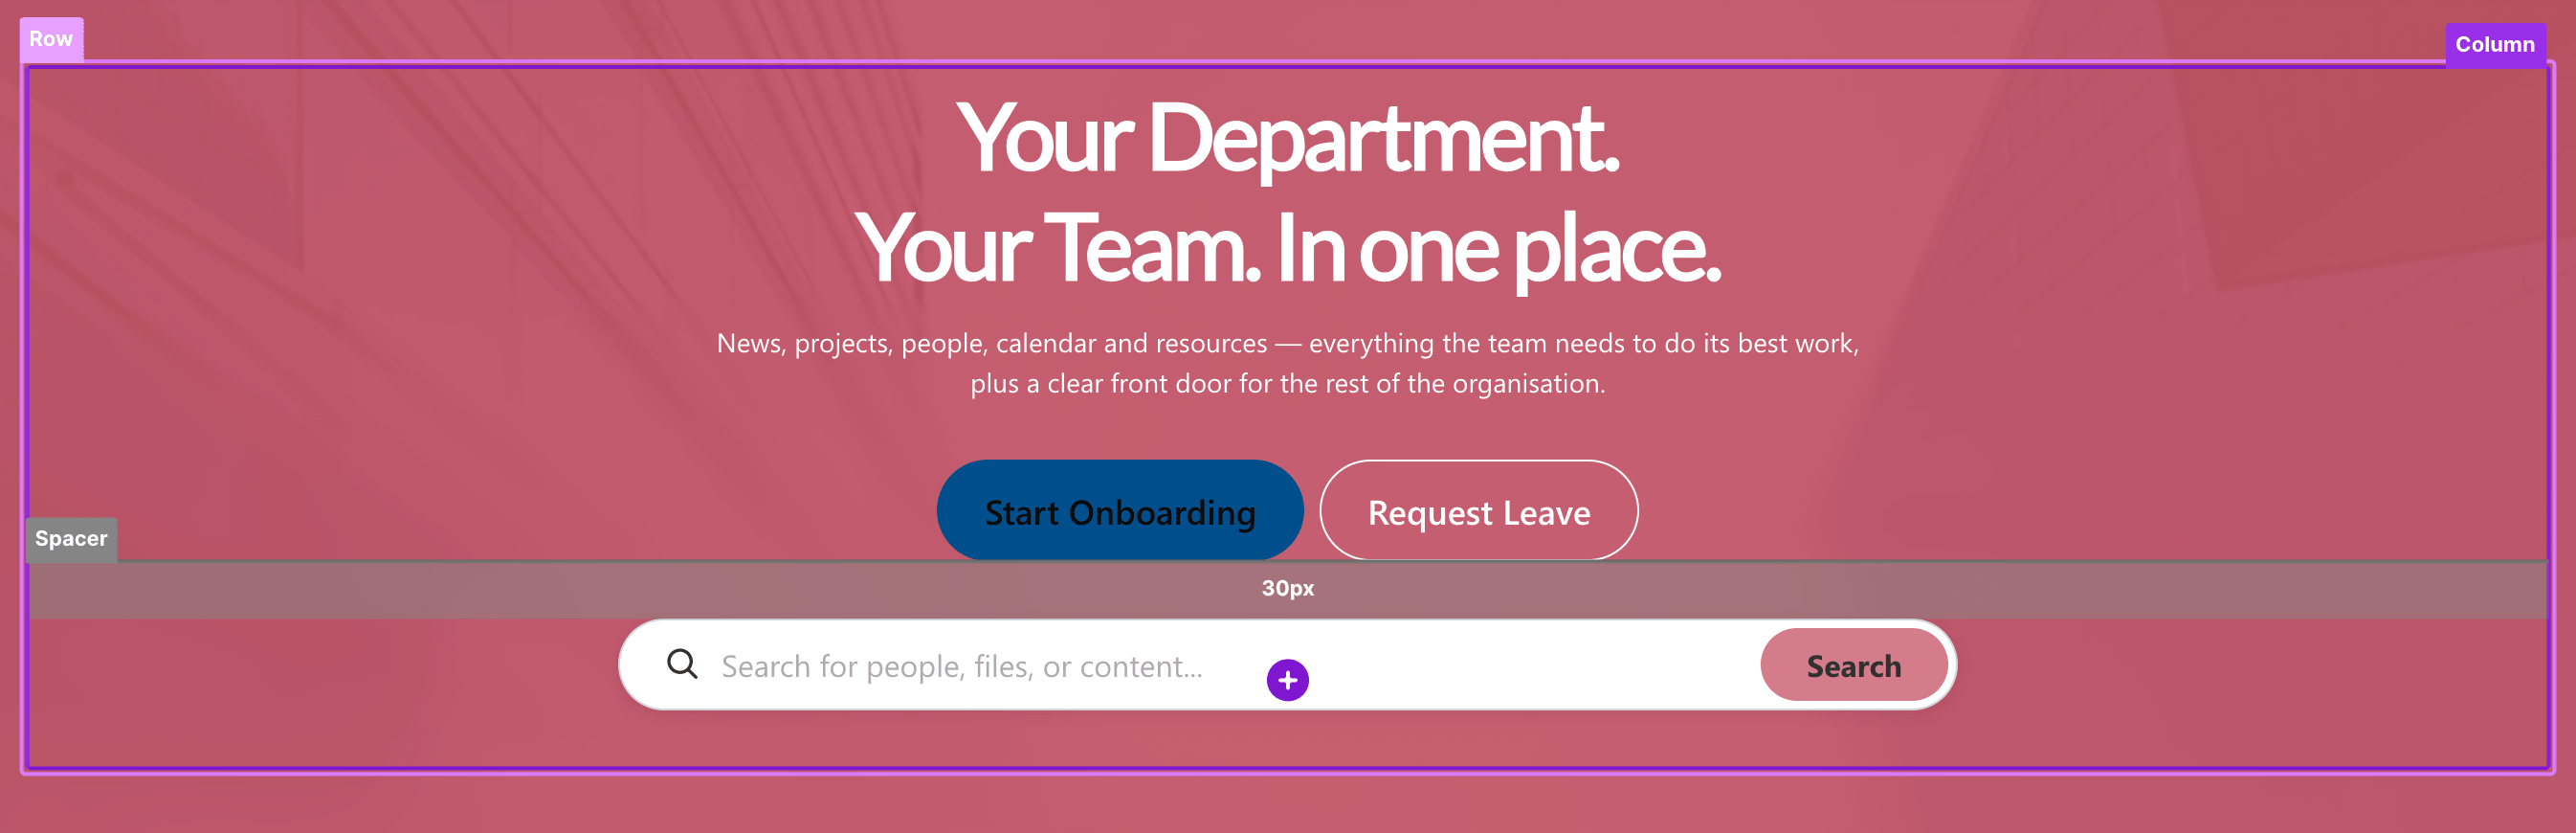
This step-by-step guide will help you understand what the Spacer Design Element is and walk you through how to add and customize spacing on your pages.
TABLE OF CONTENTS
- Prerequisites
- What is the Spacer Design Element?
- Adding Spacer
- Adjusting Spacer Height
- Spacer Features
- Frequently Asked Questions
Prerequisites
- You have the latest version of ShortPoint SPFx installed in your SharePoint environment.
- You are a ShortPoint Designer with an active license.
What is the Spacer Design Element?
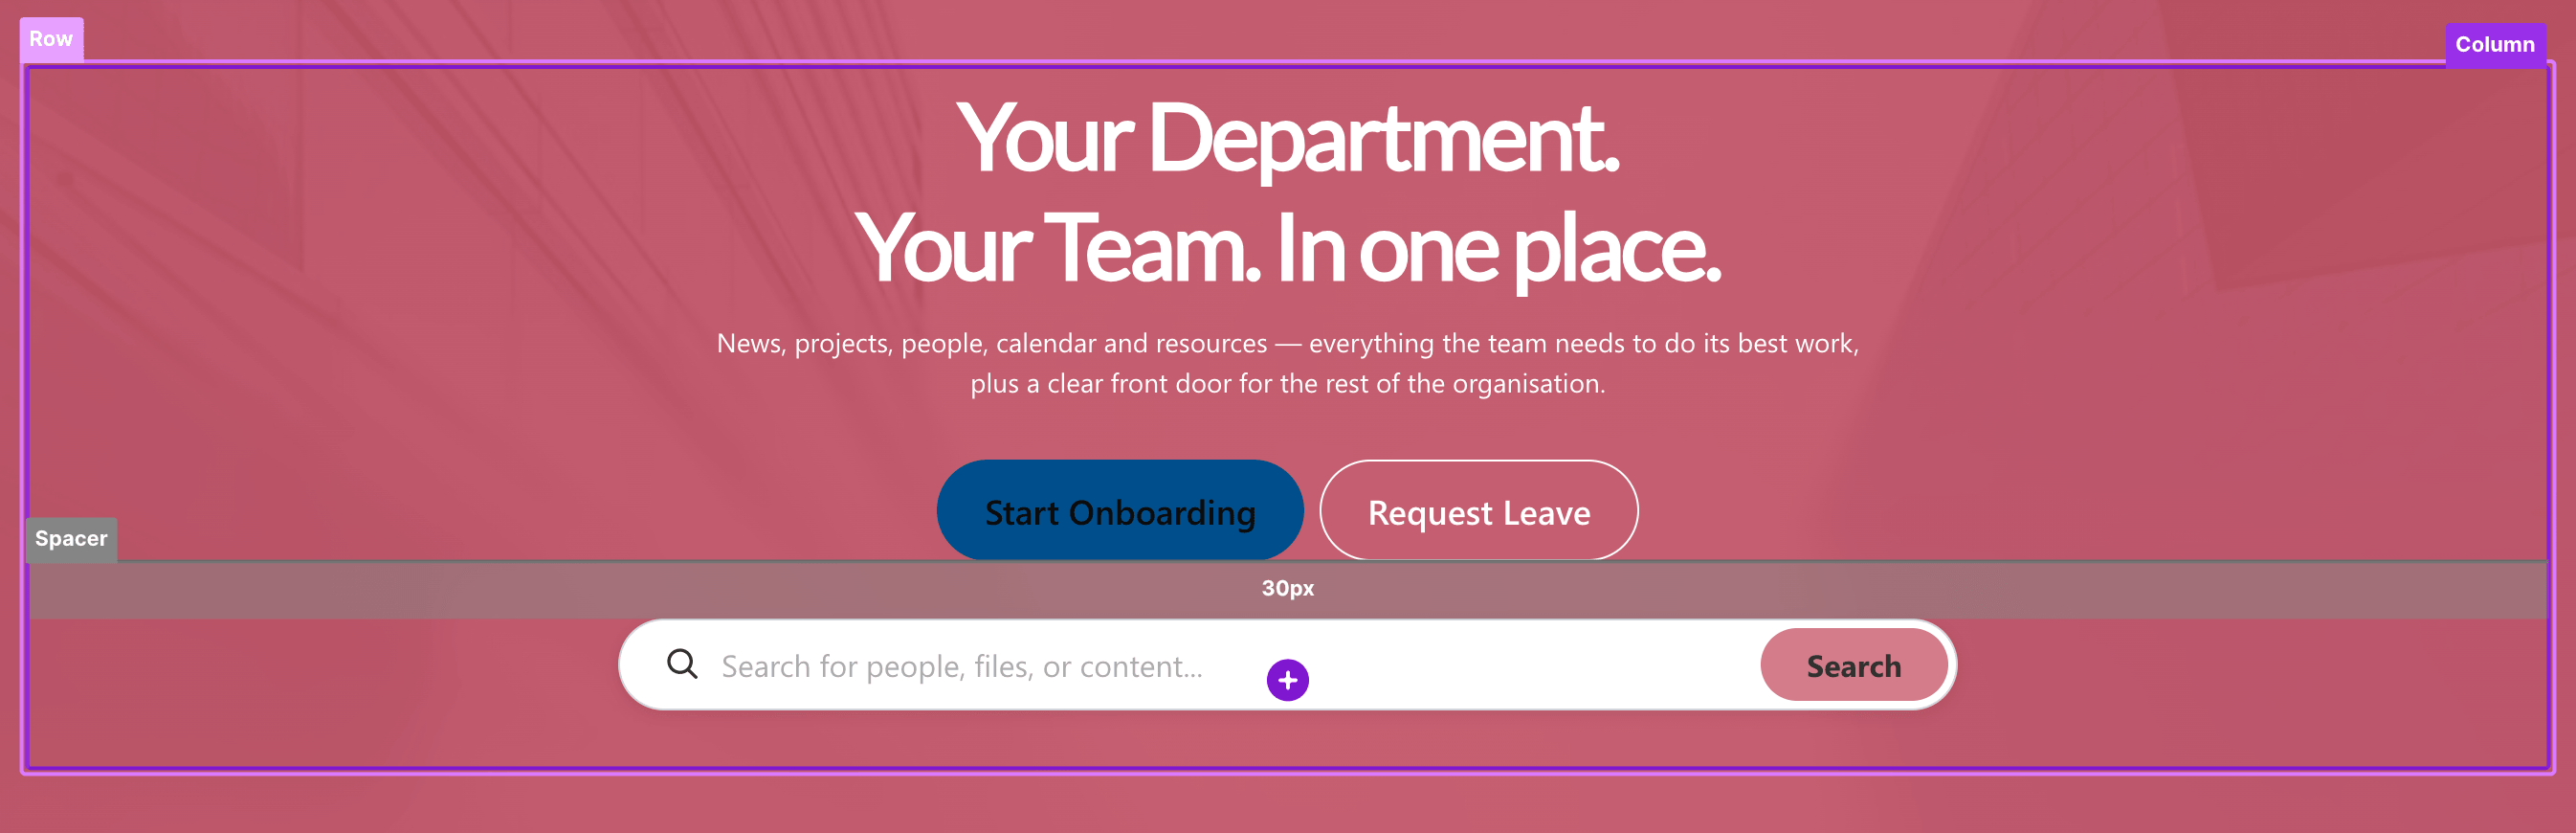
The Spacer Design Element is a lightweight, customizable design component in ShortPoint that allows you to control spacing between other page elements. You can access it from the library of Design Elements starting from ShortPoint SPFx version x.x.x.x.
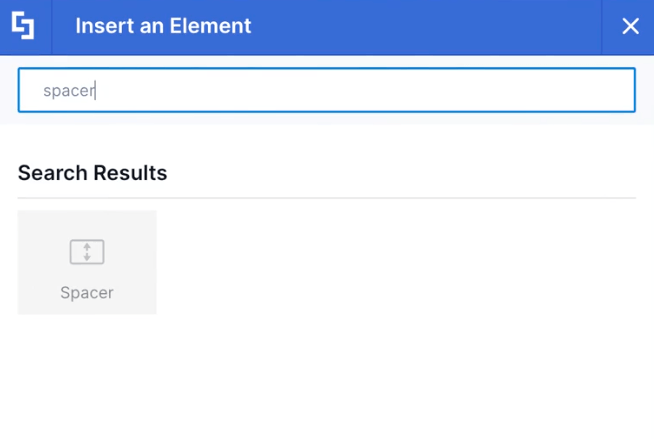
Instead of relying on empty text, the Spacer lets you set exact pixel heights to keep your layouts neat, readable, and consistent.
Adding Spacer
There are three ways to add the Spacer Design Element; choose the option that suits you.
NOTEThe minimum value for the Spacer Design Element is 5px.
OPTION 1: Right-Clicking an Element
This option will show you how to add and customize the Spacer Design Element by right-clicking a Design Element.
Step 1: Edit the ShortPoint web part
- Edit the SharePoint page.
- Close the SharePoint Toolbox.
- Hit the Edit properties icon.
Step 2: Add Spacer
- Hover over a Design Element and right-click it.
- Select Add Spacer.
- Choose whether to add the spacer before or after the Design Element.
- Adjust the space to your liking.
- Click the green check mark.
That’s it! You now know how to add the Spacer Design Element.
OPTION 2: Using the EasyPass Tag
This option will show you how to add and customize the Spacer Design Element using the EasyPass tag:
Step 1: Edit the ShortPoint web part
- Edit the SharePoint page
- Close the SharePoint Toolbox
- Hit the Edit properties icon:
Step 2: Add Spacer
- Click the EasyPass tag of the Design Element where you want to add the Spacer Design Element in between.
- Click the ellipsis icon.
- Select Add Spacer.
- Choose whether to add the spacer before or after the Design Element.
- Adjust the height of the Spacer to your liking.
- Click the green check mark.
Awesome! You now know how to add the Spacer Design Element using the EasyPass tag.
OPTION 3: Using the Library of Design Elements
This option will show you how to add and customize the Spacer Design Element using the Library of Design Elements:
Step 1: Edit the ShortPoint web part
- Edit the SharePoint page:
- Close the SharePoint Toolbox:
- Hit the Edit properties icon
Step 2: Insert the Spacer Design Element
- Navigate to the space where you want to add the Spacer Design Element.
- Click the purple plus icon.
- Search for the Spacer Design Element and select it.
- Adjust the height of the Spacer.
- Press the green check mark to complete the process.
Step 3: Move the Spacer
- To move the Spacer, hover over it and right-click.
- Then, click Move Element.
- Choose whether you want to move the Spacer up or down.
- Repeat the process if you need to move it up or down a few more levels.
Great work! You now know how to add the Spacer Design Element using the library of Design Elements.
Adjusting Spacer Height
There are four ways to customize the height of the Spacer Design Element. Let’s go through each one.
Option 1: via Slider
- Select the EasyPass tag of the Spacer.
- Click the cogwheel icon.
- Then use the slider to increase the height in px or %.
- Click the green check mark.
Option 2: via up or down arrows
- Select the EasyPass tag of the Spacer.
- Click the cogwheel icon.
- Use the up or down arrow to adjust the height.
- Click the green check mark.
Option 3: via Hot Actions
- Hover over the Spacer Design Element.
- Drag the gray highlight to your desired value.
Option 4: Manually writing values
- Hover over the Spacer Design Element.
- Double-click the number inside the Spacer.
- Type the value you desire.
- Hit Enter.
Spacer Features
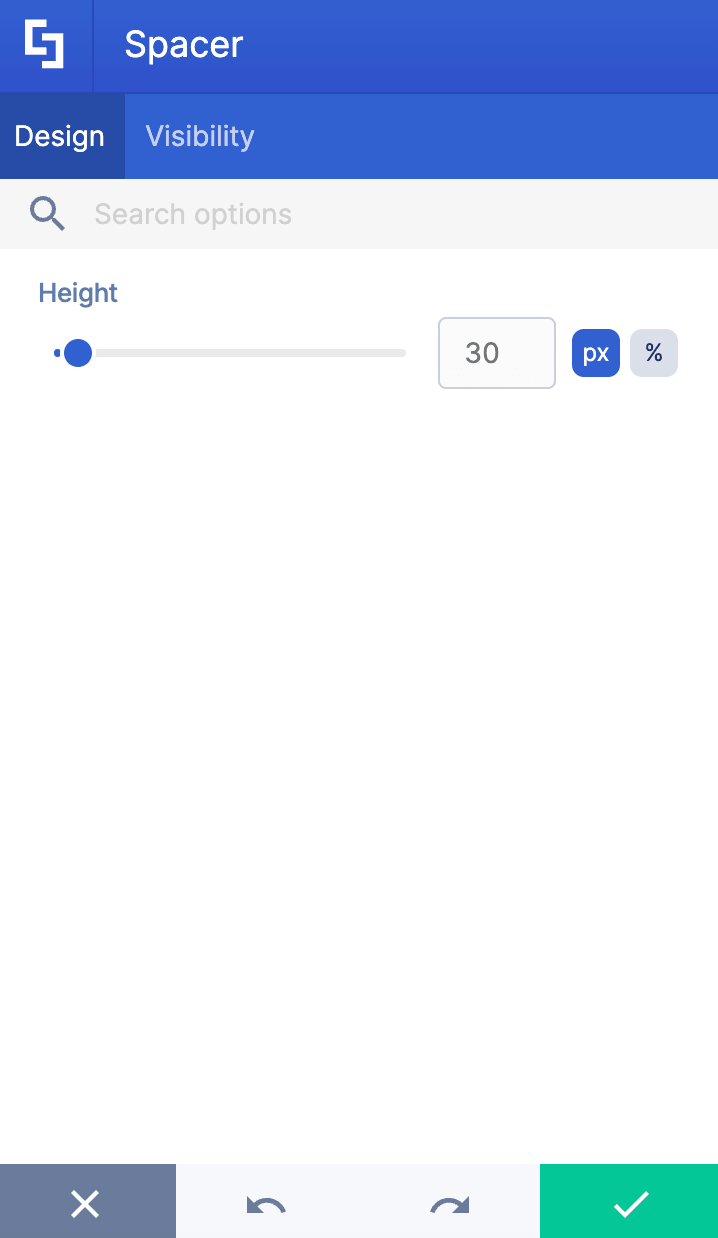
Below are the options available when you open the Spacer Settings window:
A. Design Tab
The Design tab allows you to adjust the height of the Spacer.
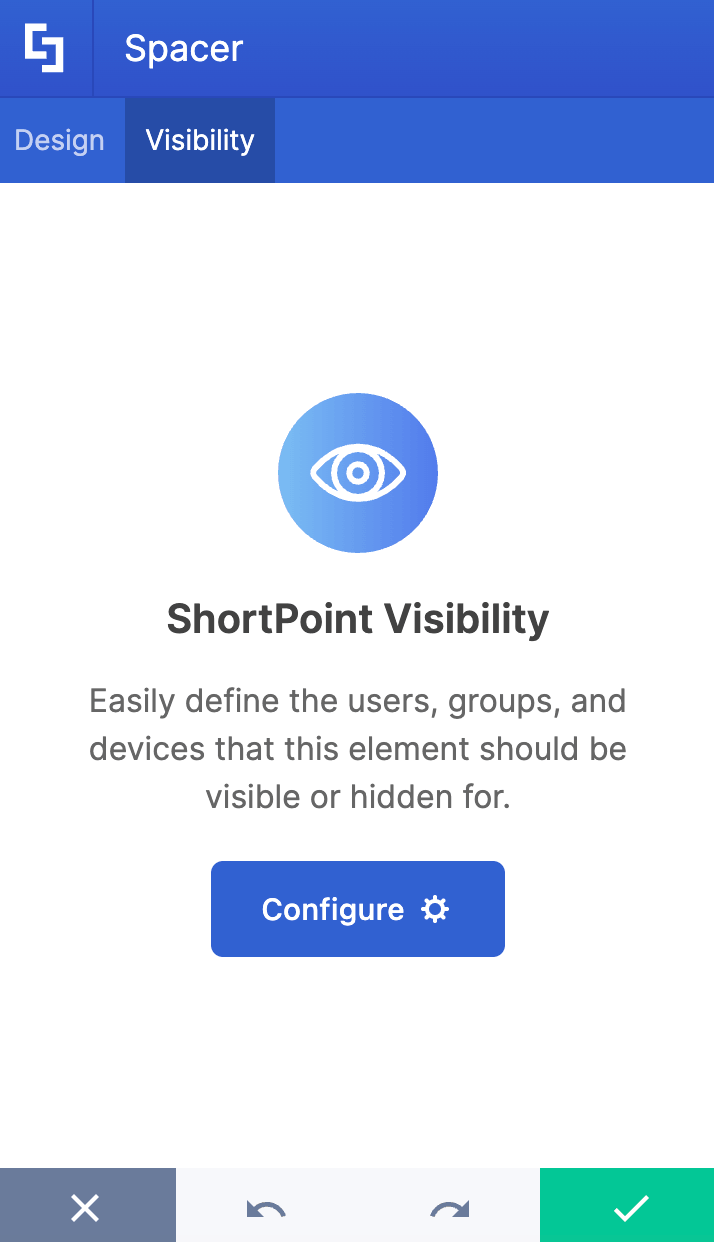
B. Visibility Tab
The Visibility tab allows you to control who can see the Design Element and where it can be seen. For more details, check out How to Use the ShortPoint Visibility Feature for Effective SharePoint Access Management.
Frequently Asked Questions
What is the Spacer Design Element in ShortPoint?
The Spacer Design Element is a lightweight, customizable component that allows you to control spacing between page elements in SharePoint. It helps create clean, readable layouts by setting exact pixel heights for spacing.
How can I add the Spacer Design Element to my SharePoint page?
You can add the Spacer Design Element in three ways: by right-clicking an existing Design Element and selecting "Add Spacer," by using the EasyPass tag of a Design Element, or by inserting it from the Library of Design Elements.
What is the minimum height for the Spacer Design Element?
The minimum value for the Spacer Design Element is 5 pixels.
How do I adjust the height of the Spacer Design Element?
There are four ways to customize the Spacer height: using a slider, using up/down arrows, dragging the gray highlight in Hot Actions, or manually typing the desired value.
Can I move the Spacer after adding it?
Yes, you can move the Spacer by right-clicking it, selecting "Move Element," and choosing to move it up or down as needed.
Related articles: