 Try ShortPoint now
Making your SharePoint intranet look both functional and beautiful is a balancing act. Often, you have a sea of text where critical details get lost, making it challenging to draw attention to key words that carry importance.
Enter the ShortPoint Emphasis Design Element. This Design Element breaks the monotony of standard text by highlighting a particular word or phrase with a pop of color, a unique font style, or a sleek background. This allows you to add emphasis and effectively communicate your message to capture the reader's attention.

TABLE OF CONTENTS
- Prerequisite
- Interactive Tutorial
- Step-by-step Tutorial
- Emphasis Features
- 4 Practical Use Cases
- Start Designing with the Emphasis Design Element
- Frequently Asked Questions
Prerequisite
- You have the latest version of ShortPoint SPFx installed on your SharePoint environment.
- You are a ShortPoint Designer with an active license.
What is the ShortPoint Emphasis Design Element?
The Emphasis Design Element is an Inline Design Element that allows you to wrap specific words in a customizable style to achieve extra emphasis. This Design Element improves the clarity and adds interest to a particular sentence.
When you use it, you’re not just changing text; you’re applying a mini-style to it. It’s also accessible directly from the Rich Text Editor, making it incredibly easy to use without touching a single line of CSS.
Interactive Tutorial
Click Get Started to see the two ways you can customize the Emphasis Design Element:
NOTECheck out Emphasis Features to learn more about the features you can customize.
Step-by-step Tutorial
Follow the option that best suits your needs:
Option 1: Using the Page Builder
ShortPoint has a library of Design Elements that ShortPoint Designers can add to their page. Follow along to learn how to insert the Emphasis Design Element using this option:
Step 1: Edit the ShortPoint Web Part
- Go to the SharePoint page you want to use and click Edit.

- Click the ShortPoint tag.
- Select the pencil icon.
Step 2: Insert the Emphasis Design Element
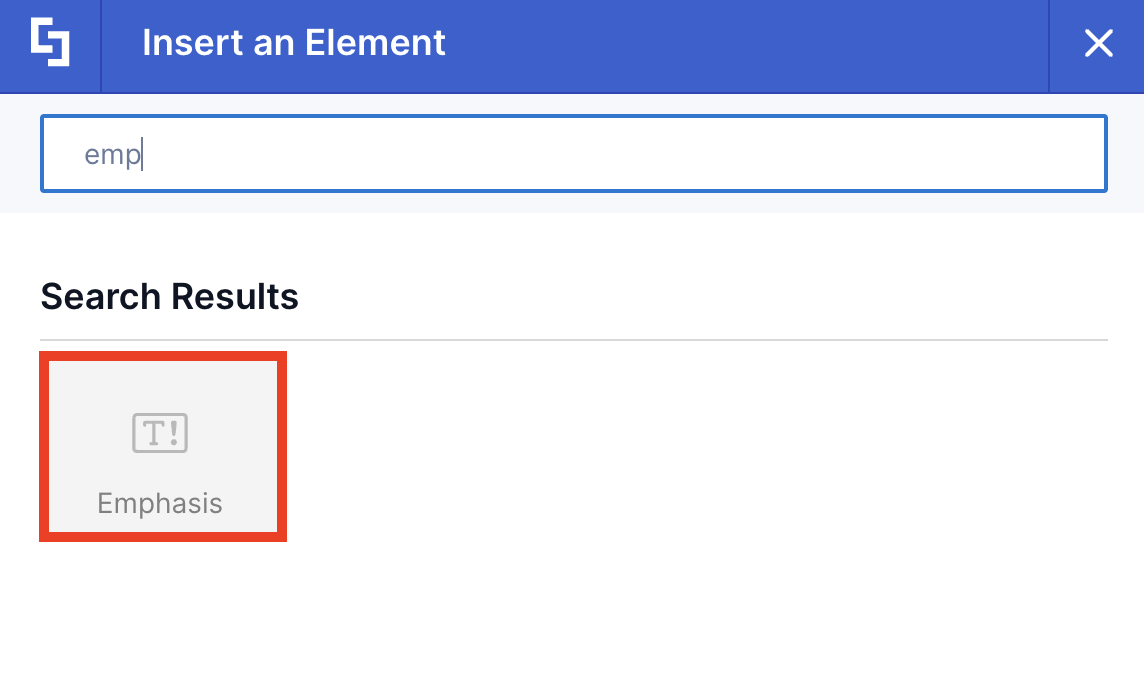
- Click the plus icon.
- Use the search box to look for Emphasis and click it.
Step 3: Add content
- Add Emphasis content.
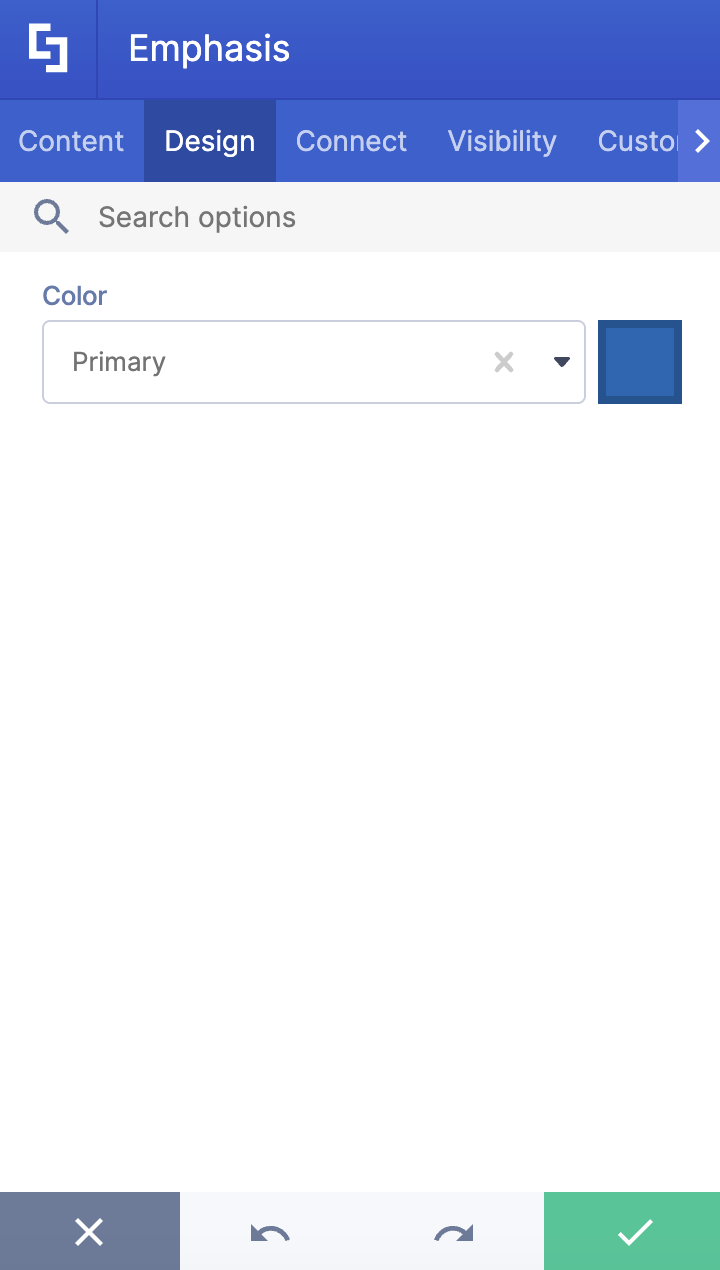
Step 4: Customize the Emphasis’ Design
- Navigate to the Design tab.
- Choose the Color of the Emphasis.
- Once satisfied, click the green check mark.
NOTECheck out Emphasis Features to learn more about the OOTB options you can customize.
Step 5: Save
- Then, click the eye icon to see your page in real-time.

- Click Save to apply all your changes.

Option 2: Using the Rich Text Editor
Emphasis is an Inline Design Element. This means that you can also insert it into your SharePoint page using the Rich Text Editor. Follow the steps to learn how to access it:
Step 1: Edit the ShortPoint Web Part
- Go to the SharePoint page you want to use and click Edit.

- Click the ShortPoint tag.
- Select the pencil icon.
Step 2: Insert the Emphasis Design Element
NOTEThe Rich Text Editor can be accessed in Design Elements with text editing features. This includes the Text Design Element and content-holder Design Elements like Alert, Tab, Panel, etc.
- Hover over the Text, double-click, and highlight the text you want to turn into an Emphasis.
- Click the ShortPoint icon.

- Select the Show emphasis icon.

Step 3: Customize the Emphasis
- Customize the Color of the Emphasis according to your preferences.
- Click Apply.
NOTECheck out Emphasis Features to learn more about the OOTB options you can customize.
Step 4: Save
- Then, click the eye icon to see your page in real-time.

- Click Save to apply all your changes.

Congratulations! You now know how to put emphasis on a word in your SharePoint sites. This will surely enhance clarity and communication in your SharePoint sites.
Emphasis Features
Below are the options you can find in the Emphasis Settings window and the Rich Text Editor:
Emphasis Settings Window
These are the options you will find if you used Option 1 to add the Emphasis Design Element:
A. Content tab
The Content tab allows you to edit the content inside the Emphasis.

B. Design tab
The Design tab allows you to customize the color of the Emphasis Design Element. You can do so by [1] writing the HEX code, [2] using the drop-down, or [3] using the color picker.

C. Connect Tab
The Connect tab allows you to link the Design Element to SharePoint sources (List, Document Library, News, etc.) and other external sources (Microsoft Graph API, Teams, Outlook, etc.). For more details about ShortPoint Connect, check out Basic Tutorial: How to Establish Seamless SharePoint Connection with ShortPoint Connect.

D. Visibility Tab
The Visibility tab allows you to specify who can see the Design Element and what type of devices it can be shown on. For more details, check out How to Use the ShortPoint Visibility Feature for Effective SharePoint Access Management.

E. Custom CSS Tab
This tab allows you to use your own CSS, HTML, and Javascript code to customize the Emphasis Design Element.
NOTECheck out our support article on How to Insert Custom CSS into a Page Builder Element? (Basic Tutorial) to know more about Custom CSS.

Emphasis Rich Text Editor Options
These are the options you will find if you used Option 2 to add the Emphasis Design Element:

 | Emphasis Content | allows you to modify the content of the Emphasis. |
 | Color | allows you to change the color of the Emphasis. |
4 Practical Use Cases
Let's explore four practical use cases of the ShortPoint Emphasis Design Element, demonstrating how it can be applied to improve the presentation of important information in your intranet.
Calling Out Deadlines in Project Portals
In a busy project management site, dates can easily blend in. Use the Emphasis element to highlight project milestones or submission deadlines. By using a "Caution Yellow" or "Urgency Red" background for a date like "Friday, Oct 27th," you ensure that stakeholders see the deadline the second they land on the page.
Labeling Document Status
If you’re displaying a list of policies or resources, use Emphasis tags to emphasize the status of a document. For example, you can wrap words like "New," "Updated," or "Archived" in different colored labels. This creates an immediate visual shorthand for users browsing a document library.
Creating "Action Words" in Instructions
When writing a "How-To" guide for employees, the Emphasis element can highlight the specific buttons they need to click. Instead of saying click the submit button, you can make it look like this: click the [SUBMIT] button. This mimics the look of the actual UI, making the instructions much more intuitive.
Highlighting Key Statistics in Newsletters
Sharing company wins? If you’re announcing that "Revenue grew by 25%," applying the Emphasis element to that percentage makes the achievement "pop." It’s a great way to guide the reader’s eye toward the "meat" of the story in a company announcement.
Start Designing with the Emphasis Design Element
Ready to make your SharePoint content more readable and engaging? The Emphasis element is a small but powerful Design Element that makes a massive impact on clarity, communication, and user experience in your business intranet.
Give it a try on your next page update! If you're already a ShortPoint Designer, simply follow the steps above. Not yet a ShortPoint Designer? Our ShortPoint experts can help you with that! Schedule a one-on-one demo with them or sign up for a FREE 15-Day Trial.
Frequently Asked Questions
Can I use multiple Emphasis elements in one paragraph?
Absolutely! You can apply it to as many individual words or phrases as you like. Just be careful not to overdo it. Remember, if everything is emphasized, nothing is!
Does it work with ShortPoint’s "Connect" feature?
Yes. If you are pulling data from a SharePoint list or an external source, you can use the Emphasis element within your text templates to ensure dynamic data (like a "Price" or "Category") is automatically styled when it appears on the page.
Is it mobile-responsive?
Yes, like all ShortPoint elements, the Emphasis Design Element is fully responsive. It will wrap and scale naturally with your text, ensuring it looks just as good on a smartphone as it does on a desktop.
Can I customize the colors to match my brand?
Definitely. You can choose from your site’s primary brand colors (defined in the Theme Builder) or enter a specific HEX code to get the exact shade you need.
Related articles:
