 Try ShortPoint now
This article will demonstrate how to show like counts in a connected SharePoint List using the REST API connection type.
NOTEThis solution is only applicable for SharePoint Lists located in Modern Team sites. If you are using a SharePoint List from a Modern Communication Site, this solution will not be possible.
TABLE OF CONTENTS
Prerequisites
- You must have the latest version of ShortPoint SPFx installed on your SharePoint environment.
- You must be a ShortPoint Designer with an active license.
- You must have a SharePoint List in a Modern Team site:

- You must already have the Design Element you want to use to connect on your SharePoint page. You can use any Design Element, but we recommend Design Elements that allow the listing of multiple items, such as Simple List, Icon List, Tiles, etc.
Step-by-step Tutorial
The steps have been divided into two parts. Follow the steps closely to learn how to show like counts:
Part 1: Enable Like Counts
This section will show how to enable liking items in SharePoint Lists.
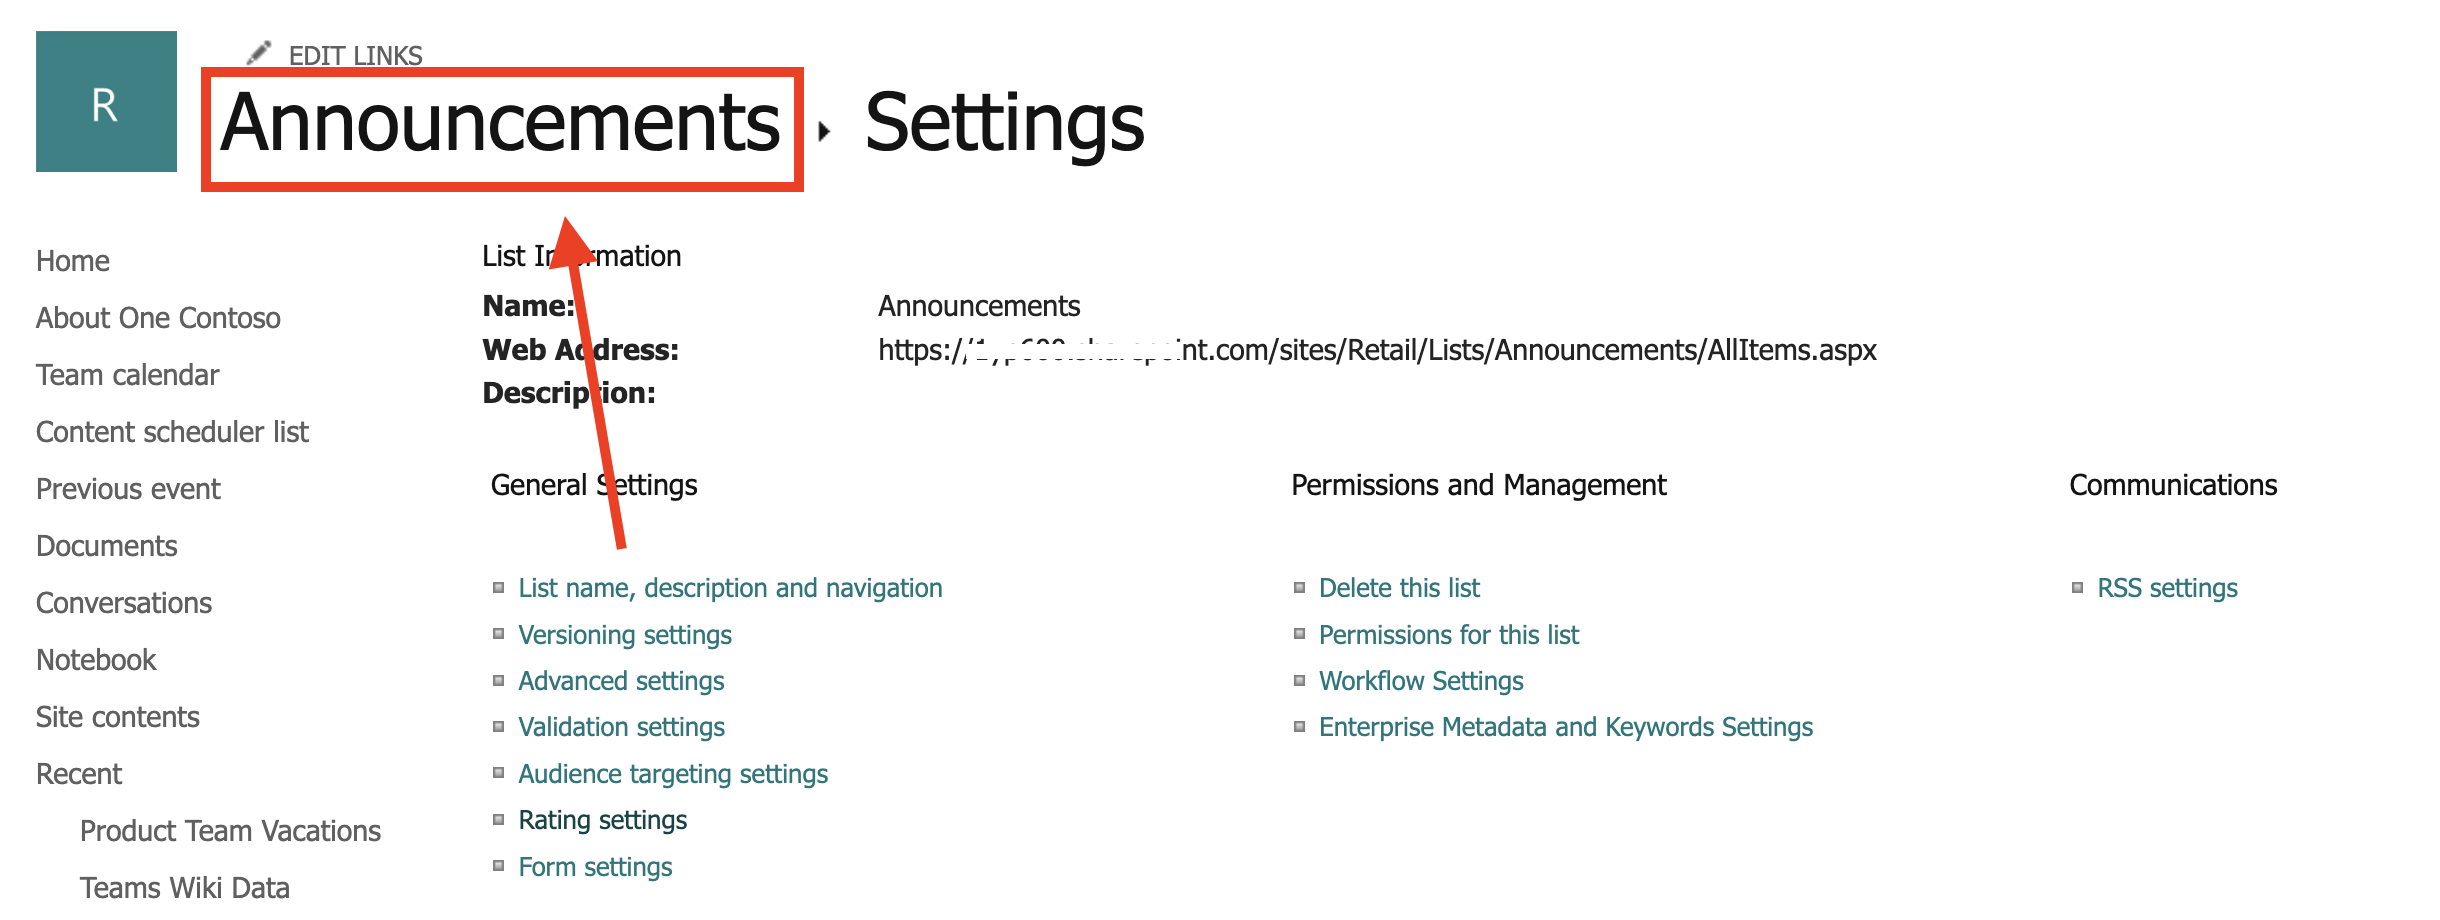
Step 1: Open Rating Settings
Go to the SharePoint List you want to use and click the cogwheel icon:
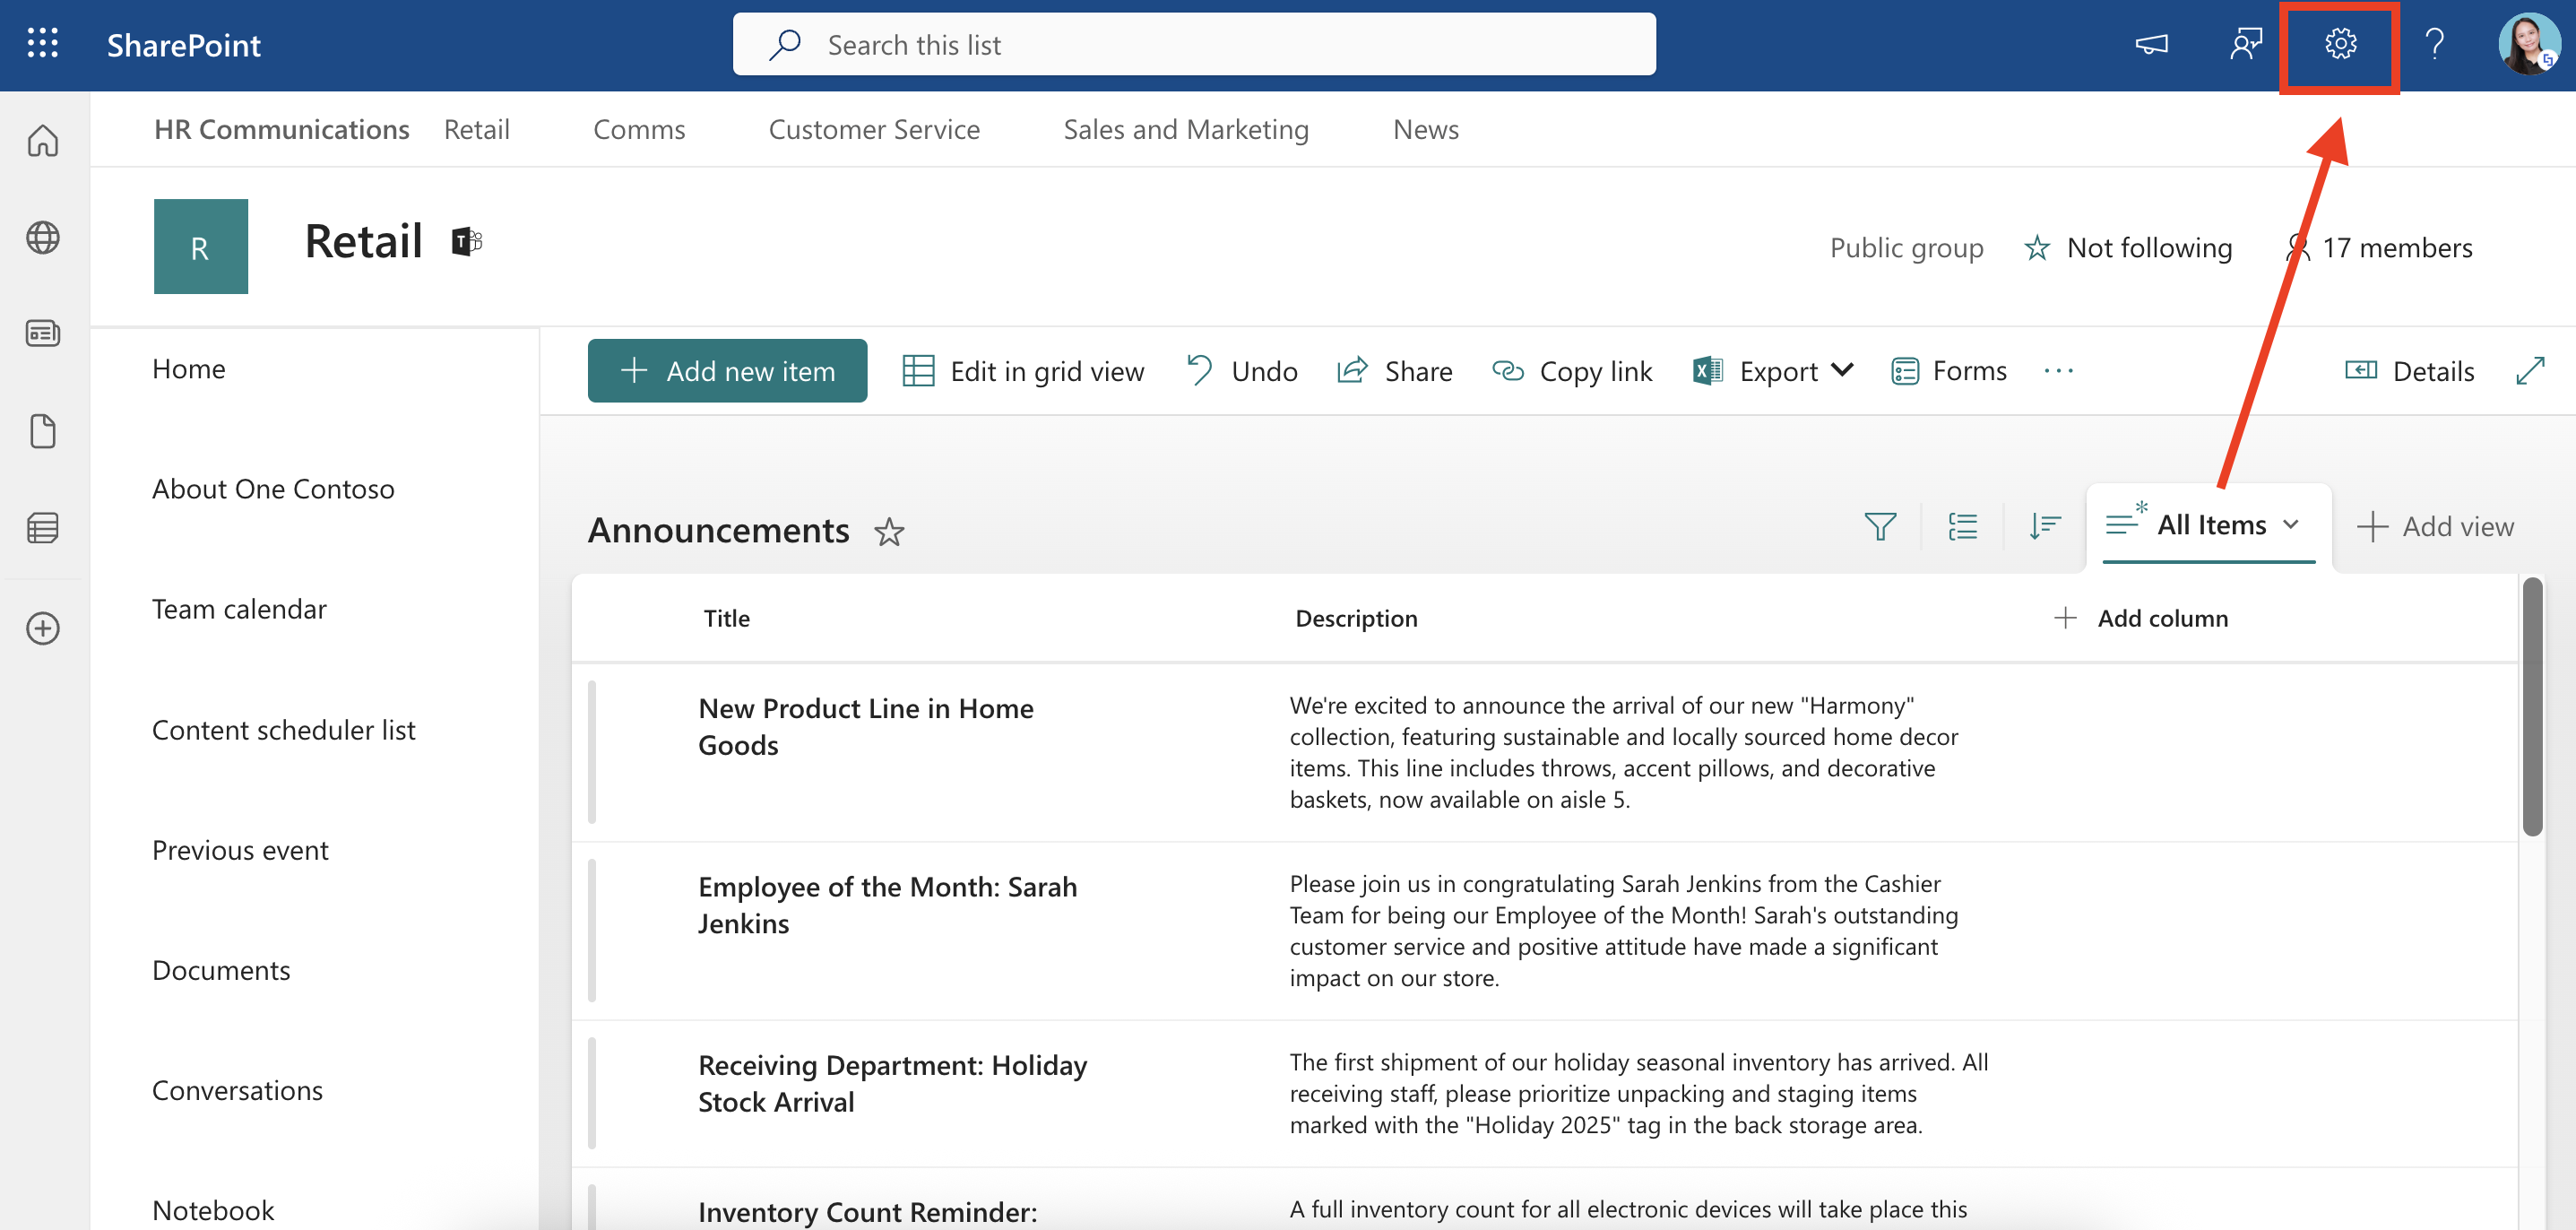
Select List settings:

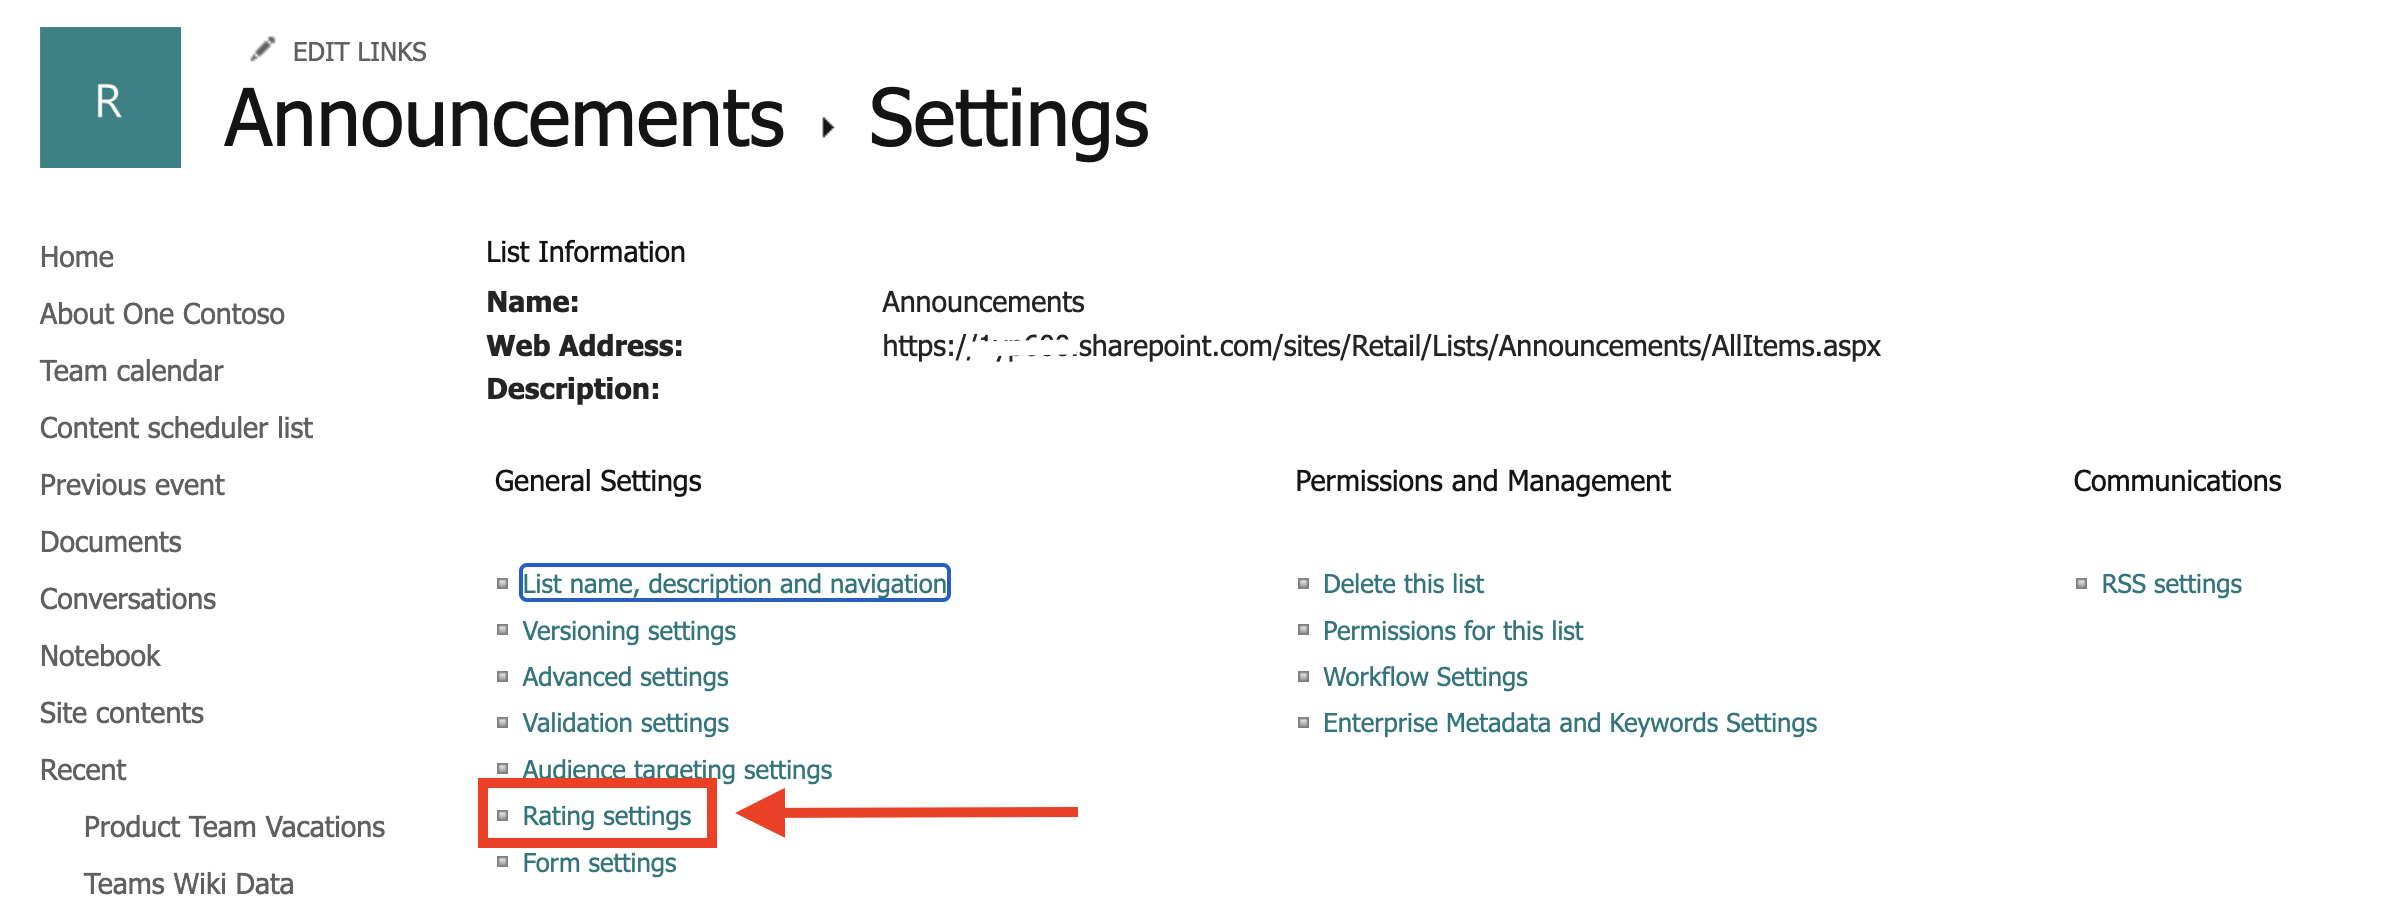
Click Rating Settings:
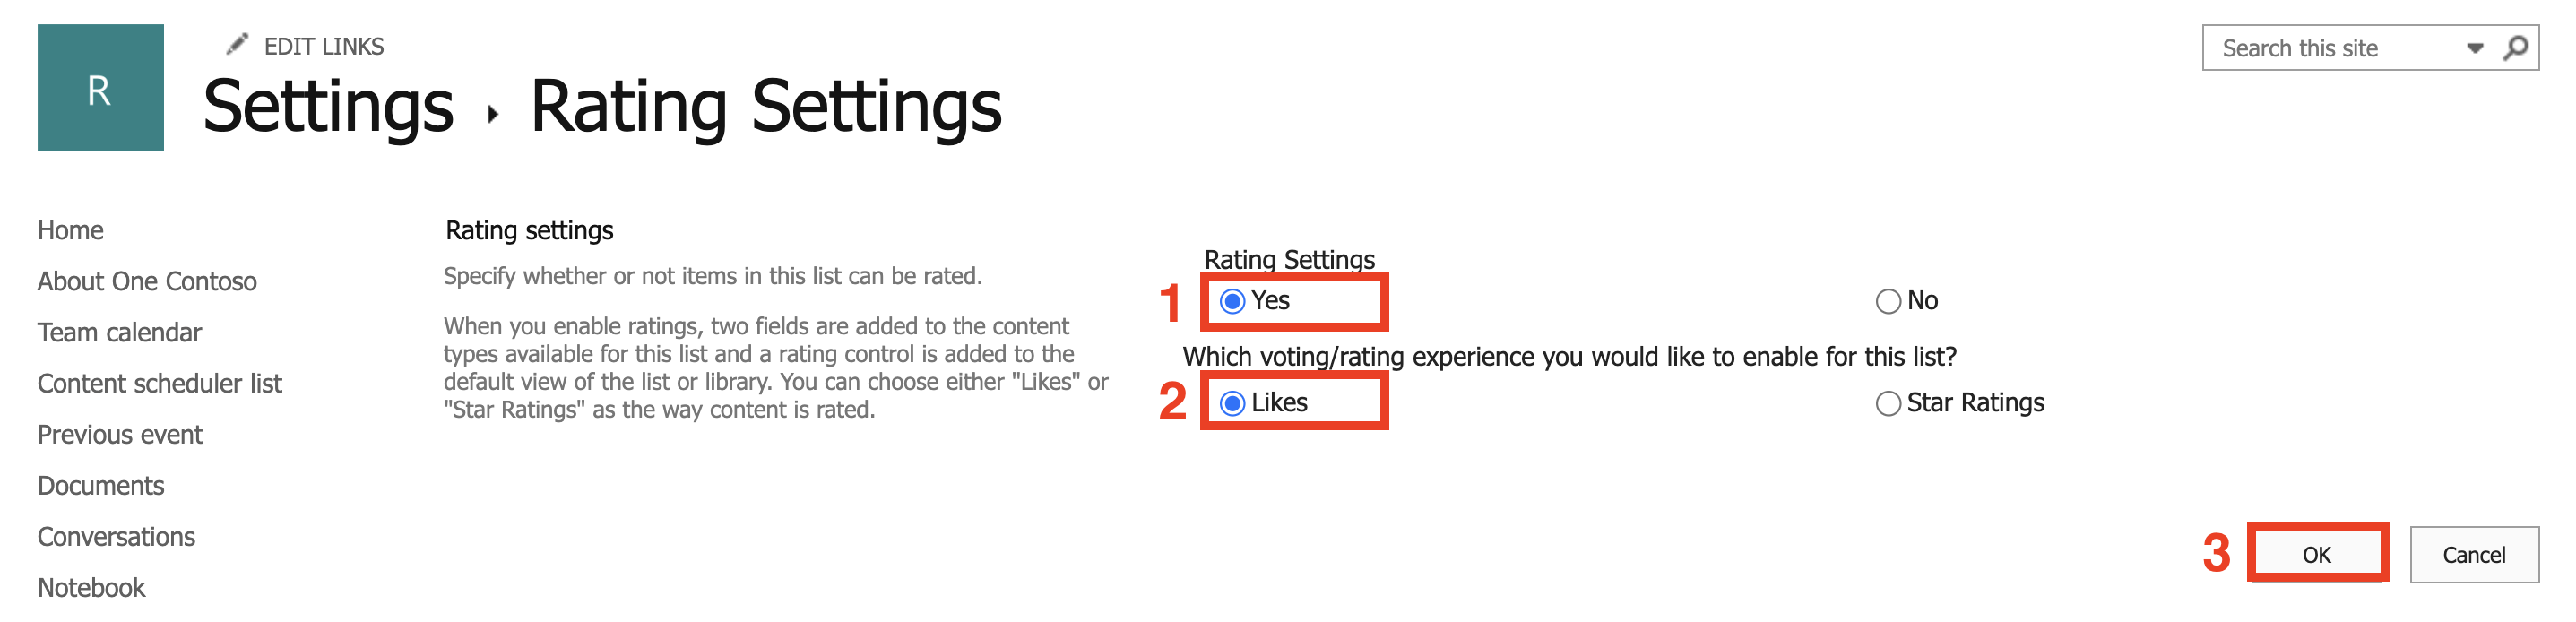
Step 2: Enable Ratings
Select the following settings
- Yes
- Likes
- OK
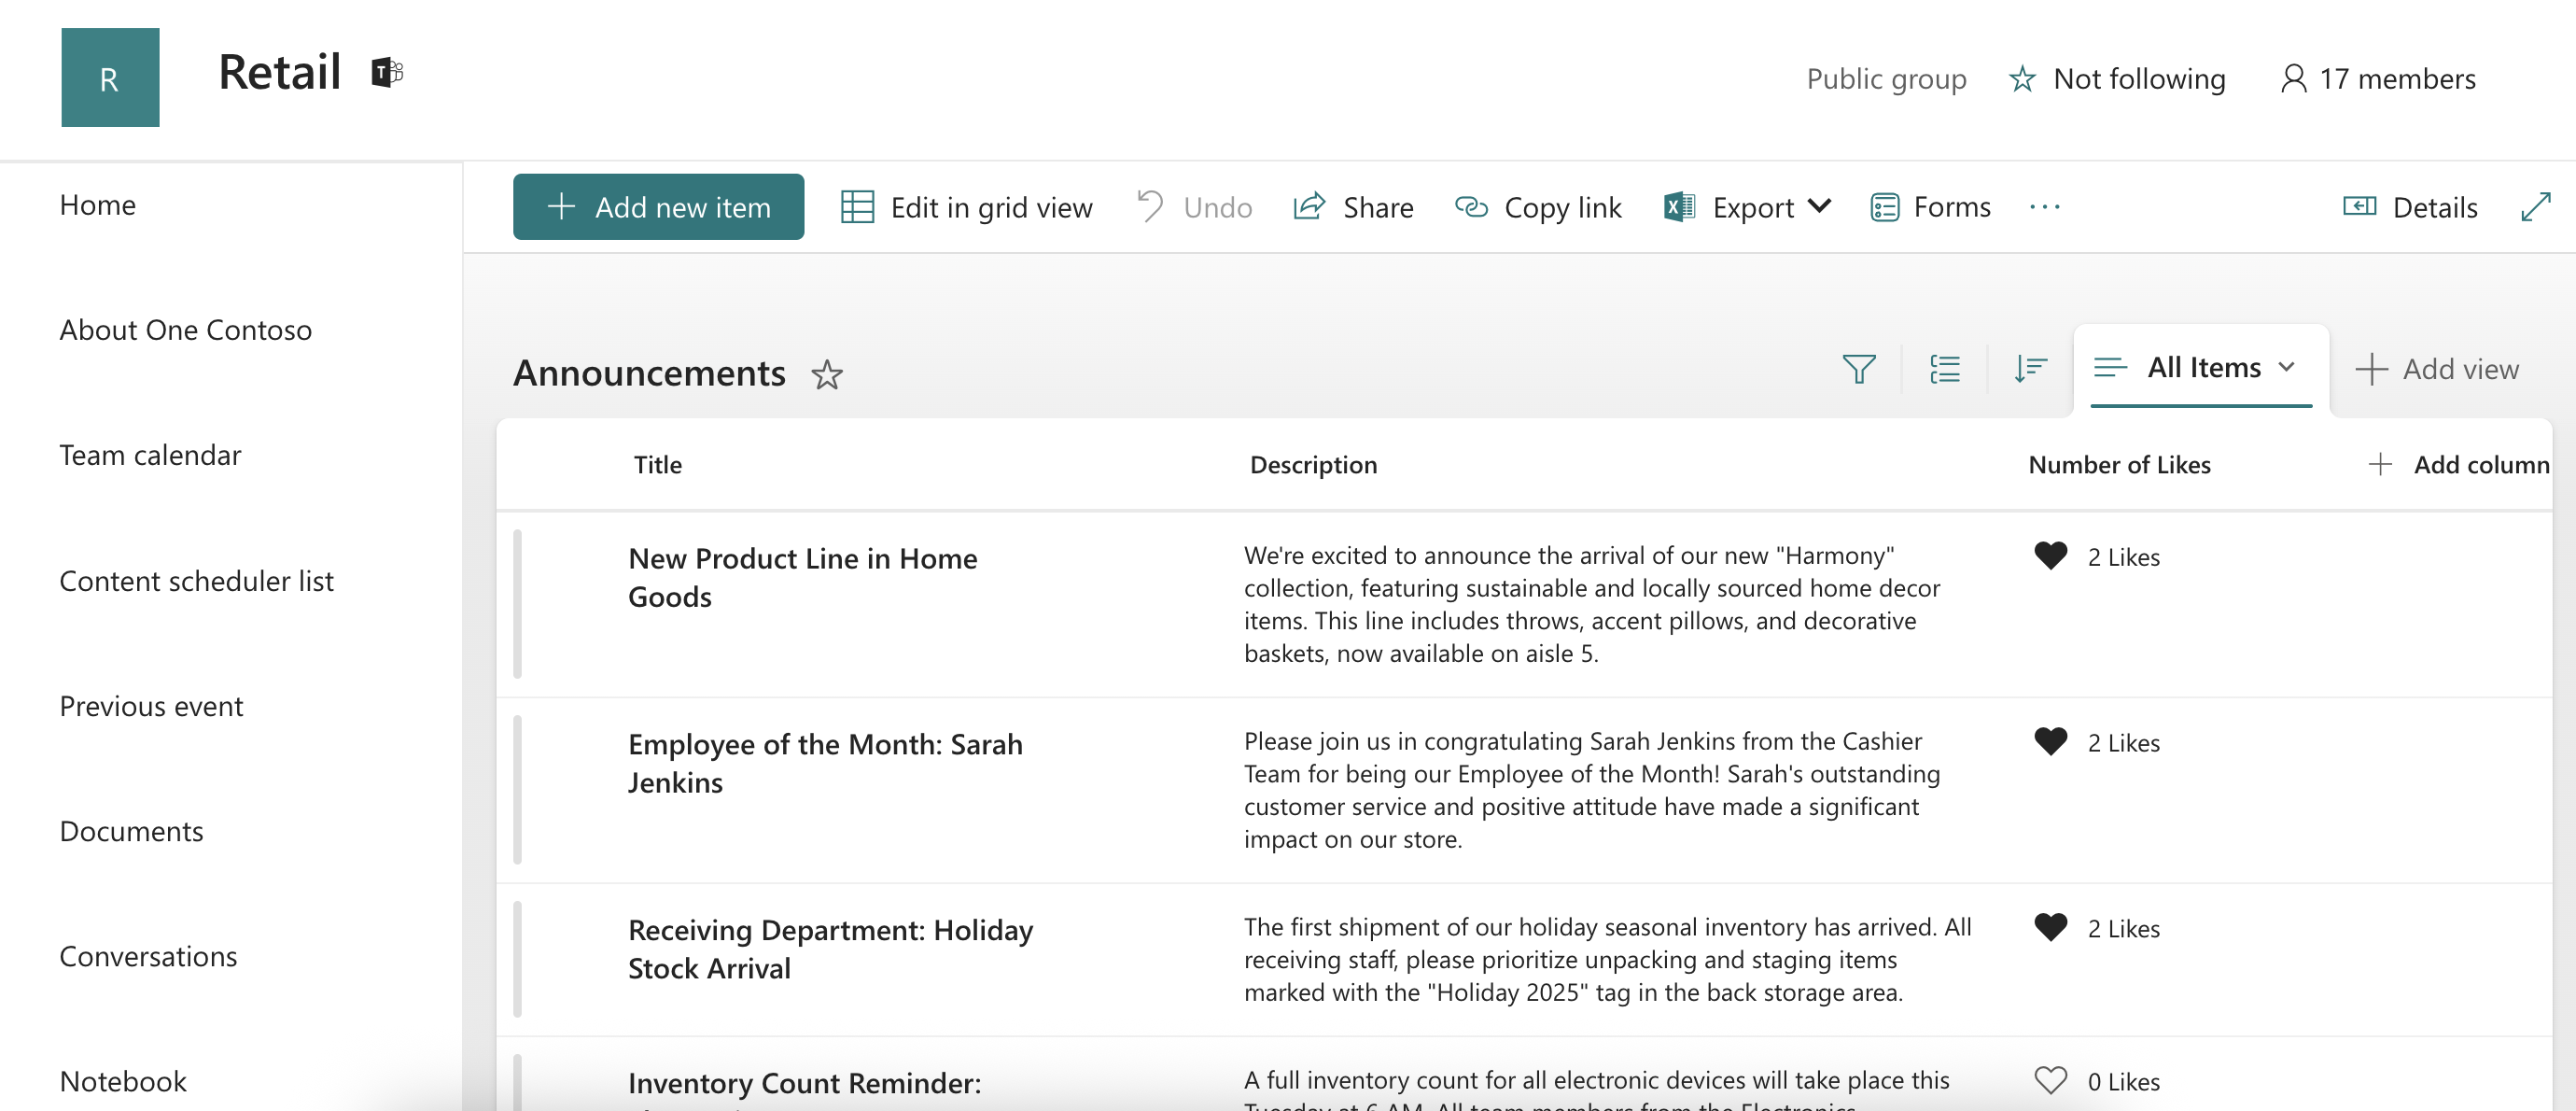
Step 3: Start Liking
Click the name of your SharePoint list to go back to it:
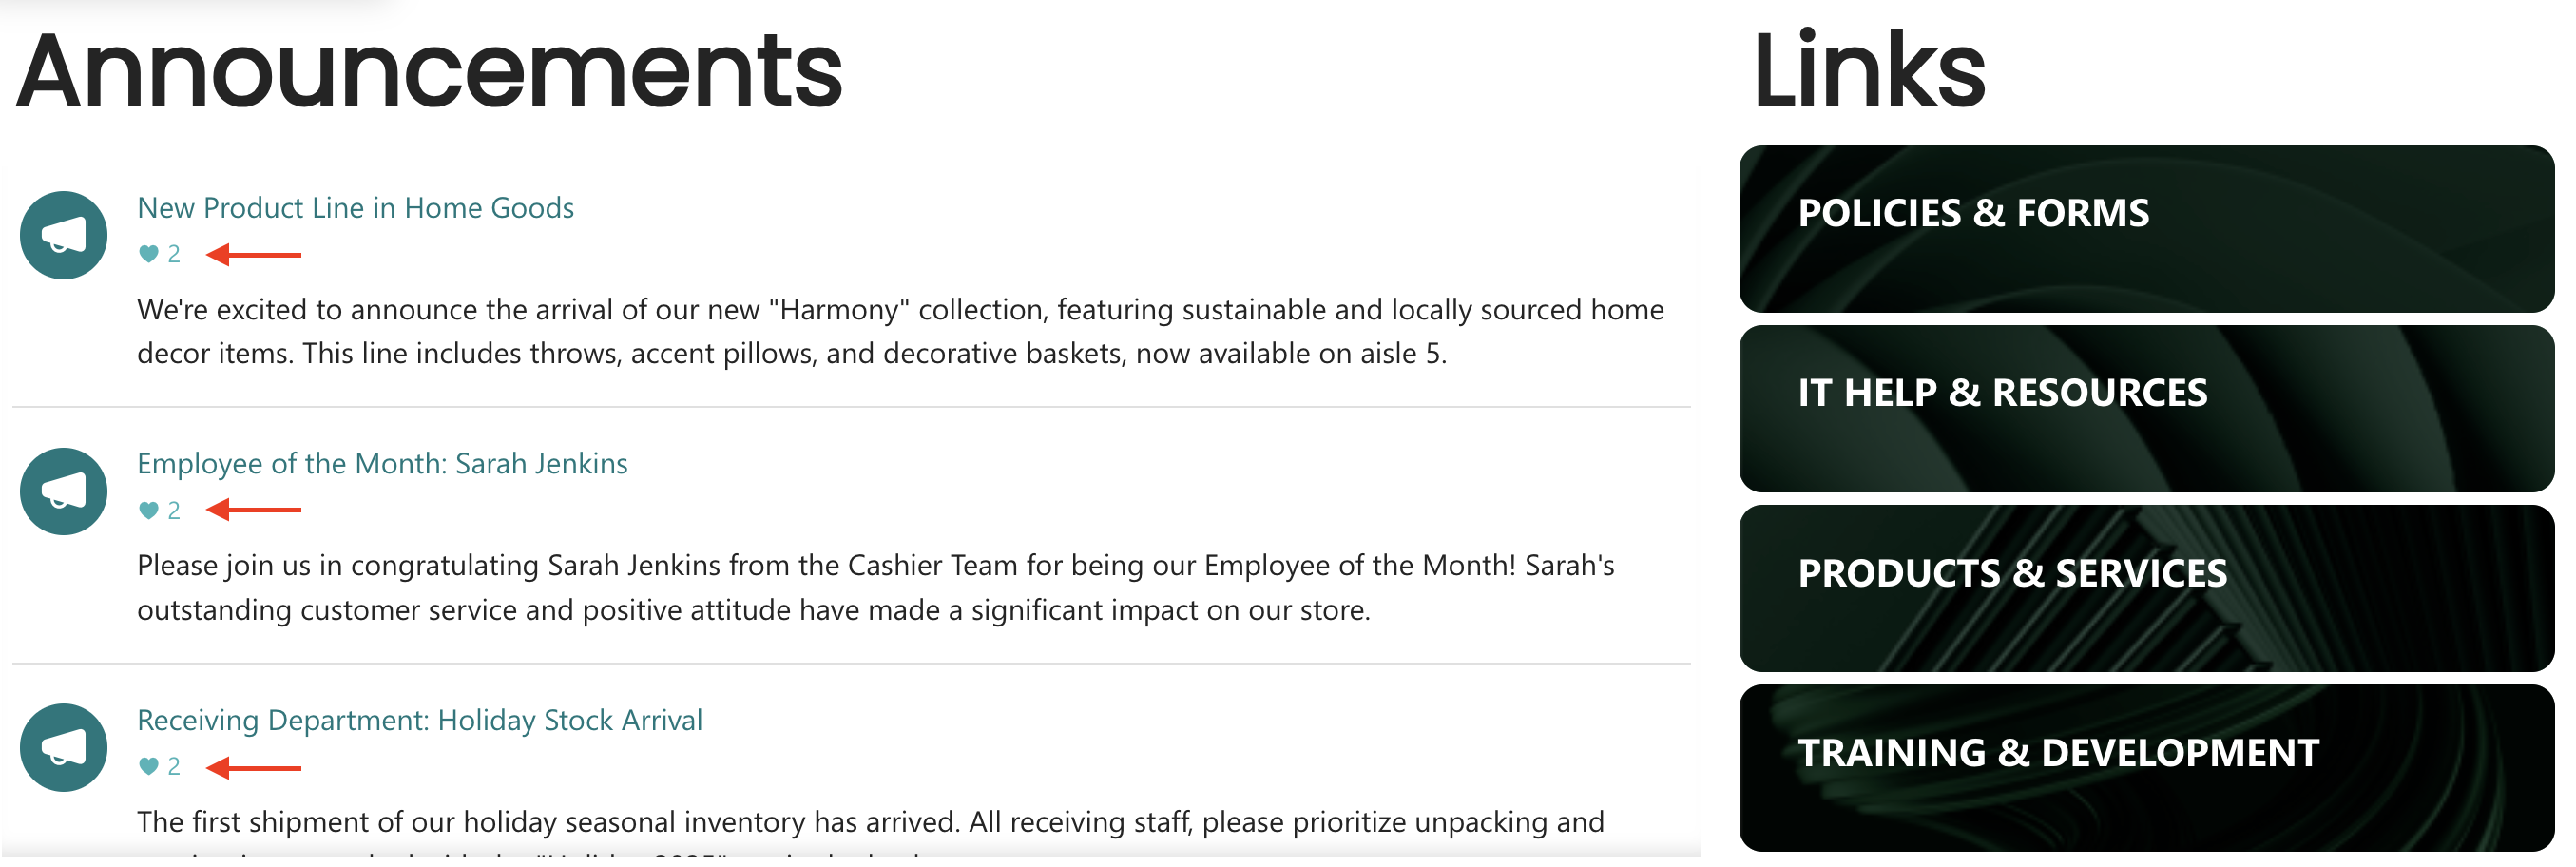
You will now see a Number of Likes column:

That’s it! Users who have access to your SharePoint List can now start liking the content:
Part 2: Connect Using REST API
This section shows how to connect your SharePoint List to a Design Element using the REST API connection.
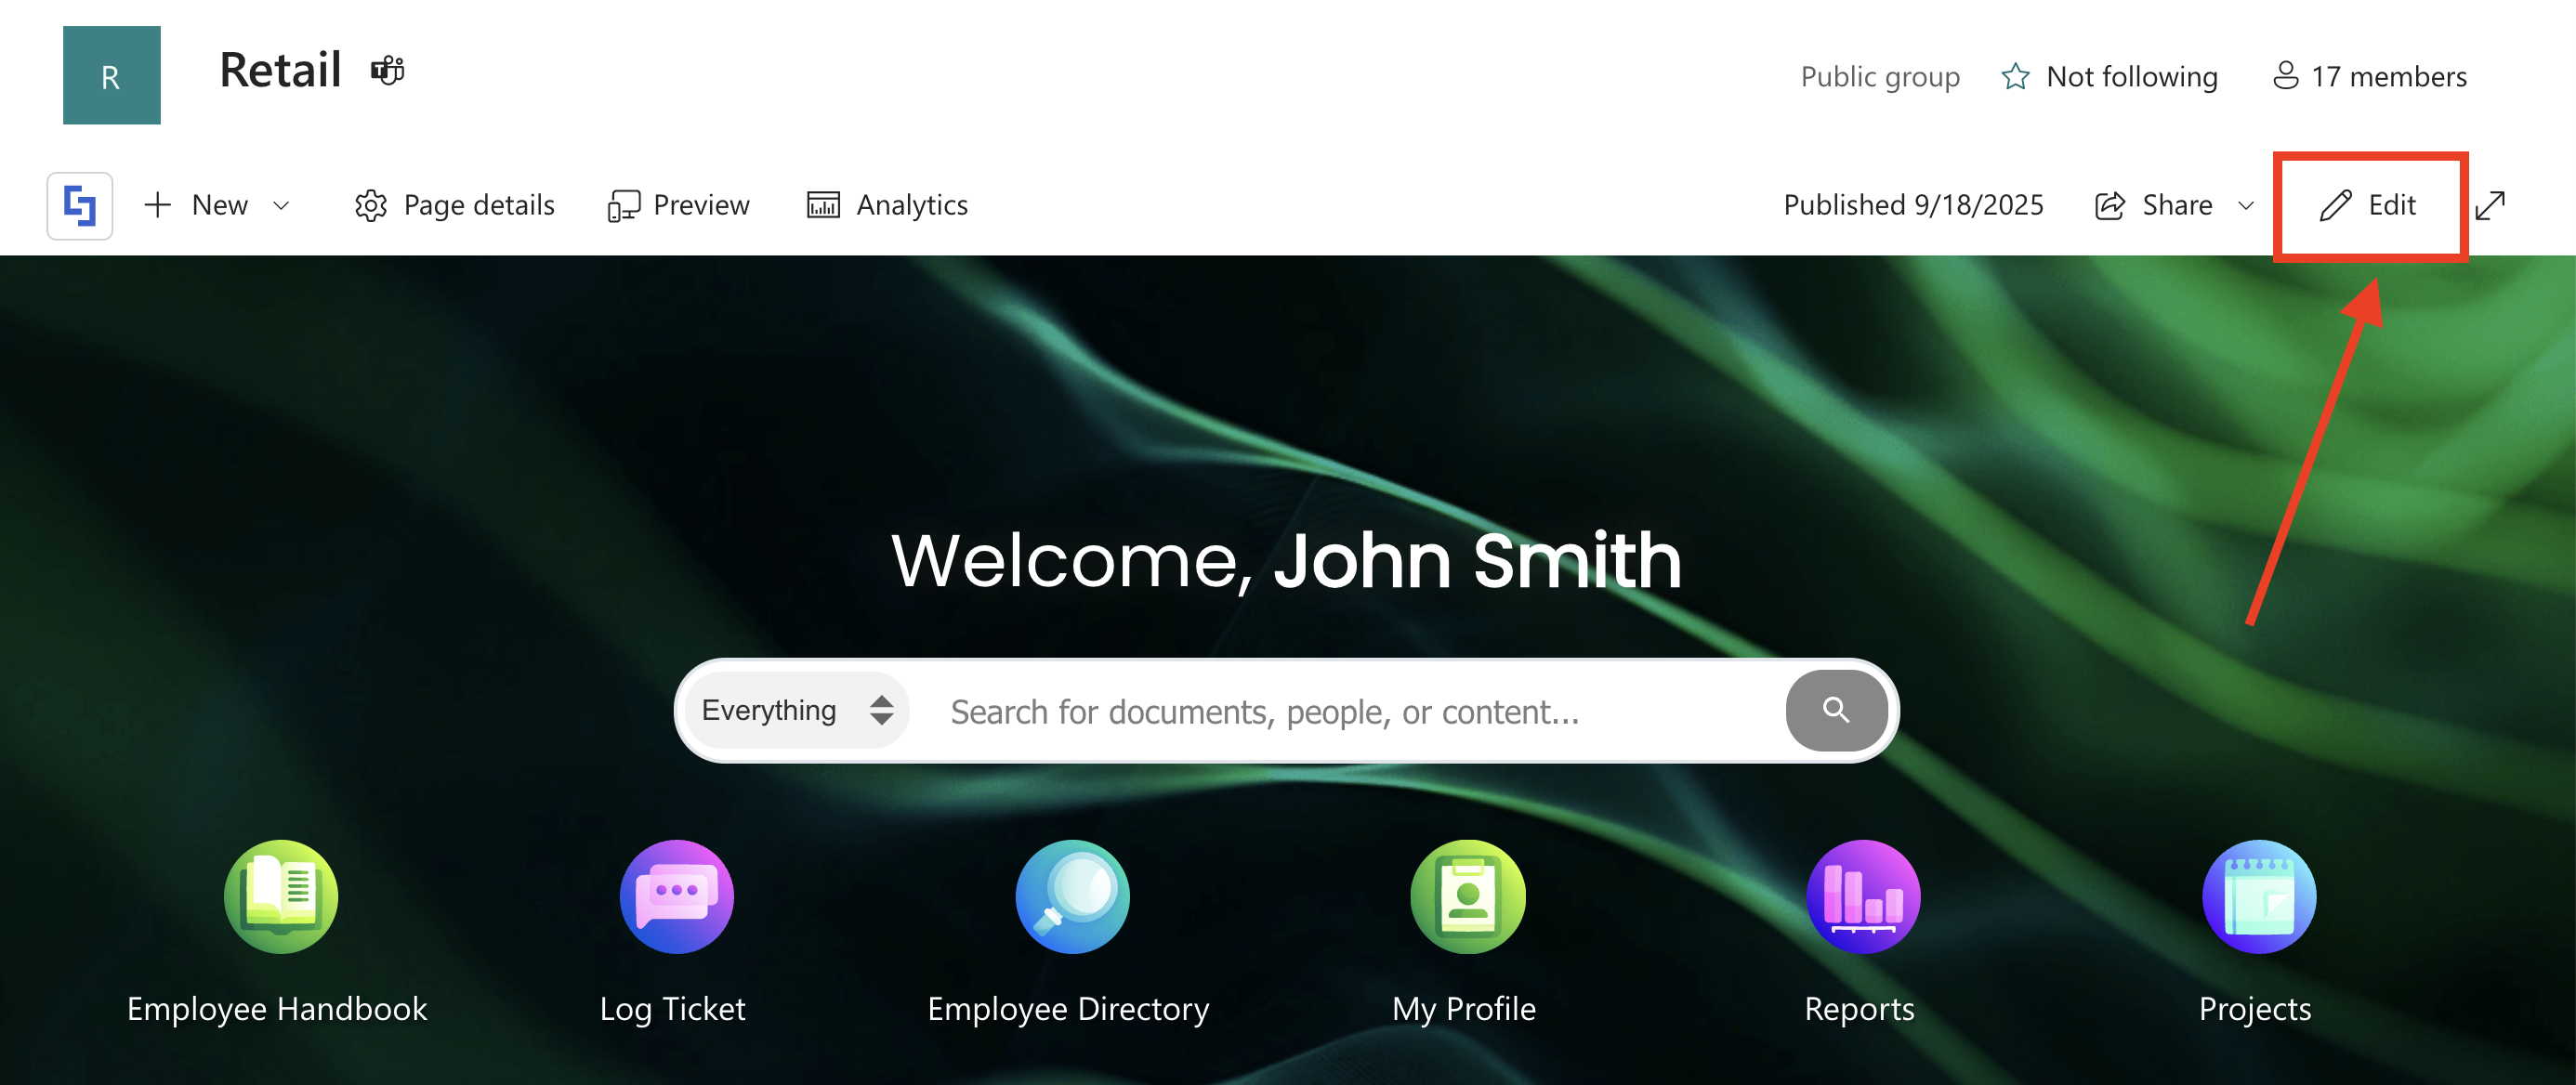
Step 1: Edit the ShortPoint Web Part
Go to the SharePoint page you want to use and click Edit:
Close the Toolbox:

Click the Edit Properties icon:

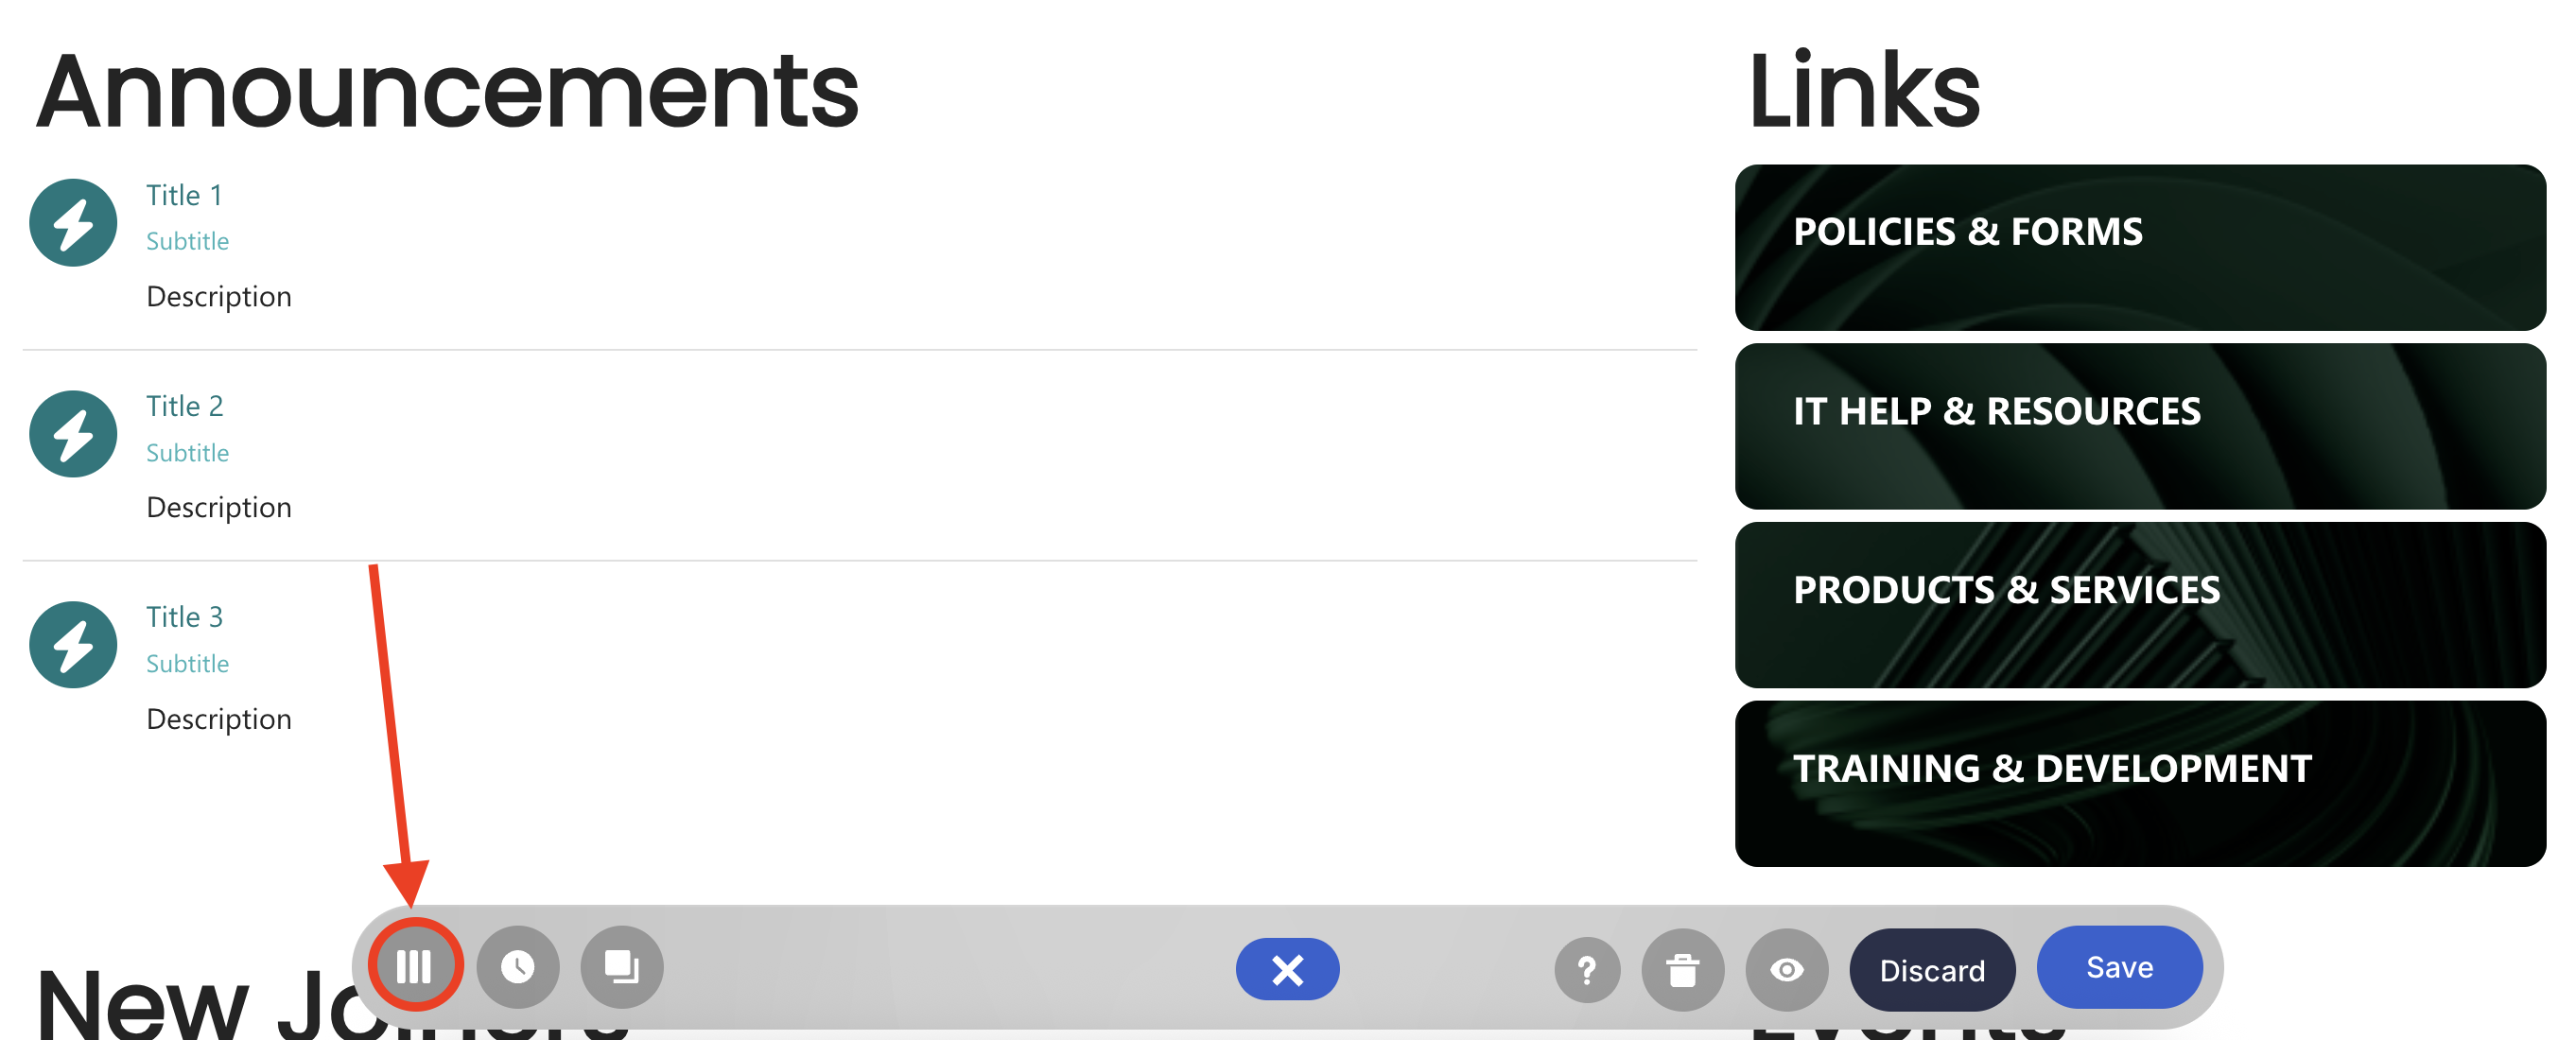
Step 2: Switch to Grid Mode
NOTEShortPoint Connect is currently only available in Grid Mode.
Click the Switch to Grid Mode icon:
Step 3: Edit the Design Element
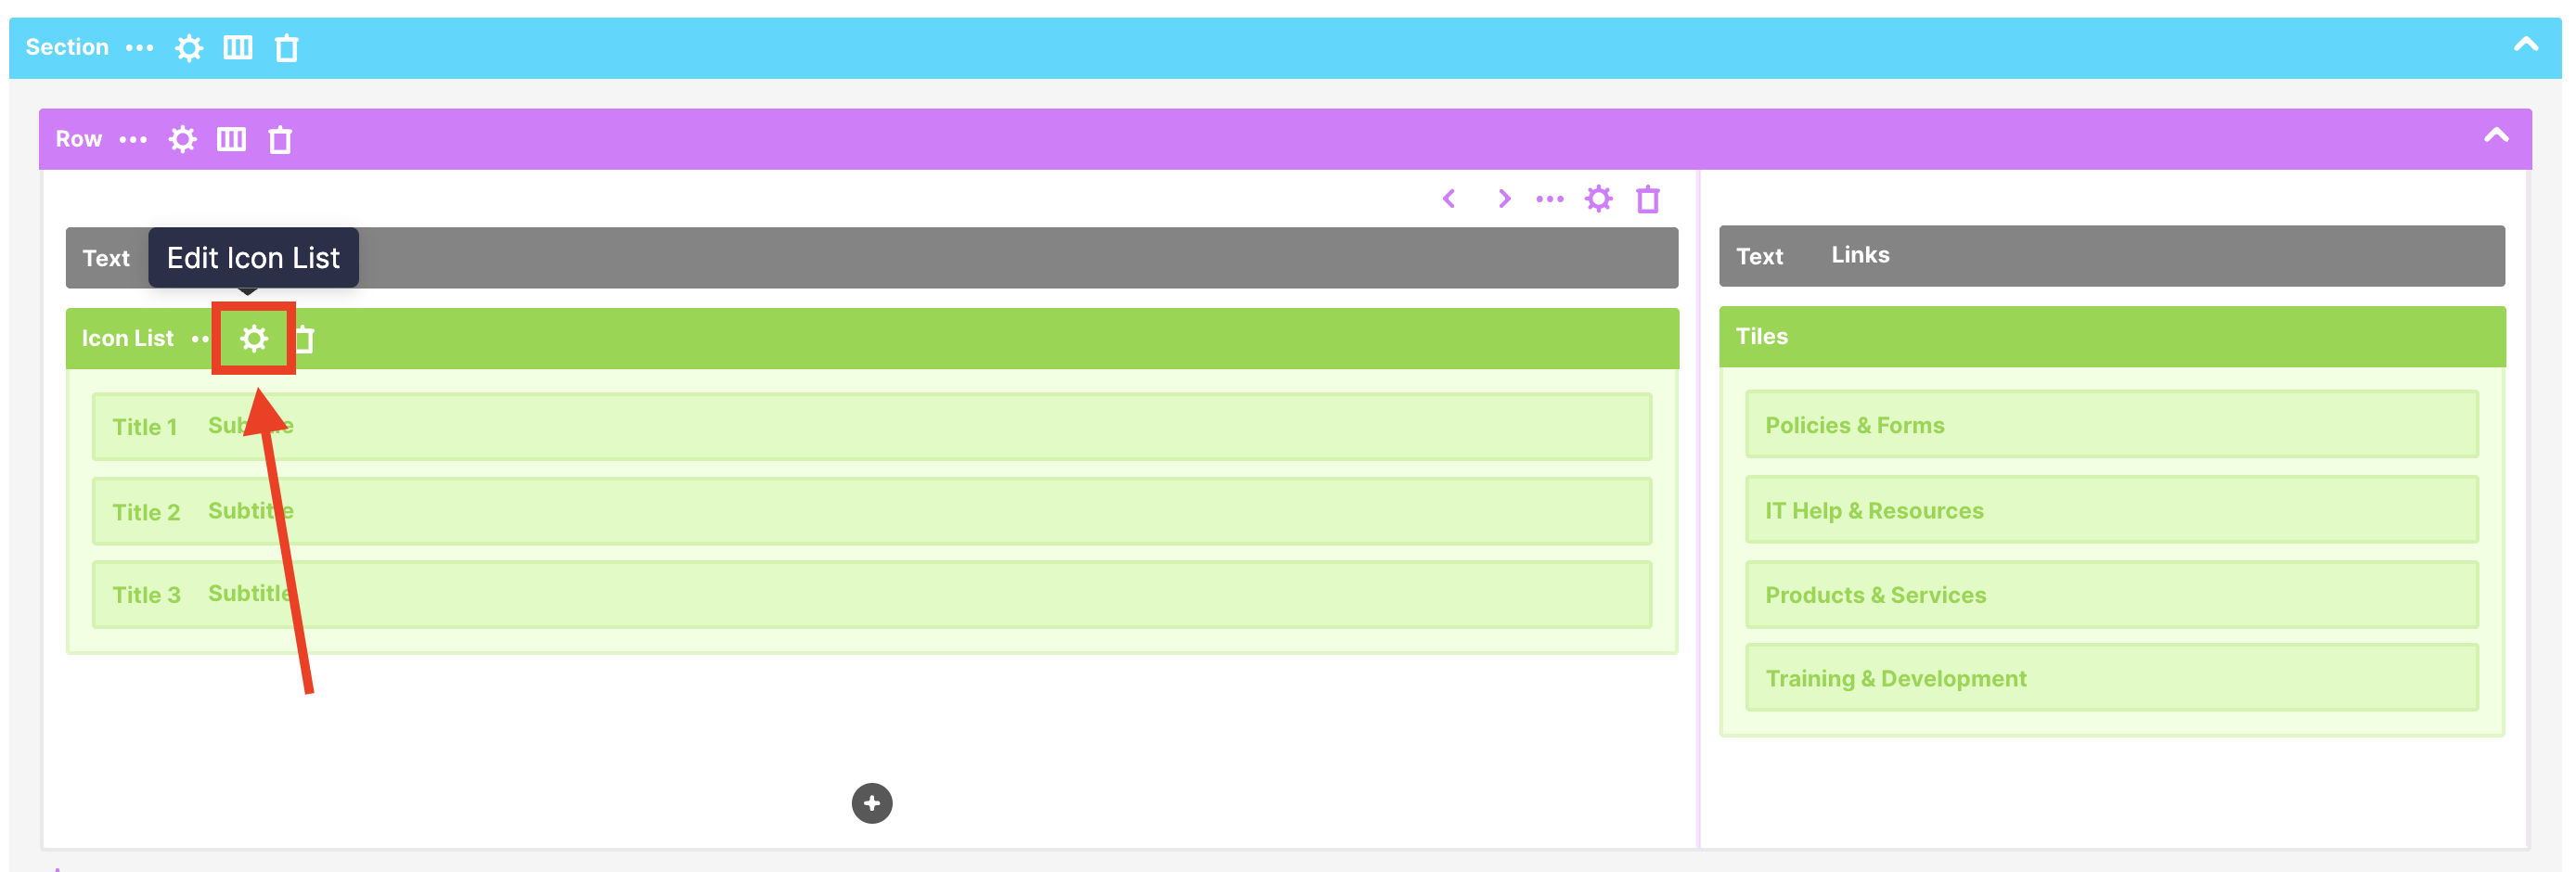
NOTEBefore proceeding, you must already have the Design Element you want to use to connect on your SharePoint page. You can use any Design Element, but we recommend Design Elements that allow the listing of multiple items, such as Simple List, Icon List, Tiles, etc. For this guide, we’ll use Icon List.
Hover over the Design Element and click the cogwheel icon:
Step 4: Prepare REST API URL
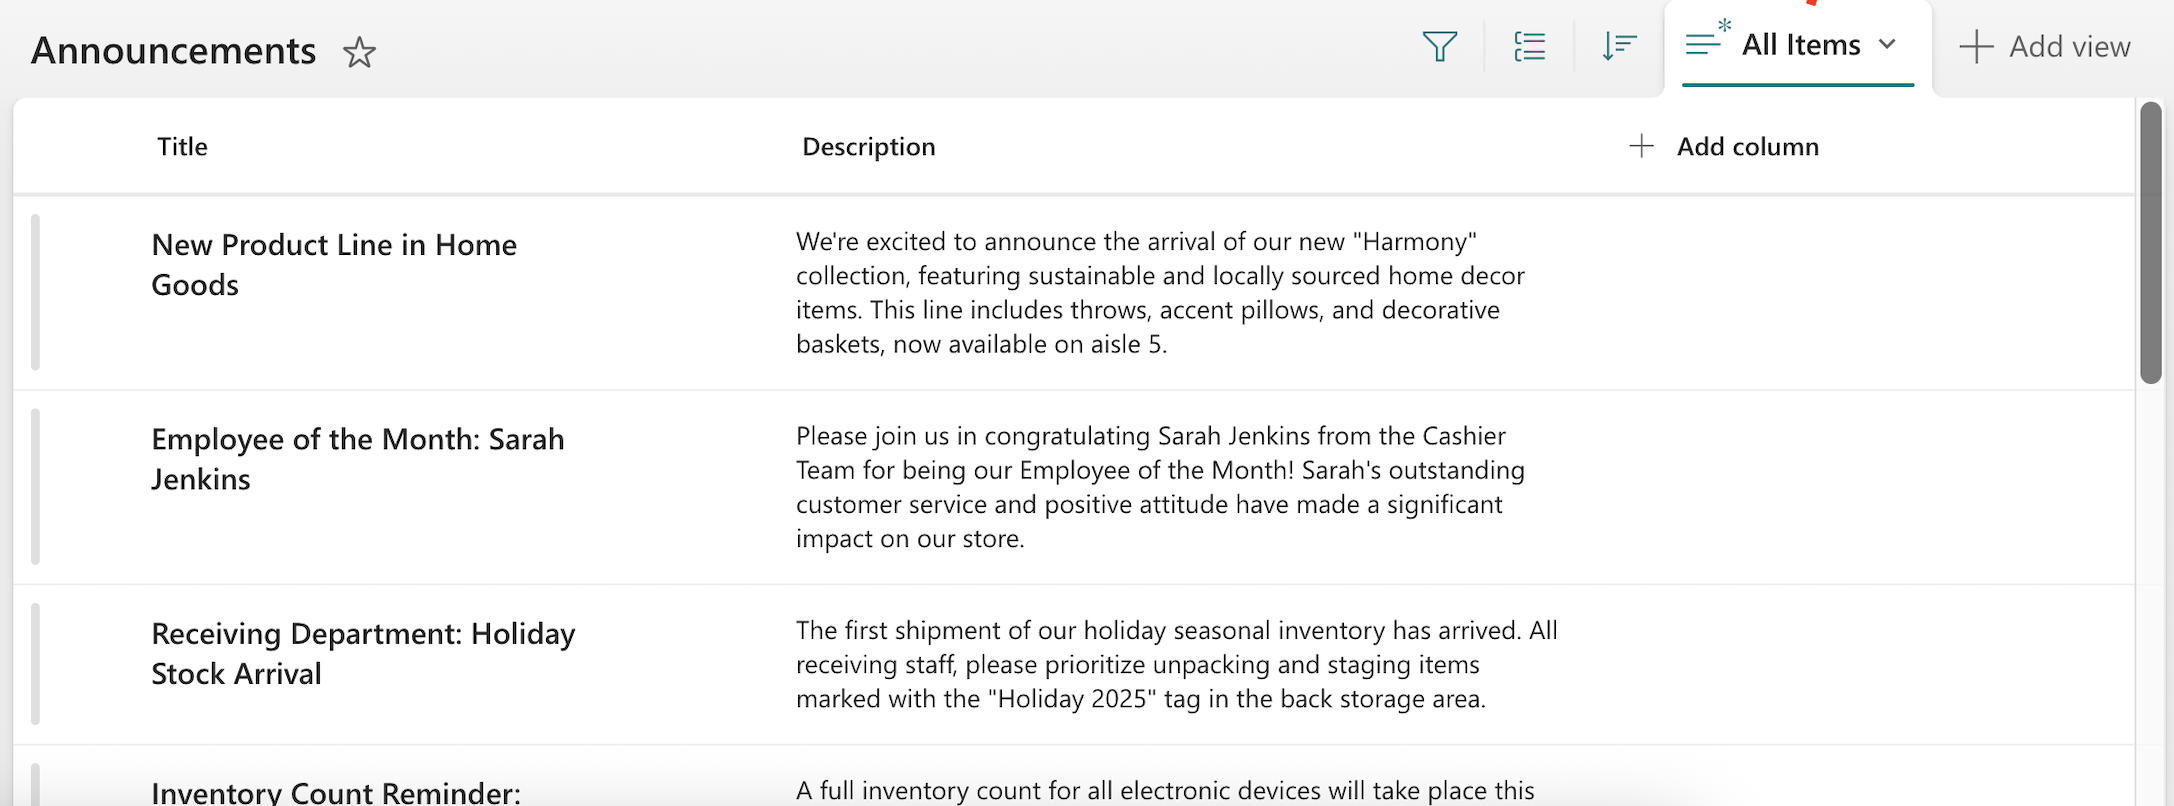
NOTEBefore proceeding, you must have a SharePoint List in a Modern Team site:
Copy the REST API URL below:
https://siteURL/_api/web/lists/getbytitle('List Name')/items?&select=LikesCount
Replace the following items:
- siteURL - change to the SharePoint site’s URL where your SharePoint List is located.
- List Name - change to the name of your SharePoint List.
Here’s an example of how your URL may look:
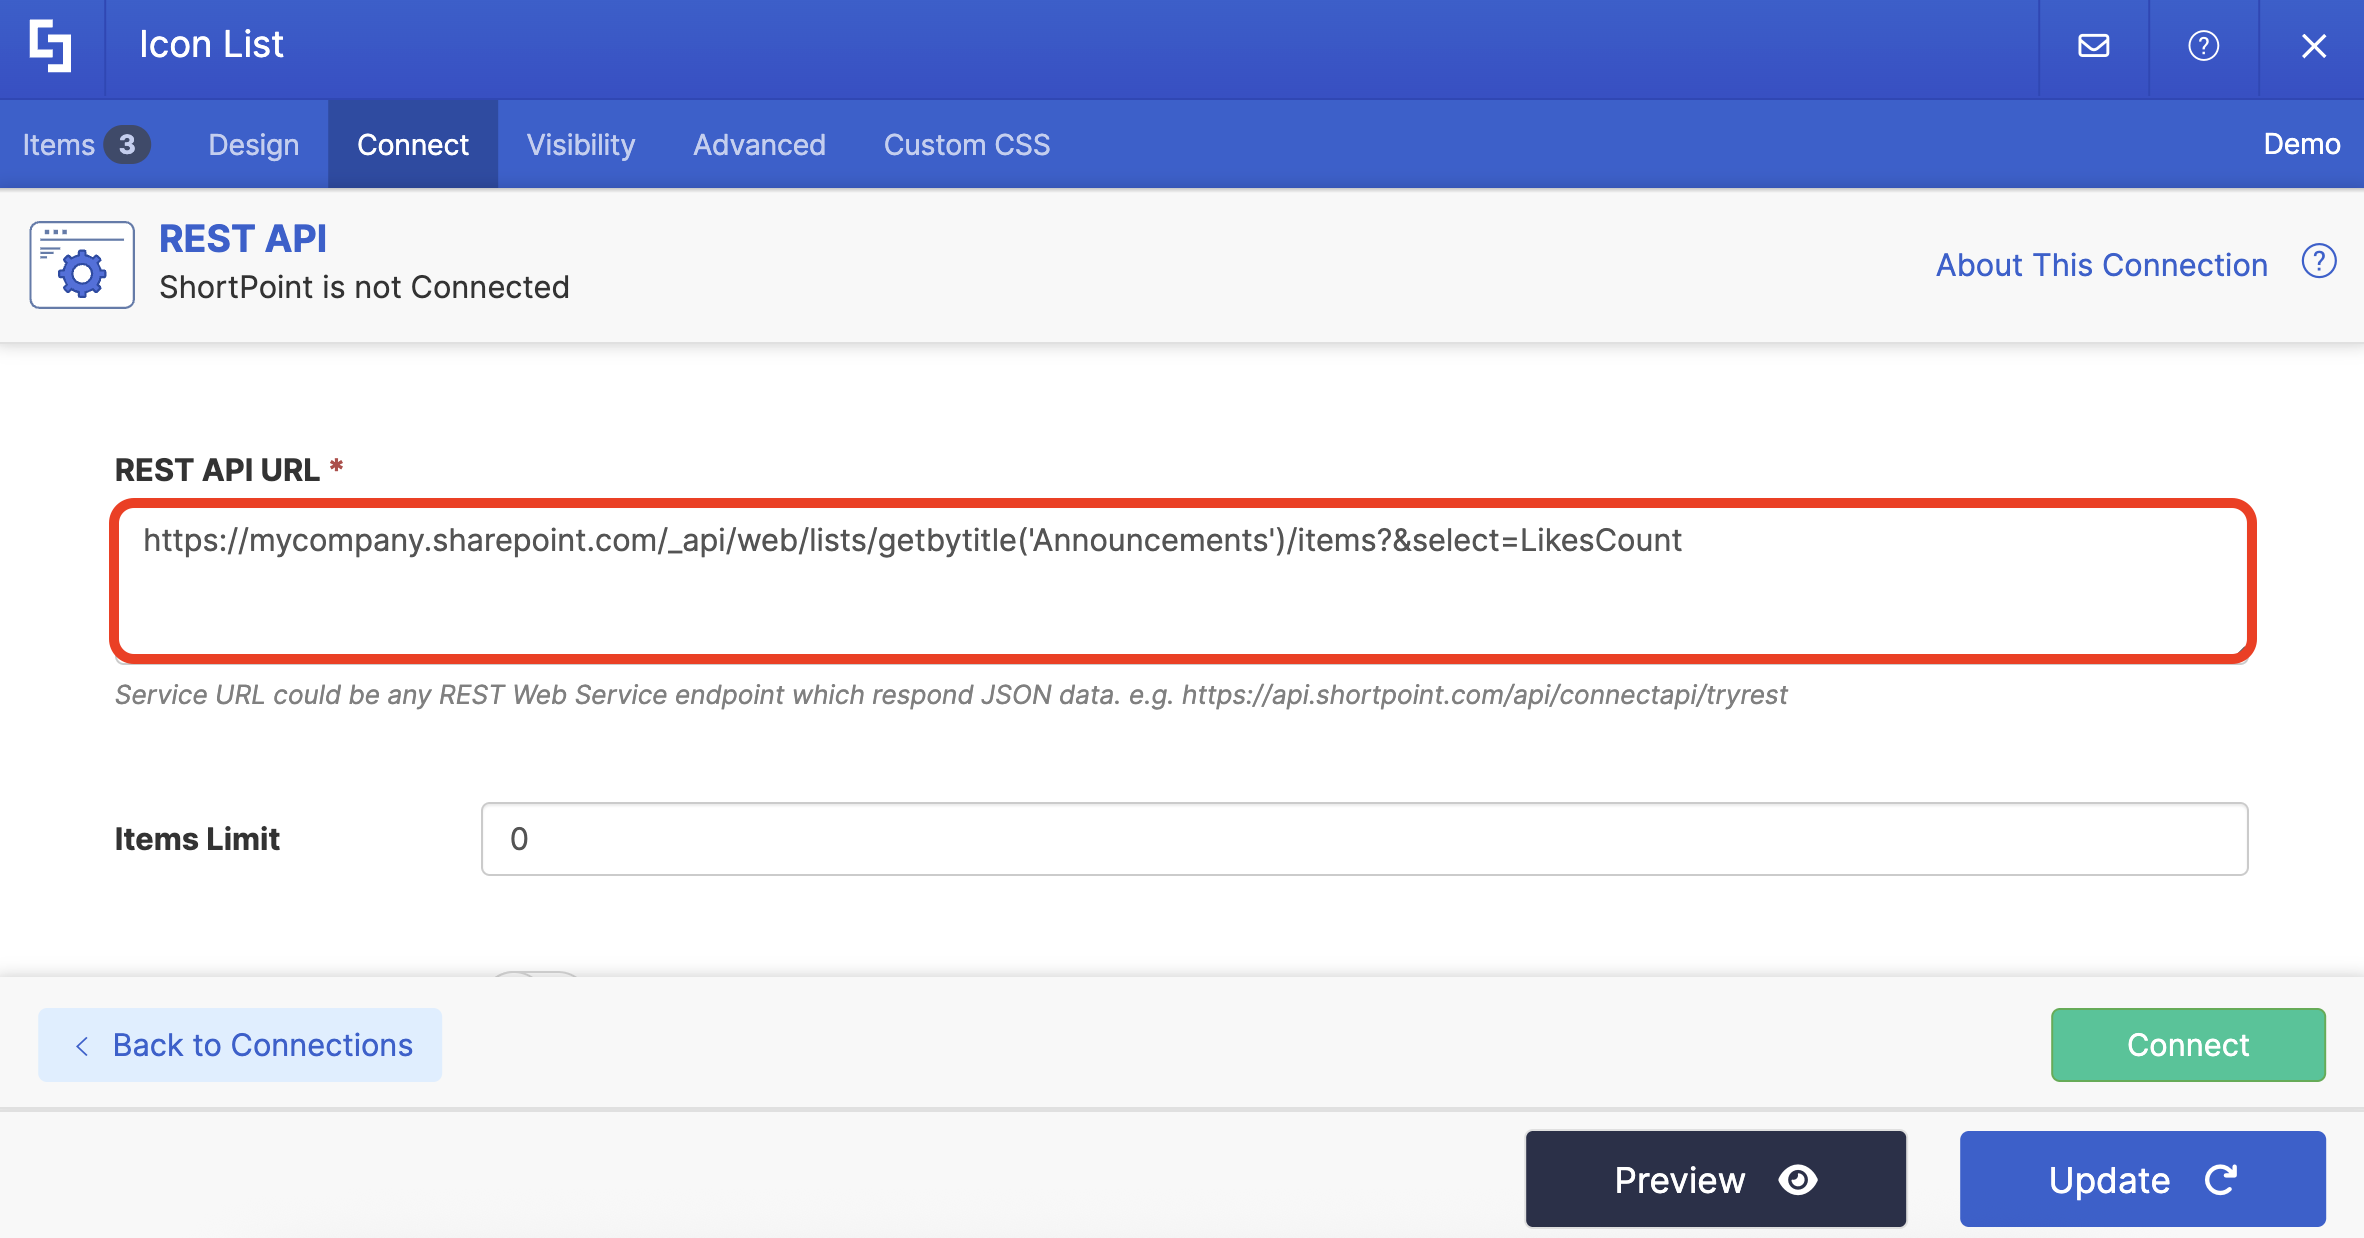
https://mycompany.sharepoint.com/_api/web/lists/getbytitle('Announcements')/items?&select=LikesCountStep 5: Connect to REST API
Go to the Connect tab:

Select REST API:

Paste the prepared URL in the space provided:
Click Enable Advanced Settings:
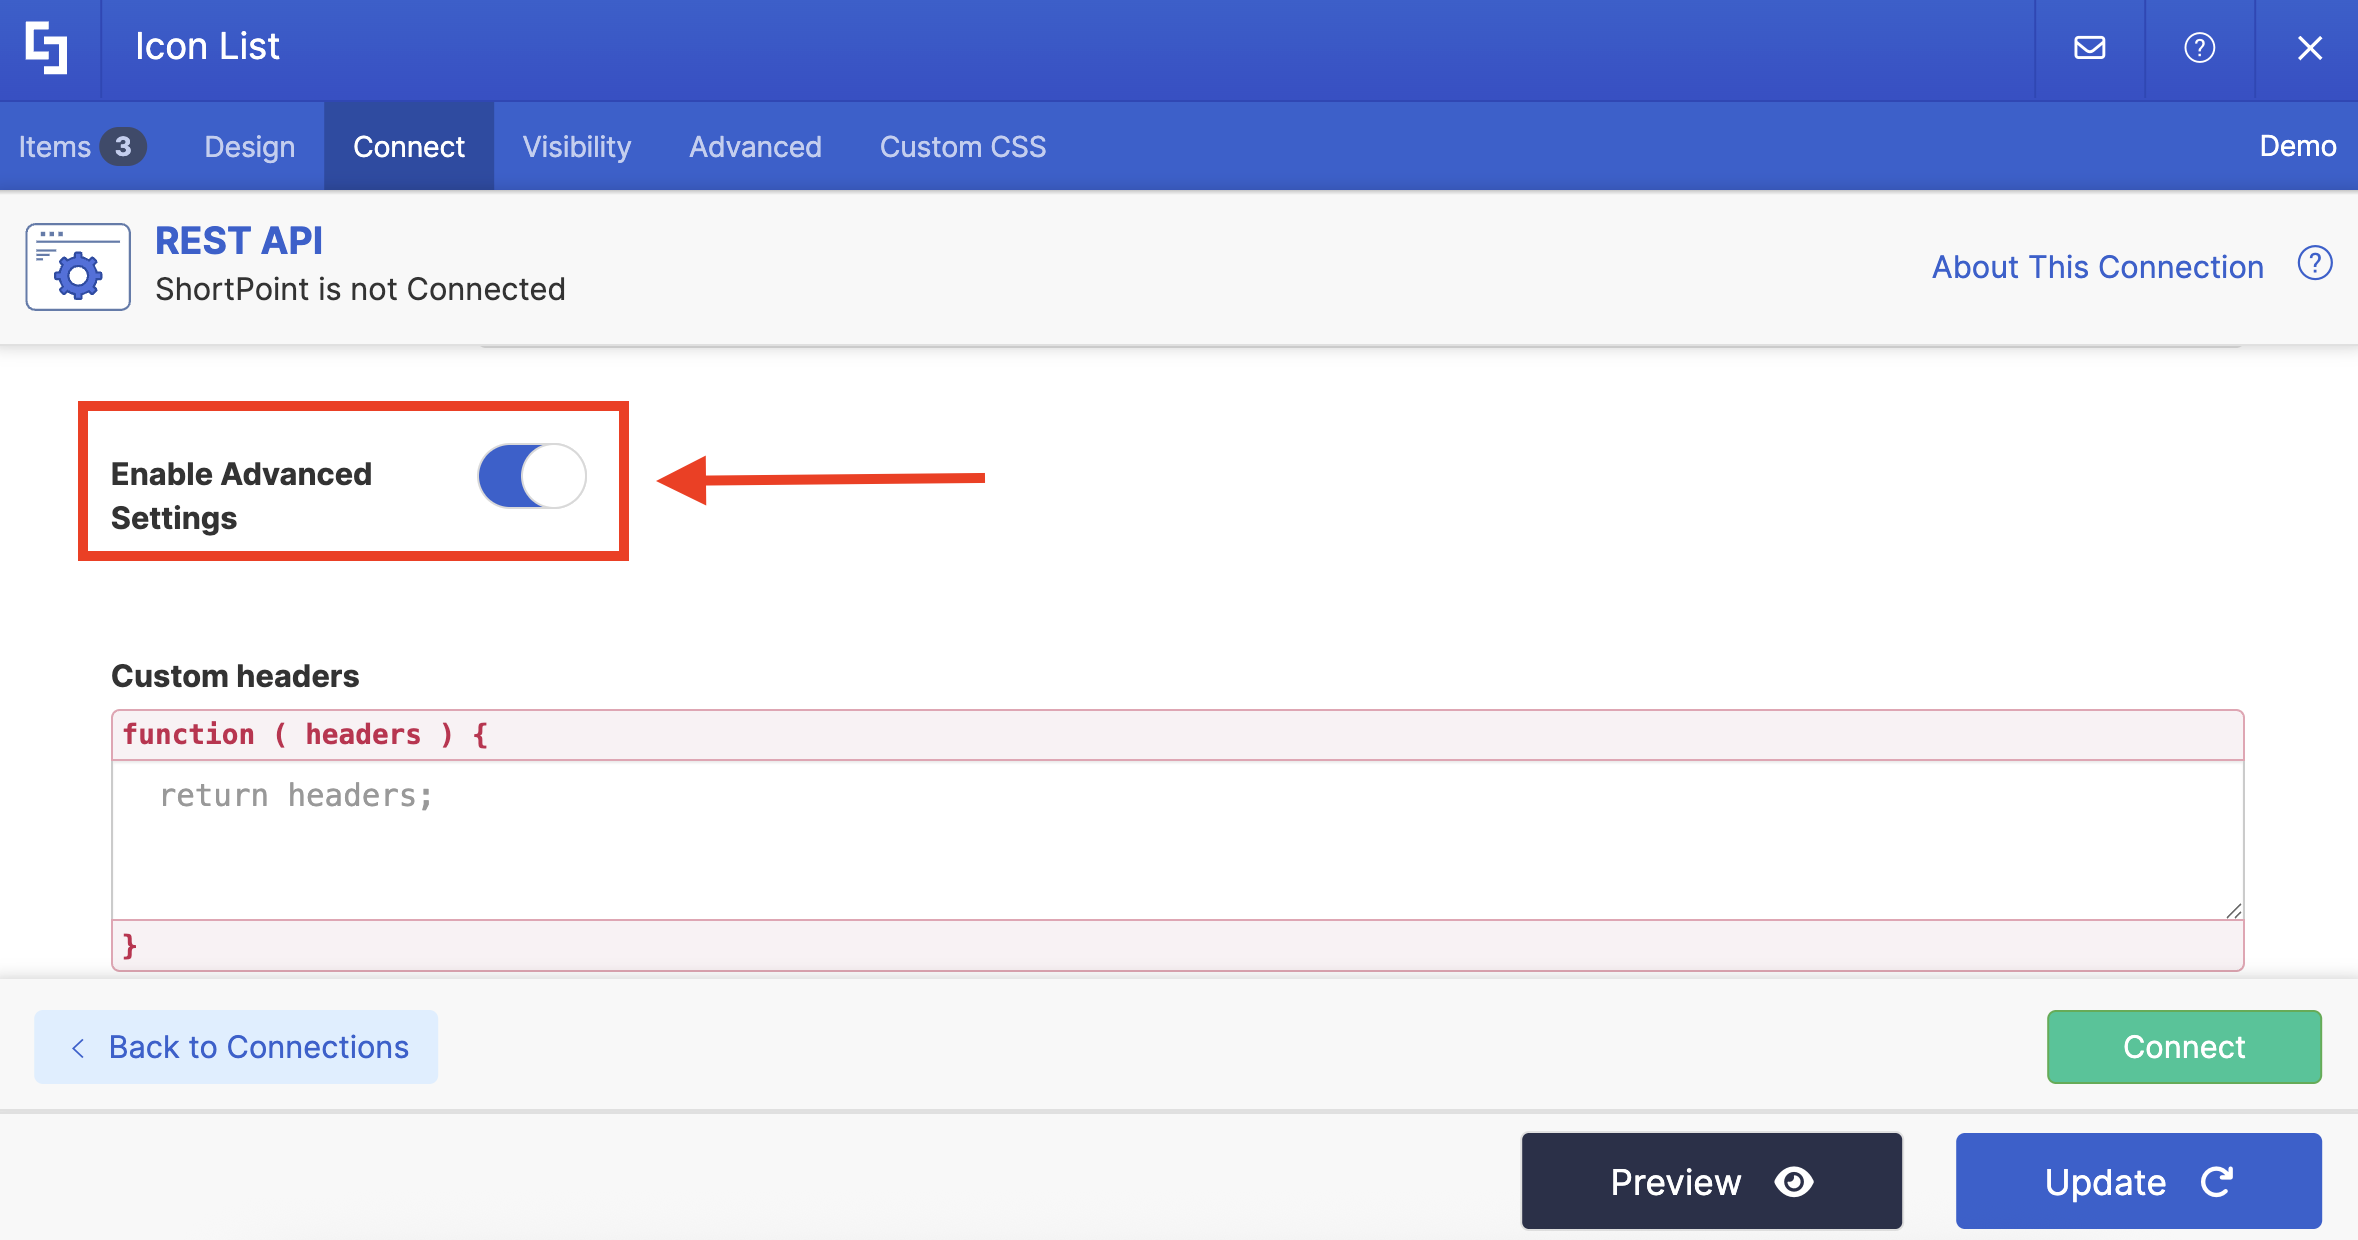
Copy the code below:
var results = data.d.results;
for (var i = 0; i < results.length; i++) {
if(!results[i].LikesCount)
results[i].LikesCount= 0;
}
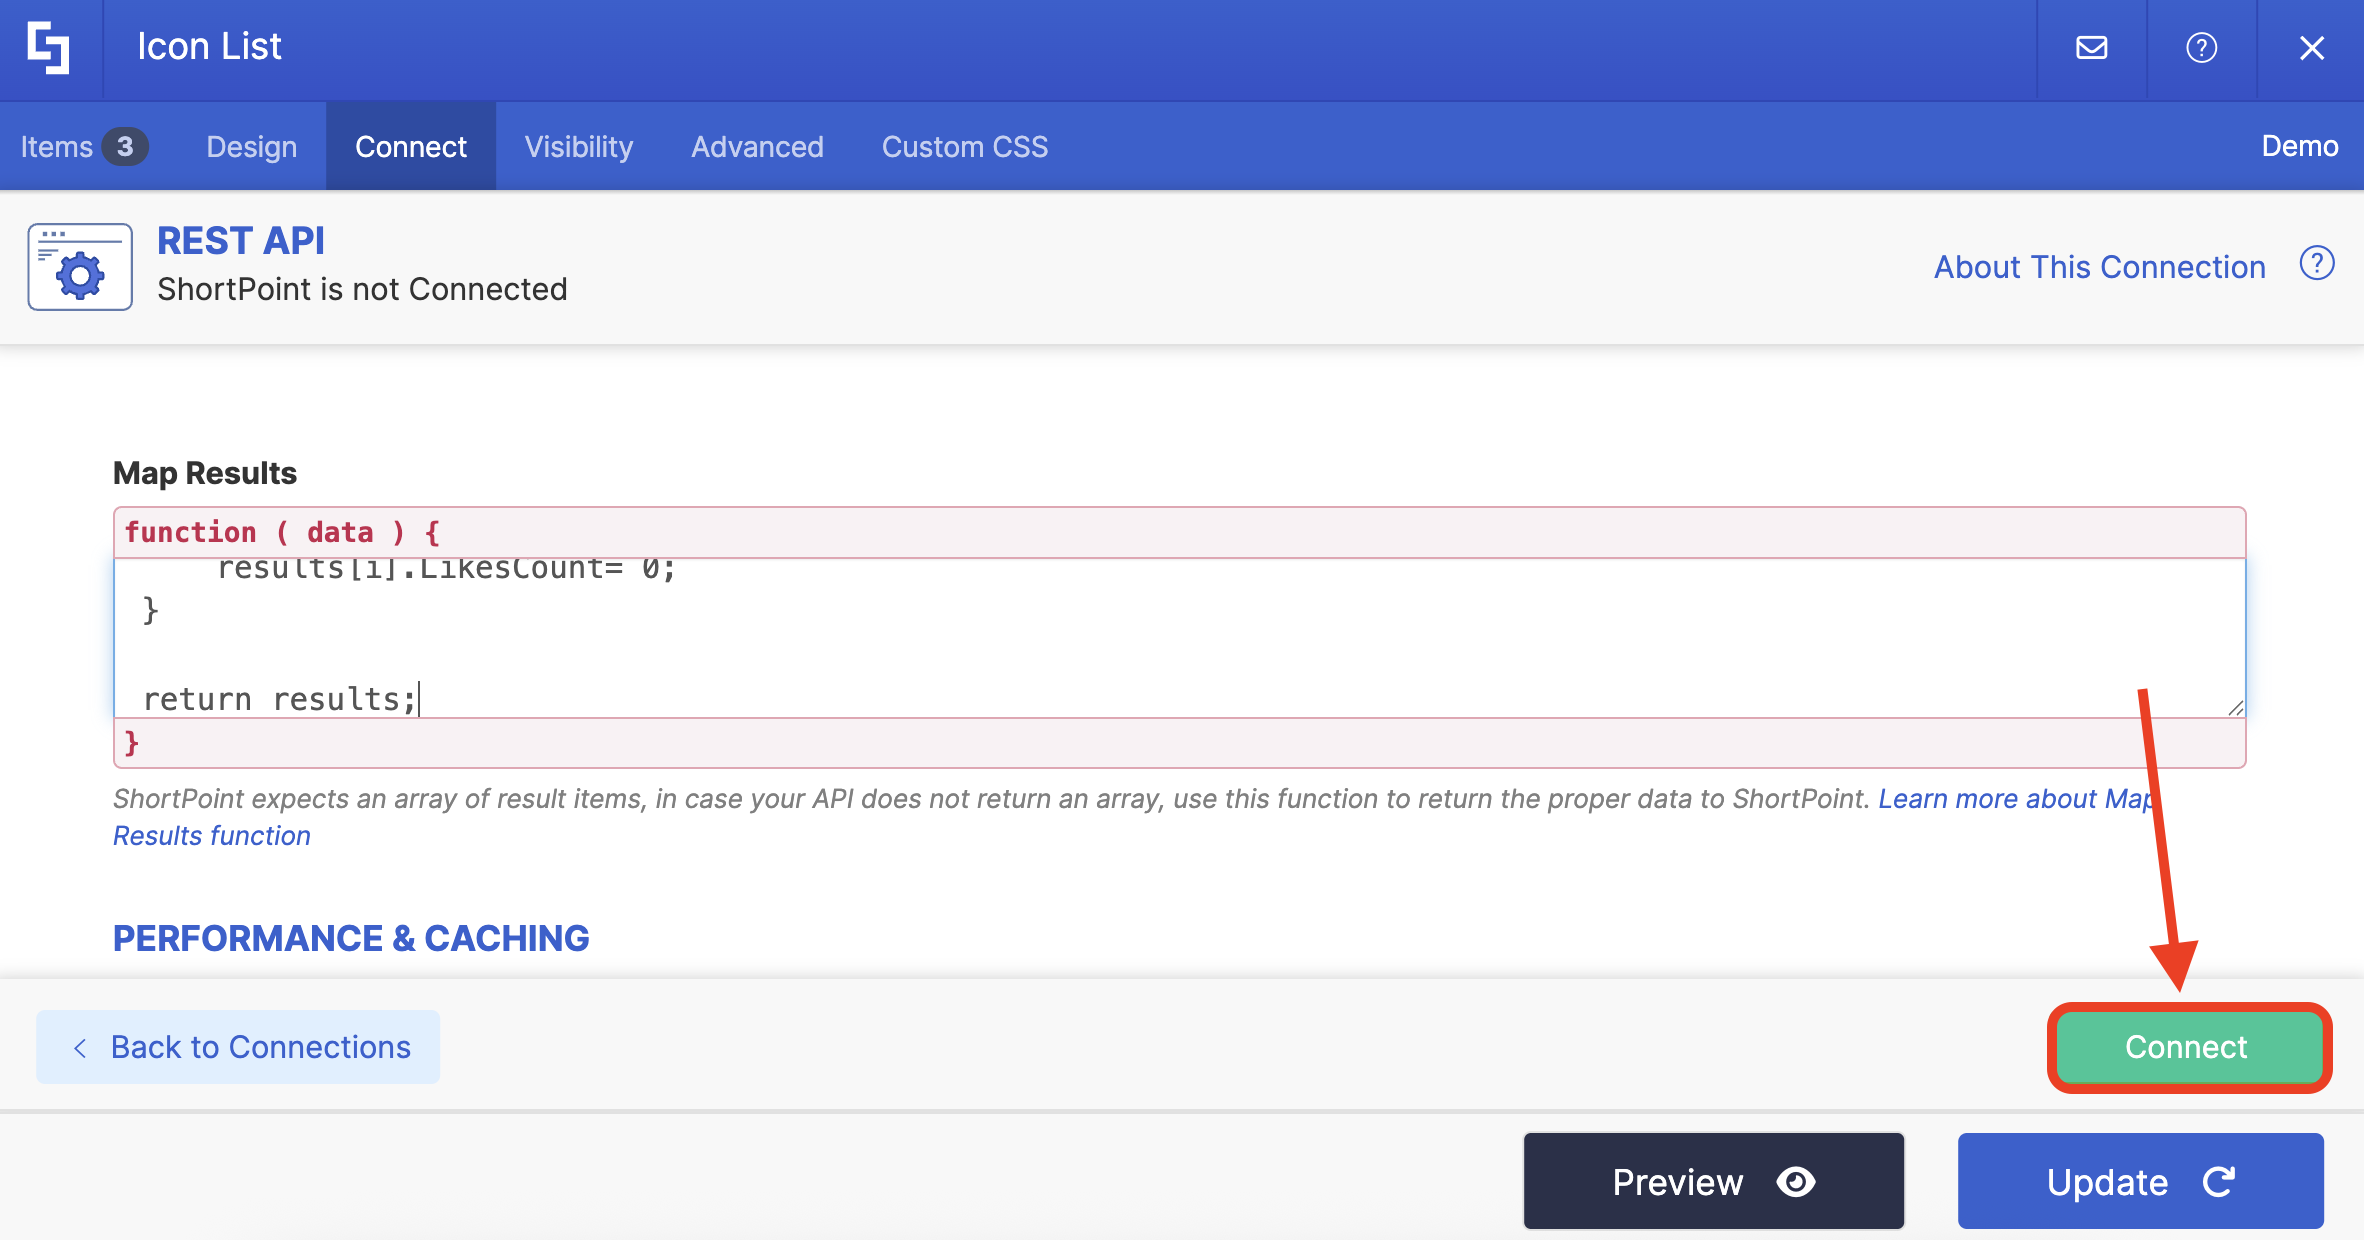
return results;Paste the code in the Map Results field:

Click Connect:
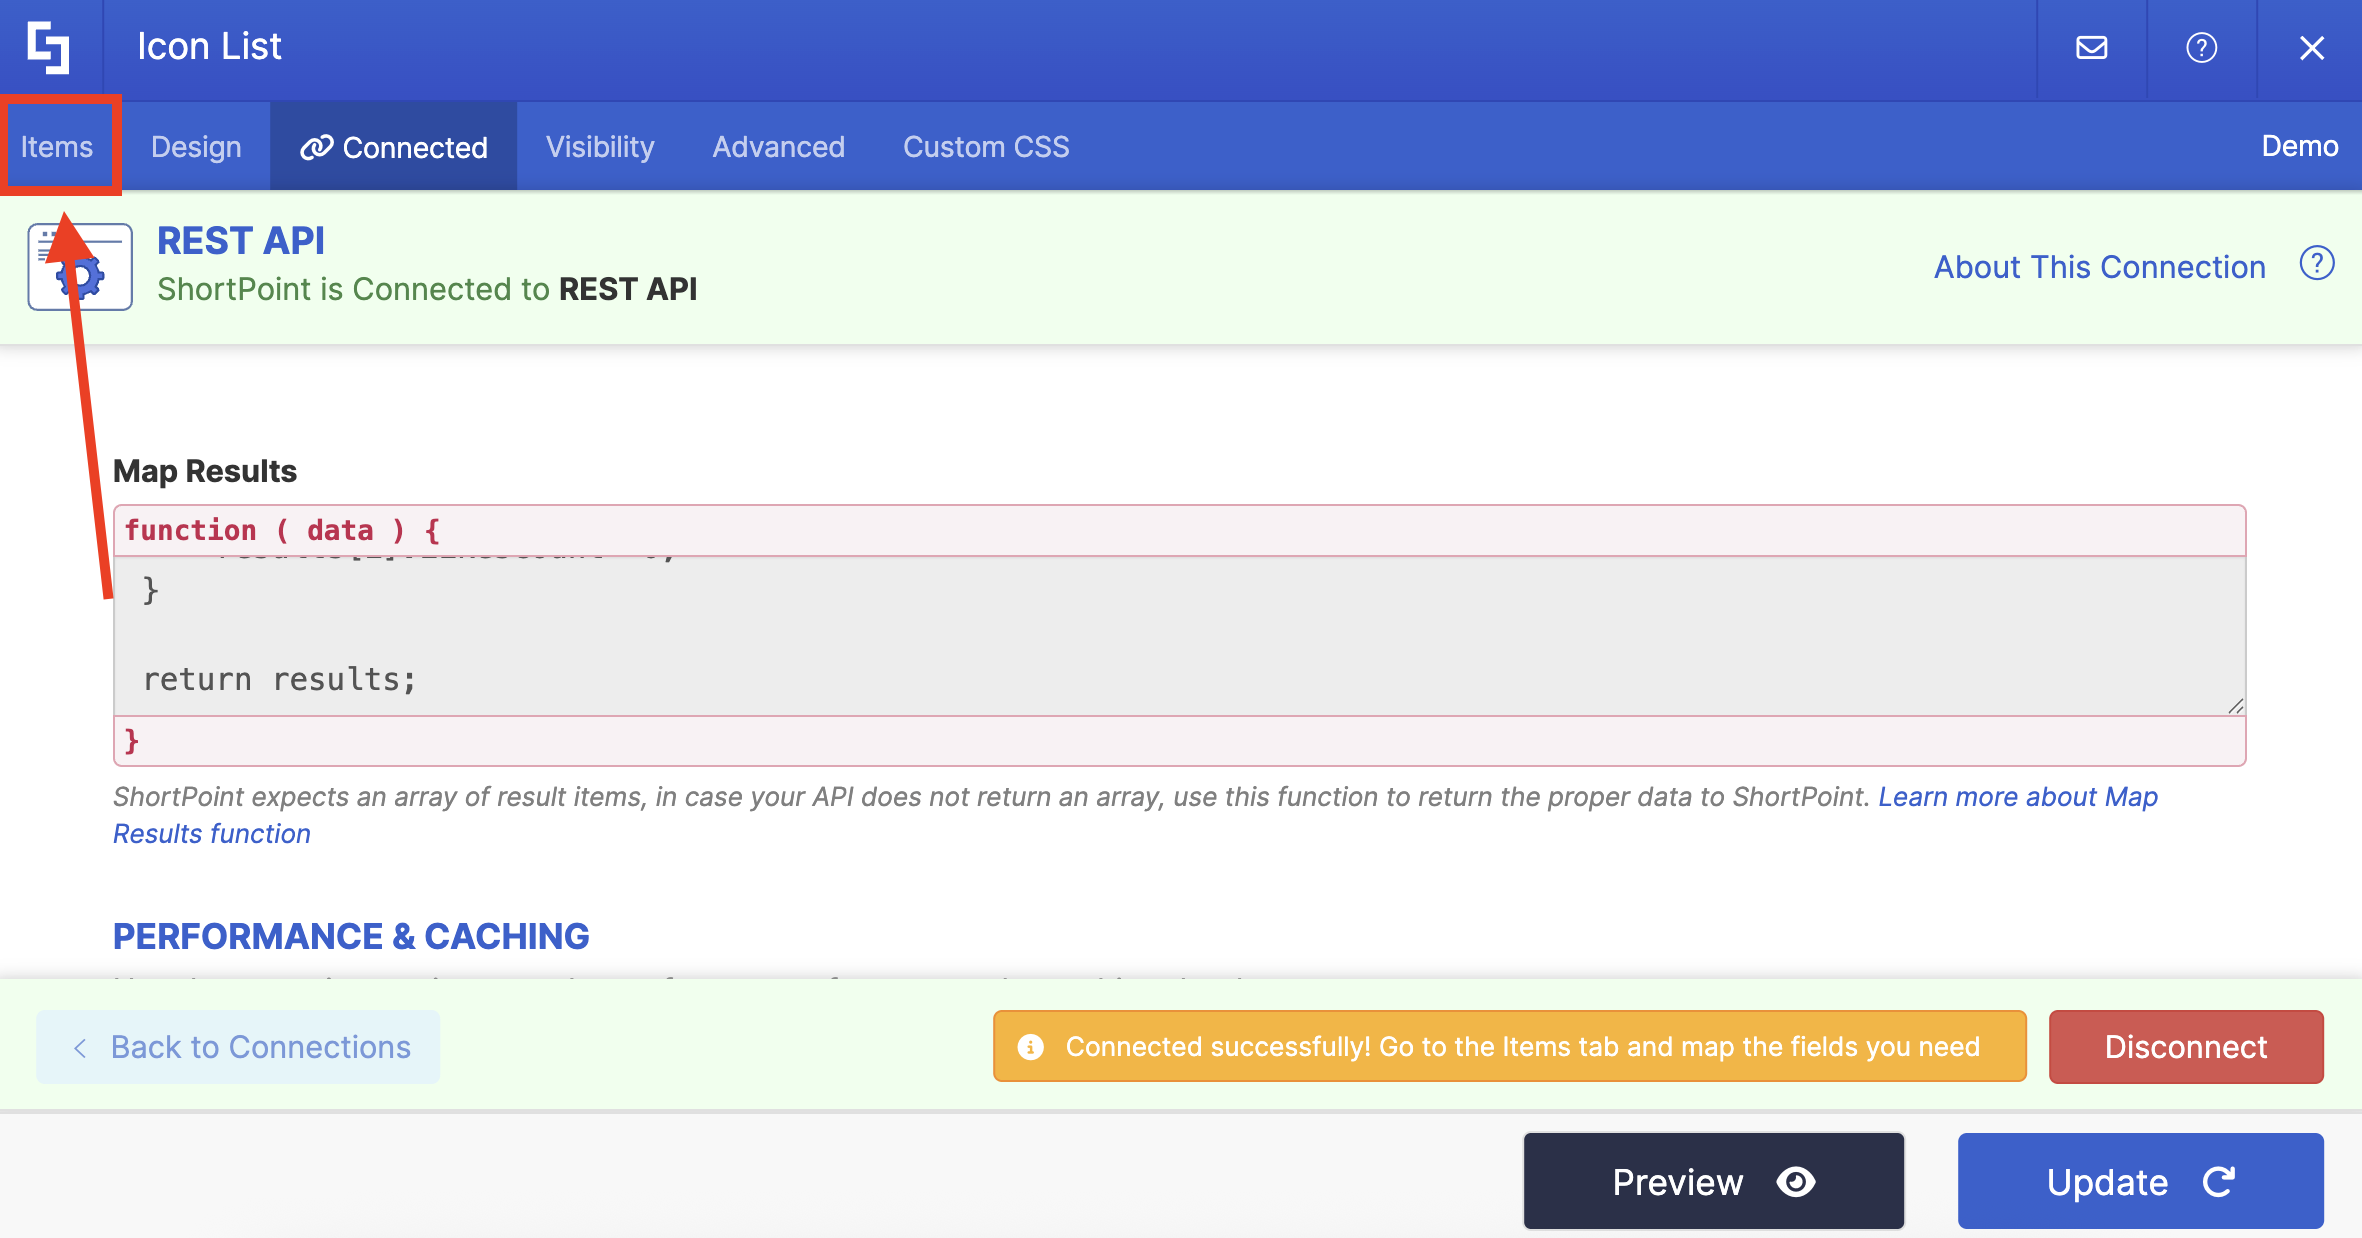
Step 6: Map Items
Go to the Items tab:
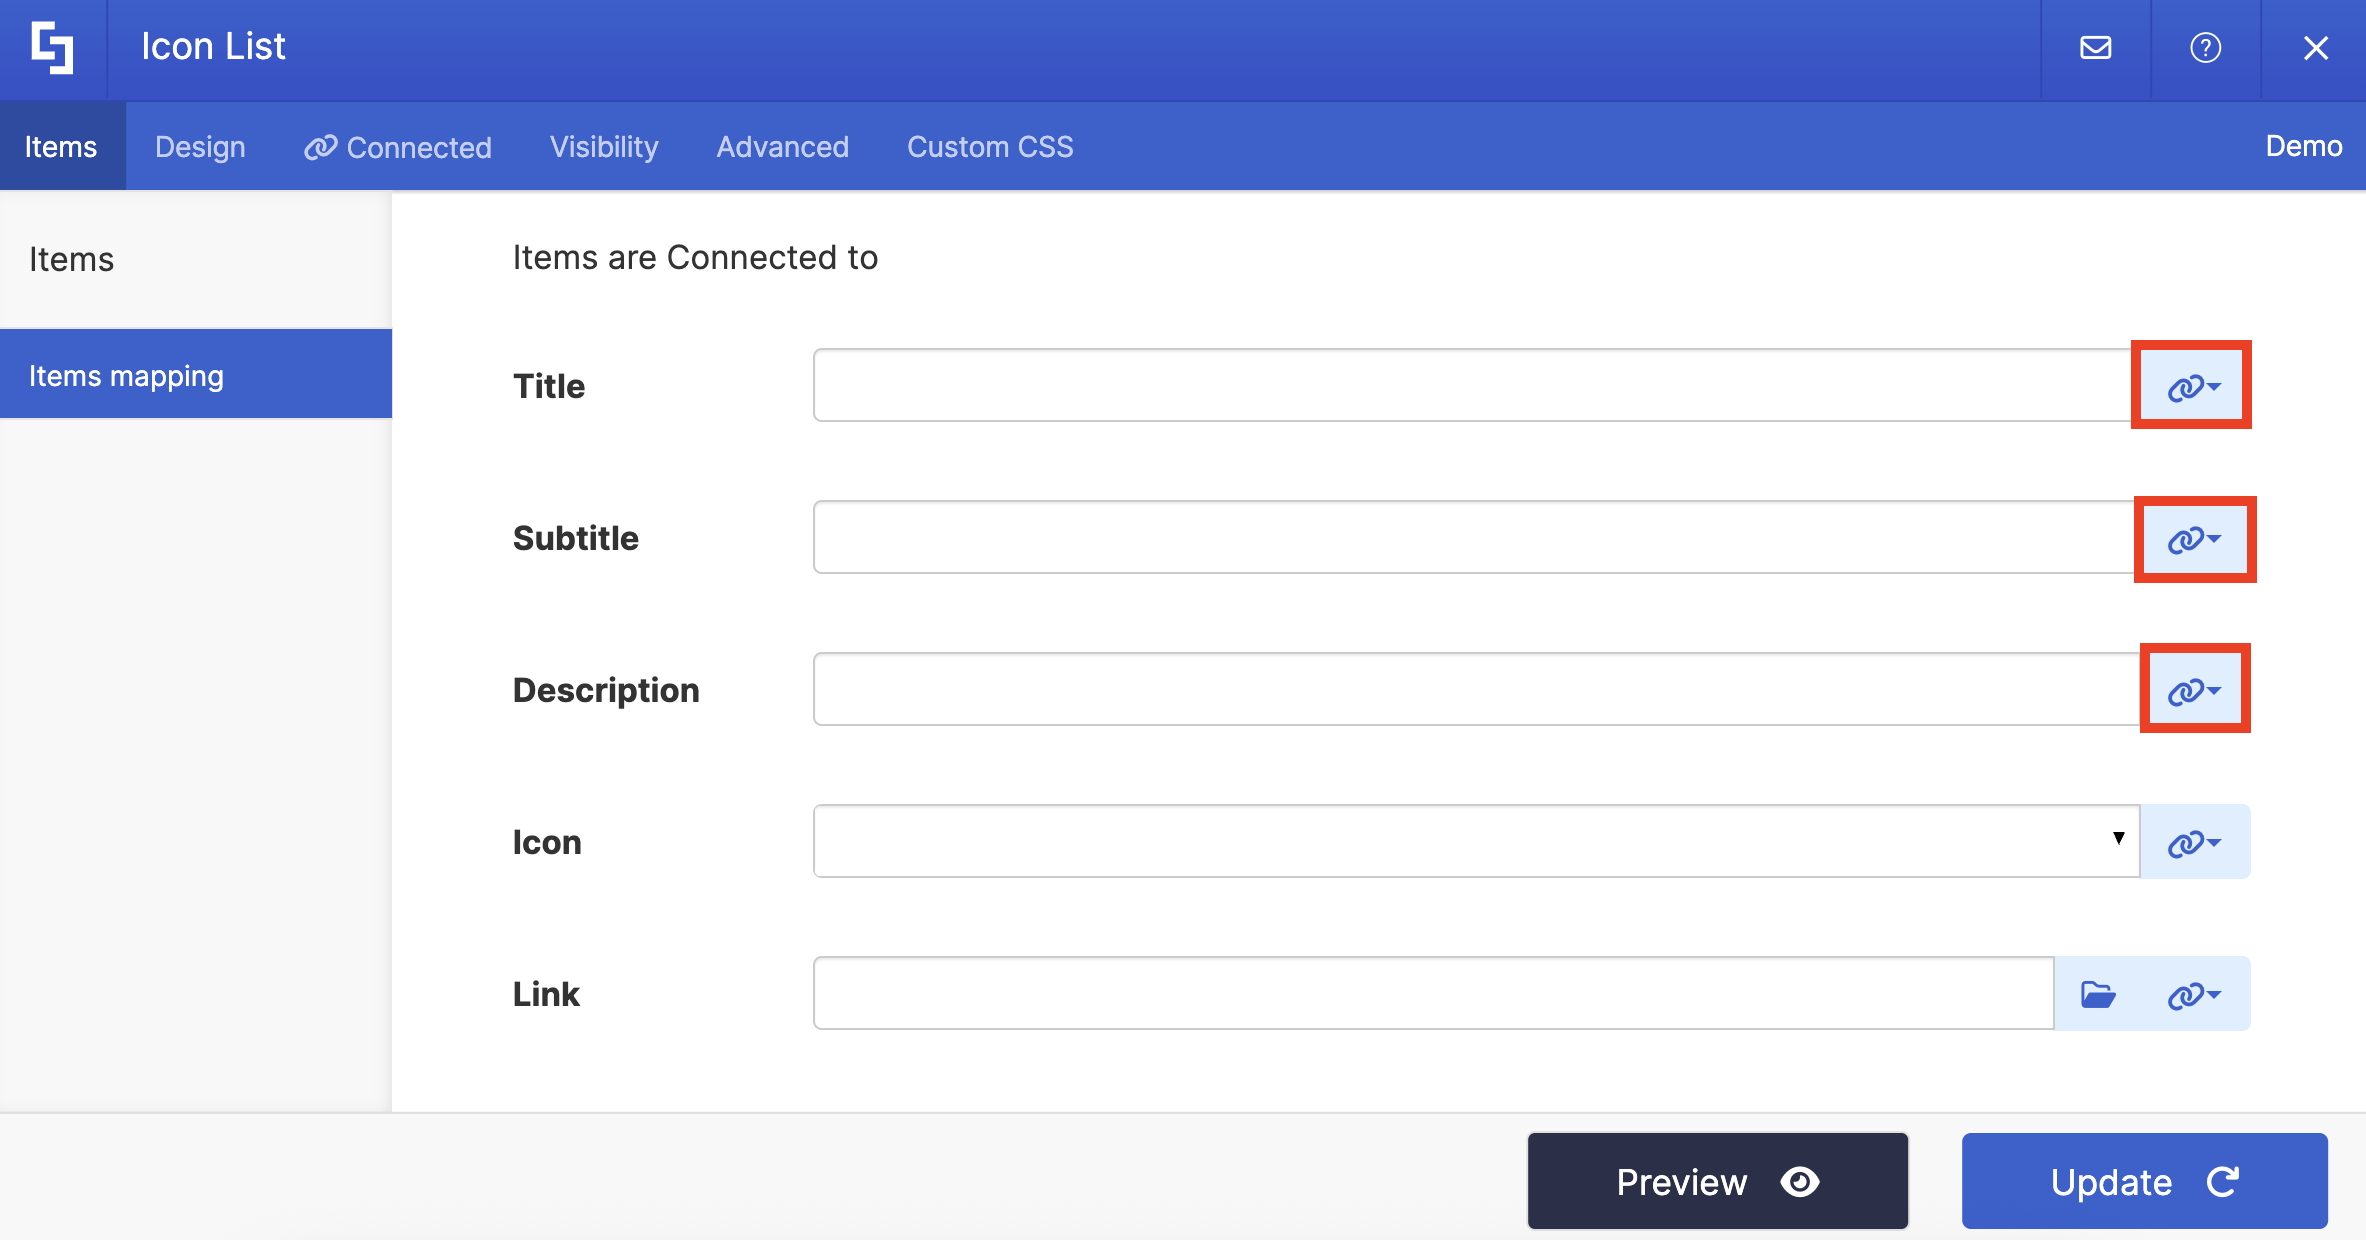
Use the Link icon to map the properties you prefer:
You can use the same properties below or map your own. Just make sure to map the #LikesCount property, as this will show the like count of the items in your list:
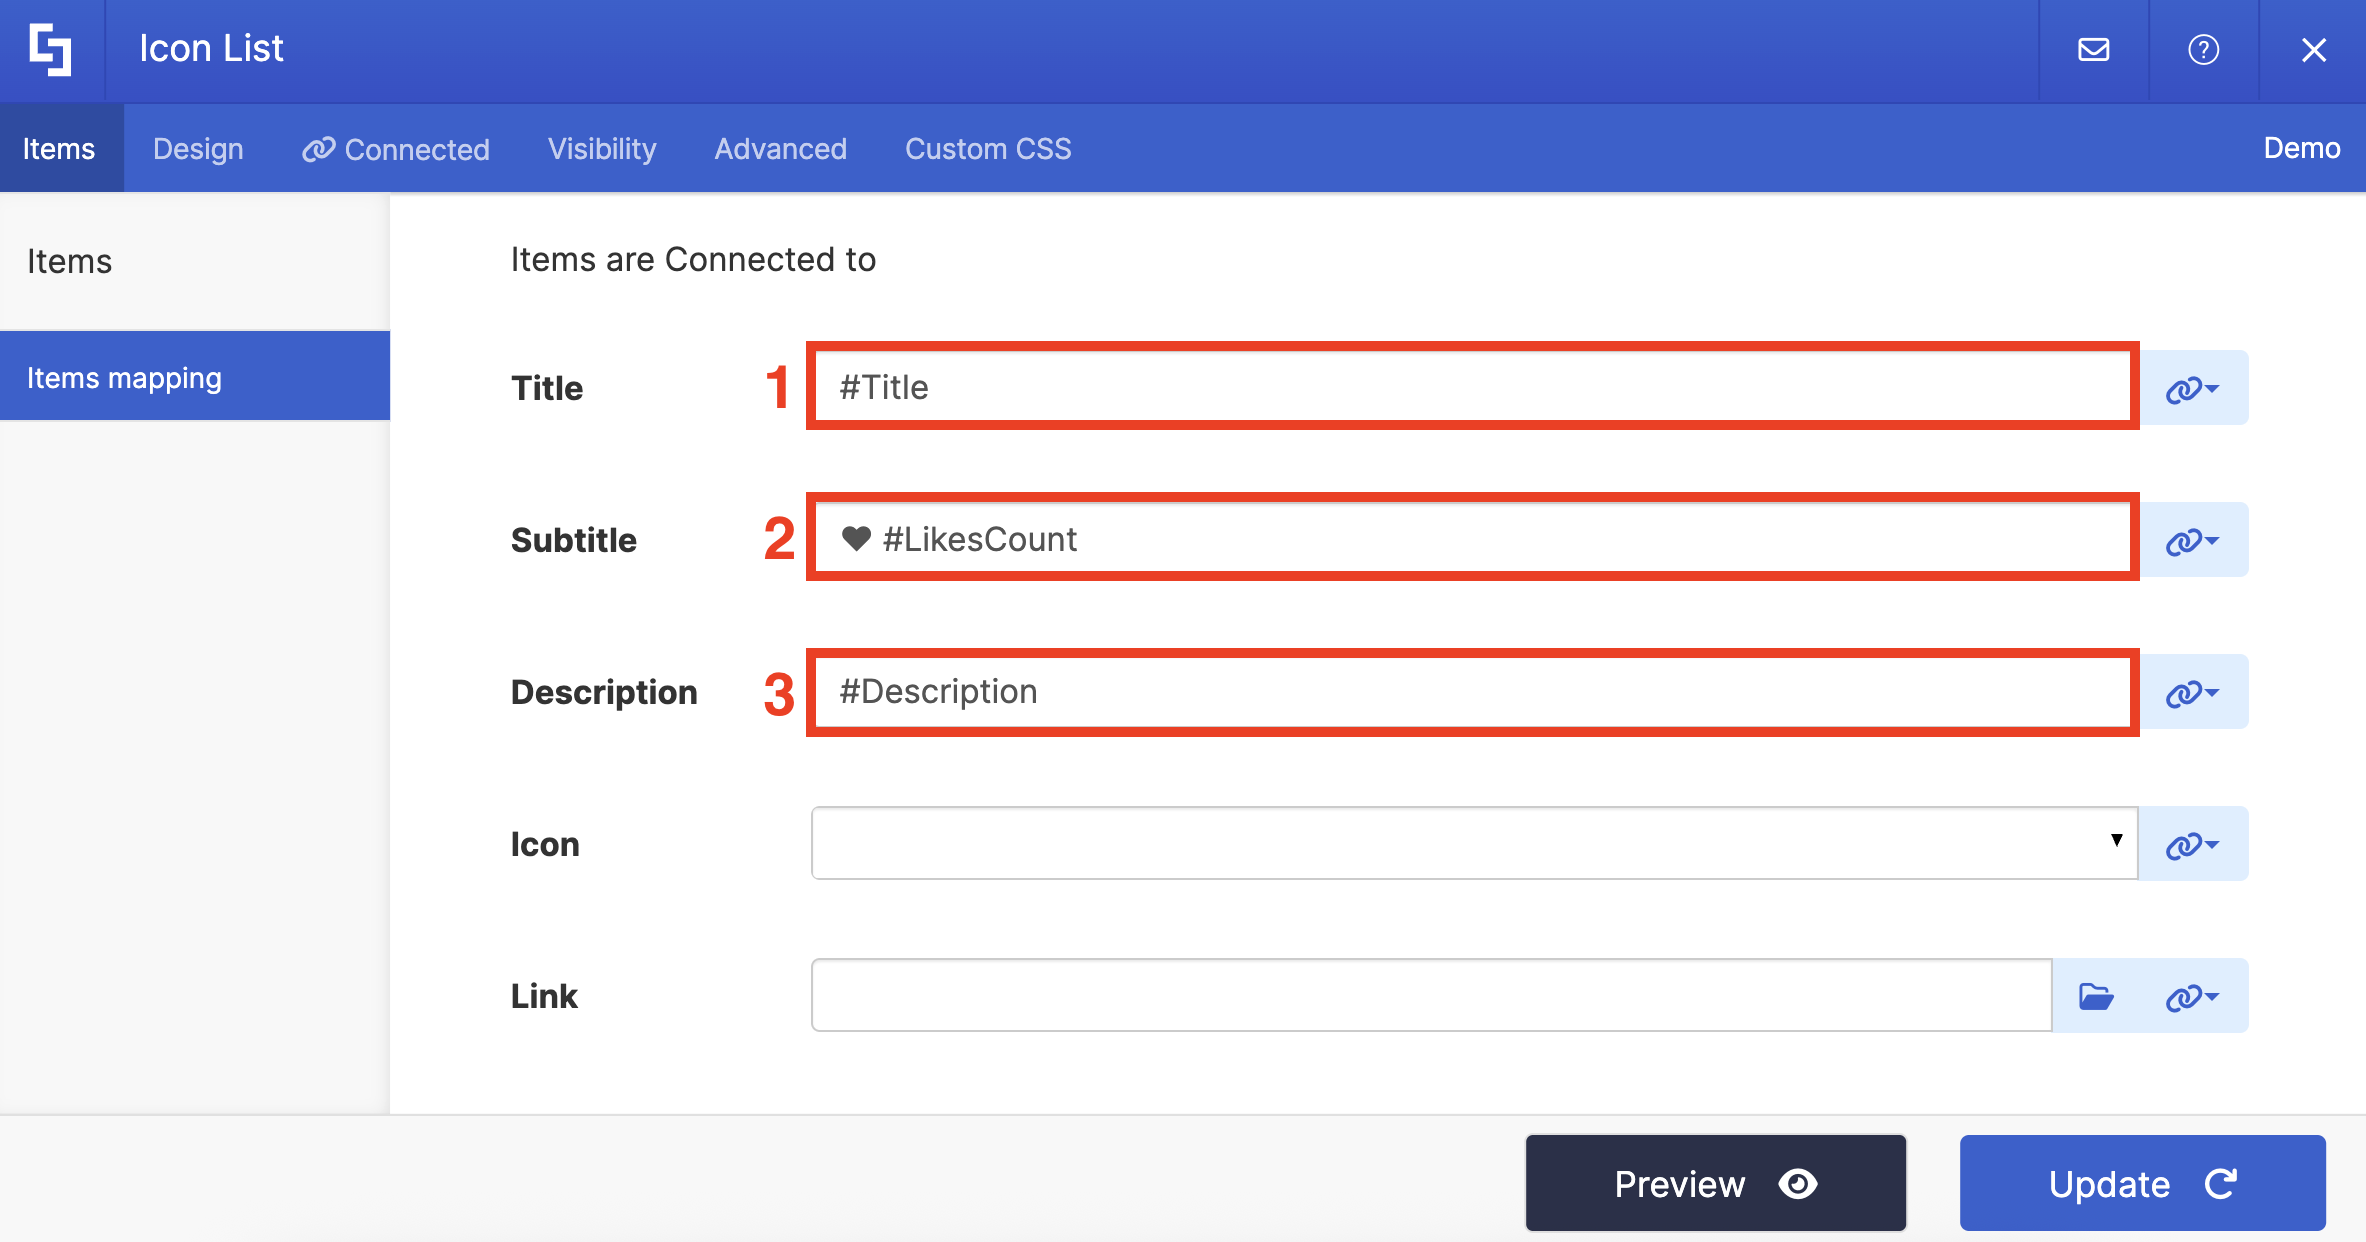
TIPThe heart icon that you see in the screenshot above is just a text character that you could copy and paste from the web. You can use any icon you prefer.
(Optional) If you’re using an Icon List, choose the icon you prefer:
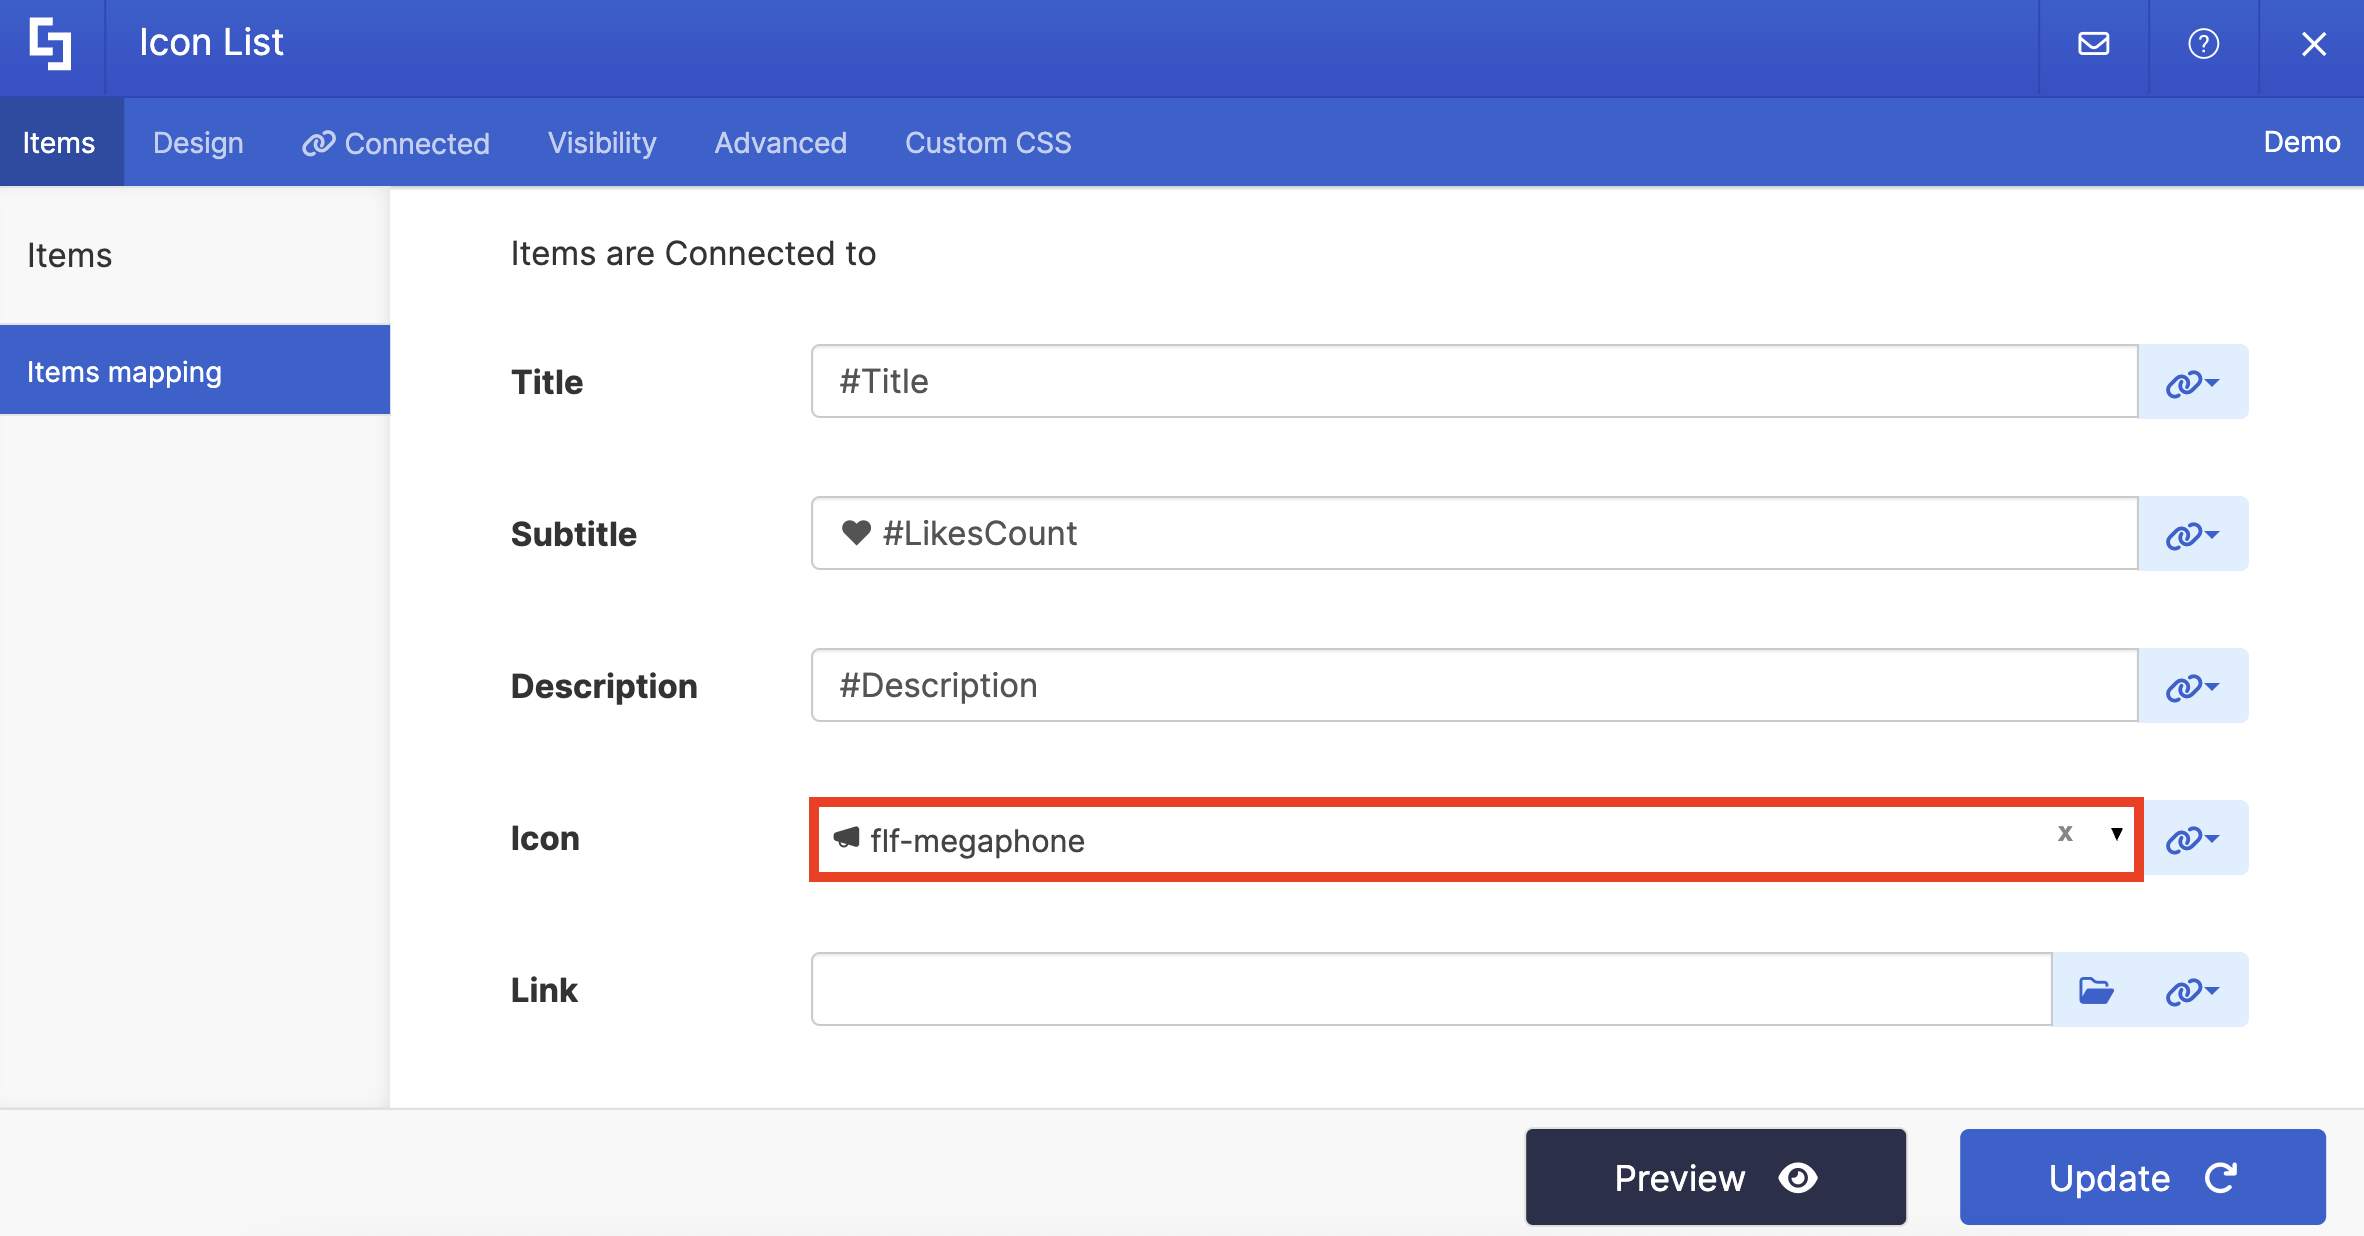
Click Preview to see how your Design Element will look:

Once satisfied, click Update:

Step 7: Save
Click the eye icon to see your page in real-time:

Save your changes:

Congratulations! You can now showcase the like count of the items in your SharePoint List.

