Try ShortPoint now
TL;DR: With ShortPoint Generator, you can build a custom layout that keeps its design but lets other designers add their own content inside. Create a custom element in Generator and add one Panel, Alert, Background, Info or Note element to it. Delete that element’s default content and type %%content%% in its Content field. Style it the way you want, then save. When you add the custom element to a page, you can drop text, images or other ShortPoint elements inside it.
Maintaining consistency across SharePoint pages can be a challenge, especially when multiple team members are involved in designing or updating content. Fortunately, the ShortPoint Generator offers a powerful way to create reusable, pre-designed templates while keeping the content inside completely customizable.
In this guide, we will walk you through how to set up predefined layouts using ShortPoint Generator, break down the essential %%content%% attribute, and explore practical use cases to streamline your site design workflow.
TABLE OF CONTENTS
- Prerequisites
- What is the %%content%% Attribute?
- Creating Editable Layout Containers
- Frequently Asked Questions
- What is the %%content%% attribute in ShortPoint Generator?
- How do I create an editable layout container using ShortPoint Generator?
- Is it possible to add multiple Design Elements with the %%content%% attribute?
- How do I add the custom editable design element to a SharePoint page?
- Can I nest other ShortPoint elements inside the editable container?
- How do I save and publish the changes after adding an editable layout container?
- What is the benefit of using editable layout containers in SharePoint?
Prerequisites
- You must have the latest version of ShortPoint SPFx installed.
- You must be a ShortPoint Designer with either a Pro or Enterprise License. For more information, check out Licensing Options.
What is the %%content%% Attribute?
By default, when you insert custom Design Elements created through ShortPoint Generator, you will not be able to edit their layout and the content inside.
The %%content%% attribute changes this. It allows you to create custom Design Elements that maintain their layout design, while providing a way for other ShortPoint Designers in your tenant to add whatever content they want inside.
When the custom element with the %%content%% attribute is inserted onto a page, it acts as a drop zone. You or other ShortPoint Designers in your tenant can place plain text, images, or even nest other ShortPoint elements (like buttons, lists, or cards) inside it. The surrounding layout, background colors, borders, and typography remain locked to your defined style, while the internal content remains 100% editable.
NOTE: If you want to create custom elements with editable fields instead, go to How to Create Editable Fields for Custom Elements.
Creating Editable Layout Containers
The steps have been divided into two parts for clarity. Follow them closely to create editable containers:
Part 1: Create the Custom Design Element
This section shows you how to create an editable Custom Design Element.
Step 1: Open Generator
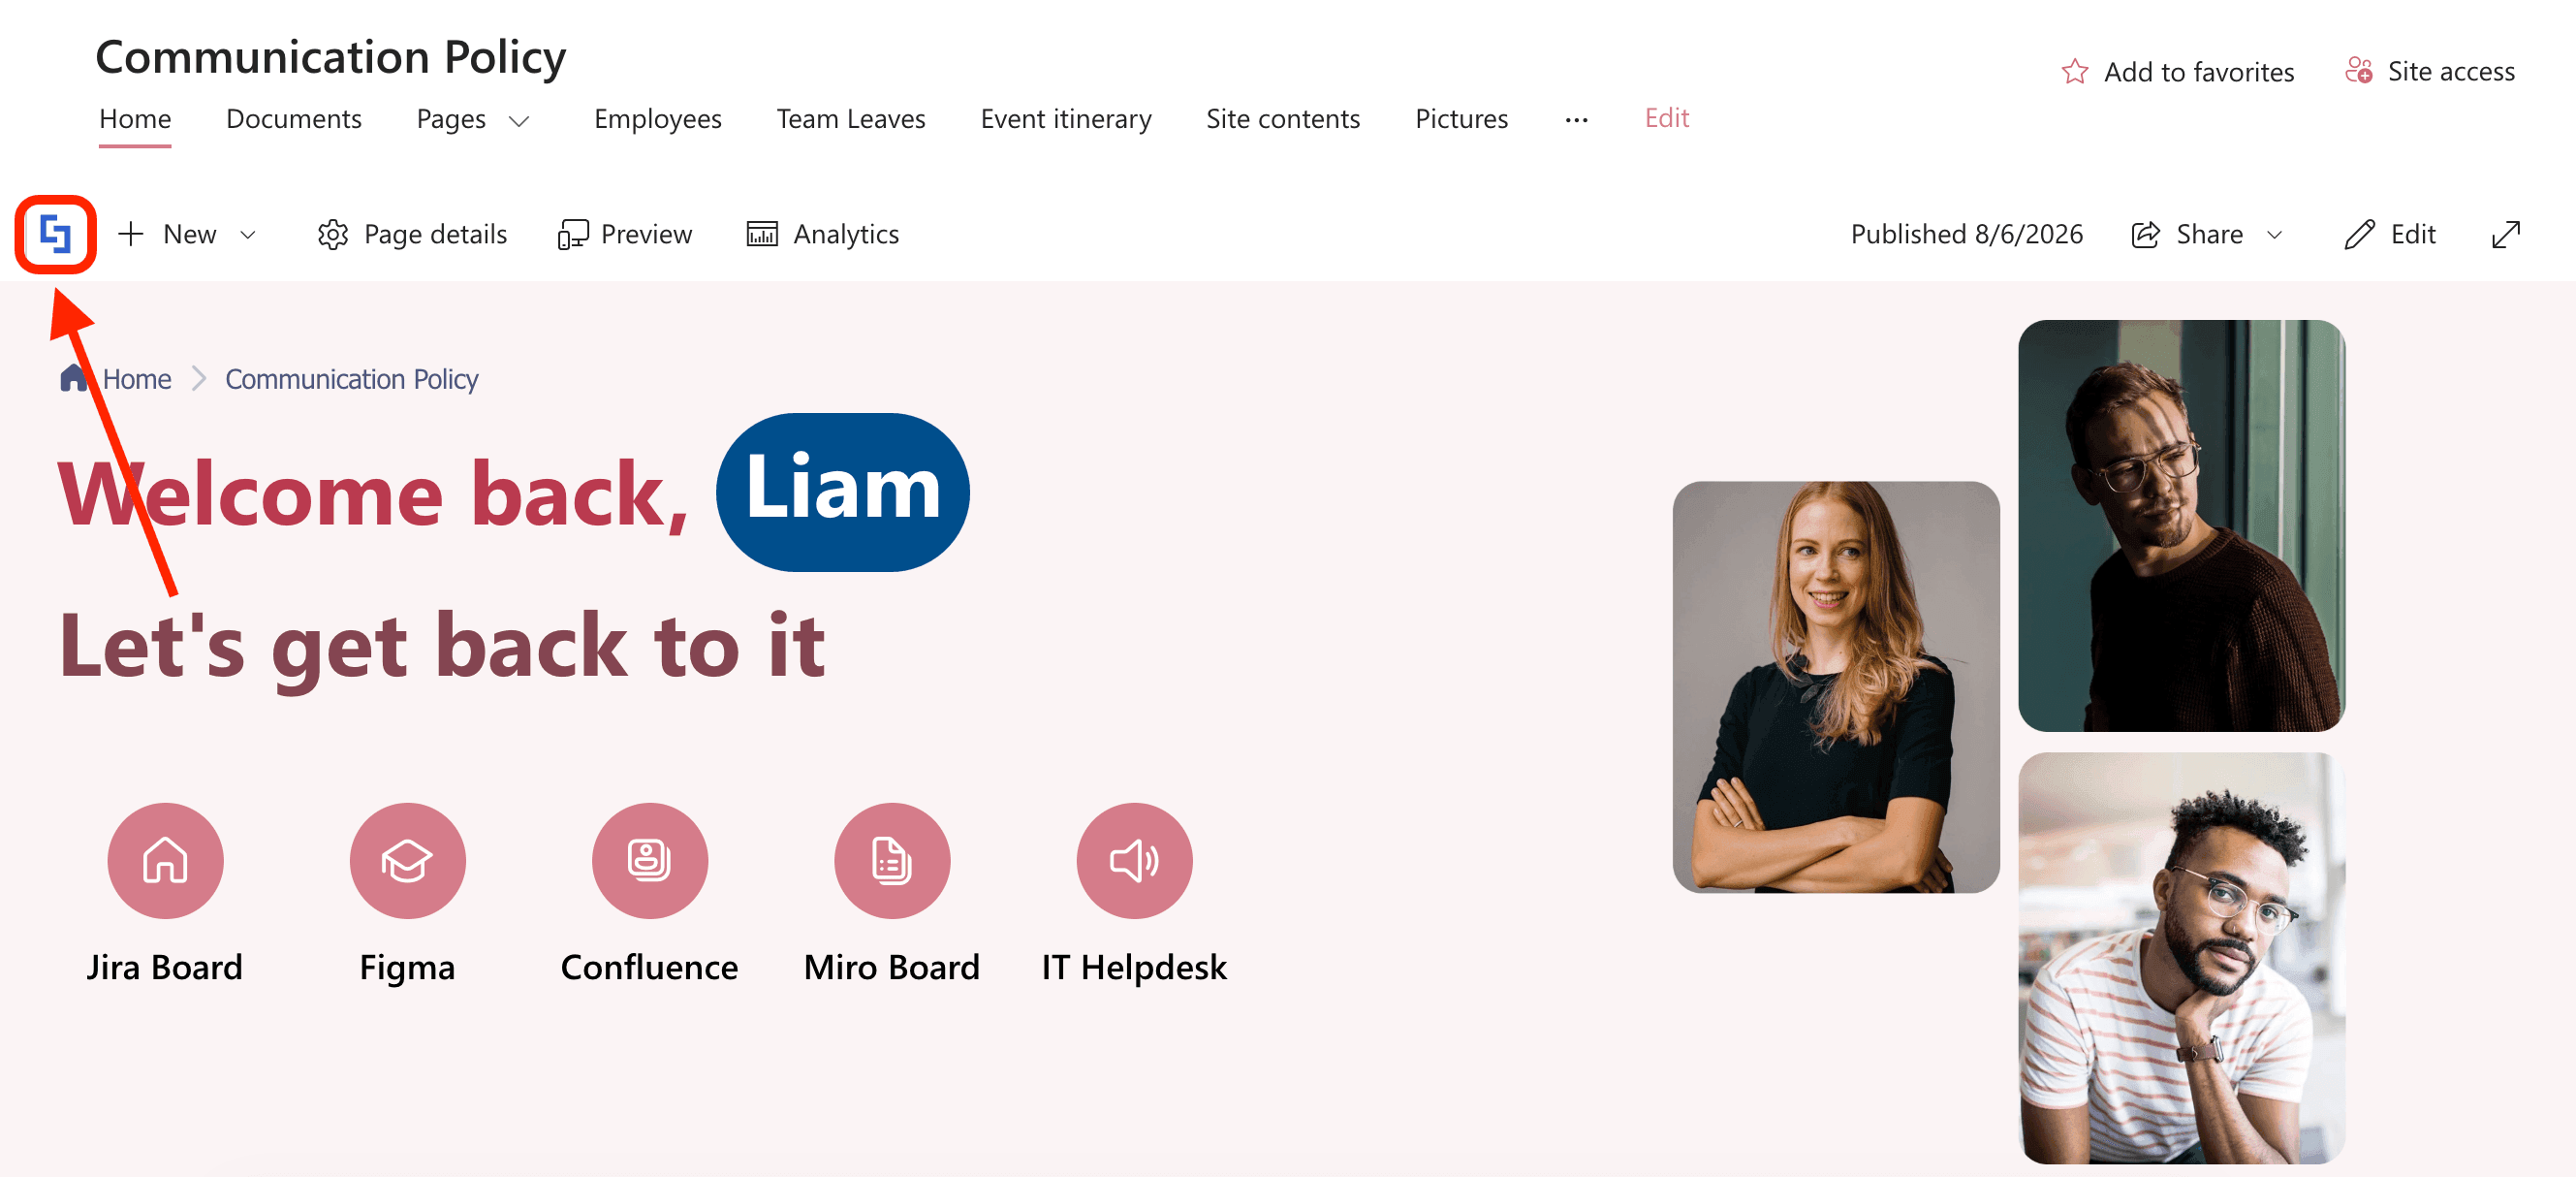
Go to the SharePoint page where you want to add the Custom Design Element and click the ShortPoint shortcut:
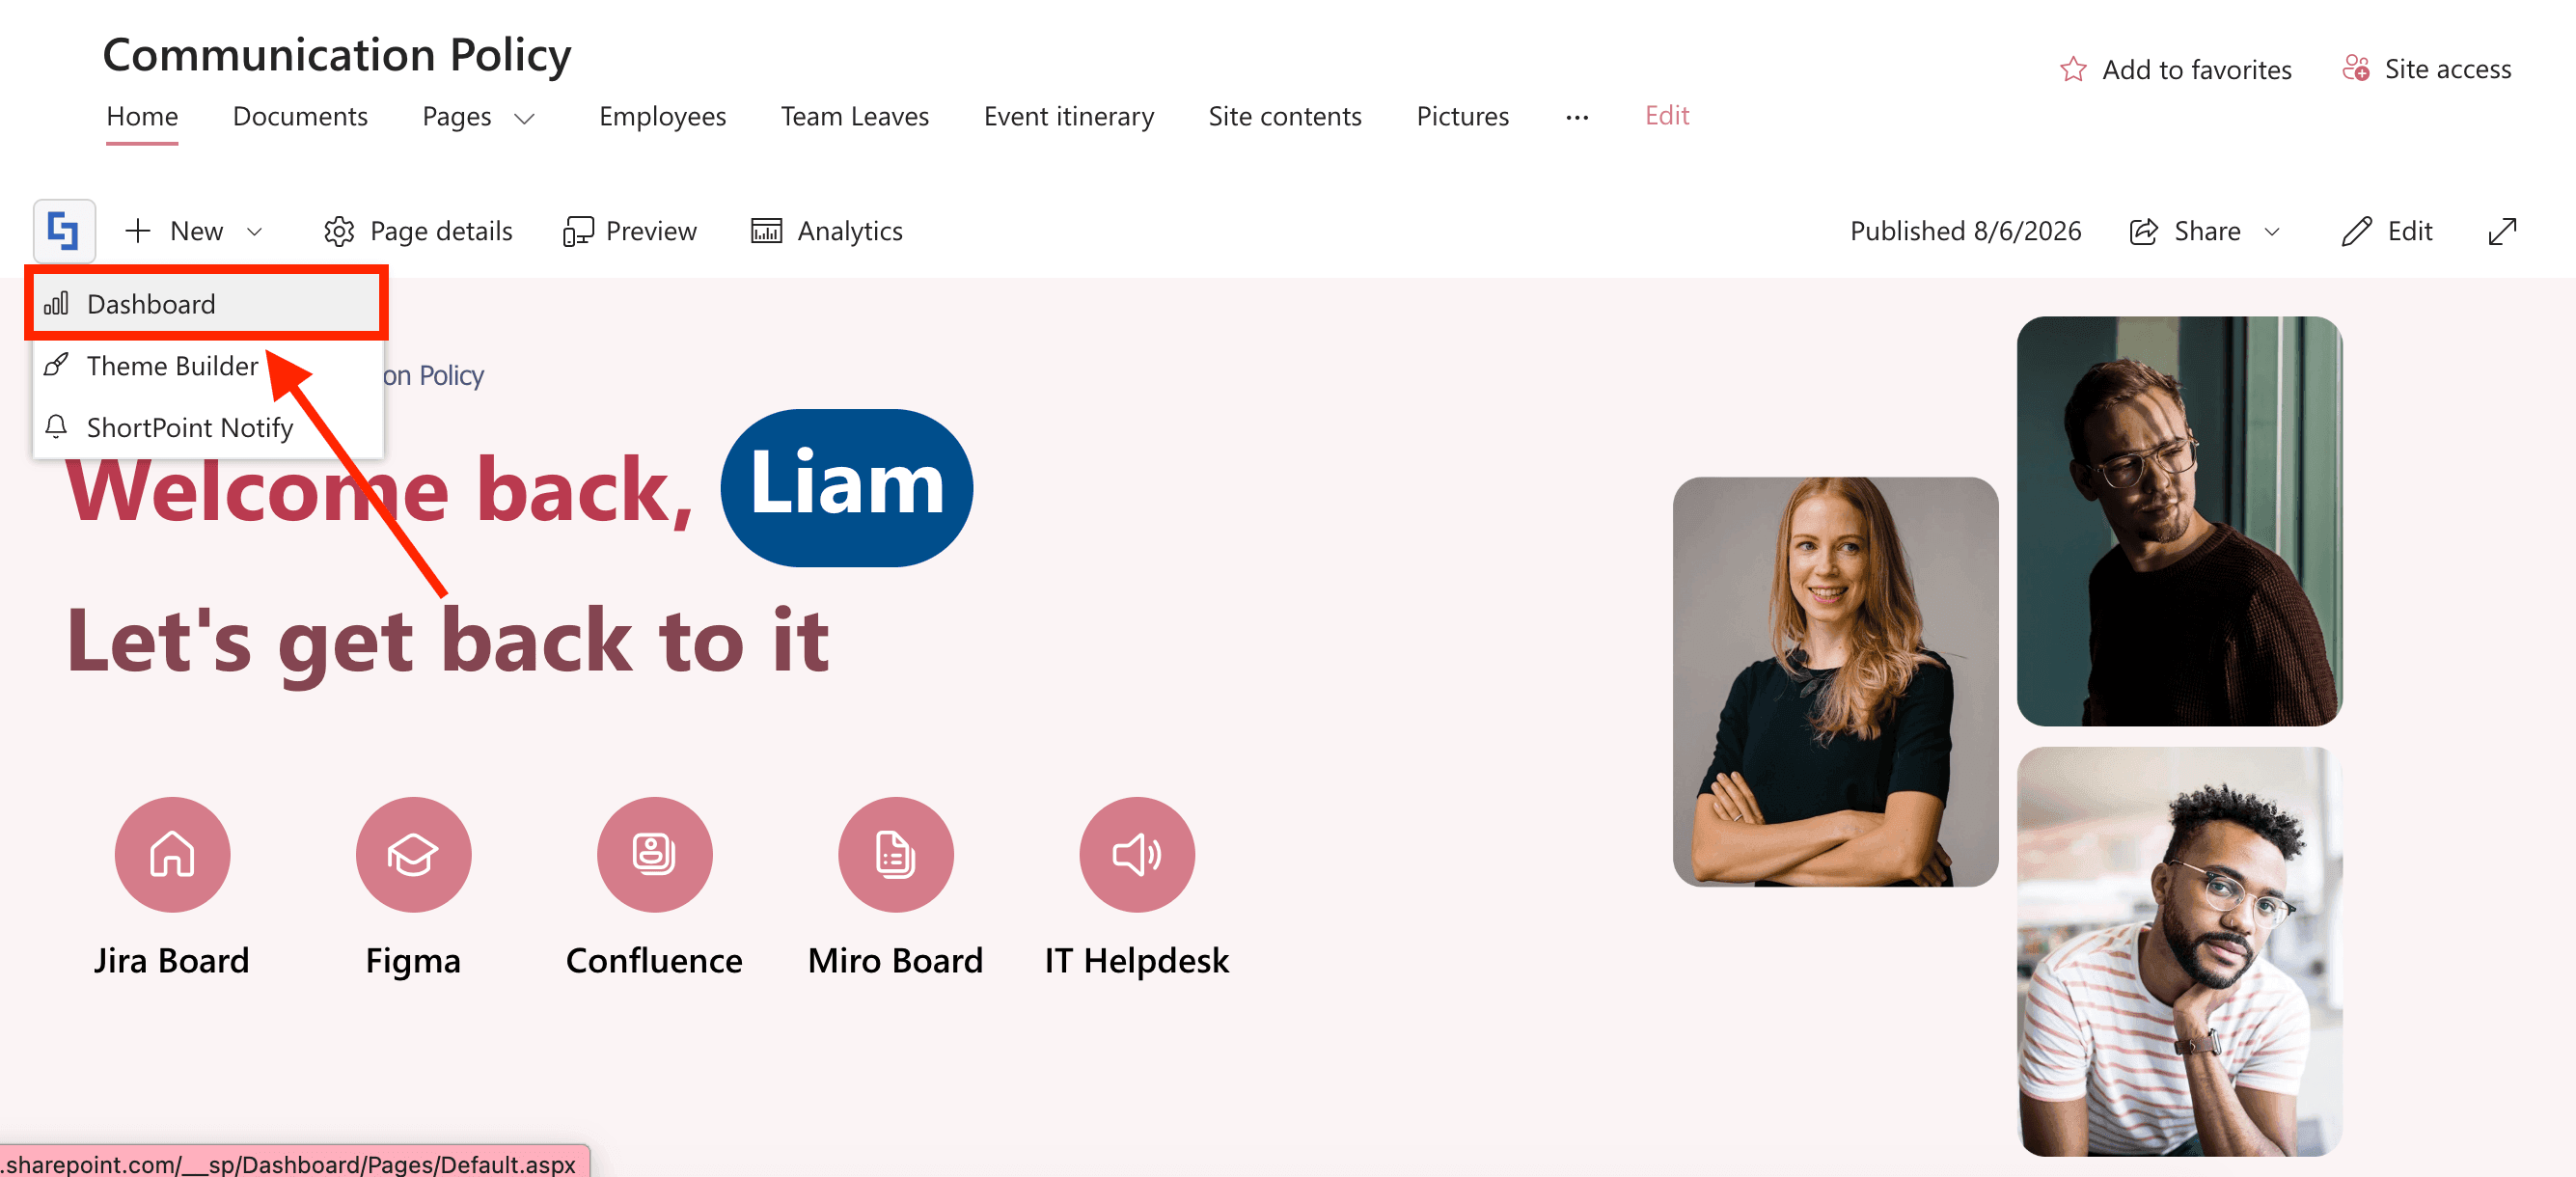
Select Dashboard:
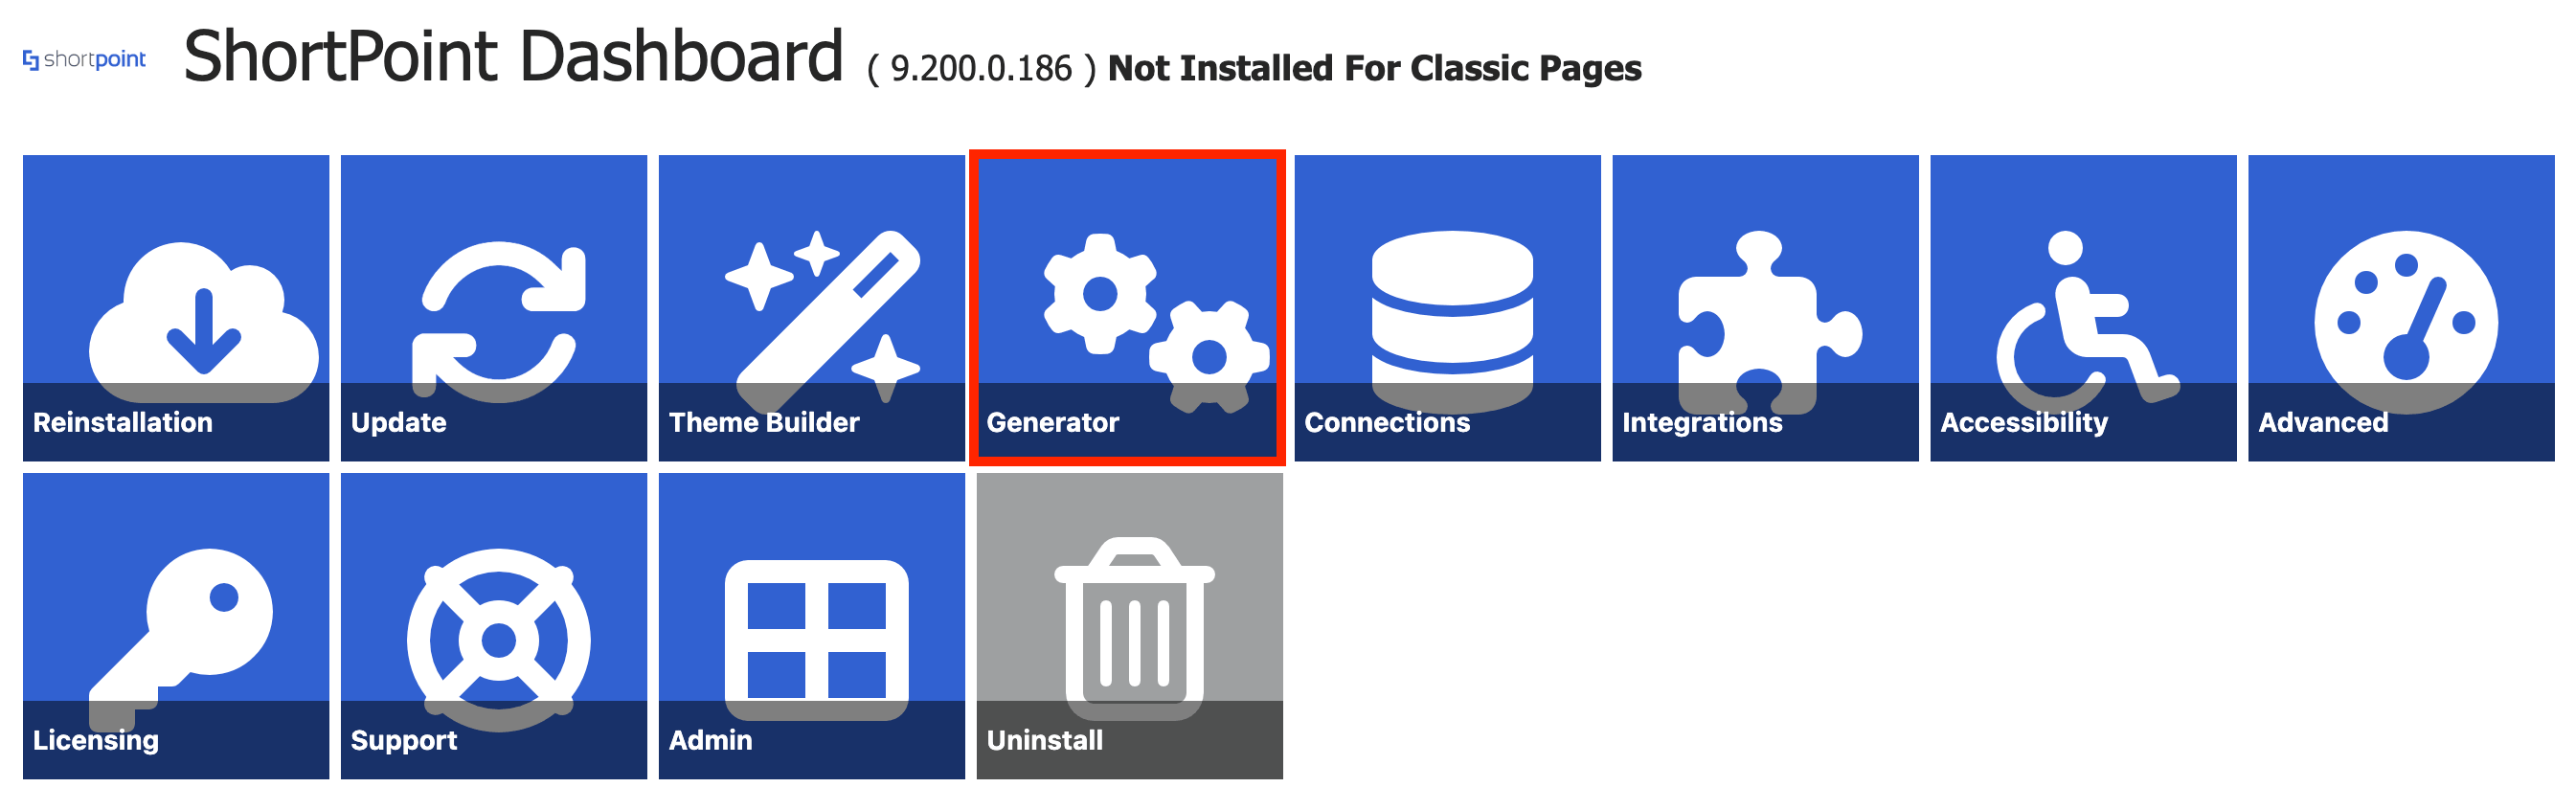
Click Generator:
Step 2: Name Custom Element
[1] Name the Custom Design Element and make sure the generator type is set to [2] Element:

Step 3: Create the Element
Create the custom element according to your preferences. You can start from scratch or use a template. In our example, we used a Team template from the templates library:
Step 4: Add a Single-Item Content Holder Design Element
The single-item Content Holder Design Element (Panel, Alert, Background, Info, or Note) will serve as the container for the editable content you will add in the layout. To add it, click the plus icon:
NOTEYEach custom element can have only one Content Holder with %%content%% (. Otherwise, it will not work as intended.
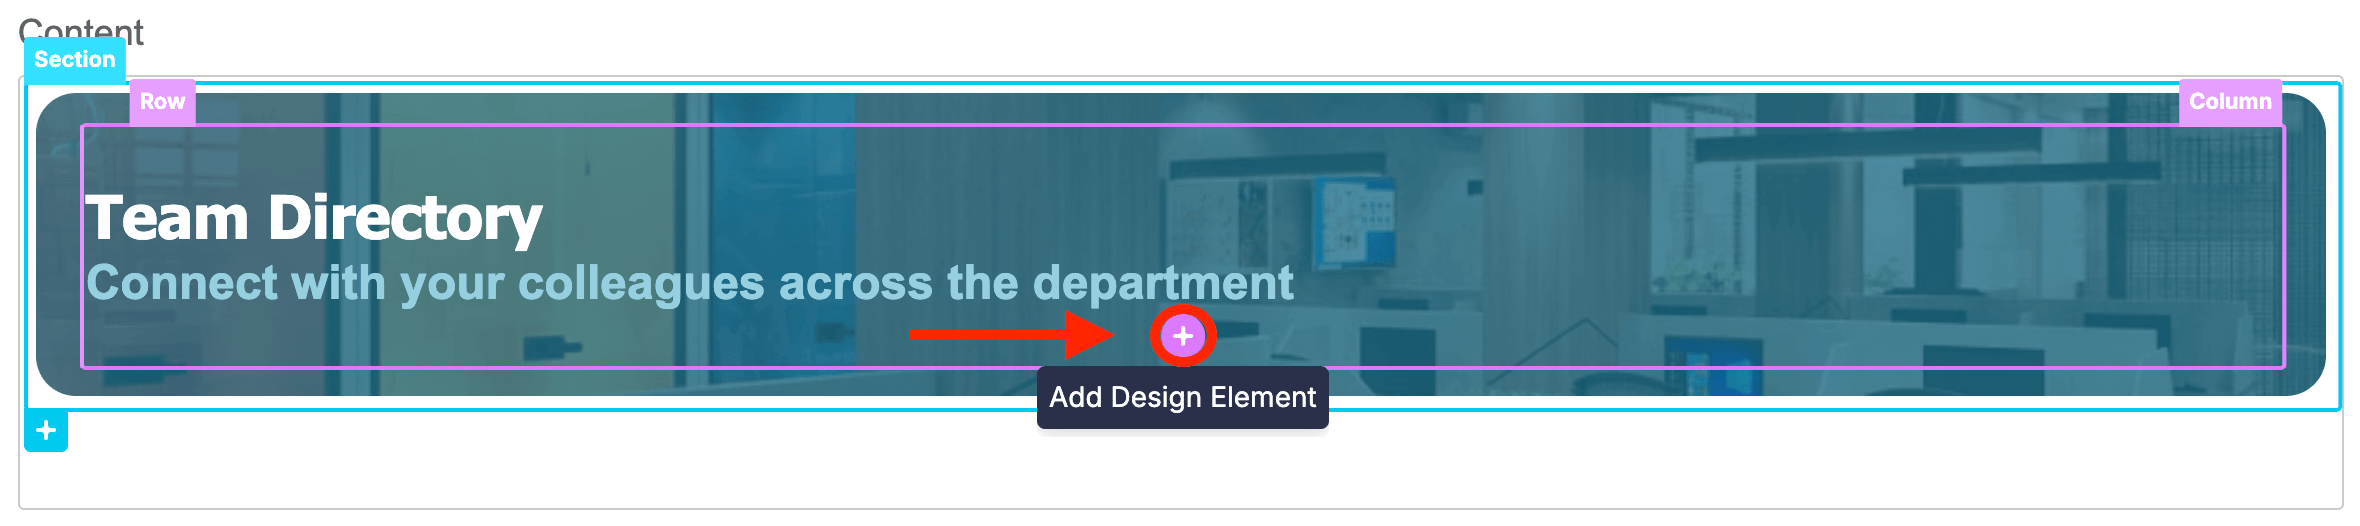
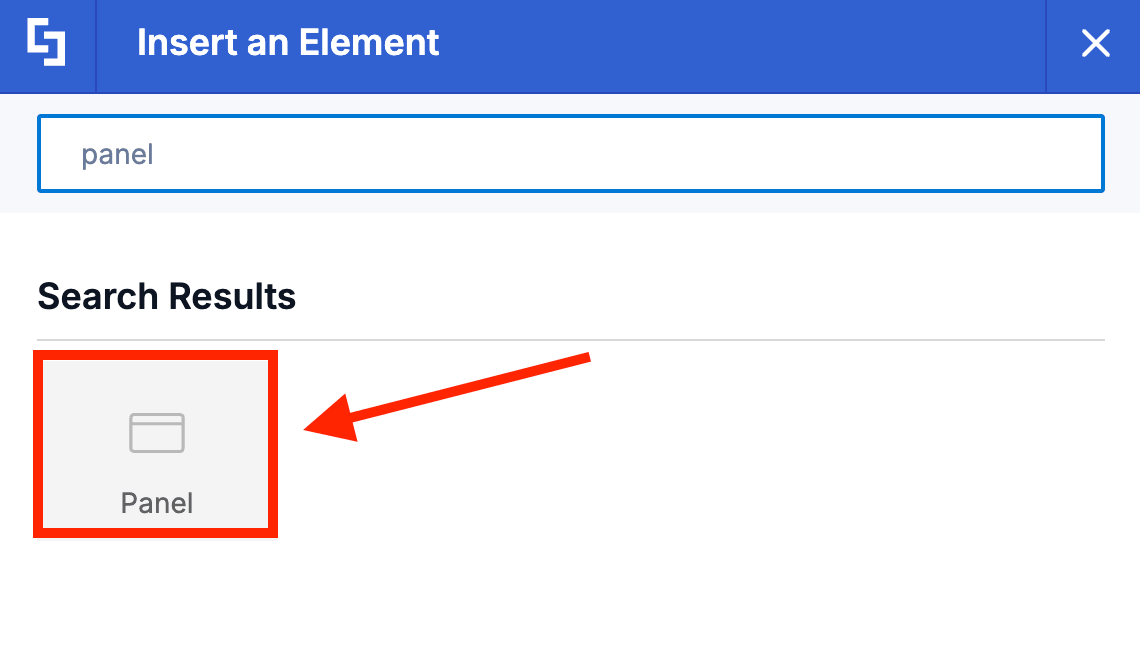
Look for the single-item Content Holder Design Element you want to use and select it. This type of Design Element includes Panel, Alert, Background, Info, or Note. For this guide, we’ll use Panel:
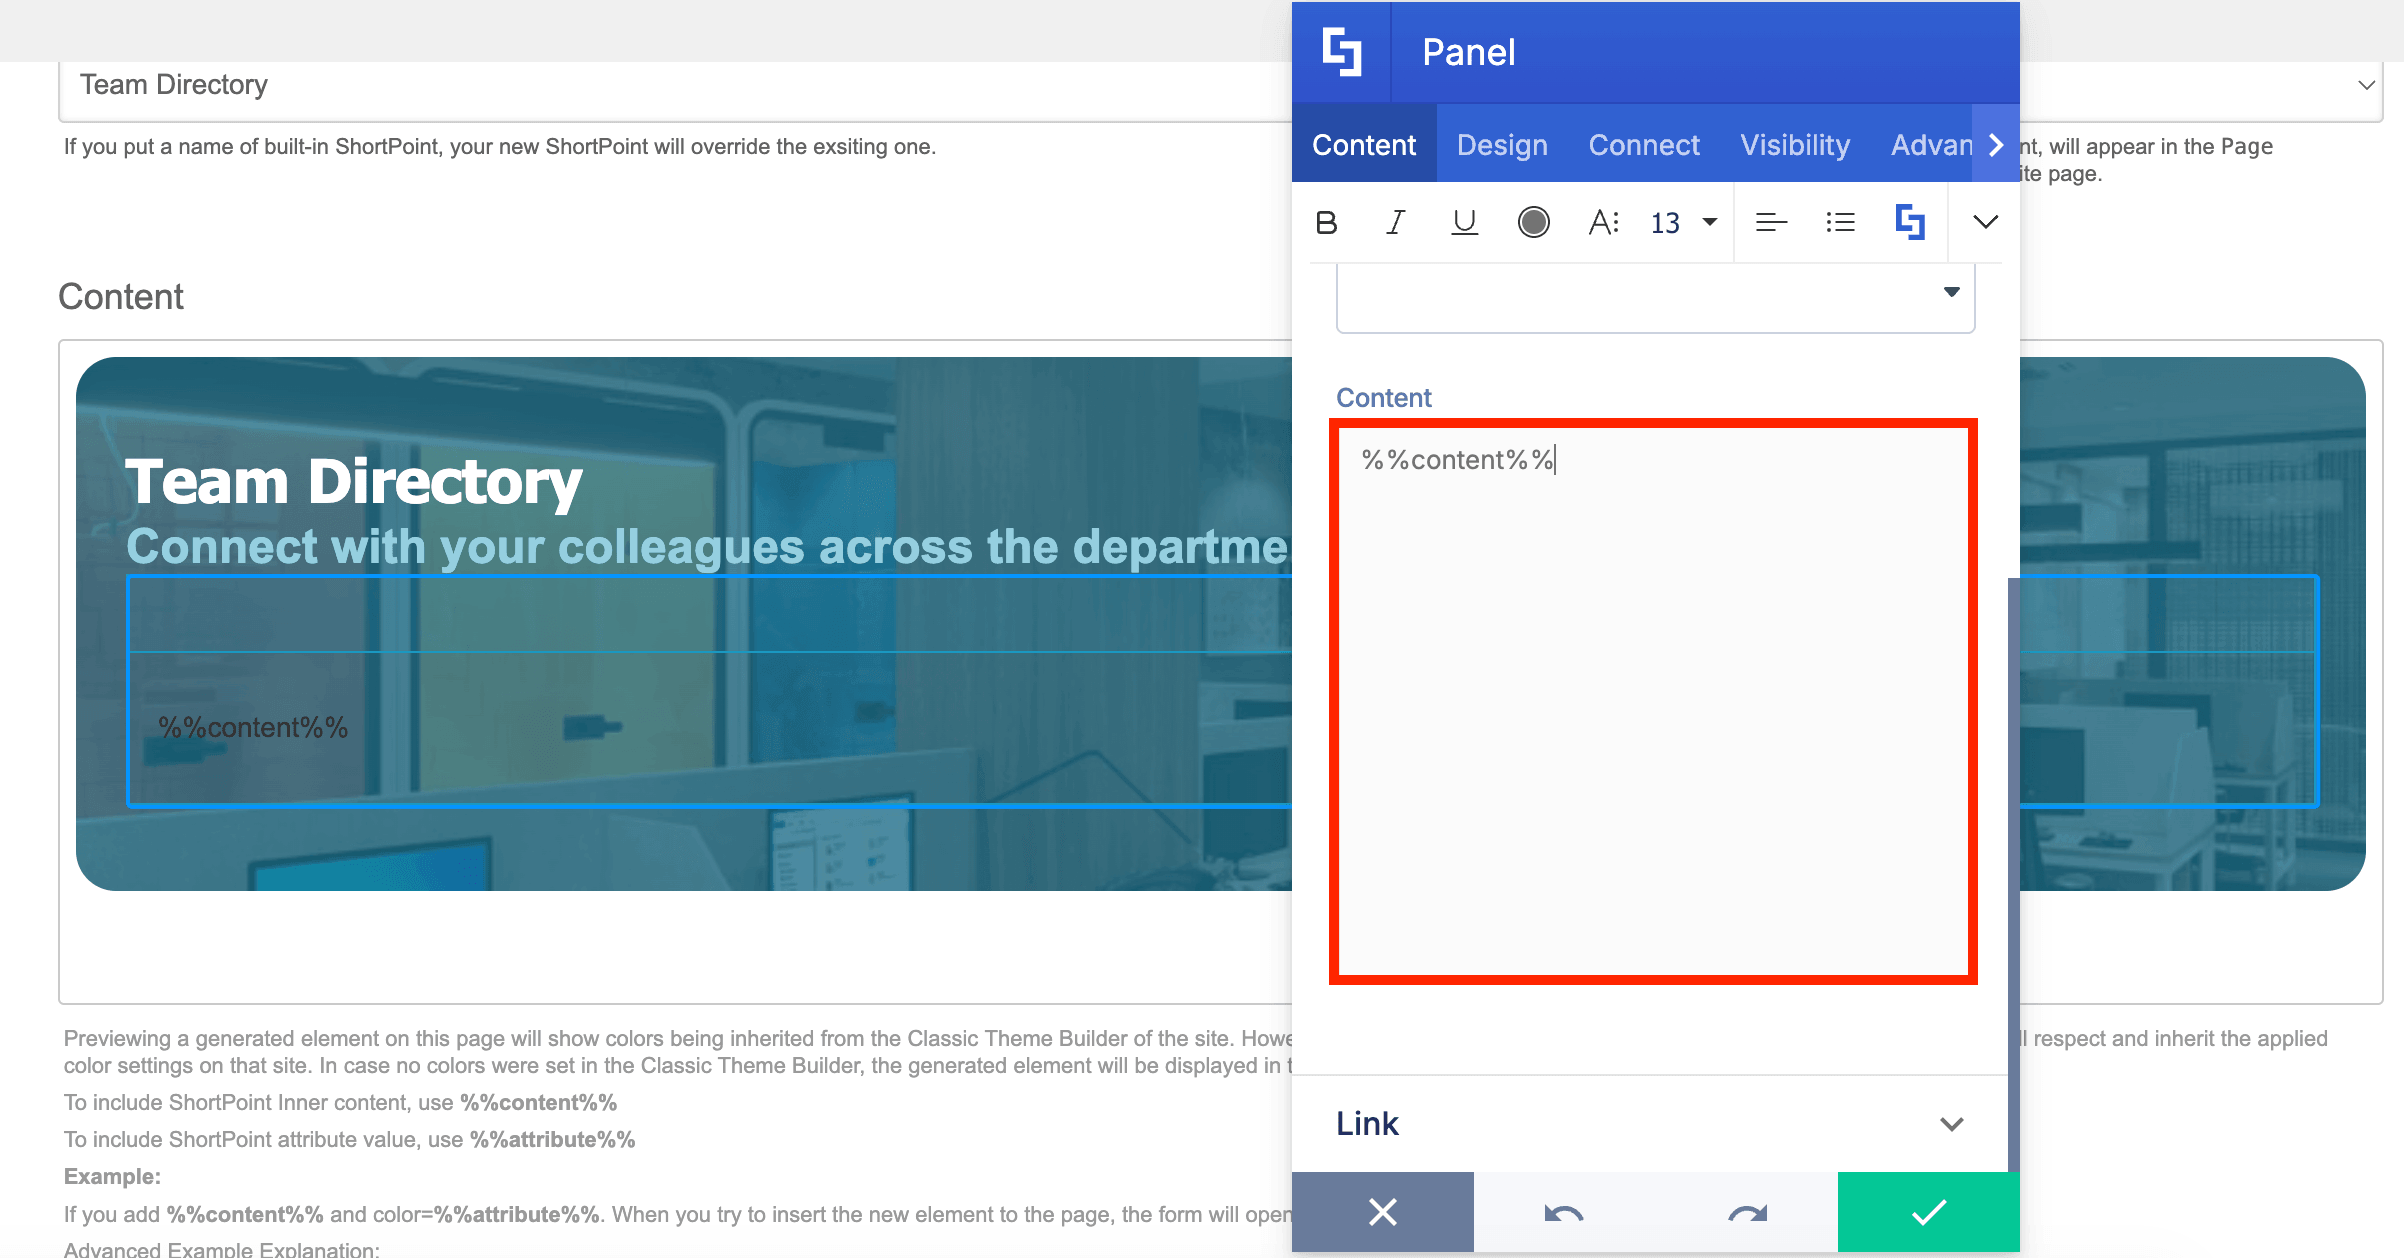
Step 5: Add %%content%% attribute
In the Content tab, delete all default content:
Add “%%content%%” in the Content field:
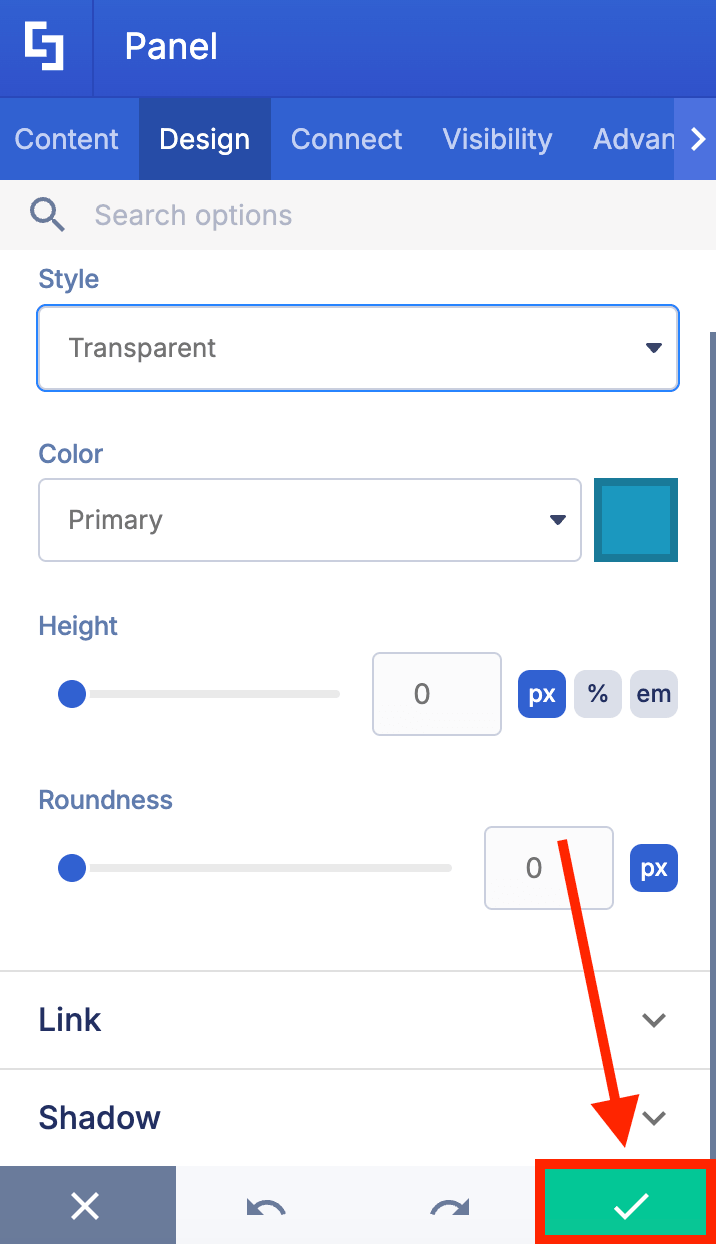
Step 6: Customize Panel Design
Go to the Design tab.
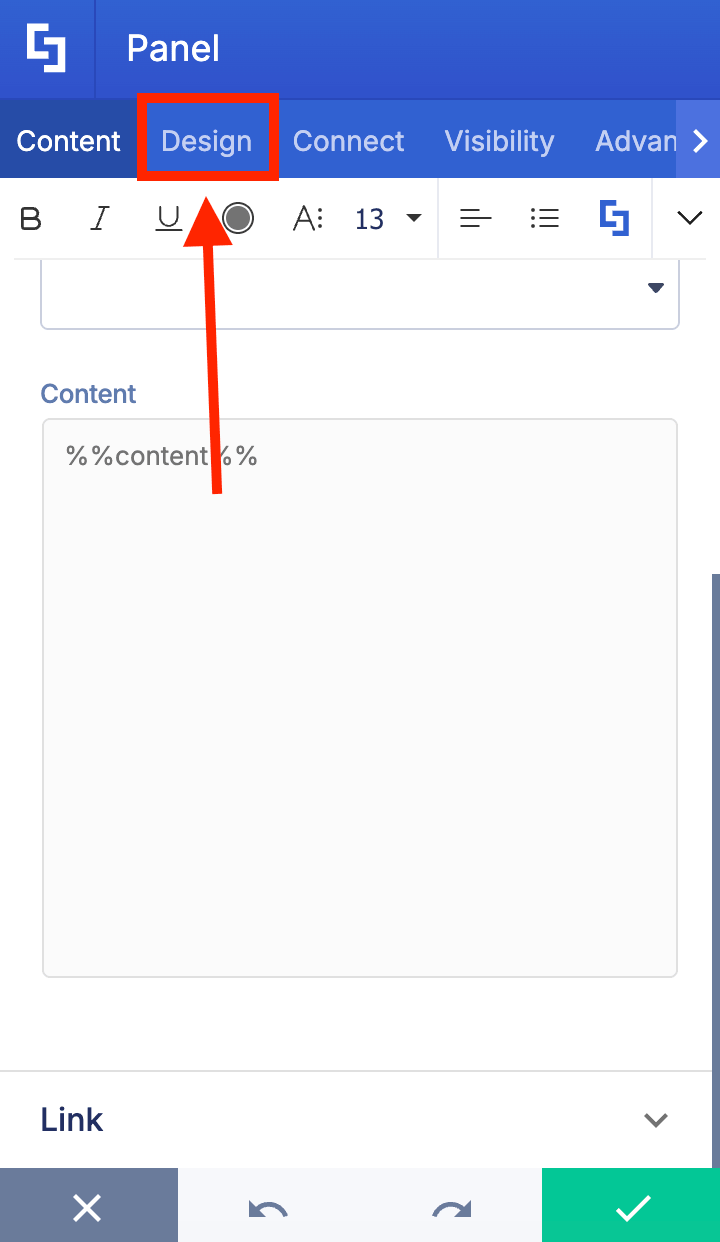
Customize the Design Element’s design to your liking:
Once satisfied, click the green check mark:
Step 7: Save
Click Save Changes to save your Custom Design Element:
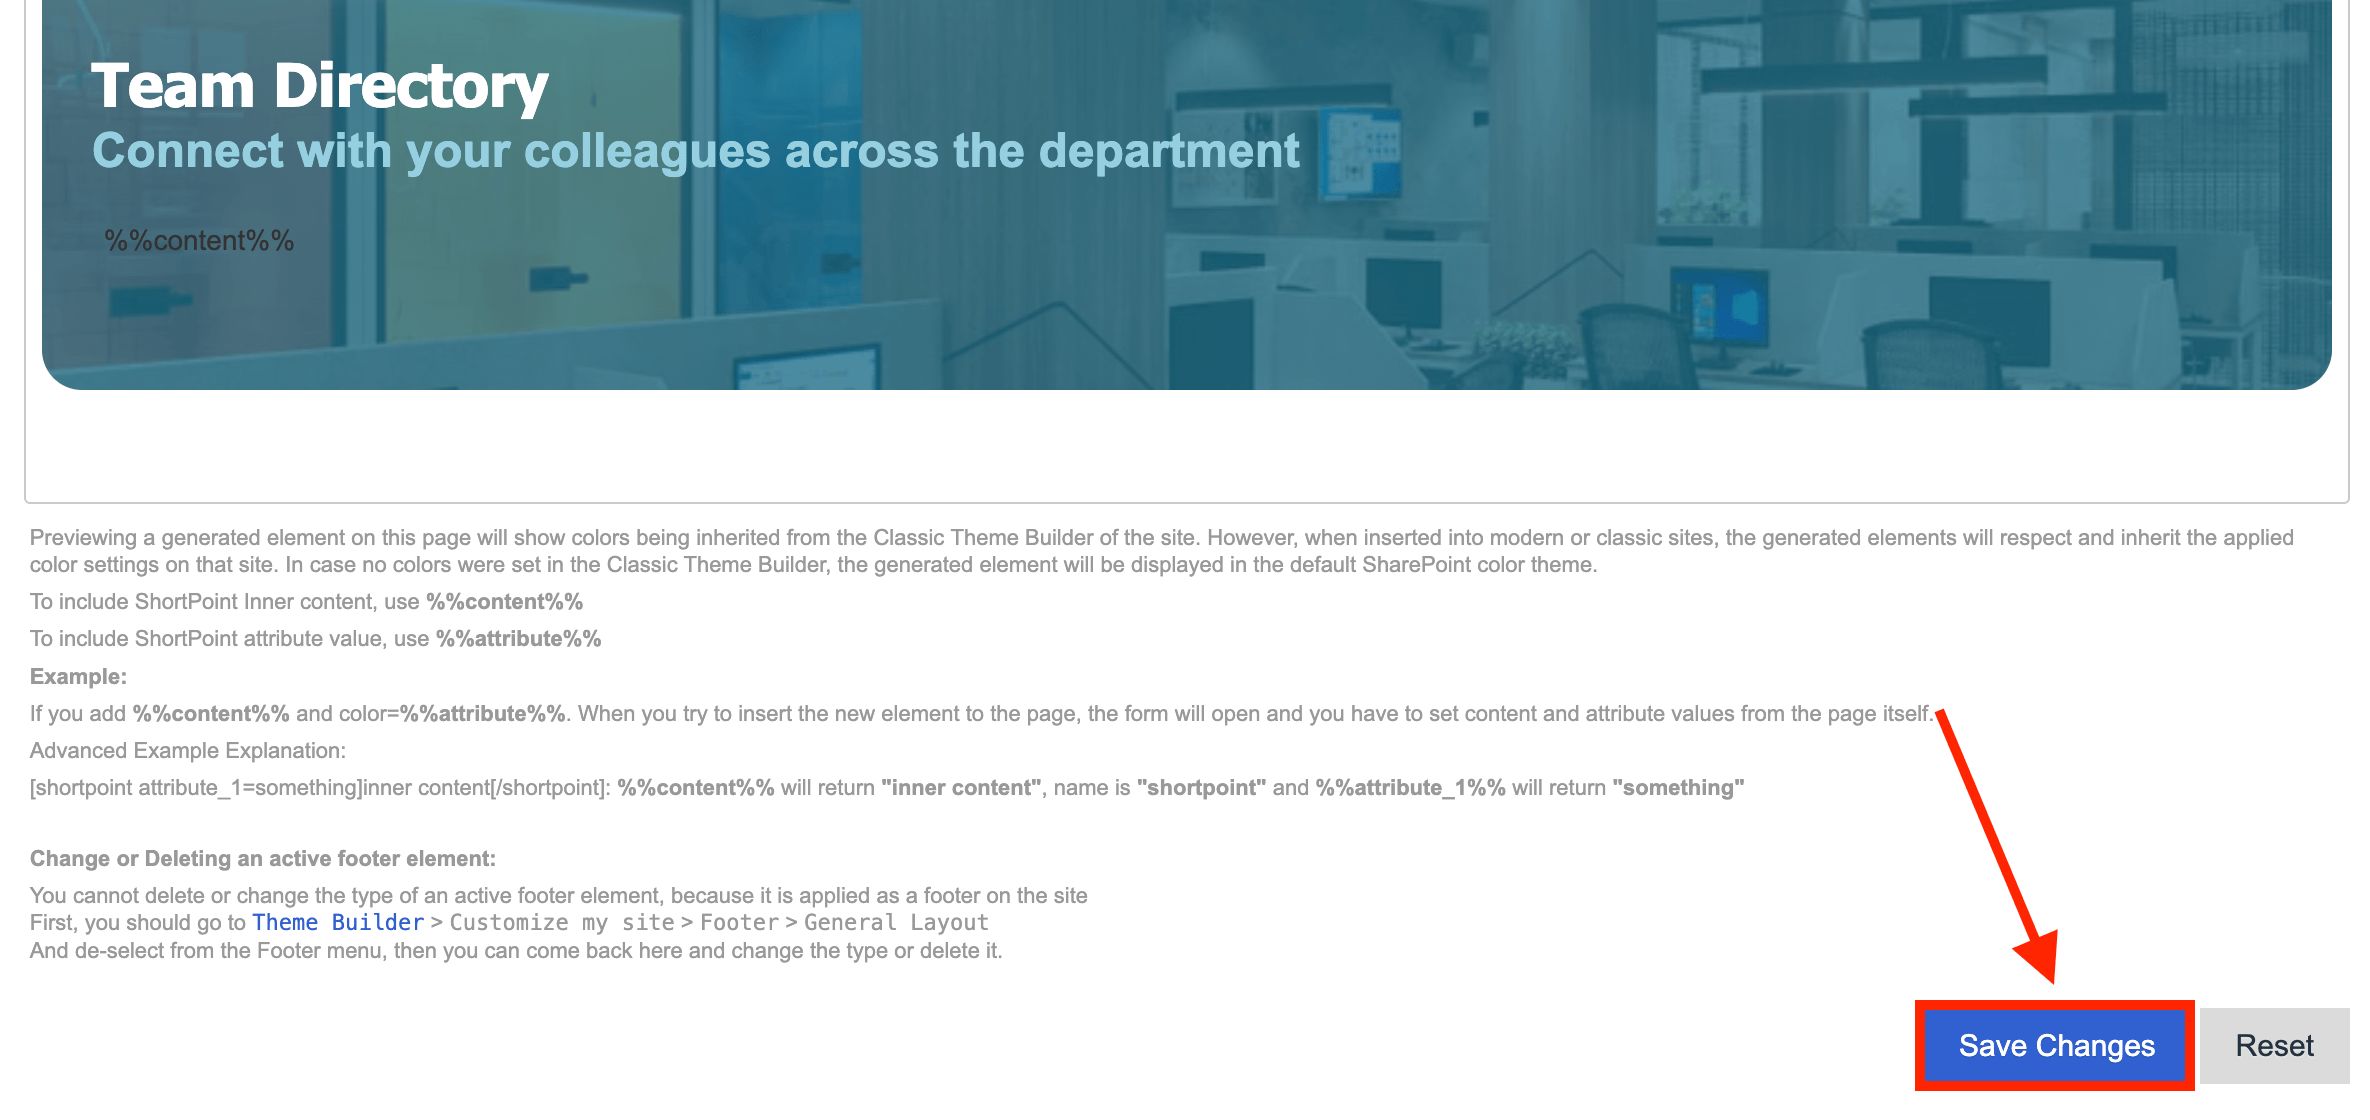
That’s it! You now have an editable layout. Proceed to Part 2 to learn how to add it to a SharePoint page.
Part 2: Add Custom Design Element to the Page
This section shows you how to add the editable Custom Design Element to a SharePoint page.
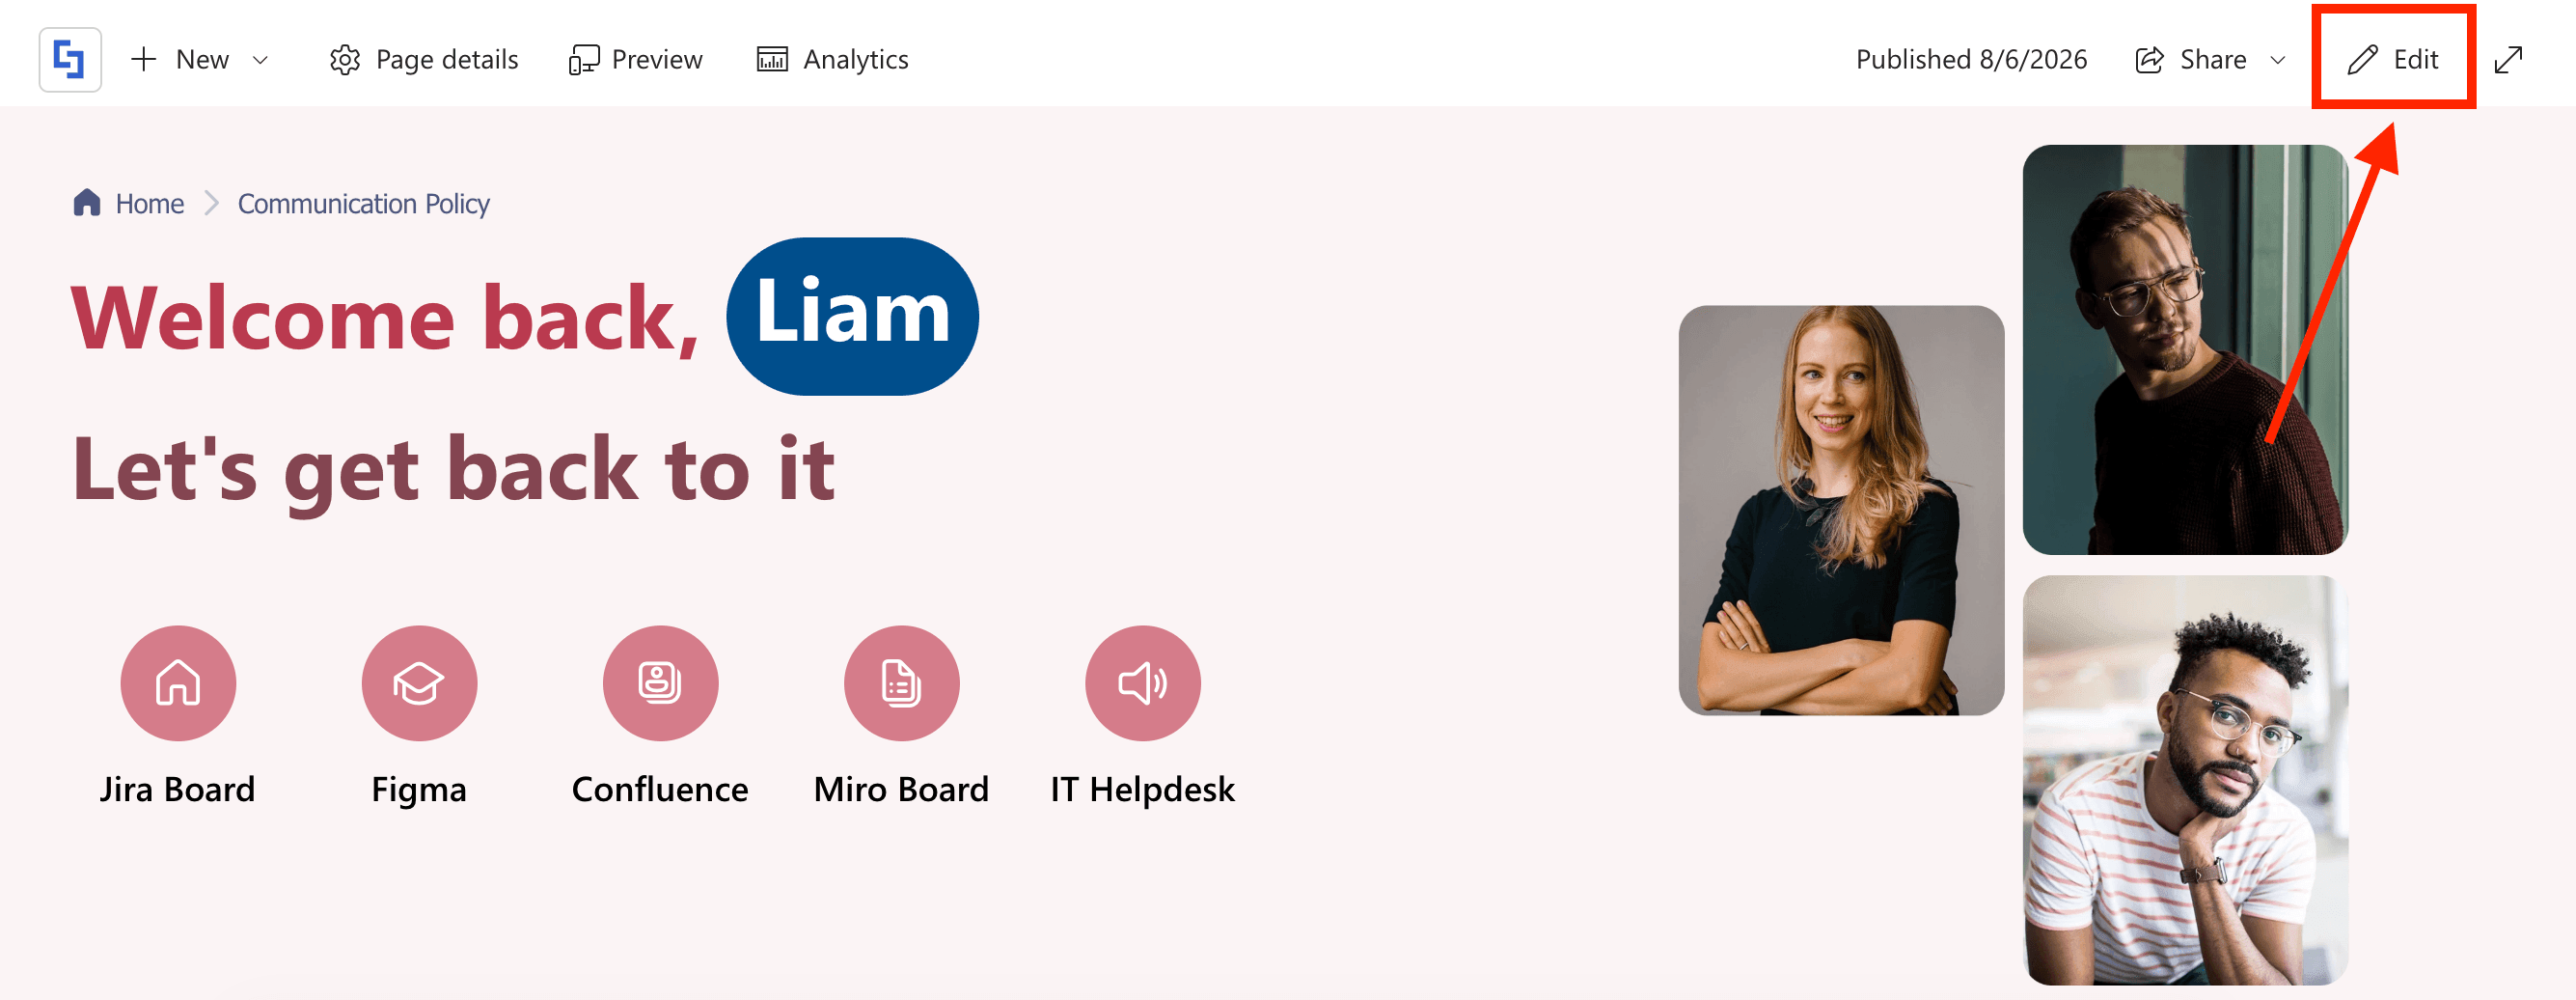
Step 1: Edit the ShortPoint web part
Go to the SharePoint page you want to use and click Edit:
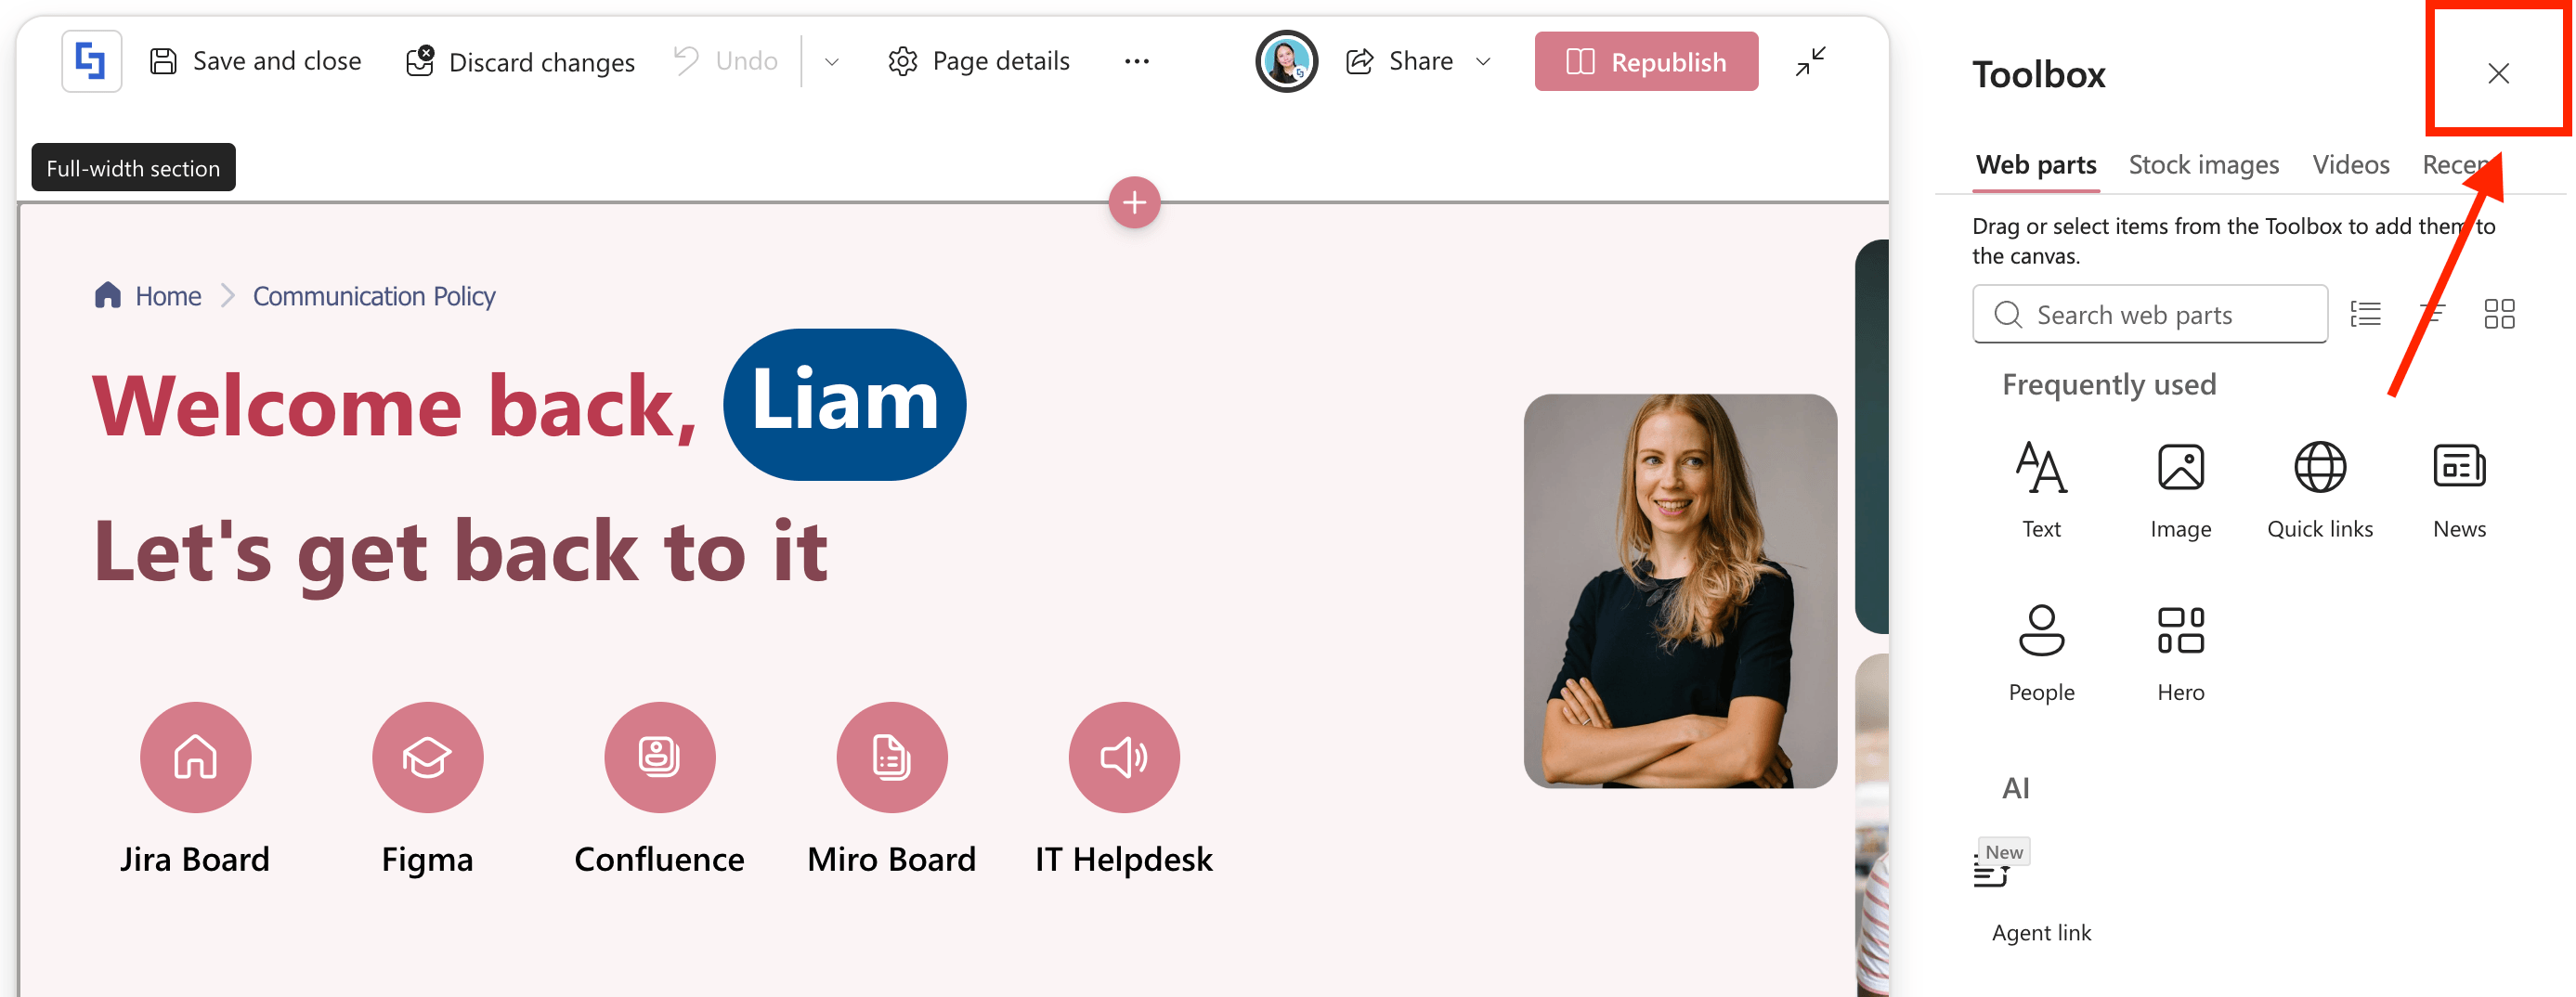
Close the Toolbox:
Step 2: Add the Custom Design Element
Choose where you want to add the design element and click the plus icon:

Look for the Editable Custom Design Element and select it. Custom Design Elements are found at the bottom of the elements library under the ‘Custom’ category.
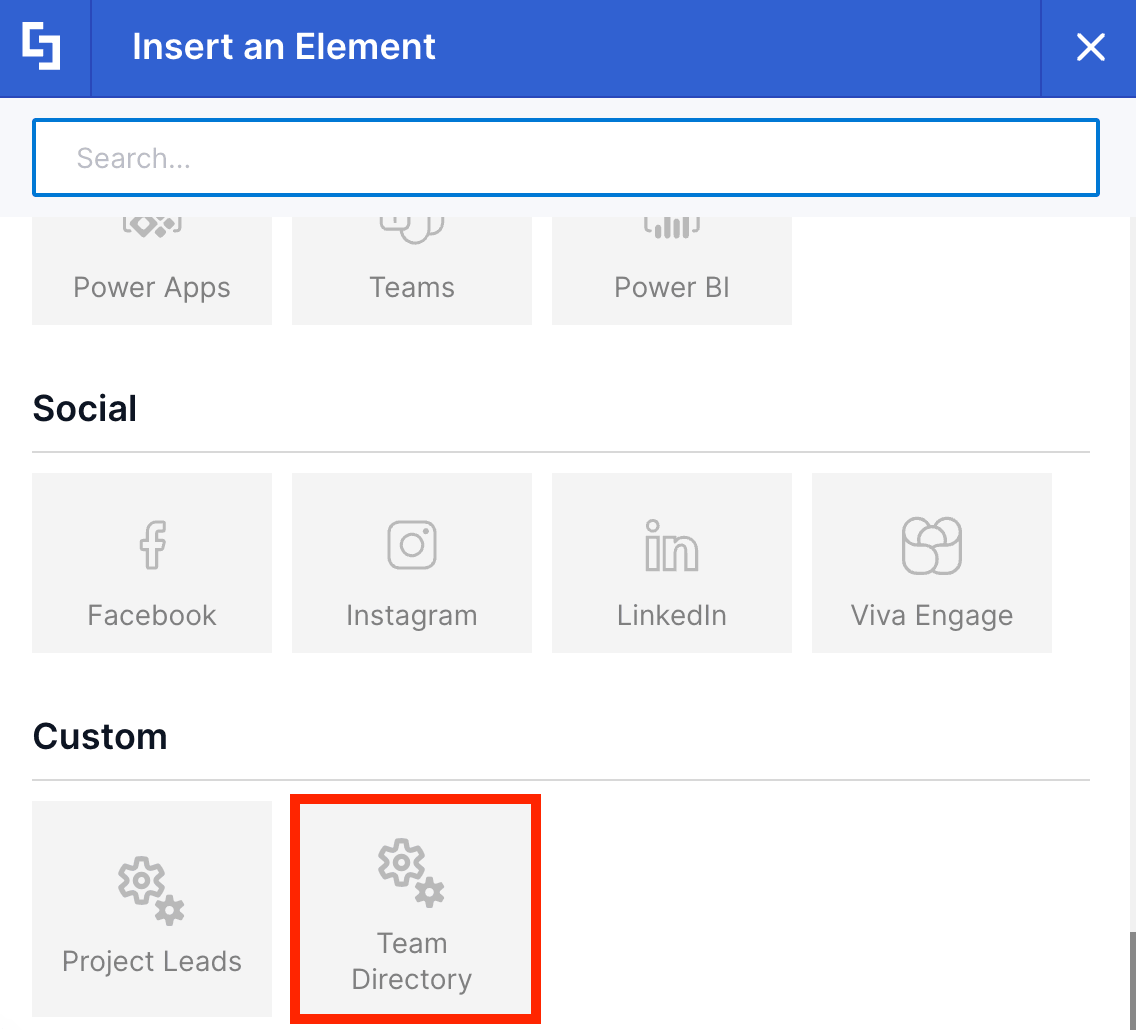
Click the green check mark:
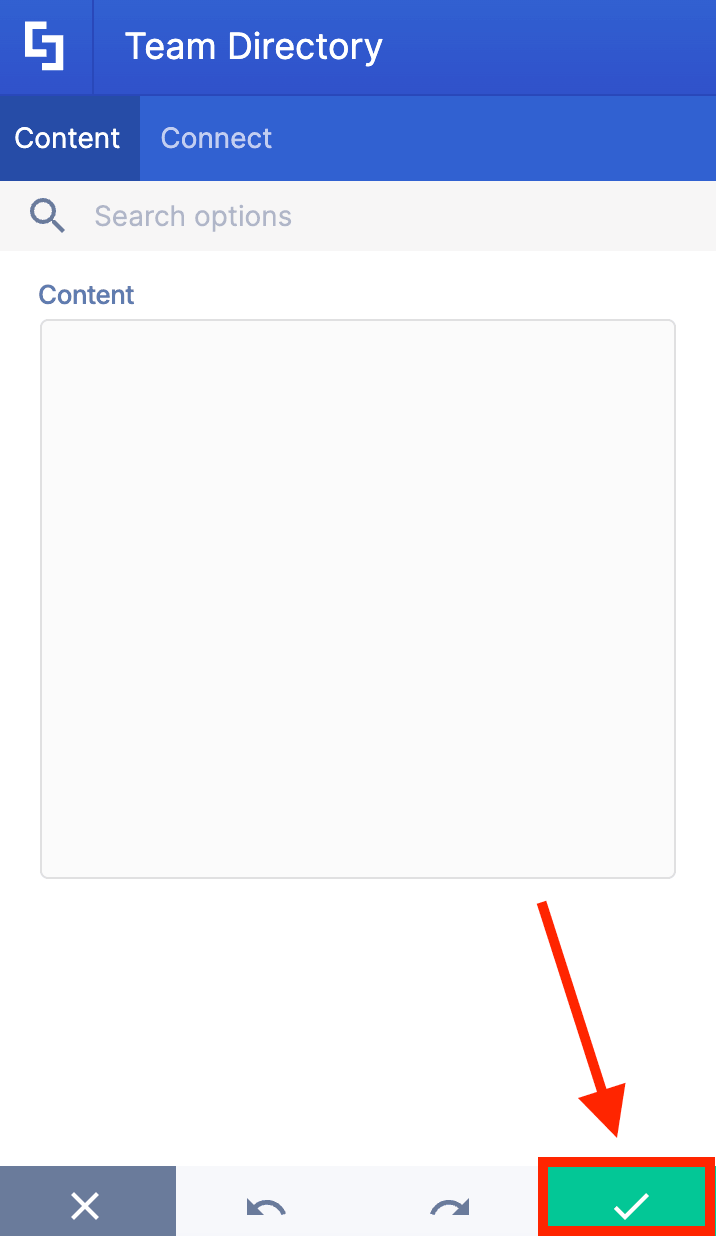
Step 3: Add Any Design Element
Hover over the Custom Design Element, click the green plus icon, and add any Design Element you want:
Step 4: Edit Design Element
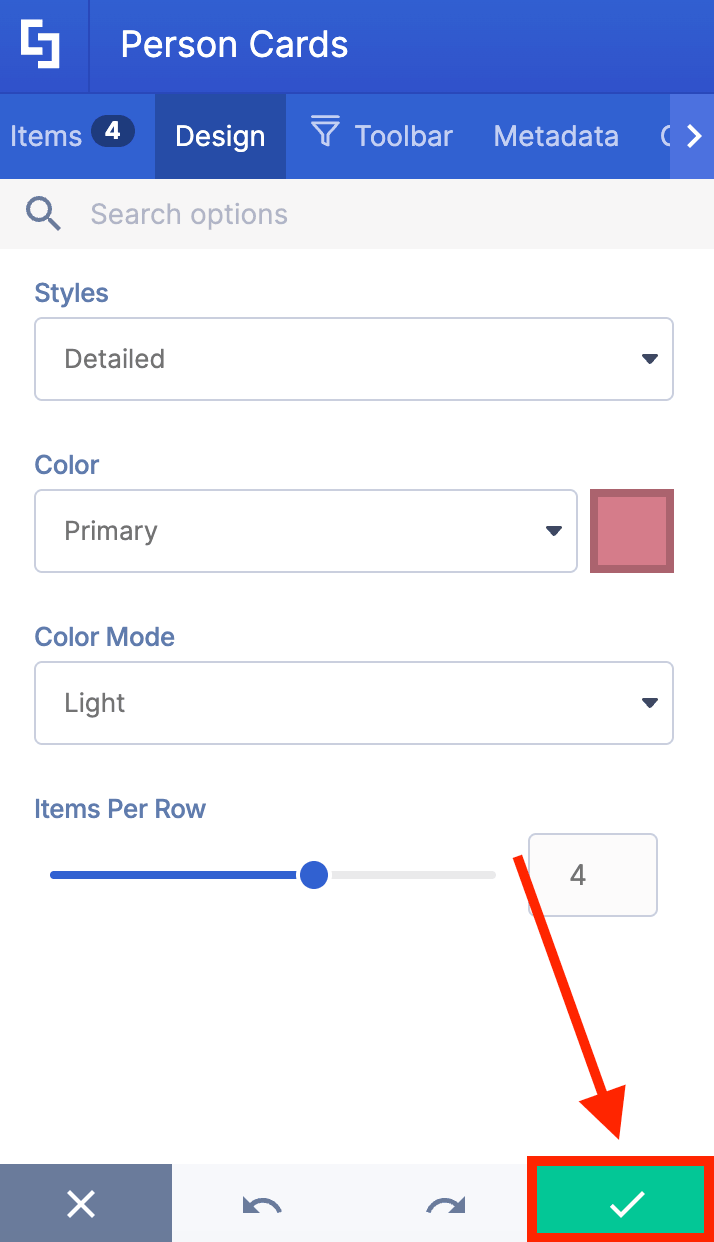
Edit the Design Element to your liking:
Once done, click the green checkmark:
Step 5: Save
Save your page:
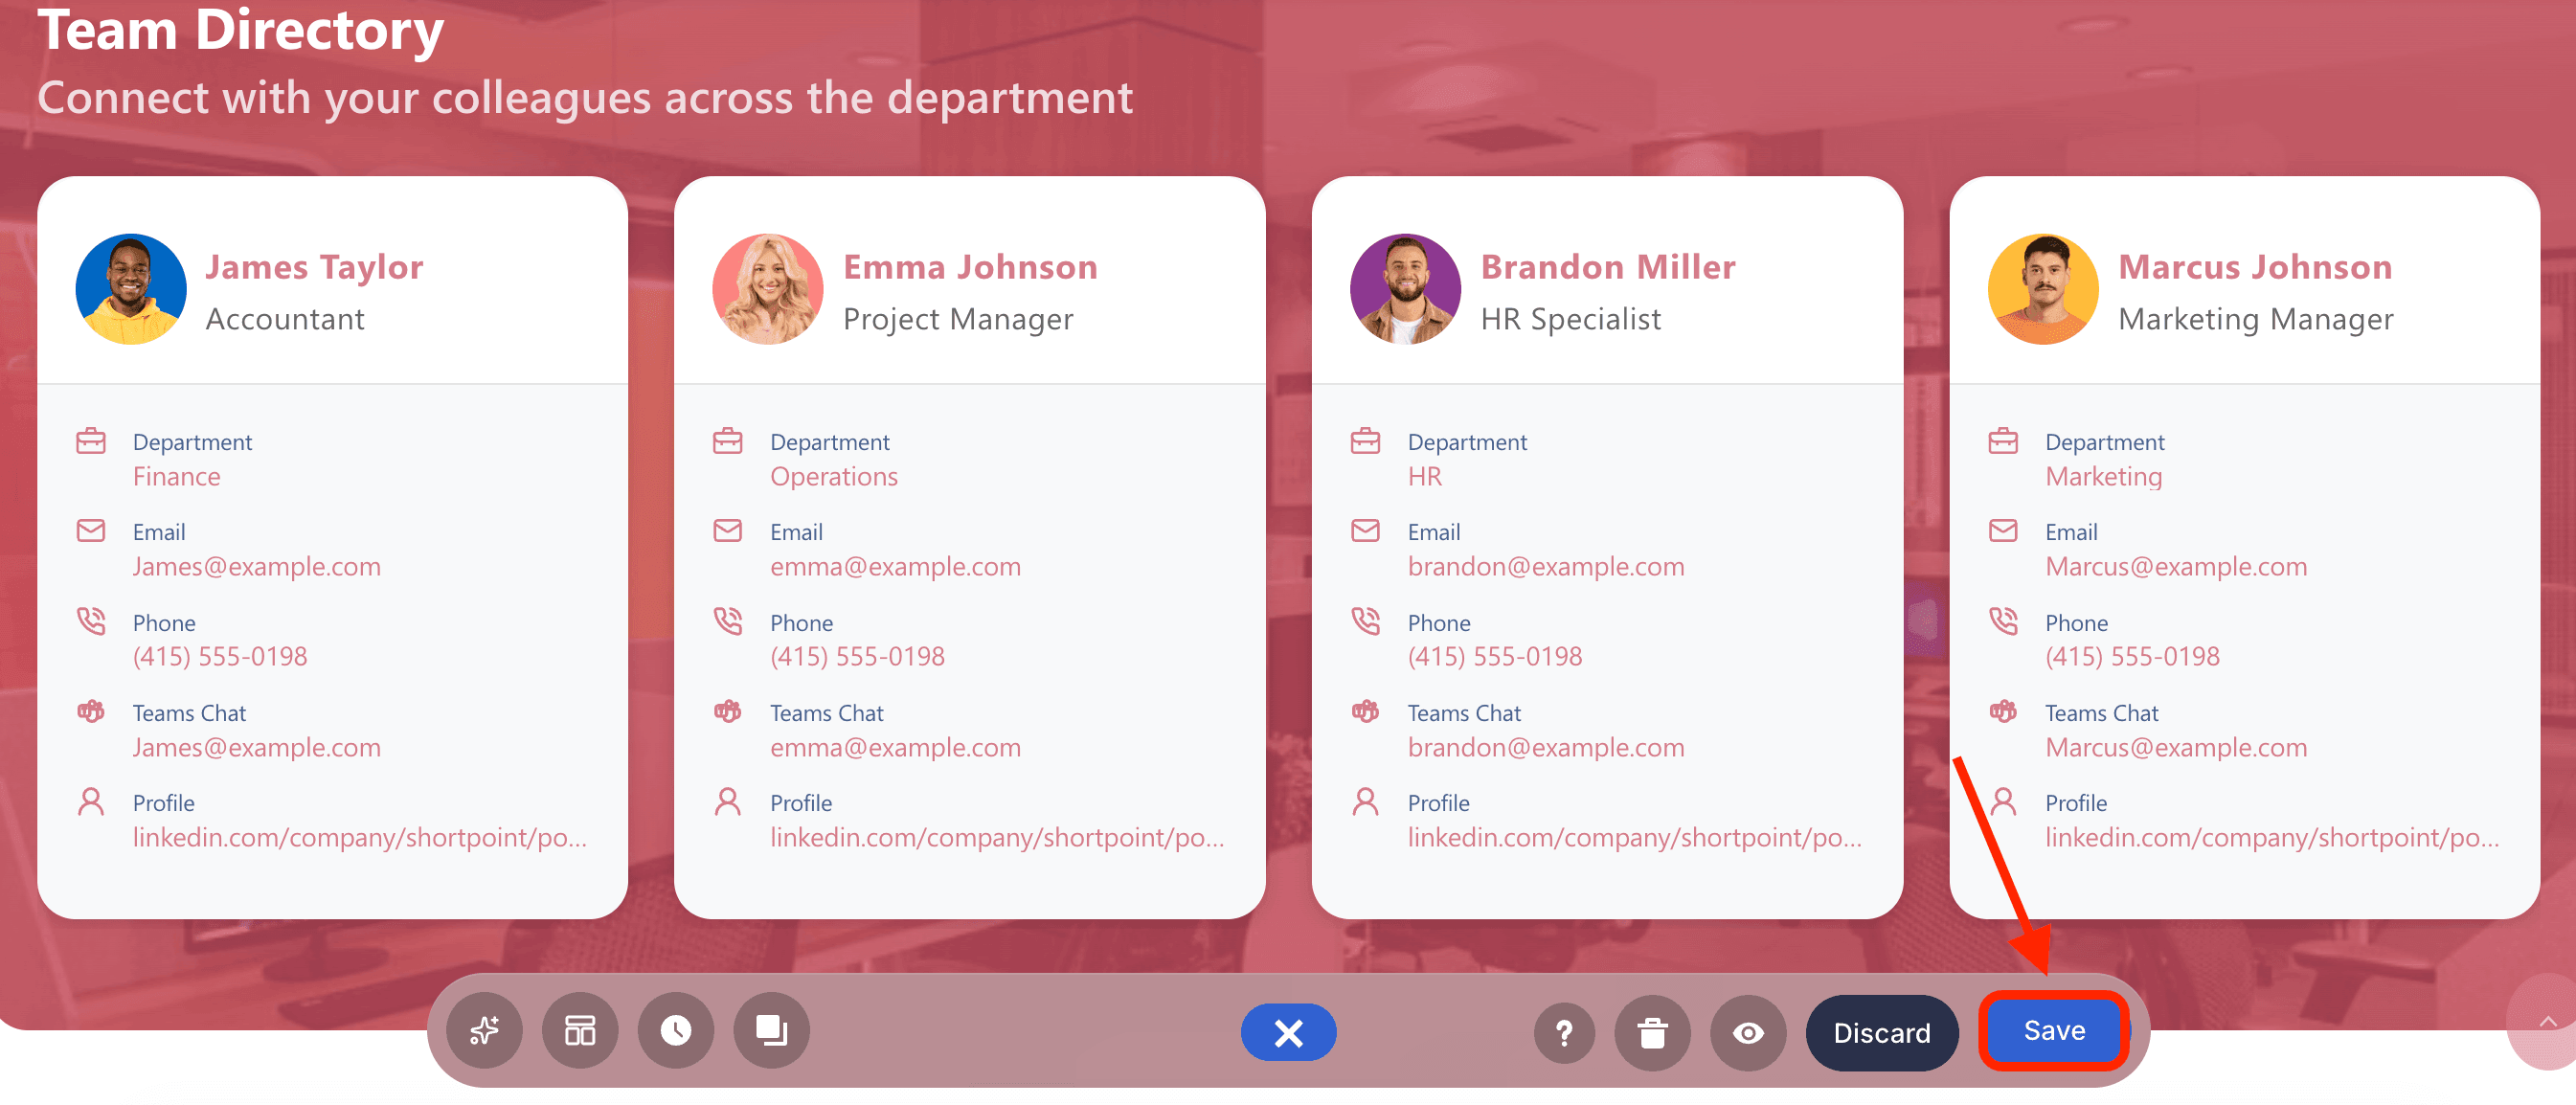
Publish your page:
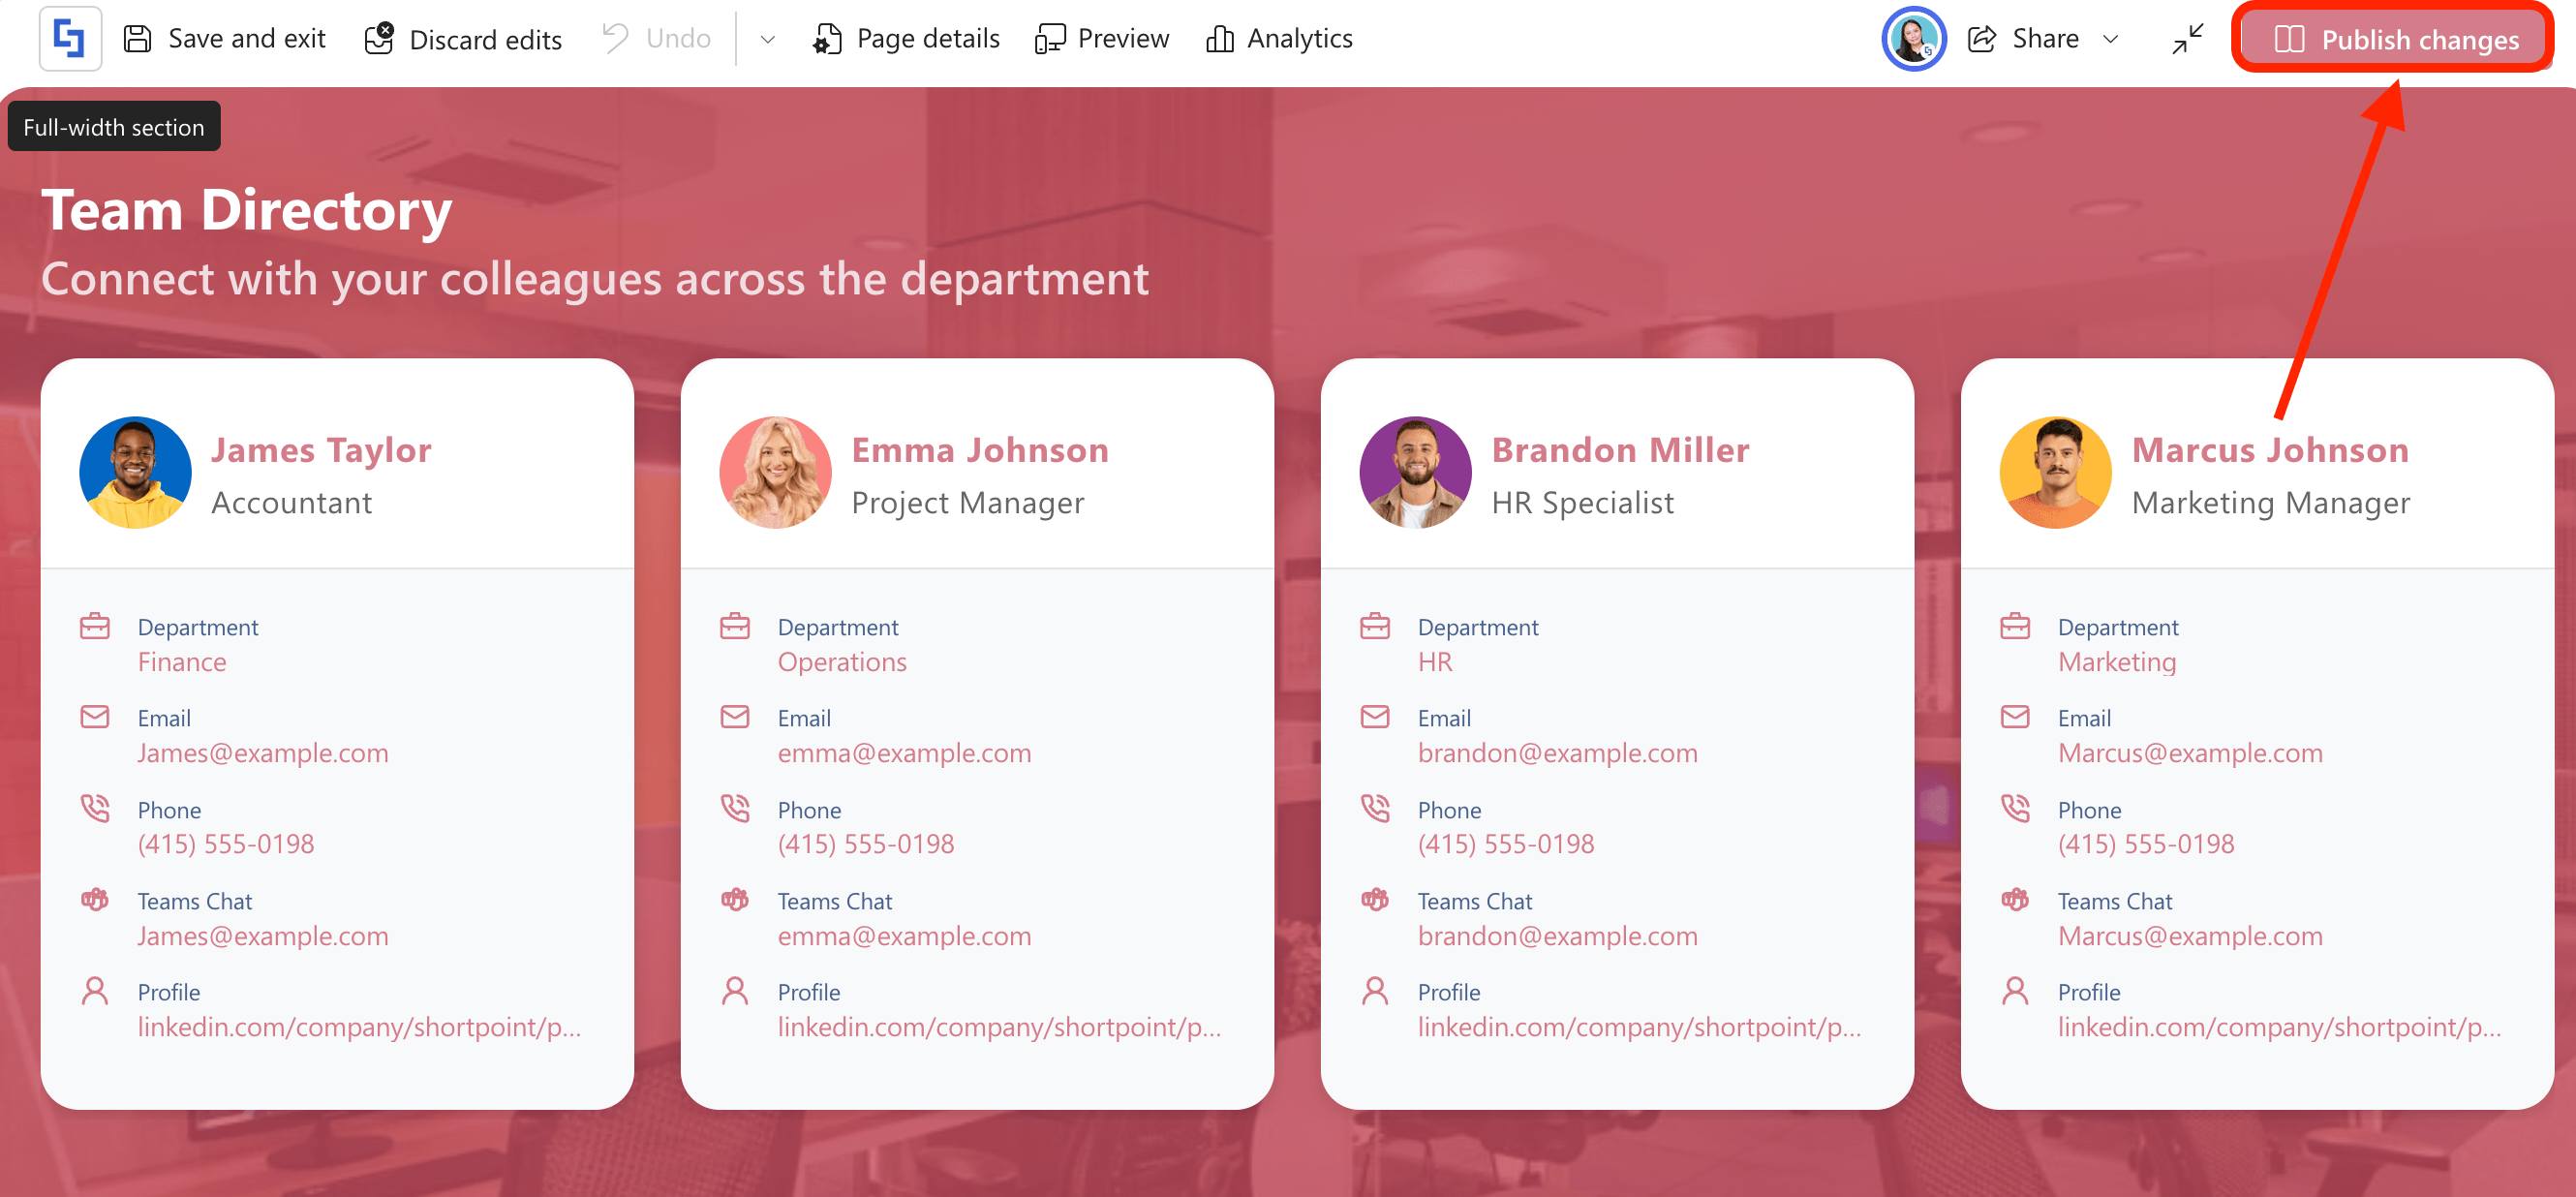
Congratulations! You’ve successfully added editable layout containers on your SharePoint page.
Frequently Asked Questions
What is the %%content%% attribute in ShortPoint Generator?
The %%content%% attribute allows you to maintain the layout's design while making the content inside completely editable. It acts as a drop zone where you can add text, images, or other ShortPoint elements inside a predefined layout.
How do I create an editable layout container using ShortPoint Generator?
First, create a Custom Design Element in the Generator and add a single-item Content Holder Design Element (Panel, Alert, Background, Info, or Note) with the %%content%% attribute. Then, customize the design, save it, and add it to your SharePoint page where you can insert and edit content inside.
Is it possible to add multiple Design Elements with the %%content%% attribute?
No, you can only add one single-item Content Holder Design Element (Panel, Info, Alert, Background, or Note) with the %%content%% attribute in a custom element; otherwise, it will not work as intended.
How do I add the custom editable design element to a SharePoint page?
Edit the SharePoint page, open the ShortPoint web part, add the custom design element from the Custom category, and then add and edit any design elements inside the editable container.
Can I nest other ShortPoint elements inside the editable container?
Yes, the editable container acts as a drop zone where you can place plain text, images, or nest other ShortPoint elements like buttons, lists, or cards inside it.
How do I save and publish the changes after adding an editable layout container?
After editing the design elements inside the container, save your changes, then save and publish the SharePoint page to make the content live.
What is the benefit of using editable layout containers in SharePoint?
They allow multiple team members to maintain consistent page layouts while enabling flexible and easy editing of the content inside without affecting the overall design.
Related articles: