Try ShortPoint now
TL;DR: With ShortPoint Generator, you can let people change parts of a custom element on each page while the design stays the same. Open your custom element in Generator and open the Settings window of the element you want to be editable. In each field you want to unlock, type a placeholder word wrapped in double percent signs, like %%Title%%, then save. When someone adds the element to a SharePoint page, those fields show up blank and ready to fill in.
By default, Custom Design Elements added to a SharePoint page can only be modified from the Generator page. While this standard setup works great for most situations, you might sometimes need to tailor an element's content for a specific page.
That is where the %%name%% placeholder comes in! By using this placeholder, you can create fully editable fields within your custom elements to customize them on the fly.
Read on to learn how to make the most of this feature.
TABLE OF CONTENTS
- Prerequisites
- What is the %%name%% Placeholder?
- Creating Editable Fields
- Practical Use Cases
- Frequently Asked Questions
- What is the %%name%% placeholder used for?
- Can I use different words instead of "name" in the placeholder?
- How do I add editable fields to a Custom Design Element?
- Can I use multiple editable placeholders in one custom element?
- How do I add a Custom Design Element with editable fields to a SharePoint page?
- Who benefits from using editable Custom Design Elements?
Prerequisites
- You must have the latest version of ShortPoint SPFx installed.
- You must be a ShortPoint Designer with either a Pro or Enterprise License. For more information, check out Licensing Options.
What is the %%name%% Placeholder?
When you create a custom element using ShortPoint Generator, you typically add content inside. This content remains intact when placed on a page, meaning it is locked by default to preserve the styling. To put it simply, you won’t be able to edit it in the SharePoint page.
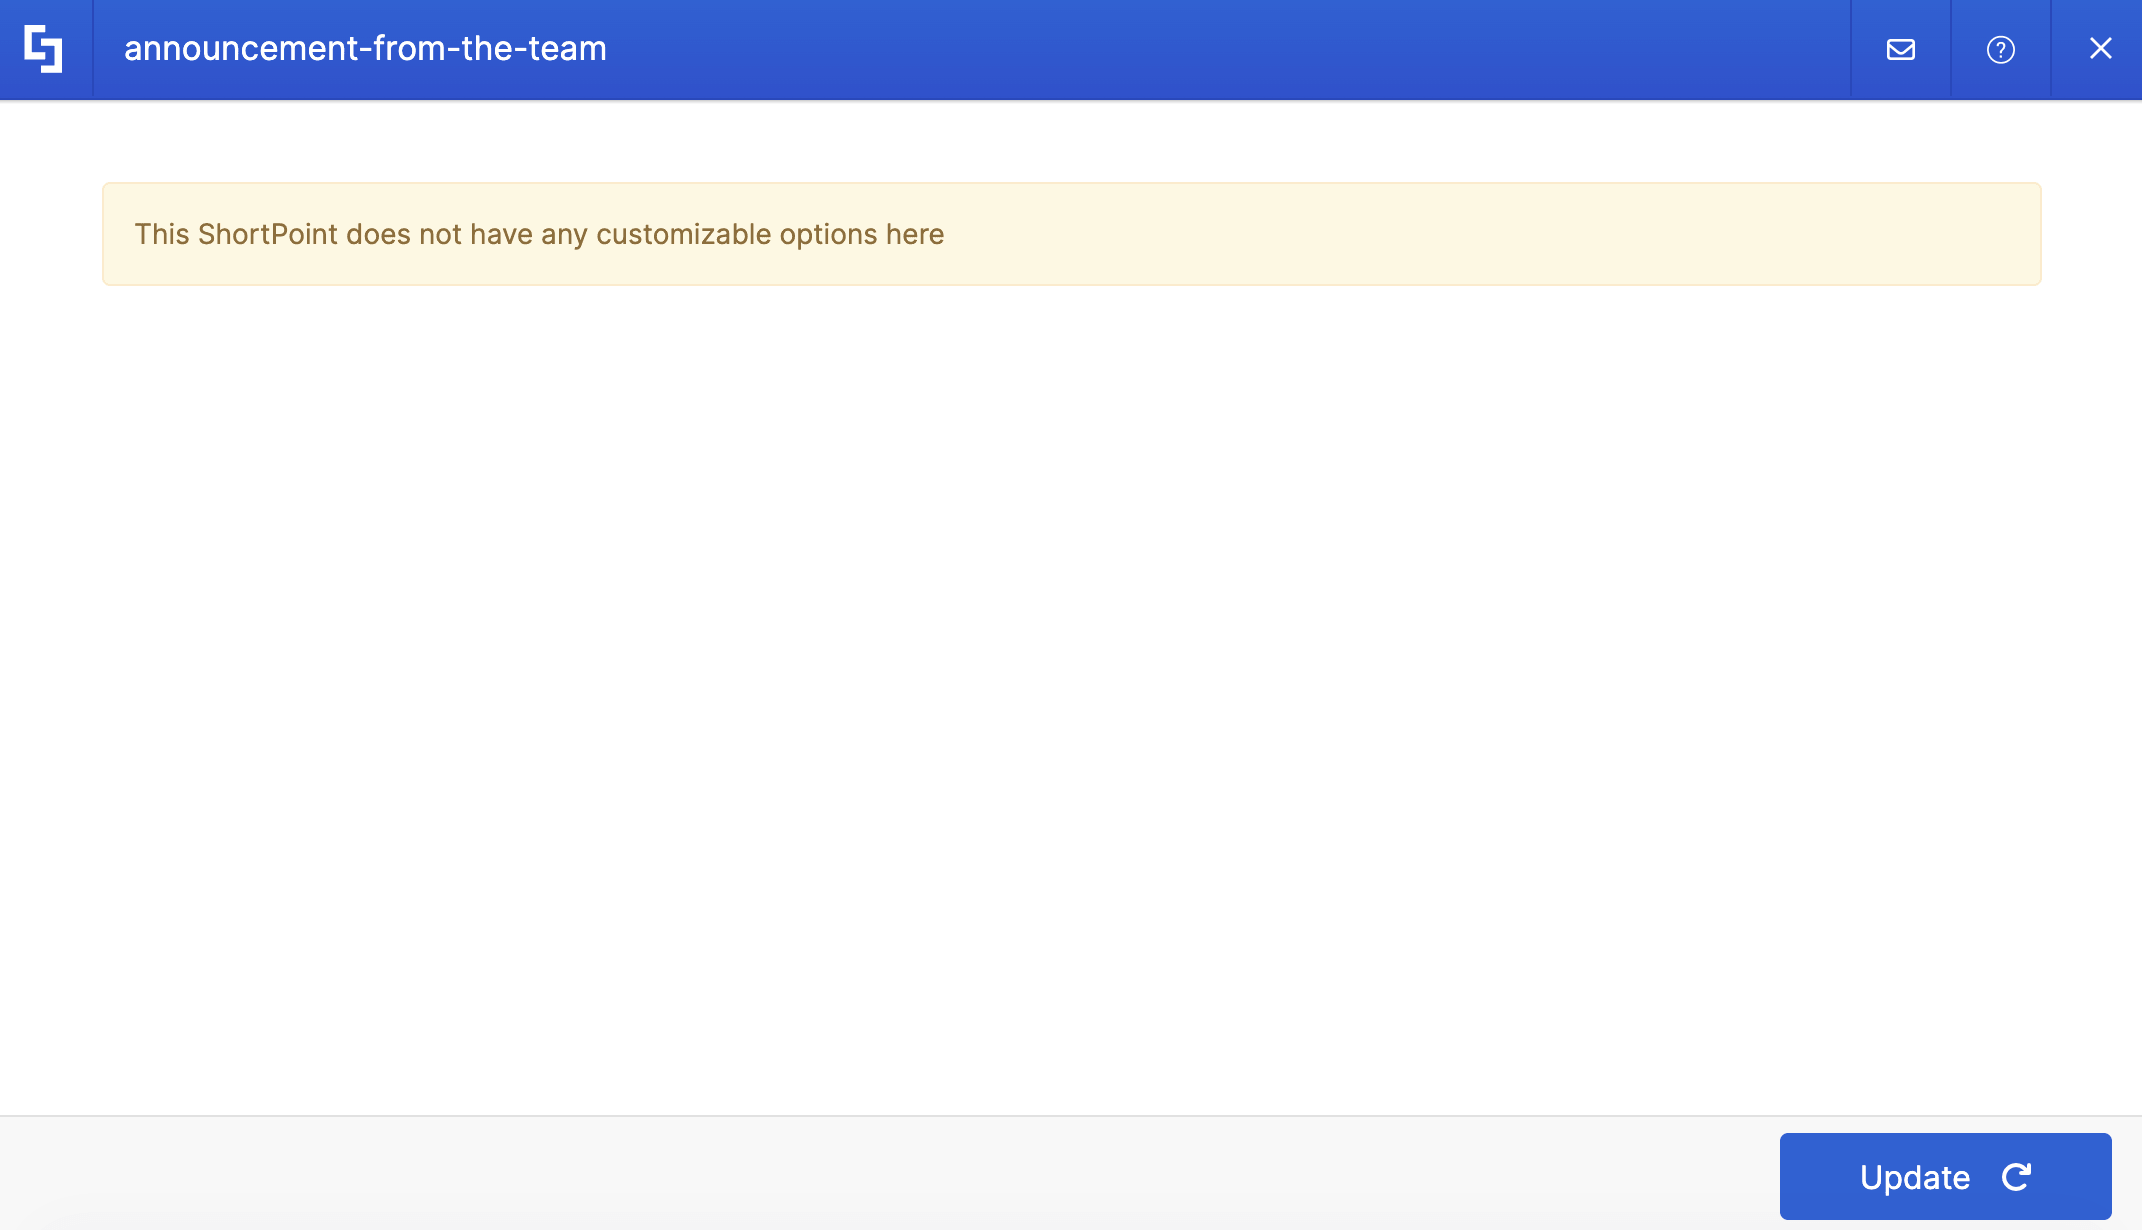
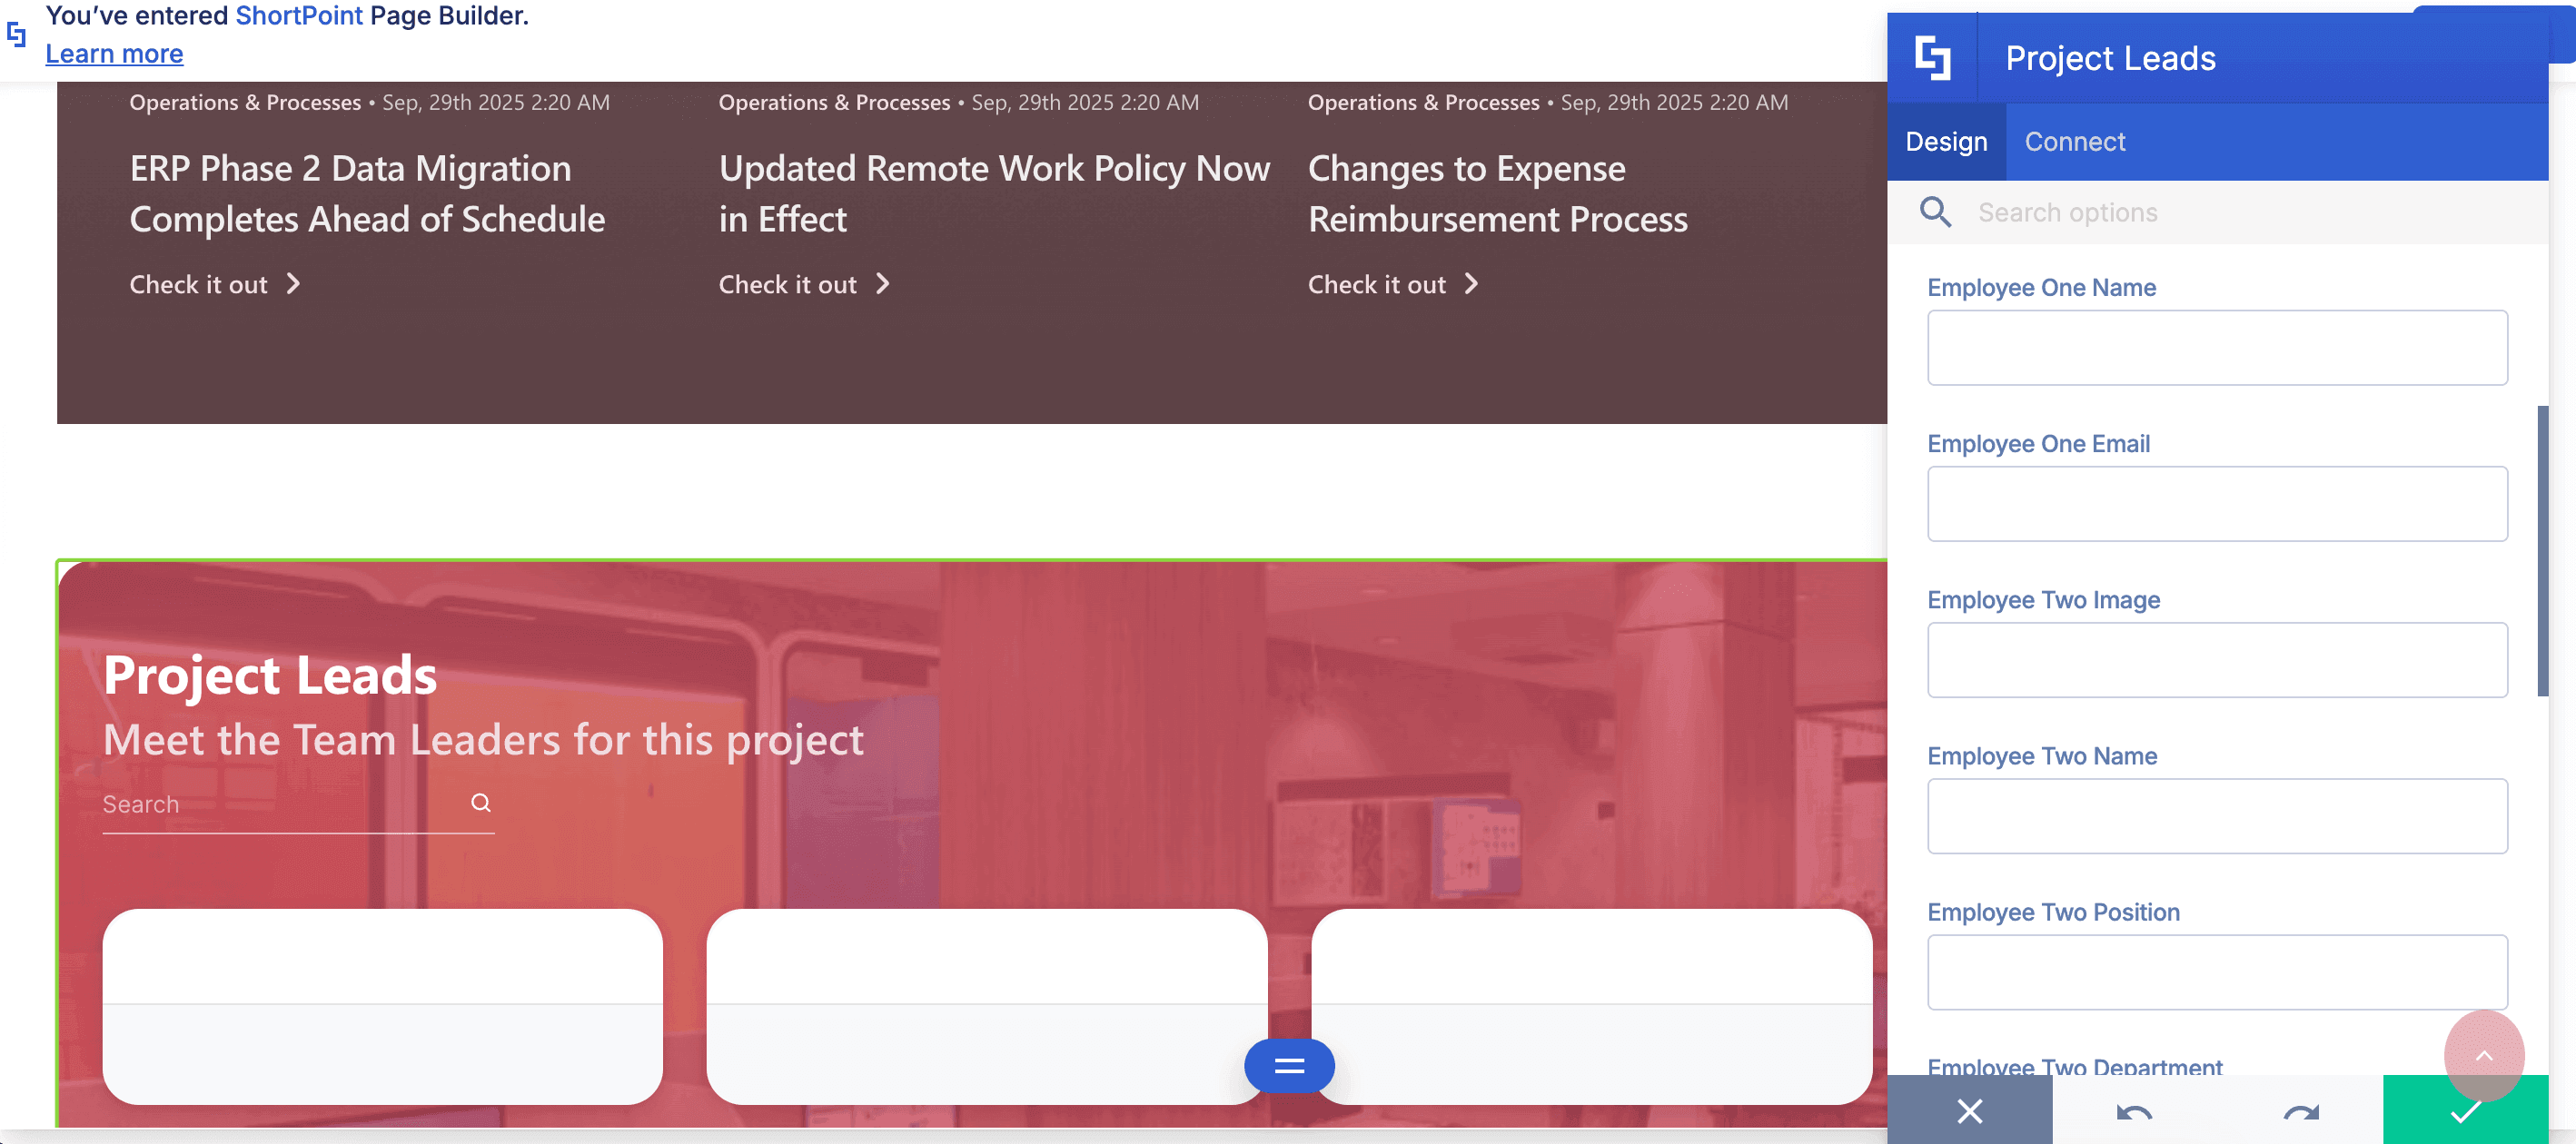
The %%name%% placeholder is your best bet when you want your Custom Design Elements to be editable. It is a dynamic syntax used inside ShortPoint Generator to unlock specific fields. By wrapping any keyword in double percent signs (such as %%Title%%, or %%Description%%), you tell ShortPoint to turn a specific text into an editable input field when someone inserts the custom element into a page.
Creating Editable Fields
The steps have been divided into two parts for clarity. Follow them closely to create editable content:
Part 1: Create the Custom Design Element
This section shows you how to create an editable Custom Design Element.
Step 1: Open Generator
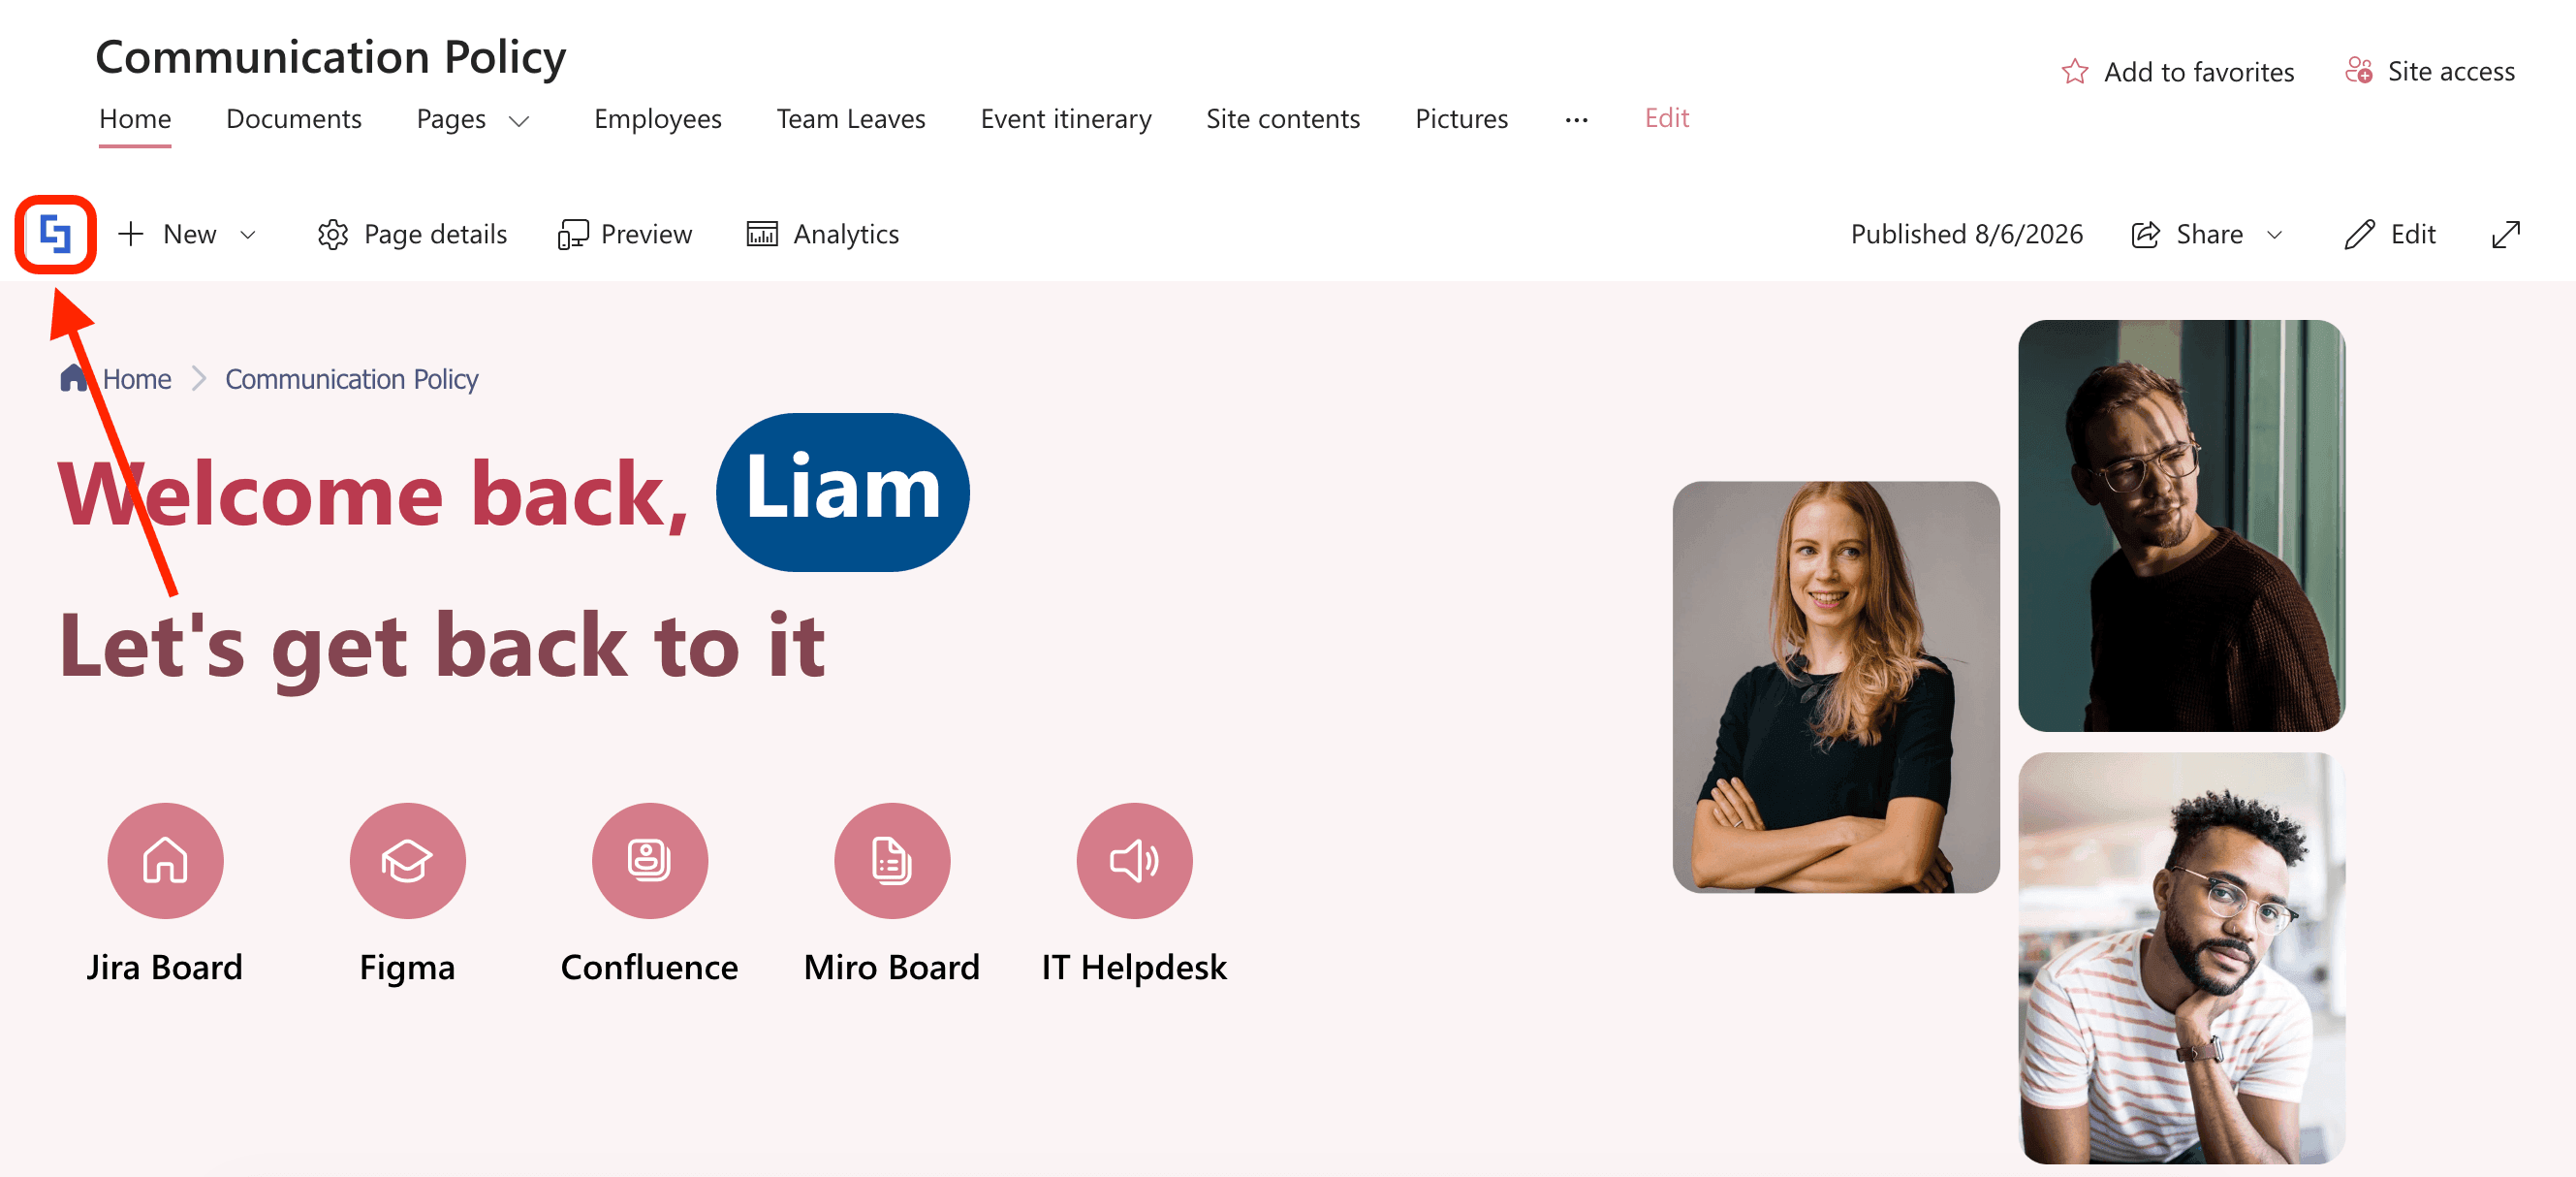
Go to the SharePoint page where you want to add the Custom Design Element and click the ShortPoint shortcut:
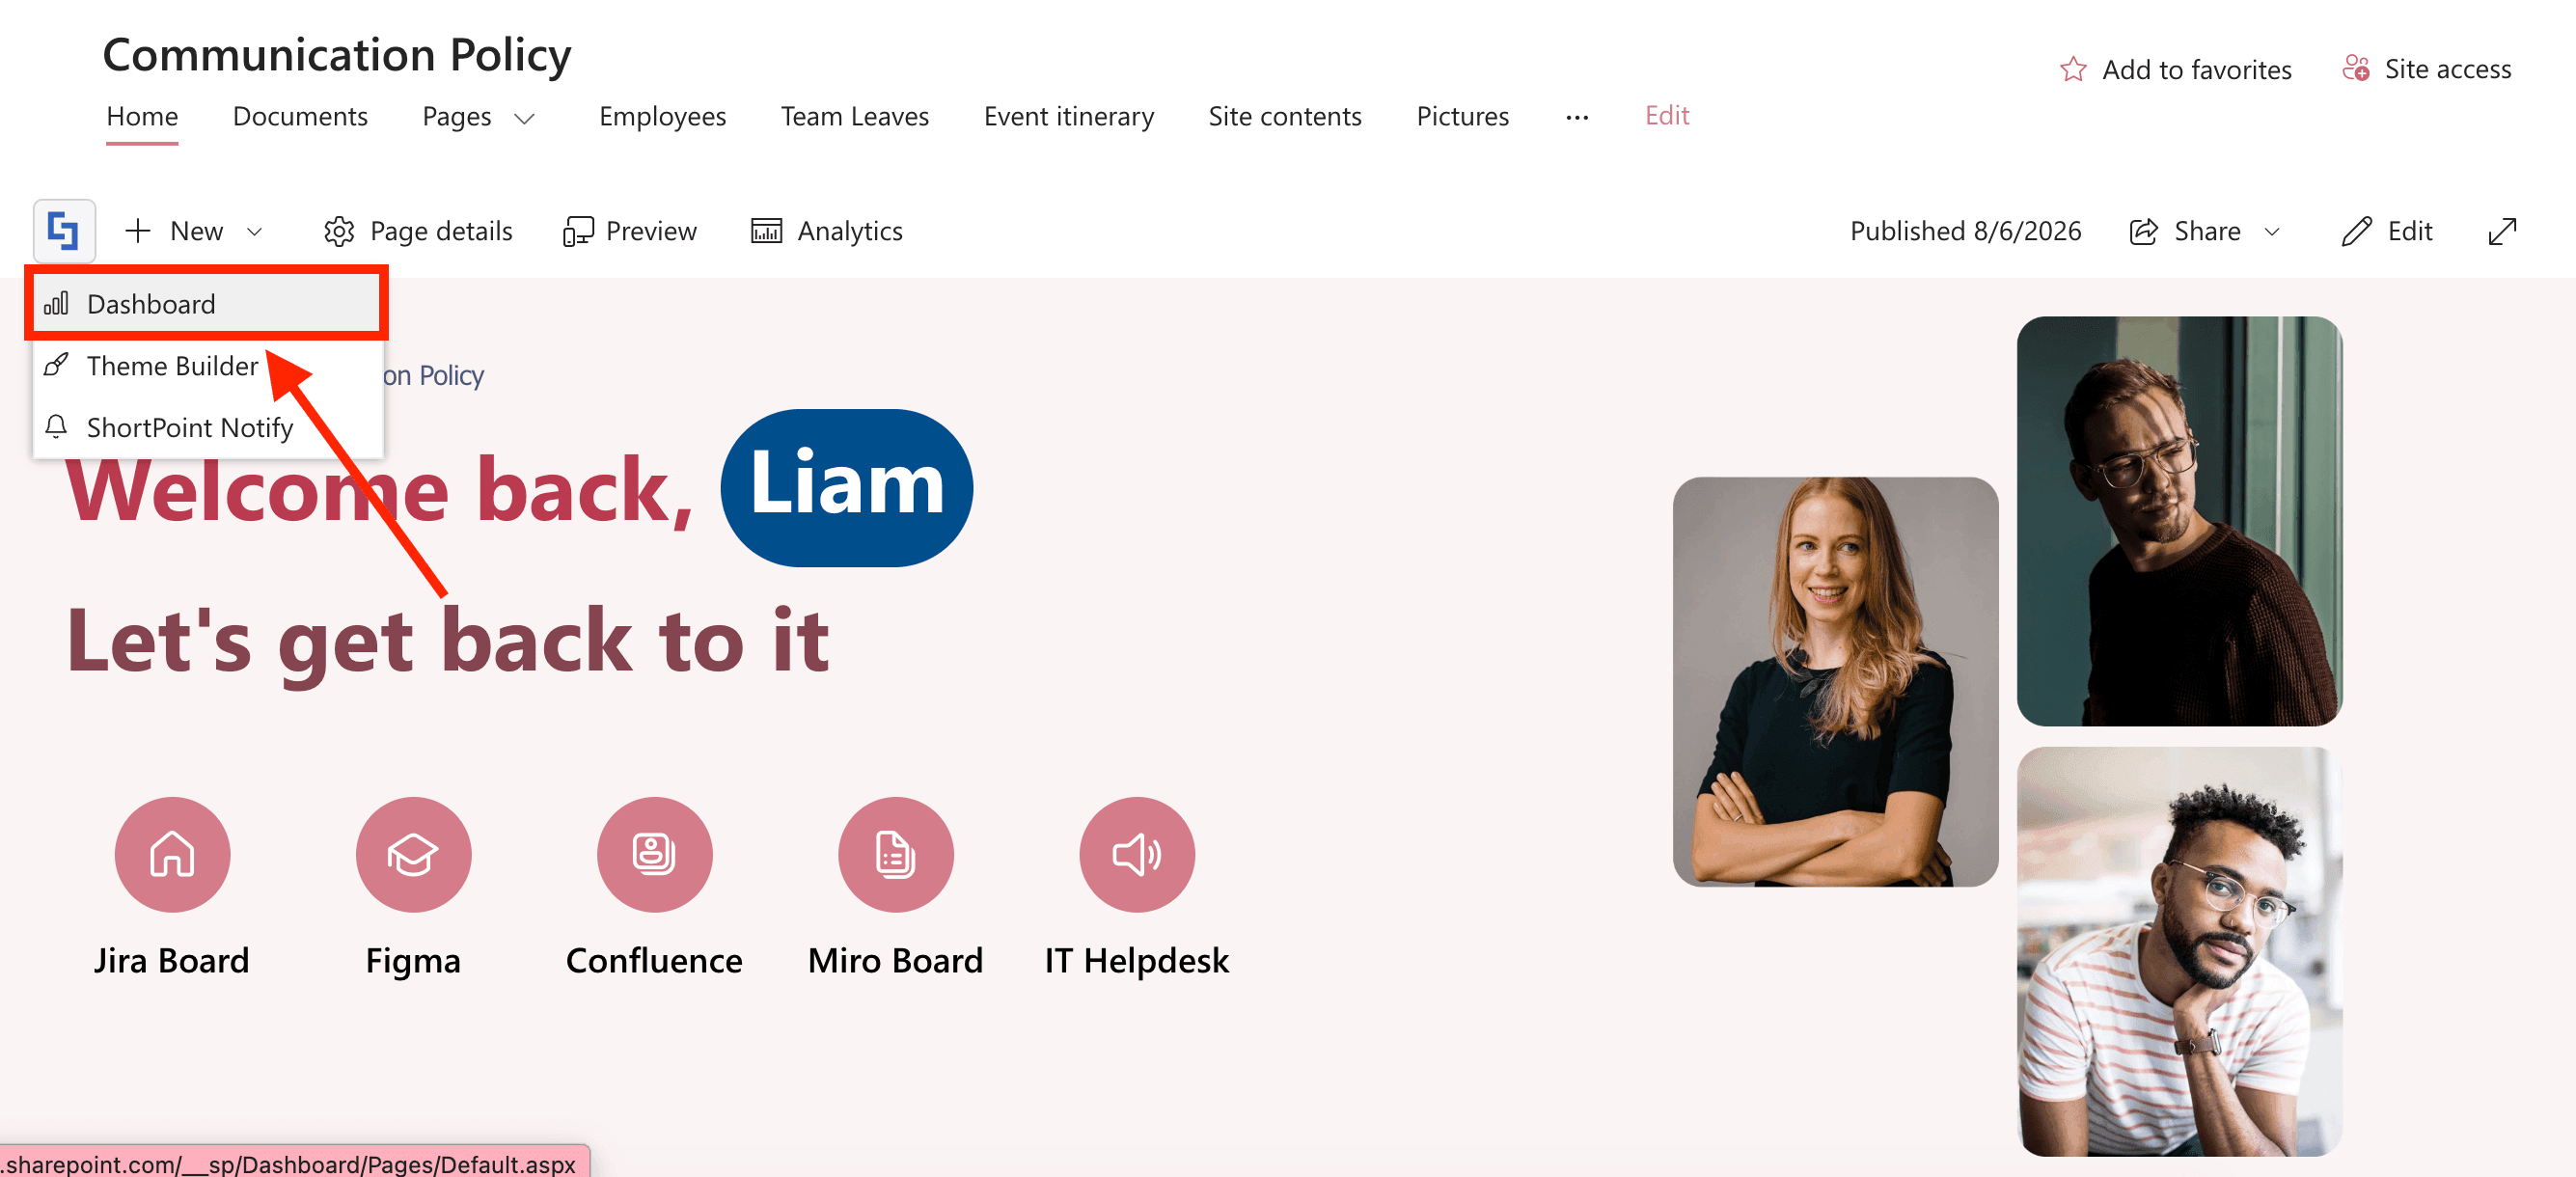
Select Dashboard:
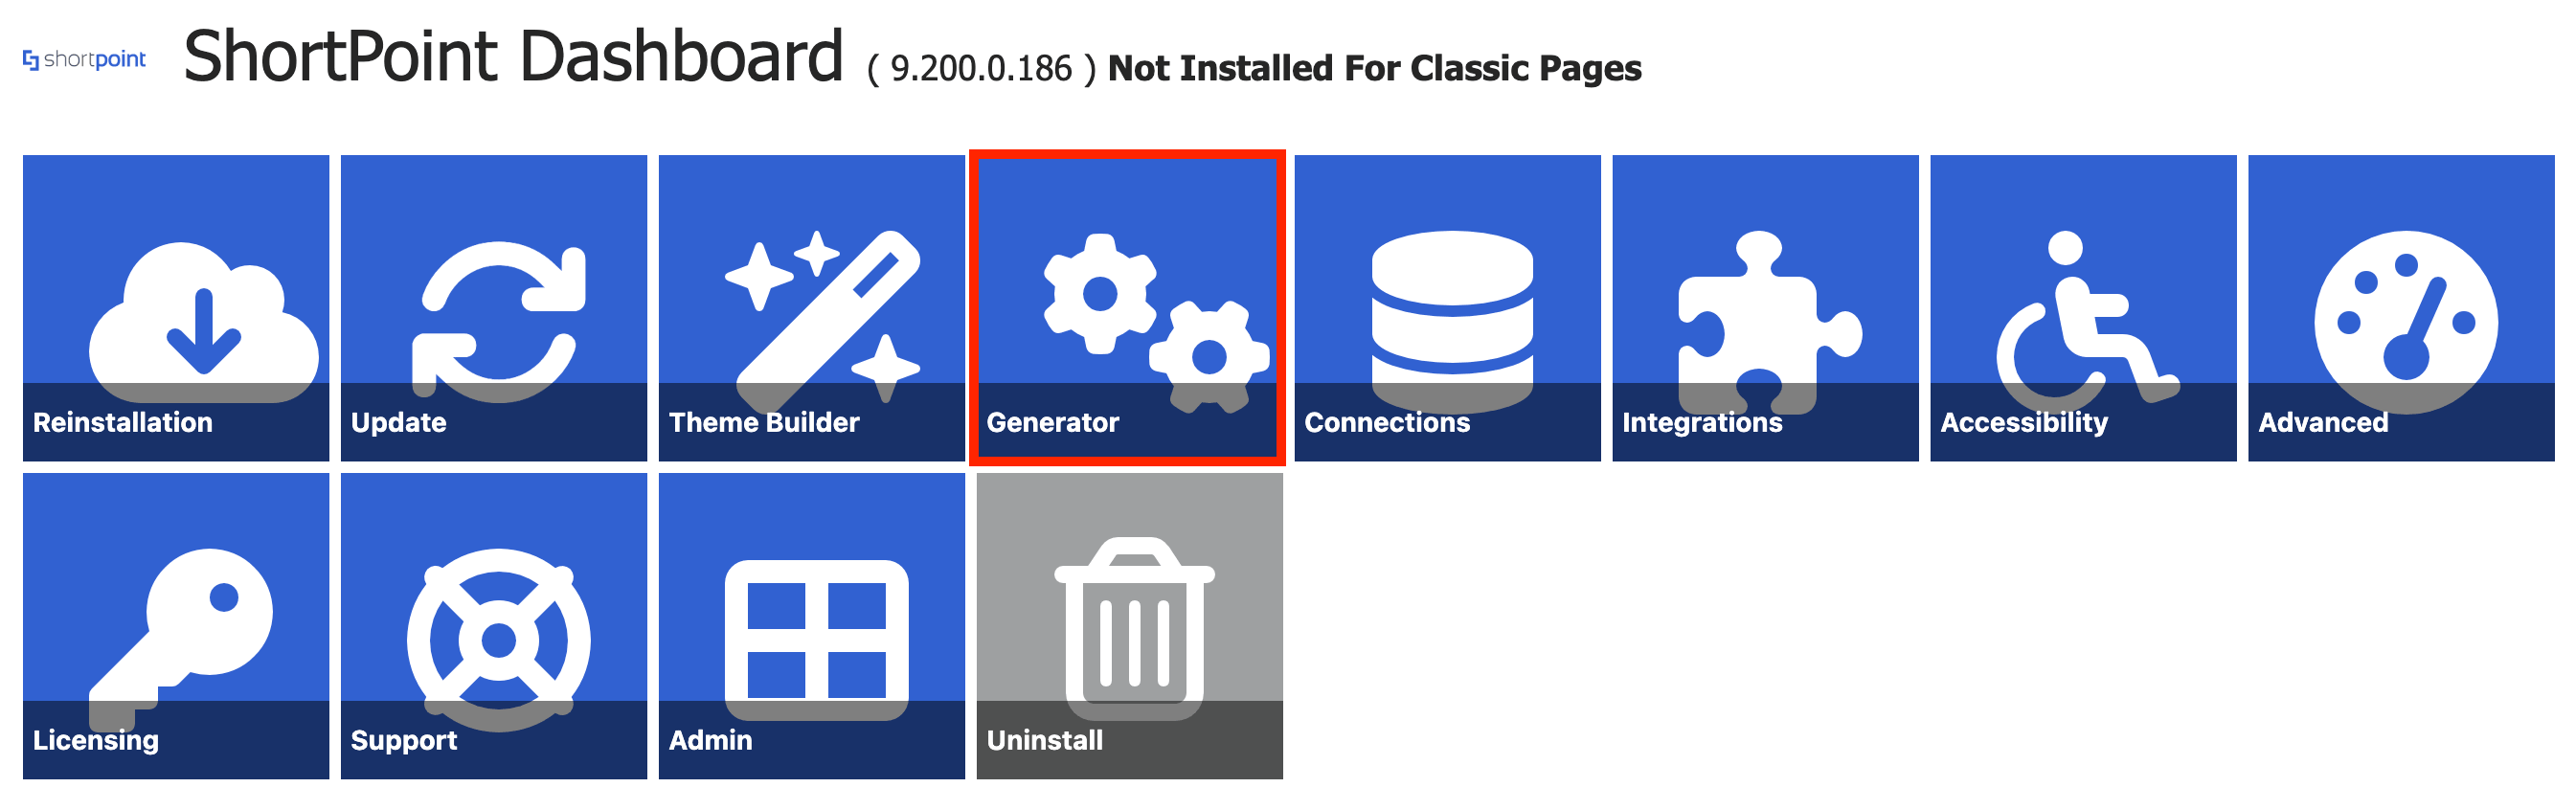
Click Generator:
Step 2: Name Custom Element
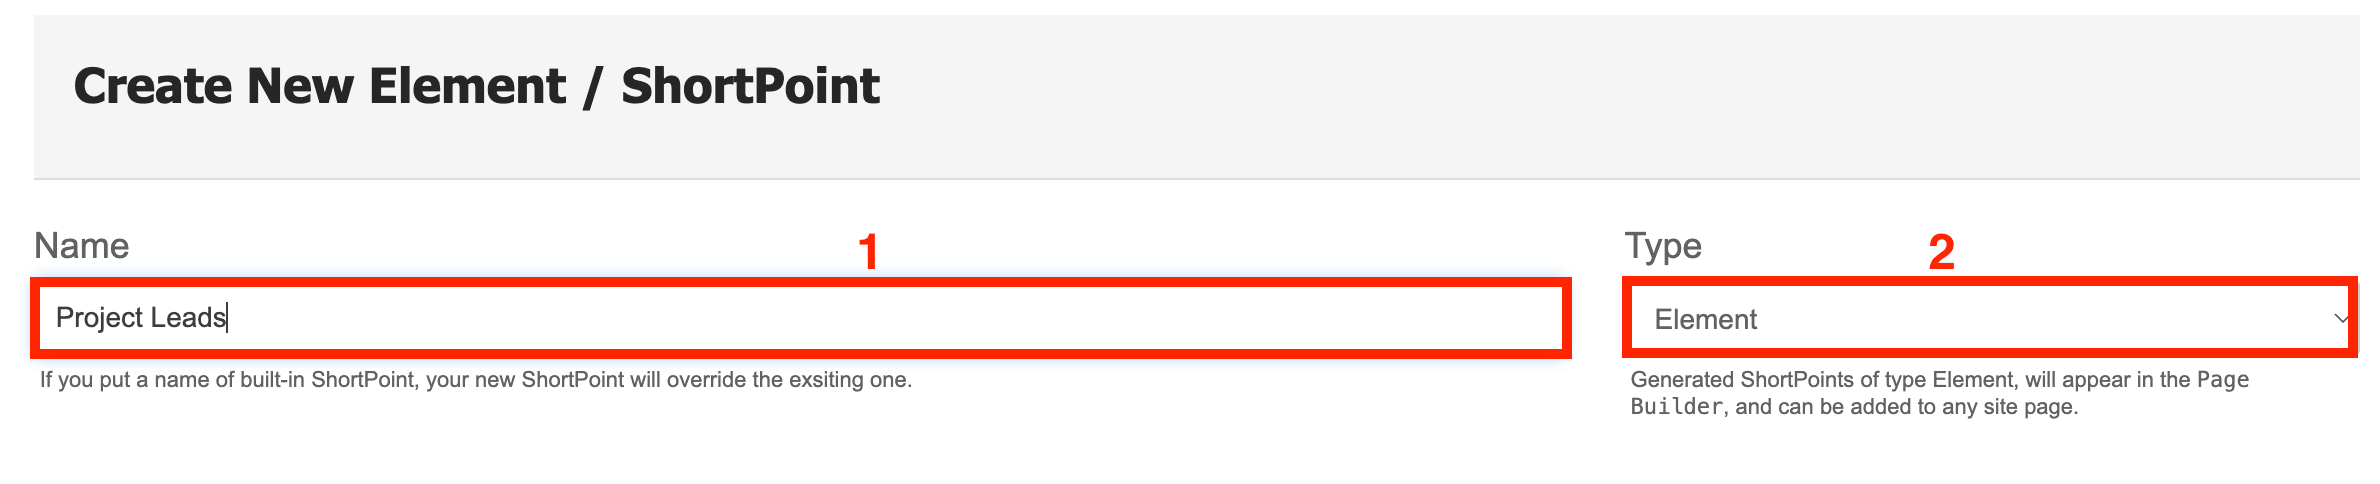
[1] Name the Custom Design Element and make sure the generator type is set to [2] Element:
Step 3: Create the Element
Create the custom element according to your preferences. You can start from scratch or use a template. In our example, we used a Team template from the templates library:
Step 4: Add %%name%% placeholders
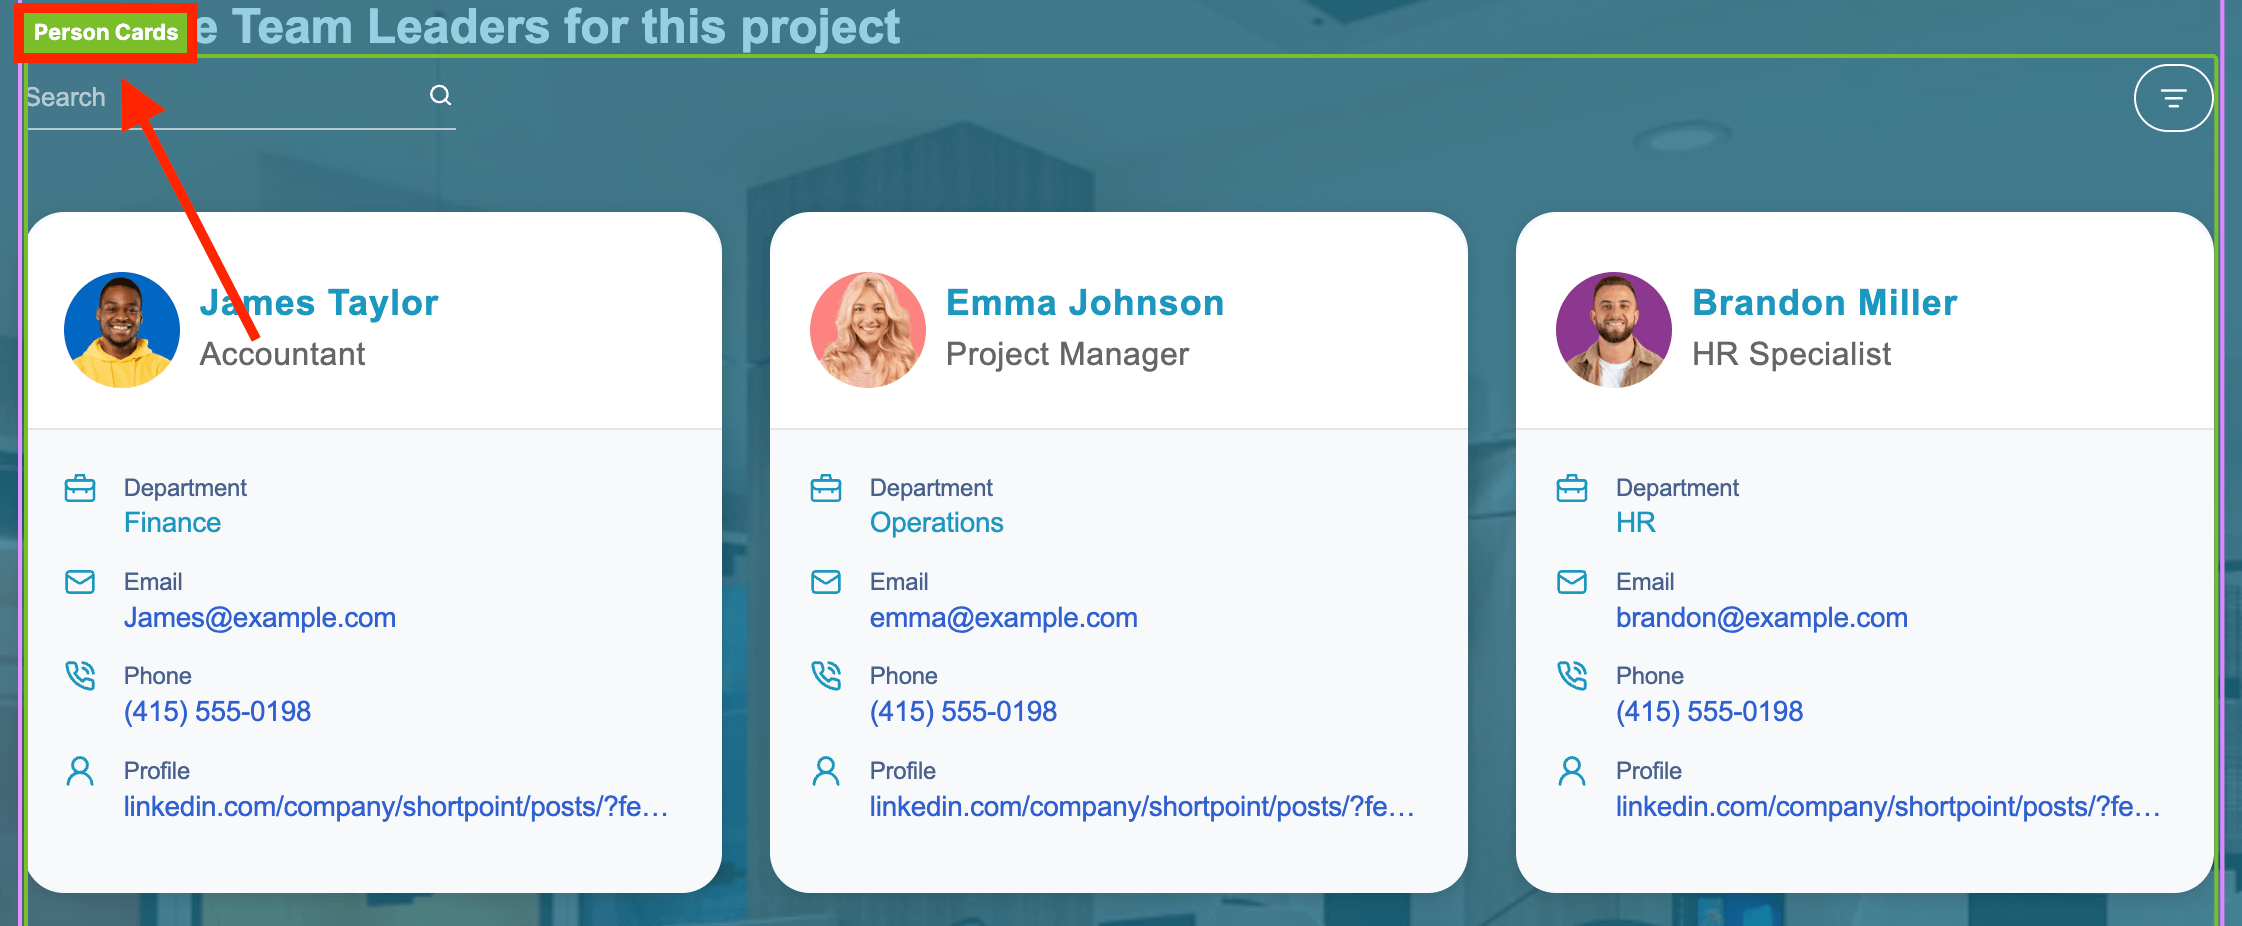
Click the EasyPass tag of the specific Design Element you want to be editable:
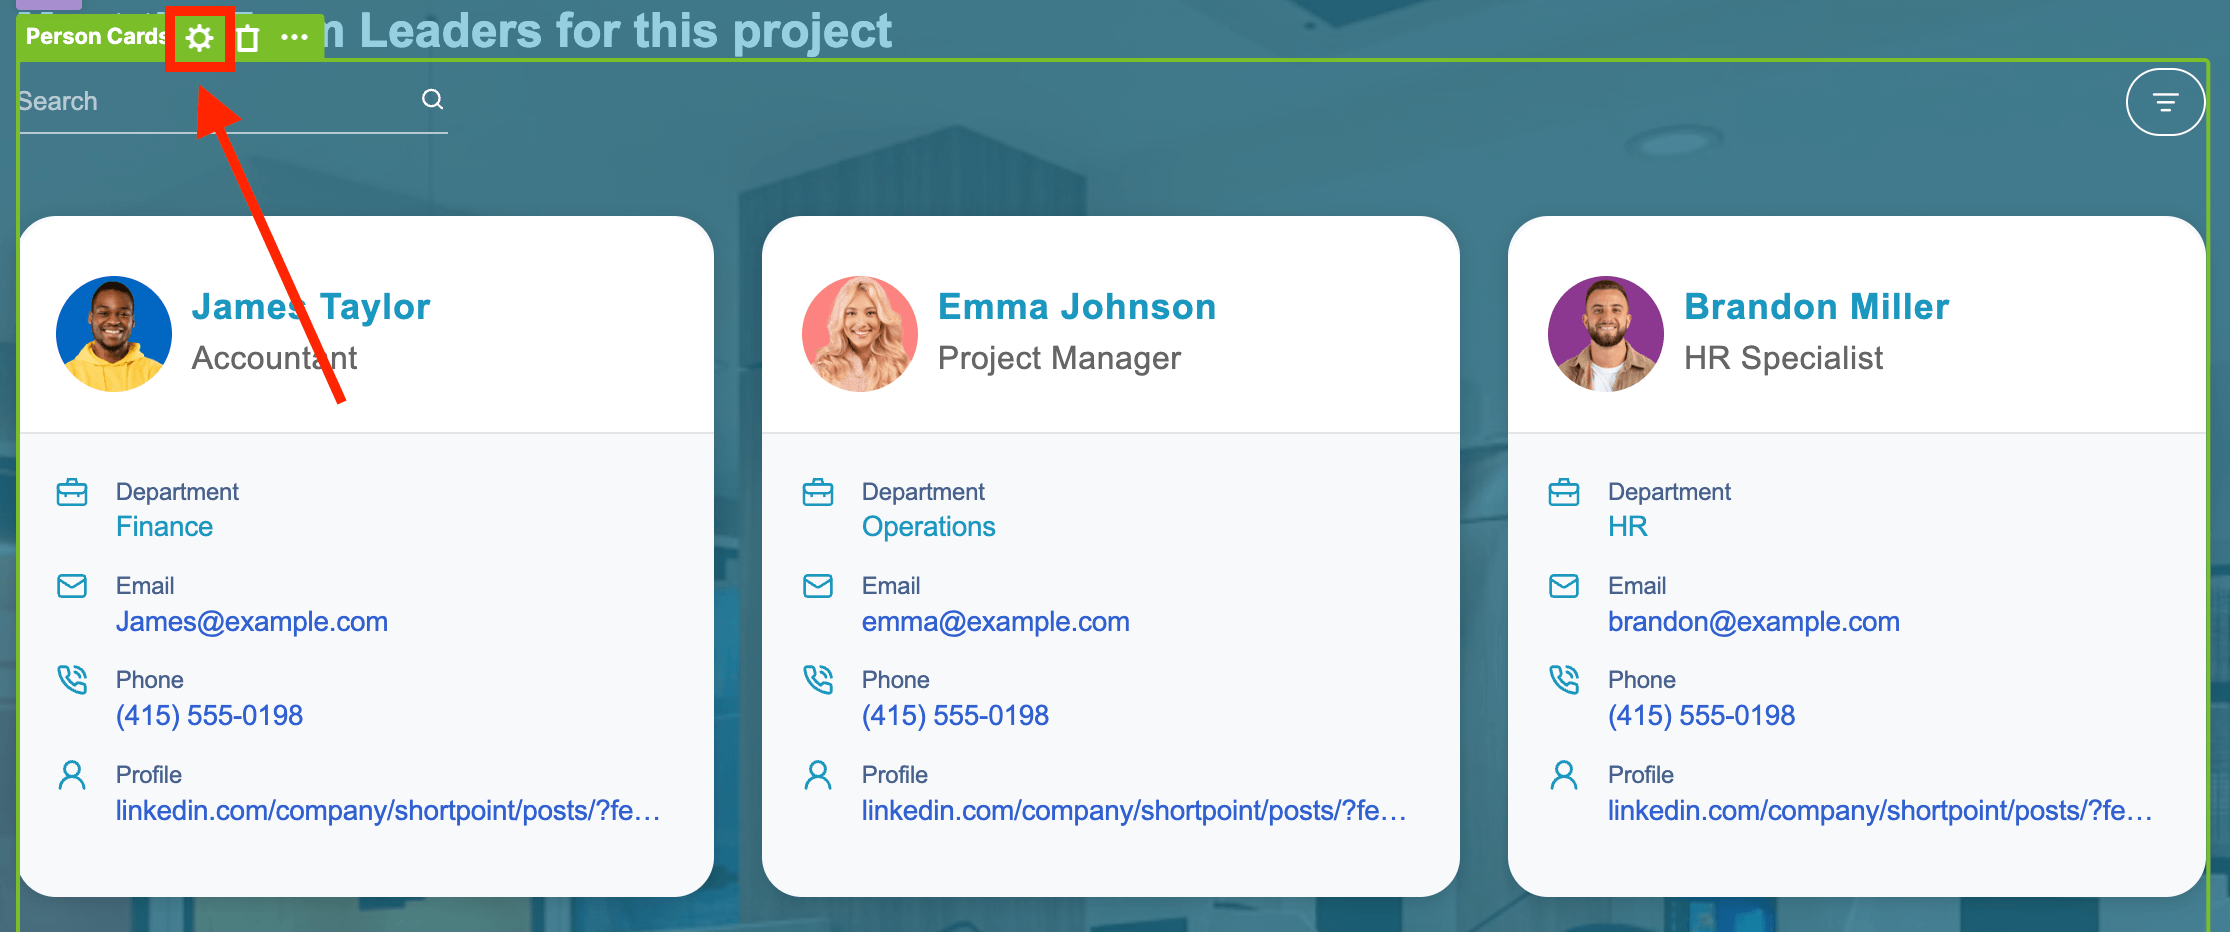
Select the cogwheel icon to open the settings window:
Go to the design element’s content fields. Since we’re using the Person Cards Design Element, we’ll need to click the cogwheel icon of an item to see all its content fields:
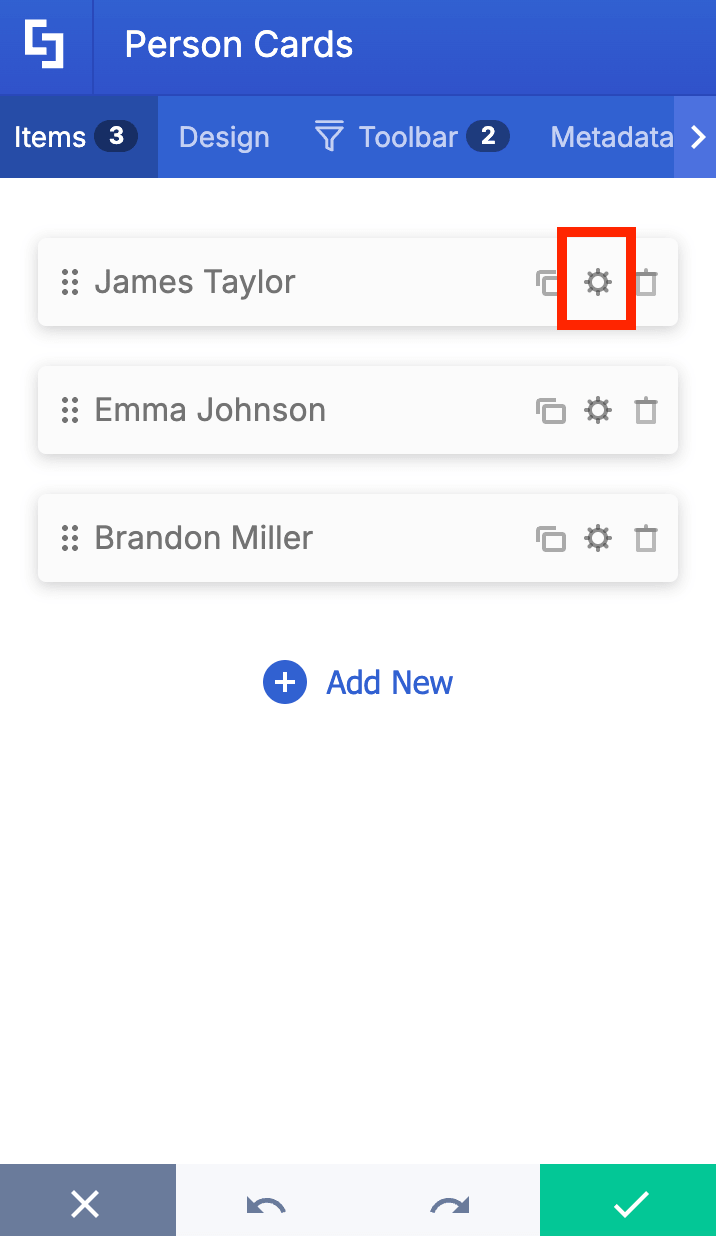
Add %%name%% to the fields you want to be editable:
NOTEYou can replace the word 'name' with any title or word you want. Just remember to add '%%' before and after the word you selected. For example, if you want to replace name with Title_panel, you will then write it as %%Title_panel%%.
Click the back icon if you have other items:
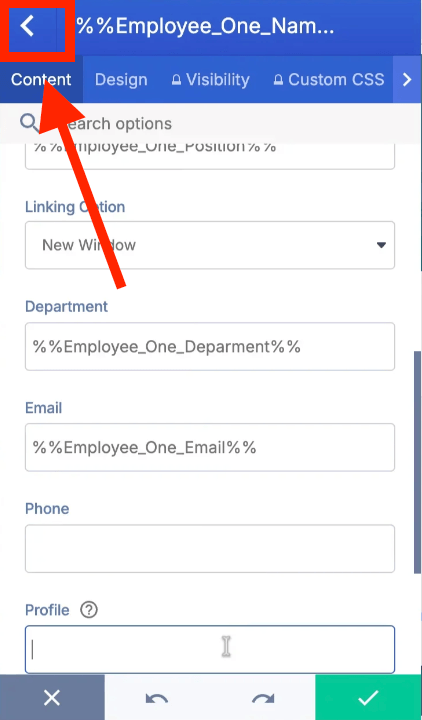
Repeat the steps for the other items.
Then, once satisfied, click the green check mark:
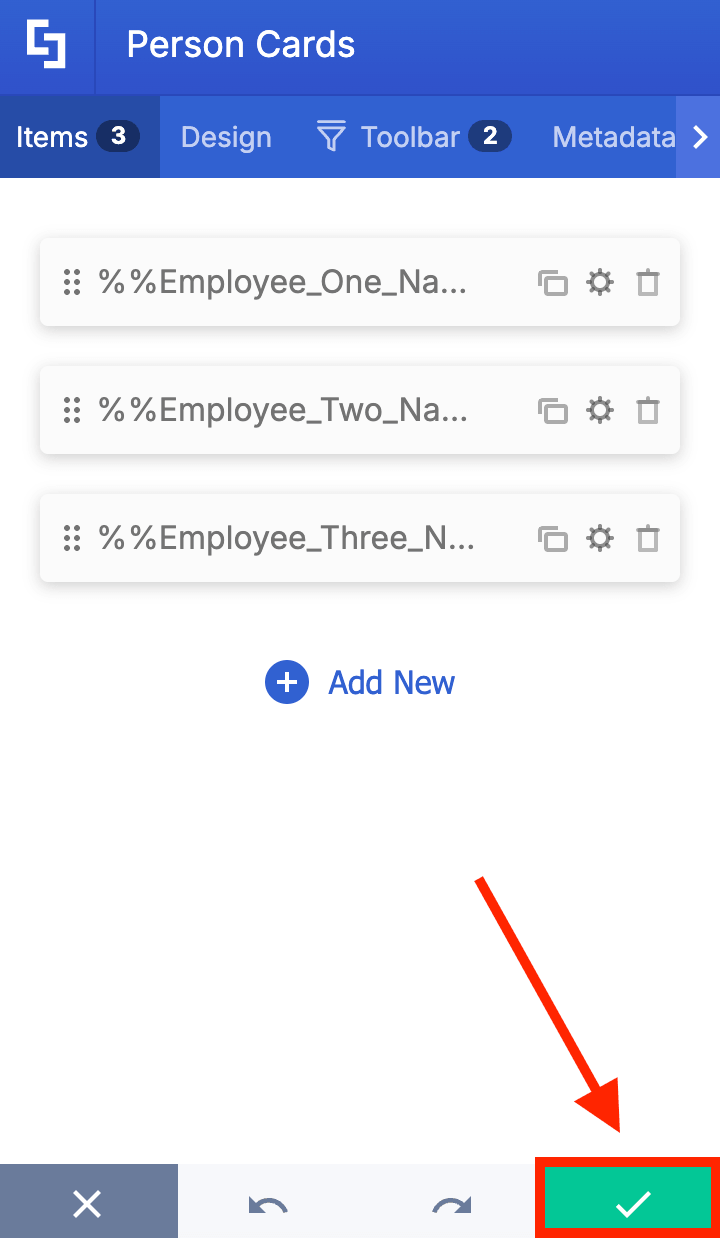
Step 5: Save
Click Save Changes to save your Custom Design Element:
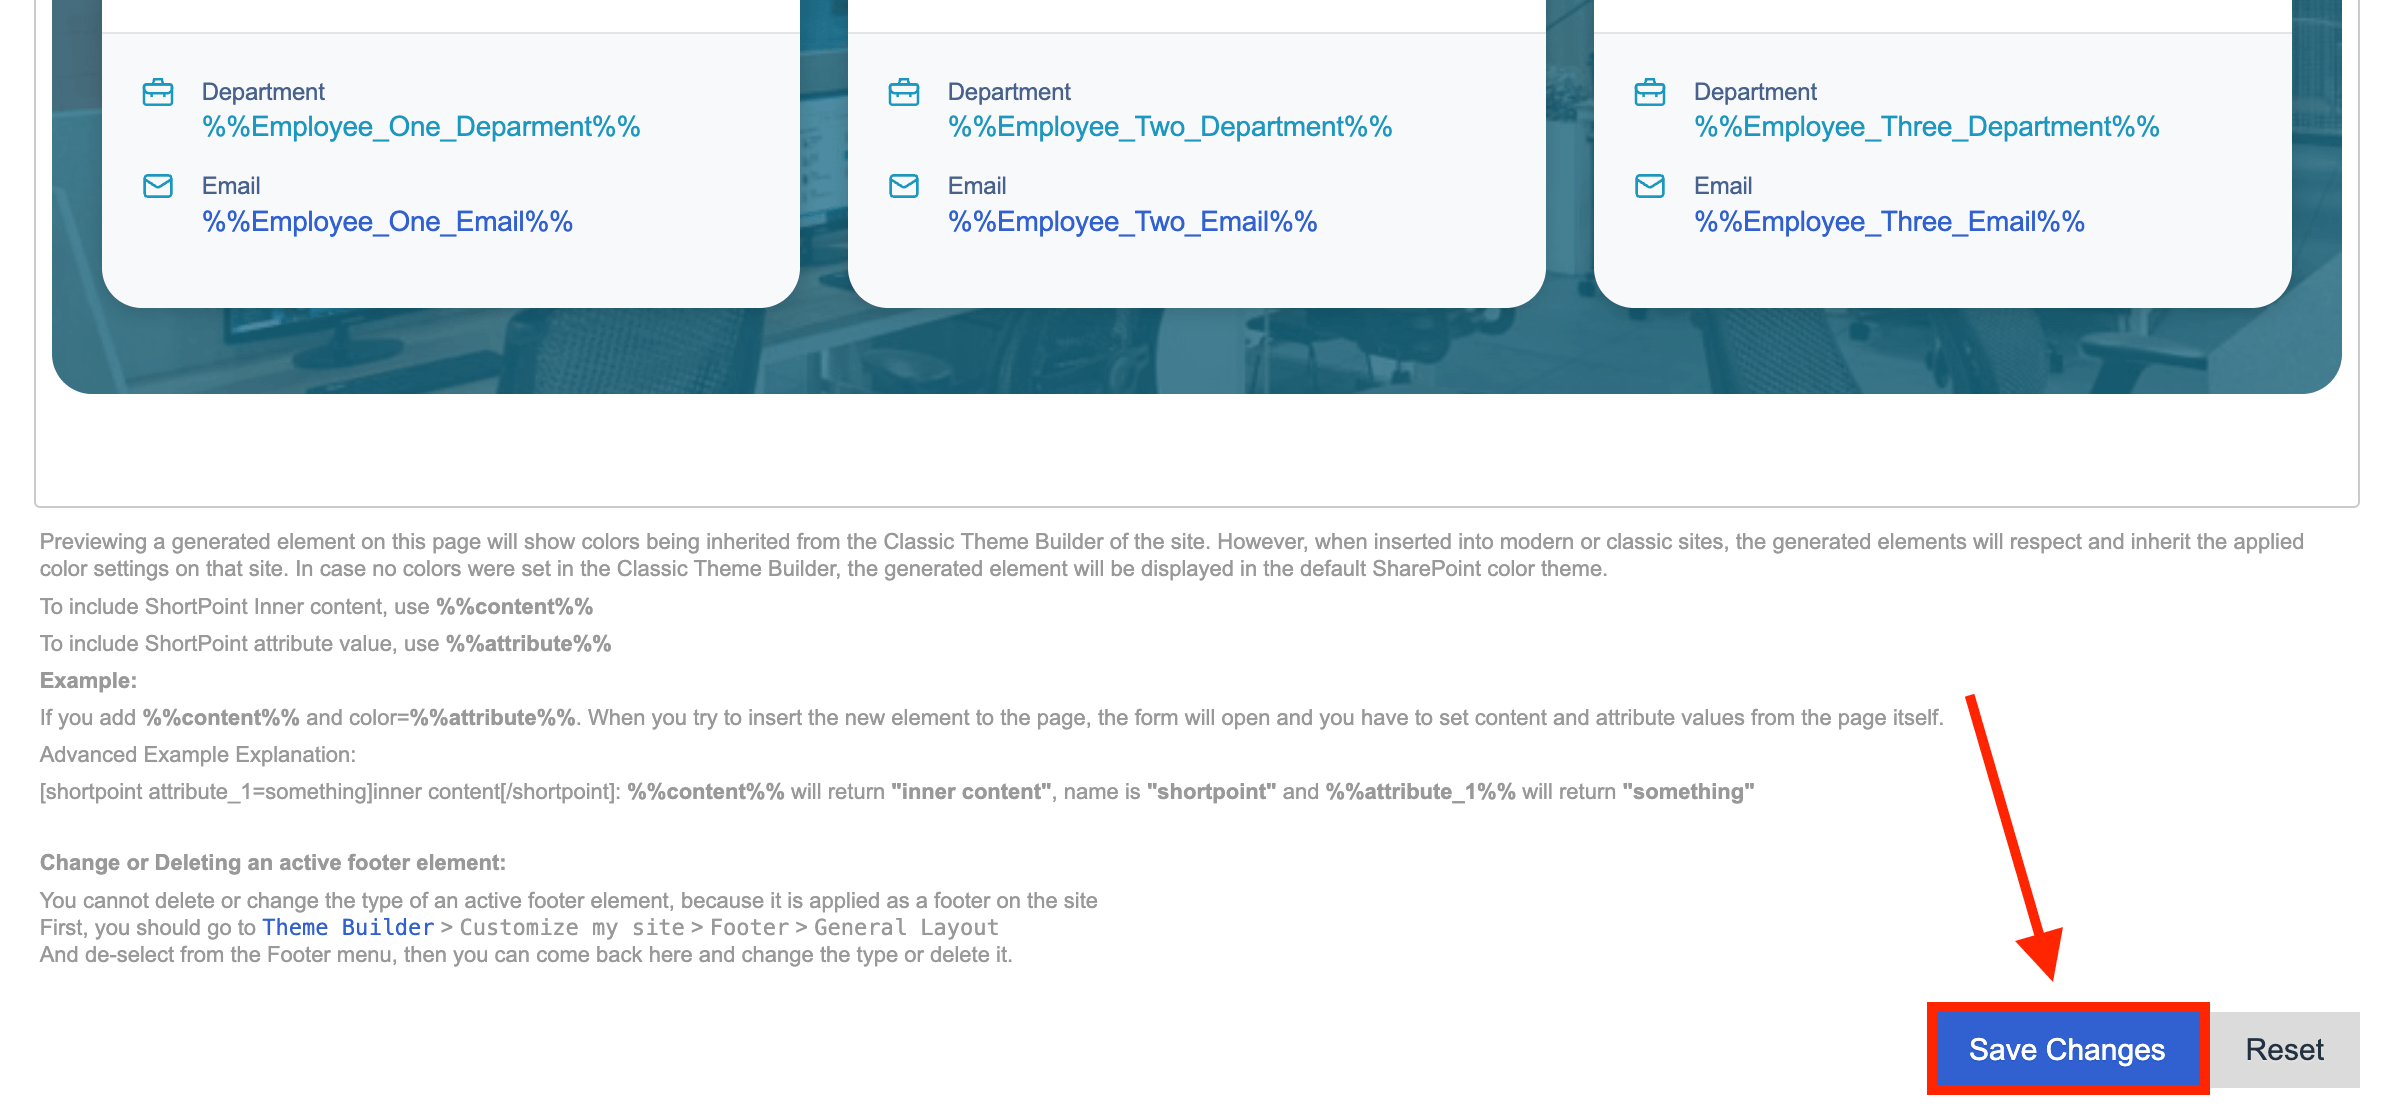
That’s it! You now have an editable Custom Design Element. Proceed to Part 2 to learn how to add it to a SharePoint page.
Part 2: Add Custom Design Element to the Page
This section shows you how to add the editable Custom Design Element to a SharePoint page.
Step 1: Edit the ShortPoint web part
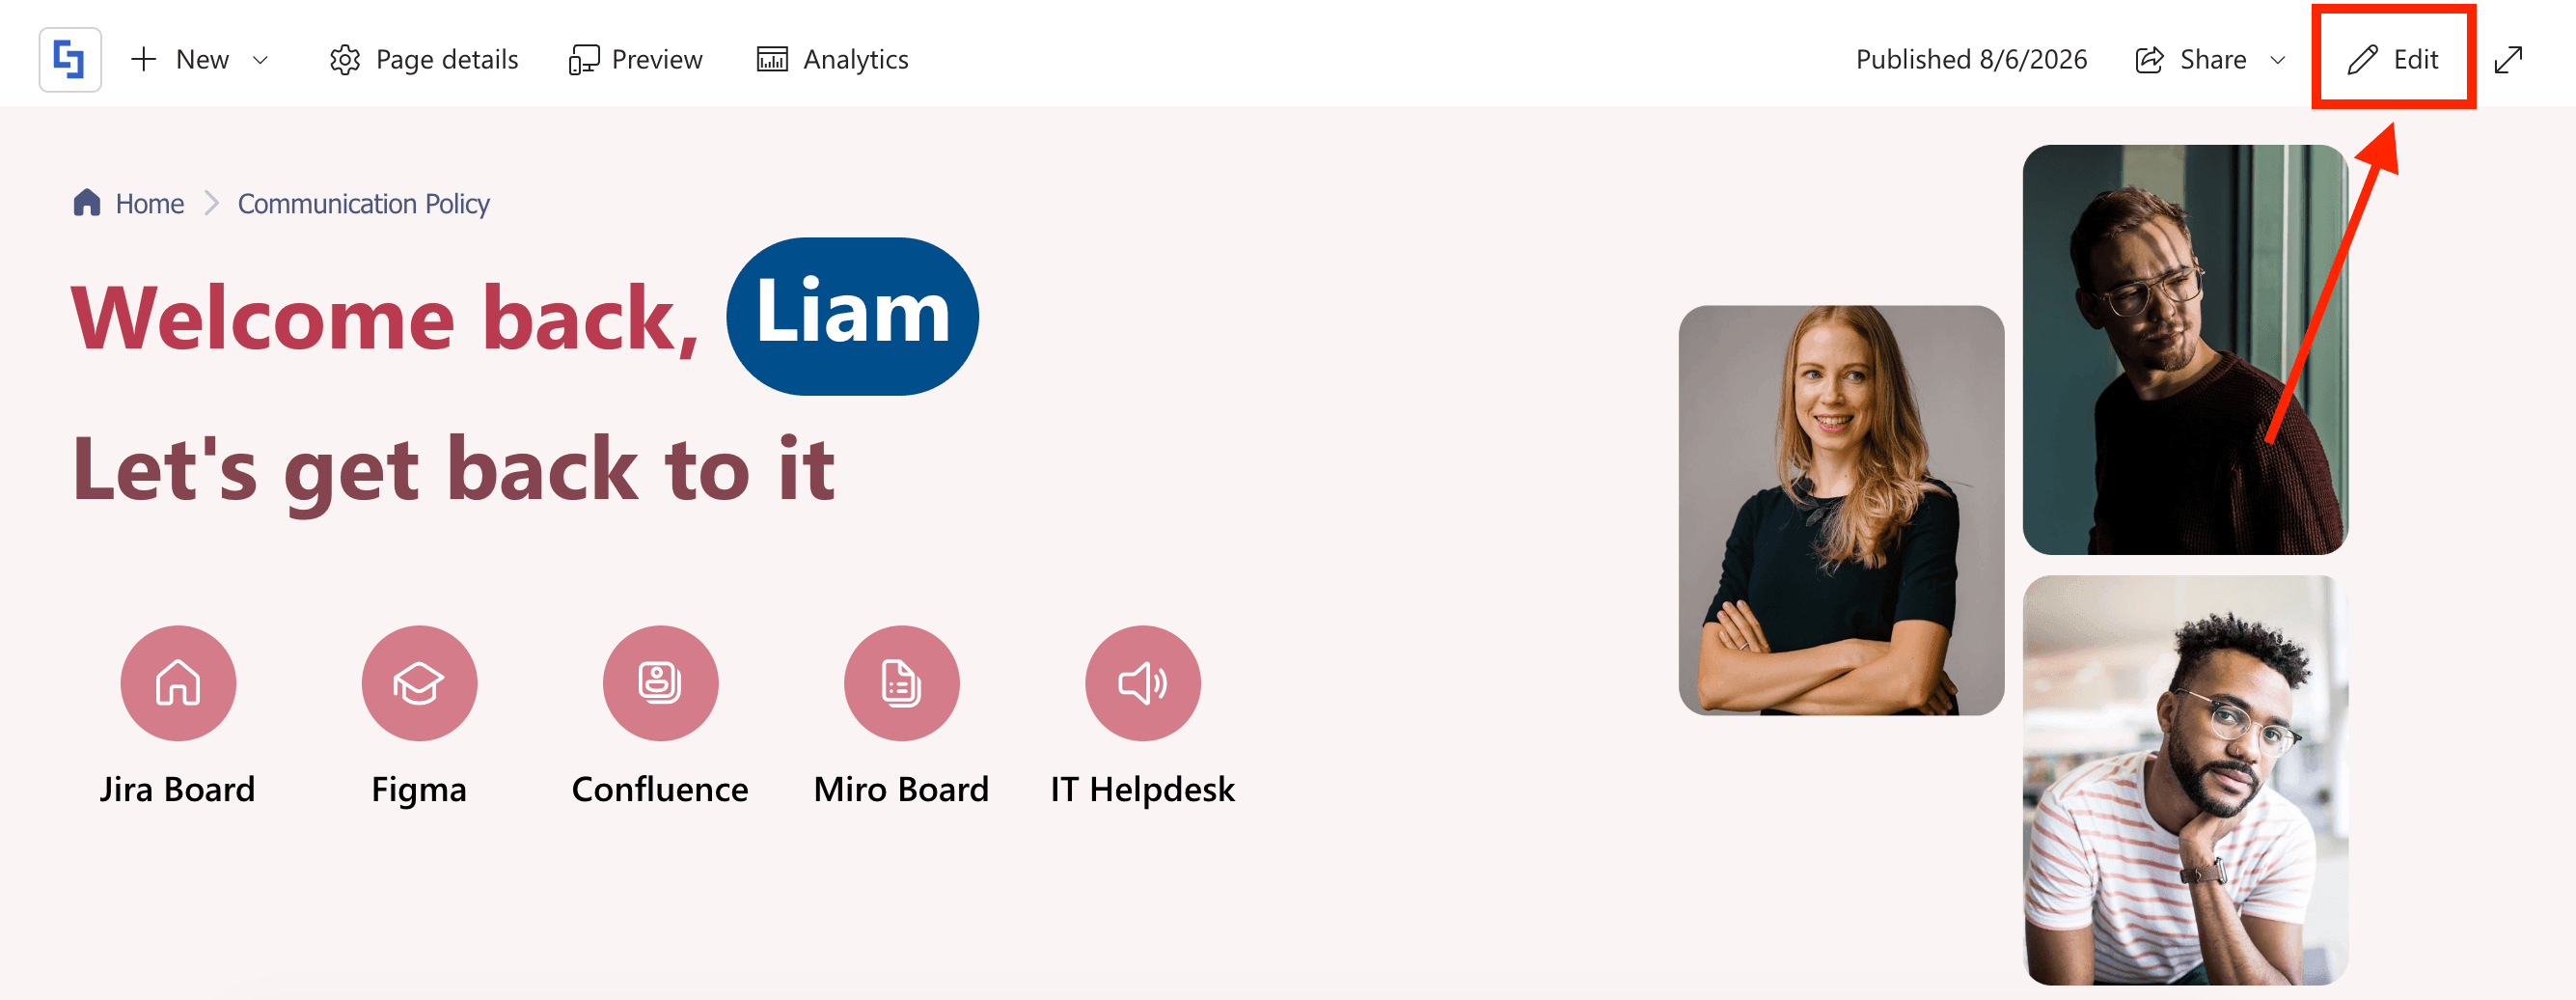
Go to the SharePoint page you want to use and click Edit:
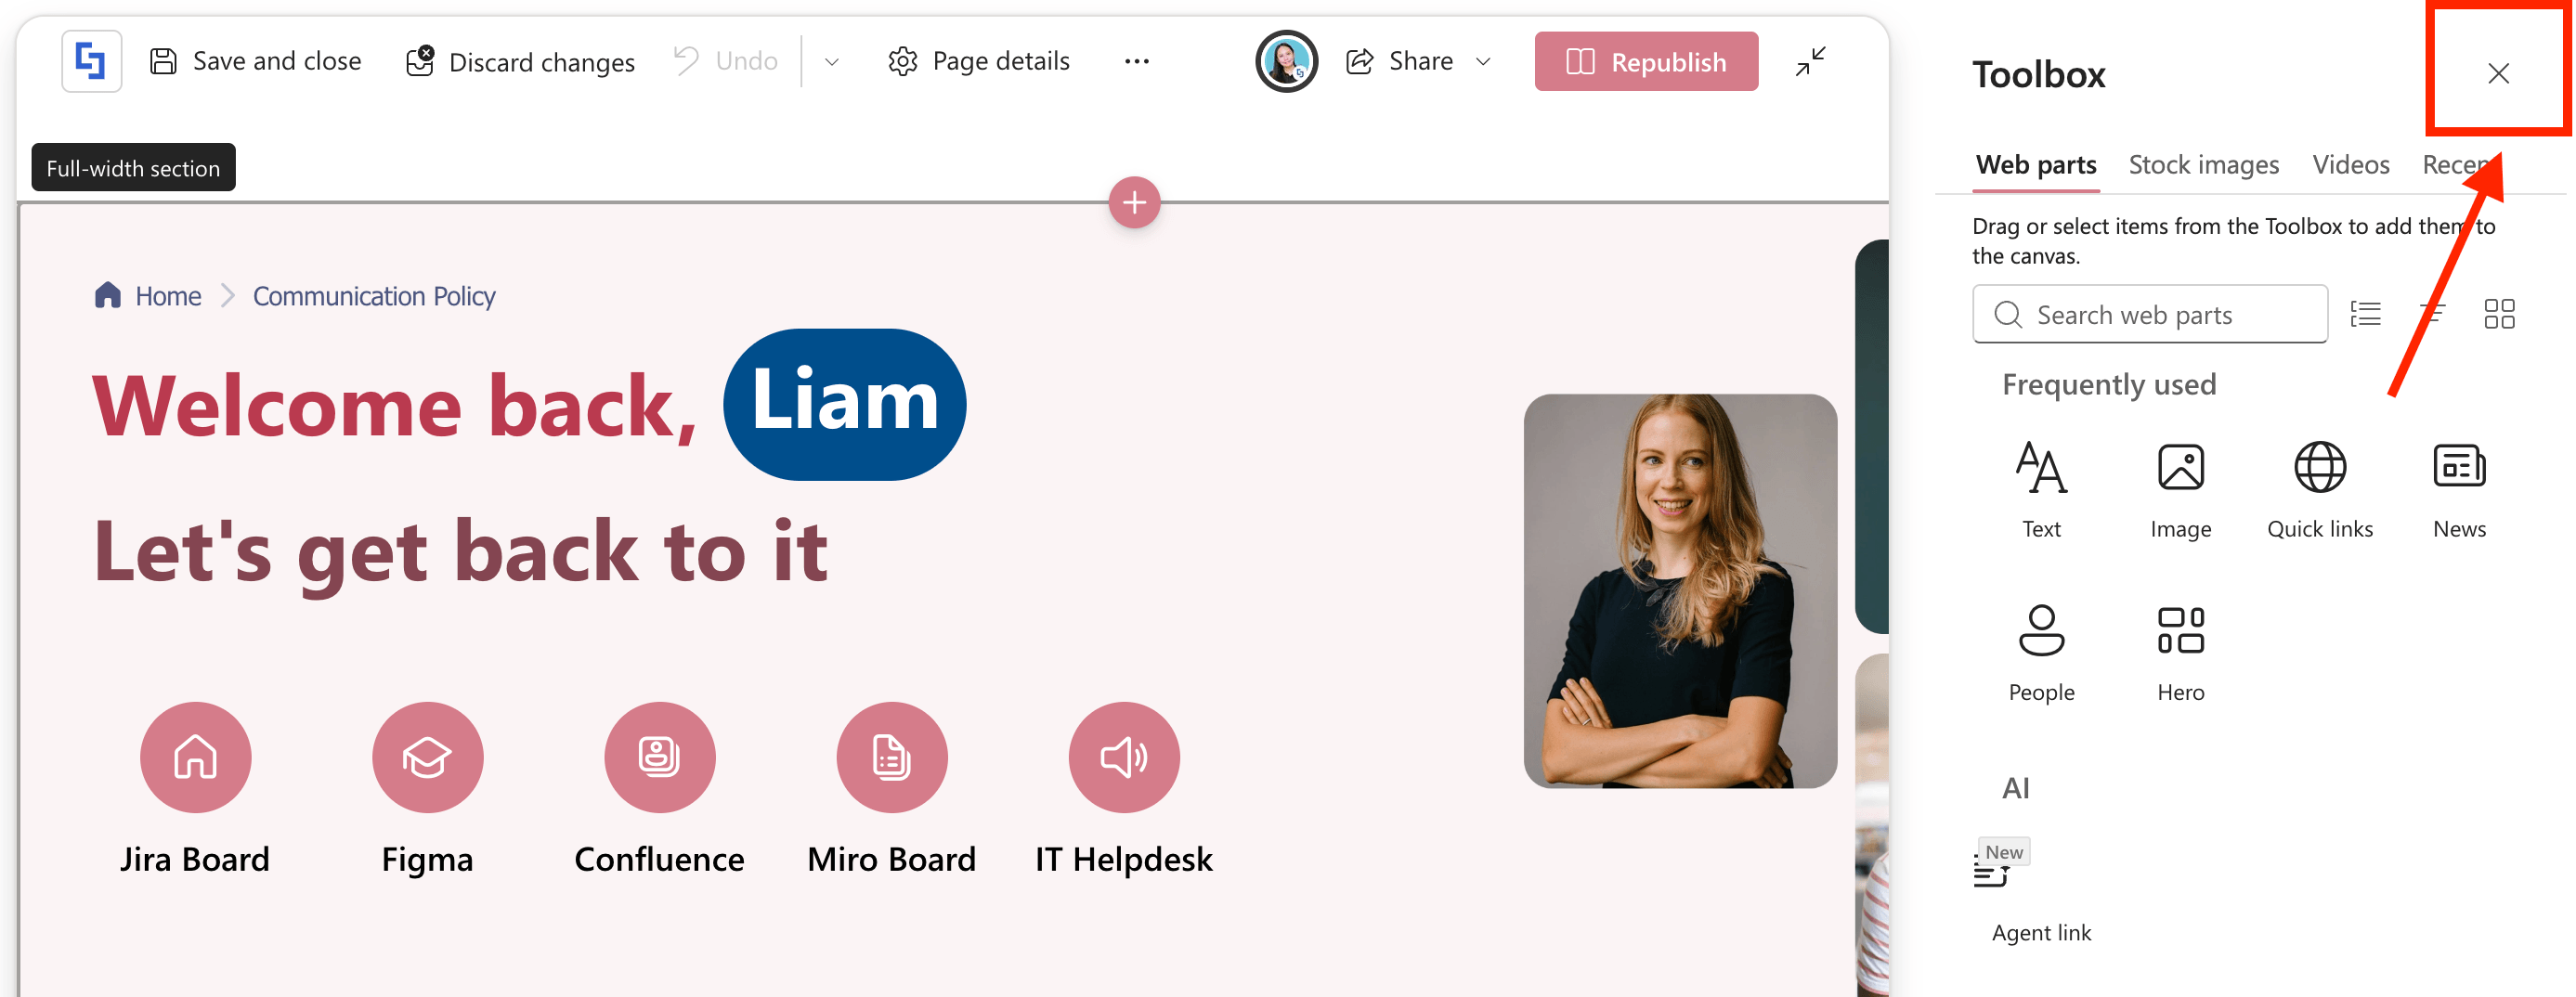
Close the Toolbox:
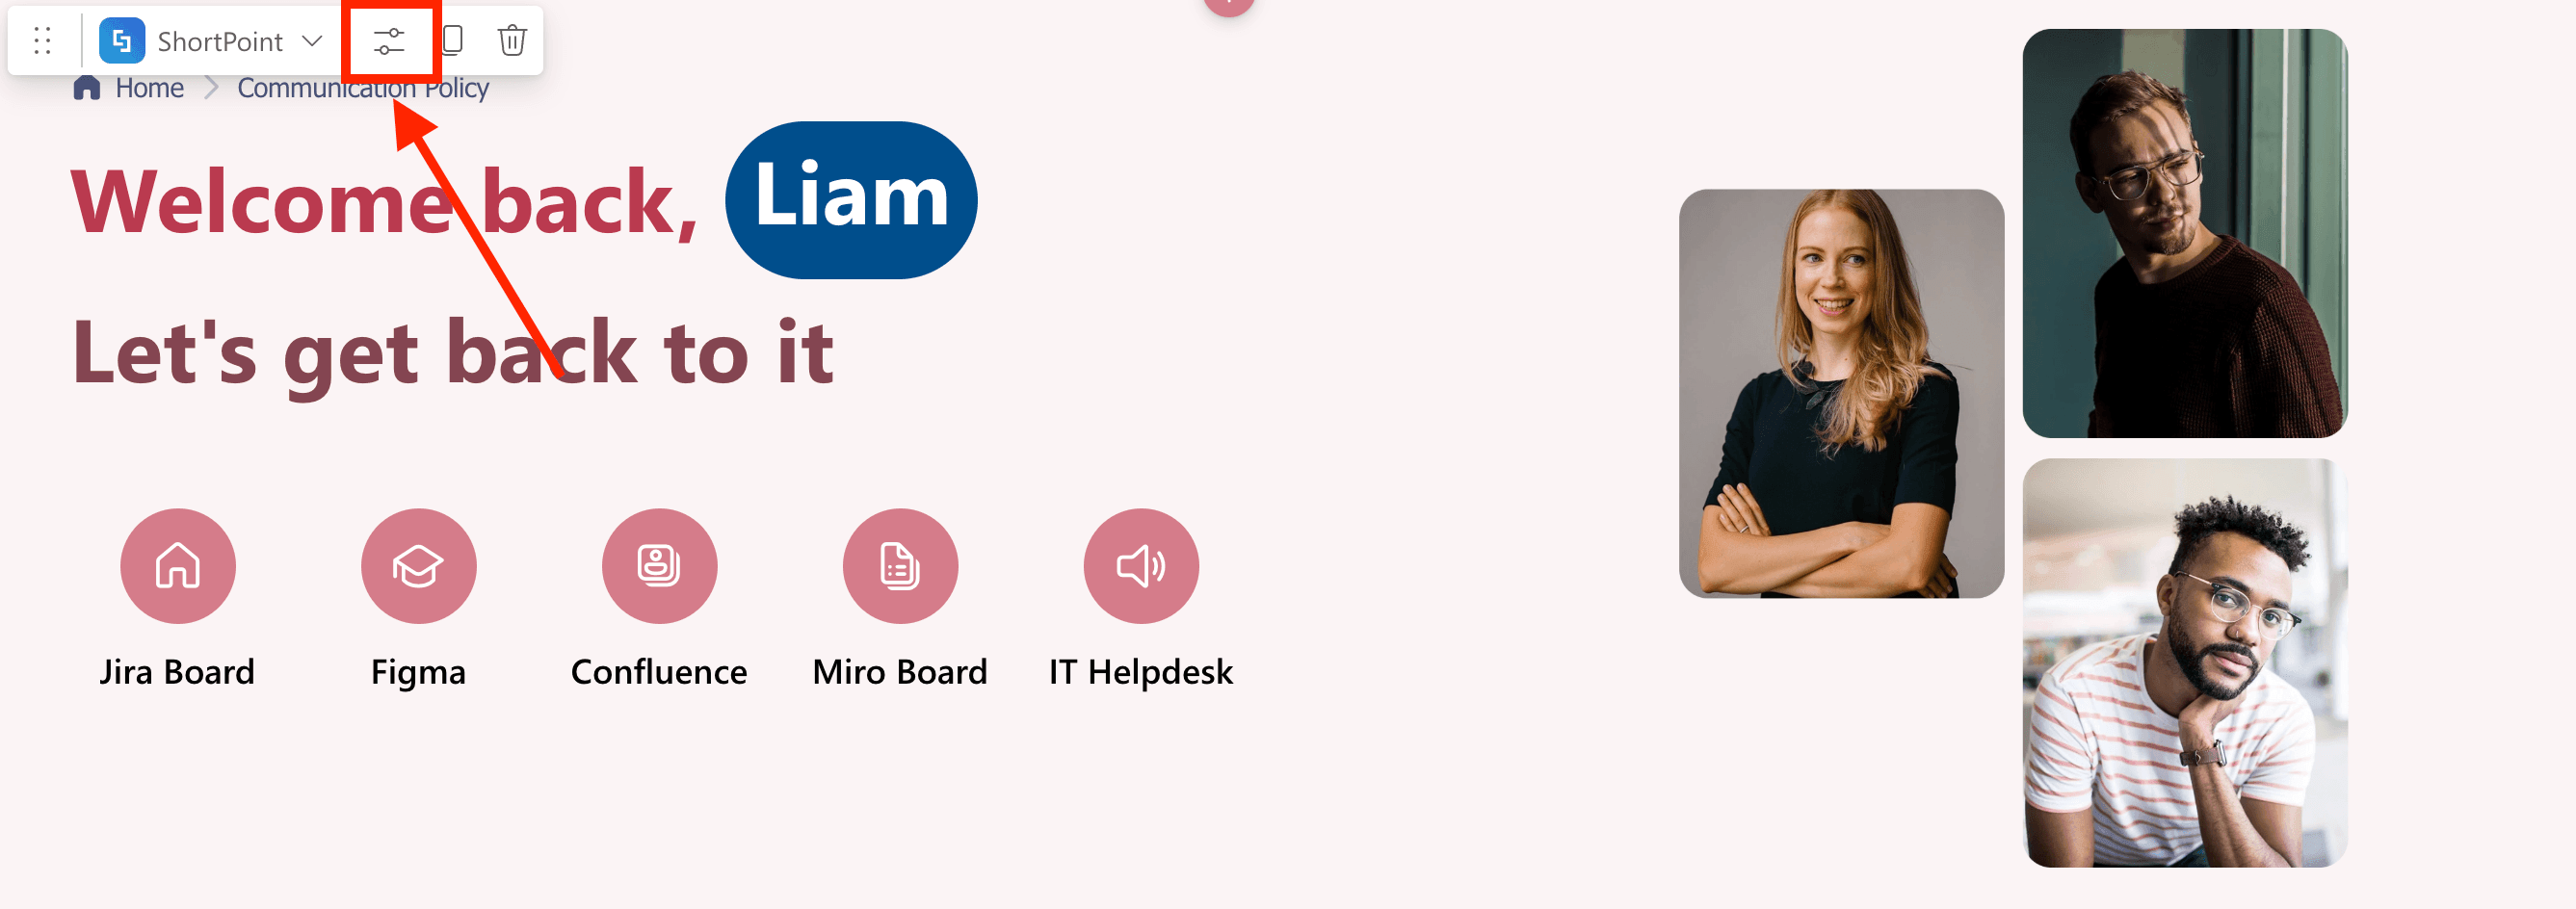
Edit the ShortPoint web part:
Step 2: Add the Custom Design Element
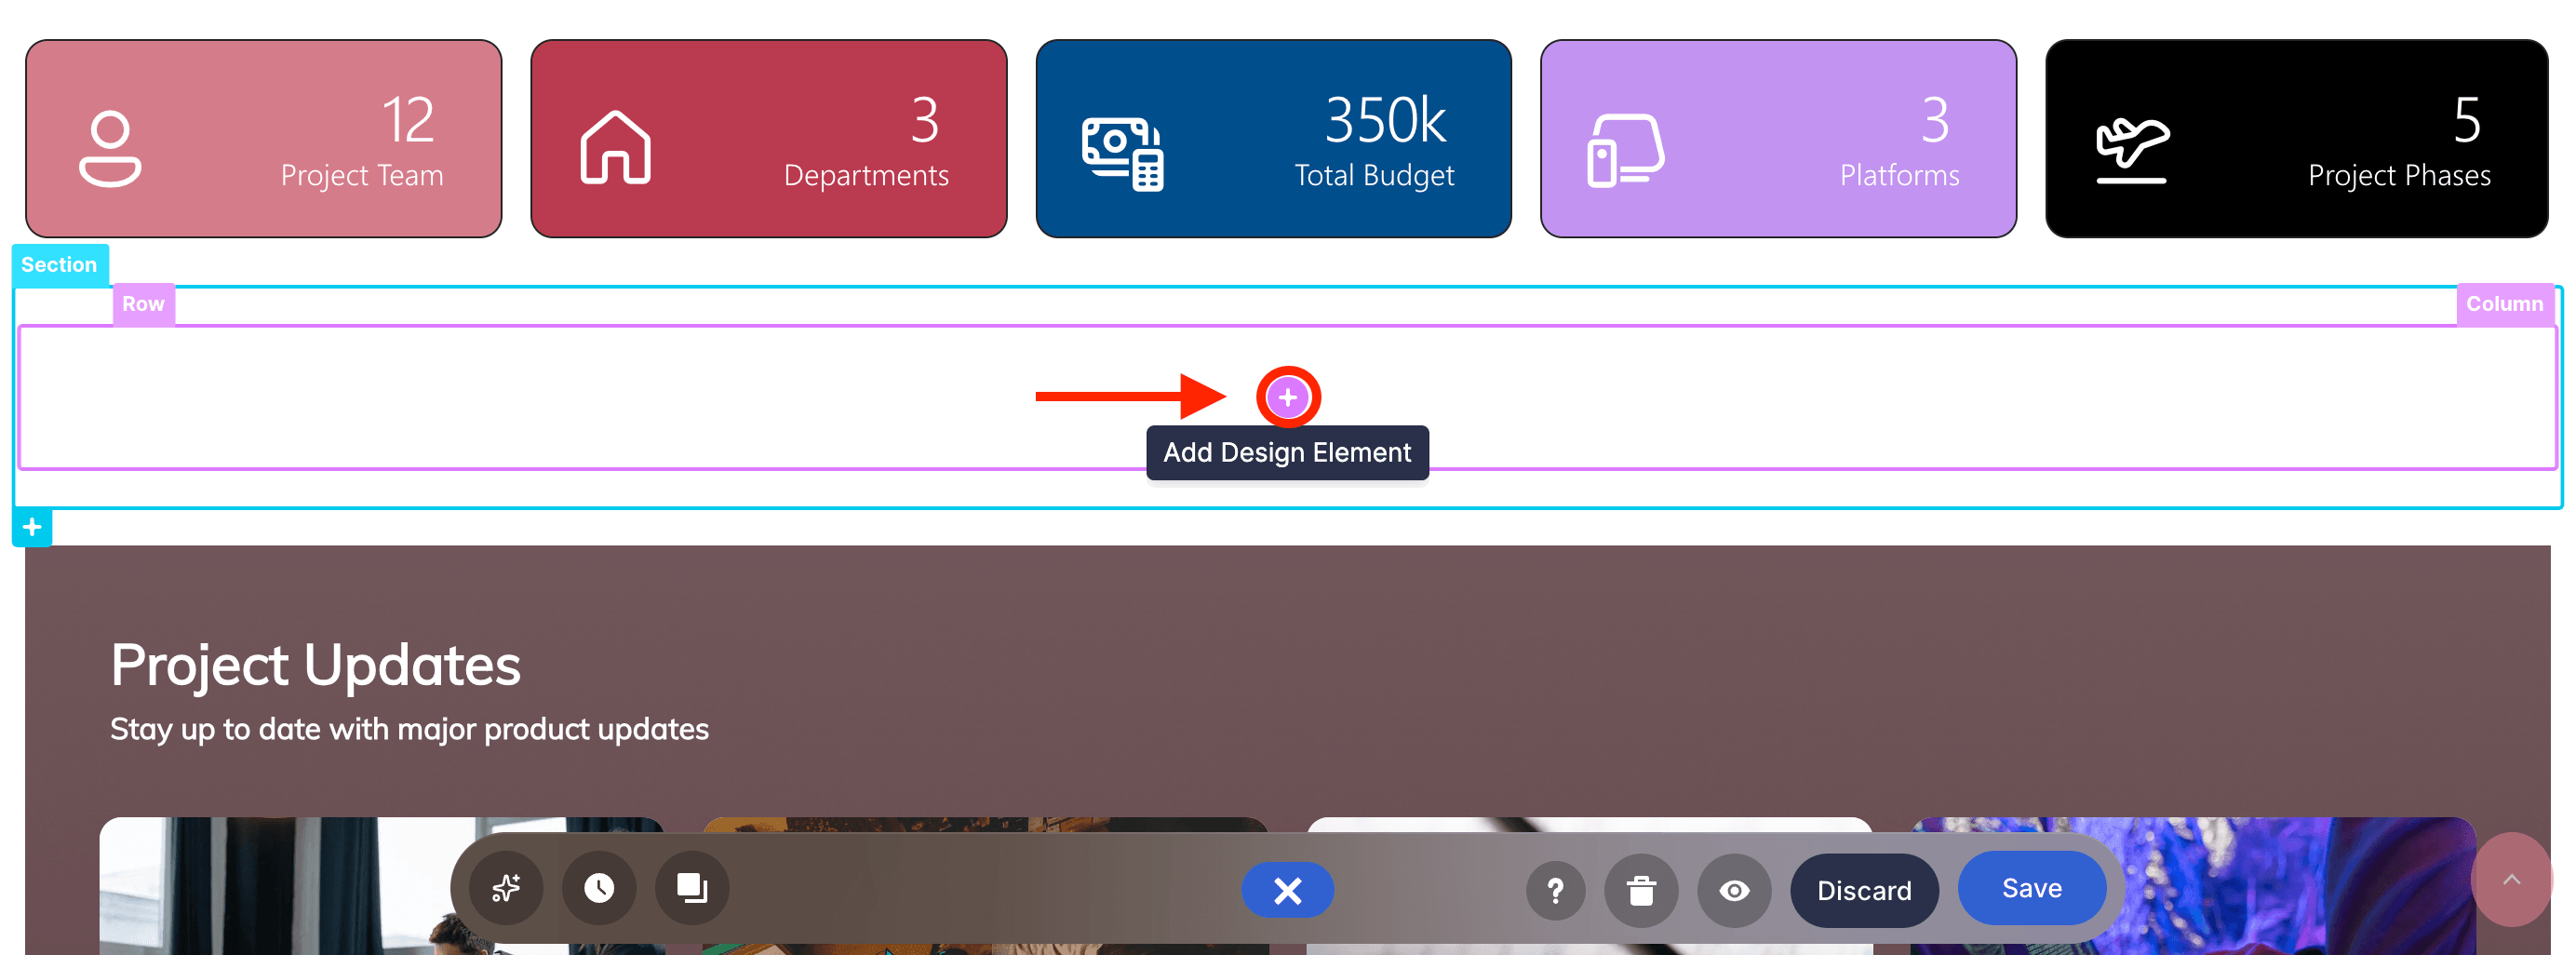
Choose where you want to add the design element and click the plus icon:
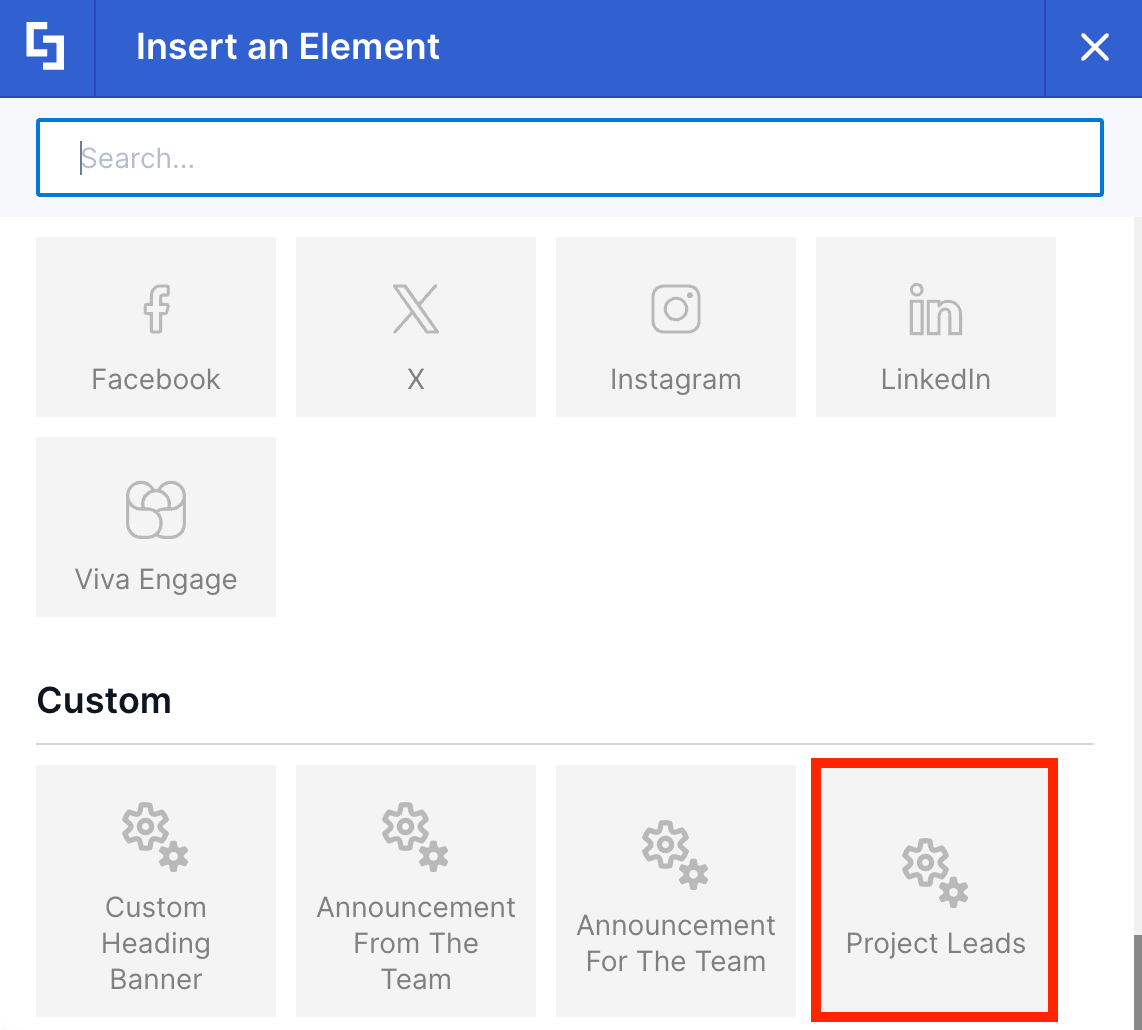
Look for the Editable Custom Design Element and select it. Custom Design Elements are found at the bottom of the elements library under the ‘Custom’ category.
Step 3: Add Content
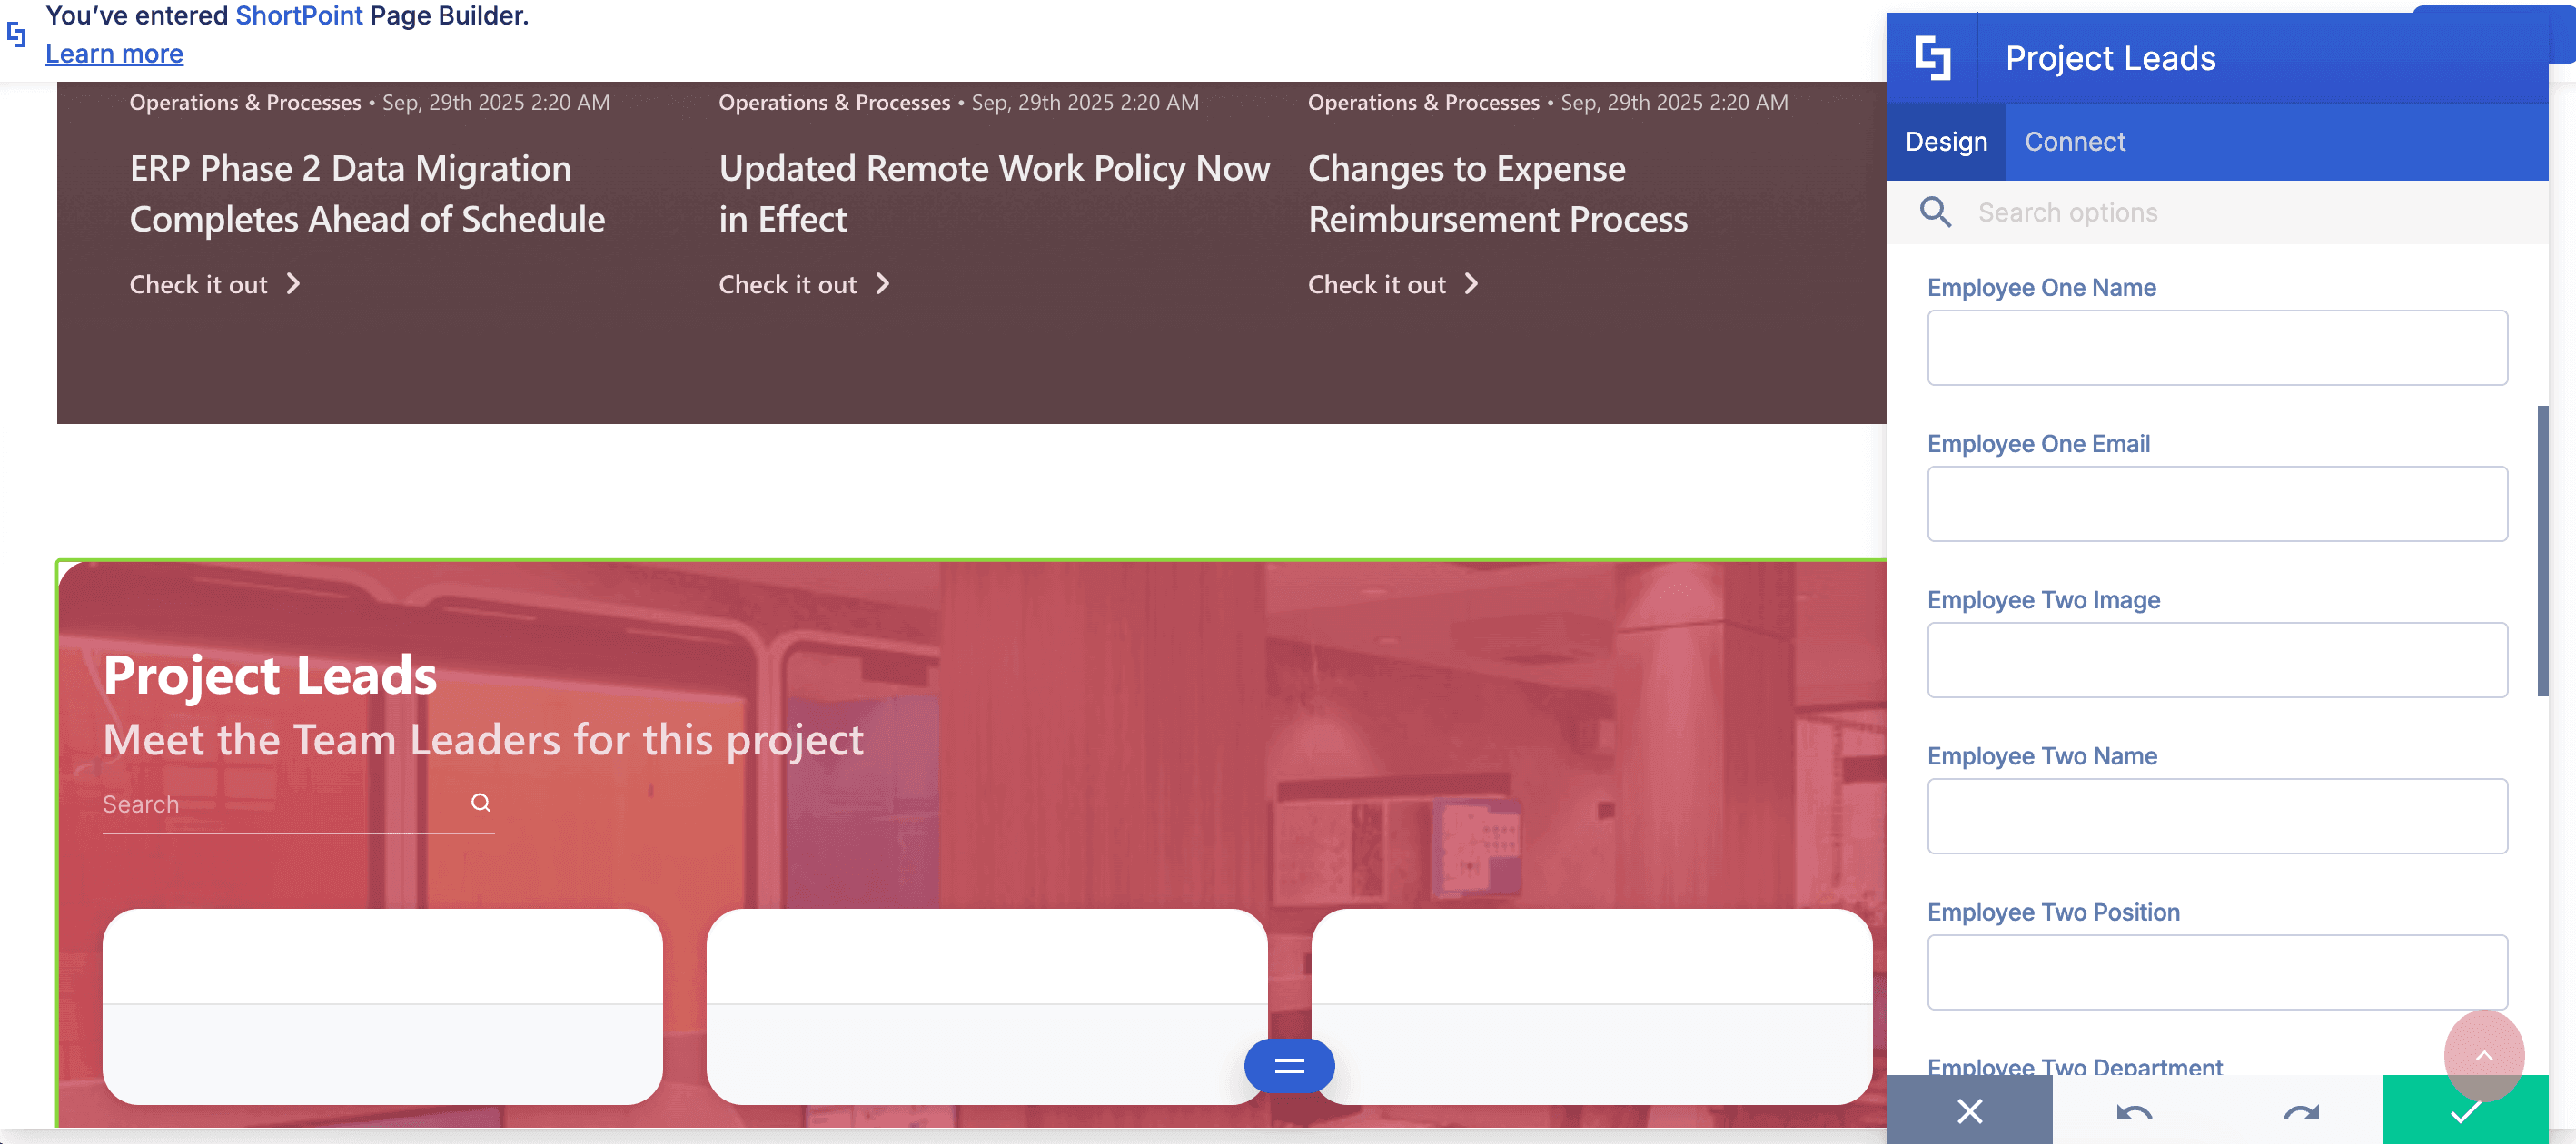
You’ll now see blank fields that you can fill in with the necessary details:
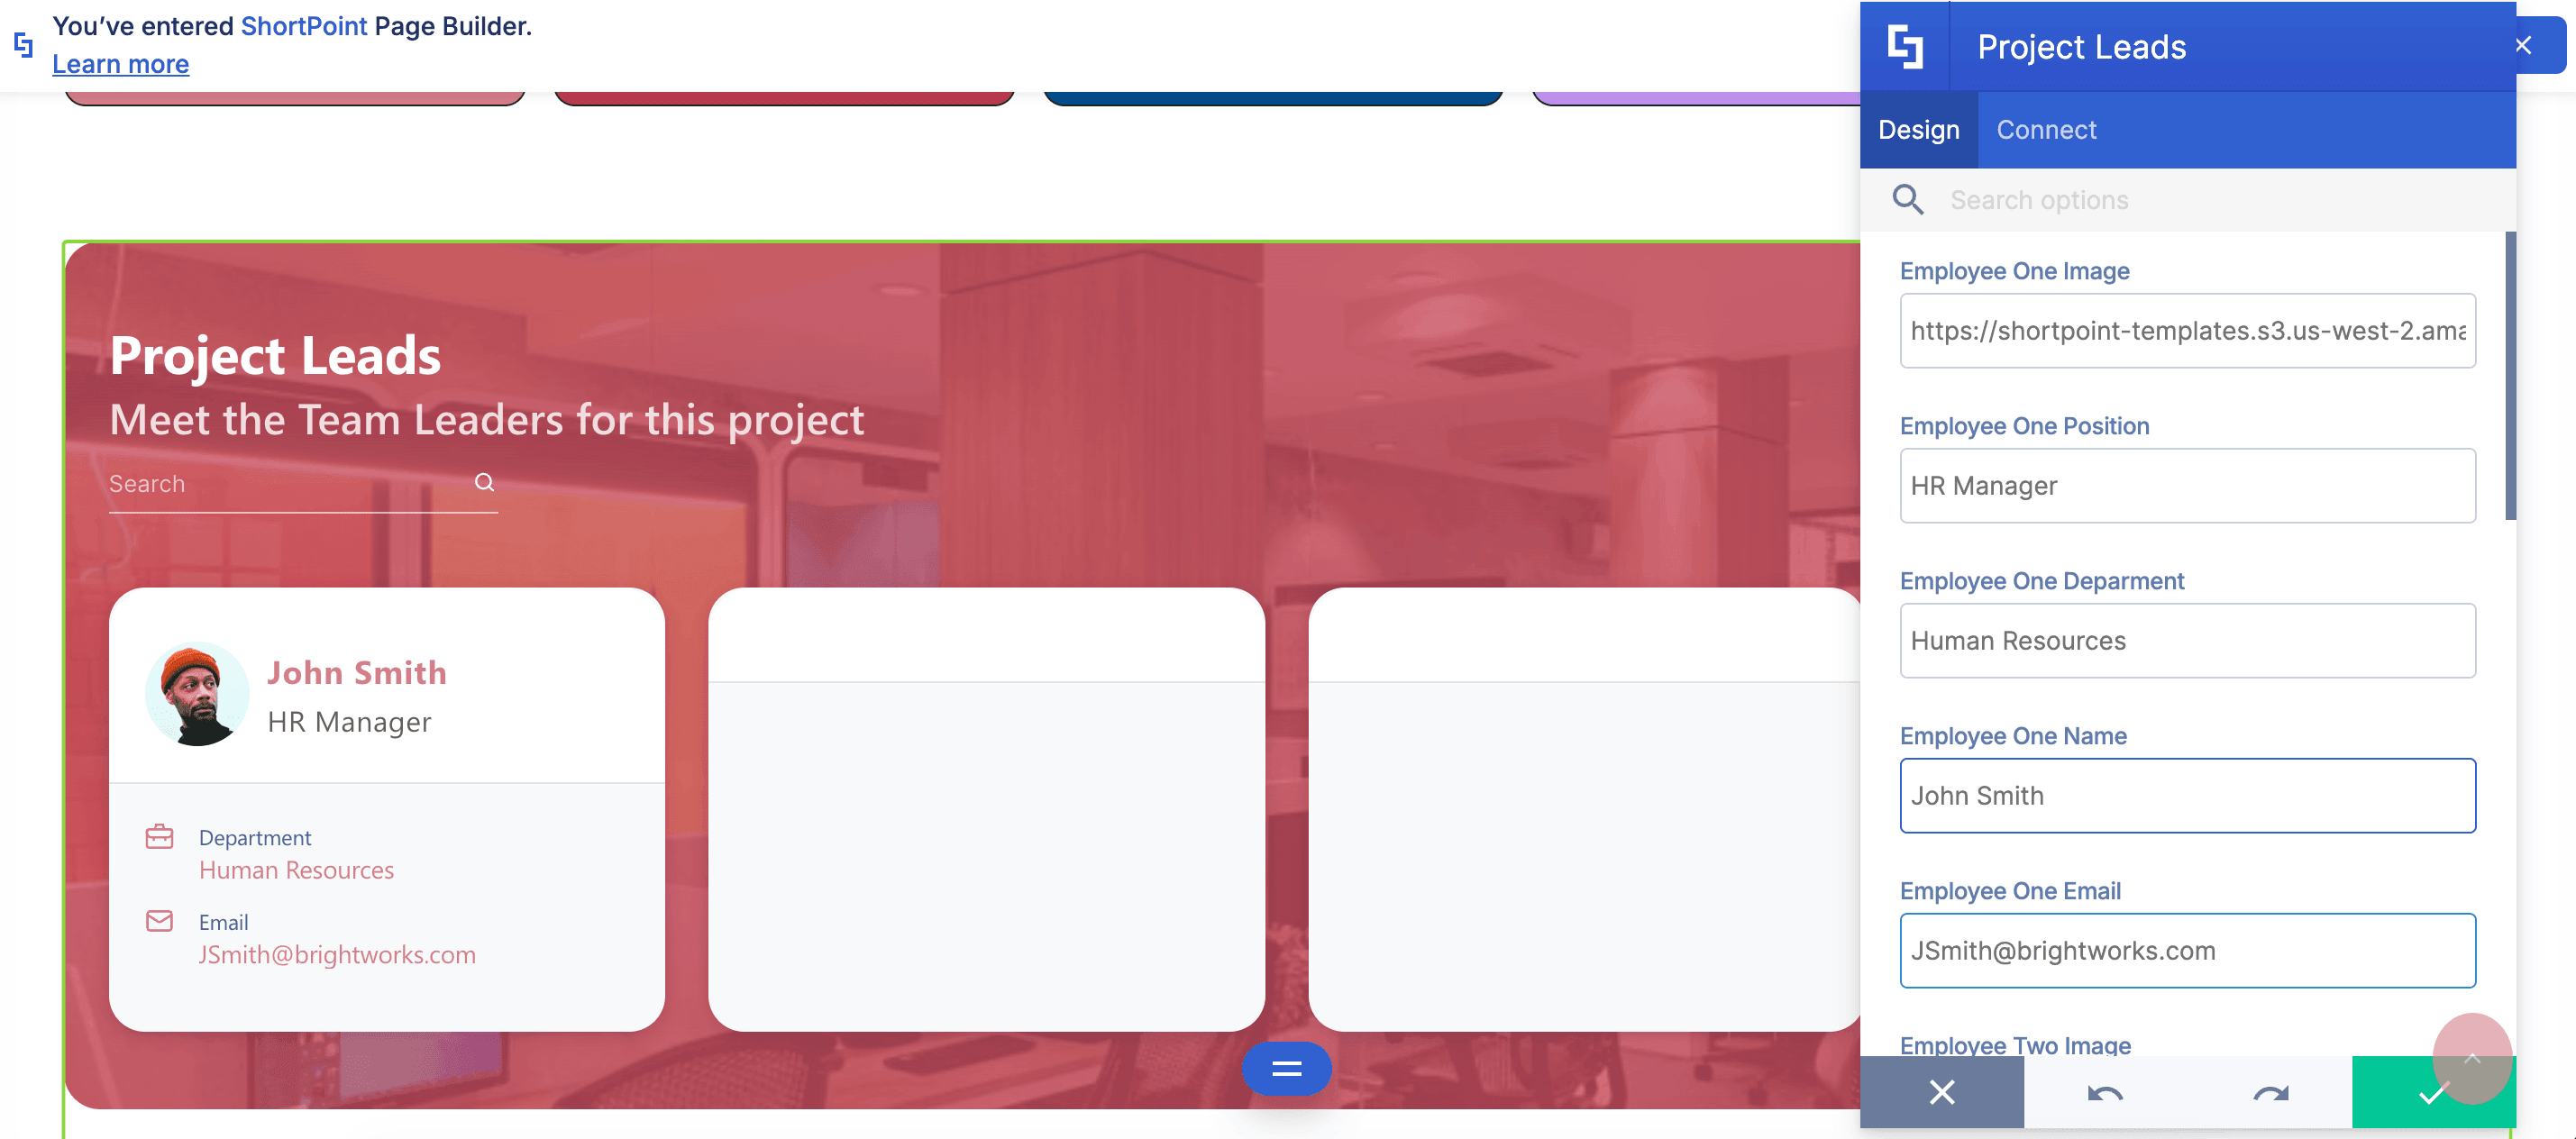
Add your content:
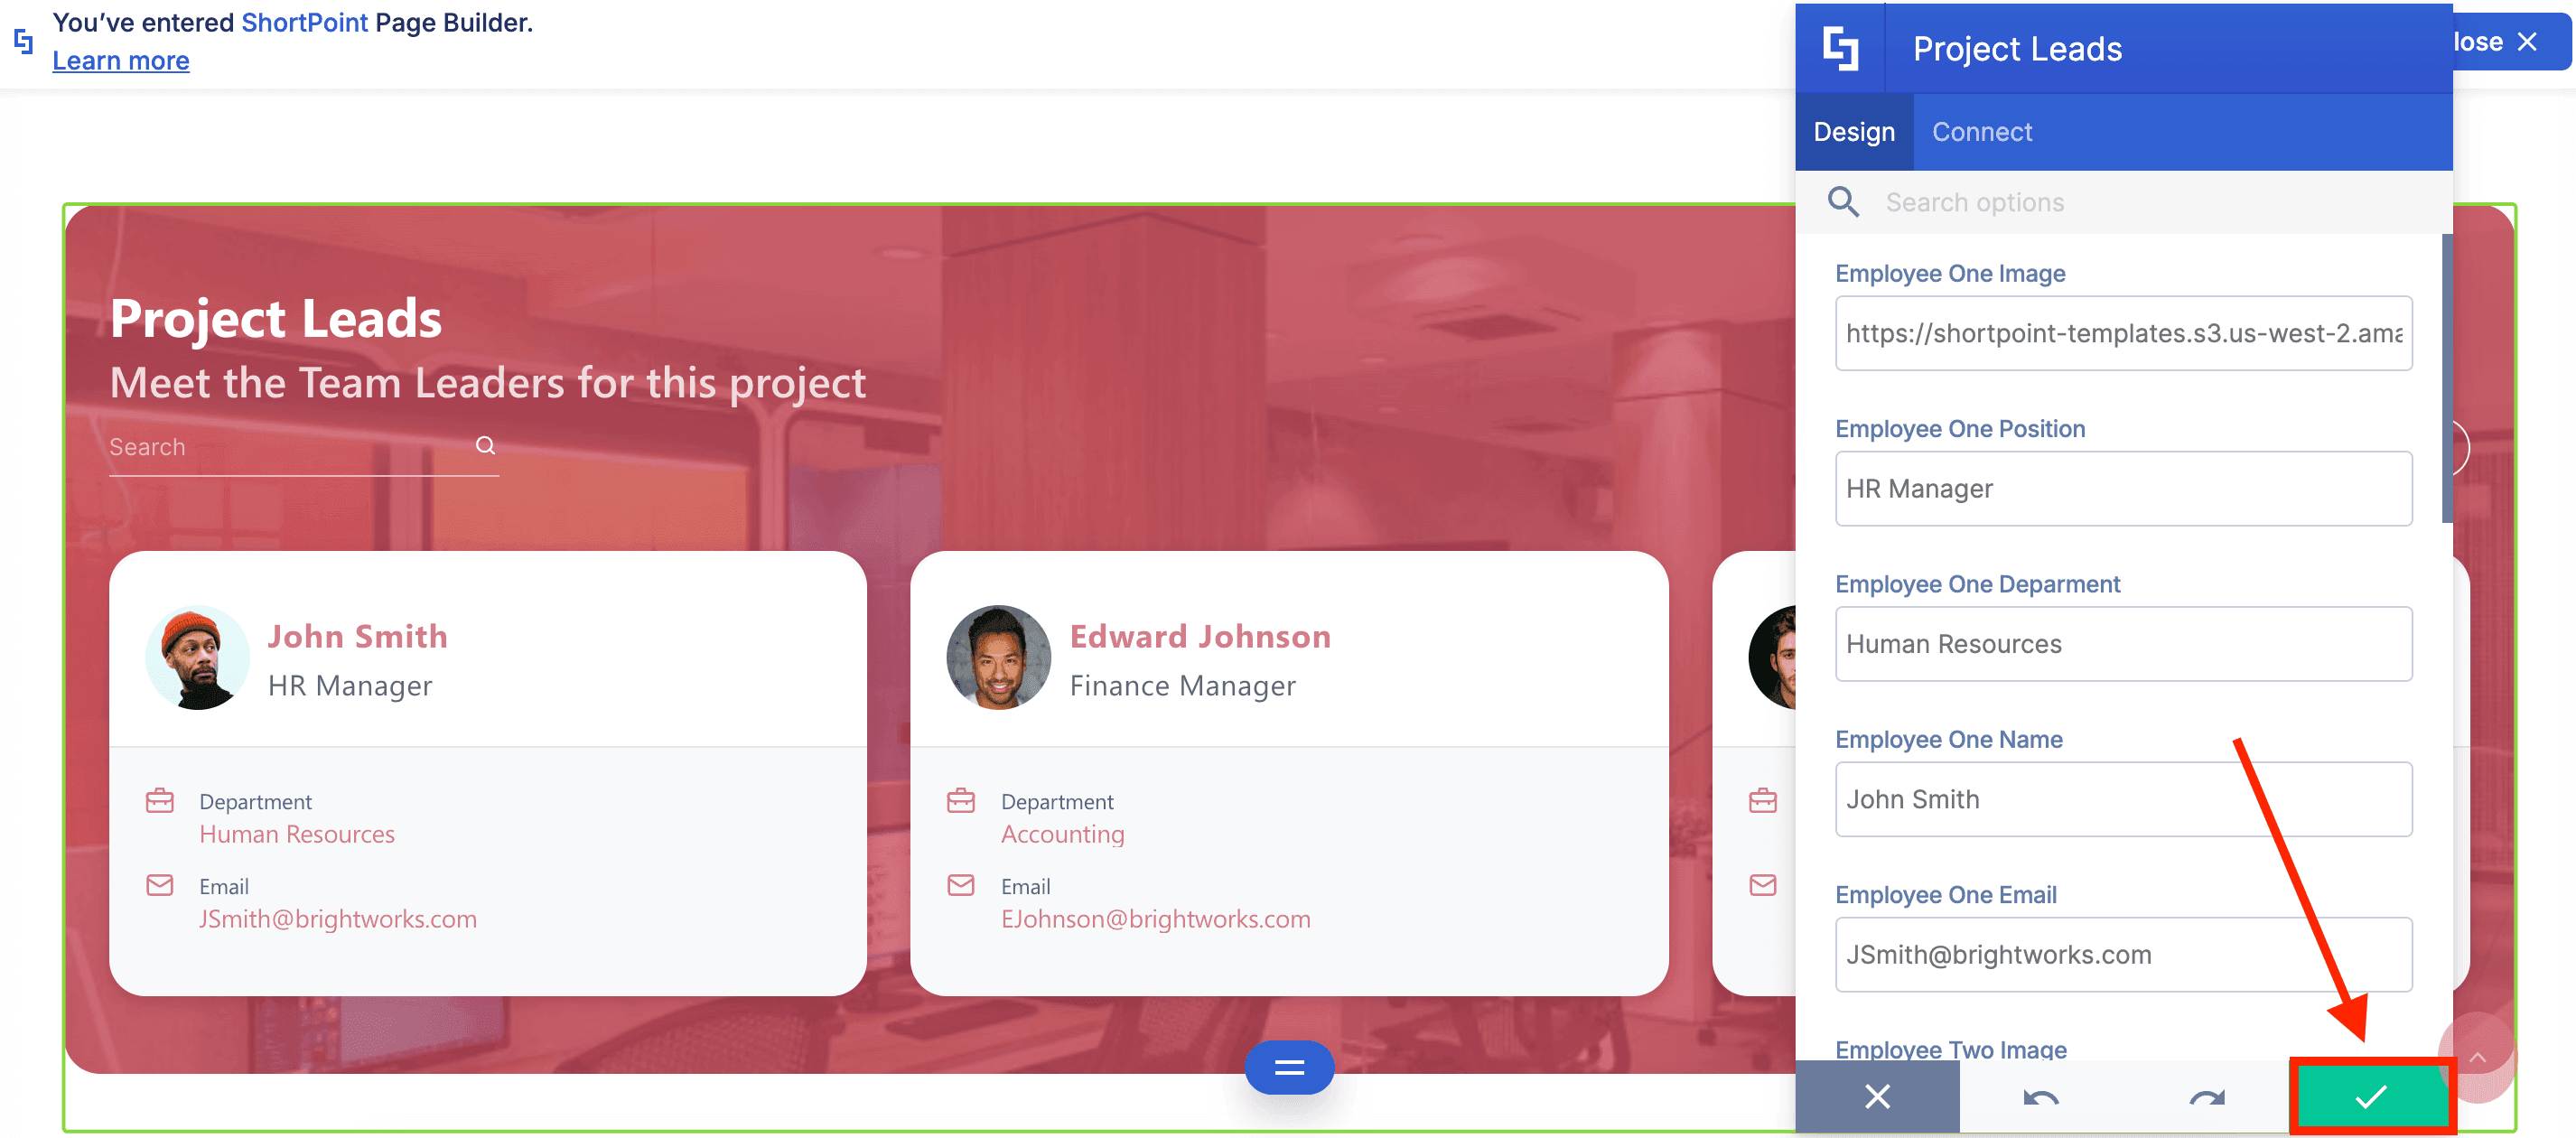
Once done, click the green check mark:
Step 4: Save
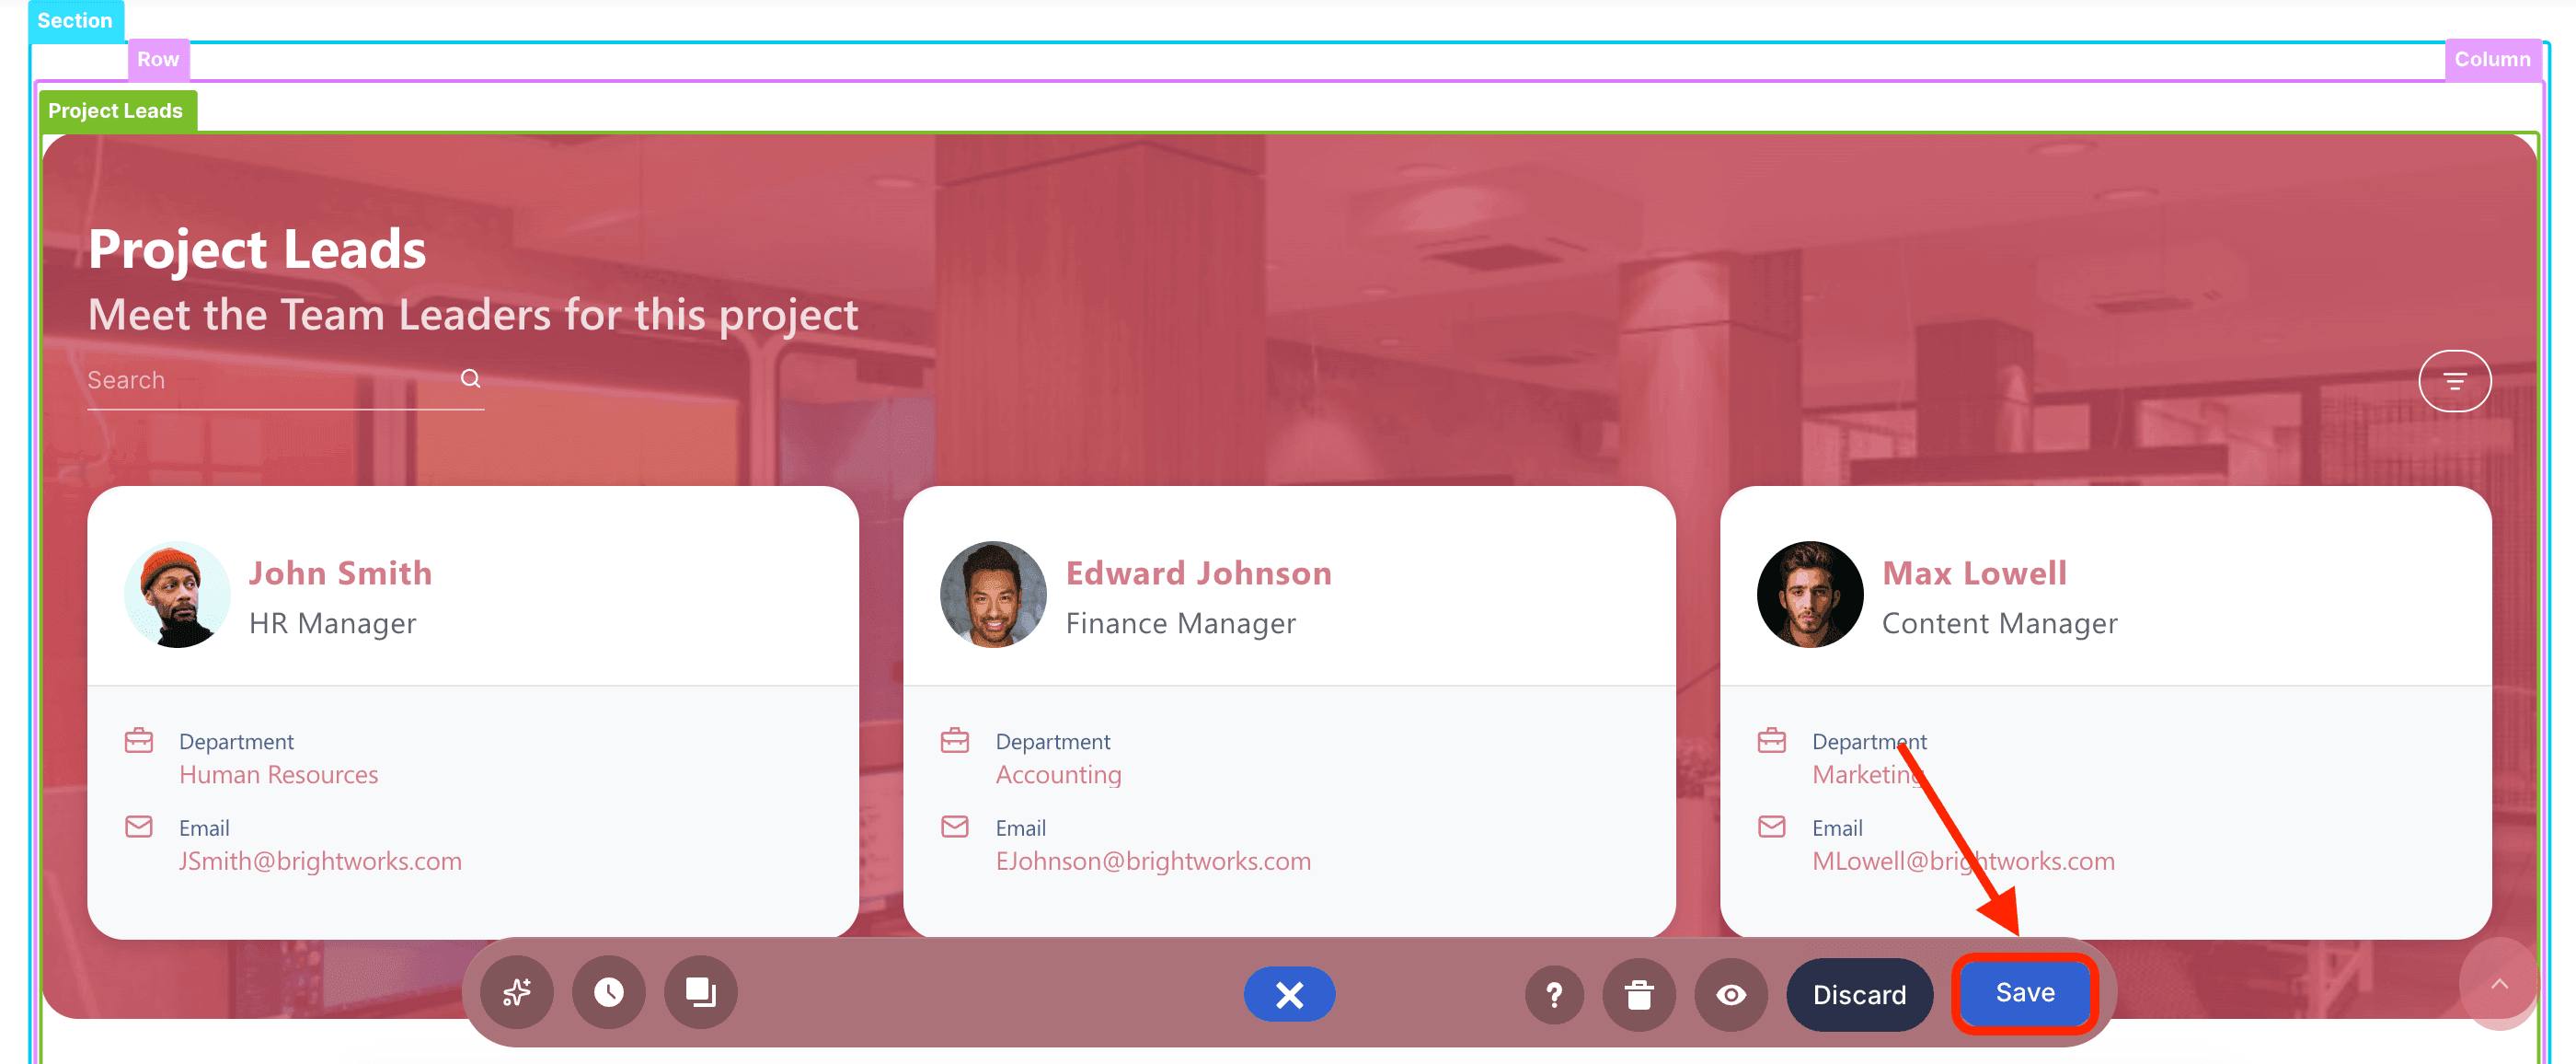
Save your page:
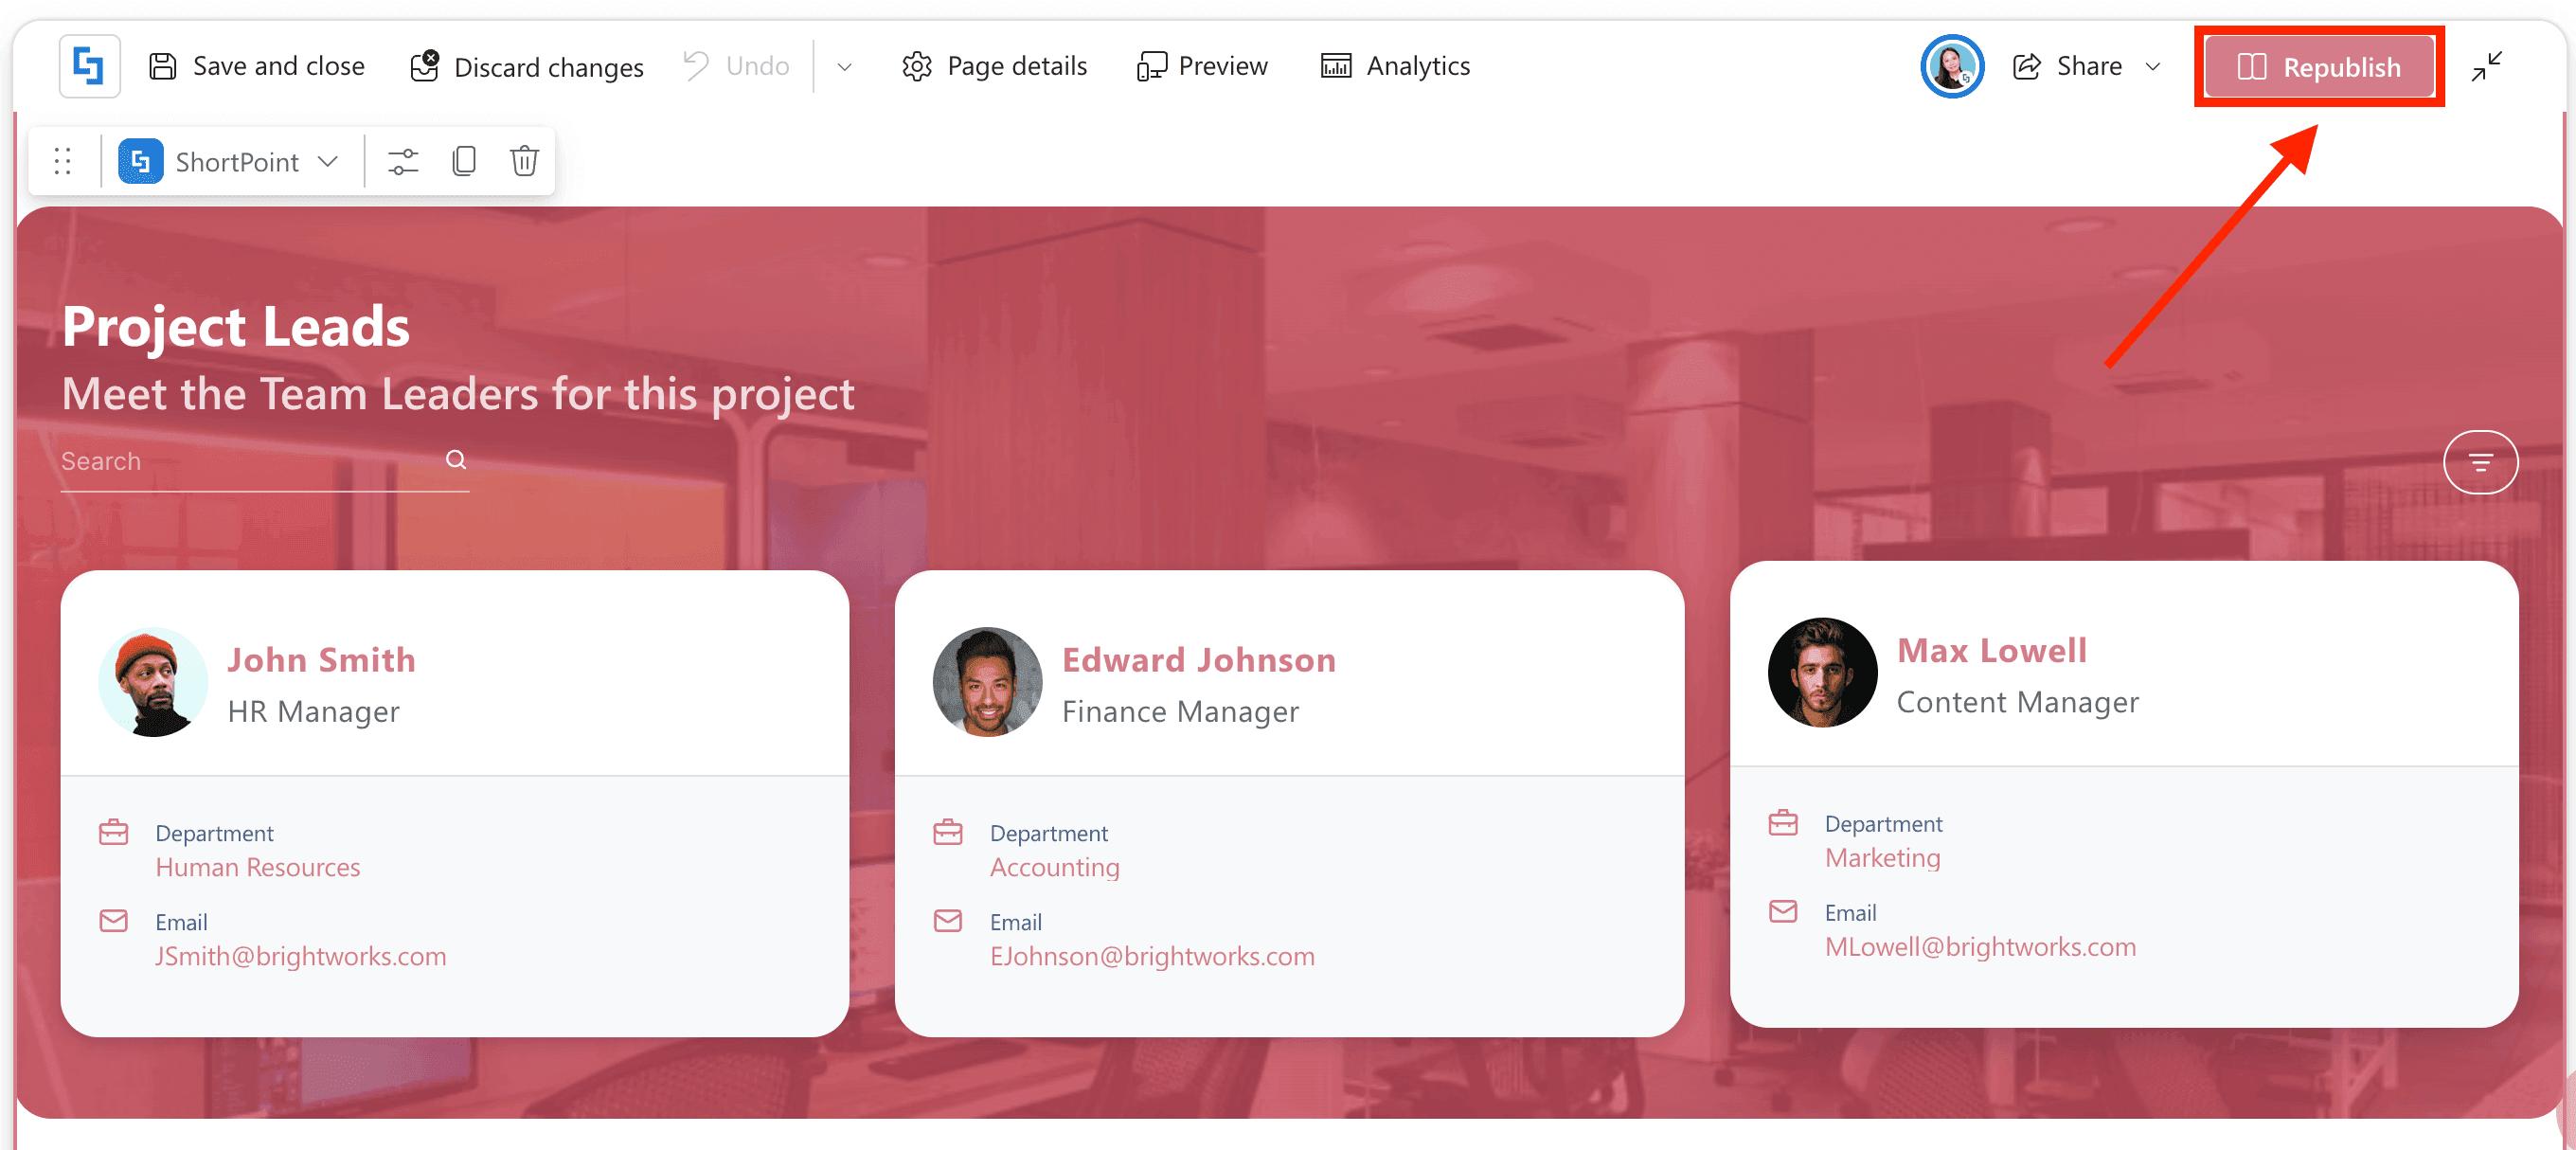
Publish your page:
Congratulations! You’ve successfully added editable Custom Design Elements to your SharePoint page.
Practical Use Cases
Using content placeholders bridges the gap between ShortPoint Designers who set up brand guidelines and layouts and those who publish news and updates. Here are some common ways to use them:
Standardized Department Announcement Cards
Create custom announcement cards for departments in your organization. Insert %%Header%% and %%Message%% into the text areas. ShortPoint Designers in charge of a particular department can add this card to their page and quickly type in weekly updates without worrying about font sizes, line heights, or color codes.
Custom Call-To-Action (CTA) Banners
Design an eye-catching CTA block complete with background overlays, buttons, and custom padding. Place %%Banner_Text%% inside the main heading. ShortPoint Designers can reuse this banner across multiple SharePoint sites while tailoring the message for specific campaigns or announcements.
Team Member & Directory Profiles
Build a uniform bio card layout containing an image slot and text fields for %%Name%%, %%Role%%, and %%Bio_Summary%%. ShortPoint Designers can quickly fill in employee details on directory pages while guaranteeing every profile card maintains the same dimensions and visual weight.
Alert & Notice Boxes
Set up color-coded alert templates (e.g., Critical Alert, IT Maintenance, General Notice). Using %%Alert_Details%% allows ShortPoint Designers to publish urgent news in seconds simply by picking the pre-designed alert element and typing the message.
Frequently Asked Questions
What is the %%name%% placeholder used for?
The %%name%% placeholder is a dynamic syntax used inside ShortPoint Generator to unlock specific fields in Custom Design Elements, making them editable directly on SharePoint pages.
Can I use different words instead of "name" in the placeholder?
Yes, you can replace the word "name" with any word or phrase. Just wrap it in double percent signs, like %%Title_panel%%, and it will become an editable input field.
How do I add editable fields to a Custom Design Element?
You add %%name%% placeholders to the fields of your design elements within ShortPoint Generator. These placeholders turn those fields into editable inputs when the element is added to a SharePoint page.
Can I use multiple editable placeholders in one custom element?
Yes, you can add as many placeholders as needed, such as %%Card_Title%%, %%Card_Subtitle%%, and %%Card_Body%%, each creating a separate editable input.
How do I add a Custom Design Element with editable fields to a SharePoint page?
Edit the SharePoint page, open the ShortPoint web part, click the plus icon, select your editable Custom Design Element from the library, fill in the editable fields, and then save and publish the page.
Who benefits from using editable Custom Design Elements?
ShortPoint Designers can set up brand-consistent templates with editable placeholders, allowing content publishers to easily update text and other fields without worrying about design or formatting.
Related articles: