 Try ShortPoint now
If you've ever wanted to pull data from a SharePoint Online list, library, or SharePoint calendar that lives on a completely different site collection, you're in the right place. ShortPoint's SharePoint Site URL connection type makes it simple to reach across your SharePoint environment and bring content from other sites directly into your pages.

TABLE OF CONTENTS
- Prerequisites
- What is the SharePoint Site URL Connection Type?
- Interactive Tutorial
- Step-by-step Tutorial
- SharePoint Site URL Connection Features
- Practical Use Cases
- Create Dynamic Content with the SharePoint Site URL Connection
- Frequently Asked Questions
- What do I need before I can use the SharePoint Site URL connection?
- How do I know what URL to use?
- What if I get an error saying ShortPoint couldn't connect to the site?
- Can I connect to a specific list or library, or just to the entire site?
- Will the data update automatically, or do I need to refresh it manually?
- Can I filter or limit the number of items displayed?
- Is this different from the "Current Site" connection type?
- Do I need to know how to code to set this up?
- What happens if the source list or library is deleted or if my permissions change?
- Can I connect to lists from multiple sites on the same page?
Prerequisites
- You have the latest version of ShortPoint SPFx installed (version 8.7.2.0 and up) on your SharePoint environment.
- You are a ShortPoint Designer with an active license.
- You must have the ShortPoint Design Element you want to use to connect on your page.
- You must have access to the SharePoint List/ Library / Calendar you want to connect to.
- You must already have the URL of the SharePoint site where the SharePoint List/ Library / Calendar you'll use is located. For example, it might look like https://yourcompany.sharepoint.com/sites/Engineering.
What is the SharePoint Site URL Connection Type?
Have lots of content on different SharePoint site collections? The SharePoint Site URL connection type is a must-have for you! It's one of several connection options available in ShortPoint Connect, and it's specifically designed for those times when the content you need isn't sitting on your current site.

This connection type lets you link ShortPoint Design Elements to site assets on other sites by simply providing a SharePoint URL or site address.

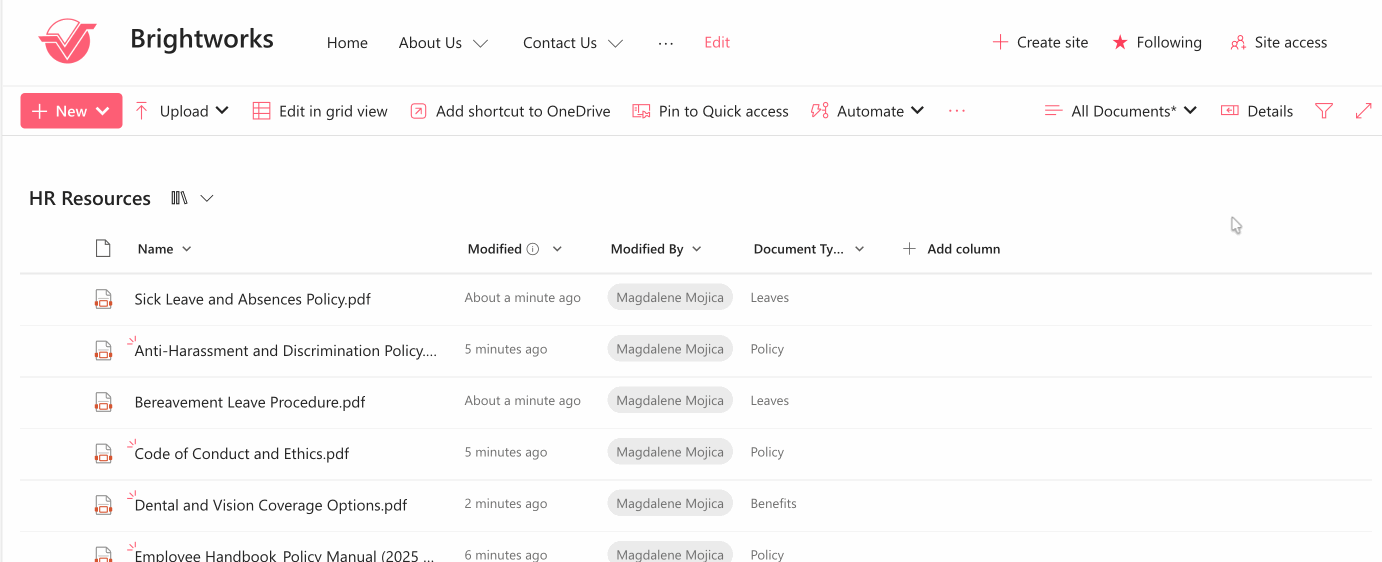
Take this Document Library as an example. All you have to do is take note of the site URL of the SharePoint site where it's located and paste it into the connection.
Once it's connected, your Design Element automatically pulls in and displays data from those remote lists or libraries, keeping everything synchronized in near real-time without any manual updates on your part. The best part? You can even link it to the source file or page.

Interactive Tutorial
Click Get Started to learn how to use the SharePoint Site URL connection type and establish a secure connection.
NOTETo learn more about the Connect Feature and Items Mapping, check out Basic Tutorial: How to Establish Seamless SharePoint Connection with ShortPoint Connect.
Step-by-step Tutorial
Learn how to use the SharePoint Site URL connection type to connect to SharePoint data from another SharePoint site within your Microsoft 365 environment.
Step 1: Edit the ShortPoint web part
- Go to the SharePoint page you want to use and click Edit:

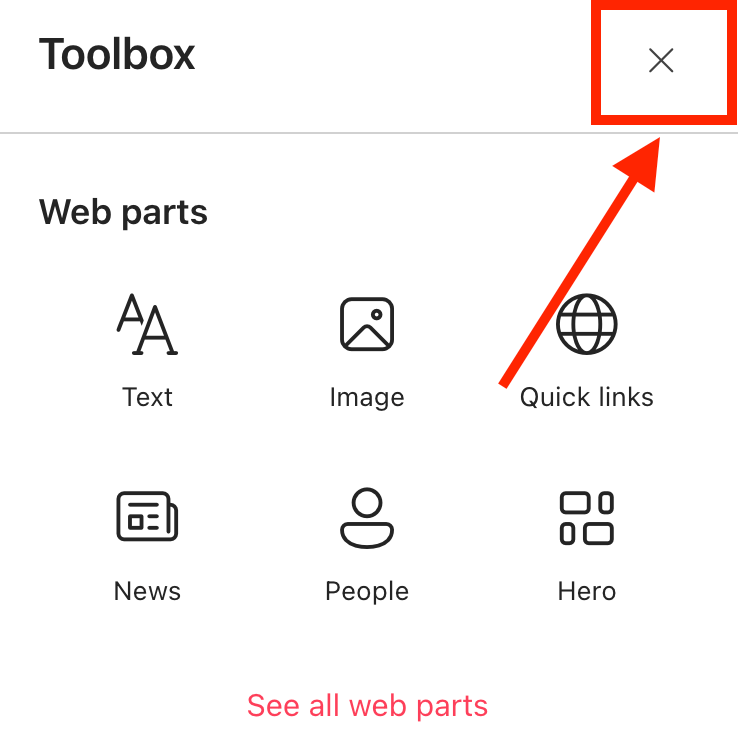
- Close the Toolbox:
- Edit the ShortPoint web part:

Step 2: Edit the Design Element
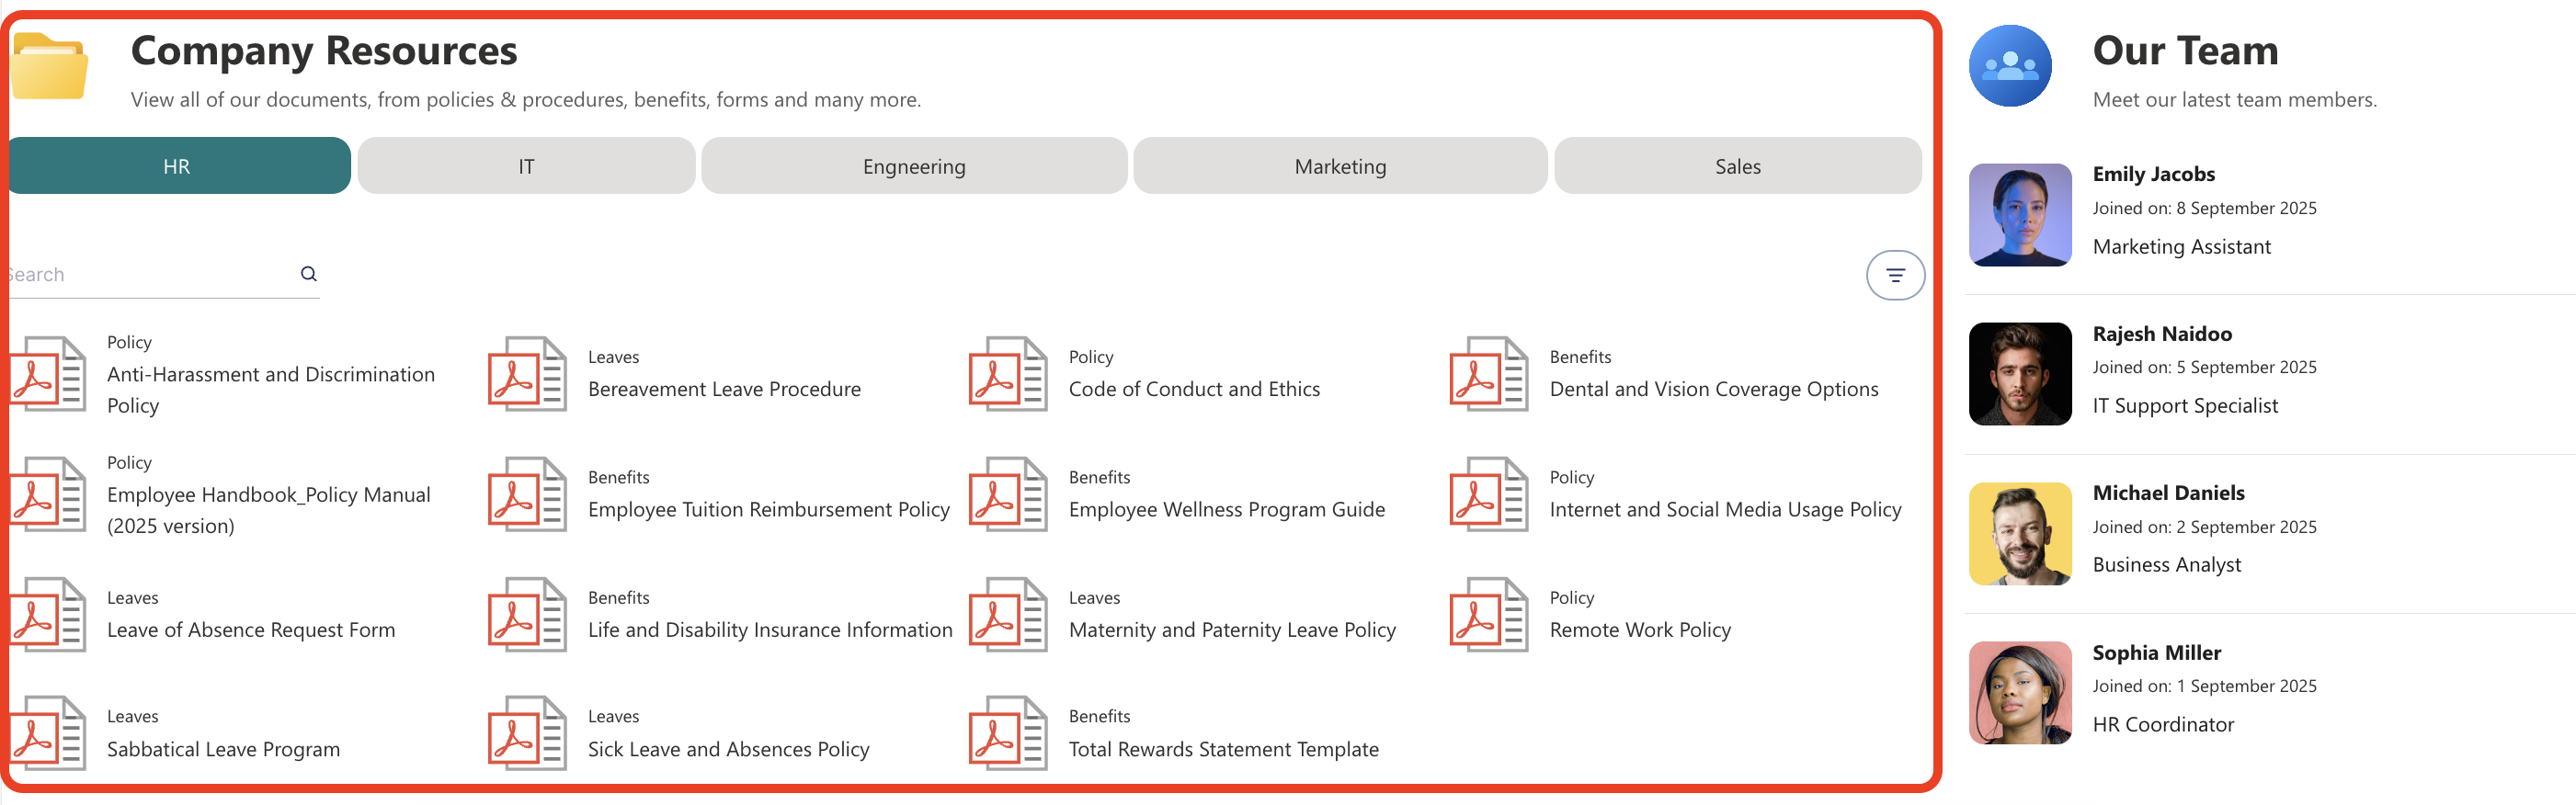
NOTEBefore proceeding, you must already have the Design Element you want to use to connect on your SharePoint page. You can use any Design Element you prefer, but we recommend using Design Elements that allow listing of multiple items, including Simple List, Image List, Icon List, and so much more. For this guide, we'll use File List.
- Click the EasyPass tag of the Design Element you want to use to connect:

- Select the cogwheel icon:

Step 3: Connect using the SharePoint Site URL connection type
- Go to the Connect tab.
- Click Configure:

- Select SharePoint Site URL:

- Paste the URL of the SharePoint site where your SharePoint List / Library / Calendar is located and select Fetch Lists:

- Click the List / Library drop-down and look for the name of your SharePoint List / Library / Calendar.
- If you have created a custom view, click the View drop-down to select your preferred view.
- (Optional) In the Items Limit field, write the maximum number of items you want to be displayed on your connected Design Element.
- Then, click Connect to establish the connection.
NOTEGo to the SharePoint Site URL Connection Features to learn more about the options you can modify.
Step 4: Map Items to display
- Go to the Items tab.
- Delete all default content:

- Click the link icon to choose the properties you want to display. You can map any property you prefer. Just take note that the properties you can map depend on the information in your SharePoint List / Library / Calendar.
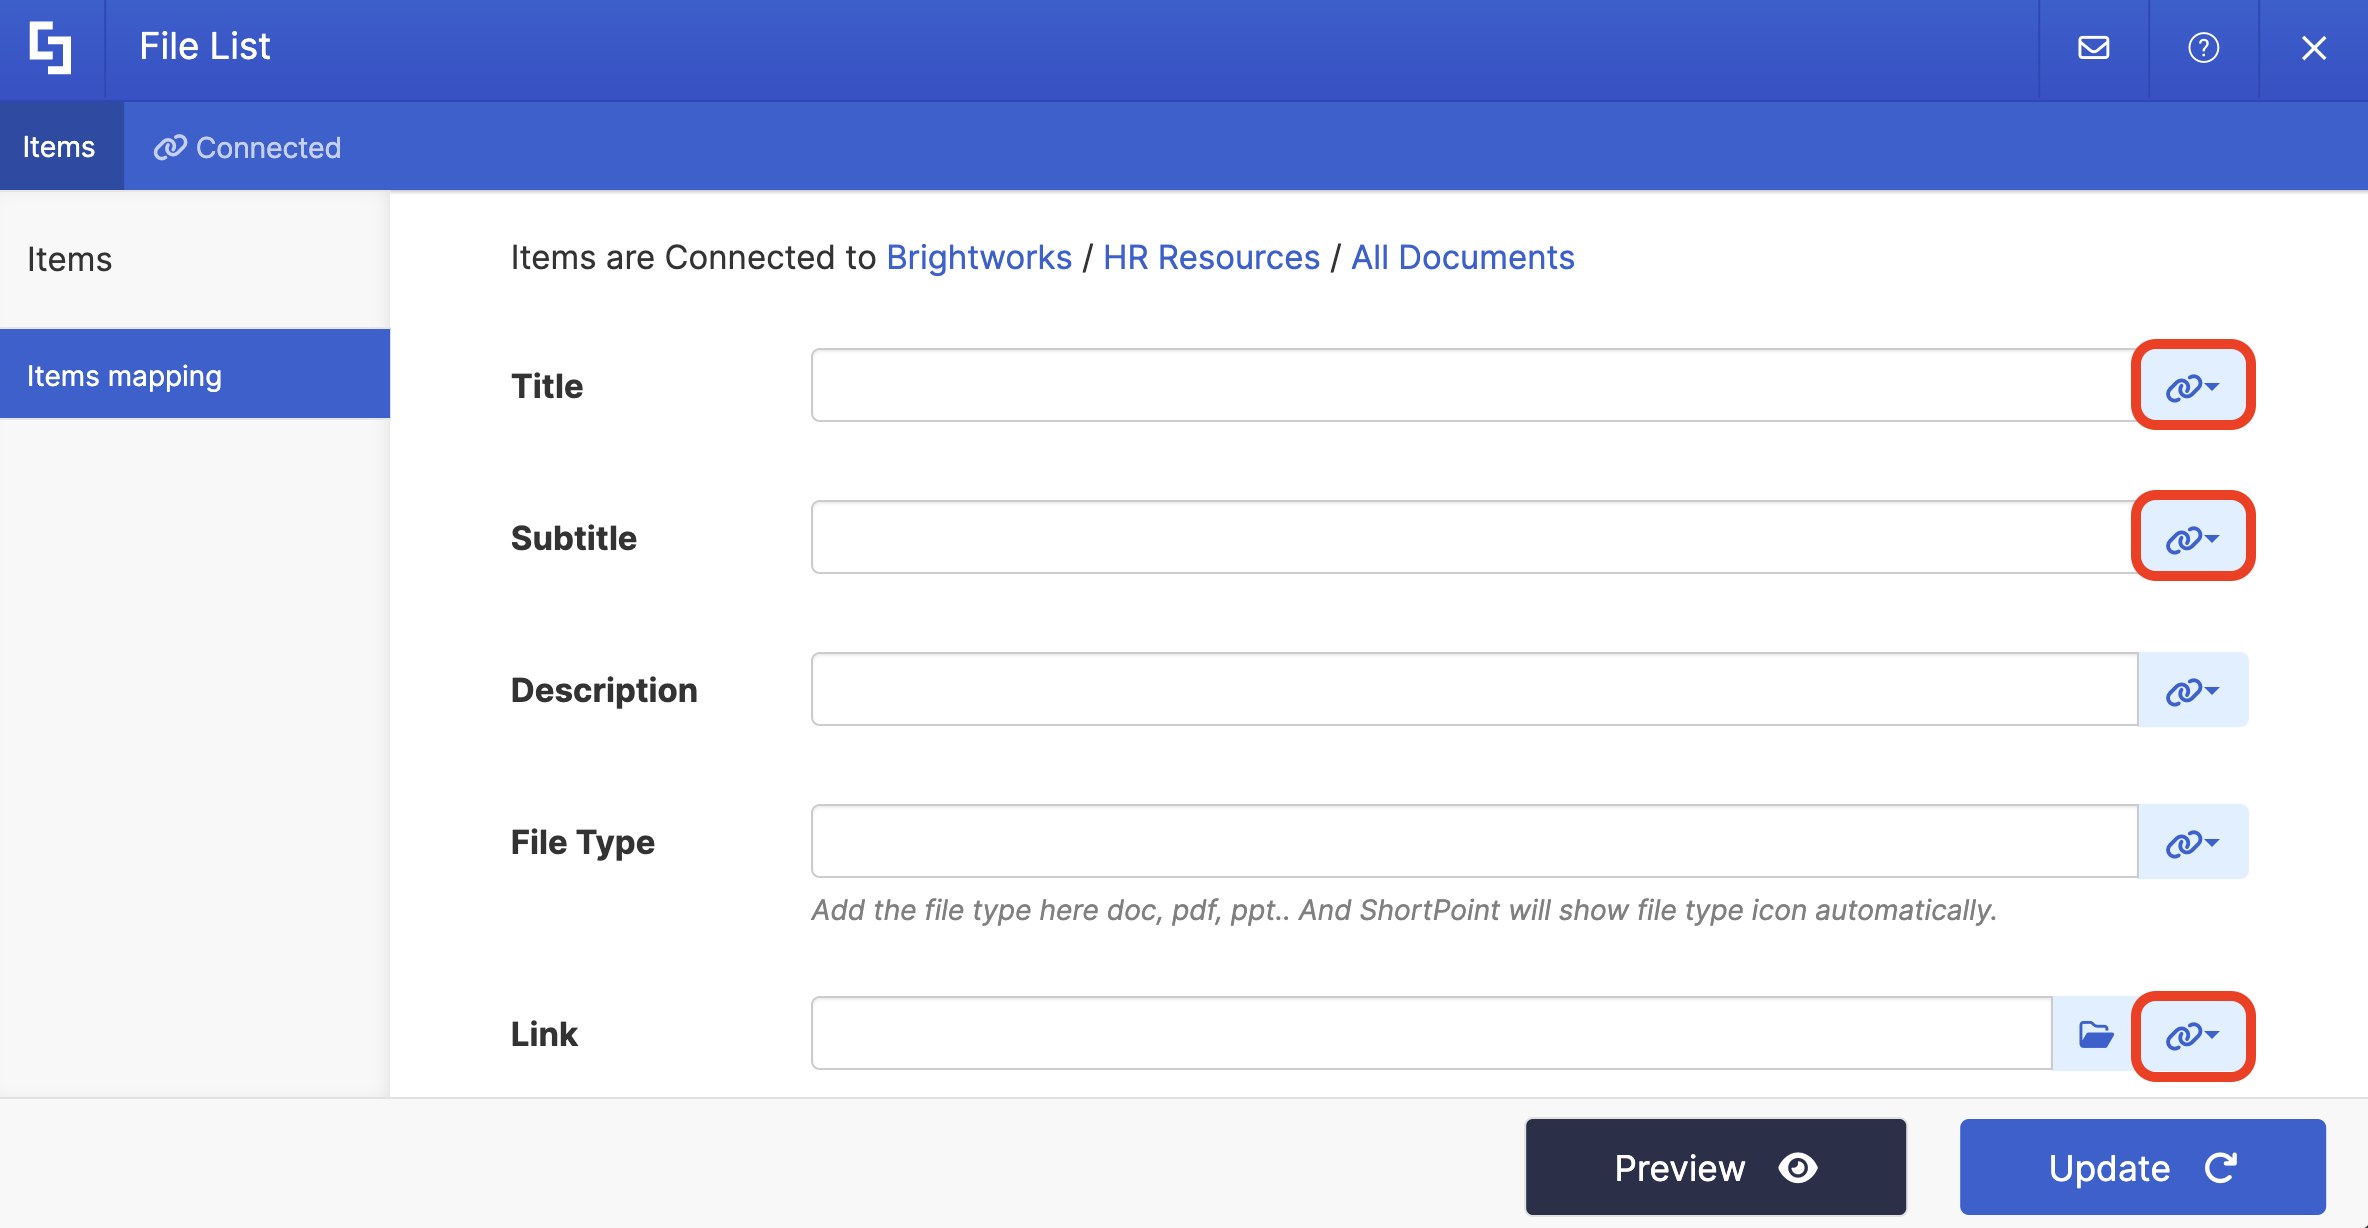
- Here’s an example of our mapped properties:
- #BaseName - shows the information inside our Document Library’s Name column.
- #DocumentType - shows the information inside our Document Library’s Document Type column.
- #FileRef - links the file to the source.

NOTETo learn more about the Connect Feature and Items Mapping, check out Basic Tutorial: How to Establish Seamless SharePoint Connection with ShortPoint Connect.
Step 5: Update and Save
- Click Preview to see how the Design Element will look on your page.
- Once satisfied, click Update.
- Select the green checkmark.
- Then, click the eye icon to see how your page will look in real-time:

- Save your changes:

Congratulations! You can now use SharePoint URLs to connect SharePoint lists, libraries, or calendars within your SharePoint environment securely and efficiently.
TIPDrowning in a sea of files? The Search & Filter Toolbar is your lifesaver! With it, you can find the information you need in seconds. Check out Getting Started: The Basics of the Search & Filter Toolbar to give it a try.
SharePoint Site URL Connection Features
What can you customize within the SharePoint Site URL connection? We’ve created a handy list of all its features and connection information.
 | Site URL | allows you to paste the URL of the SharePoint site where your SharePoint List, Document Library, or SharePoint calendar is located. Make sure to click Fetch List after pasting the URL. |
 | List / Library | allows you to look for the name of the SharePoint List, Document Library, or SharePoint calendar you want to connect to. |
 | View | allows you to choose the name of the custom view you created for your SharePoint List, Document Library, or SharePoint calendar. |
 | Items Limit | allows you to set the maximum number of items to display. If this is left blank or is set to 0, all items will be shown. |
 | Convert HTML to Plain Text | when enabled, this option will convert all the HTML data to plain text. |
ADVANCED SETTINGS
 | Enable Advanced Settings | when enabled, advanced settings will be displayed. |
 | Custom headers | allows you to append custom header parameters using JavaScript. Learn more about the Custom Headers function. |
 | Change Parameters | allows you to pass parameters to the URL with JavaScript. Learn more about the Change Parameters function. |
 | Change Path | allows you to modify the Service URL Path using JavaScript. Learn more about the Change Path function. |
 | Map Results | If your API doesn't return an array of result items (which ShortPoint expects), you can use this function to transform the data into the proper format for ShortPoint. Learn more about the Map Results function. |
PERFORMANCE AND CACHING
 | Enable Partial Loading | This feature comes enabled by default. It allows partial loading to activate automatically when the connection returns more than 20 results. Additional results will load as the user scrolls. Learn more about the Partial Loading function. |
 | Cache Options | allows you to choose from 3 caching options. Learn more about these caching options and how to improve ShortPoint performanceon your SharePoint sites.
|
Practical Use Cases
This connection type shines in several common workplace scenarios. Here are some practical examples of when you might reach for it to connect SharePoint data across different SharePoint sites.
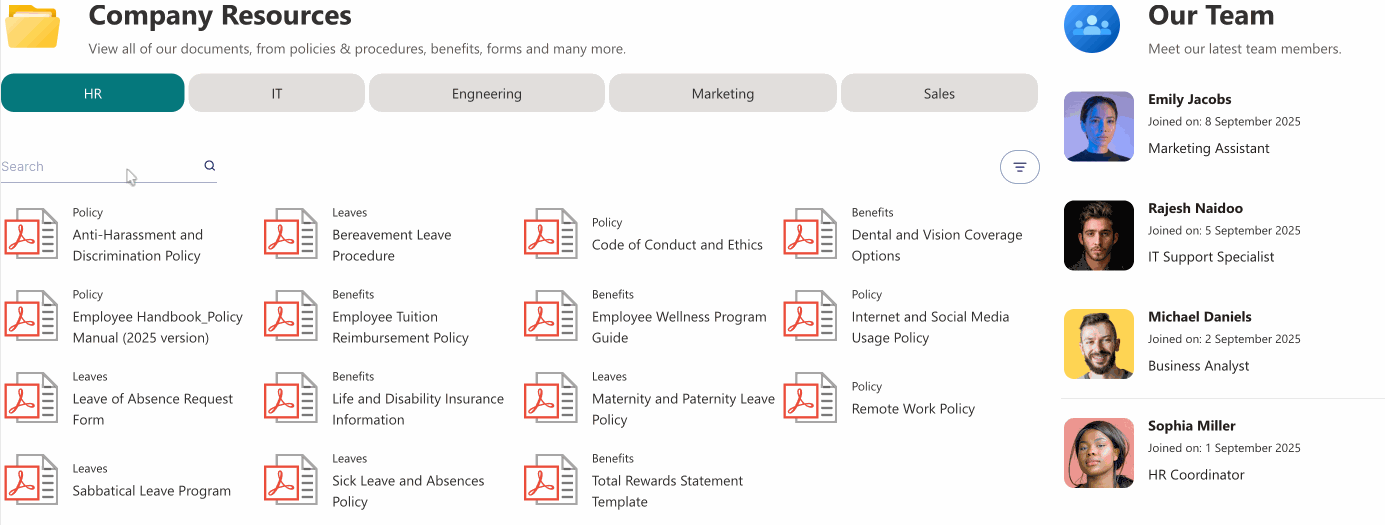
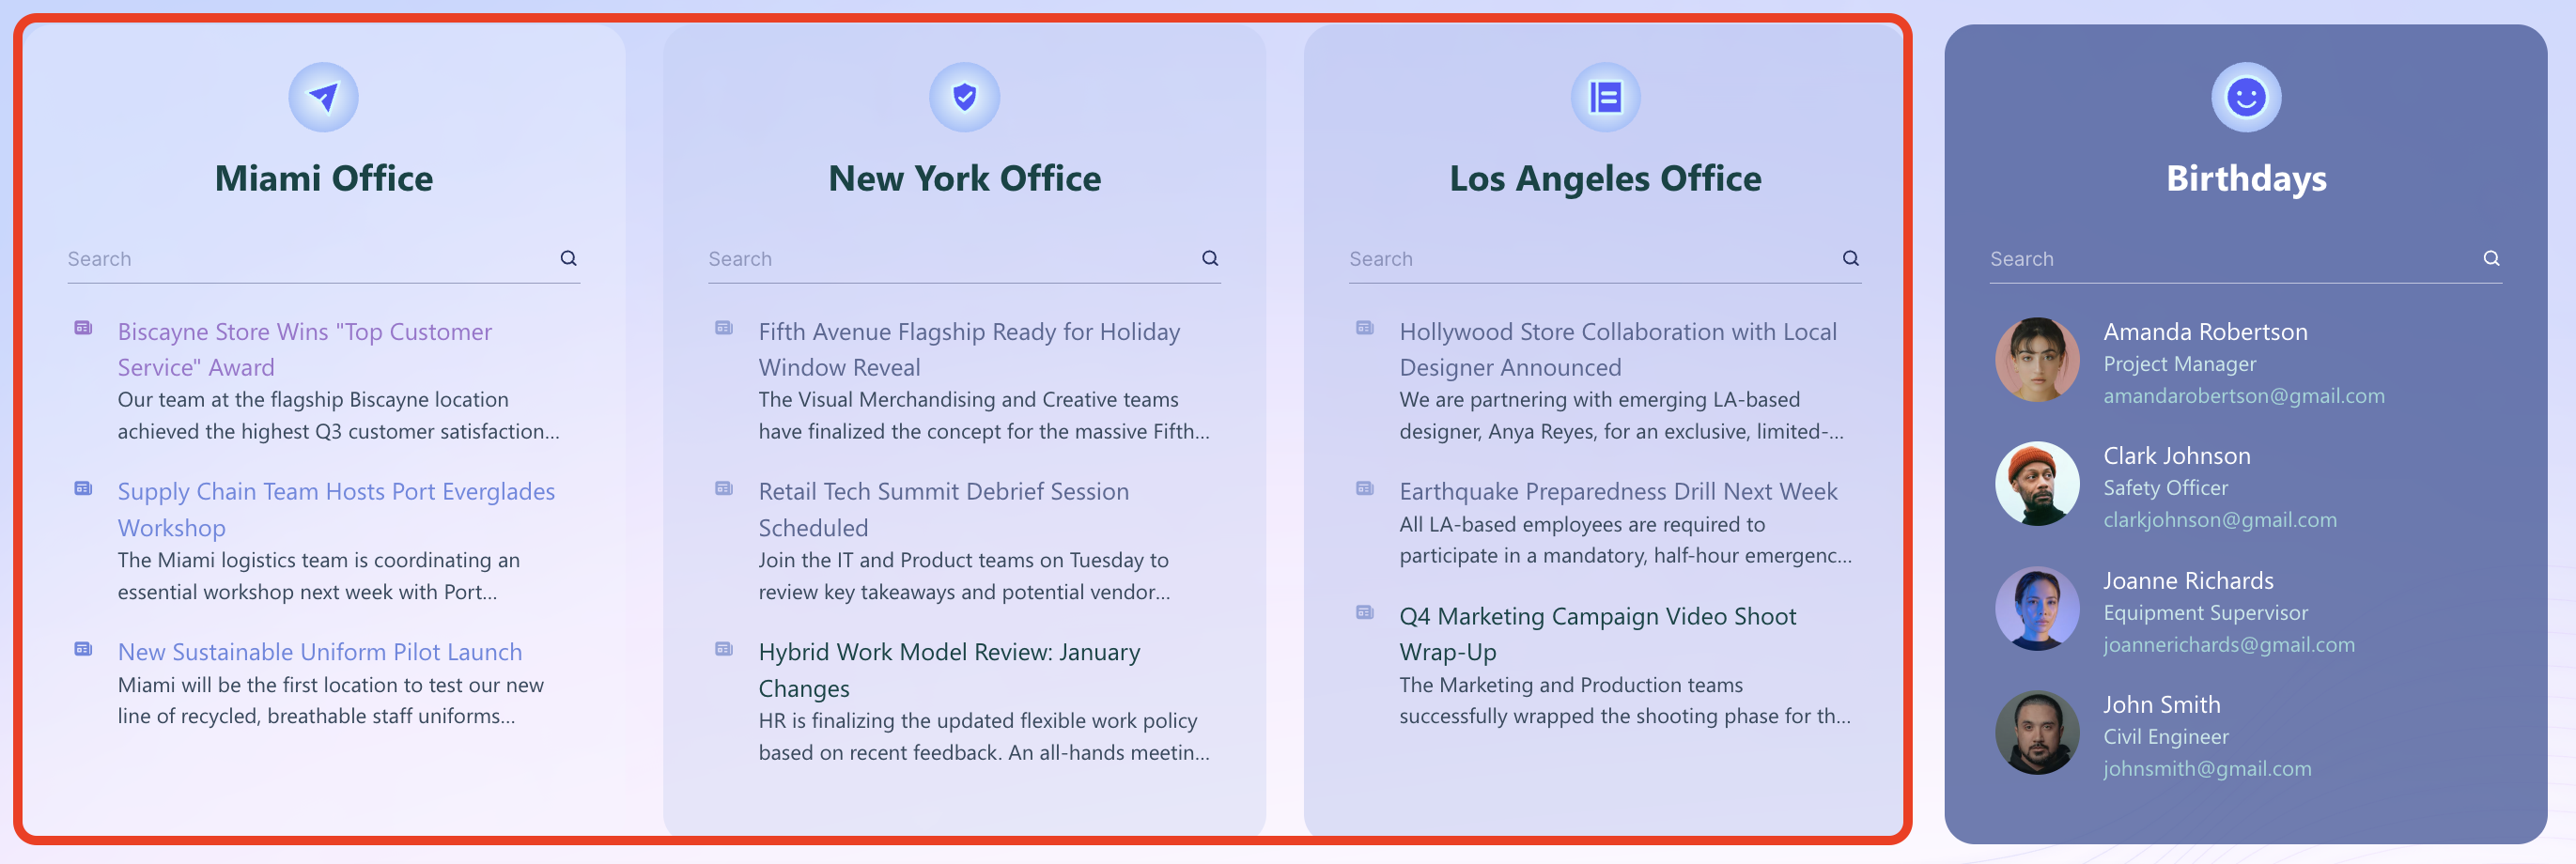
Creating a Centralized Company Dashboard
Imagine you're building a company-wide dashboard on your main intranet hub. You want to display the latest projects from the Engineering site, upcoming events from the HR site, and key meetings from the Marketing site—all in one place. The SharePoint Site URL connection makes this possible by pulling each data set from its home location while presenting it in a unified view. This method allows you to connect SharePoint data across different SharePoint sites and folders securely.

Building A Central Hub For Corporate Resources
Perhaps you're managing a central site and need to display corporate policies or shared resources from different departments. Instead of duplicating content or asking users to navigate to multiple sites, you can connect SharePoint data directly to your page.
Showcasing Regional or Office-Specific Content
If your organization has multiple regional or office sites, you might want to create a page that highlights what's happening across all locations. Connect to each regional SharePoint site and display their news, events, or achievements side by side.
NOTEThe key requirement for all these scenarios is that you have the appropriate permissions to view the content on the source sites. ShortPoint respects SharePoint's security model, so you'll only be able to connect to and display content you're authorized to access.
Create Dynamic Content with the SharePoint Site URL Connection
The SharePoint Site URL connection type opens up a world of possibilities for creating connected, dynamic SharePoint pages that bring together information from across your organization. Whether you're building a company dashboard, a project portal, or simply need to connect SharePoint content from another team's site, this feature makes it straightforward to connect your content and keep it automatically updated.
Interested in trying out this robust SharePoint connection? If you're already a ShortPoint Designer, our interactive tutorial will walk you through the setup. For those new to ShortPoint, we invite you to start a FREE 15-day trial and explore all the features at your own pace. No strings attached. Prefer a guided experience? Book a one-on-one demo with our experts to see the SharePoint Site URL connection in action.
Frequently Asked Questions
What do I need before I can use the SharePoint Site URL connection?
You'll need a few things in place: the latest version of ShortPoint SPFx installed on your SharePoint environment, an active ShortPoint Designer license, and view permissions for the site collections you want to connect to SharePoint. You'll also need existing lists or libraries on those other sites that contain the data you want to display.
How do I know what URL to use?
Simply navigate to the SharePoint site that contains the list or library you want to connect to, and copy the site URL from your browser's address bar. That's the URL you'll paste into the connection settings. For example, it might look like https://yourcompany.sharepoint.com/sites/Engineering.
What if I get an error saying ShortPoint couldn't connect to the site?
This usually happens for one of two reasons: either the URL isn't a valid SharePoint site URL, or you don't have the necessary access permissions to that site. Double-check that you've copied the complete site URL and verify with your SharePoint administrator that you have at least read access to the site.
Can I connect to a specific list or library, or just to the entire site?
You connect to the SharePoint site first, and then ShortPoint shows you all the lists and libraries available on that site. You can then choose exactly which list or library you want to pull data from, giving you precise control over your connection and access to the desired document library or folder.
Will the data update automatically, or do I need to refresh it manually?
One of the best features of ShortPoint Connect is that once you've established the connection and mapped your items, the data updates automatically. Your content syncs in near real-time with the source, so you don't have to worry about keeping information current or having to manually refresh it.
Can I filter or limit the number of items displayed?
Absolutely! When setting up your connection, you can choose a specific view if you've created custom views for your list or library, and you can set an item limit to control how many items appear in your design element.
Is this different from the "Current Site" connection type?
Yes, the Current Site connection type is specifically for connecting to lists and libraries on the same SharePoint site where you're building your page. The SharePoint Site URL connection type is what you use when you need to reach content on a different site collection altogether, and you have the site URL or site address of that SharePoint site.
Do I need to know how to code to set this up?
Not at all. The entire process is handled through ShortPoint's visual interface. You'll paste a site URL, select from dropdown menus, and use a simple point-and-click interface to map which data fields you want to display. No coding or JSON manipulation required. This makes it easy to connect SharePoint data without any technical expertise.
What happens if the source list or library is deleted or if my permissions change?
If the source content is no longer available or your access permissions are revoked, the design element won't be able to display the data. It's a good practice to monitor your connections and ensure the source content remains accessible to the users who need to see it, especially when dealing with multiple SharePoint sites or document libraries.
Can I connect to lists from multiple sites on the same page?
Yes! You can add multiple ShortPoint design elements to a single page, and each one can connect to SharePoint data from a different SharePoint site or document library. This is perfect for creating comprehensive dashboards that aggregate information from across your organization.
Related articles:
