 Try ShortPoint now
There's something almost universally exciting about countdowns. Whether you're ticking down to a company-wide product launch, an annual all-hands meeting, or the last day of open enrollment, a live event countdown timer communicates one thing instantly: this matters, and it's coming soon. ShortPoint's Countdown Design Element brings that same energy straight to your SharePoint intranet pages — no coding required.

This guide covers what the Countdown Design Element is, what it can do, four real-world ways teams are using it today, and answers to the most common questions that come up when setting it up.
TABLE OF CONTENTS
- Prerequisites
- What Is the ShortPoint Countdown Design Element?
- Interactive Tutorial
- Step-by-step Tutorial
- Countdown Features
- Countdown Styles
- Practical Use Cases
- Start Designing with the Countdown Design Element
- Frequently Asked Questions
- Can the countdown update automatically when a SharePoint event date changes?
- Can it count up instead of counting down?
- My countdown is showing "NaN" instead of numbers — what's wrong?
- Can I control which users or devices see the countdown?
- Can I customize the appearance beyond the built-in styles?
- Do I need a developer or IT support to set this up?
Prerequisites
- You have the latest ShortPoint public version installed for your environment
- You are a ShortPoint Designer with an active license
What Is the ShortPoint Countdown Design Element?
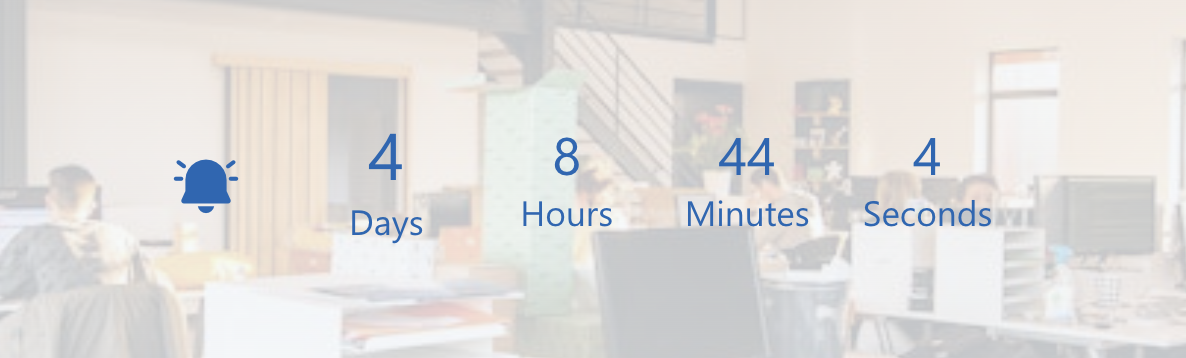
The Countdown Design Element is a visual countdown timer web part you can drop onto any SharePoint page using ShortPoint.
At its core, it displays how many days, hours, minutes, and seconds remain until a date you specify. But it's more flexible than a simple countdown clock — it can also count up from a date, making it useful for tracking elapsed time, not just approaching deadlines.
Interactive Tutorial
Start the interactive tutorial to learn how to use the Countdown Design Element:
NOTETo learn more about the features you can customize for Countdown, check out Countdown Features.
Step-by-step Tutorial
Follow the steps below to learn how to customize the Countdown Design Element. You can set the event countdown timer with your preferred date and title to effectively track how many days remain until your important business event.
Step 1: Edit the ShortPoint Web Part
- Go to the SharePoint page you want to use and click Edit:

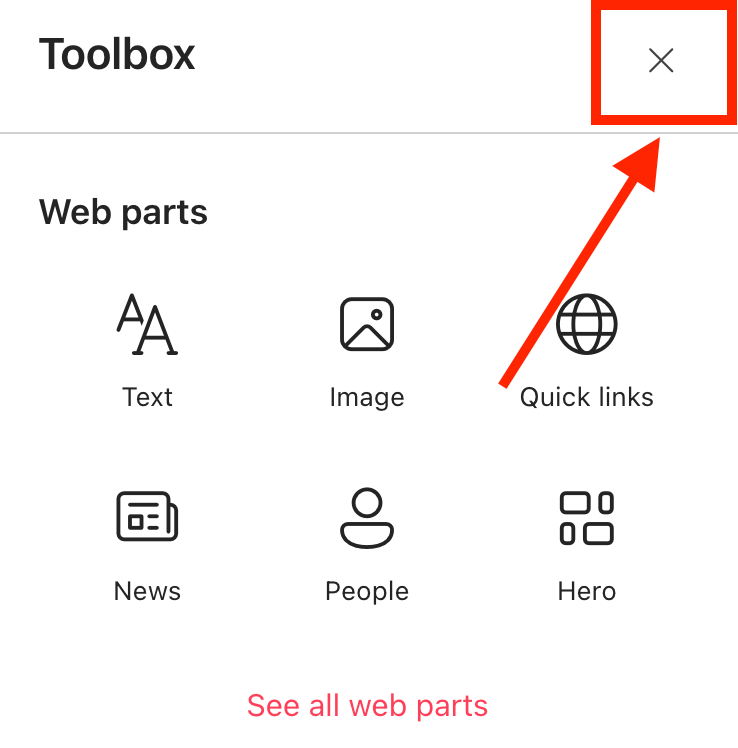
- Close the Toolbox:
- Click the Edit properties icon:

Step 2: Insert the Countdown Design Element
- Choose where you want to add the Countdown and click the plus icon:

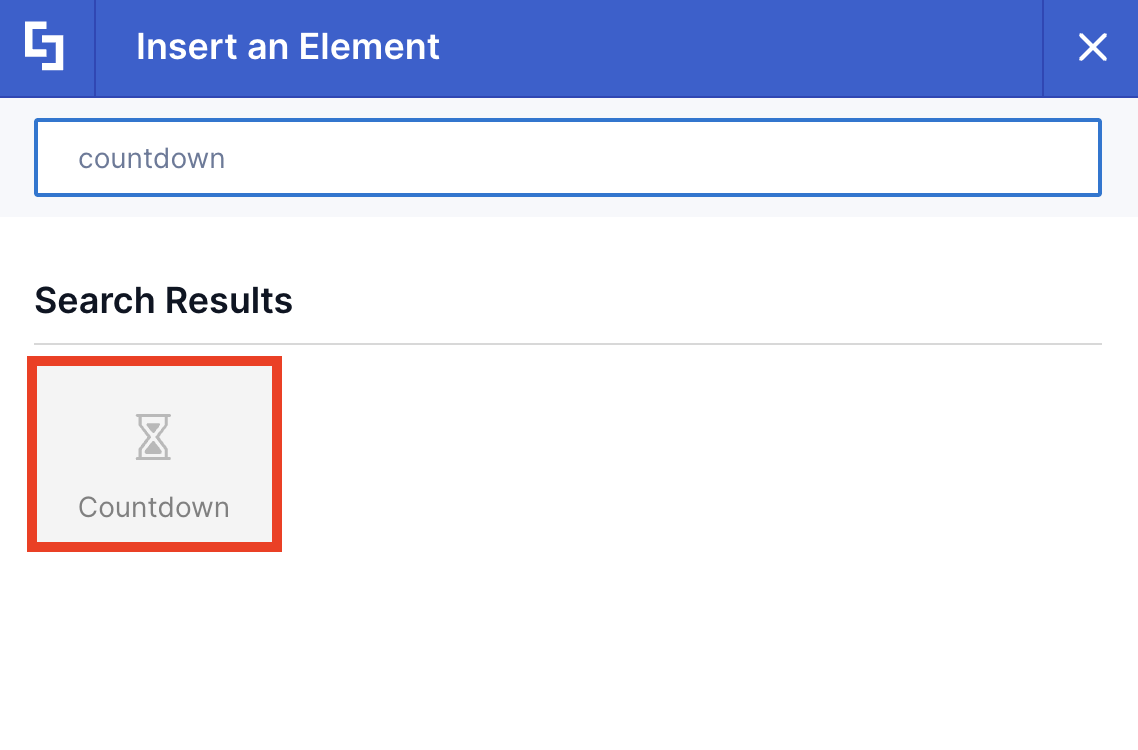
- Use the search box to look for Countdown and click it:

Step 3: Customize the Content
- Go to the Content tab.
- Add the day, month, and year of your target event
NOTETo learn more about the features you can customize for Countdown, check out Countdown Features.
Step 4: Customize the Design
- Go to the Design tab.
- Customize the look of the Countdown according to your preferences.
- Go to the Advanced tab.
- Modify the design even further.
- Once satisfied, click the green check mark.
NOTETo learn more about the features you can customize for Countdown, check out Countdown Features.
Step 5: Save
- Click the eye icon to see your page in real-time:

- Save your changes:

Congratulations! You can now create an event countdown timer using the Countdown Design Element, allowing you to easily track how many days are left until your important business event.
Countdown Features
There are many ways to customize the features of the Countdown Design Element. In the settings window, you will find the following tabs, each offering key options to customize your event countdown timer experience:
A. Content Tab
The Content tab is where you can edit the content inside the Countdown Design Element. Here are the options you can tweak:
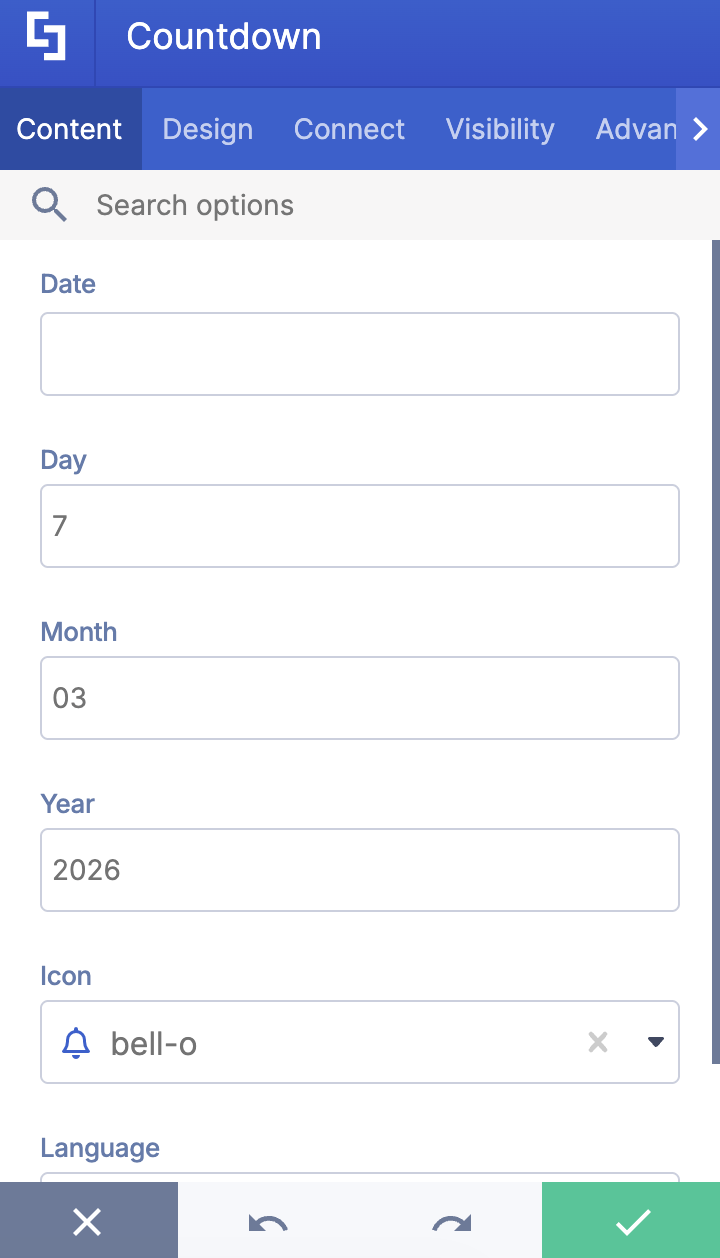
 | Date | allows you to add your preferred countdown date. The ideal format is MM/DD/YYYY. |
 | Day | add the day of your preferred countdown date. |
 | Month | add the month of your preferred countdown date. |
 | Year | add the year of your preferred countdown date. |
 | Icon | customize the icon found on your countdown. |
 | Language | choose the language you prefer to showcase on your countdown. |
B. Design Tab
You can modify the default design of the element in the Design Tab. Below are the settings you can configure:
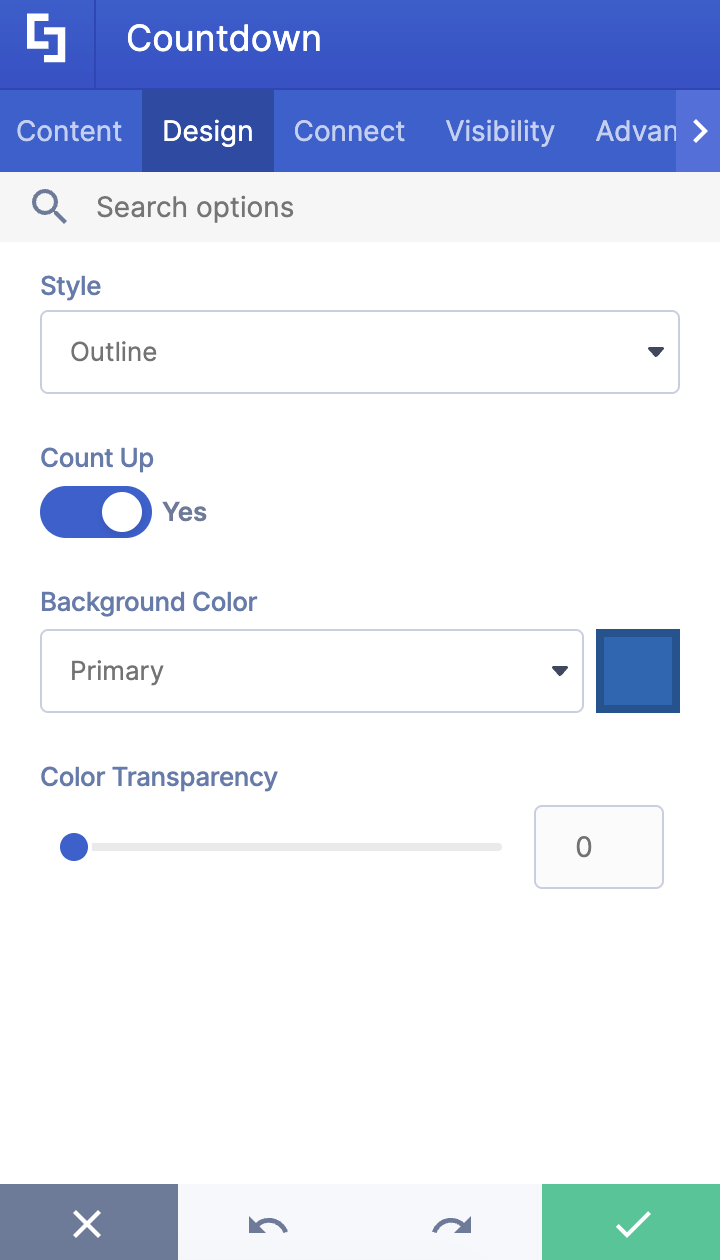
 | Style | customize the style of your countdown. You can choose from Default, Outline, Solid, or Transparent. Check out Countdown Styles to see how they look. |
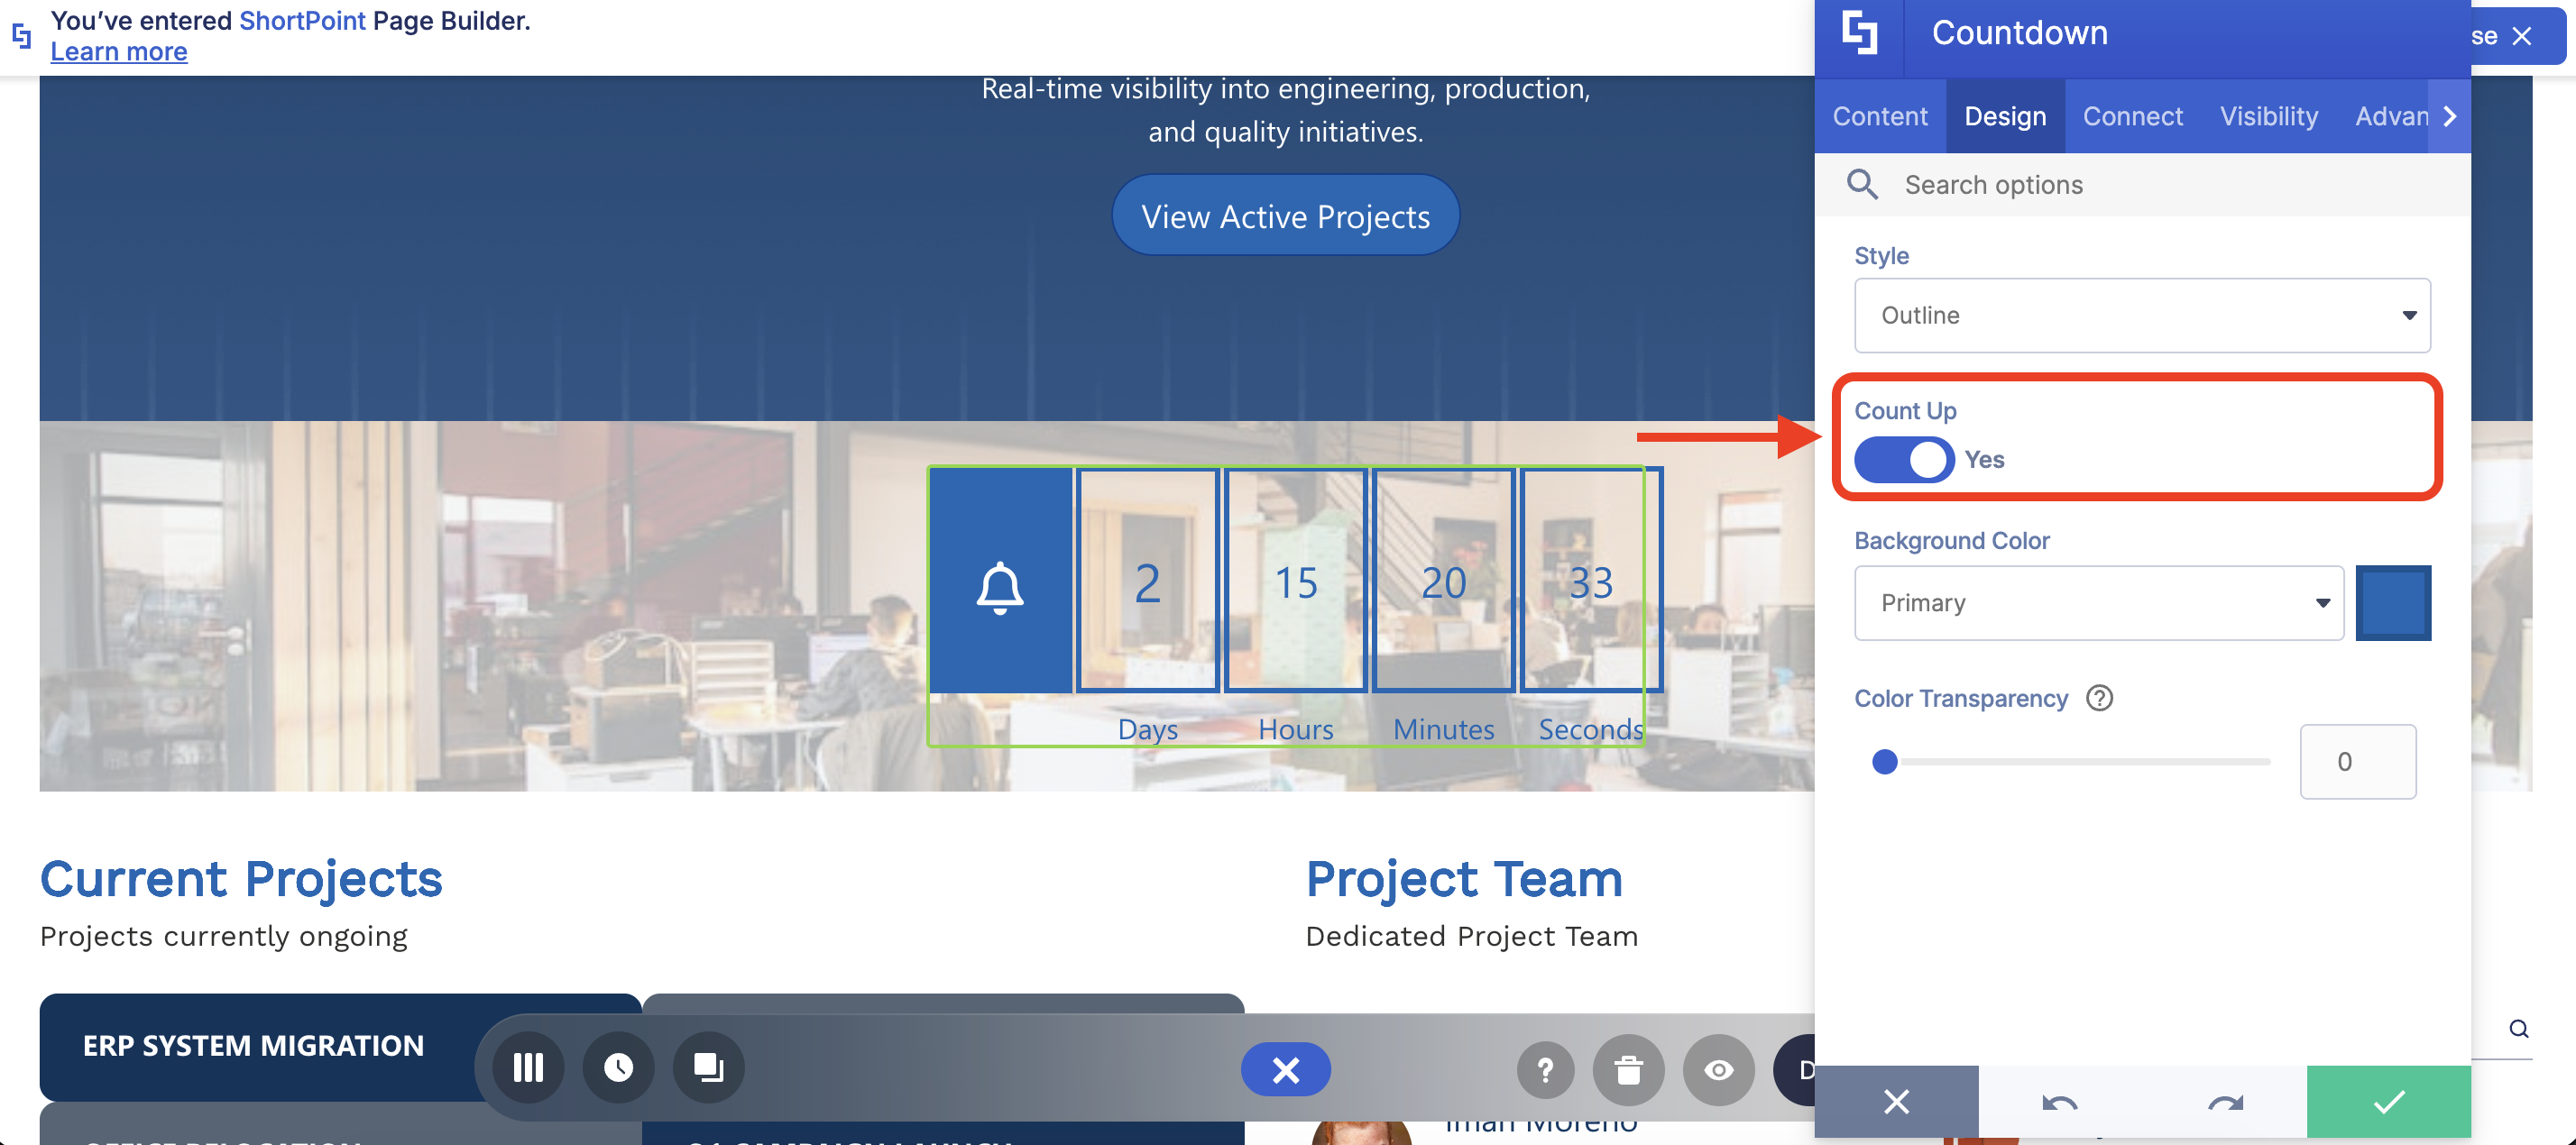
 | Count Up | allows you to create a countdown from a date in the past. |
 | Background Color | customize the primary color of your countdown. |
 | Color Transparency | adjust the transparency of the color you chose. |
C. Connect Tab
The Connect tab allows you to link the Design Element to SharePoint sources (List, Document Library, News, etc.) and other external sources (Microsoft Graph API, Teams, Outlook, etc.). For more details about ShortPoint Connect, check out Basic Tutorial: How to Establish Seamless SharePoint Connection with ShortPoint Connect.

D. Visibility Tab
The Visibility tab allows you to specify who can see the Design Element and what type of devices it can be shown on. For more details, check out How to Use the ShortPoint Visibility Feature for Effective SharePoint Access Management.

E. Advanced Tab
This tab allows you to further customize how the Countdown Design Element will appear on your page.

SETTINGS
 | Text Size | customize the size of the text inside the countdown. |
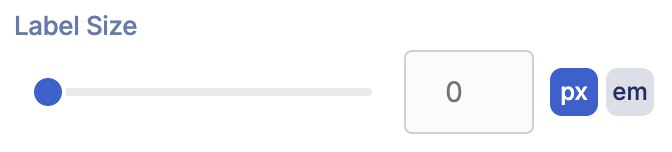 | Label Size | customize the text size of the label. |
 | Text Color | customize the color of the text. |
 | Icon Color | customize the color of the countdown. |
HIDE AND SHOW
 | Hide icon | allows you to hide the icon. |
 | Hide days | allows you to hide the days field. |
 | Hide hours | allows you to hide the hours field. |
 | Hide minutes | allows you to hide the minutes field. |
 | Hide seconds | allows you to hide the seconds field. |
F. Custom CSS Tab
This tab allows you to use your own CSS, HTML, and Javascript code to customize the Countdown Design Element.
NOTE: Check out our support article on How to Insert Custom CSS into a Page Builder Element (Basic Tutorial) to know more about Custom CSS.

Countdown Styles
The Countdown Design Element offers four exciting styles:
Default presents a clean, contemporary design where the icon sits in a solid-colored box on the left, while the countdown numbers appear in individual boxes with subtle gradient backgrounds.

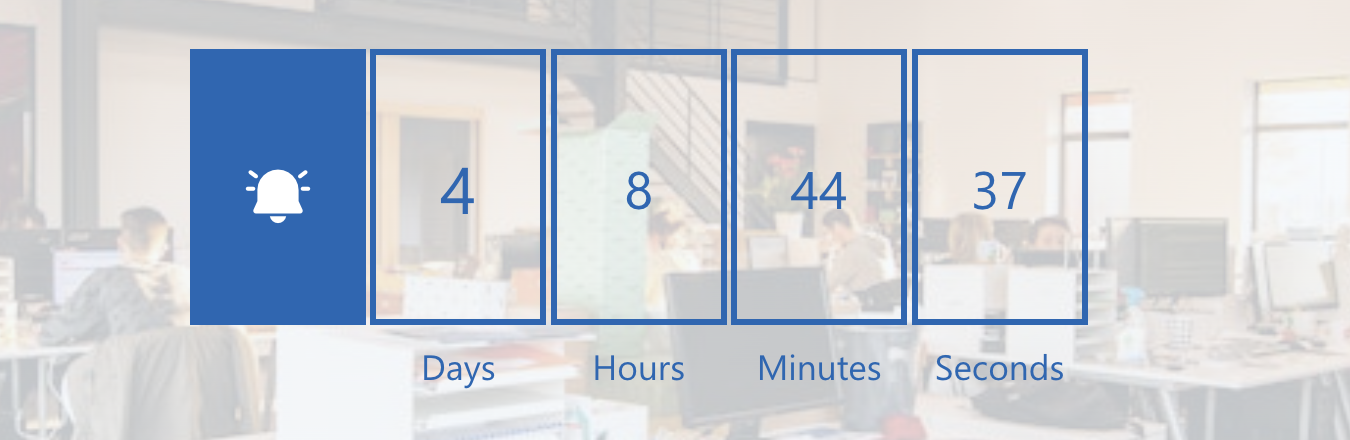
Outline keeps the solid-colored icon box but frames each time unit with crisp-colored borders instead of filled backgrounds.
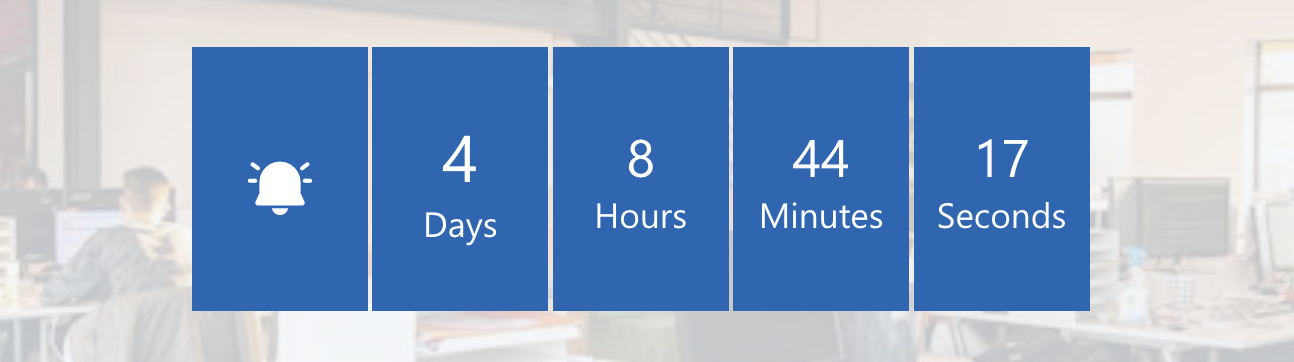
Solid makes the boldest statement by filling all boxes with a solid background.
Transparent strips away all backgrounds and borders entirely, leaving just the icon, numbers, and labels floating cleanly over your background.
Practical Use Cases
Here's where the Countdown Design Element shines in real-world scenarios:
- Building Excitement for Company-Wide Events
Annual kickoffs, leadership summits, team retreats — these are the moments organizations invest significant time and budget into. A countdown timer on your intranet homepage keeps the event front-of-mind for employees in the weeks leading up to it. Rather than a static banner that gets overlooked, a live ticking counter creates a subtle but persistent sense of anticipation.
Place the Countdown element prominently on your home page and pair it with a short event description or a link to the agenda. As the numbers drop, employees naturally start talking about it — which is exactly the kind of organic pre-event buzz you want.
- Driving Action During Open Enrollment Windows
Benefits enrollment is one of those annual moments when timing is genuinely critical — miss the deadline and employees lose their window to make changes until the next cycle. A countdown timer on your HR intranet page removes all ambiguity about how much time is left and creates a quiet but effective nudge to take action.
Position it alongside a checklist of enrollment steps or a direct link to your benefits portal. The combination of "here's what you need to do" and "here's how long you have" is a powerful motivator, especially for employees who tend to put these tasks off.
- Communicating Upcoming System Maintenance Windows
Scheduled downtime, software migrations, and infrastructure upgrades are routine in most organizations — but they often catch people off guard because the communication doesn't stick. A countdown on your IT or operations page does the remembering for employees. "System migration in 2 days, 4 hours" is a lot harder to miss than an email from three weeks ago.
Using ShortPoint Connect, you can tie the timer to a SharePoint list that your IT team manages. When the maintenance window is rescheduled (and it always gets rescheduled eventually), the countdown adjusts automatically. You can also use the count-up variant after a migration is complete — "We've been on the new platform for X days" — to reinforce confidence in the transition.
- Rallying Teams Around a Product Launch or Campaign Deadline
Product launches, campaign go-lives, quarterly targets — sales and marketing teams are accustomed to working against deadlines, and a visible countdown on a dedicated team page reinforces focus without anyone having to send a reminder. It keeps the shared goal visible and the timeline honest.
A countdown to a product launch date, placed on your product team's SharePoint hub, gives everyone — from engineering to marketing to customer success — a single reference point. You can even use the count-up feature post-launch to celebrate milestones: "We've been live for 30 days" is a simple but effective morale boost.
Start Designing with the Countdown Design Element
The Countdown Design Element is a simple, powerful, and flexible way to surface important events, announcements, and dates for your team. And they don't even have to leave your SharePoint website to see it. This event countdown timer helps teams track how many days are left until key moments, making it a cool tool to build excitement and keep everyone informed.
Excited to test out this Design Element? Current ShortPoint Designers can jump right in by following our interactive tutorial above.
First time here? We'd be happy to set you up with a FREE 15-day trial so you can explore everything ShortPoint has to offer—no credit card needed. And if you'd prefer a guided tour, our experts are available for personalized demos where they'll walk you through the Countdown Design Element and answer any questions you have.
Frequently Asked Questions
Can the countdown update automatically when a SharePoint event date changes?
Yes — and this is one of the most powerful aspects of the event countdown timer element. Using the Connect tab, you can link the Countdown to a SharePoint list or calendar. Once connected, the element pulls its target date dynamically from your list. Update the date in the list, and the countdown reflects the change without any manual page edits. This is especially useful for teams managing recurring events or schedules that shift frequently, ensuring the timer always displays the correct number of days left.
Can it count up instead of counting down?
Yes. The Countdown Design Element supports both directions. The count up option is great for showcasing elapsed time or days since a system was last updated, time since a company milestone, or how long you've been on a new platform. It turns the same element into a subtle celebration of progress rather than urgency.
My countdown is showing "NaN" instead of numbers — what's wrong?
This almost always comes down to an invalid date entry. Double-check that your values are correct: if you're entering them in separate fields, make sure the month is a number (1–12), not a month name, and that the year is a four-digit value. For the combined field, confirm you're using MM/DD/YYYY format. A quick re-entry with valid values should resolve it immediately.
Can I control which users or devices see the countdown?
Yes. The Visibility tab lets you specify which users or groups can see the element, and you can also control whether it appears on desktop, tablet, or mobile devices. This is useful if, say, you want a countdown visible only to members of a specific team, or if you'd prefer not to show it on smaller screens where layout space is at a premium.
Can I customize the appearance beyond the built-in styles?
Absolutely. The Design tab gives you control over style, text size, and color — you can pick from your existing color palette to keep everything on-brand. For deeper customization, the Custom CSS tab lets you write your own CSS, HTML, and even JavaScript. Community-shared CSS snippets are available for common tweaks like adjusting the element's height, repositioning the text, or removing the default icon tile entirely. If you're comfortable with CSS, there's quite a lot you can do.
Do I need a developer or IT support to set this up?
Not at all. The Countdown Design Element is designed for ShortPoint Designers — people who manage and build intranet pages, not developers. As long as ShortPoint SPFx is installed on your SharePoint environment and you have an active ShortPoint Designer license, you can insert and configure the element entirely through the visual interface.
Related articles:
