Try ShortPoint now
TL;DR: To make a SharePoint table, add the ShortPoint Table Design Element to a ShortPoint web part and connect it to a SharePoint list or library. The list or library can be on the current site or another site. Choose which columns to show and what to call them. Then style the table with colors, borders and layouts, turn on search, sorting and paging, and publish the page.
Making dynamic lists in modern SharePoint pages look clean, organized, and on-brand often feels like an uphill battle. Formatting raw data with limited formatting options can quickly become frustrating.
That is where the ShortPoint Table Design Element comes in. This tool turns standard lists and libraries into polished, interactive data tables with enhanced formatting options. Let's break down what it's all about.
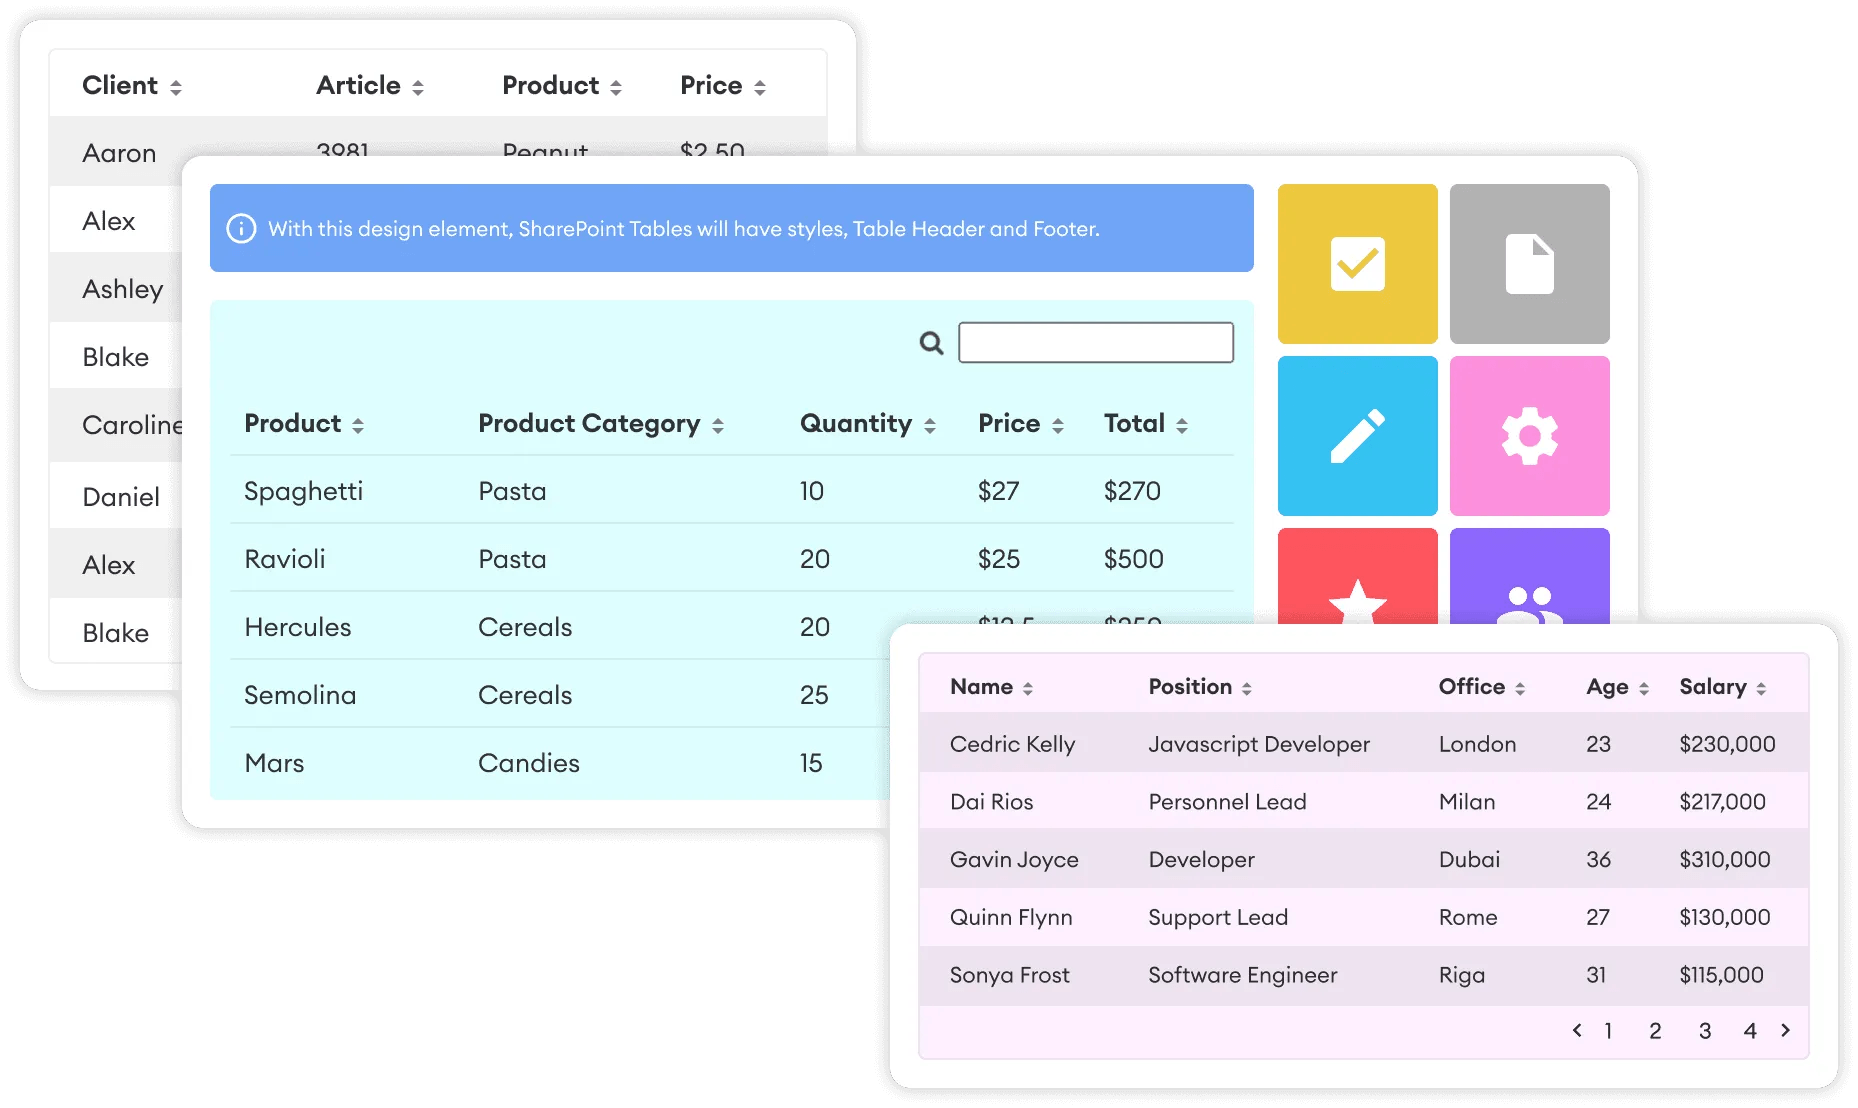
TABLE OF CONTENTS
- Prerequisites
- What is the ShortPoint Table Design Element?
- Step-by-step Tutorial
- Table Features
- 4 Practical Use Cases for Your Intranet
- Frequently Asked Questions
- Do I need coding skills to use the ShortPoint Table Design Element?
- Where can I find the Table Design Element in ShortPoint?
- Can I pull data from a SharePoint list located on a different site?
- How does the table handle mobile or smaller screens?
- Can users search and sort table data directly on the page?
Prerequisites
- You must have the latest version of ShortPoint SPFx installed on your SharePoint environment.
- You must be a ShortPoint Designer with an active license.
- You must already have a SharePoint List / Library you wish to connect to:
What is the ShortPoint Table Design Element?
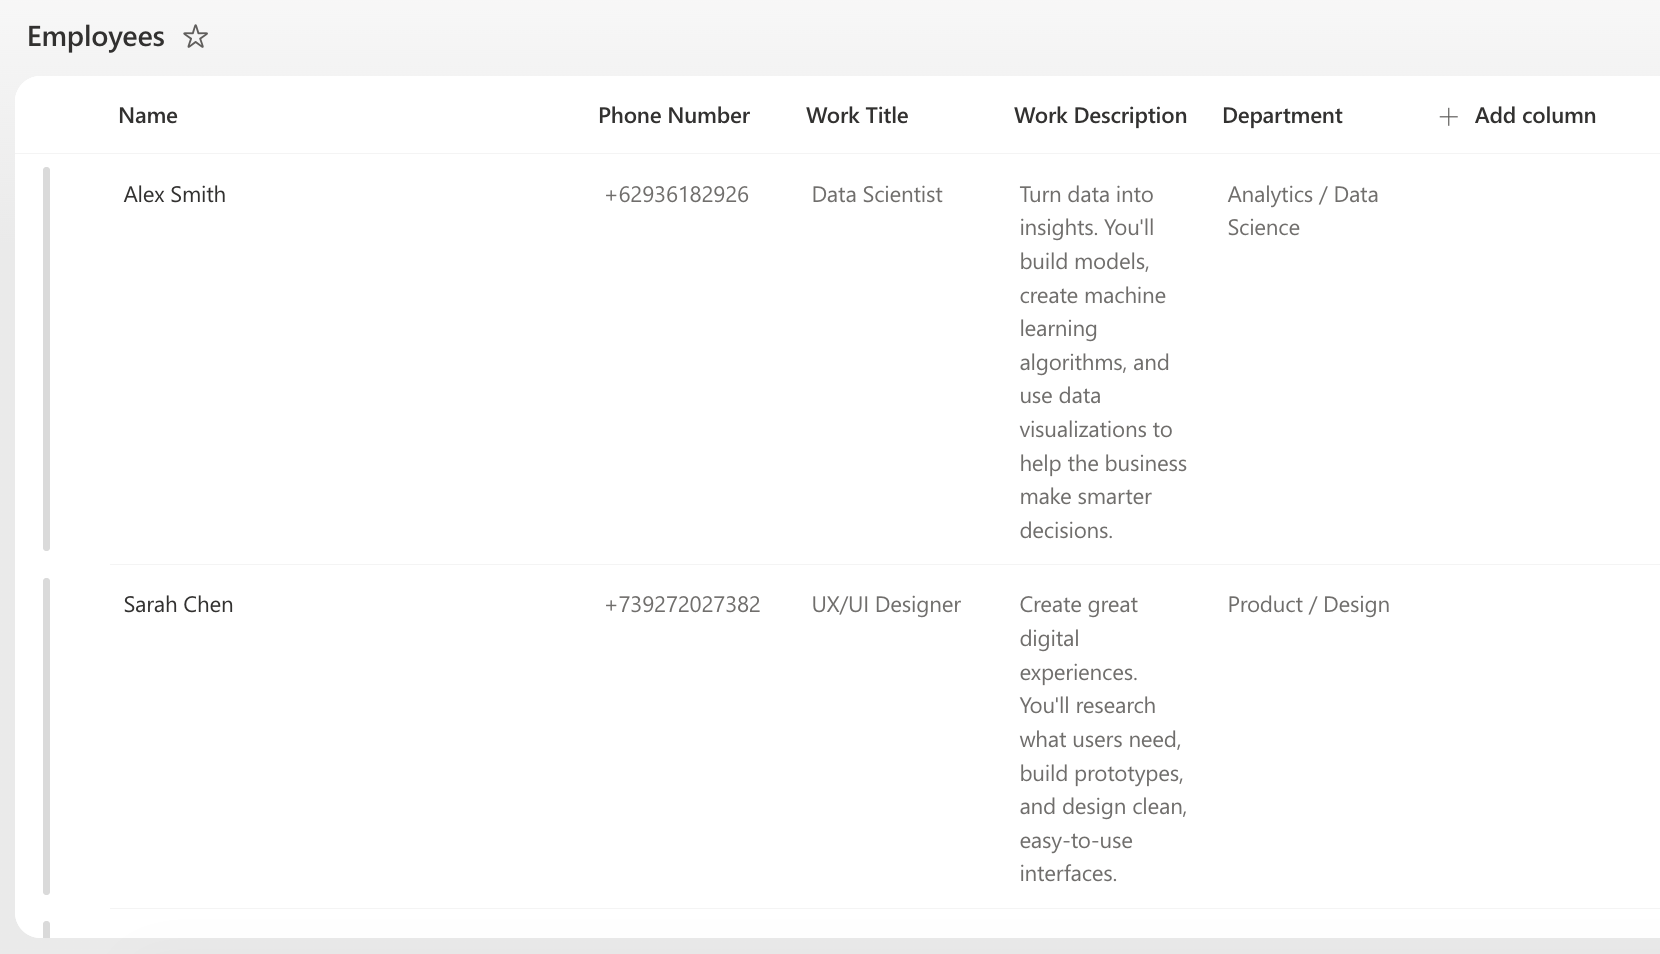
The ShortPoint Table Design Element allows ShortPoint Designers to display structured content, such as data pulled directly from Microsoft SharePoint Lists or Document Libraries in a clean, fully customized table format.
The Table Design Element gives you complete control over both presentation and functionality. You can adjust background colors, text colors, custom borders, and so much more.
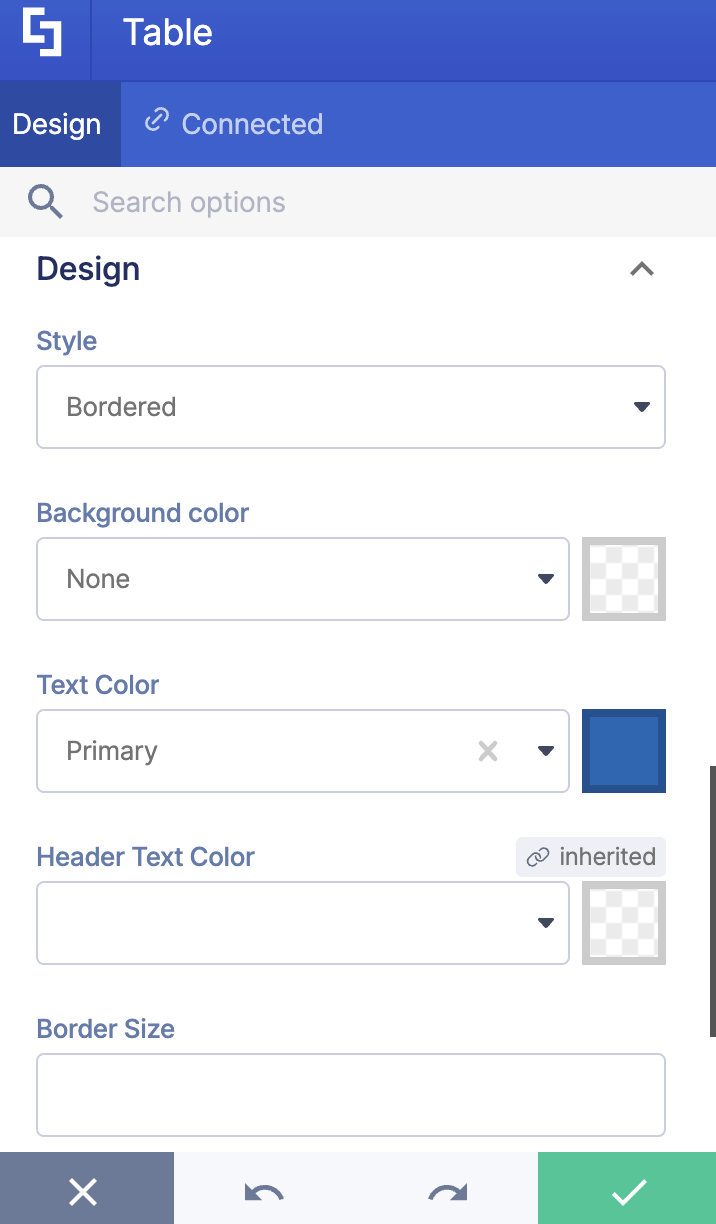
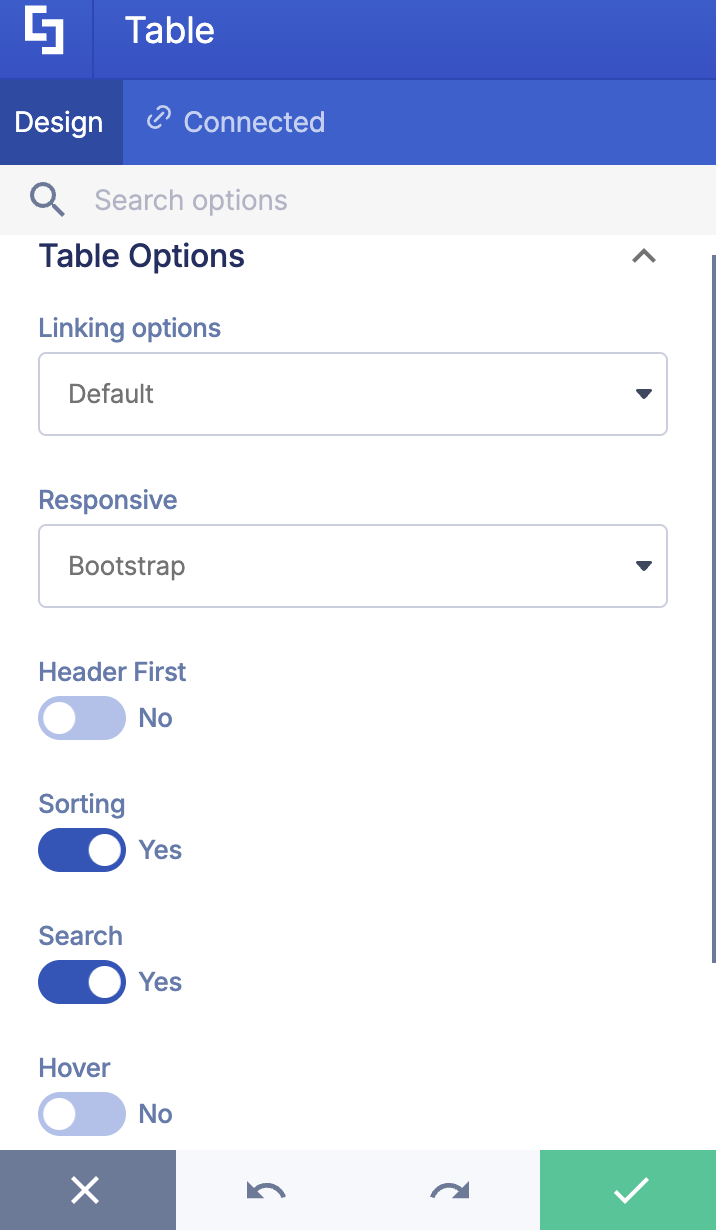
You can also enable built-in search bars, column sorting, custom page sizes (pagination), hover row effects, and mobile-responsive layouts (such as Bootstrap or Flipscroll).
Step-by-step Tutorial
Follow the detailed guide below to customize the Table Design Element:
NOTEBefore proceeding, make sure you already have a SharePoint List / Library you wish to connect to:
Step 1: Edit the ShortPoint Web Part
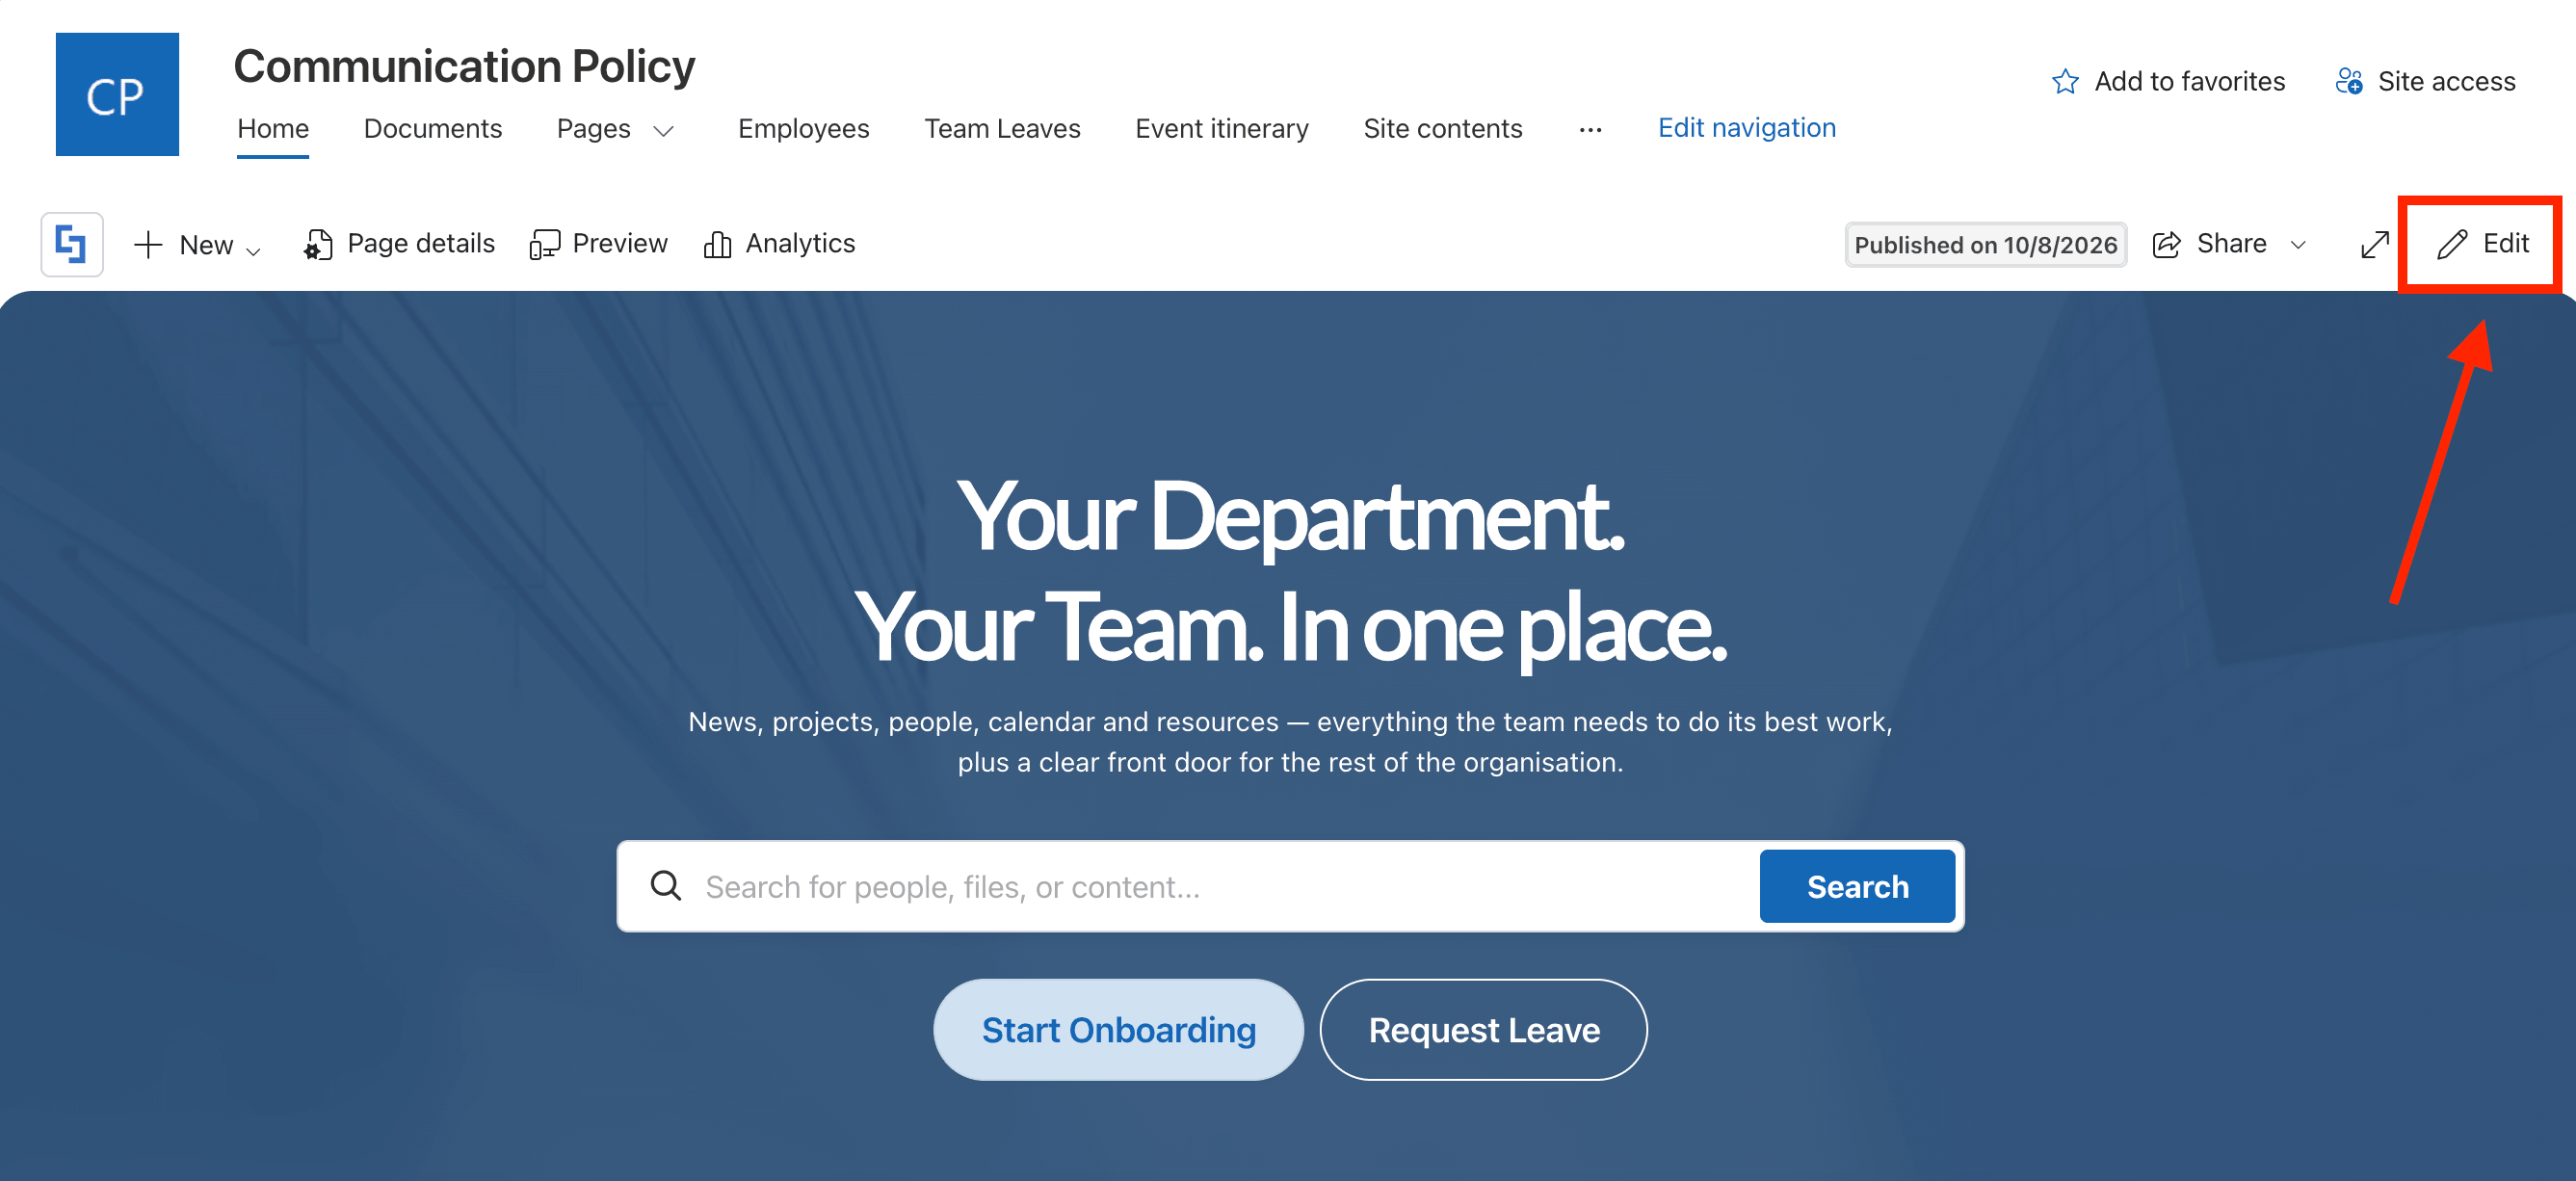
Go to the SharePoint page you want to use and click Edit:
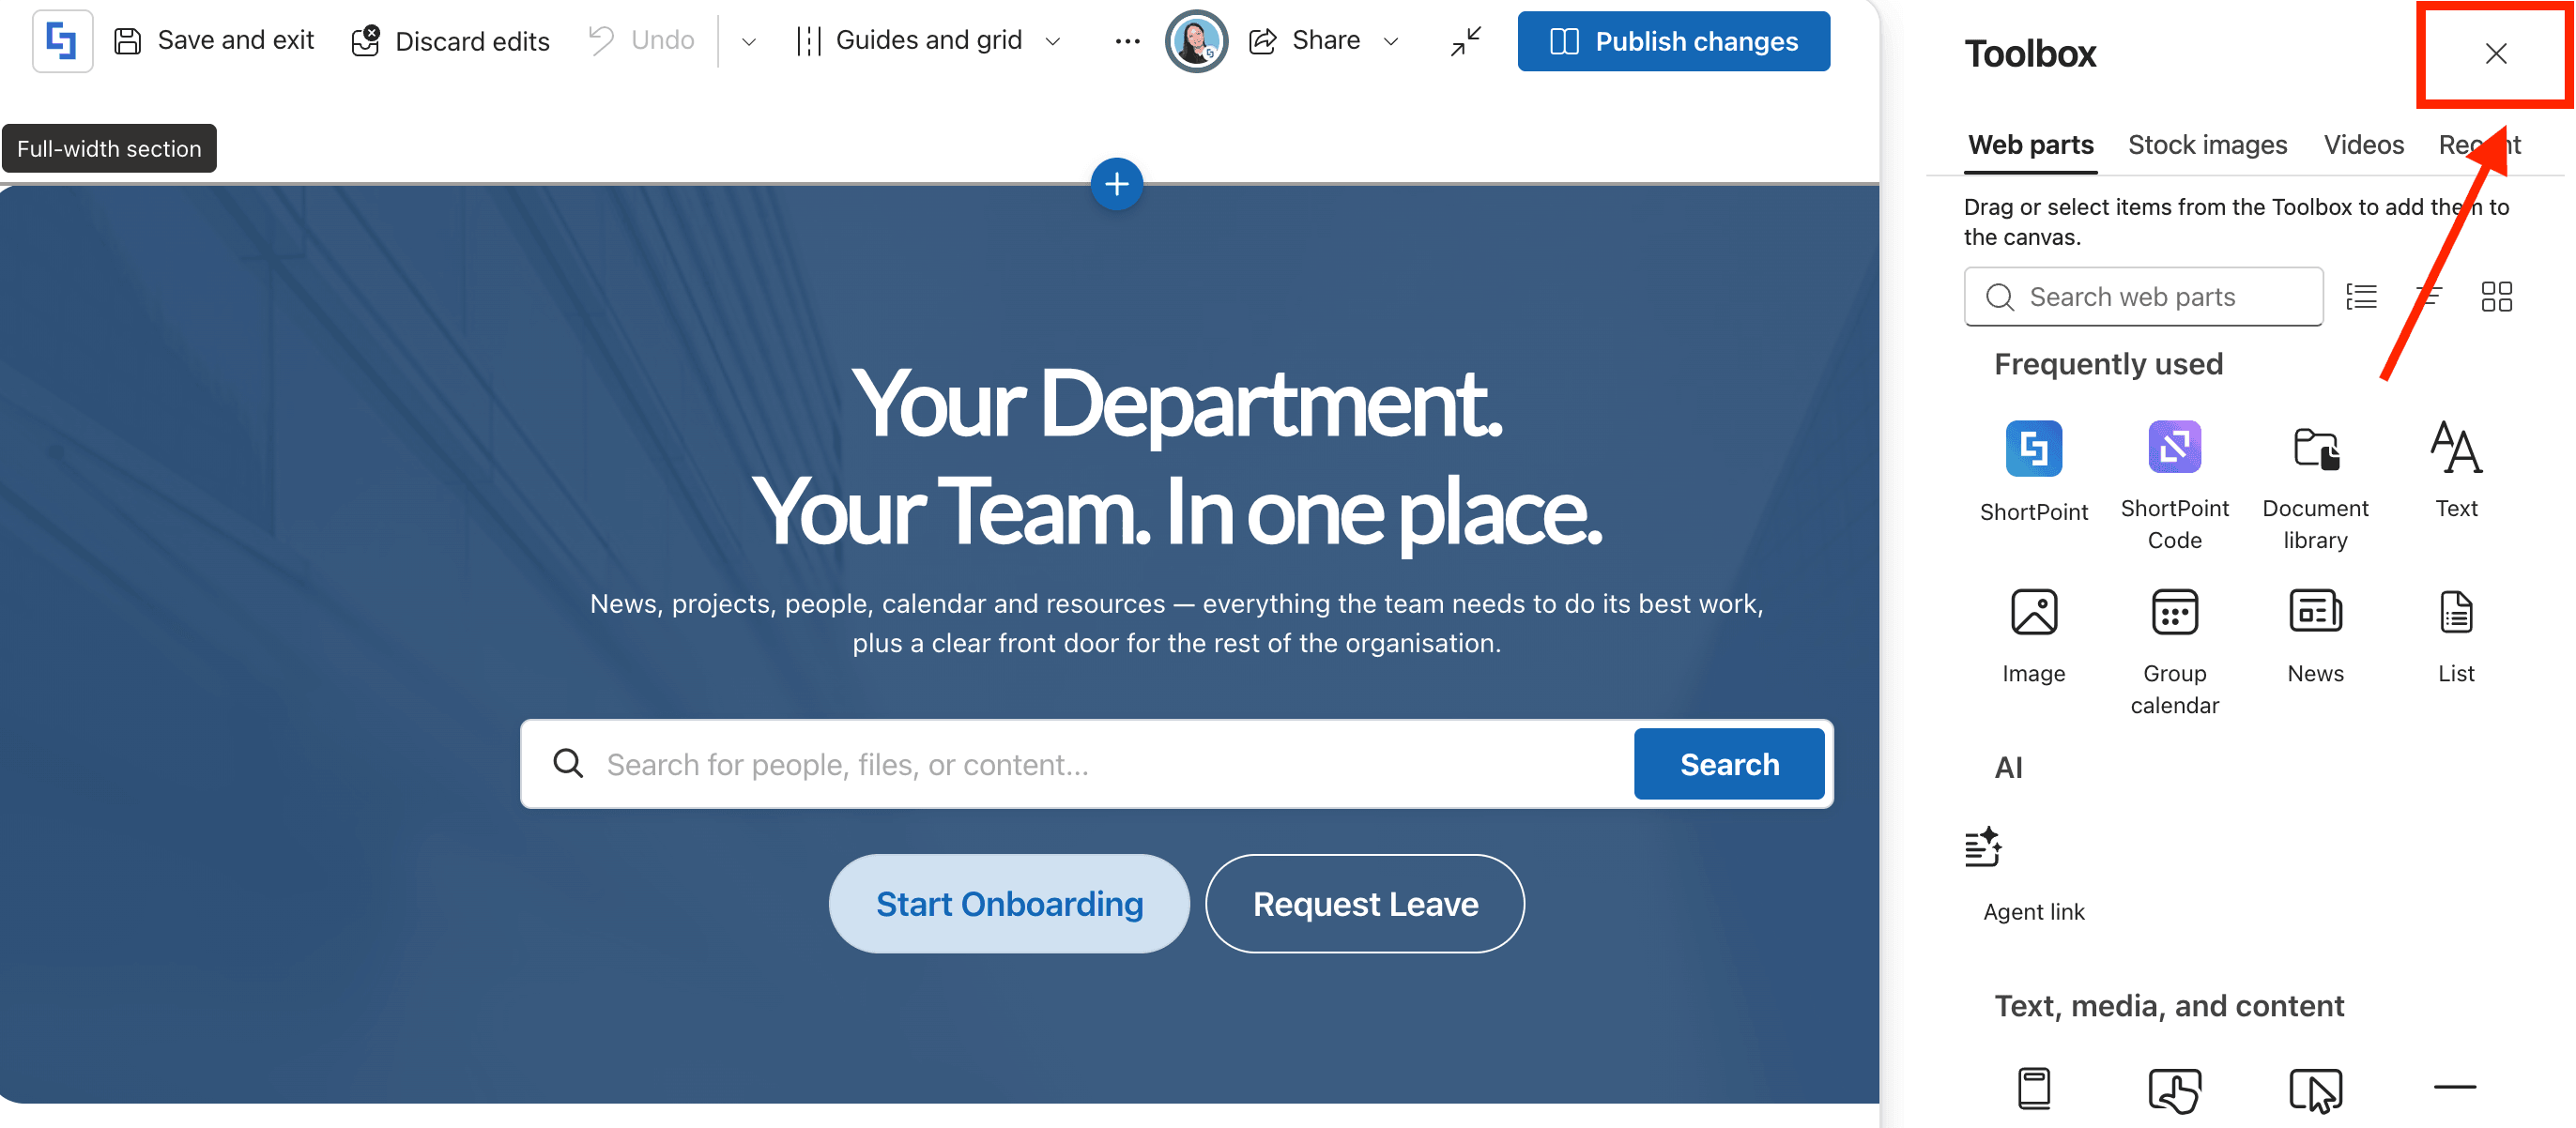
Close the Toolbox:
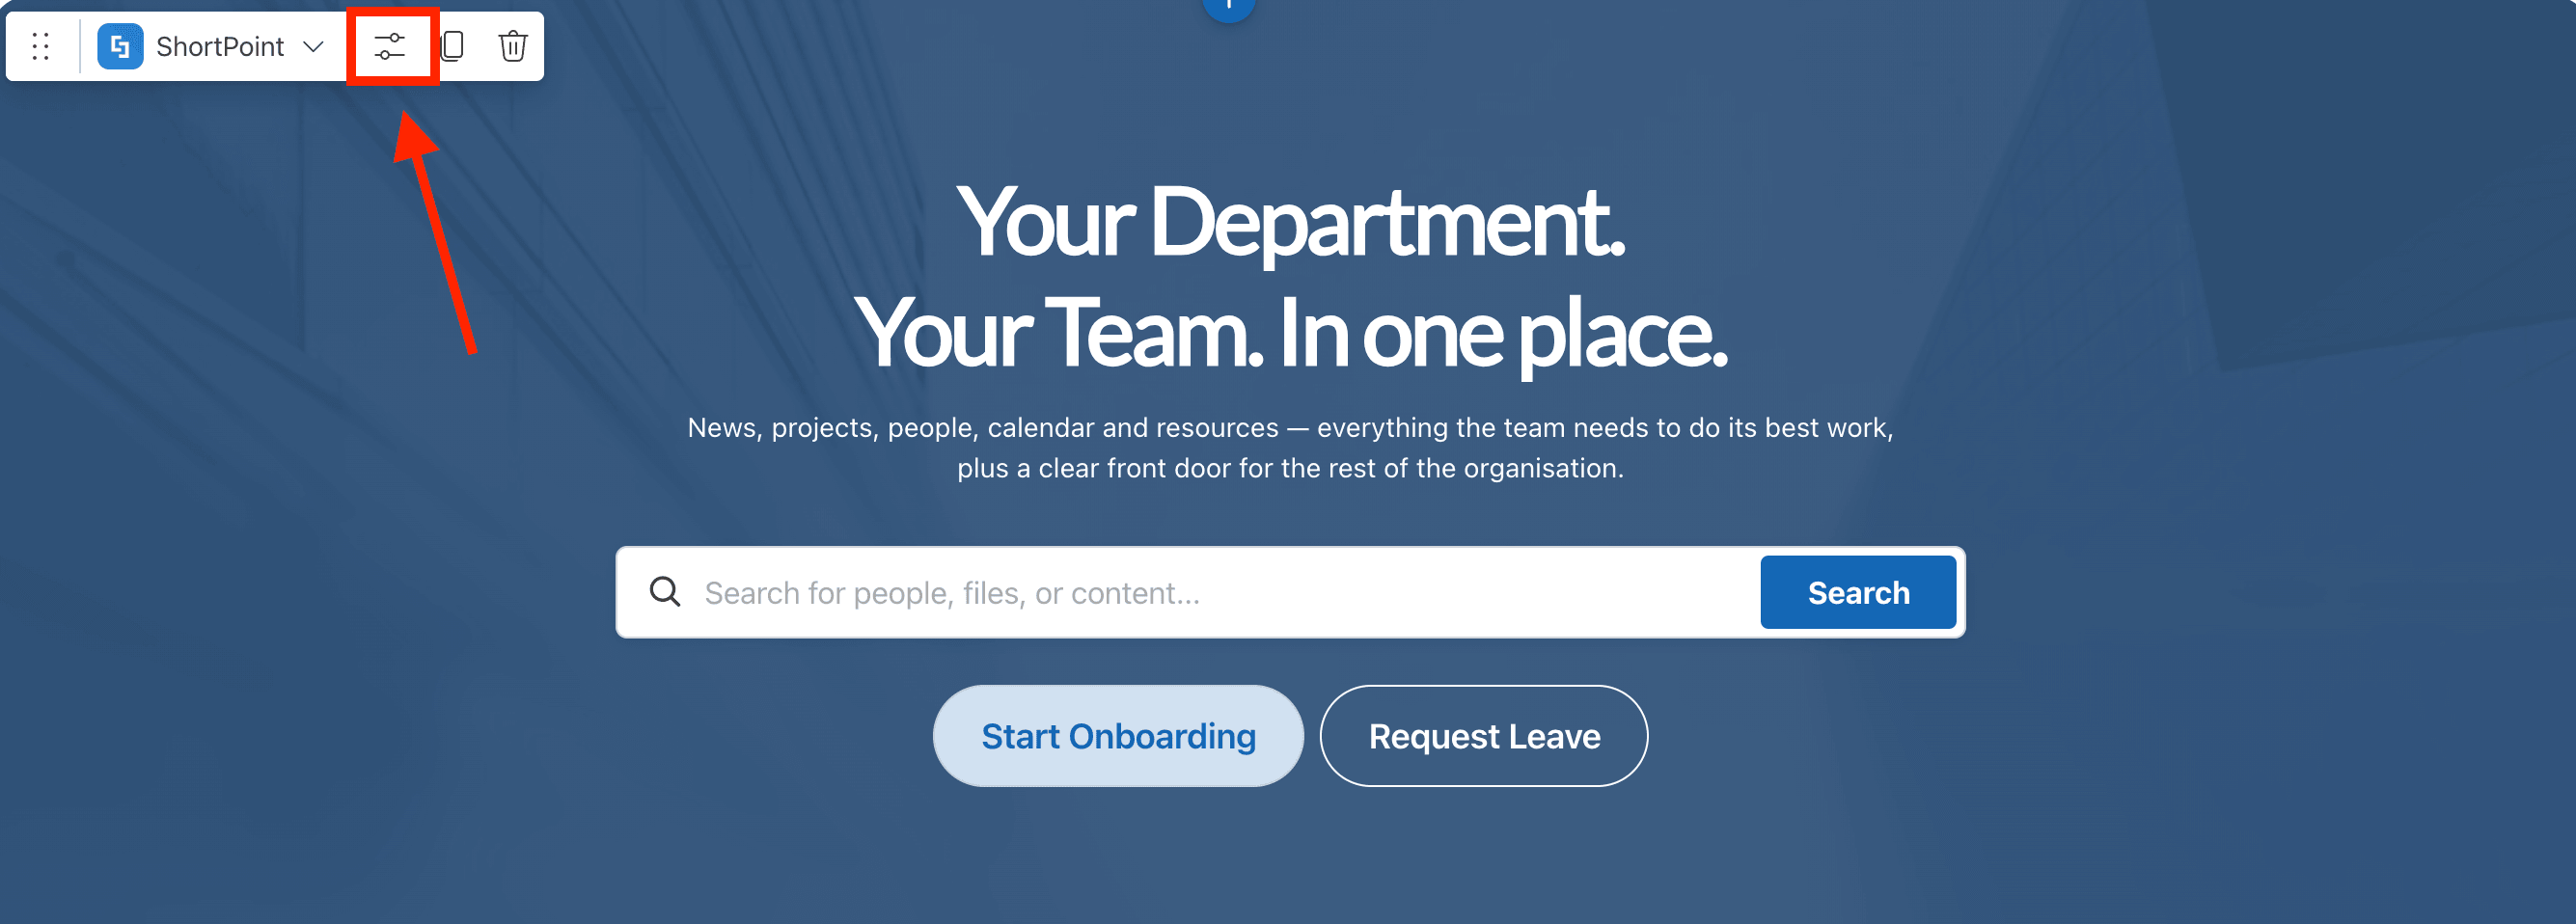
Edit the ShortPoint web part:
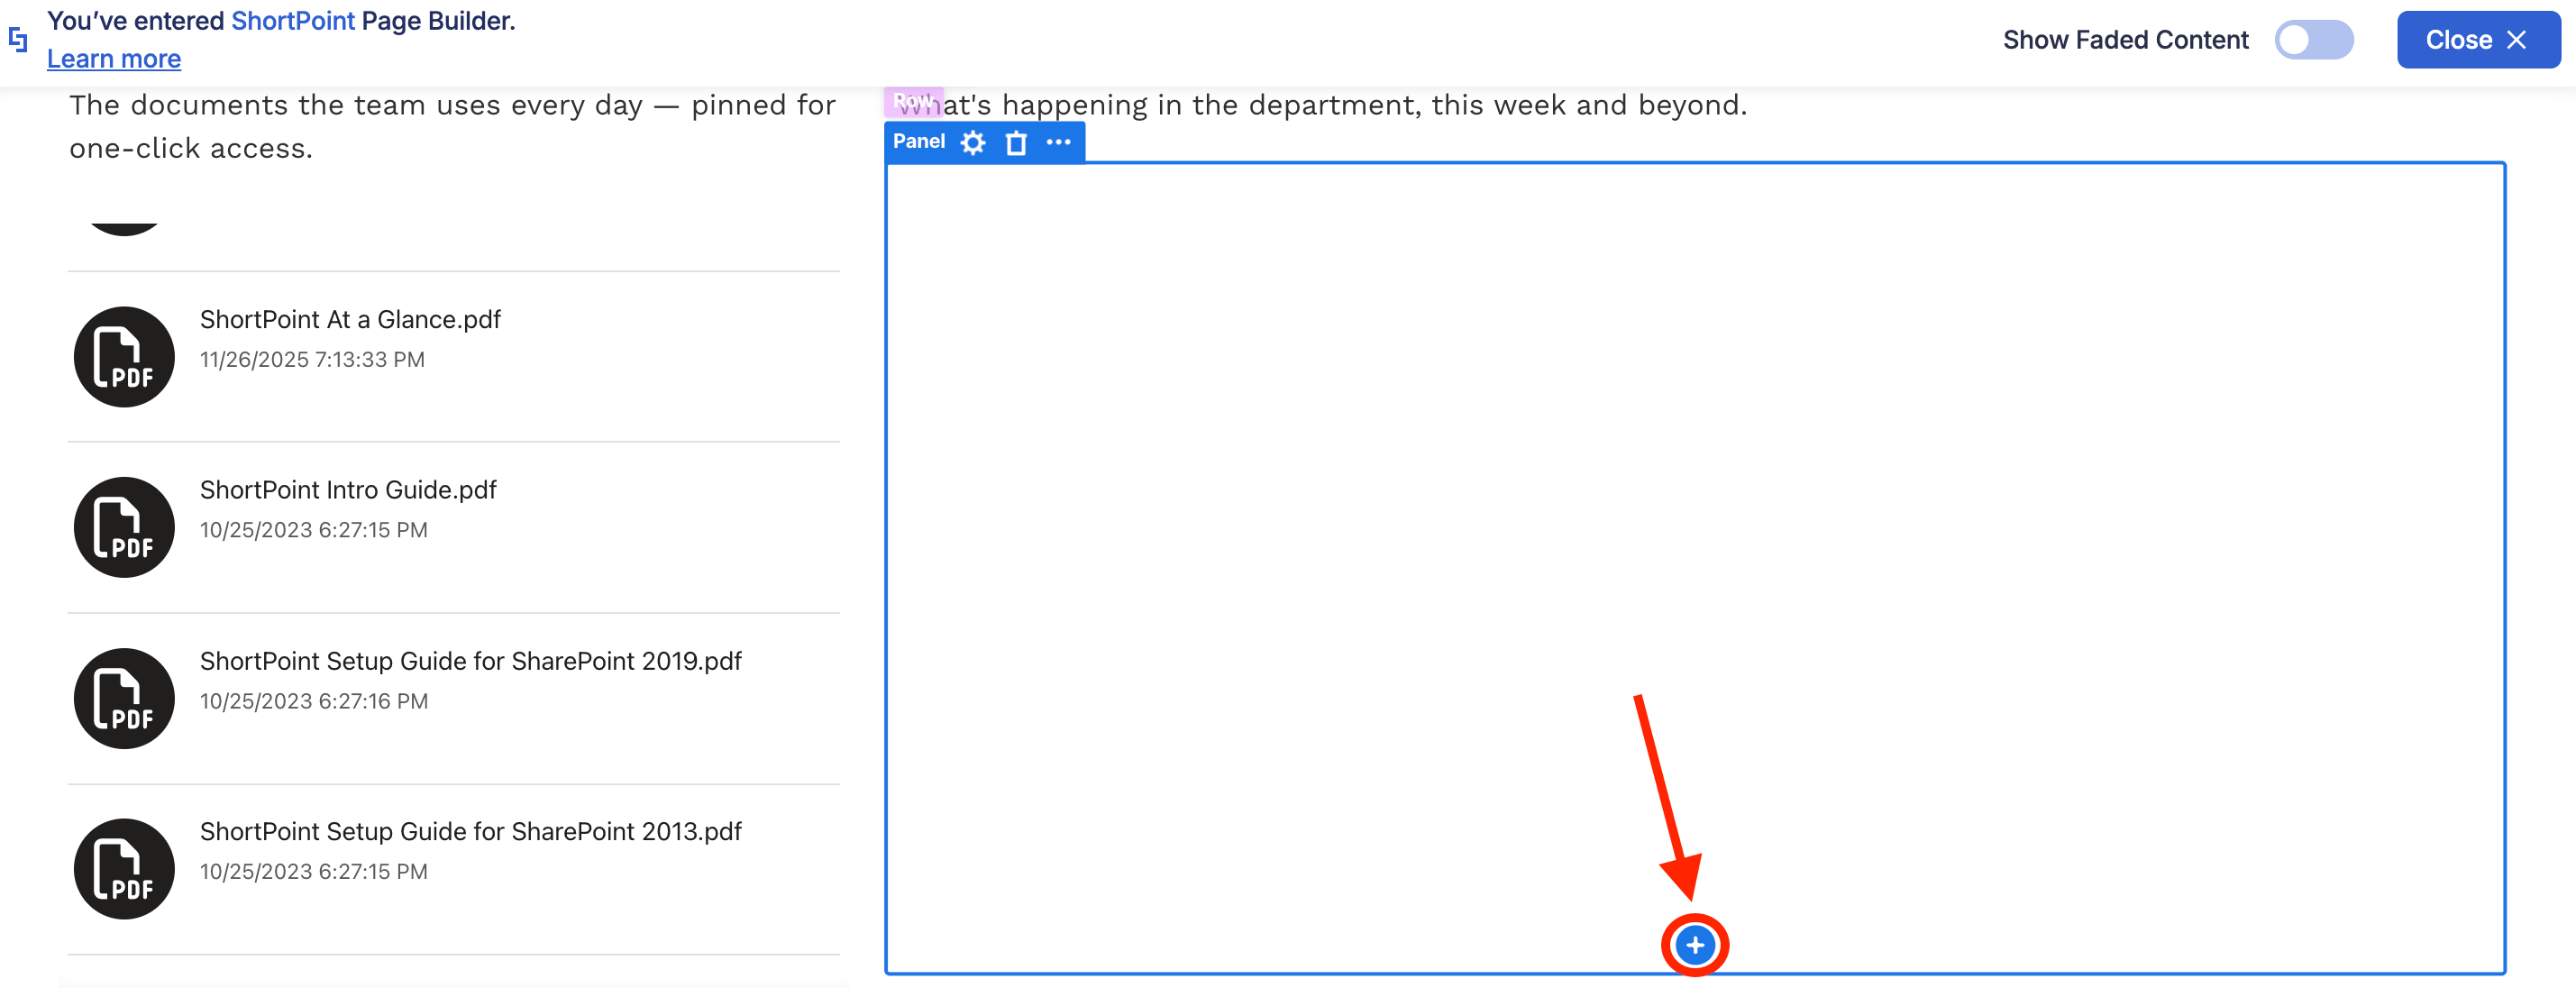
Step 2: Add the Table Design Element
Choose where you want to add the Table Design Element and click the plus icon:
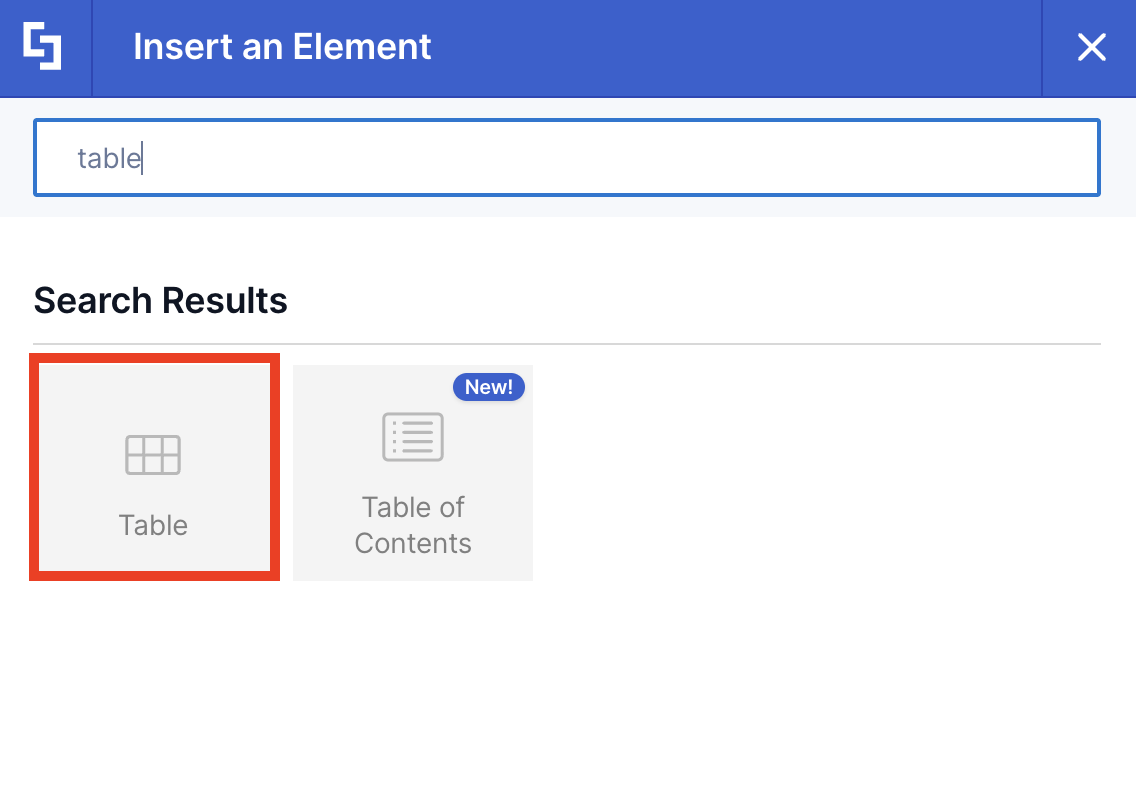
Use the search bar to look for Table and select it:
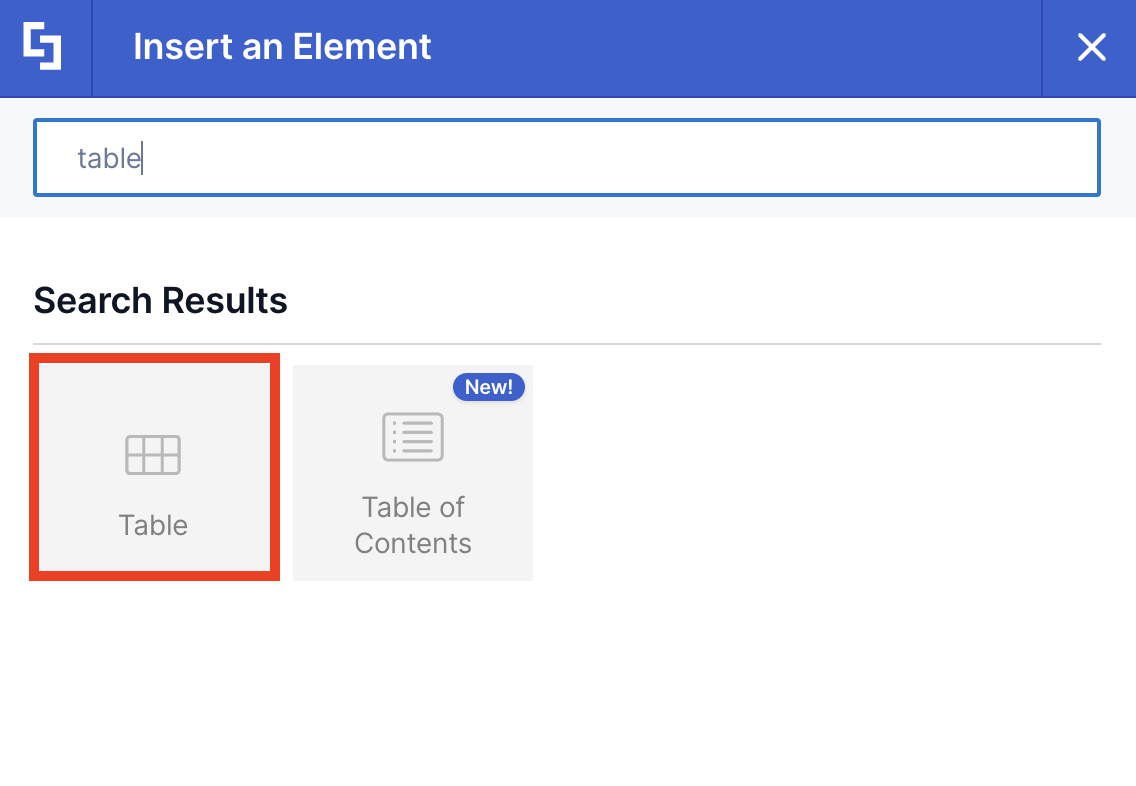
Step 3: Connect the Table
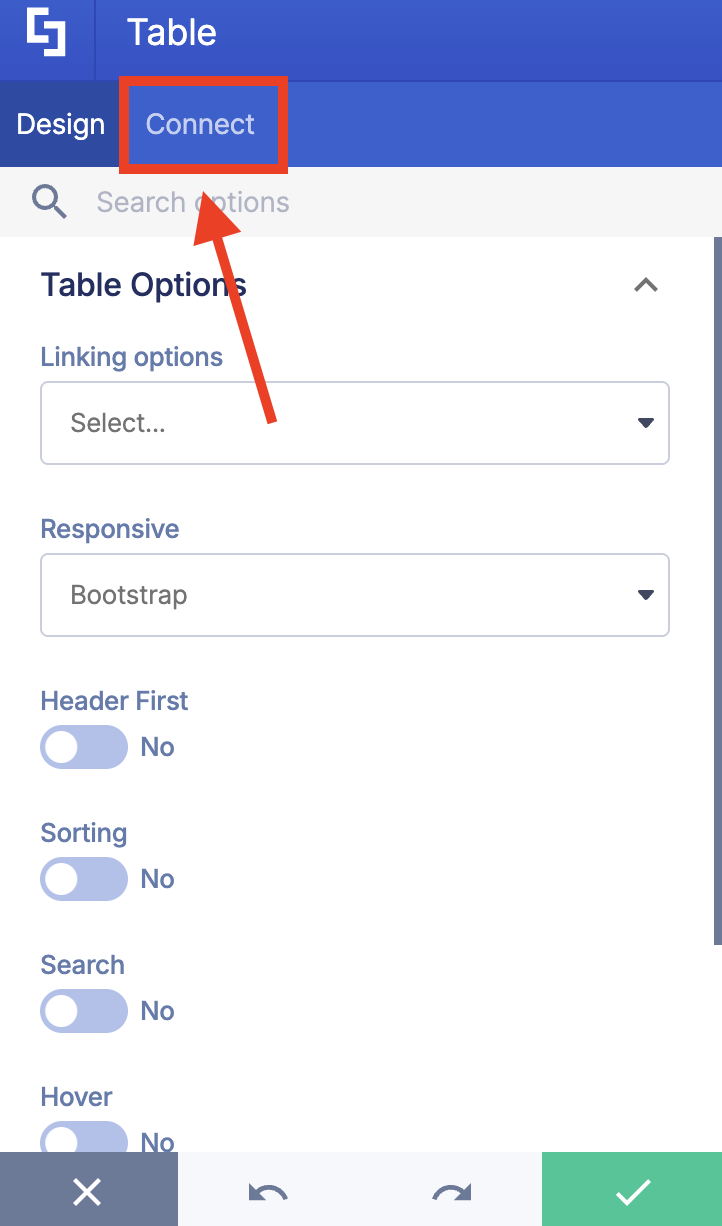
Go to the Connect tab:
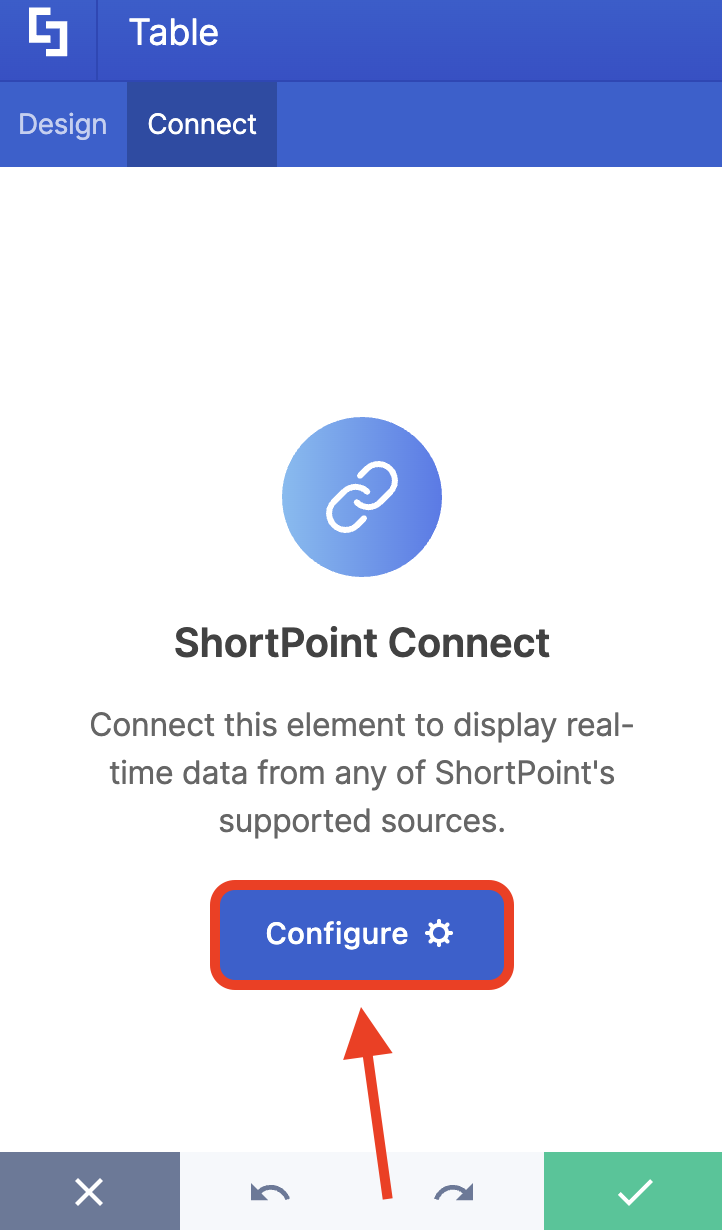
Click Configure:
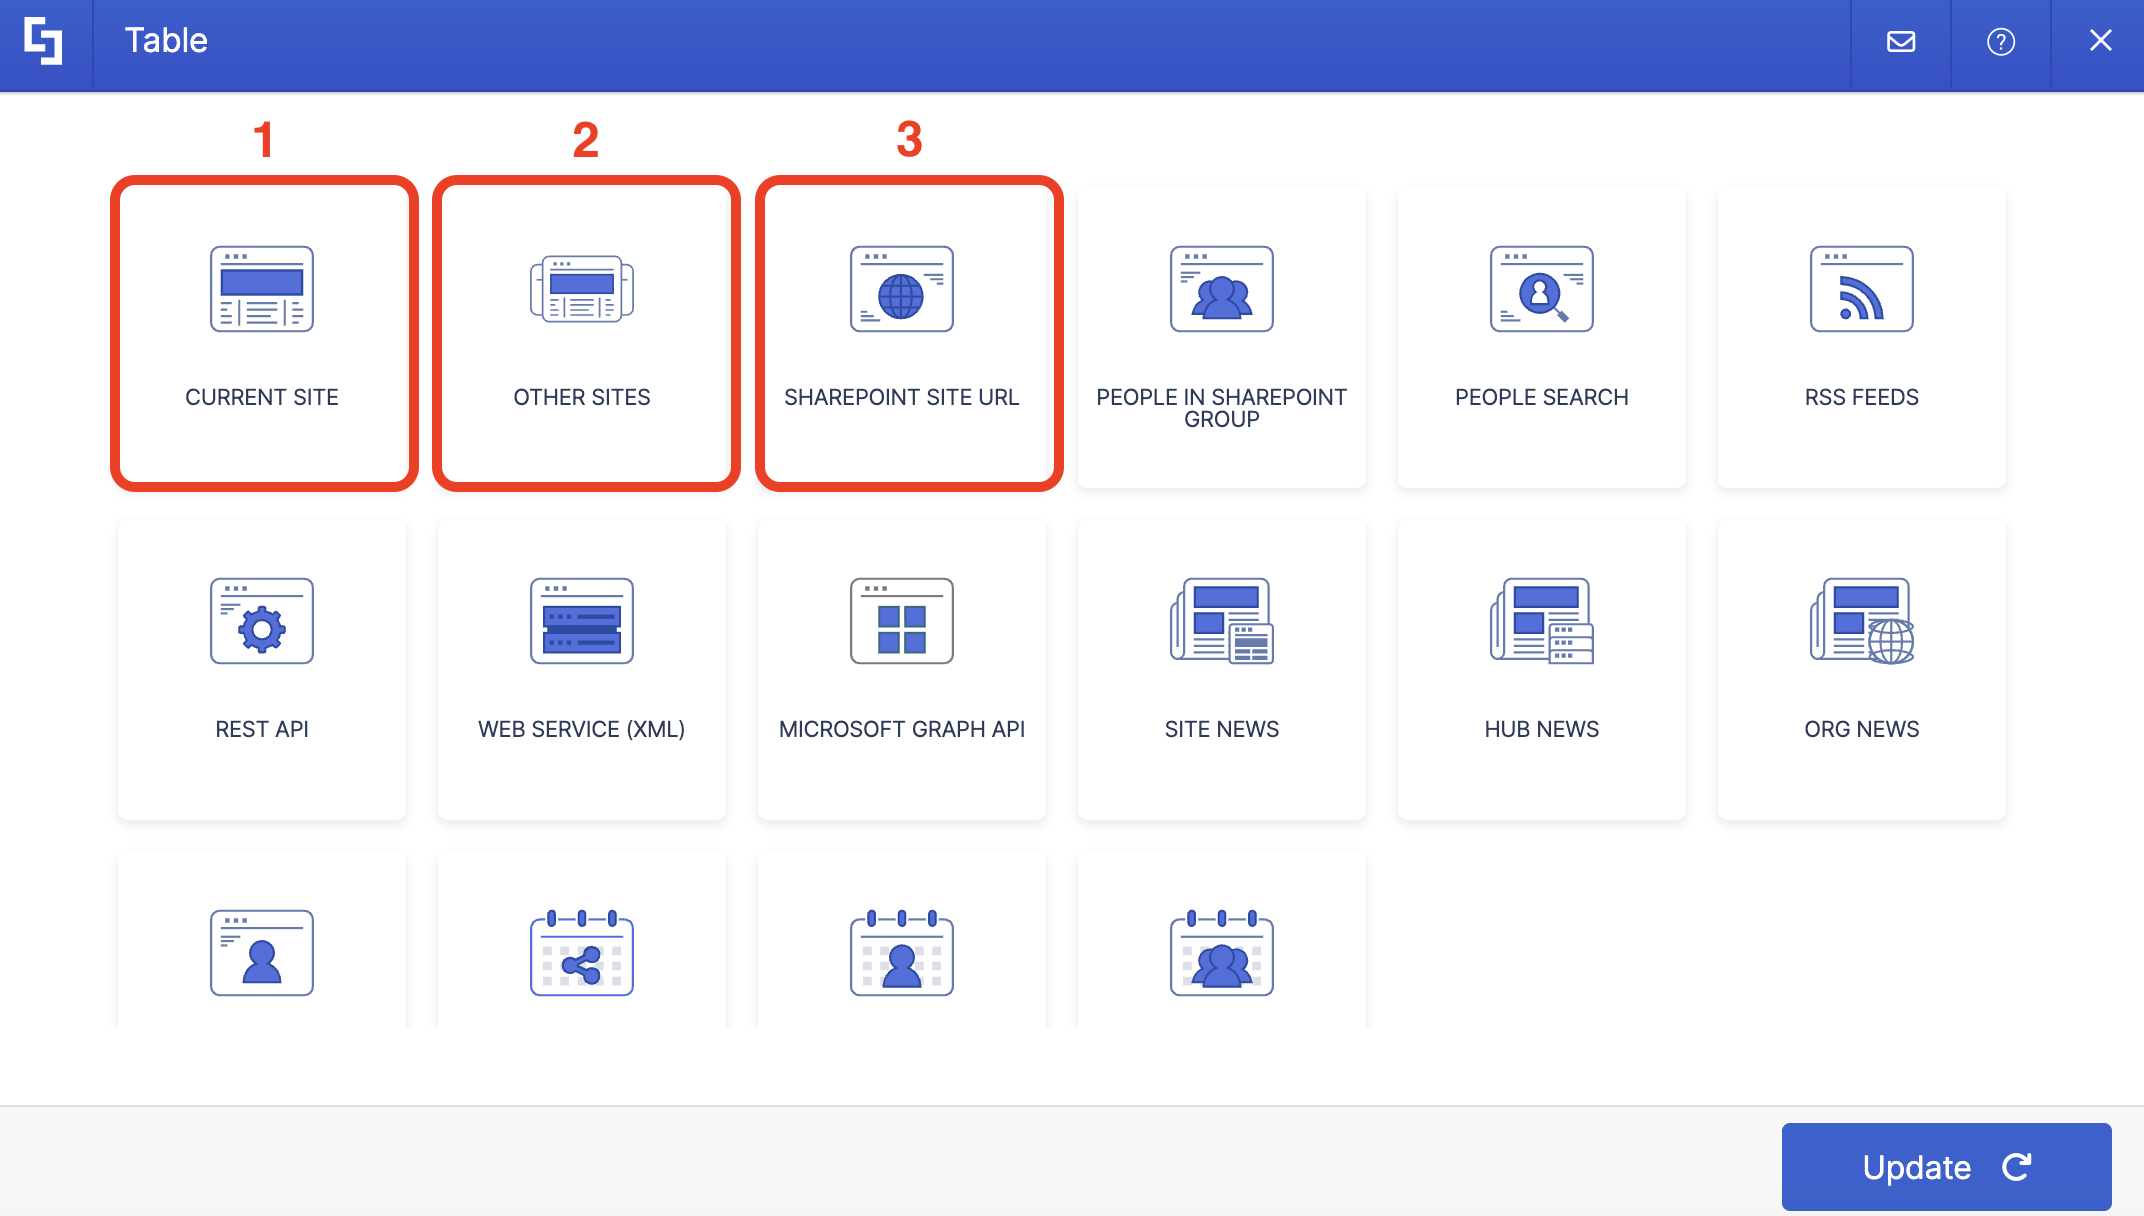
You can use any of the Connection types below. Choose the connection that corresponds to the location of your SharePoint List / Library.
- Current Site - allows you to connect ShortPoint elements to existing site assets located on the same site.
- Other Sites - allows you to connect ShortPoint elements to existing site assets located on other sites within your SharePoint tenancy.
- SharePoint Site URL - allows you to connect ShortPoint elements to existing site assets located on another site using a specific SharePoint Site URL.
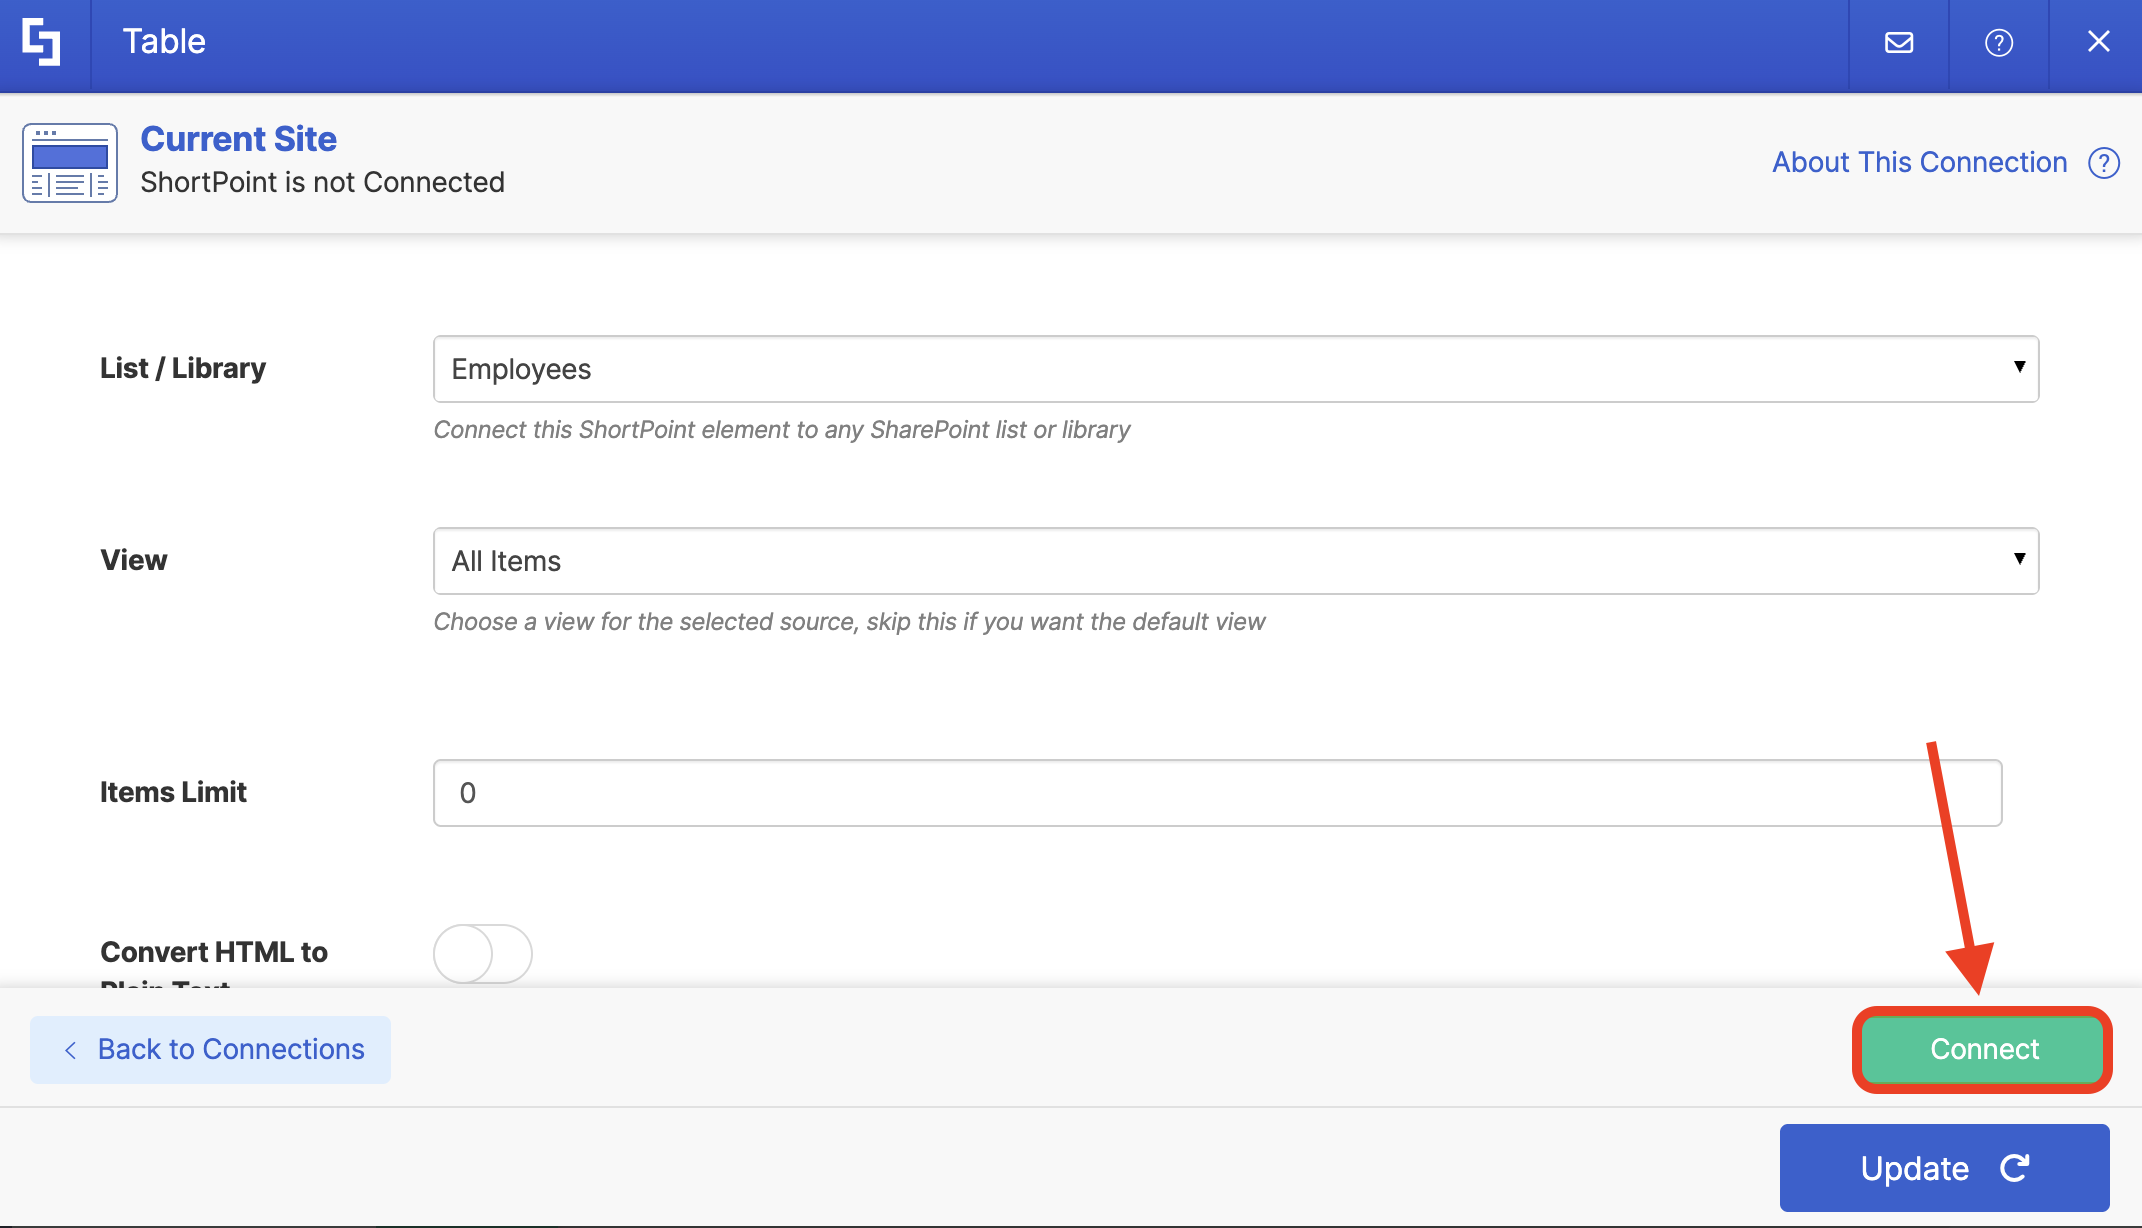
Depending on the connection type you chose, different fields may appear. Since we used Current Site, we need to add the following details:
- List/Library - select the name of the List/Library you want to use.
- View - select the view you want to showcase.
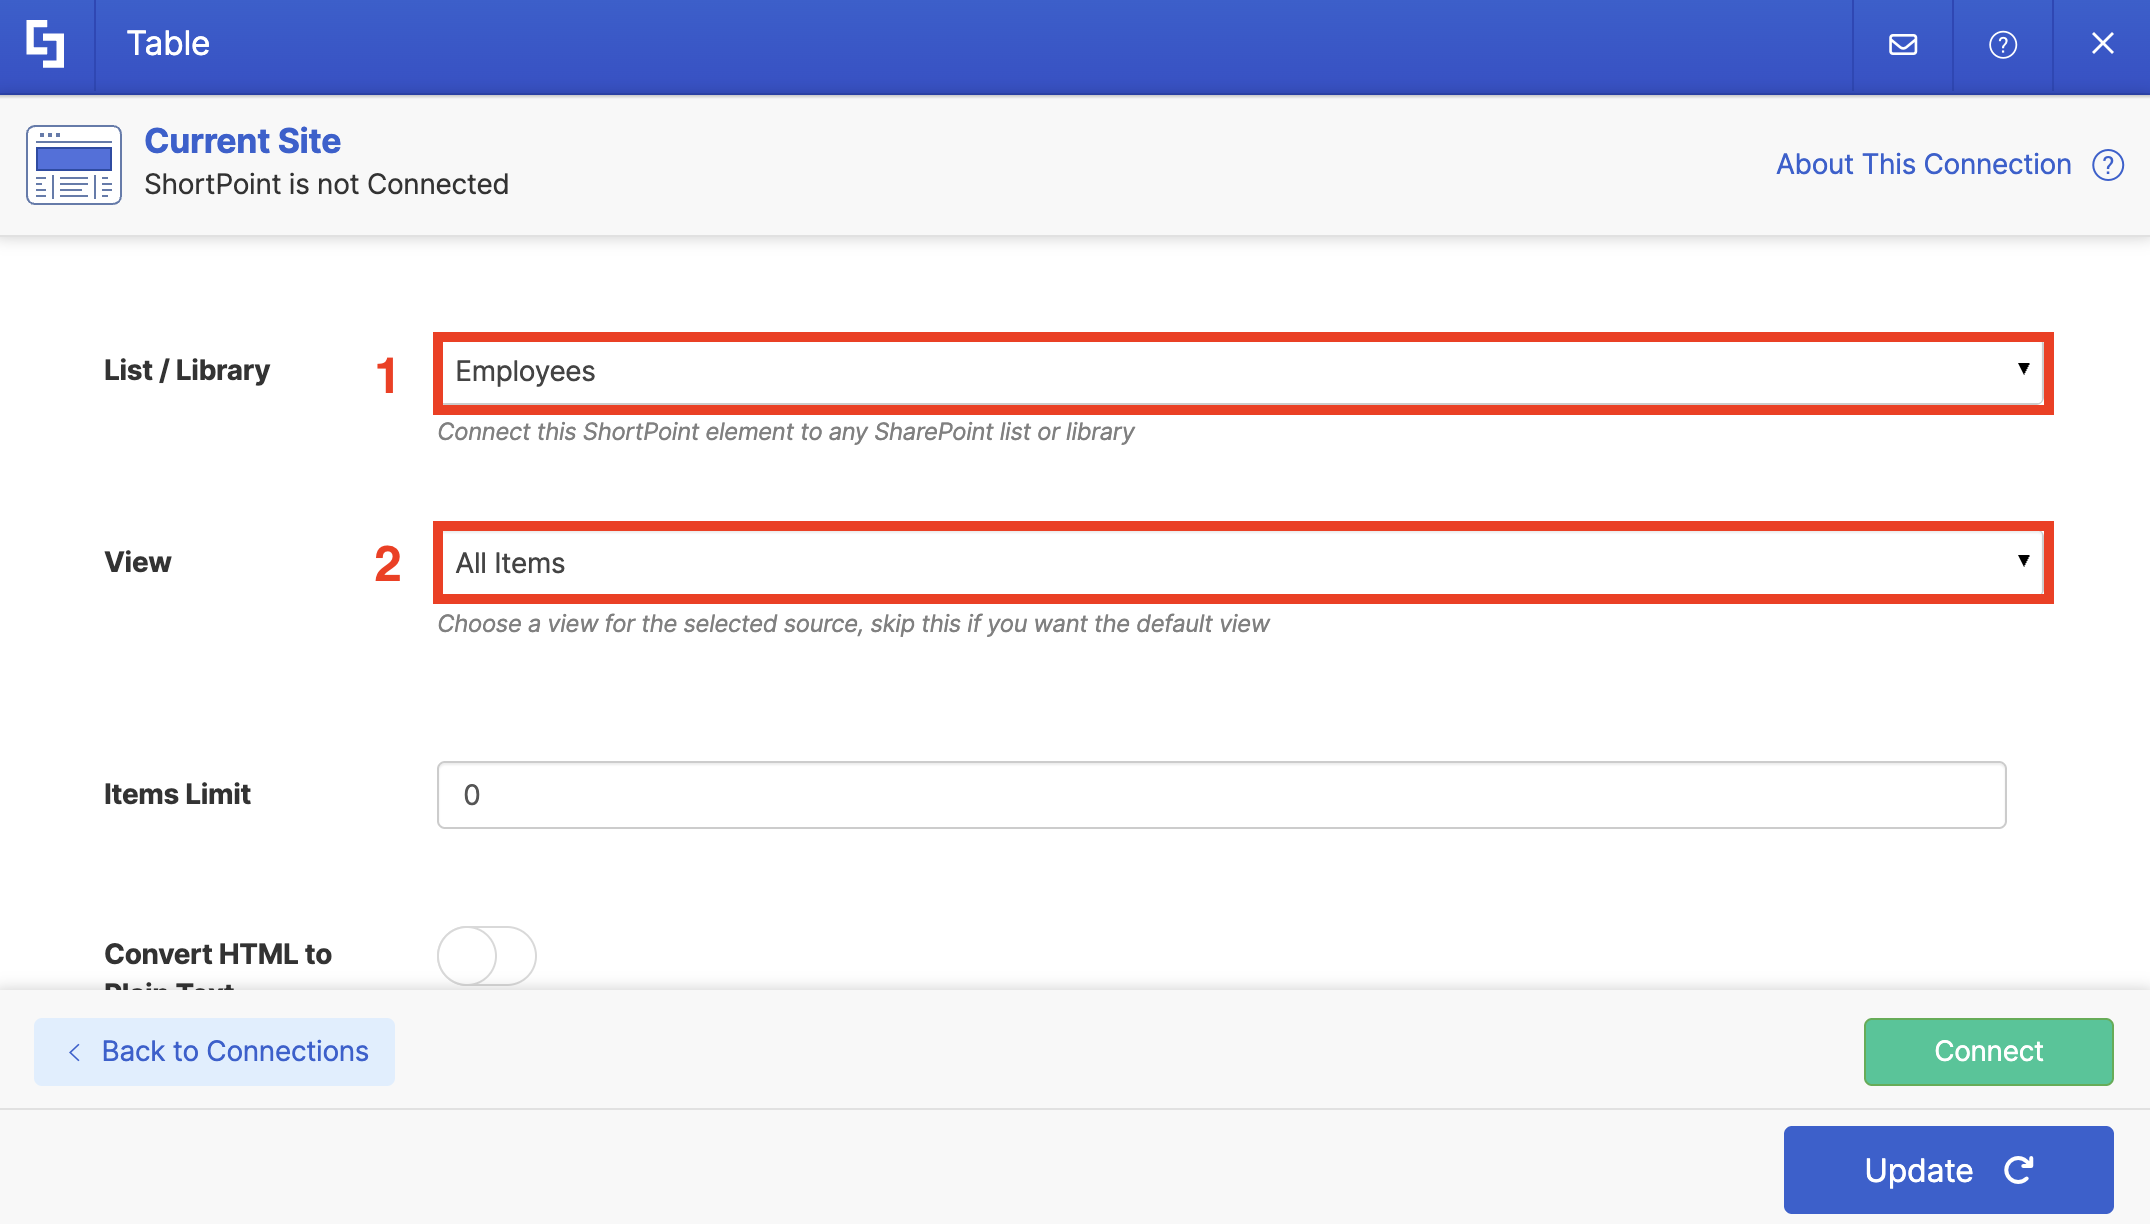
Once done, click Connect:
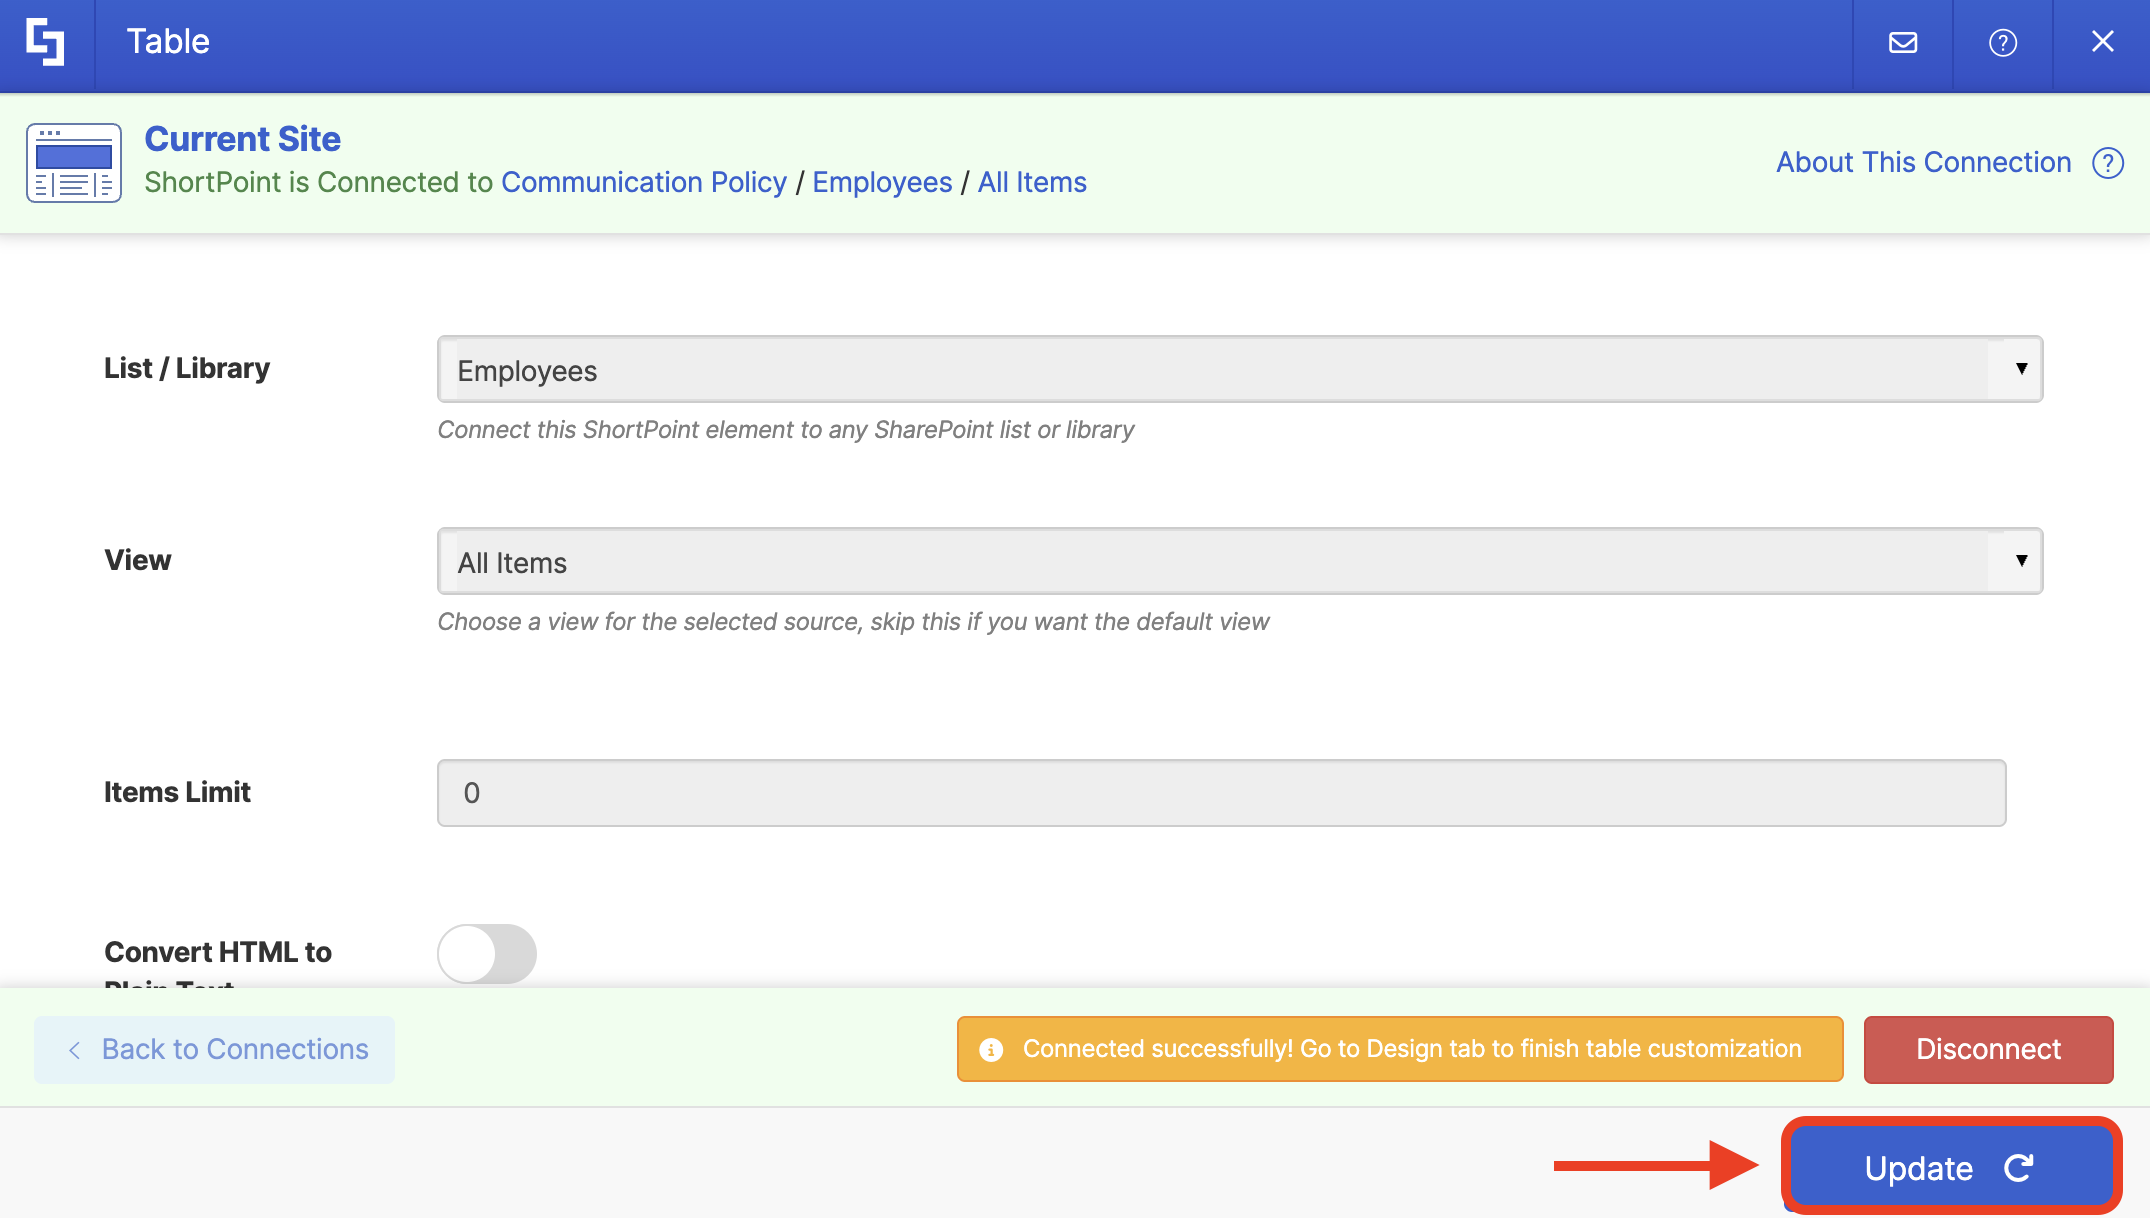
Click Update to apply your changes:
Step 4: Modify Table Options
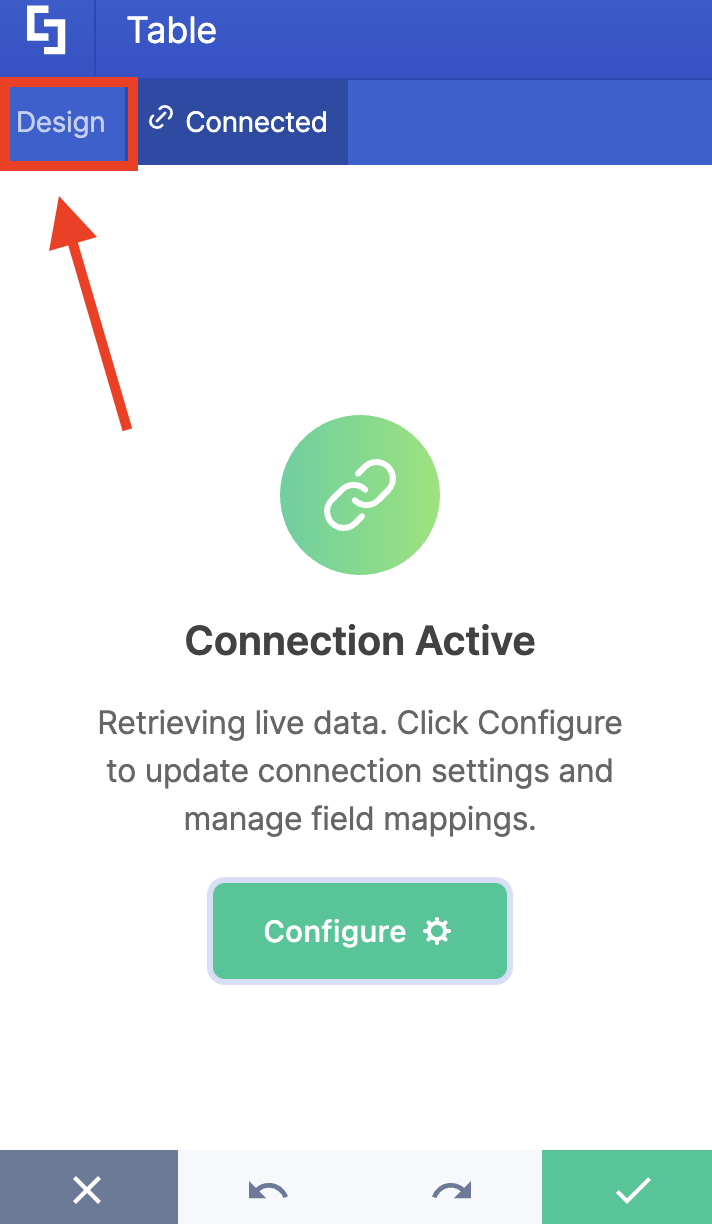
Go to the Design tab:
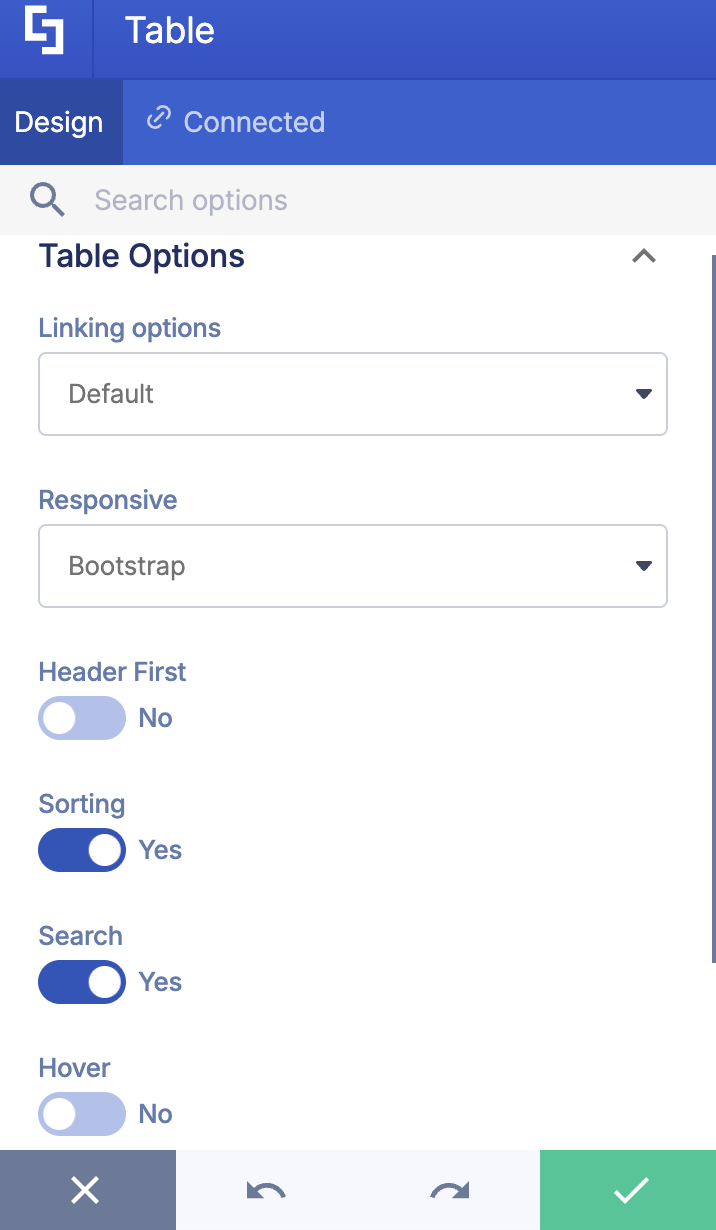
Customize the Table Options according to your liking. Check out Table Features to see the options you can modify.
Step 5: Edit Table Content
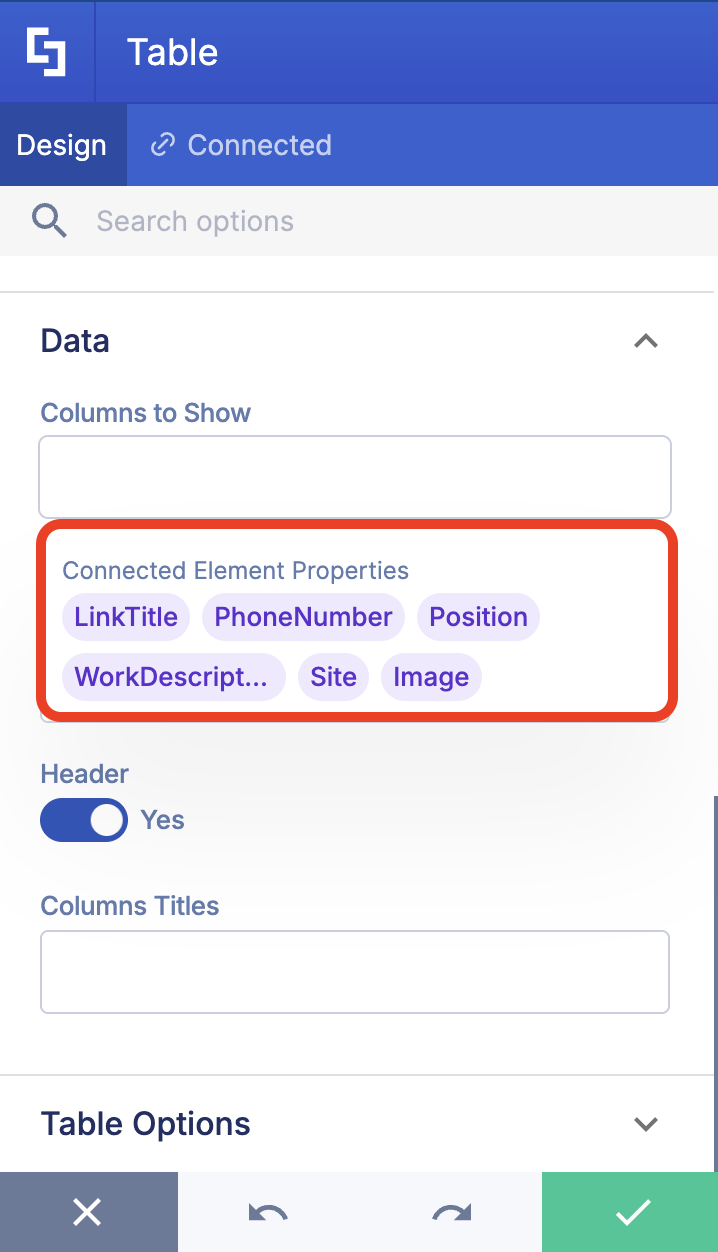
In the Columns to Show field, type the columns you want to appear in the Table.
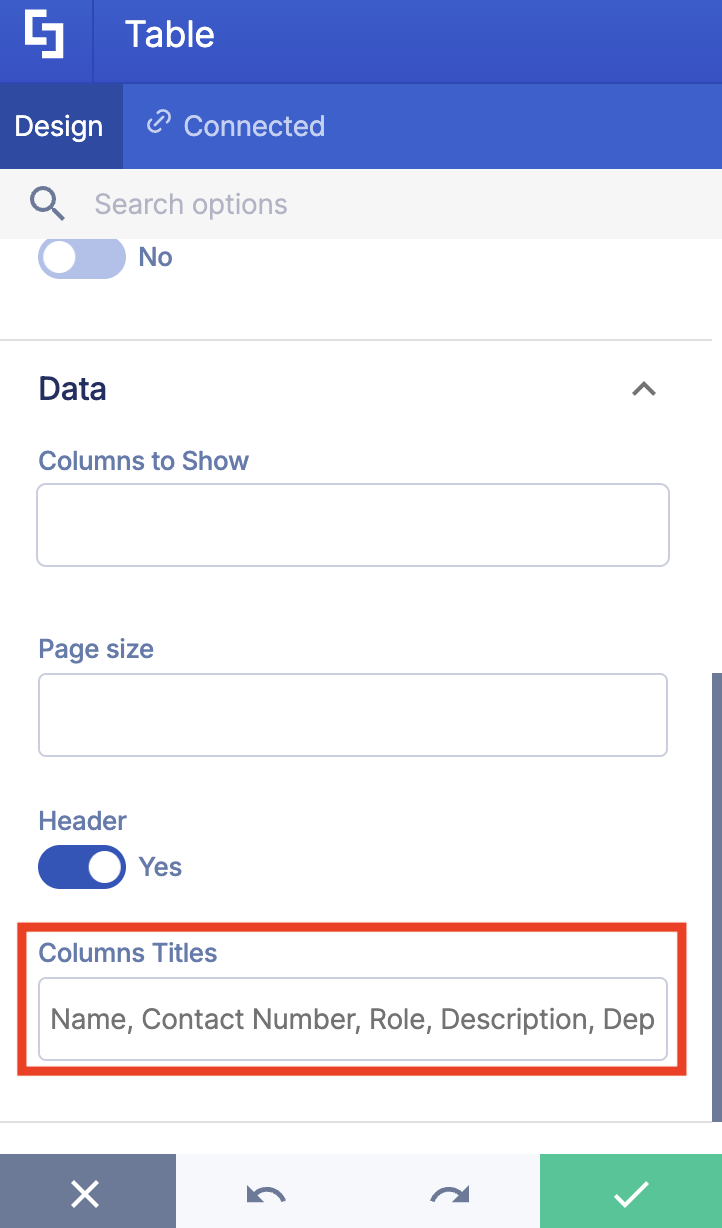
In the Columns Titles field, write the header name you want to assign to each column in your Table.
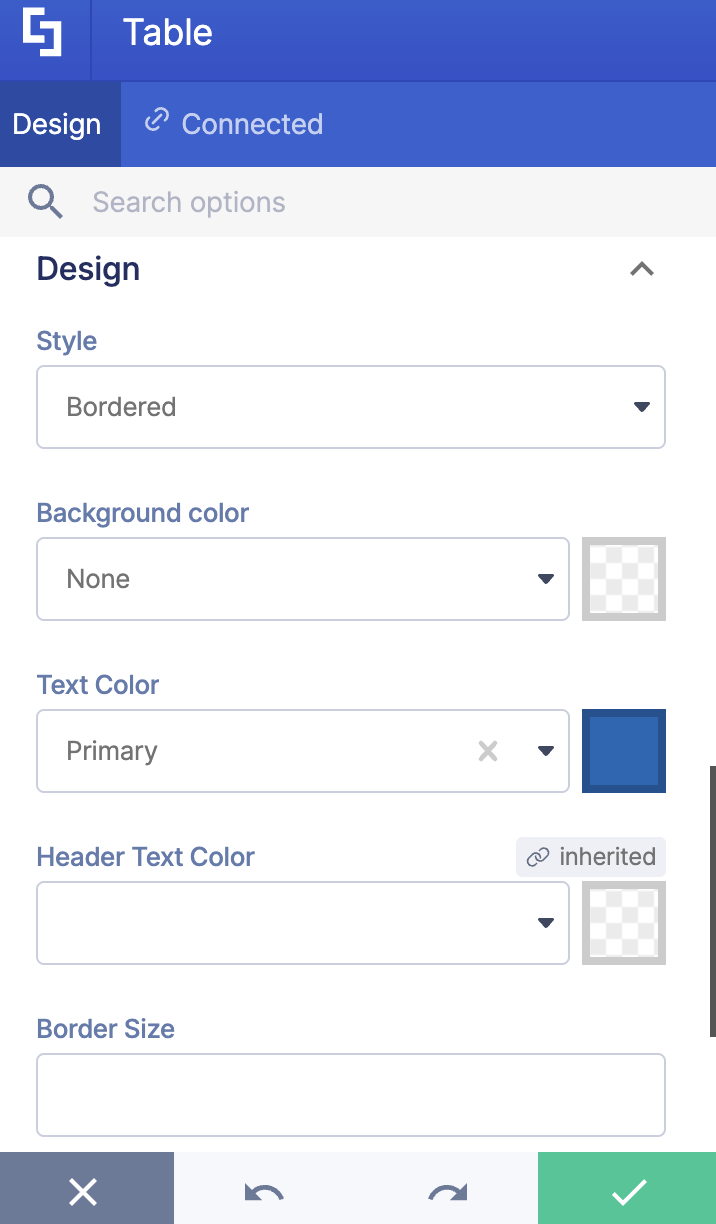
Step 6: Customize the Design
Modify how the table looks. To see the options available, check out Table Features.
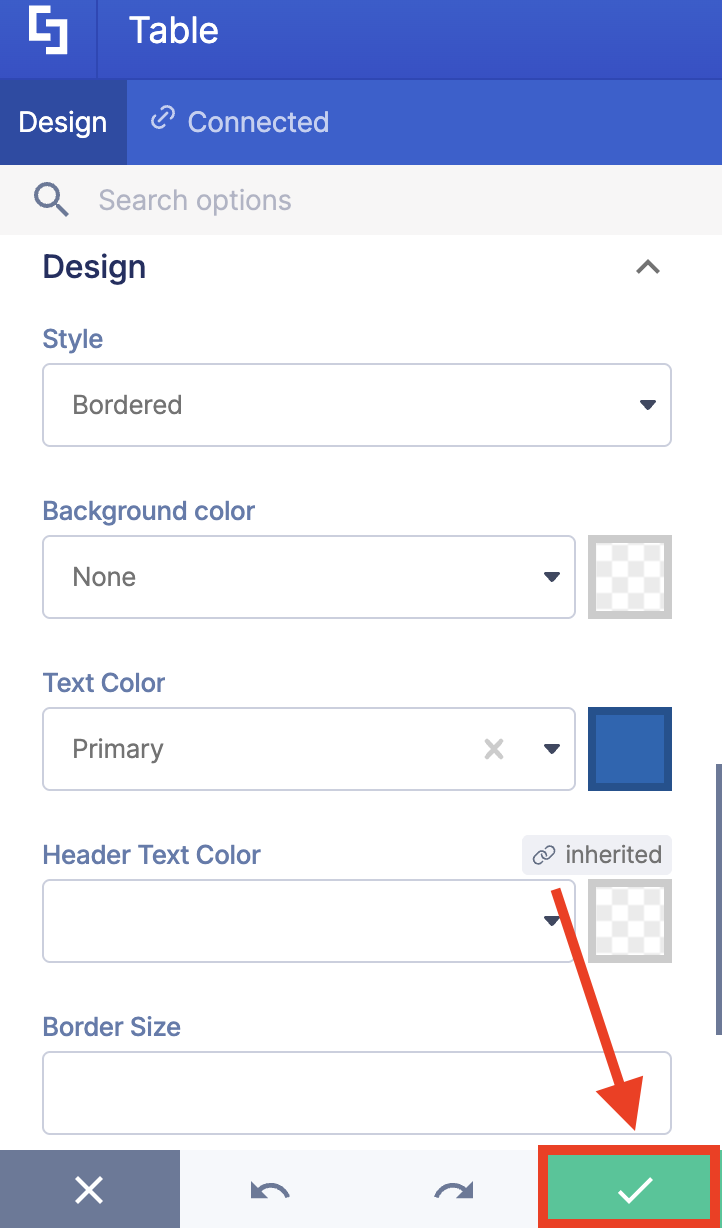
Step 7: Save and Publish
Click the green checkmark:
Save your changes:
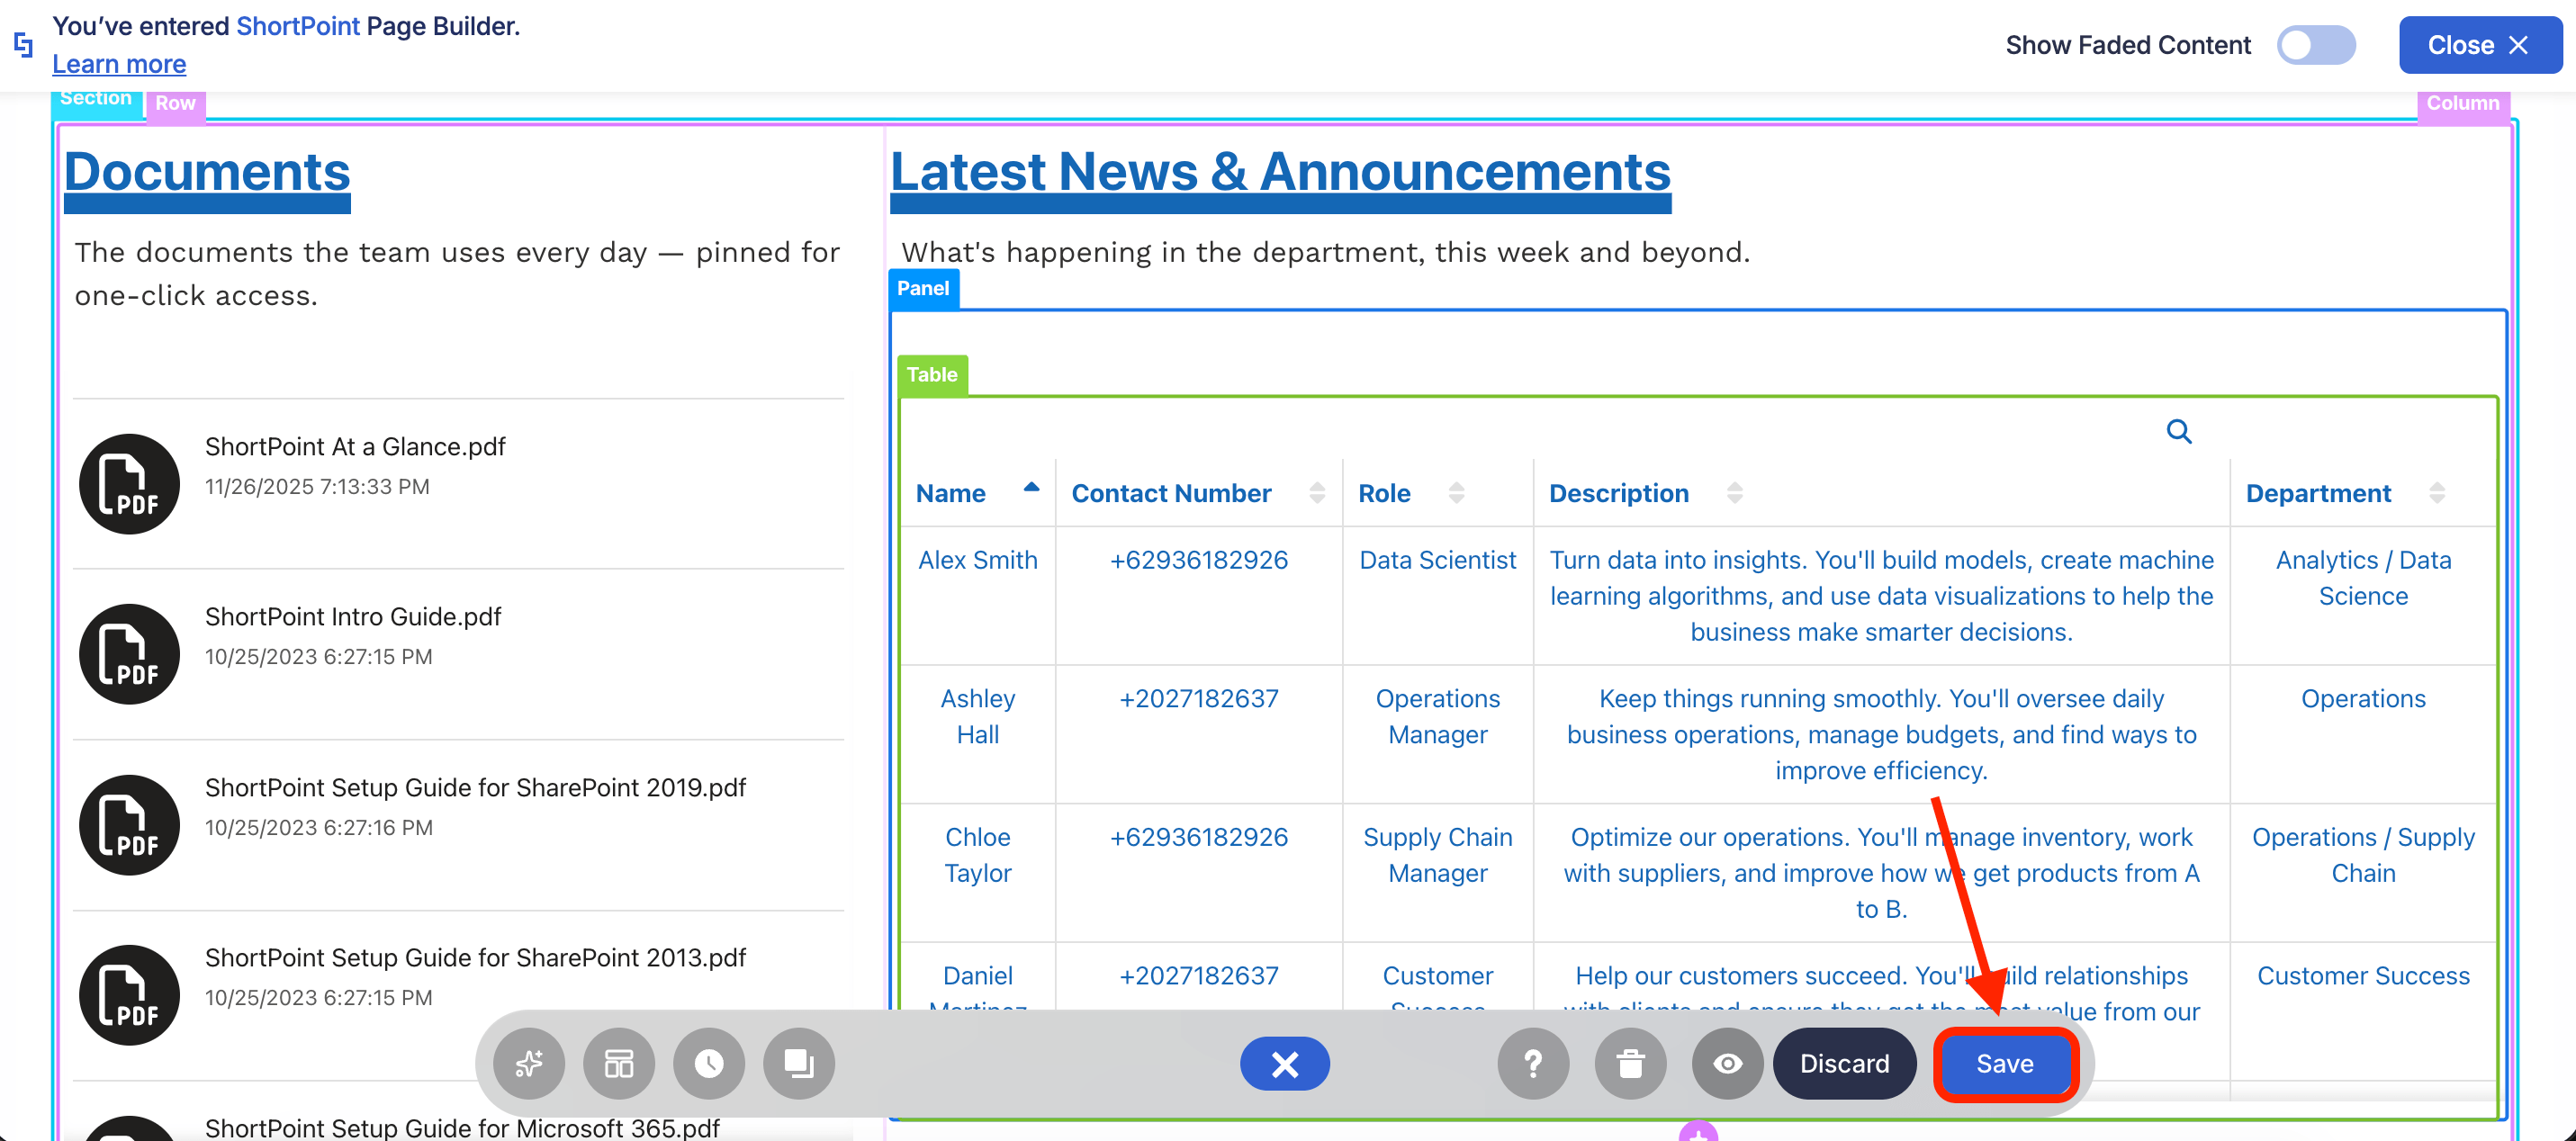
Publish your page:
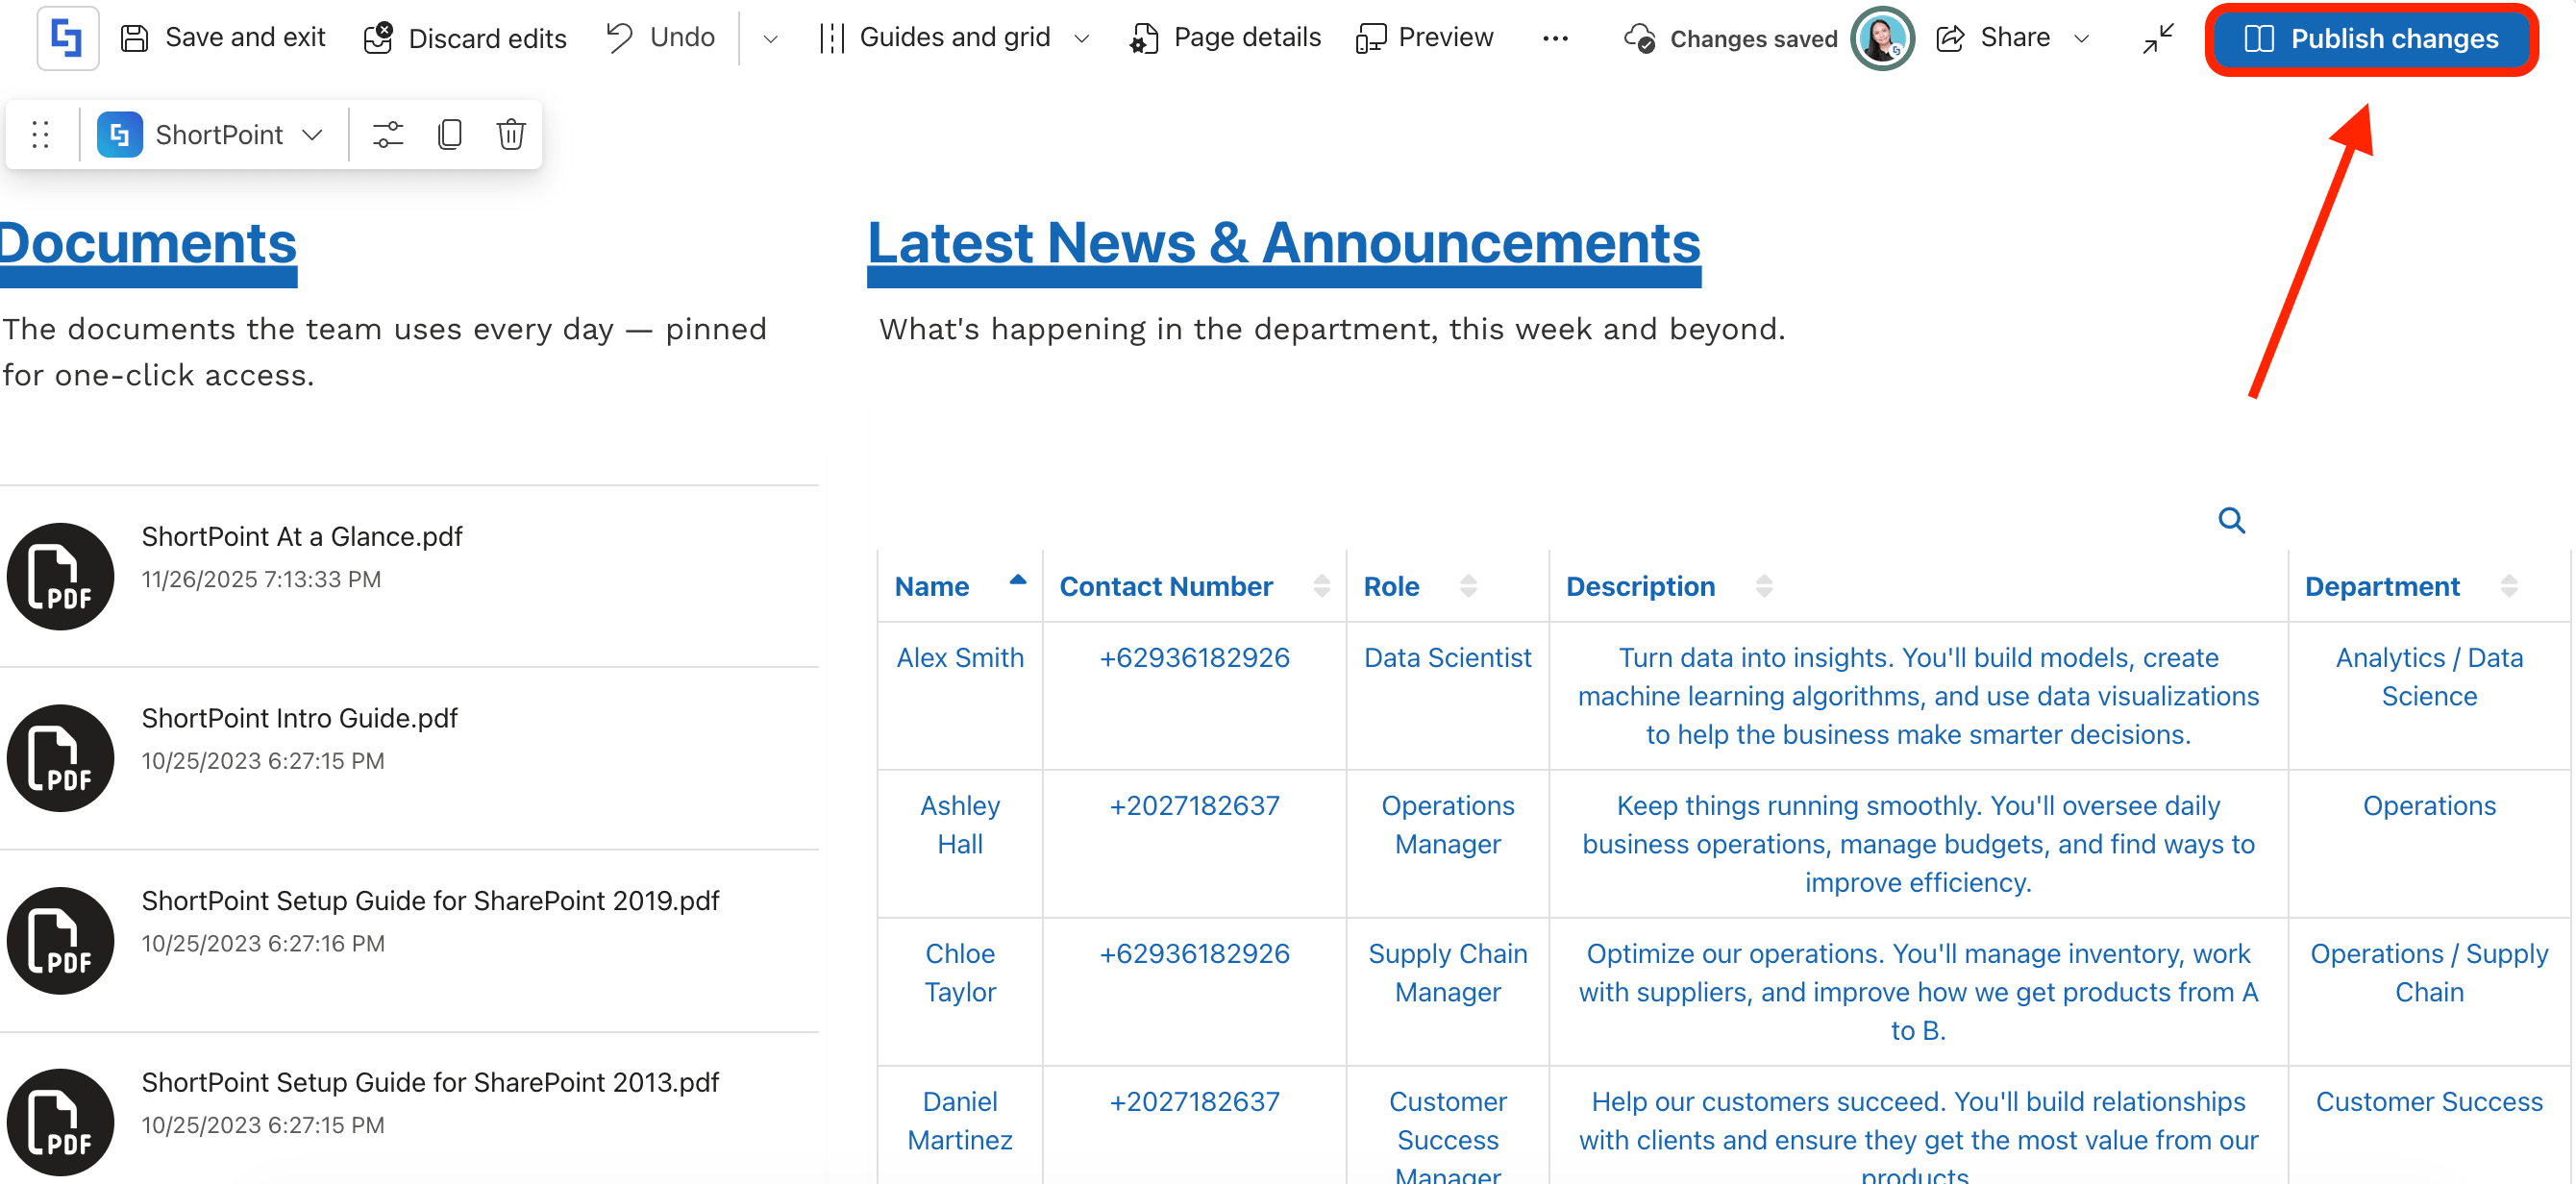
Congratulations! You can now add Tables to your SharePoint page.
Table Features
Below are the tabs you can find when you insert the Table Design Element:
A. Design Tab
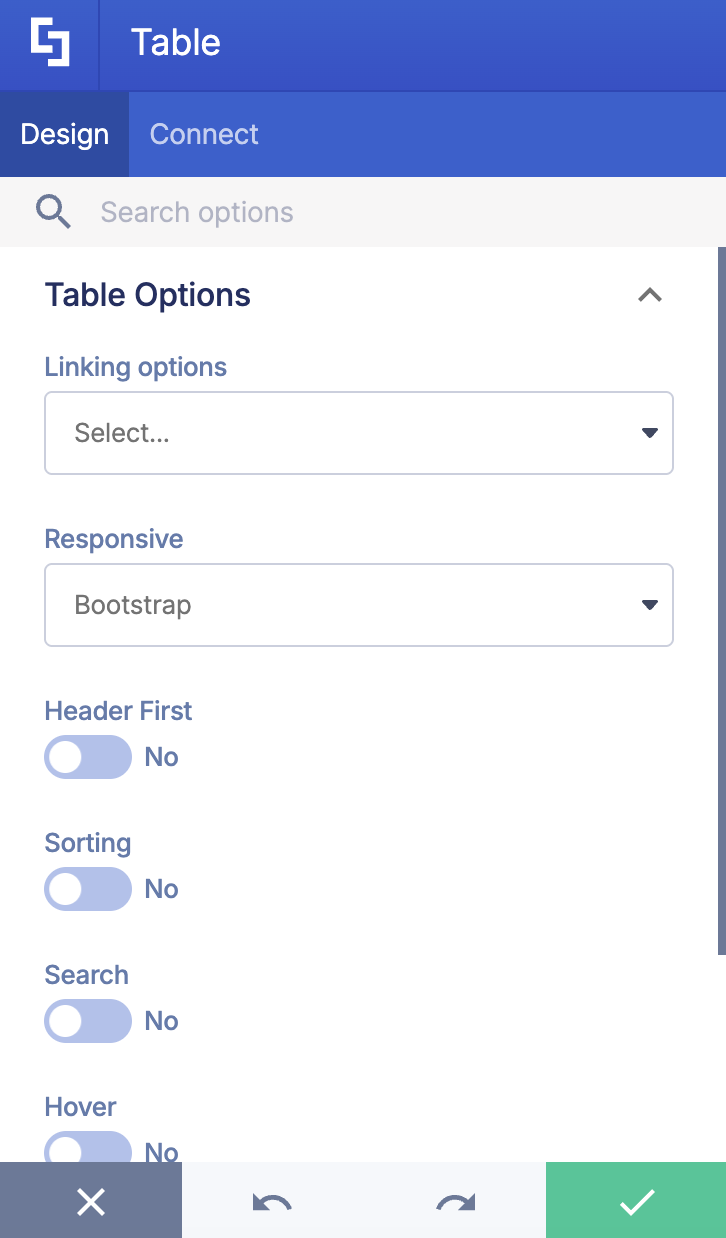
The Design tab allows you to customize the look and the content of the Table. It has the following options:
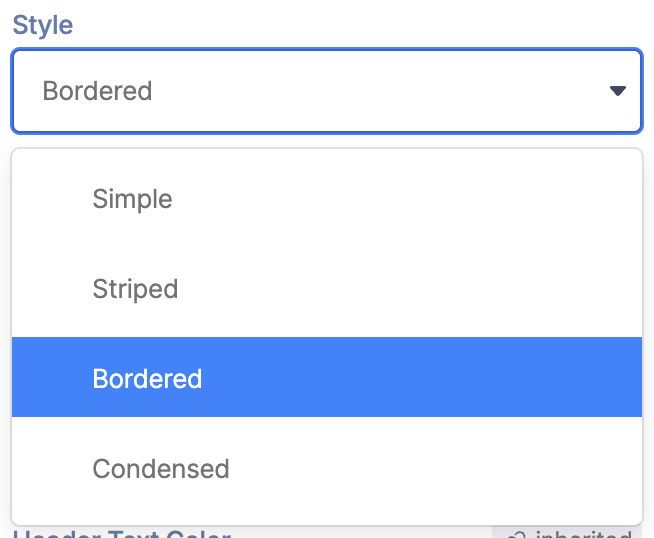 | Style | allows you to customize the style of the Table. You can choose from simple, striped, bordered, or condensed. |
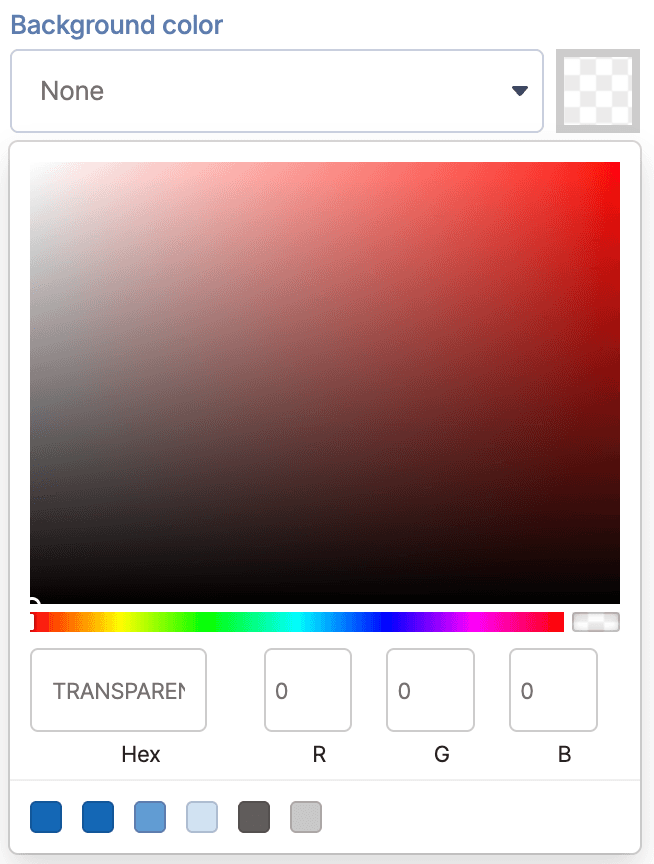 | Background Color | allows you to change the Table's background color. You can type the HEX code of the color you want to use or use the drop-down. |
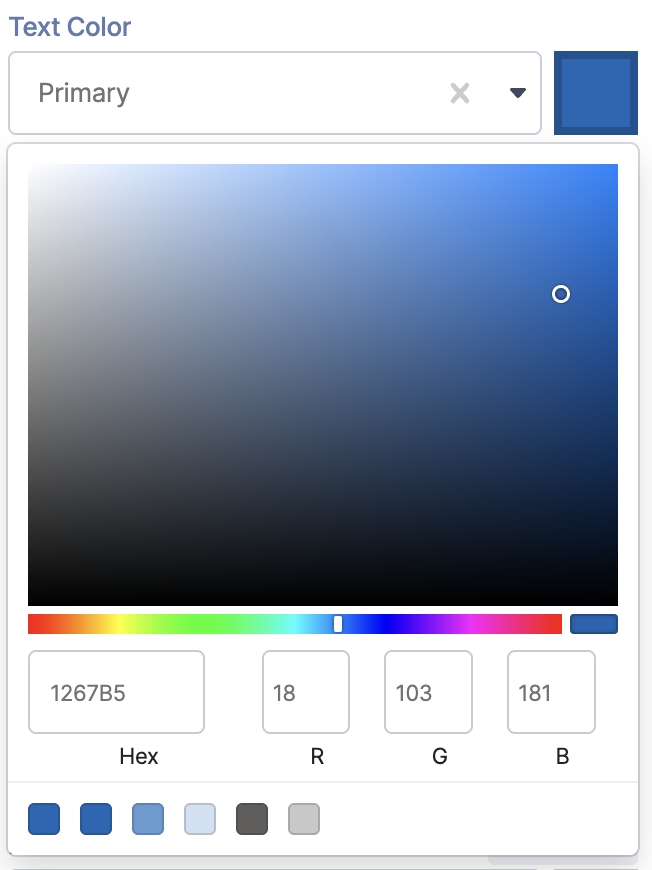 | Text Color | allows you to choose the text color. You can type the HEX code of the color you want to use or use the drop-down. |
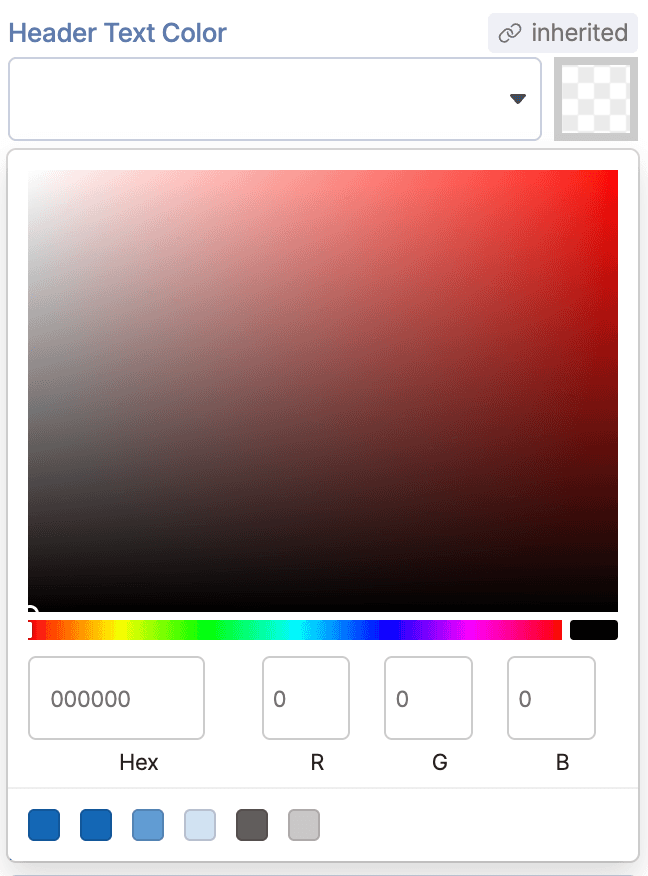 | Header Text Color | allows you to customize the header's text color. You can type the HEX code of the color you want to use or use the drop-down. |
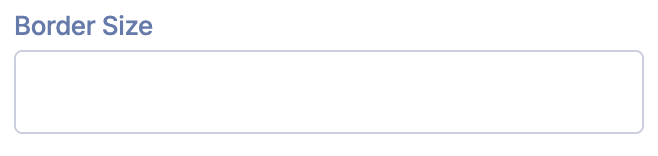 | Border Size | allows you to modify the size of the border. The size will be in px. |
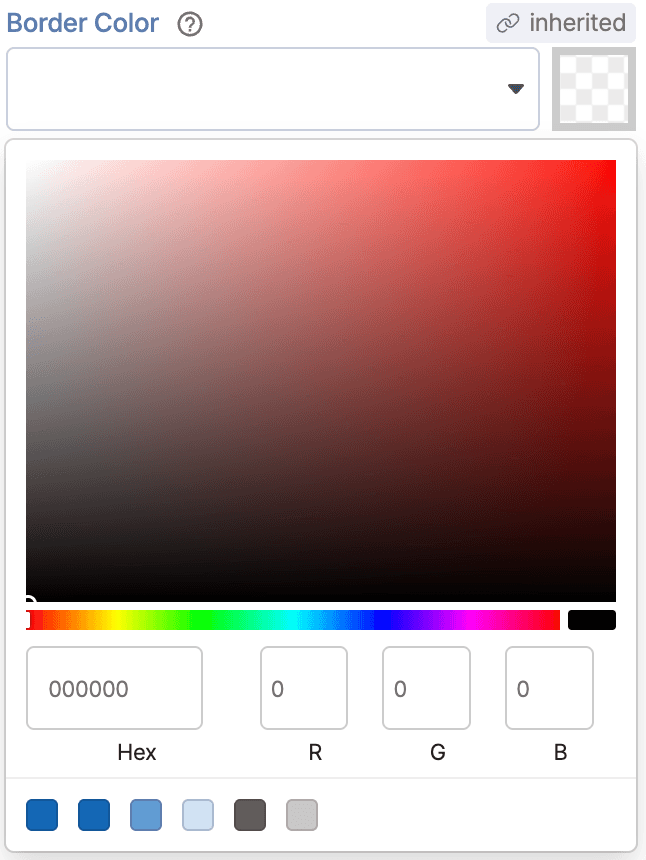 | Border Color | allows you to change the color of the border. You can type the HEX code of the color you want to use or use the drop-down. |
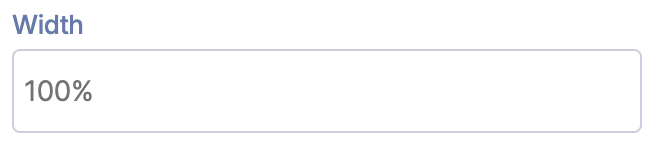 | Width | allows you to customize the width. |
DATA
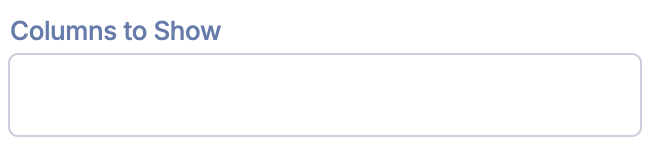 | Columns to Show | allows you to select the columns you want to show in the order you want them to appear. |
Page size | allows you to define how many items will be displayed on a single page inside the table element. | |
Header | allows you to hide/show the columns’ headers. | |
Columns Titles | allows you to assign the header name for each column on your Table. |
TABLE OPTIONS
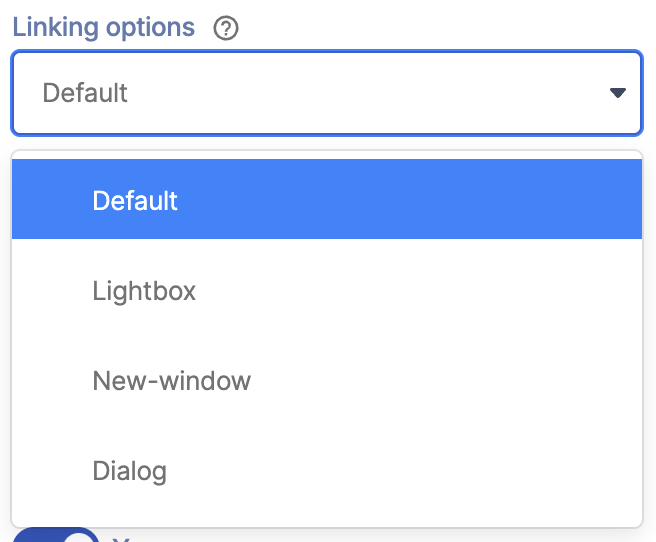 | Linking options | allows you to choose how the link will be opened. Check out Types of Linking Options to learn more. |
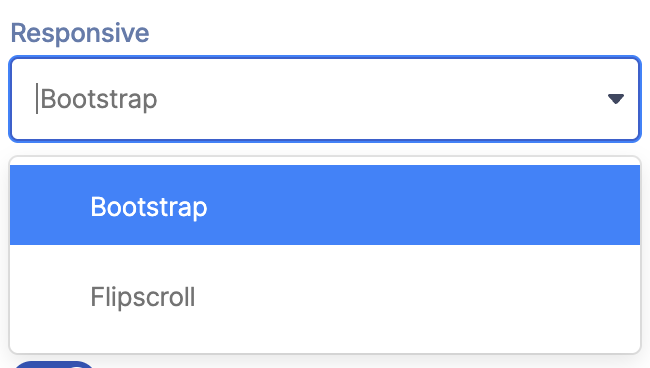 | Responsive | allows you to choose the responsive style of the table. You can choose from bootstrap or flipscroll. |
 | Header First | allows you to assign the first row of the Table as the header. |
 | Sorting | allows you to enable sorting. |
 | Search | allows you to add the search function. |
 | Hover | allows you to add an effect whenever you hover over rows. |
B. Connect tab
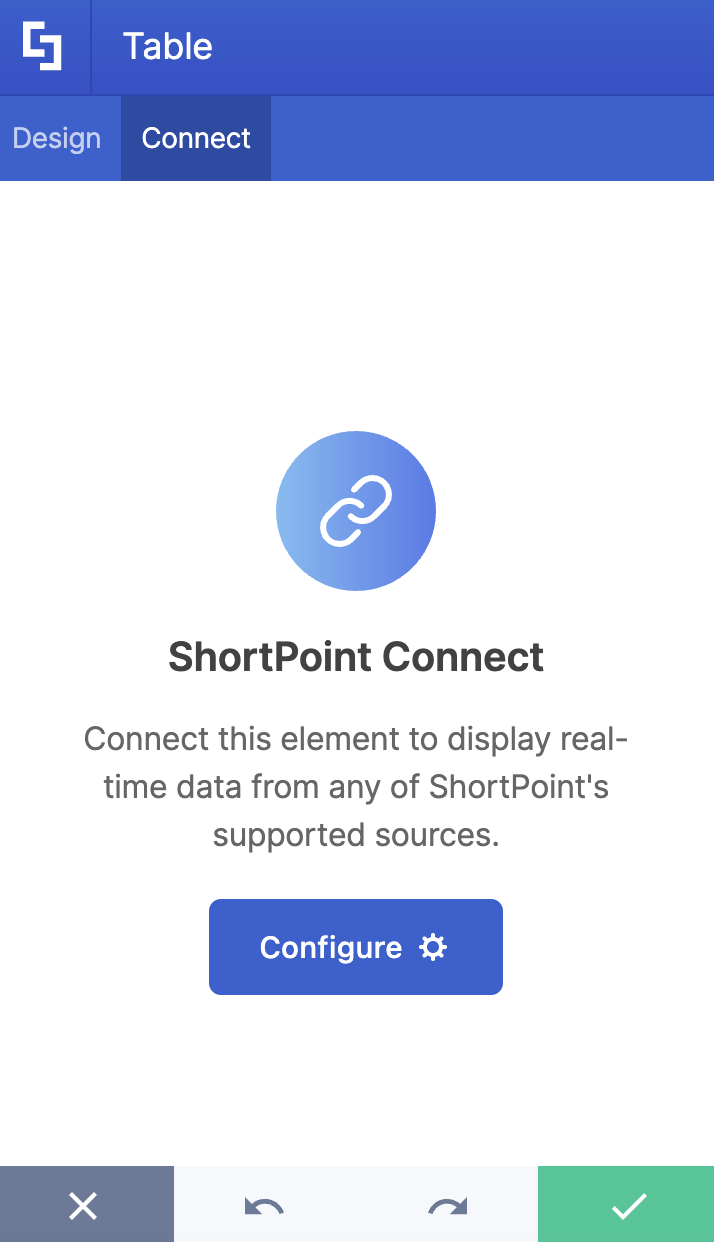
The Connect tab allows you to connect the Table to a data source. Check out ShortPoint Connect: Basic Tutorial to learn more.
4 Practical Use Cases for Your Intranet
Centralized Employee & Department Directories
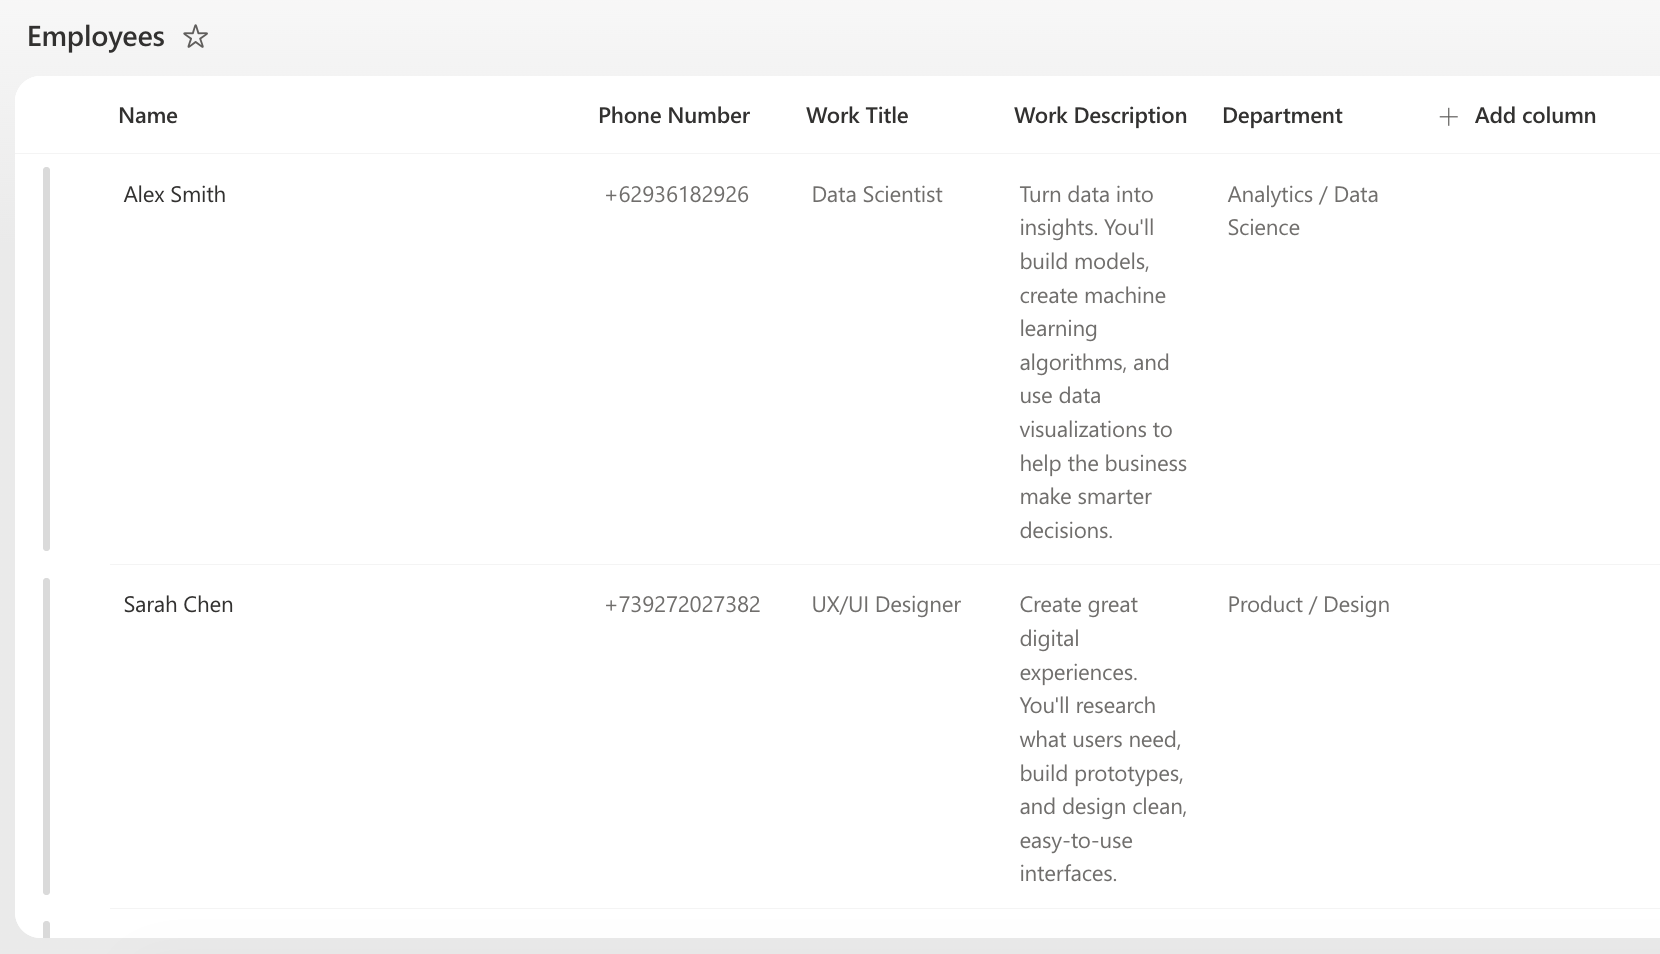
Keeping team contact details accessible and easy to search is essential for any intranet. By connecting the Table Design Element to an "Employee" list, you can display names, job titles, departments, and email addresses in a clean, searchable format. Employees can quickly filter or search by name or team without leaving the page.
Company Policy & Document Libraries
Navigating large document repositories can be overwhelming for staff. By pulling from a SharePoint Document Library, you can present policy files, compliance guides, and onboarding packets in a clean, paginated table. Adding hover effects and row links allows users to locate and access the exact document they need in seconds.
IT Support & Project Tracker Dashboards
Intranet portals frequently need to display project milestones, system statuses, or IT ticket queues. Connecting the Table Design Element to a tracking list lets you show current statuses, assigned team members, and priority levels. With sorting enabled, team members can sort tasks by deadline or status with a single click.
Vendor & Asset Management Logs
Managing office inventory, software licenses, or external vendor contracts requires clear organization. A ShortPoint table can pull vendor names, contact info, renewal dates, and contract links into a bordered or striped table layout, making administrative workflows far easier to oversee.
Frequently Asked Questions
Do I need coding skills to use the ShortPoint Table Design Element?
Not at all! The Table Design Element is built entirely for no-code customization. You can customize styles, toggle search and sorting features, and connect to SharePoint lists using straightforward dropdowns and toggles.
Where can I find the Table Design Element in ShortPoint?
The Table Design Element is accessible in Live Mode. Simply edit your ShortPoint web part, click the + icon to open the Design Element library, and search for "Table."
Can I pull data from a SharePoint list located on a different site?
Yes. Inside the Connect tab of the element, you can choose connection options like Current Site, Other Sites, or SharePoint Site URL to display lists and libraries stored elsewhere across your SharePoint tenancy.
How does the table handle mobile or smaller screens?
The element includes built-in responsive settings. Under the Table Options section, you can select responsive modes like Bootstrap or Flipscroll to ensure your data tables remain clean and readable on mobile devices and tablets.
Can users search and sort table data directly on the page?
Yes! You can enable both Search and Sorting options directly within the Design tab settings. This adds a live search bar above the table and allows users to click column headers to sort rows dynamically.
Related articles: