Try ShortPoint now
This article demonstrates how to use the REST API connection to display files from a specific folder in a Document Library.
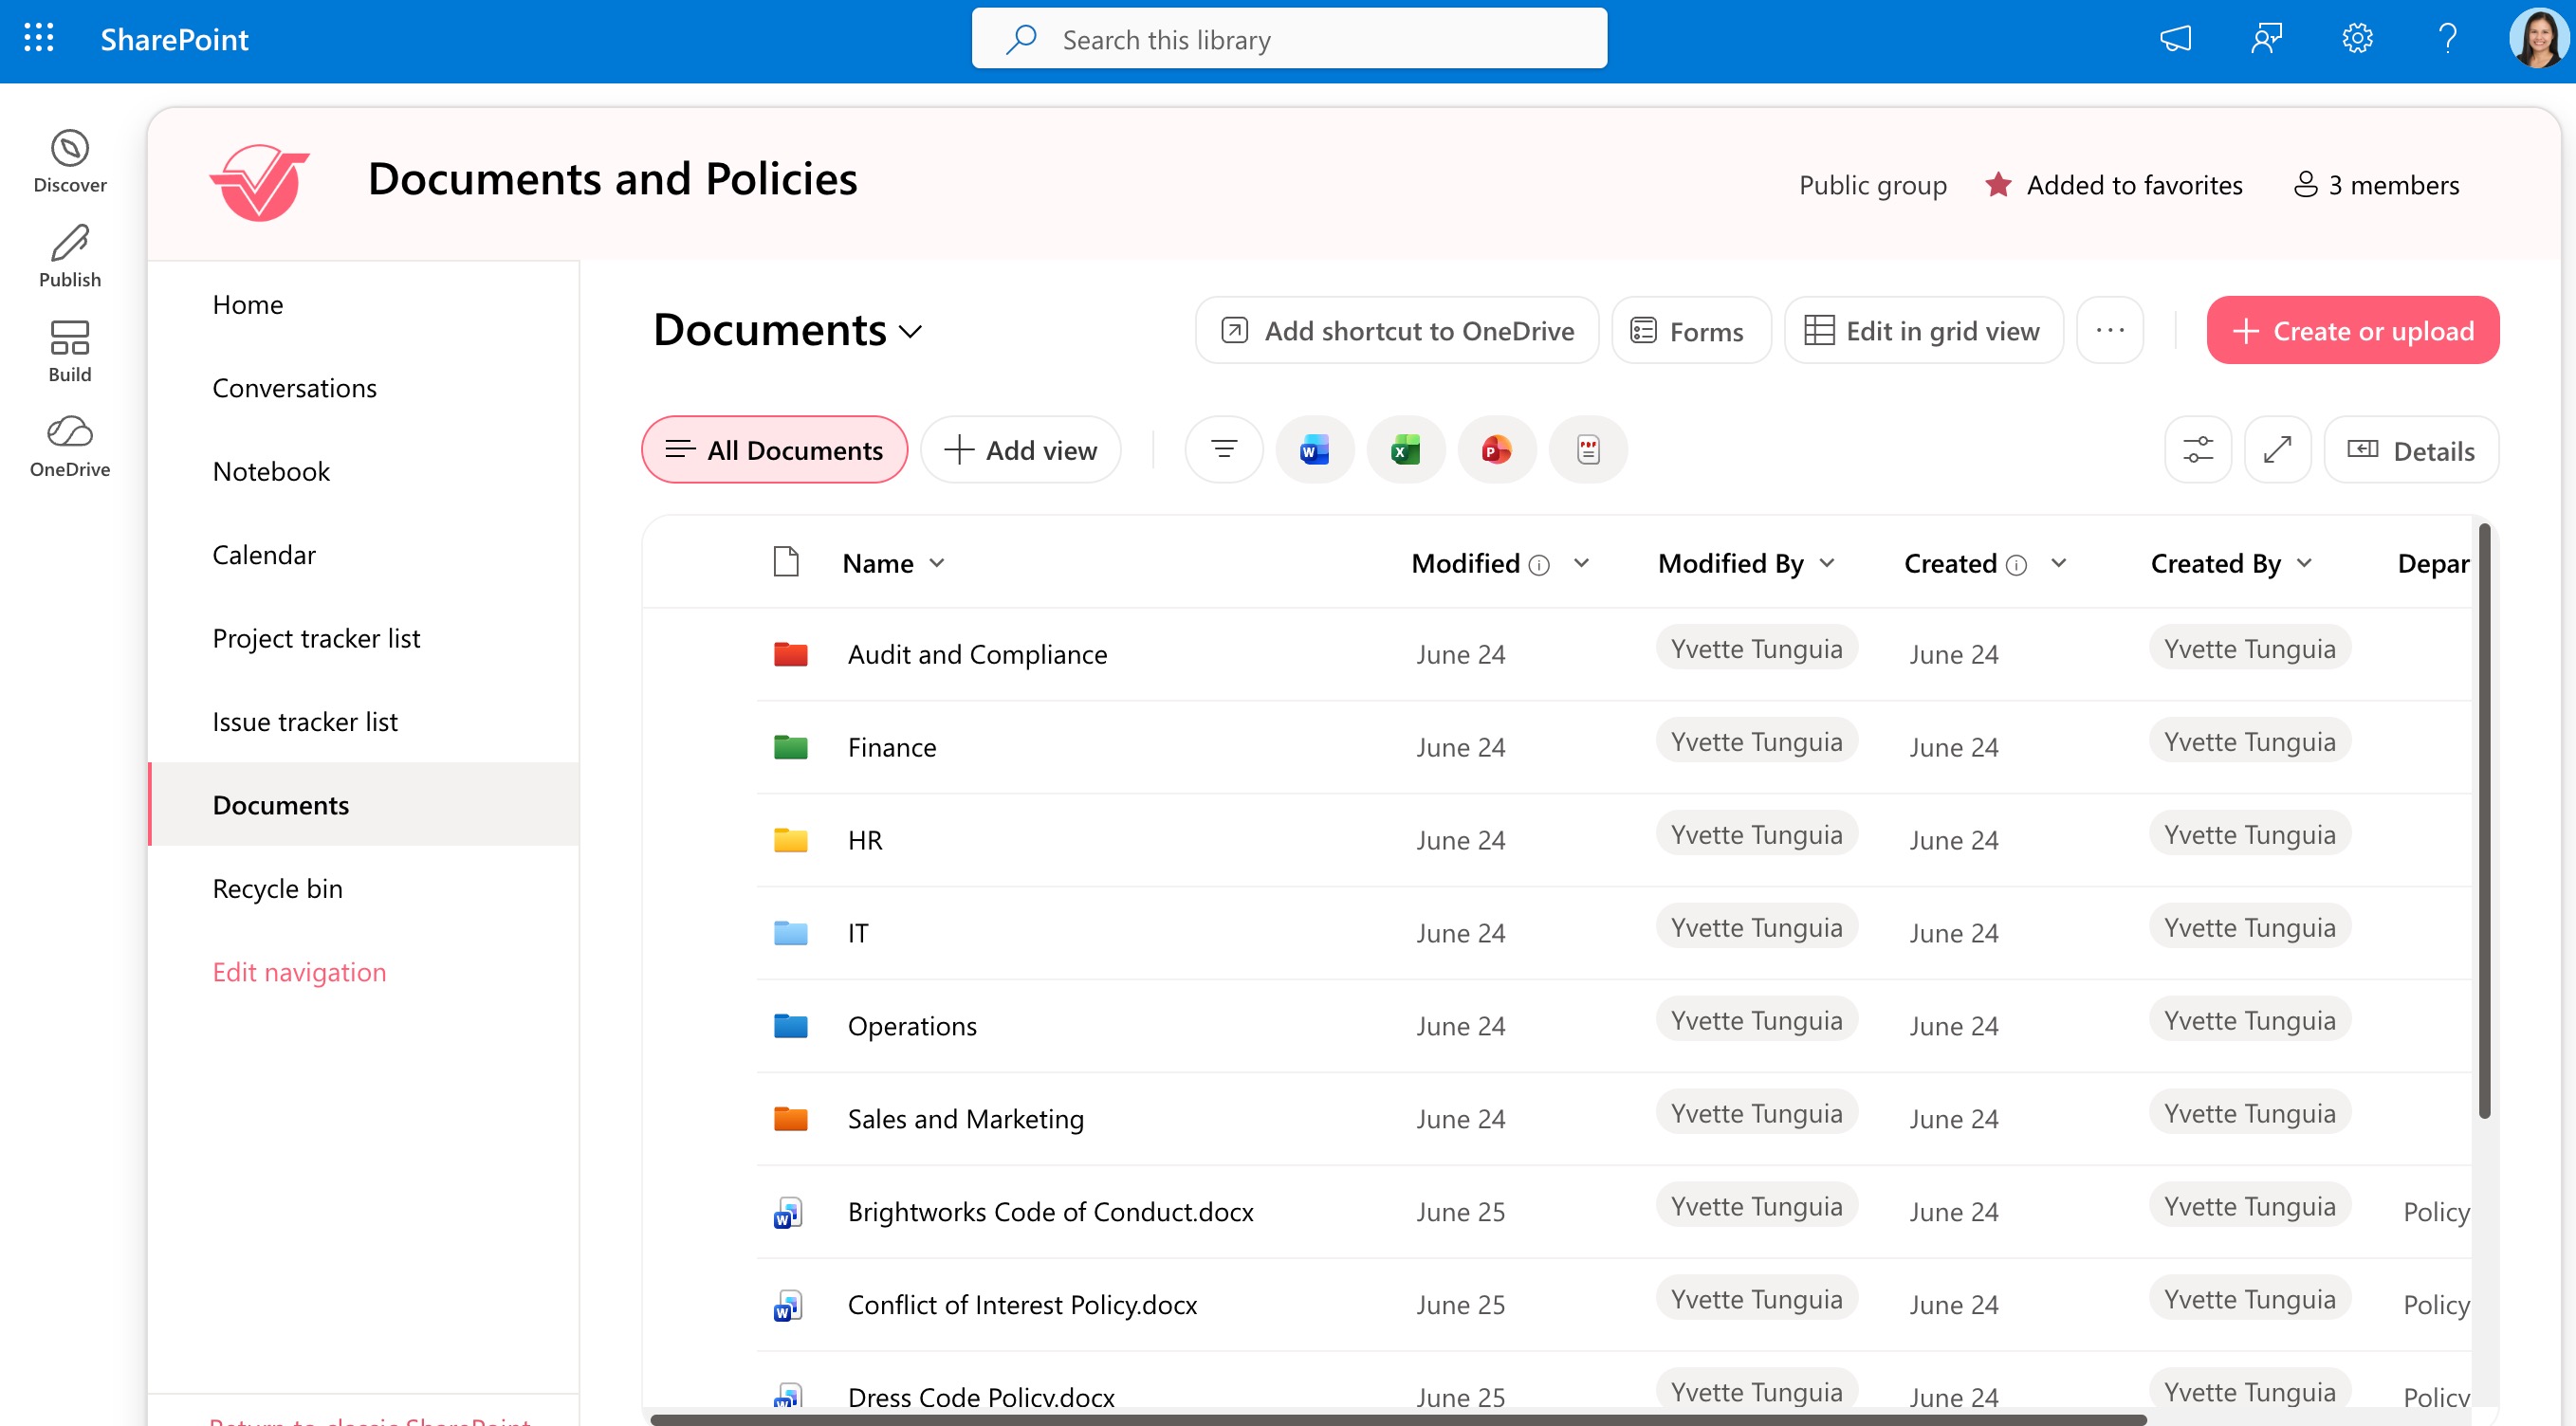
For this guide, we want to showcase files inside this PDF Guides folder:
This is the result:
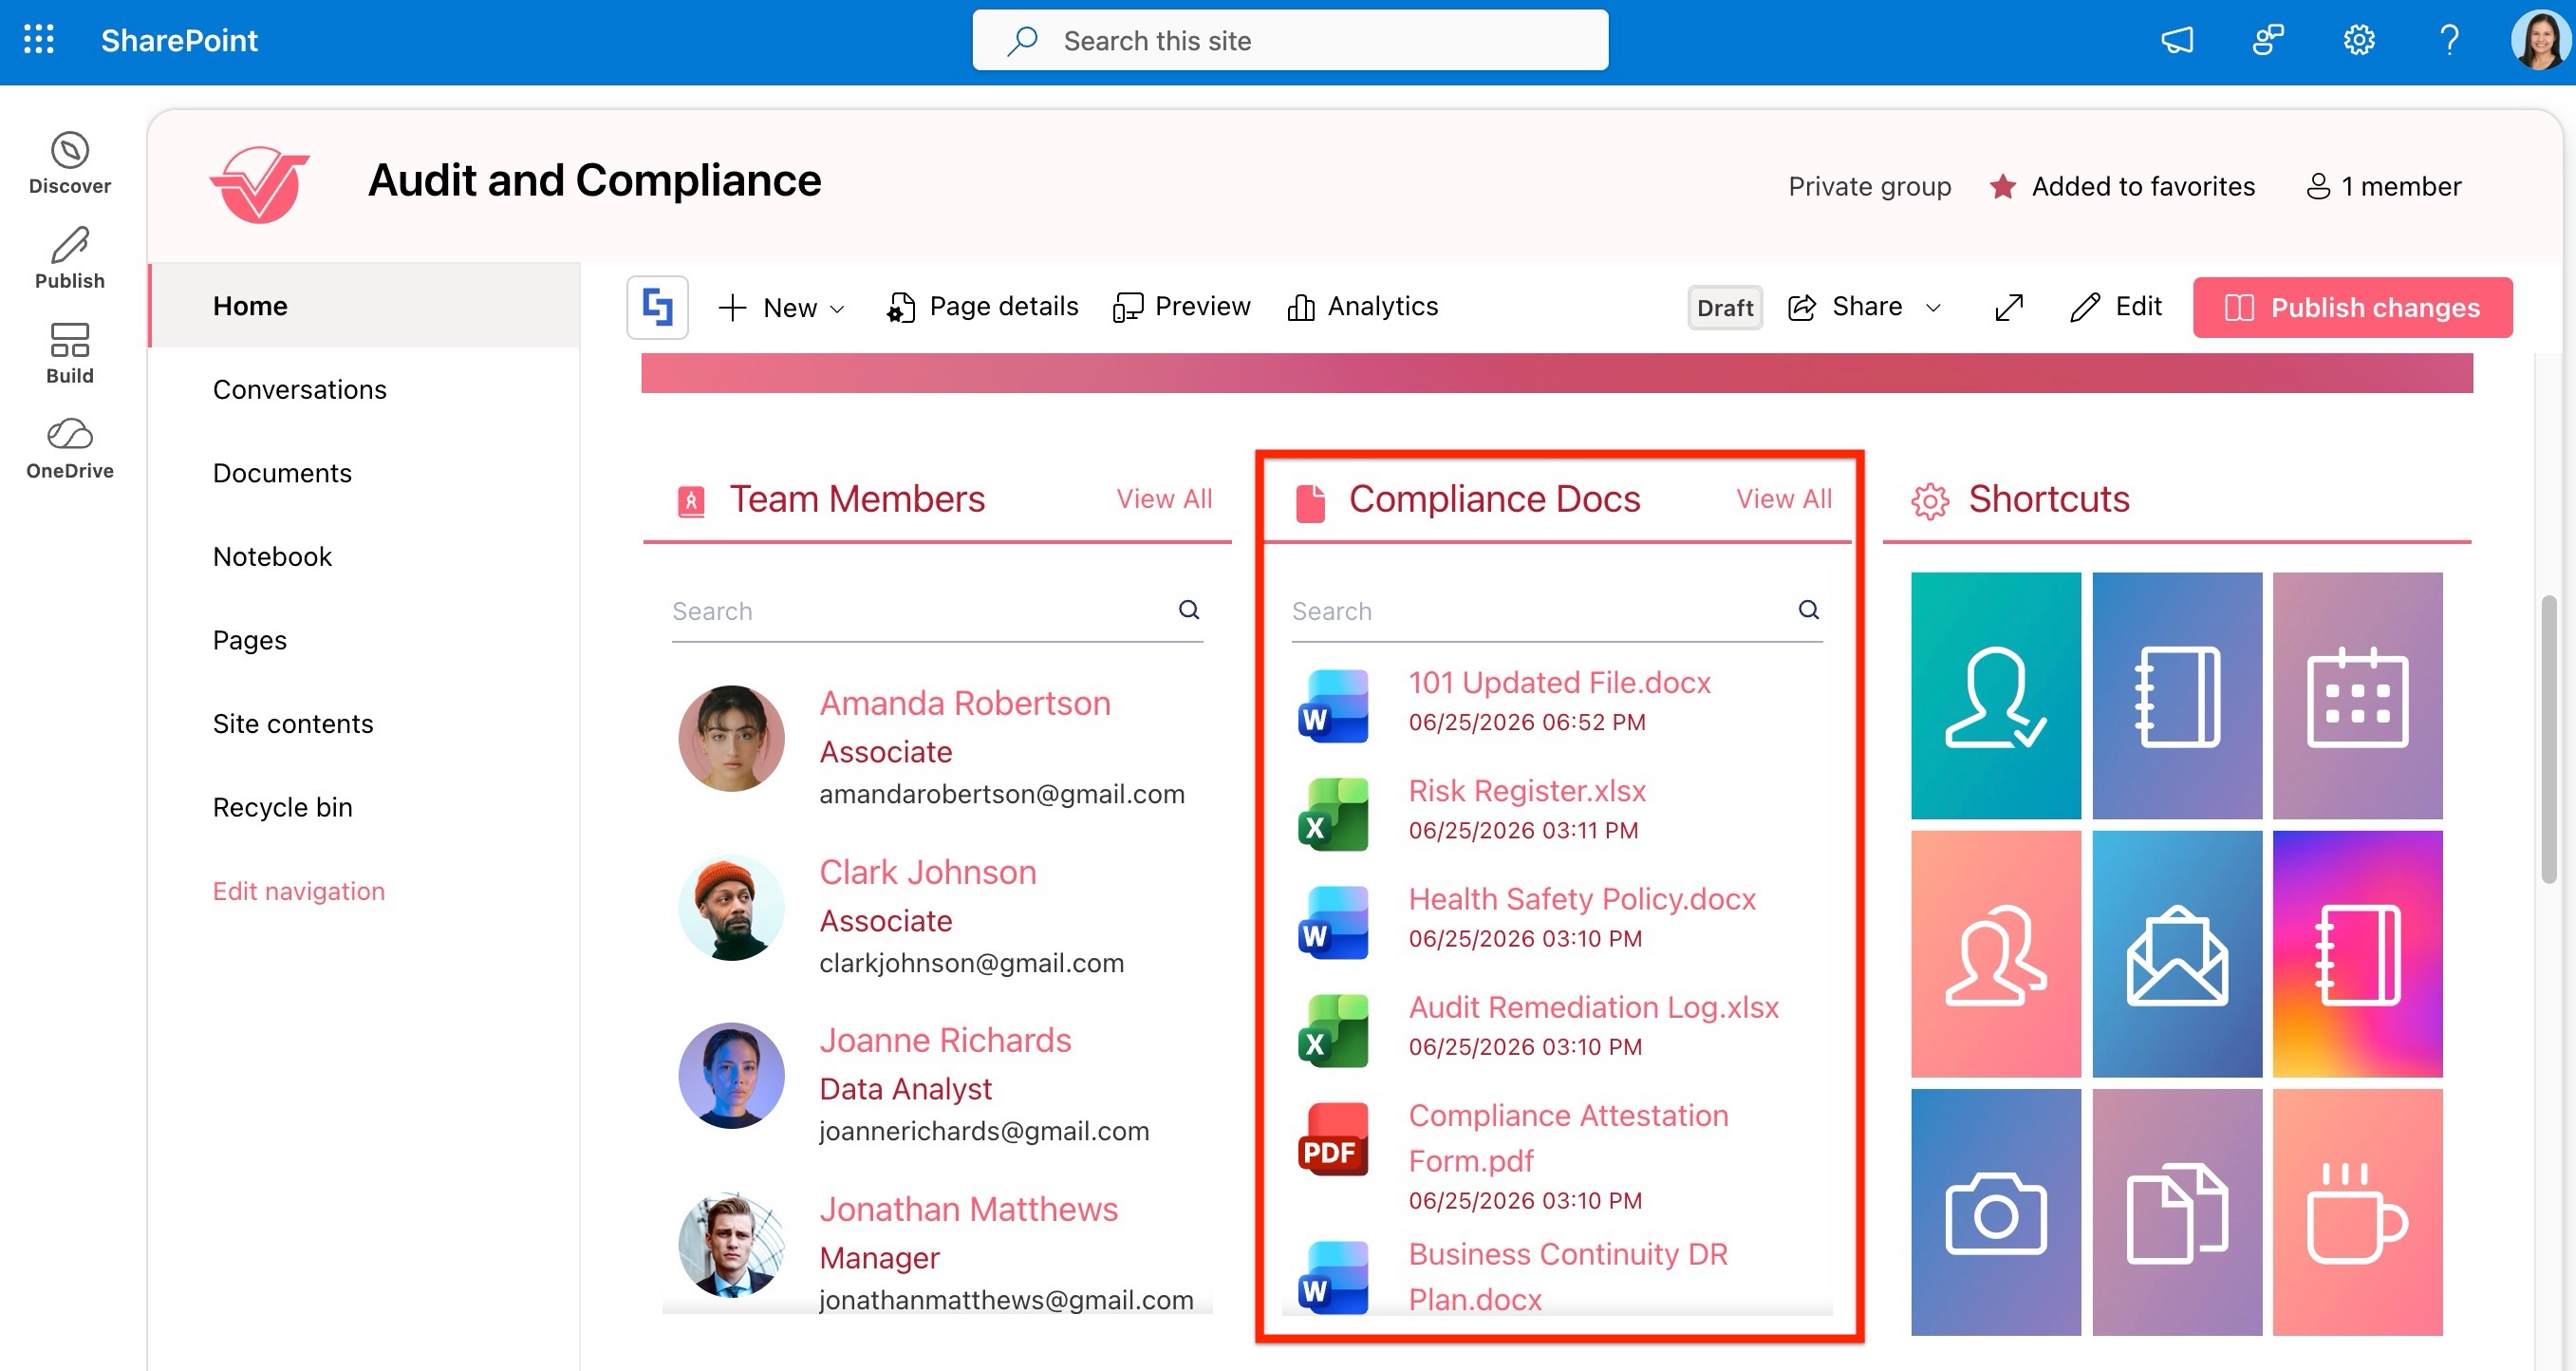
TABLE OF CONTENTS
Prerequisites
- You must have the latest version of ShortPoint SPFx installed on your SharePoint environment.
- You must be a ShortPoint Designer with an active license.
- You must have an existing File List Design Element.
- You must have an existing Document Library with folders. To learn how to create a Document Library, check out Create a Document Library in SharePoint.
Step-by-step Tutorial
Follow the steps below to get started:
Step 1: Edit the ShortPoint Web Part
- Go to the SharePoint page you want to use and click Edit.

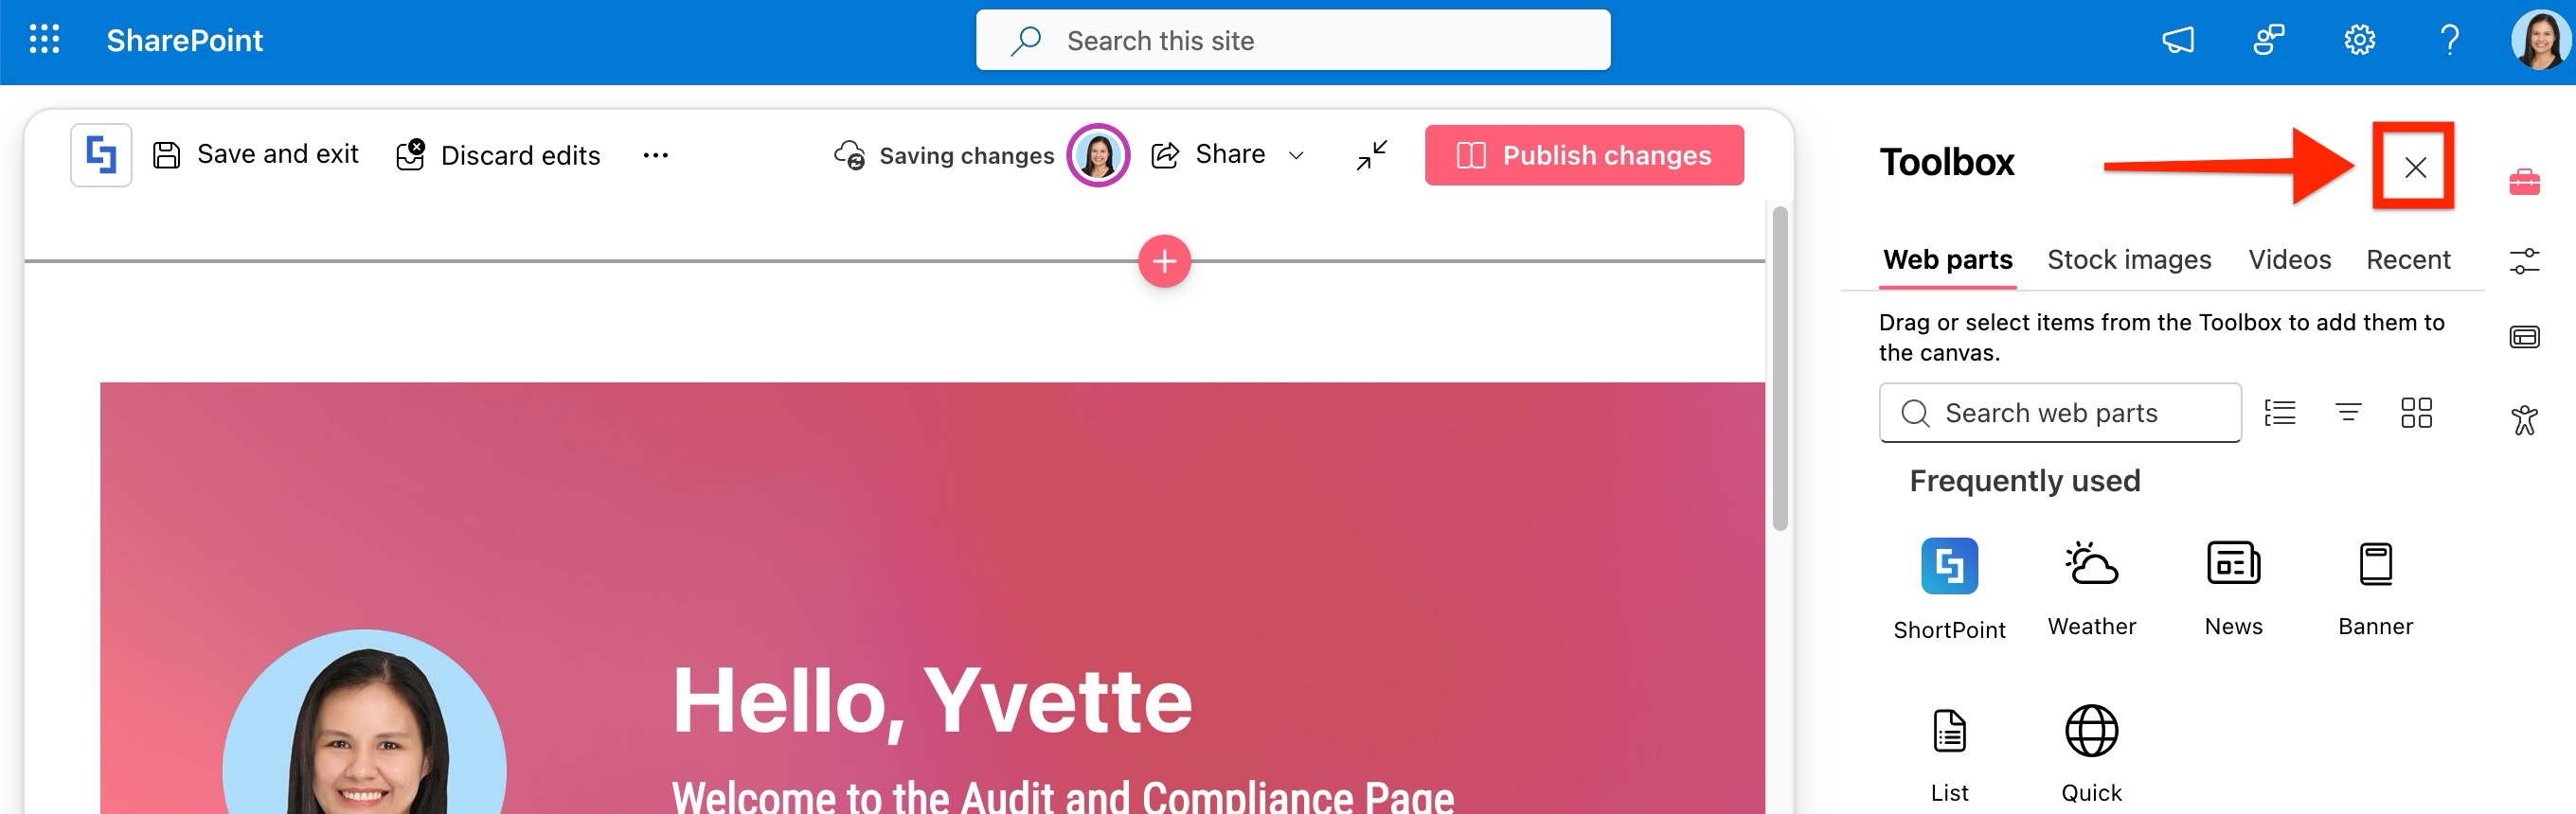
- Close the Toolbox.
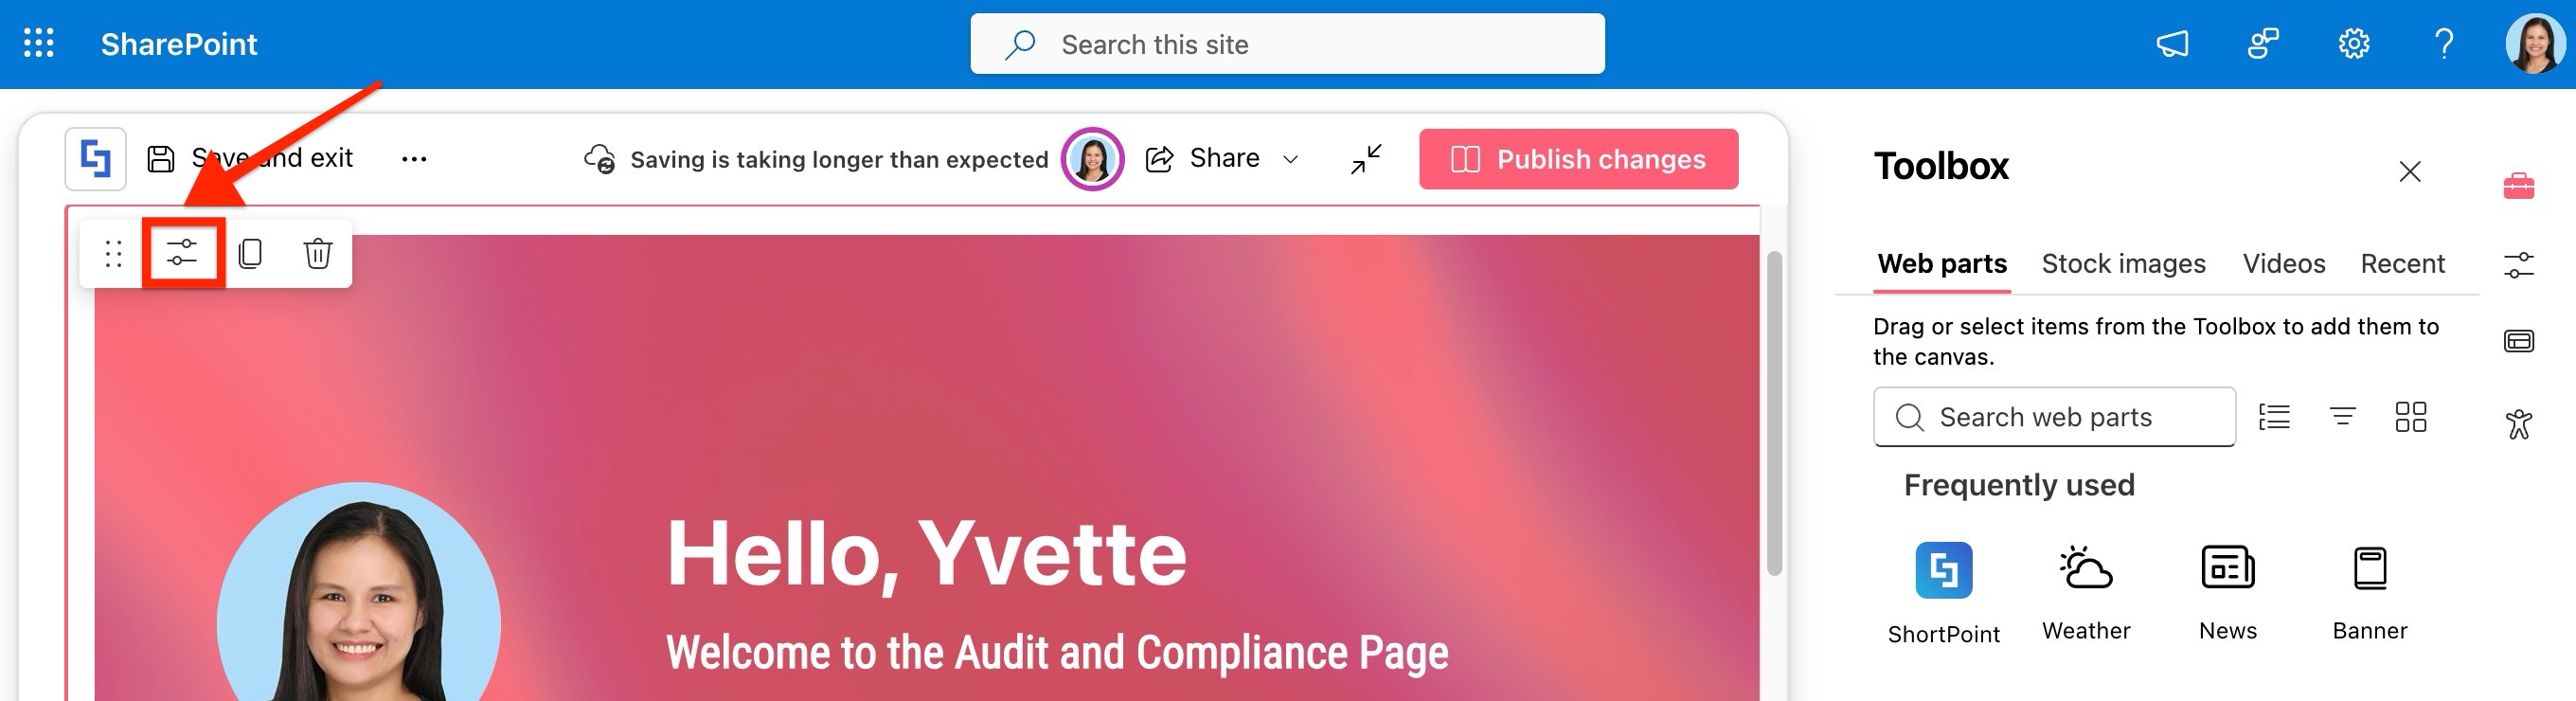
- Click the Edit properties icon.
Step 2: Open the File List settings window
NOTE Before proceeding, make sure you already have the Design Element you want to use on your page. For this guide, we’ll use File List.
- Click the Easypass tag of the Design Element.
- Click the cogwheel icon.
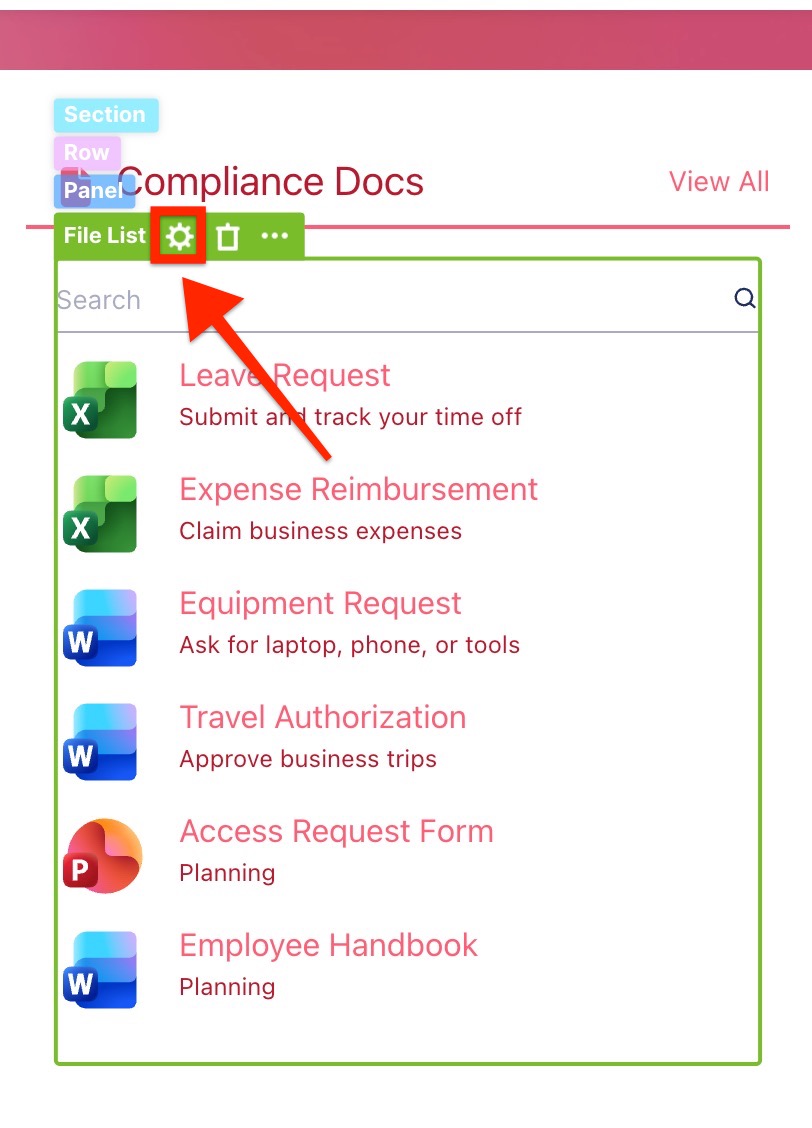
The Design Element settings window will open.
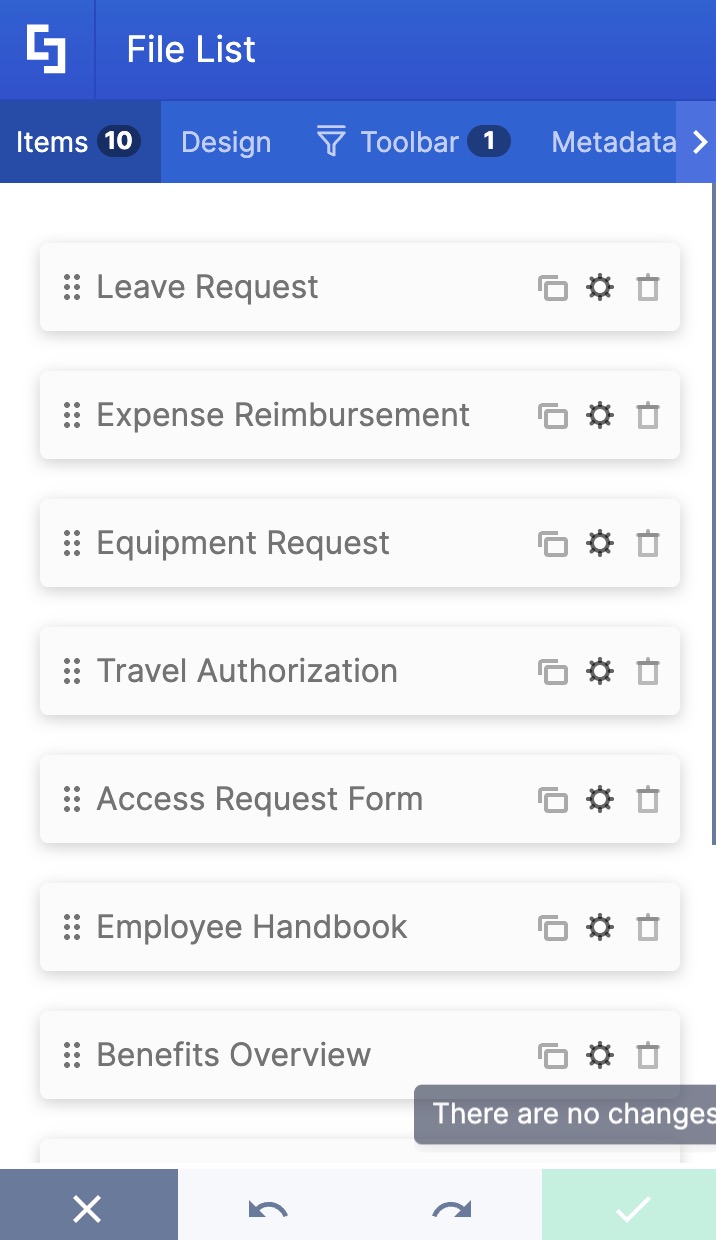
Step 3: Open the Connect Window
- Click the next icon.
- Go to the Connect tab.
- Select Configure.
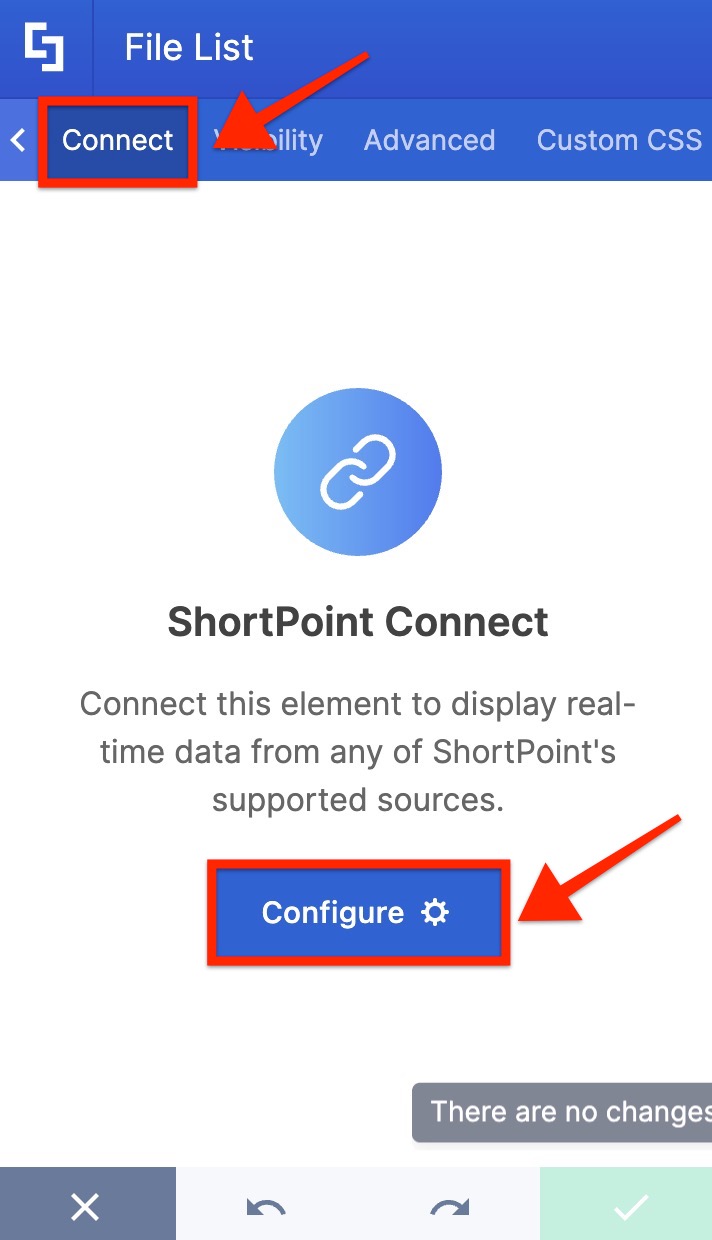
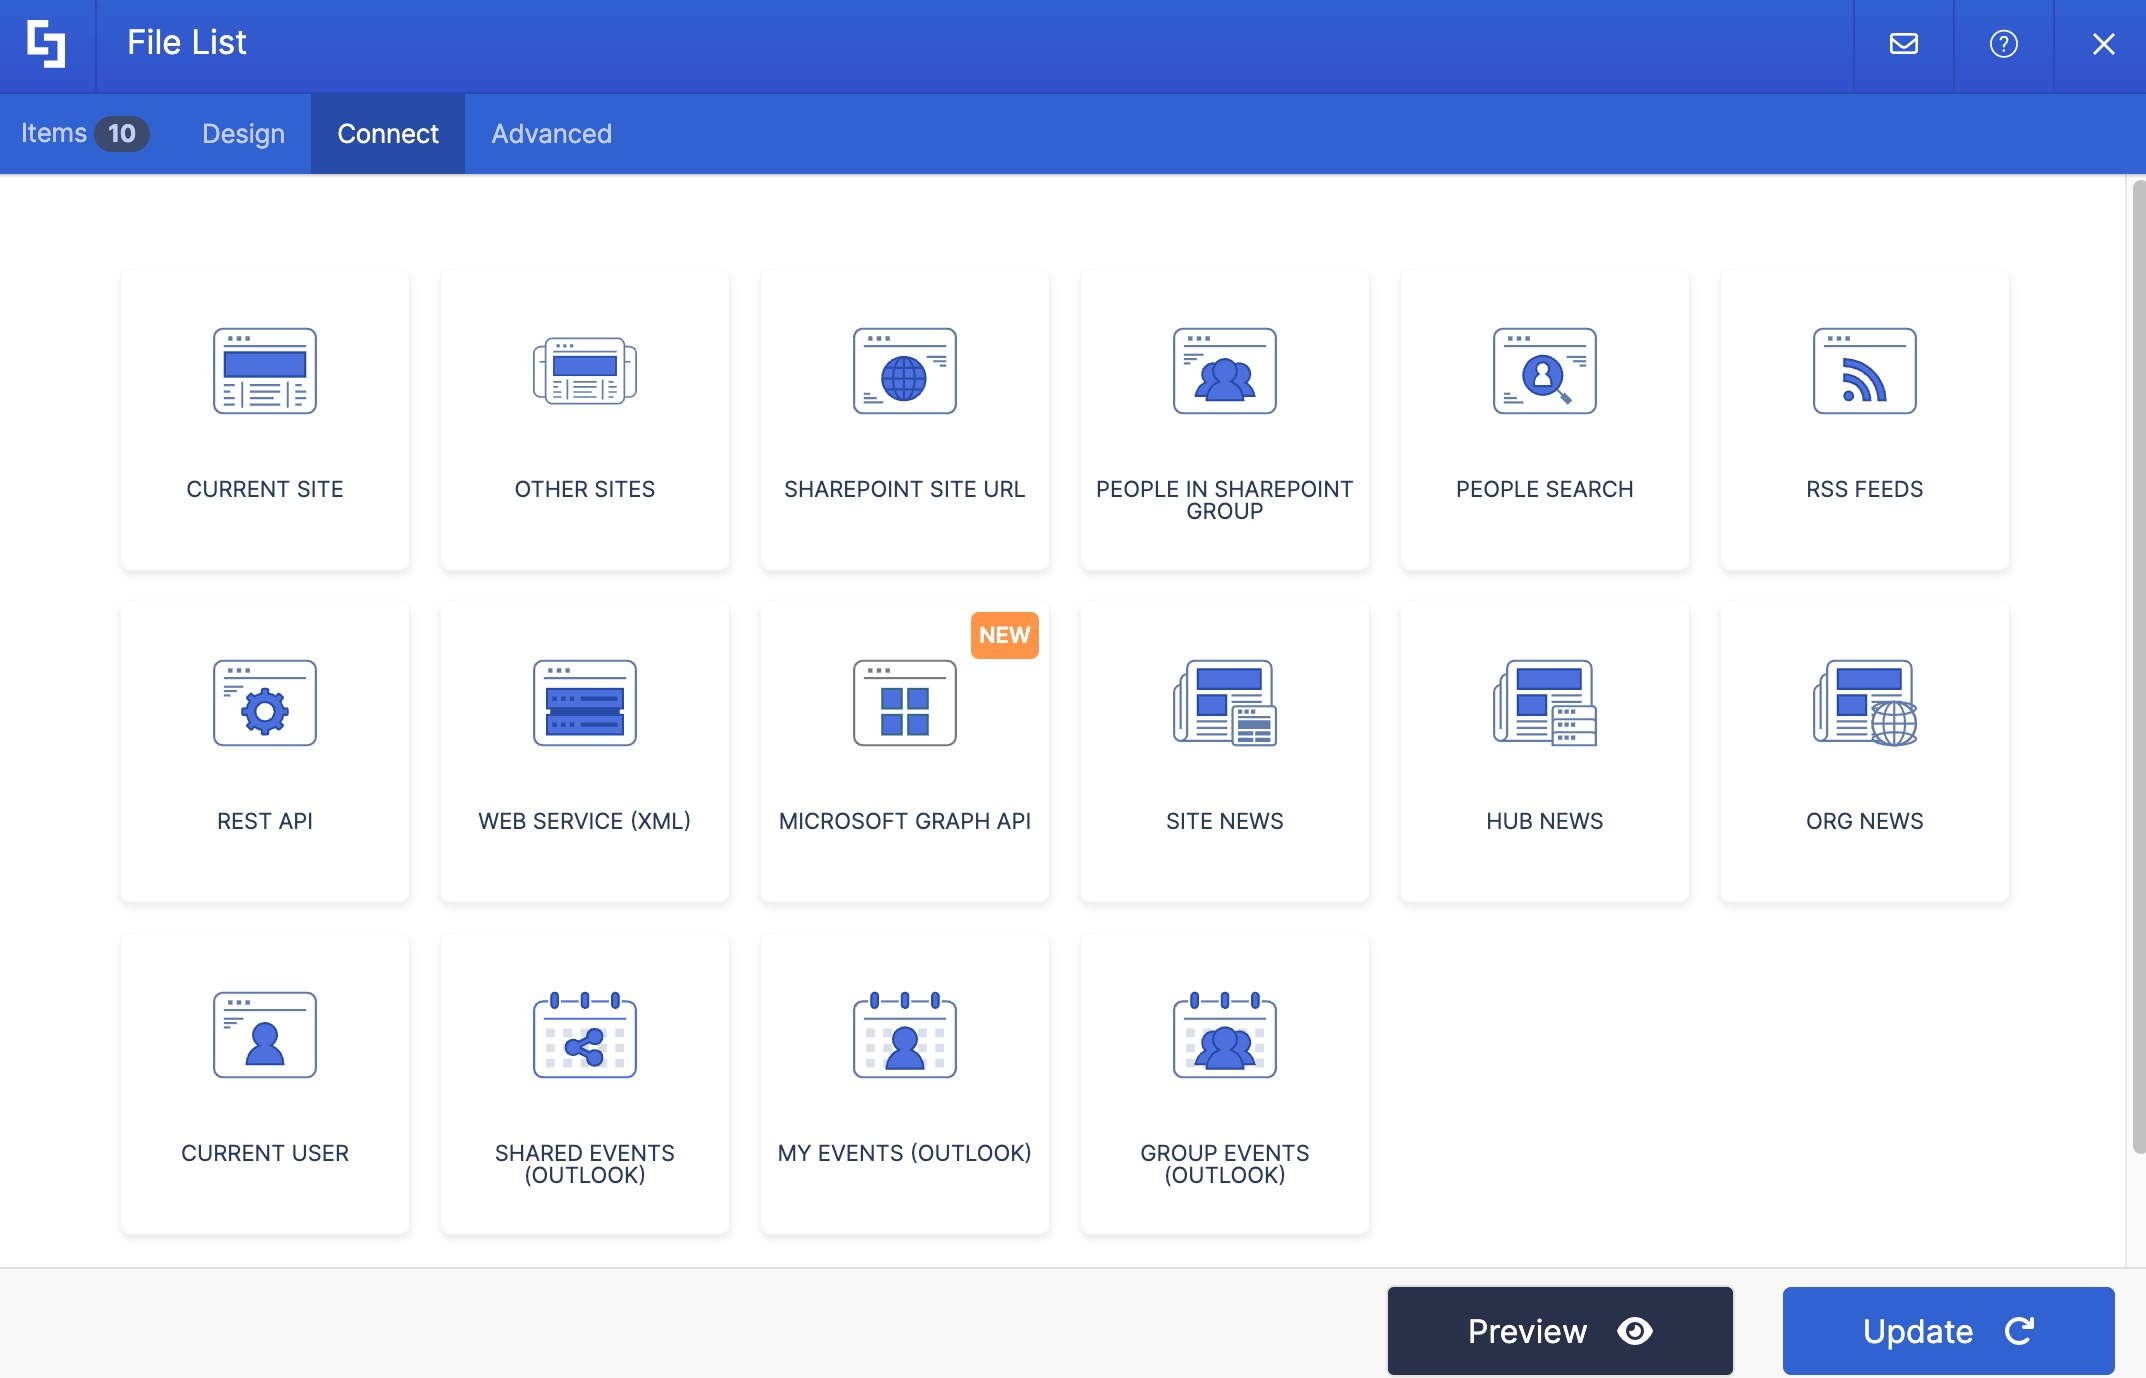
The Connect window will open.
Step 4: Copy and Prepare the REST API URL
Note Before proceeding, you must already have an existing Document Library with folders and files that you will connect to. To learn how to create a Document Library, check out Create a Document Library in SharePoint.
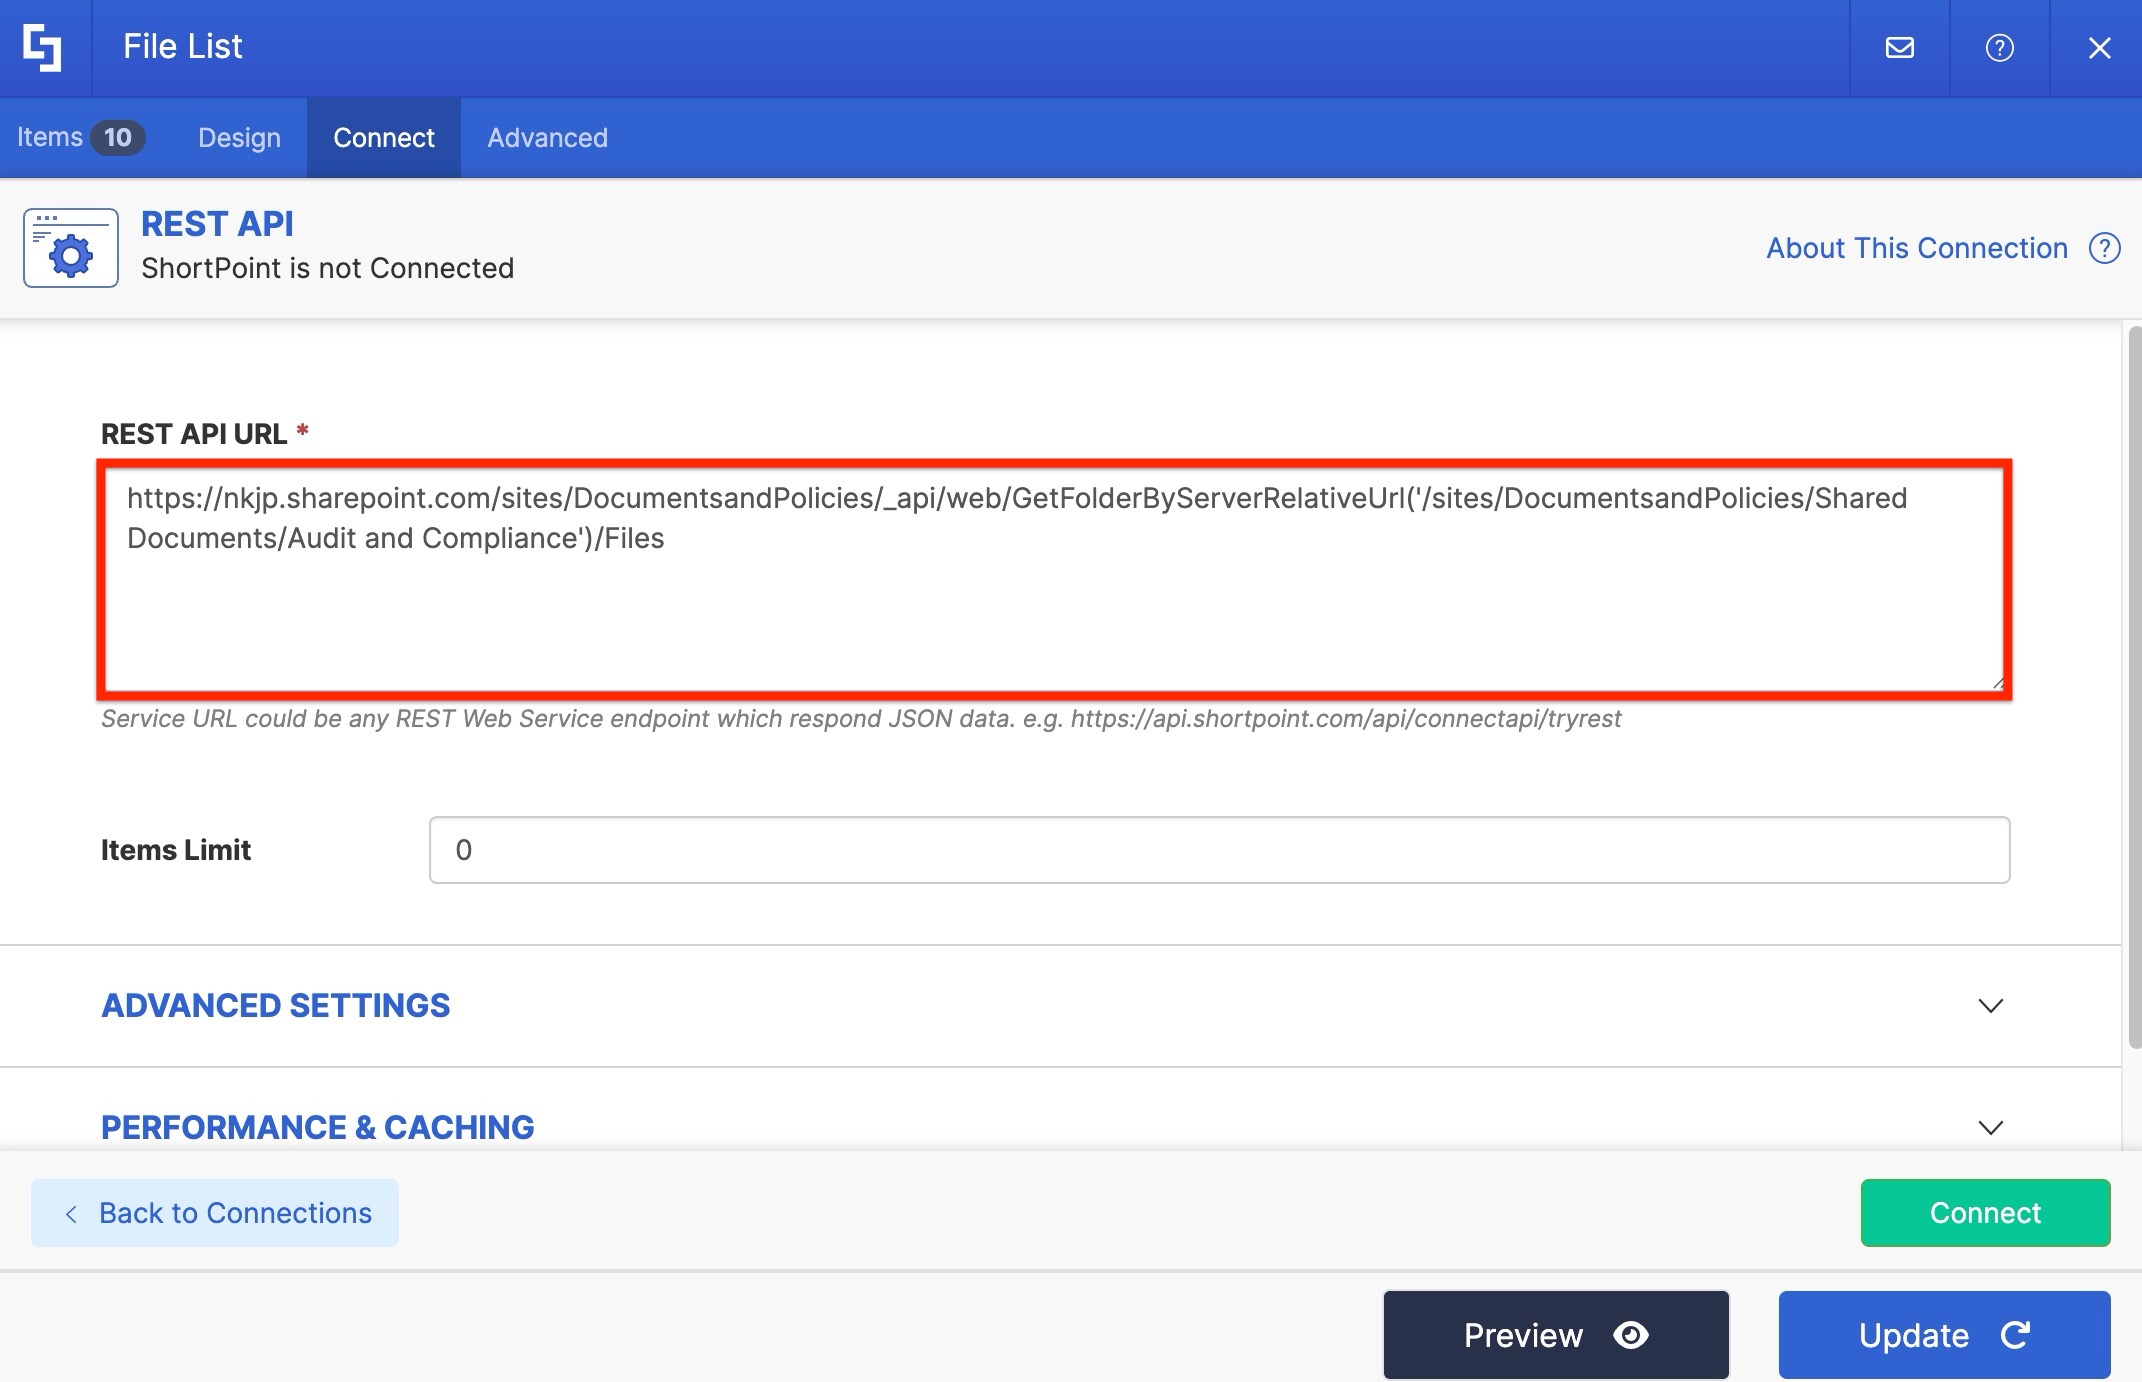
- Copy the REST API URL:
https://site url/_api/web/GetFolderByServerRelativeUrl('Document Library Name/Target Folder Name')/Files
Substitute the items highlighted in red with your actual website URL, Document Library name, and the name of the folder you want to connect to. Here is an example of what the URL could look like:
https://yoursite.sharepoint.com/sites/marketingmaterials/_api/web/GetFolderByServerRelativeUrl('Guide/PDF Guides')/Files
Note: You can select specific fields/columns by adding the ?$select= query string to the end of your REST API URL and including the internal names of the columns.

For custom columns you created, you can use ListItemAllFields/CustomColumnInternalName

Here is an example REST API URL showing some default columns, as well as a custom column called "Description":

https://mycompany.sharepoint.com/_api/web/GetFolderByServerRelativeUrl('Shared Documents/Folder Name')/Files?$select=Name,TimeCreated,TimeLastModified,Title, ListItemAllFields/Description,Author/Title&$expand=Author,ListItemAllFields

Check our our solution article ShortPoint REST API: Selecting, Filtering, Sorting Results in a SharePoint List to learn more.
Step 5: Paste the REST API URL, configure Advanced Settings, and Connect
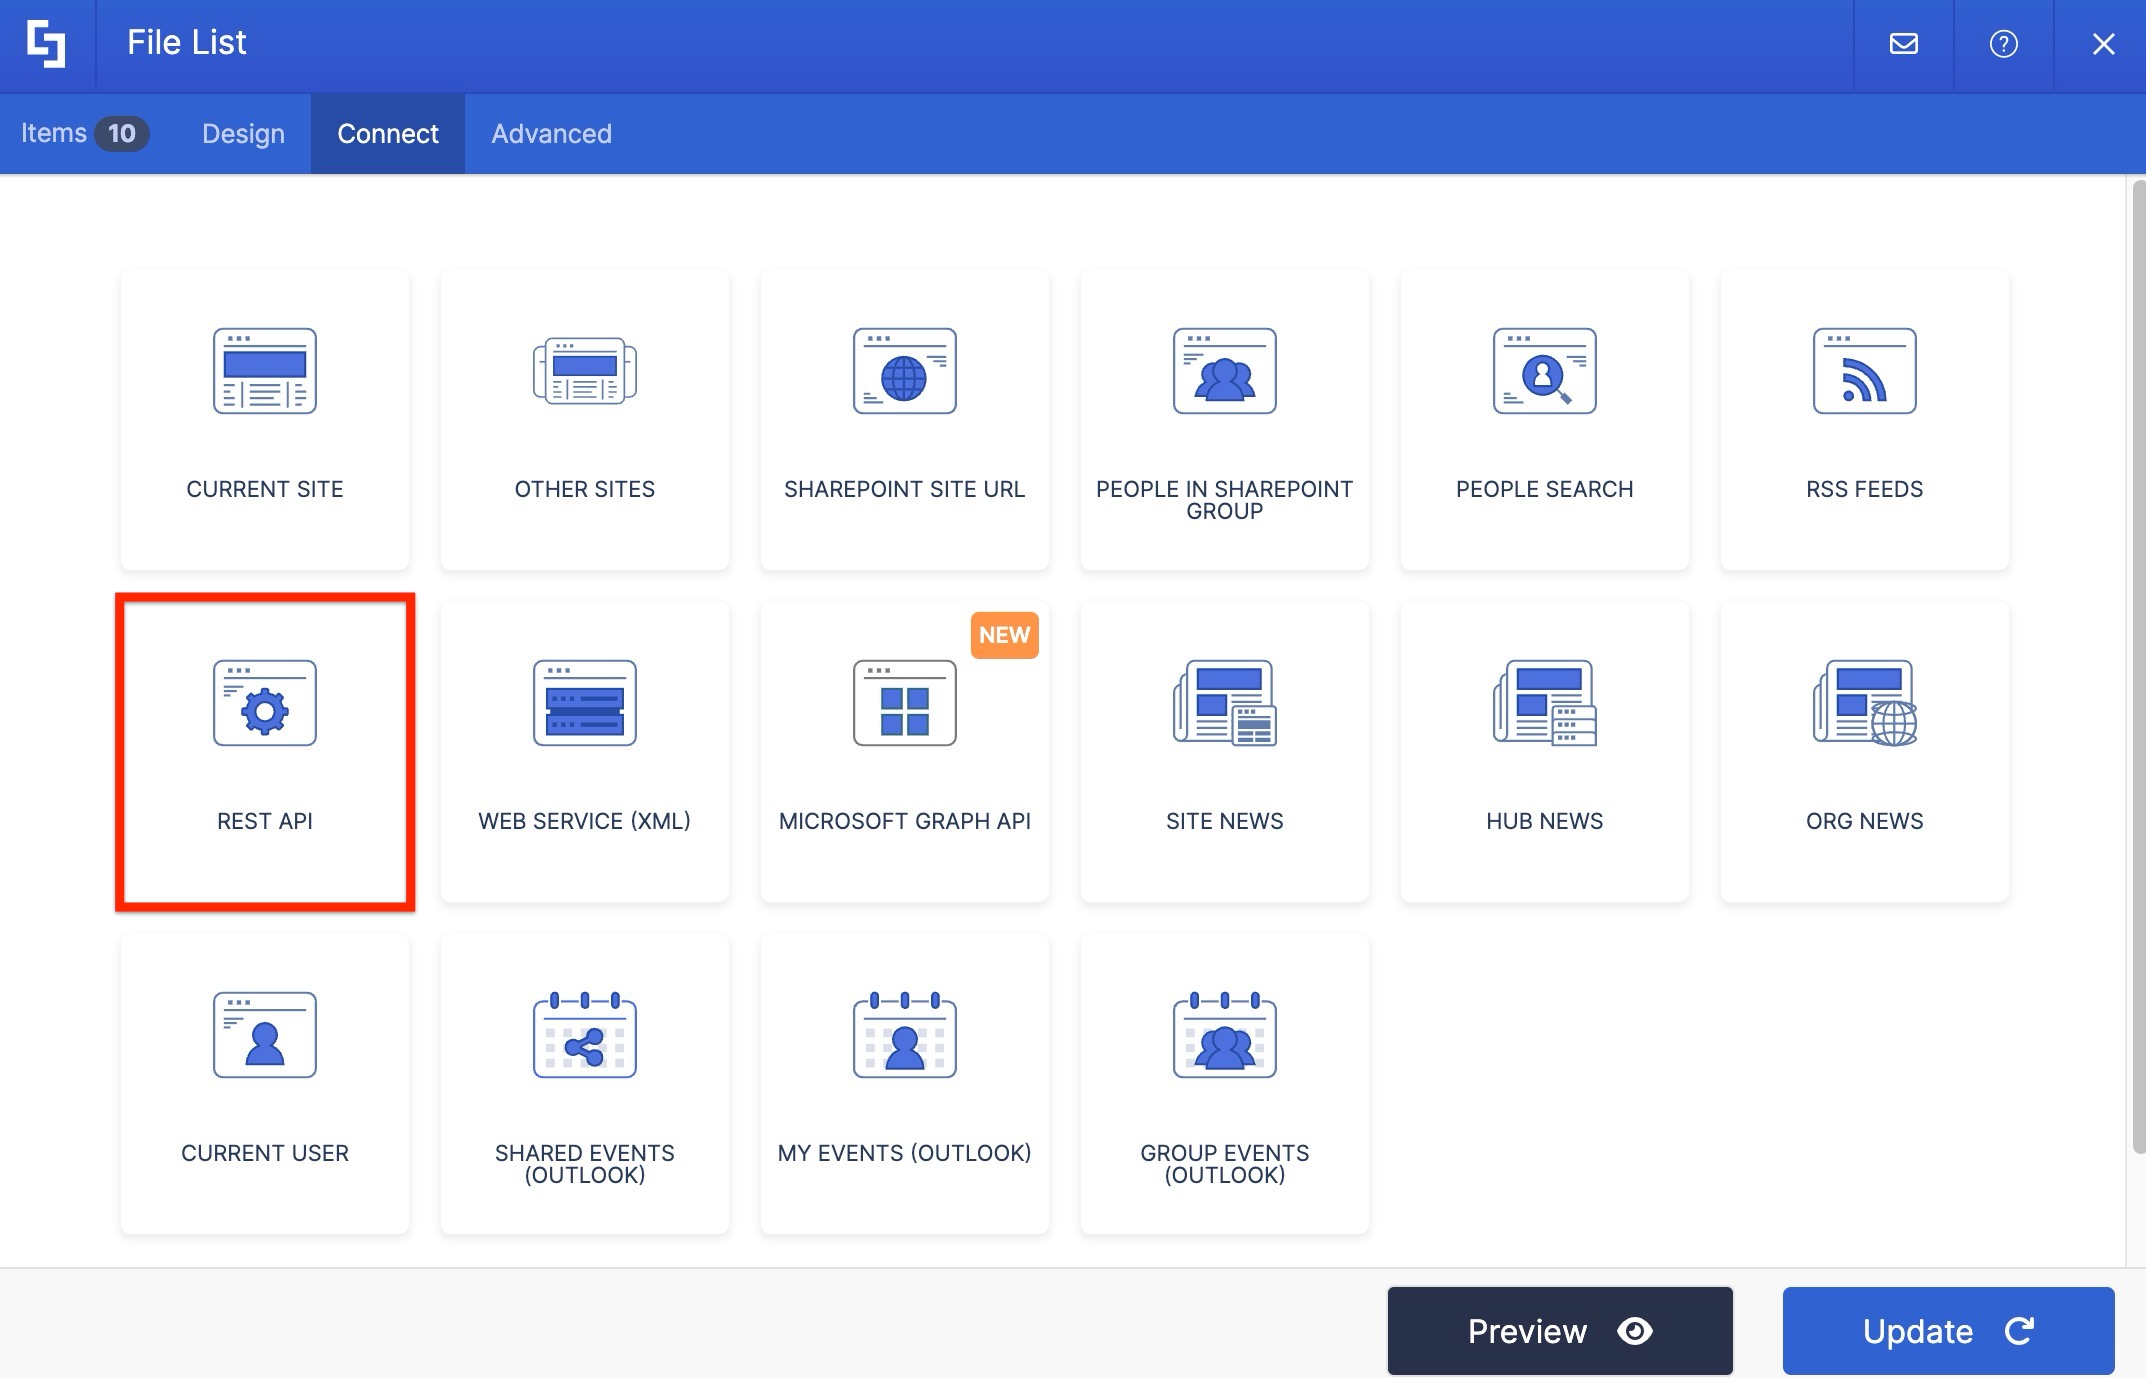
- Select REST API:
- Paste the REST API URL you prepared in Step 3 in the field provided:
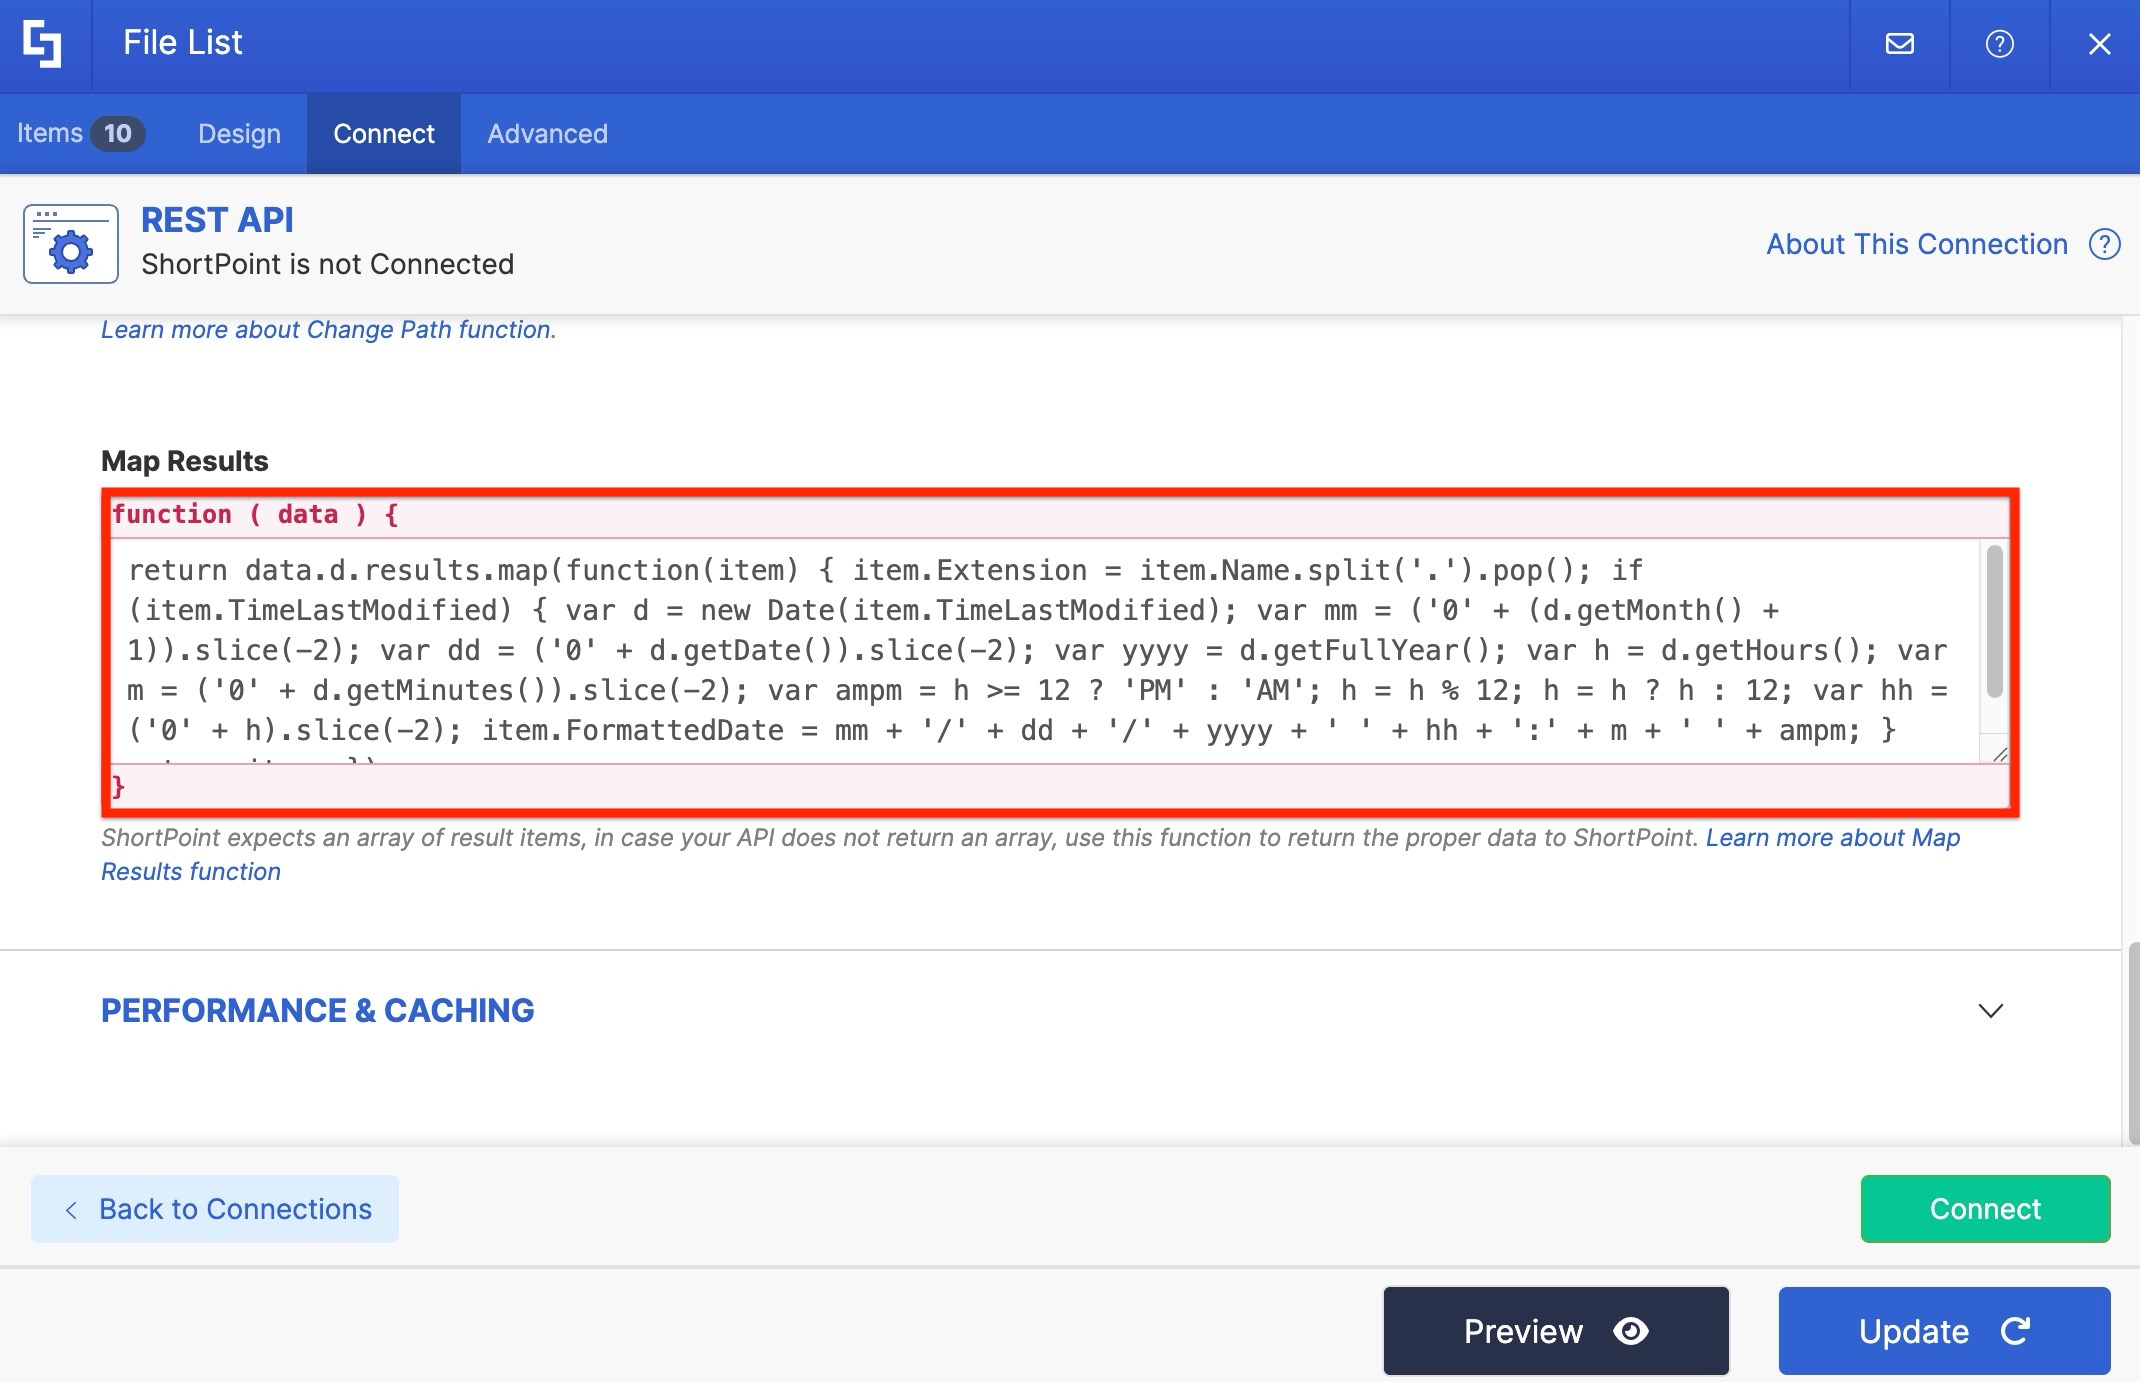
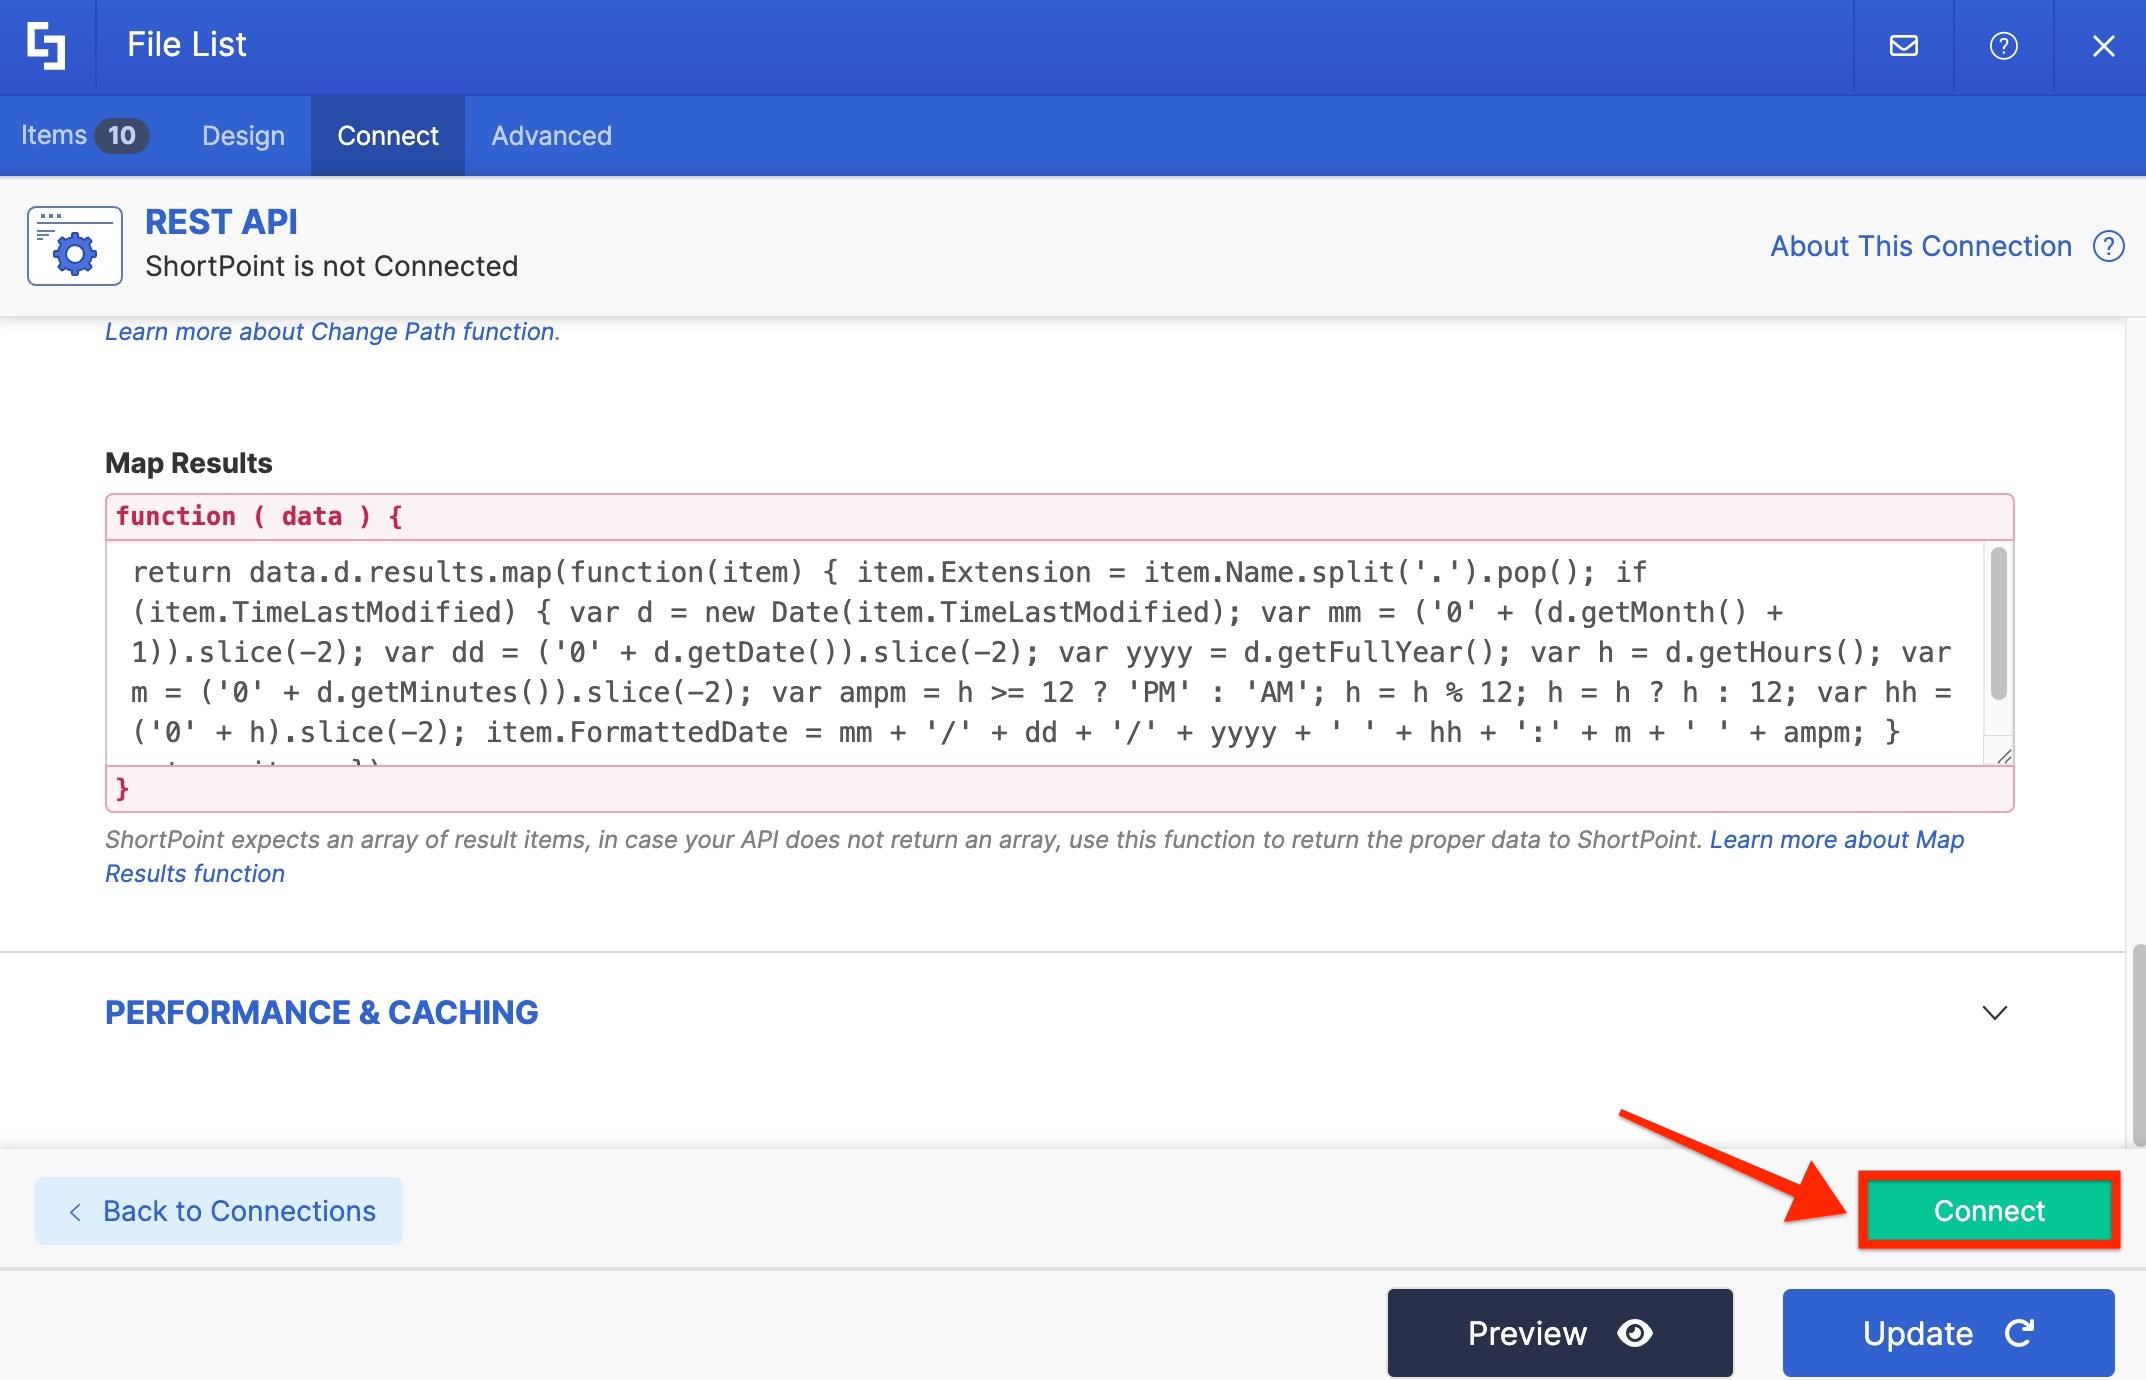
- Copy the custom Map Results code.
Running the REST API URL on its own will pull data from your target folder, but you'll notice that the file extension is missing and the date returns in the wrong format. We'll use Map Results to reshape the data so both display correctly.
Copy this code:
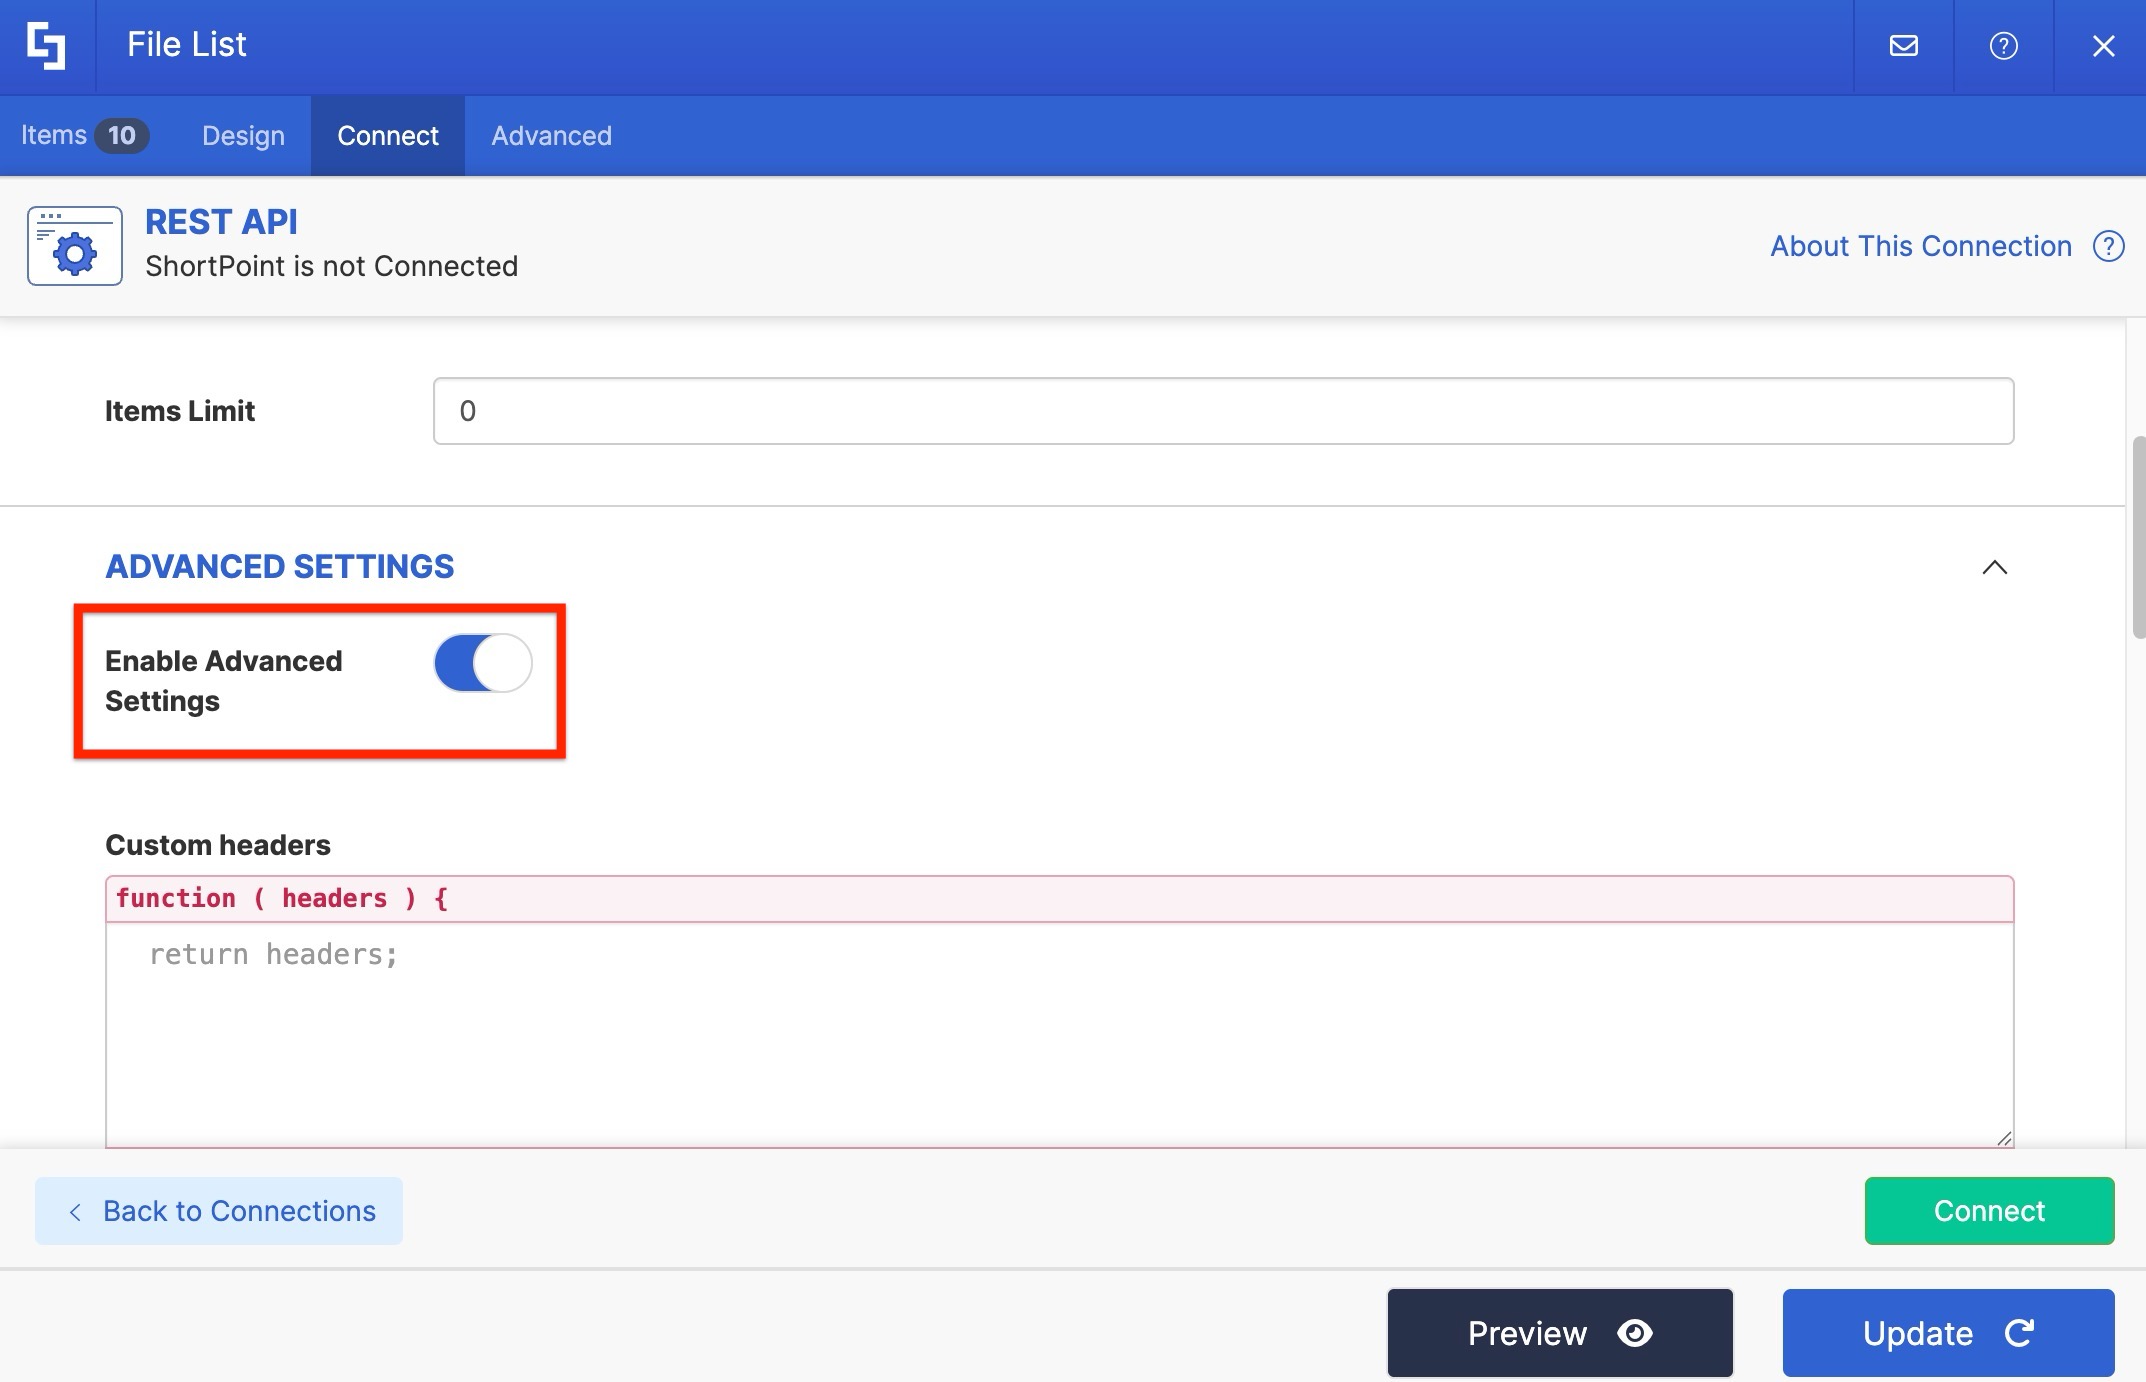
return data.d.results.map(function(item) { item.Extension = item.Name.split('.').pop(); if (item.TimeLastModified) { var d = new Date(item.TimeLastModified); var mm = ('0' + (d.getMonth() + 1)).slice(-2); var dd = ('0' + d.getDate()).slice(-2); var yyyy = d.getFullYear(); var h = d.getHours(); var m = ('0' + d.getMinutes()).slice(-2); var ampm = h >= 12 ? 'PM' : 'AM'; h = h % 12; h = h ? h : 12; var hh = ('0' + h).slice(-2); item.FormattedDate = mm + '/' + dd + '/' + yyyy + ' ' + hh + ':' + m + ' ' + ampm; } return item; });- Scroll down and enable Advanced Settings.
- Paste the code into the Map Results field.
- Click Connect.
Step 6: Map Items
- Switch to the Items tab:
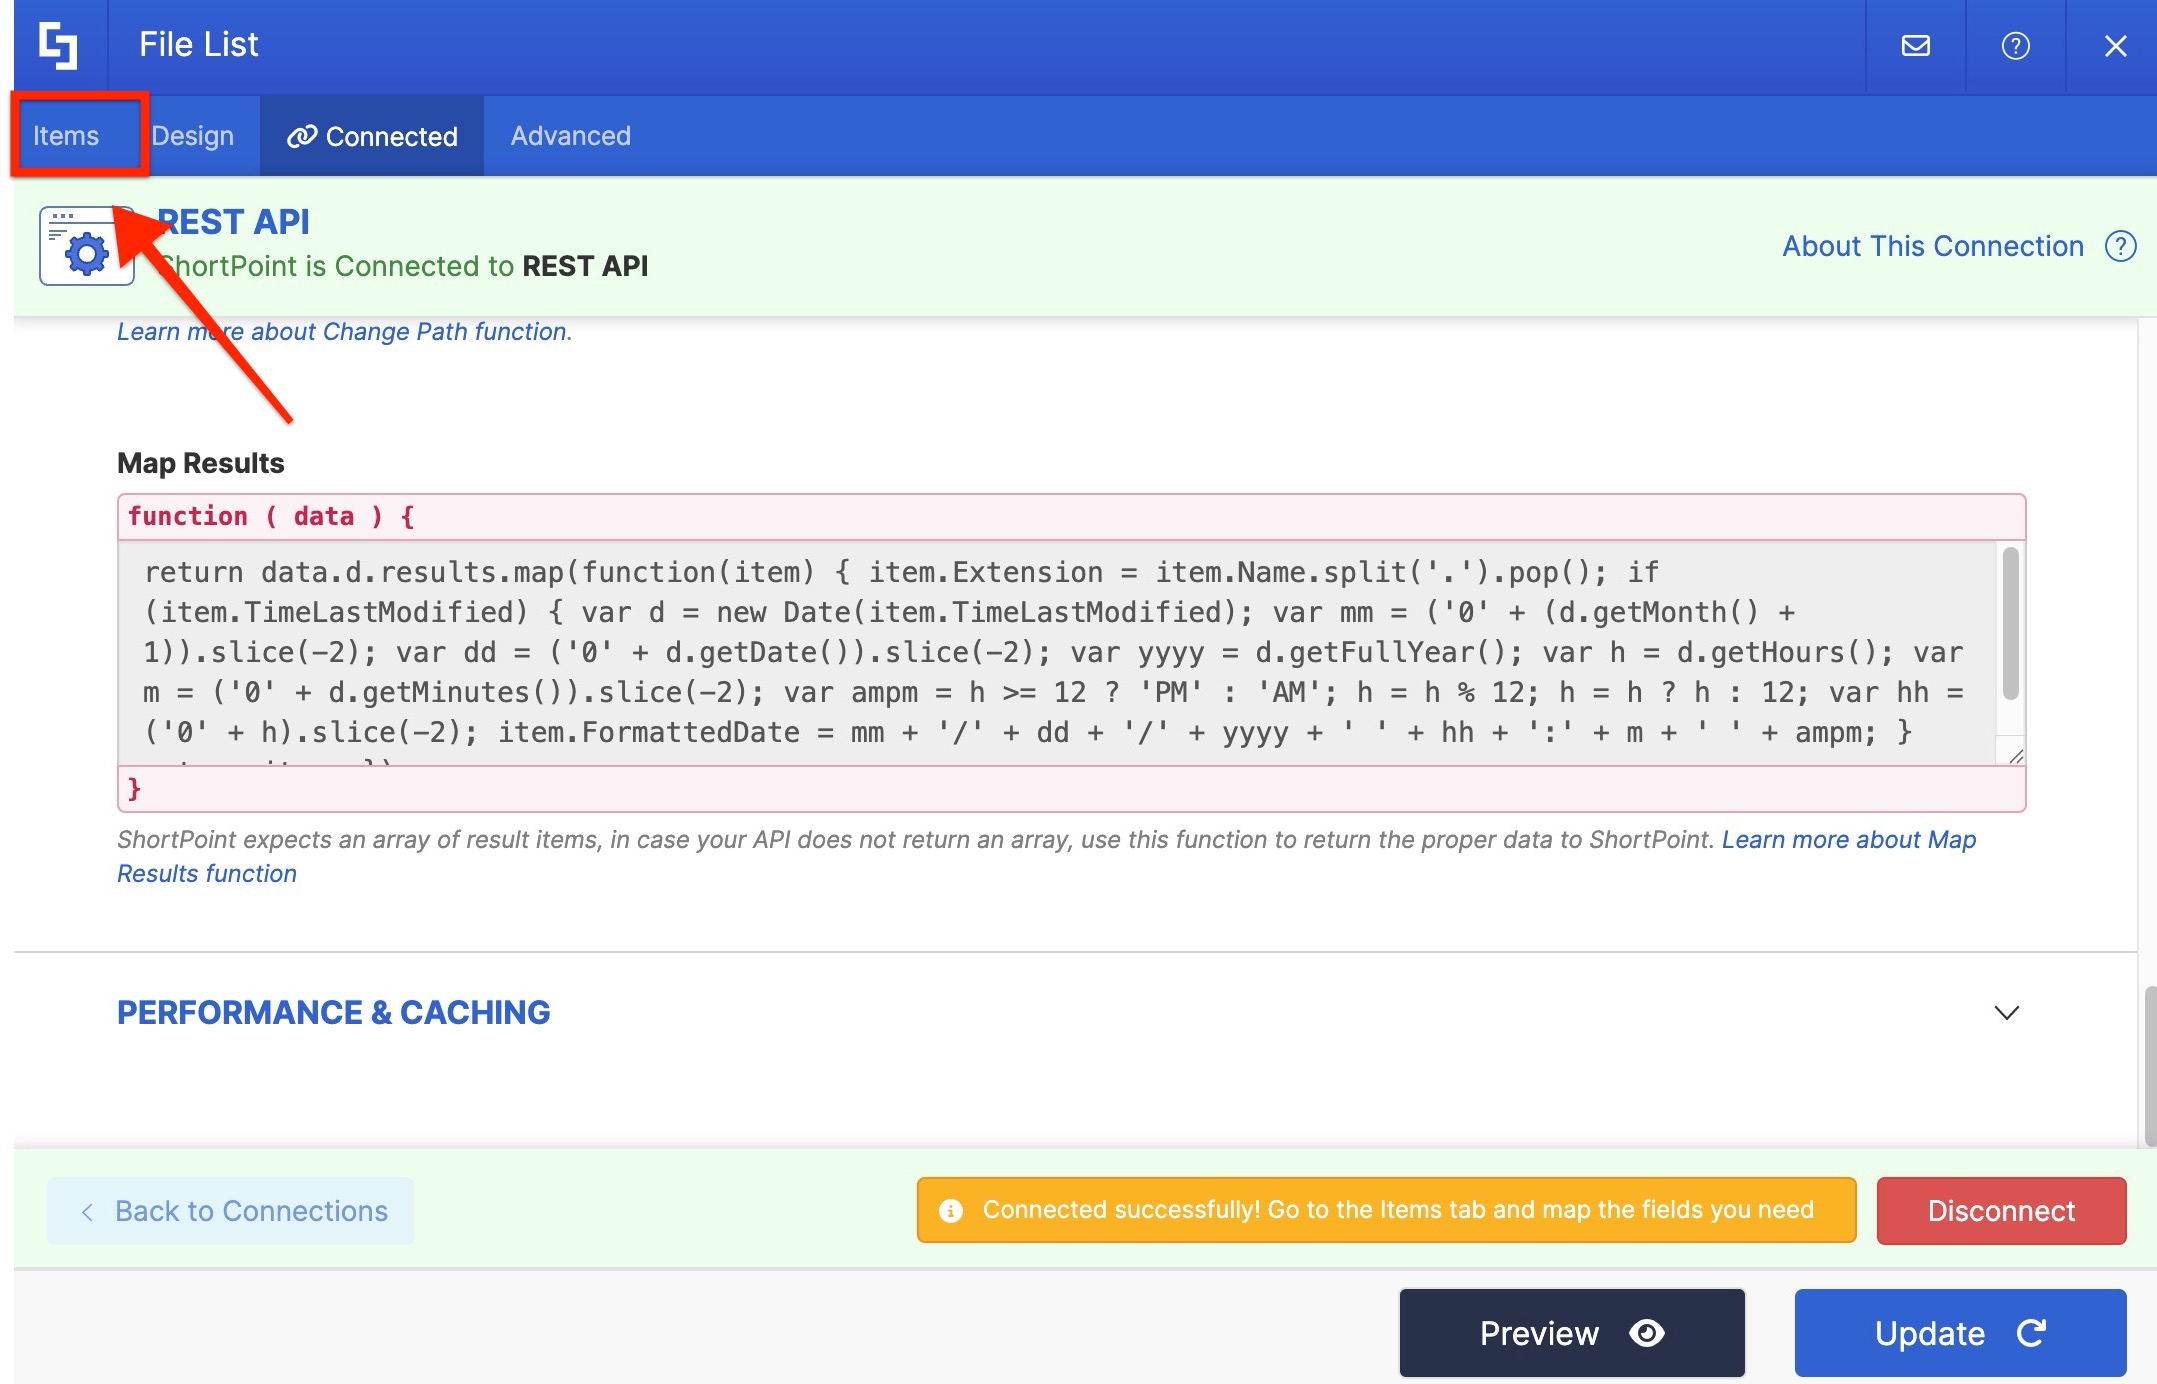
- Delete all default content:
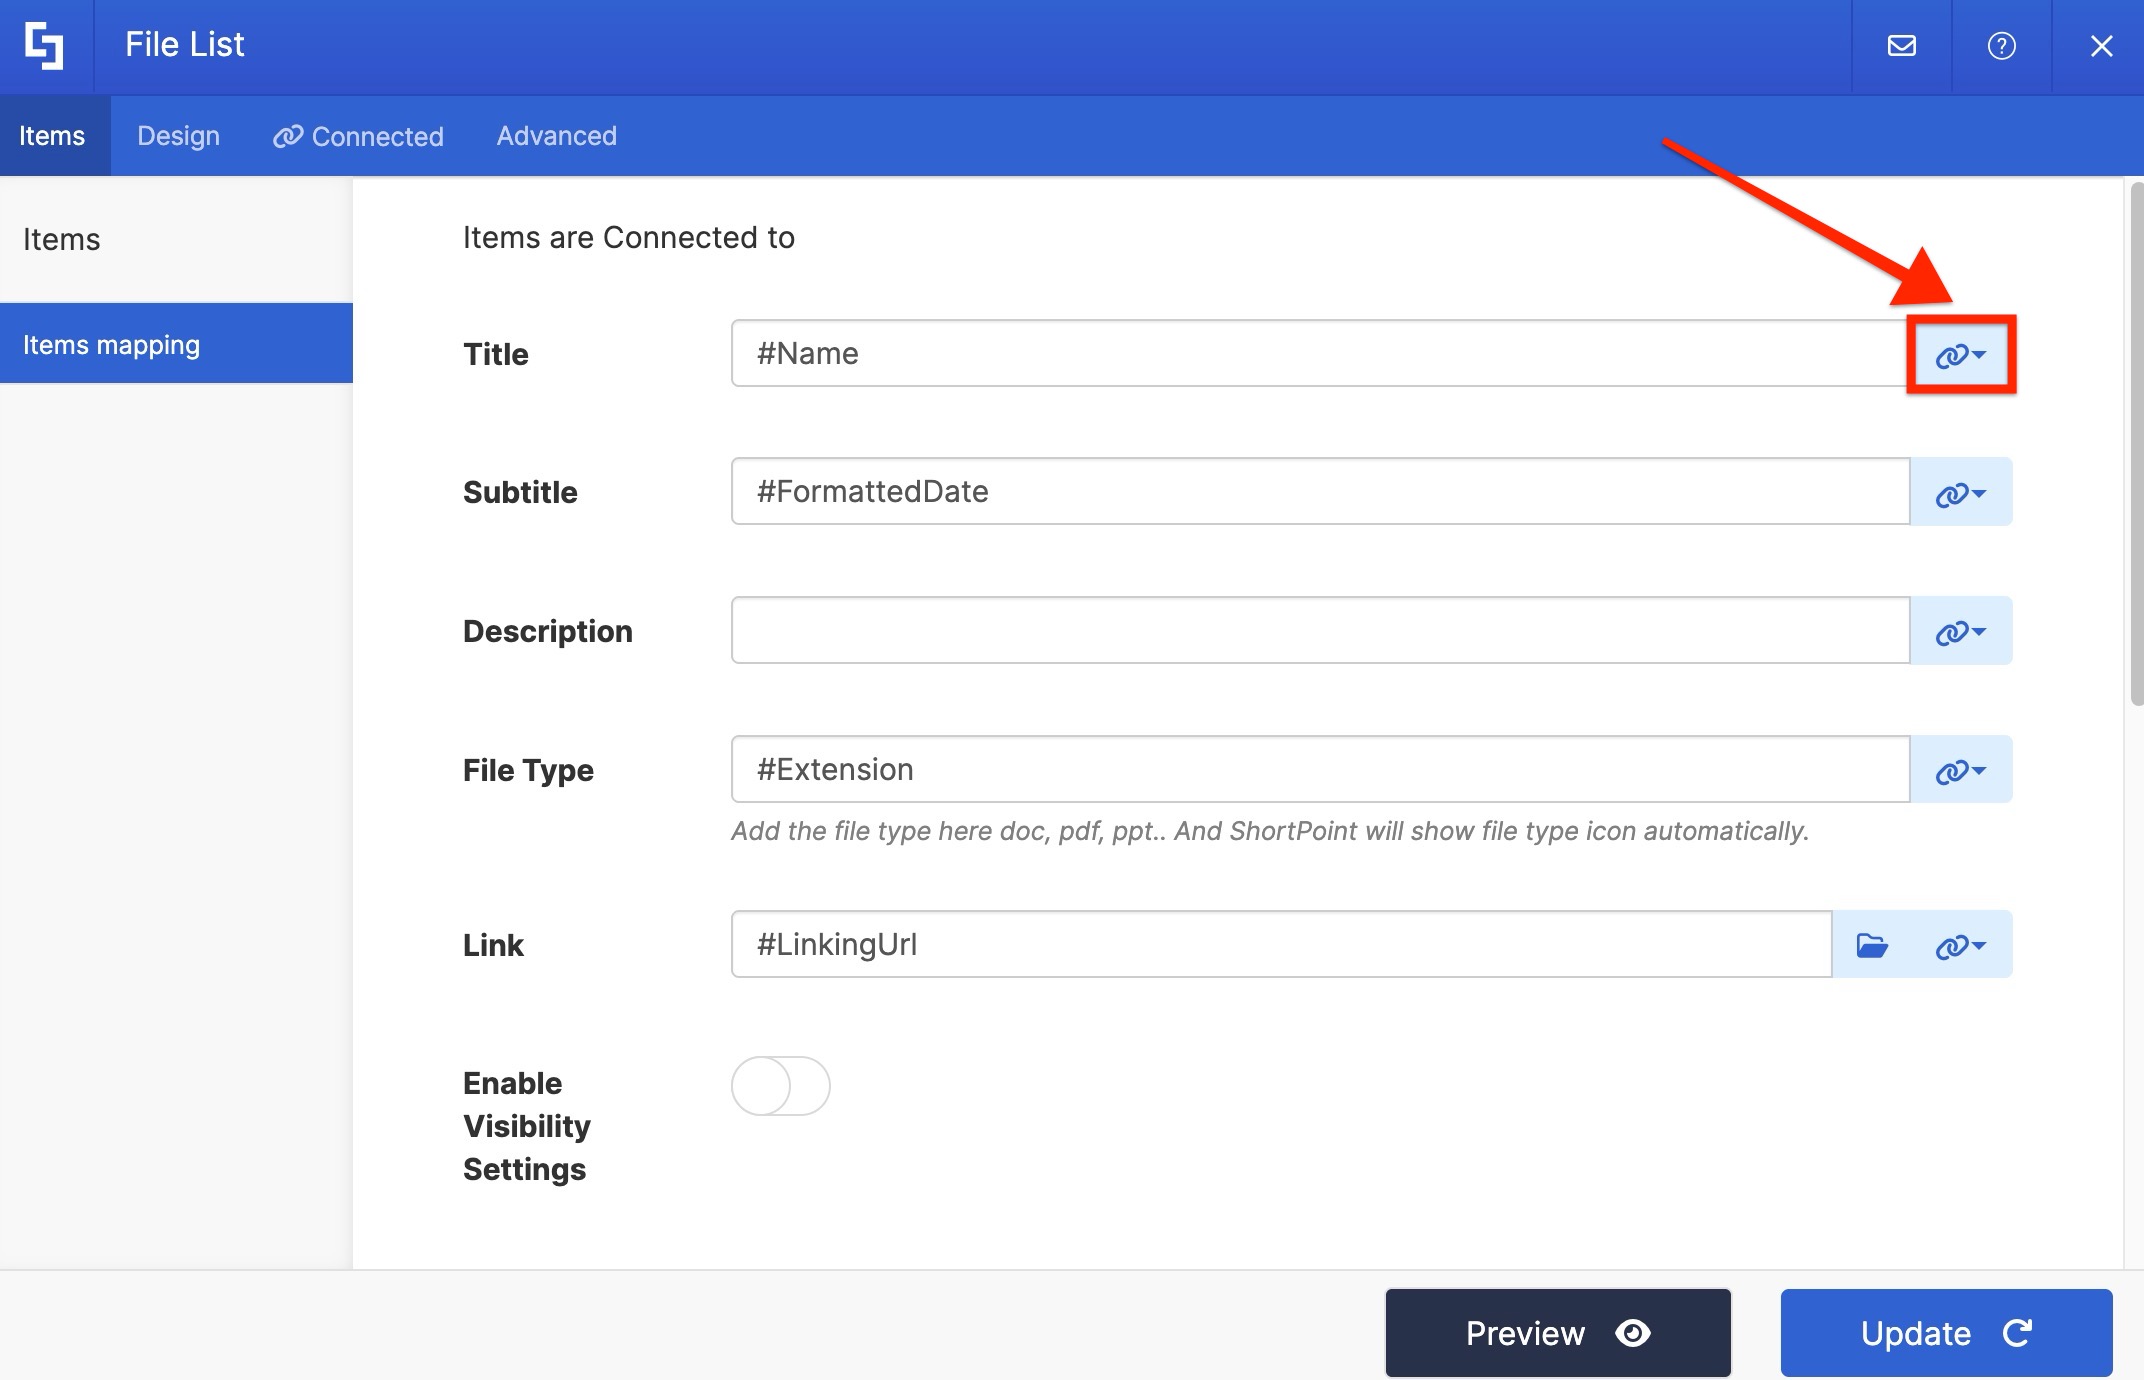
- Use the link icon to map the items you want to be shown inside the connected Design Element:
- You can map the properties you want or follow what we’ve set up below:
- #Name - shows the name of the file as the title.
- #FormattedDate - shows the date and time the file was modified as the subtitle.
- #Extension - provides the file type.
- #LinkingUrl - attaches the link so that the document can be accessed.
Step 7: Update and Save
- Once satisfied, click Update:
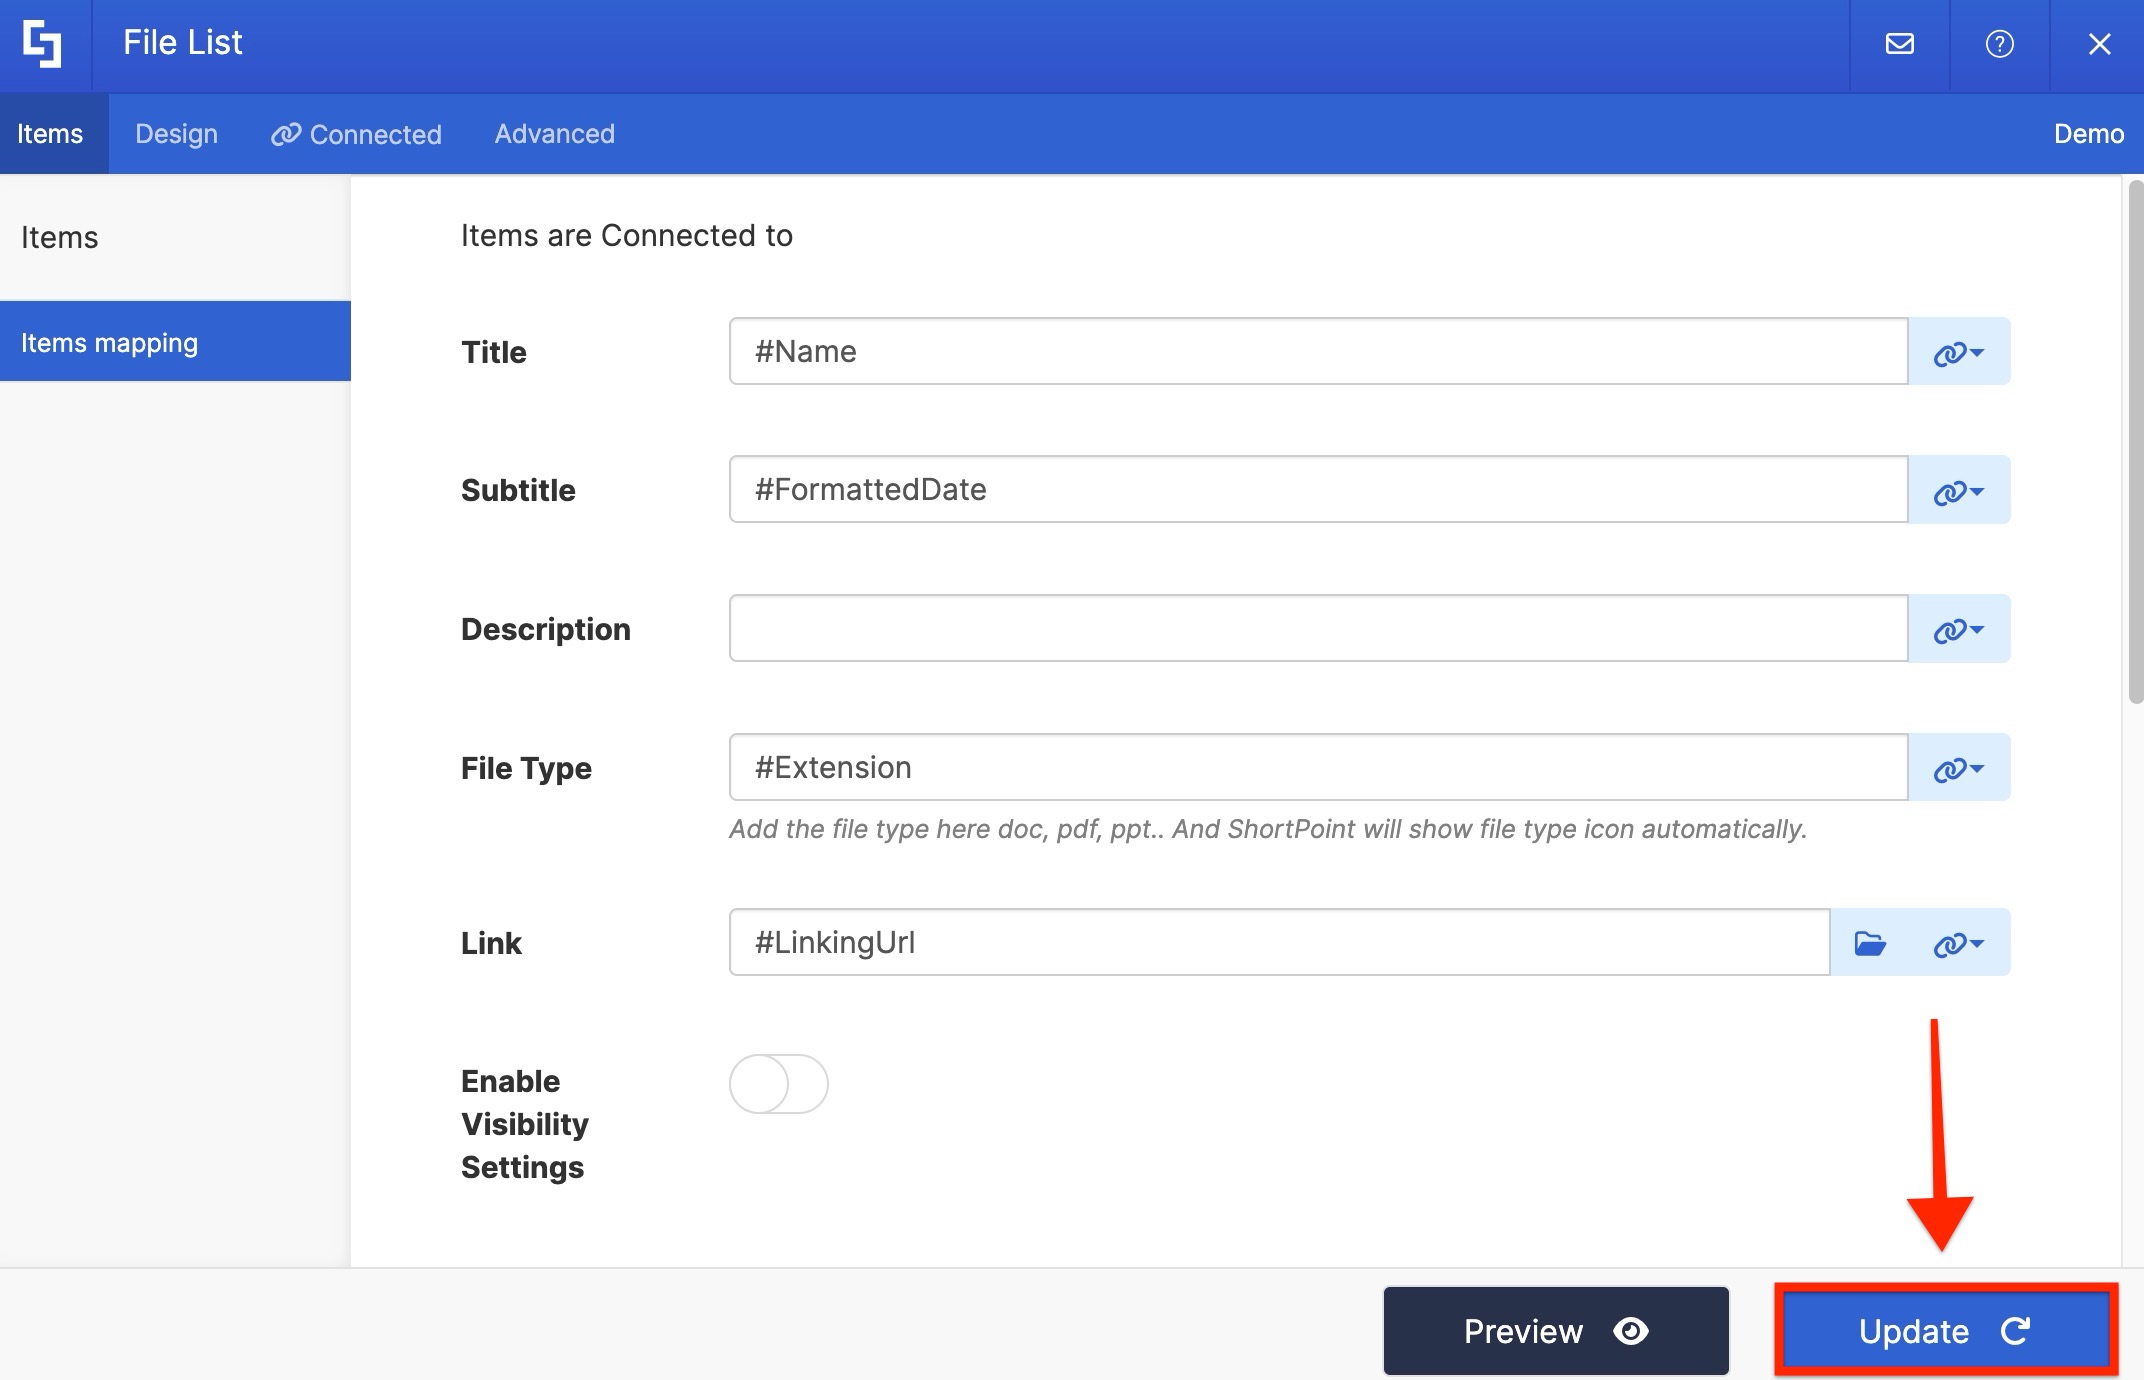
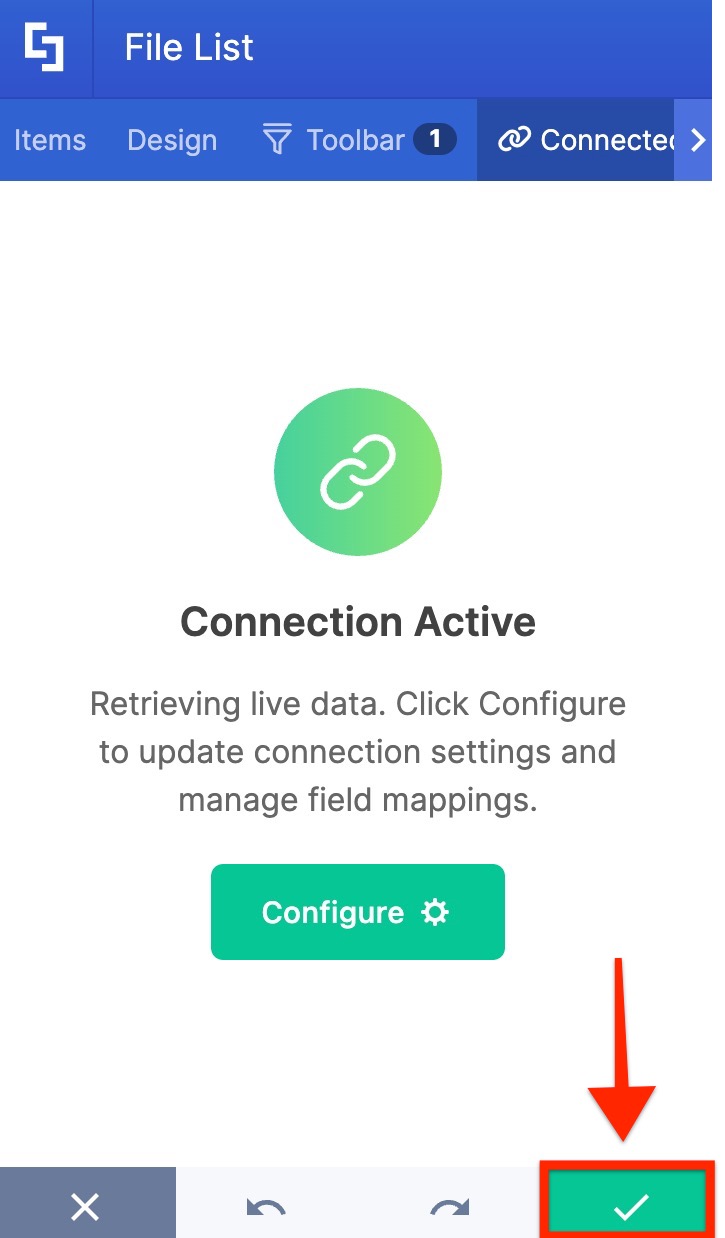
- Then, click the green checkmark.
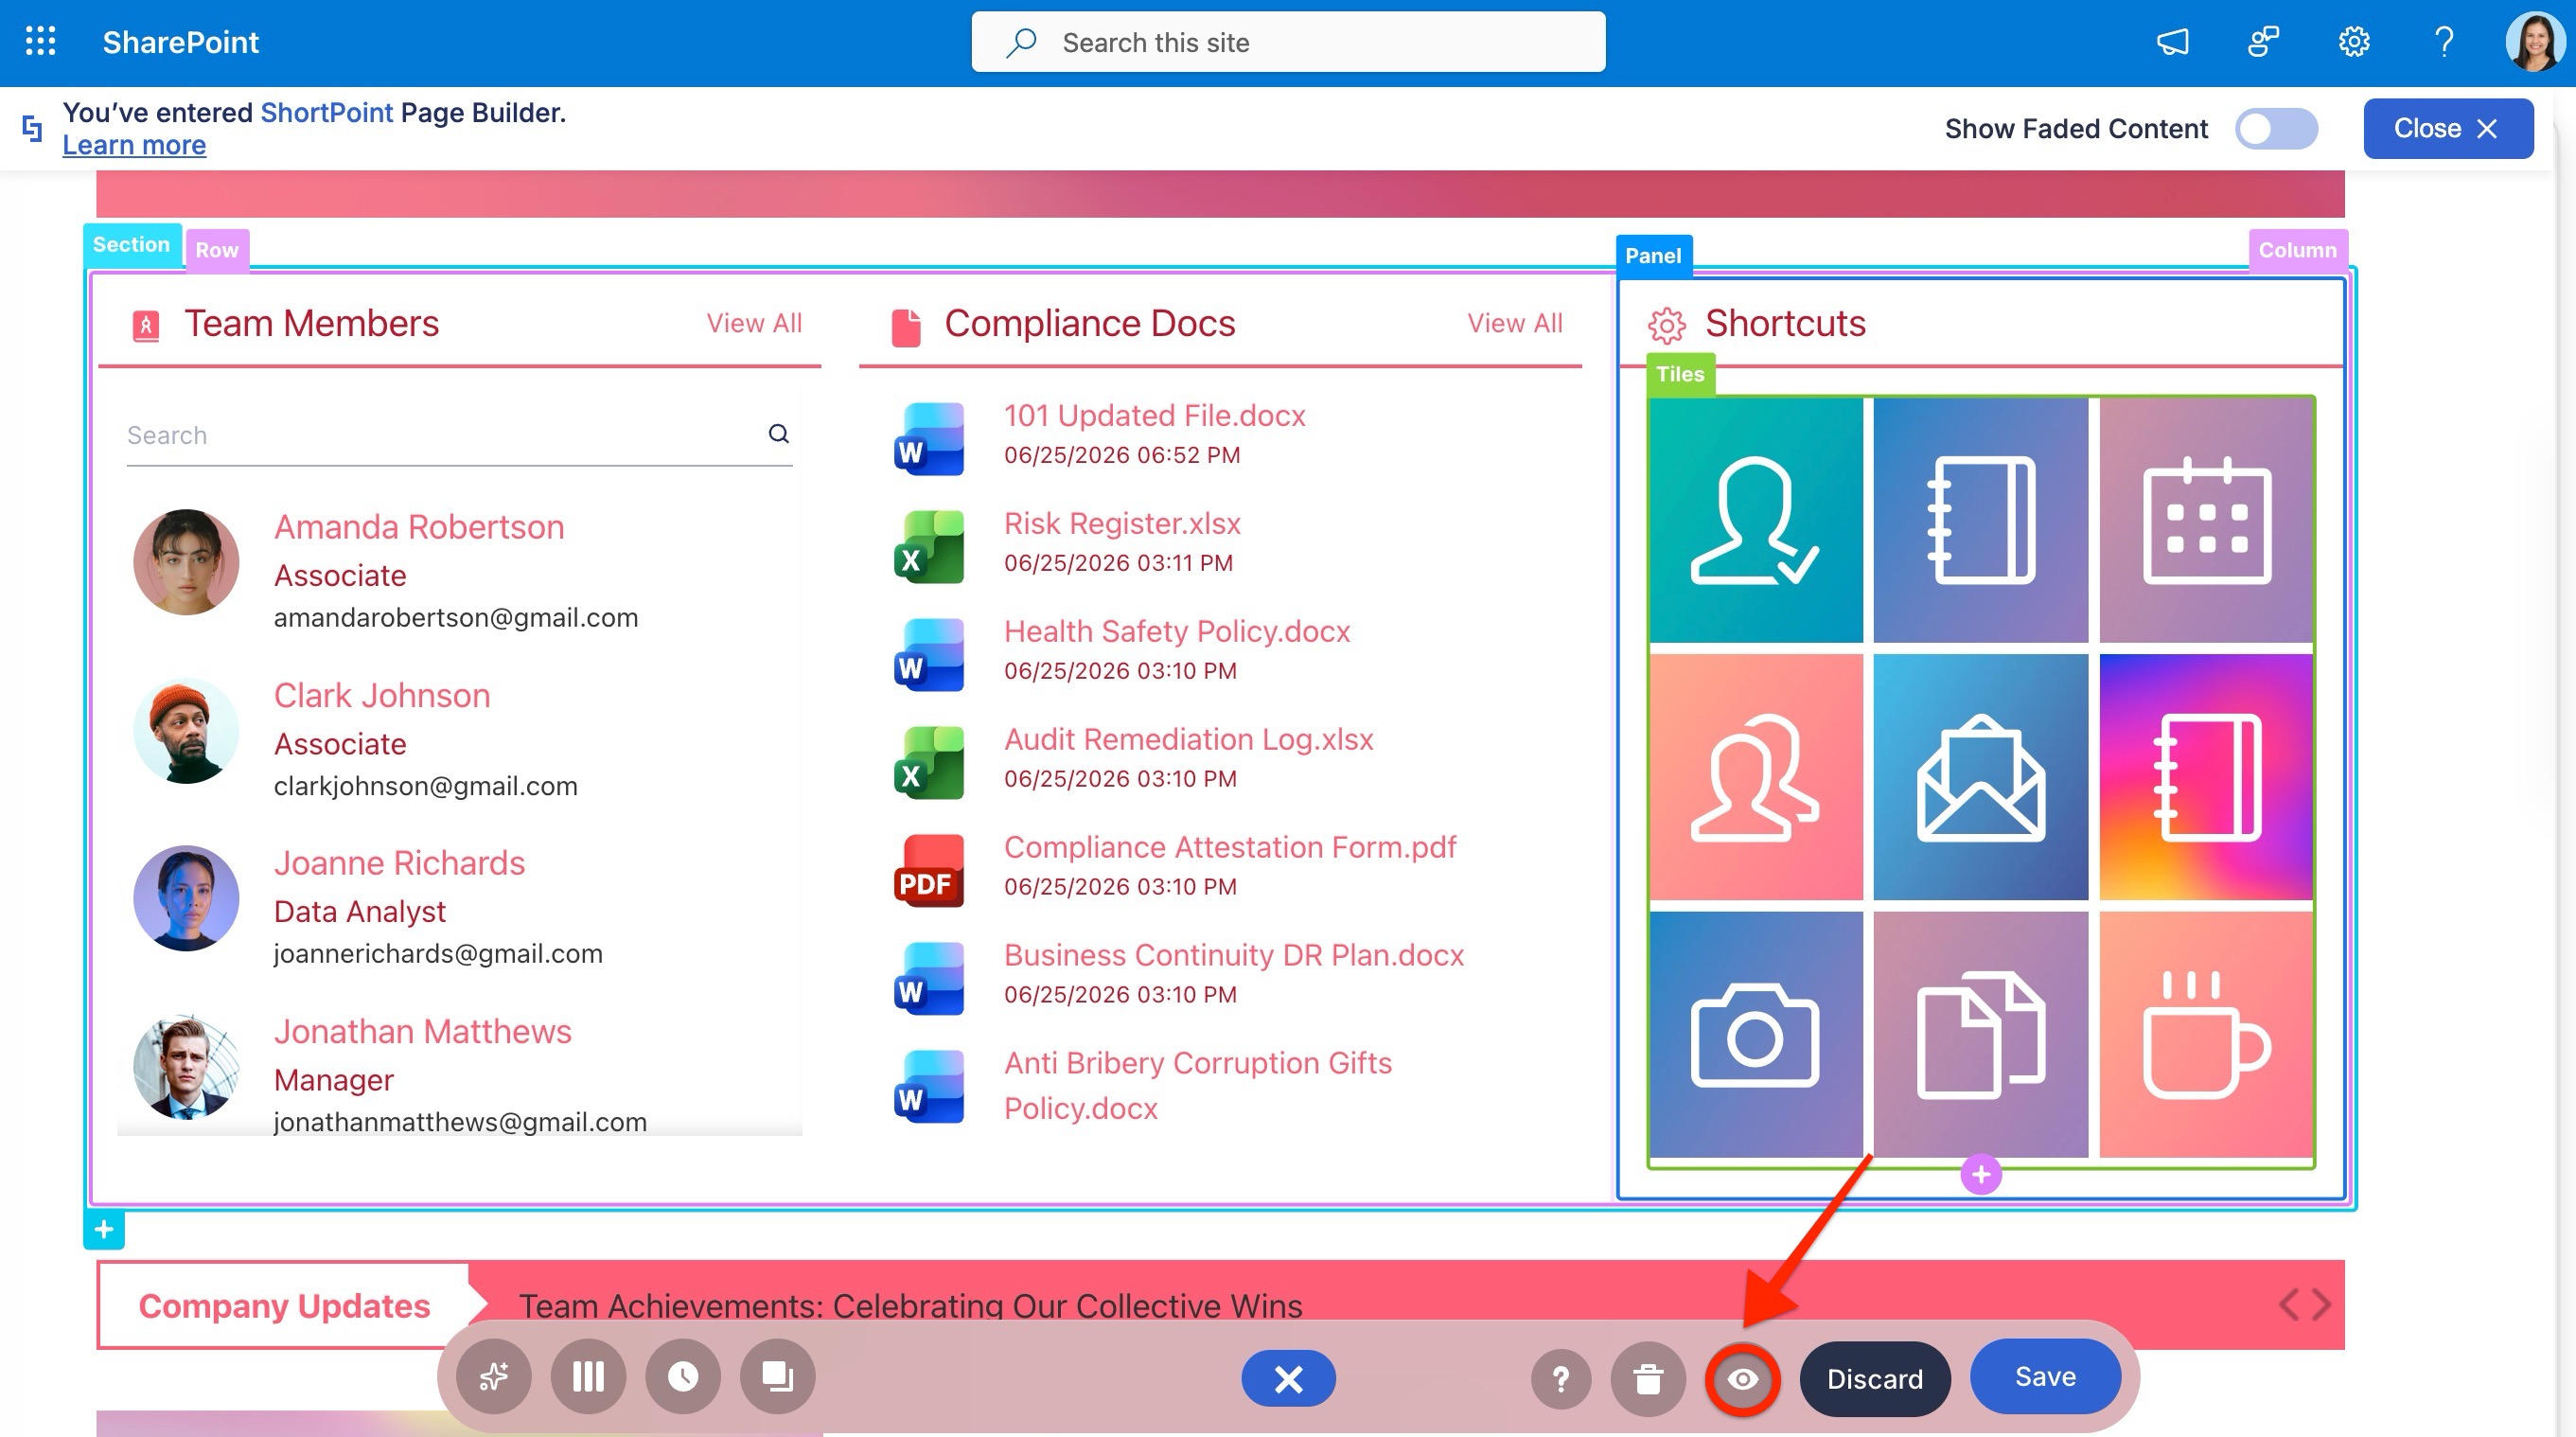
- Click the eye icon to see your page in real-time:
- Click Save to apply all your changes:
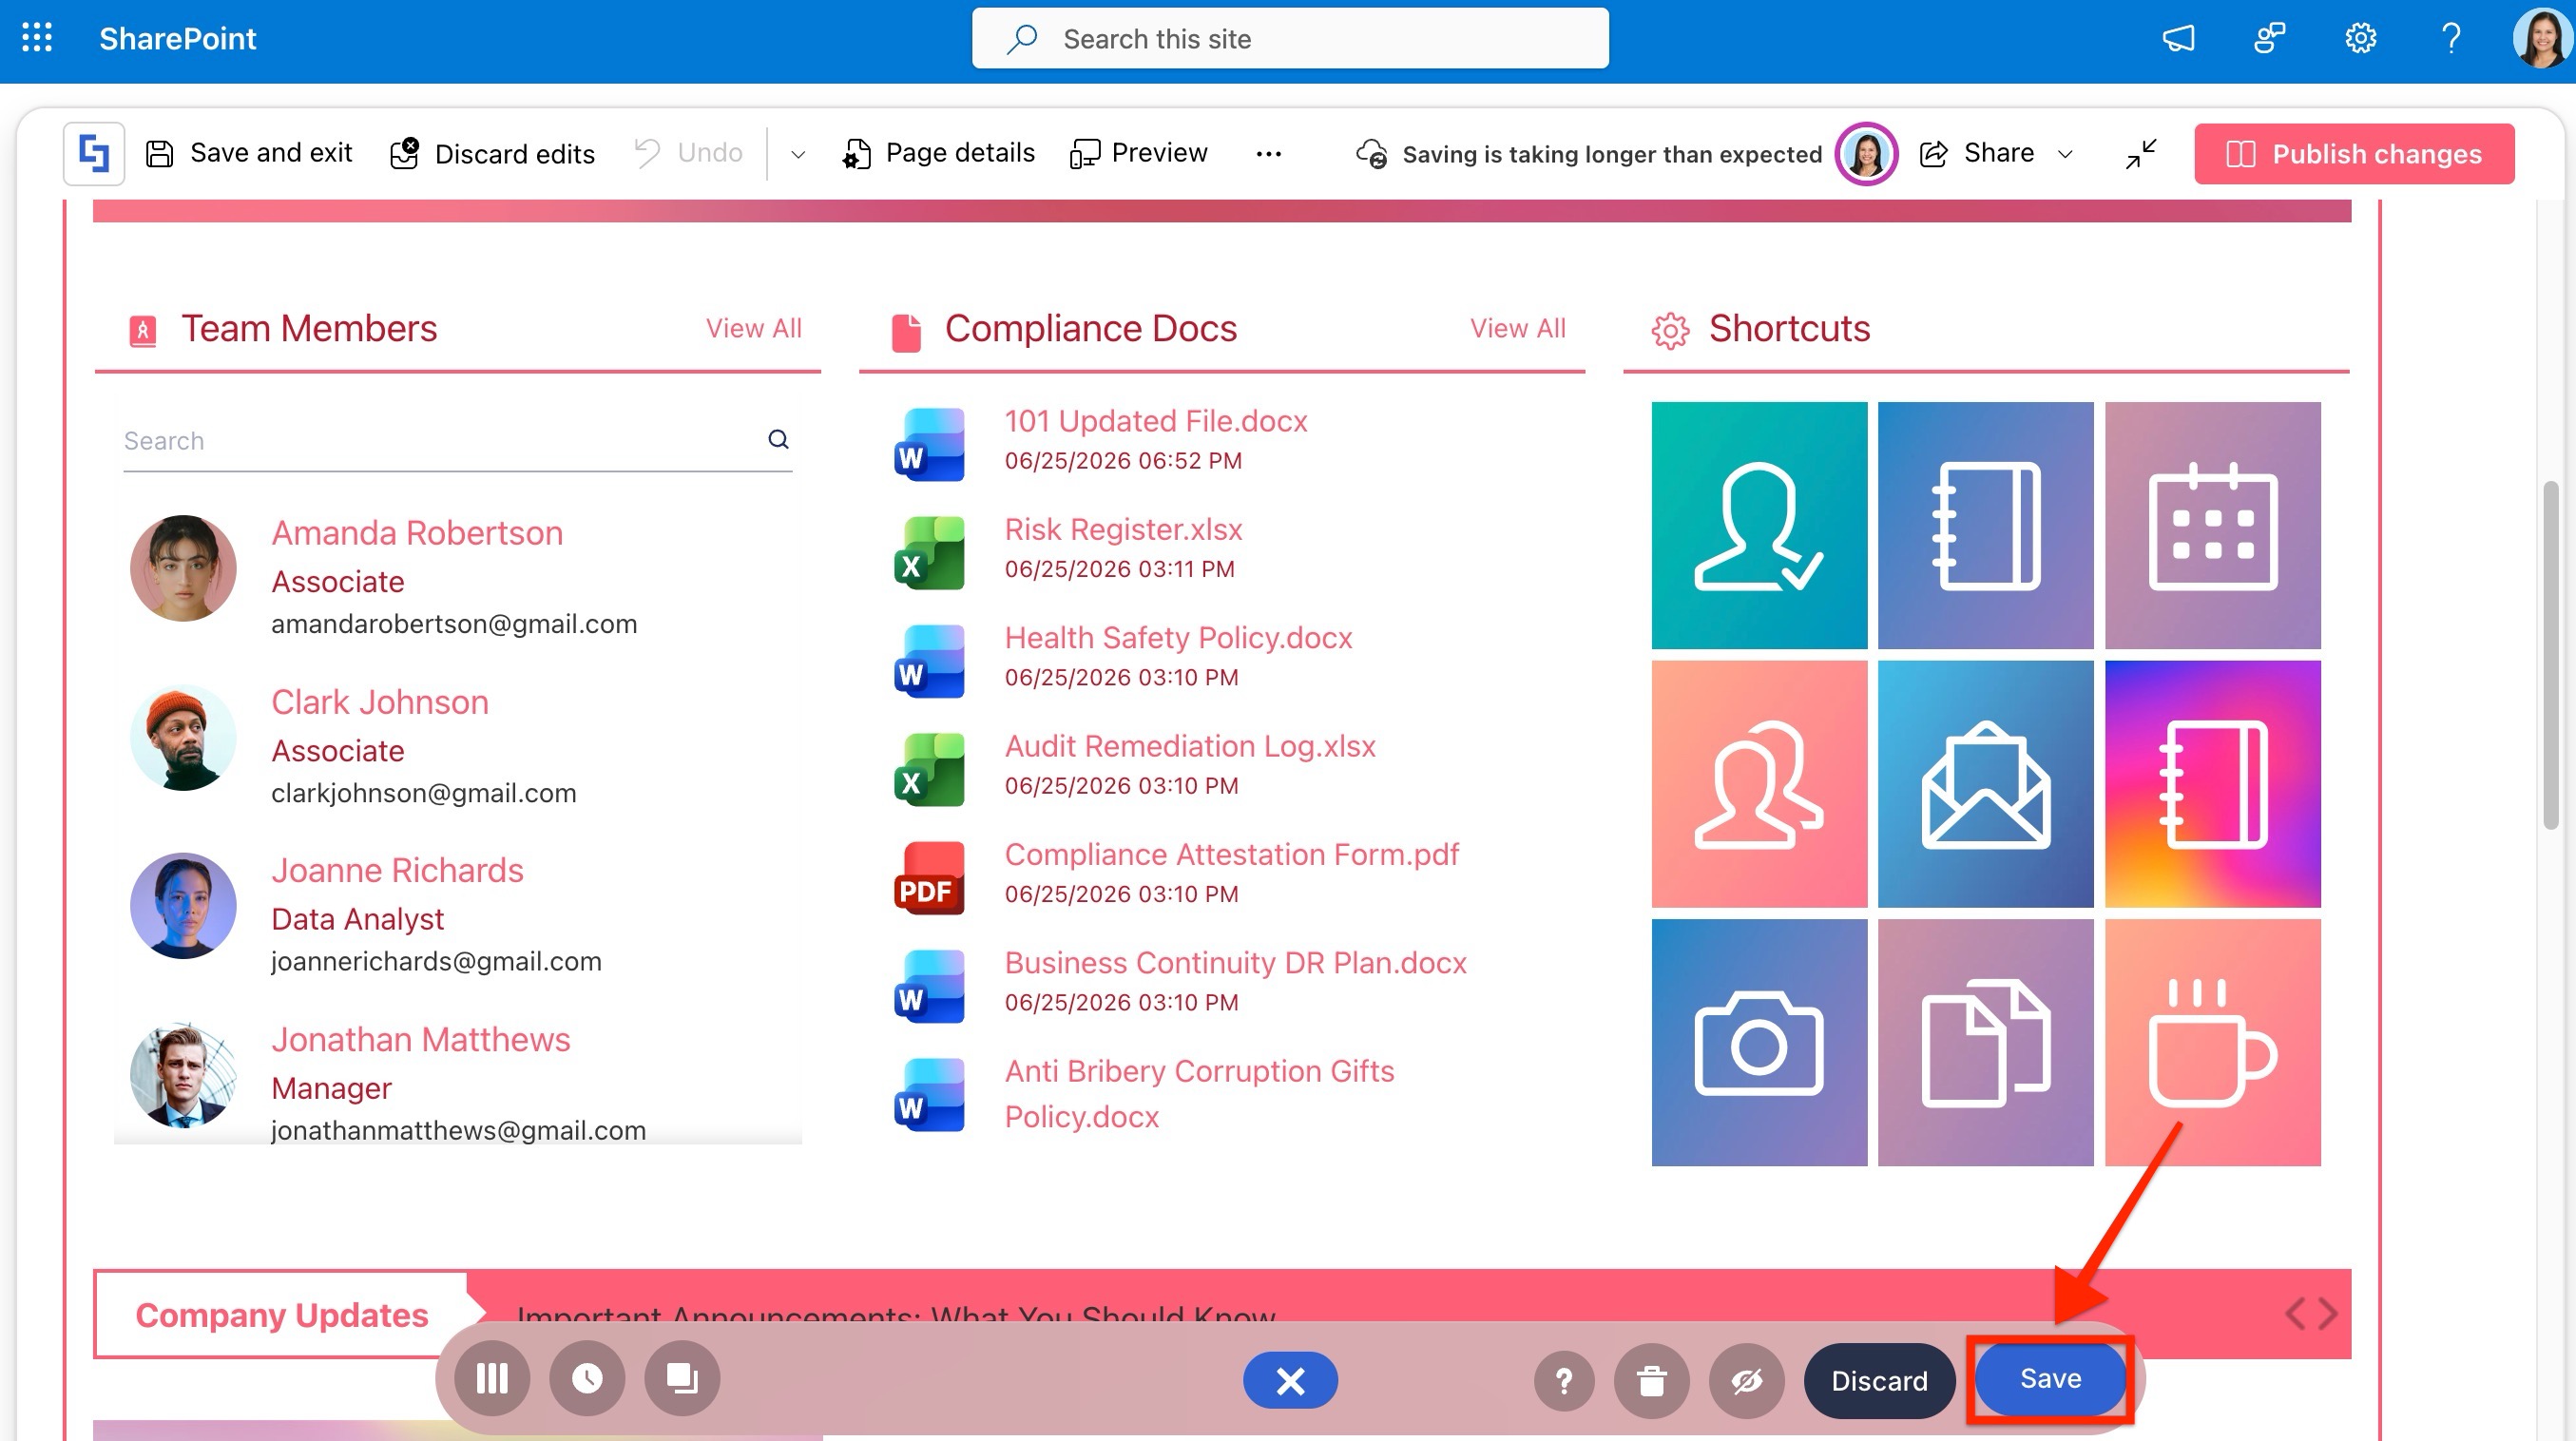
That’s it! You can now connect to a specific folder and showcase all its files.
Related articles: