Try ShortPoint now
TL;DR: To add your first Power BI report to SharePoint with ShortPoint, first choose the integration option that matches your Power BI licensing. With user-based licensing, each viewer signs in with their own Power BI license. With capacity-based licensing, anyone who can view the site sees the report without signing in. Once Power BI is connected, click Edit on the SharePoint page, close the Toolbox, and click the Edit properties icon on the ShortPoint web part. Then click the plus icon where you want the report and select the Power BI Design Element. Choose the workspace, whether to show a report or a dashboard, which one, and (for reports) which page. Finally, click the green check mark, then Save and Publish the page.
Ready to start adding Power BI reports/dashboards to your SharePoint sites? Good news! We’ve prepared this quick-start guide to get you up and running in no time.
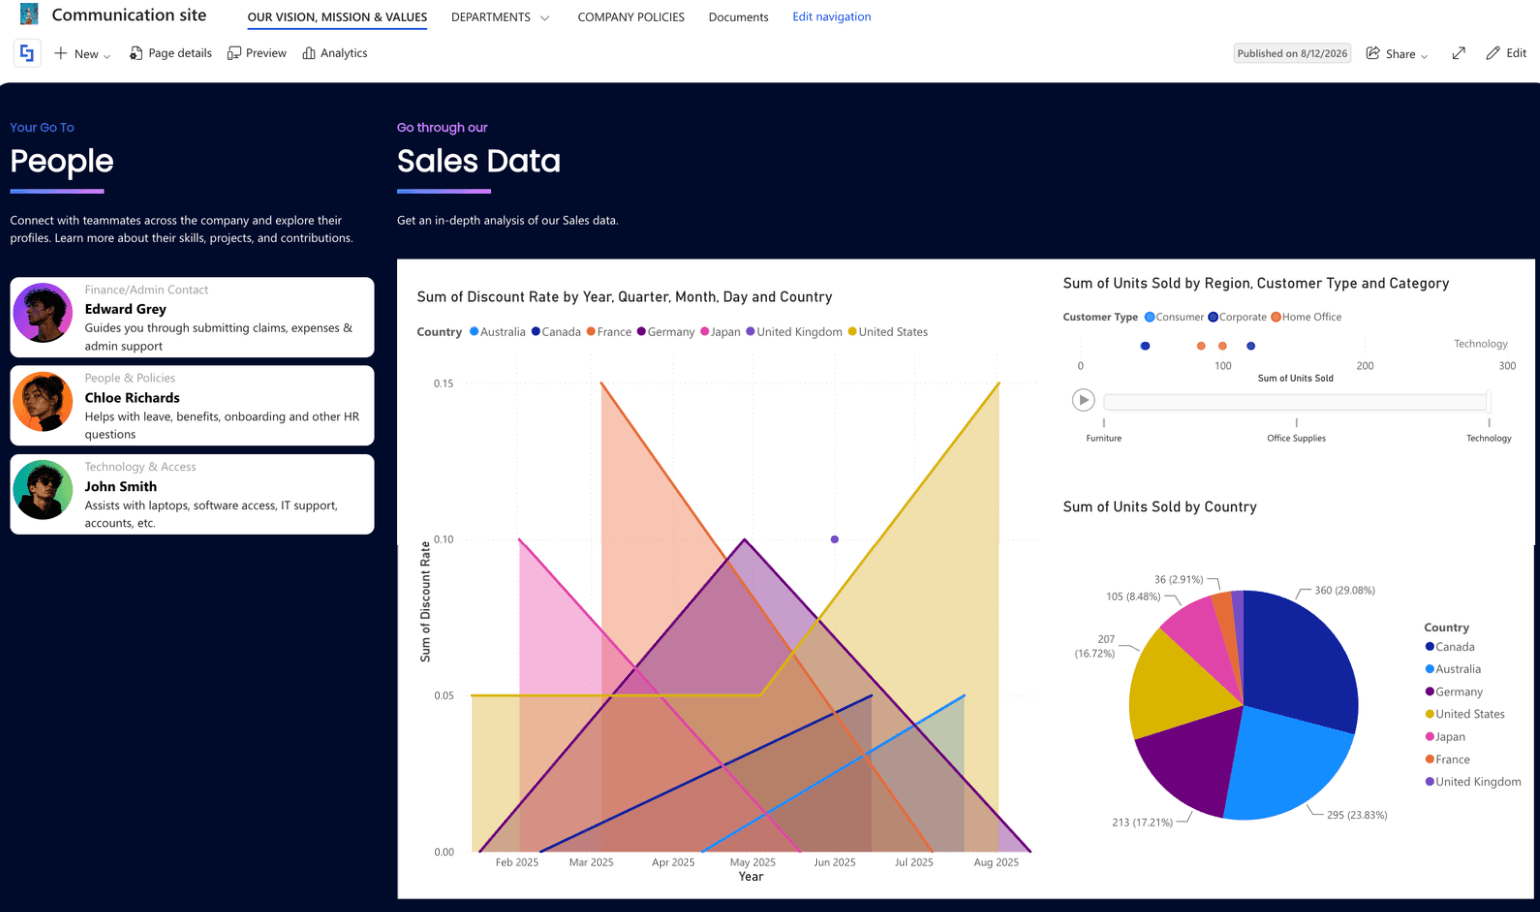
TABLE OF CONTENTS
Prerequisites
- You must have the appropriate Power BI licenses and/or permissions.
- You have the latest ShortPoint SPFx version installed.
- You are a ShortPoint Designer with either a Pro or Enterprise License. For more information, check out Licensing Options.
- You must have a Power BI Dashboard or Report you want to showcase on your SharePoint page.
Before Starting: Identify Your Power BI License
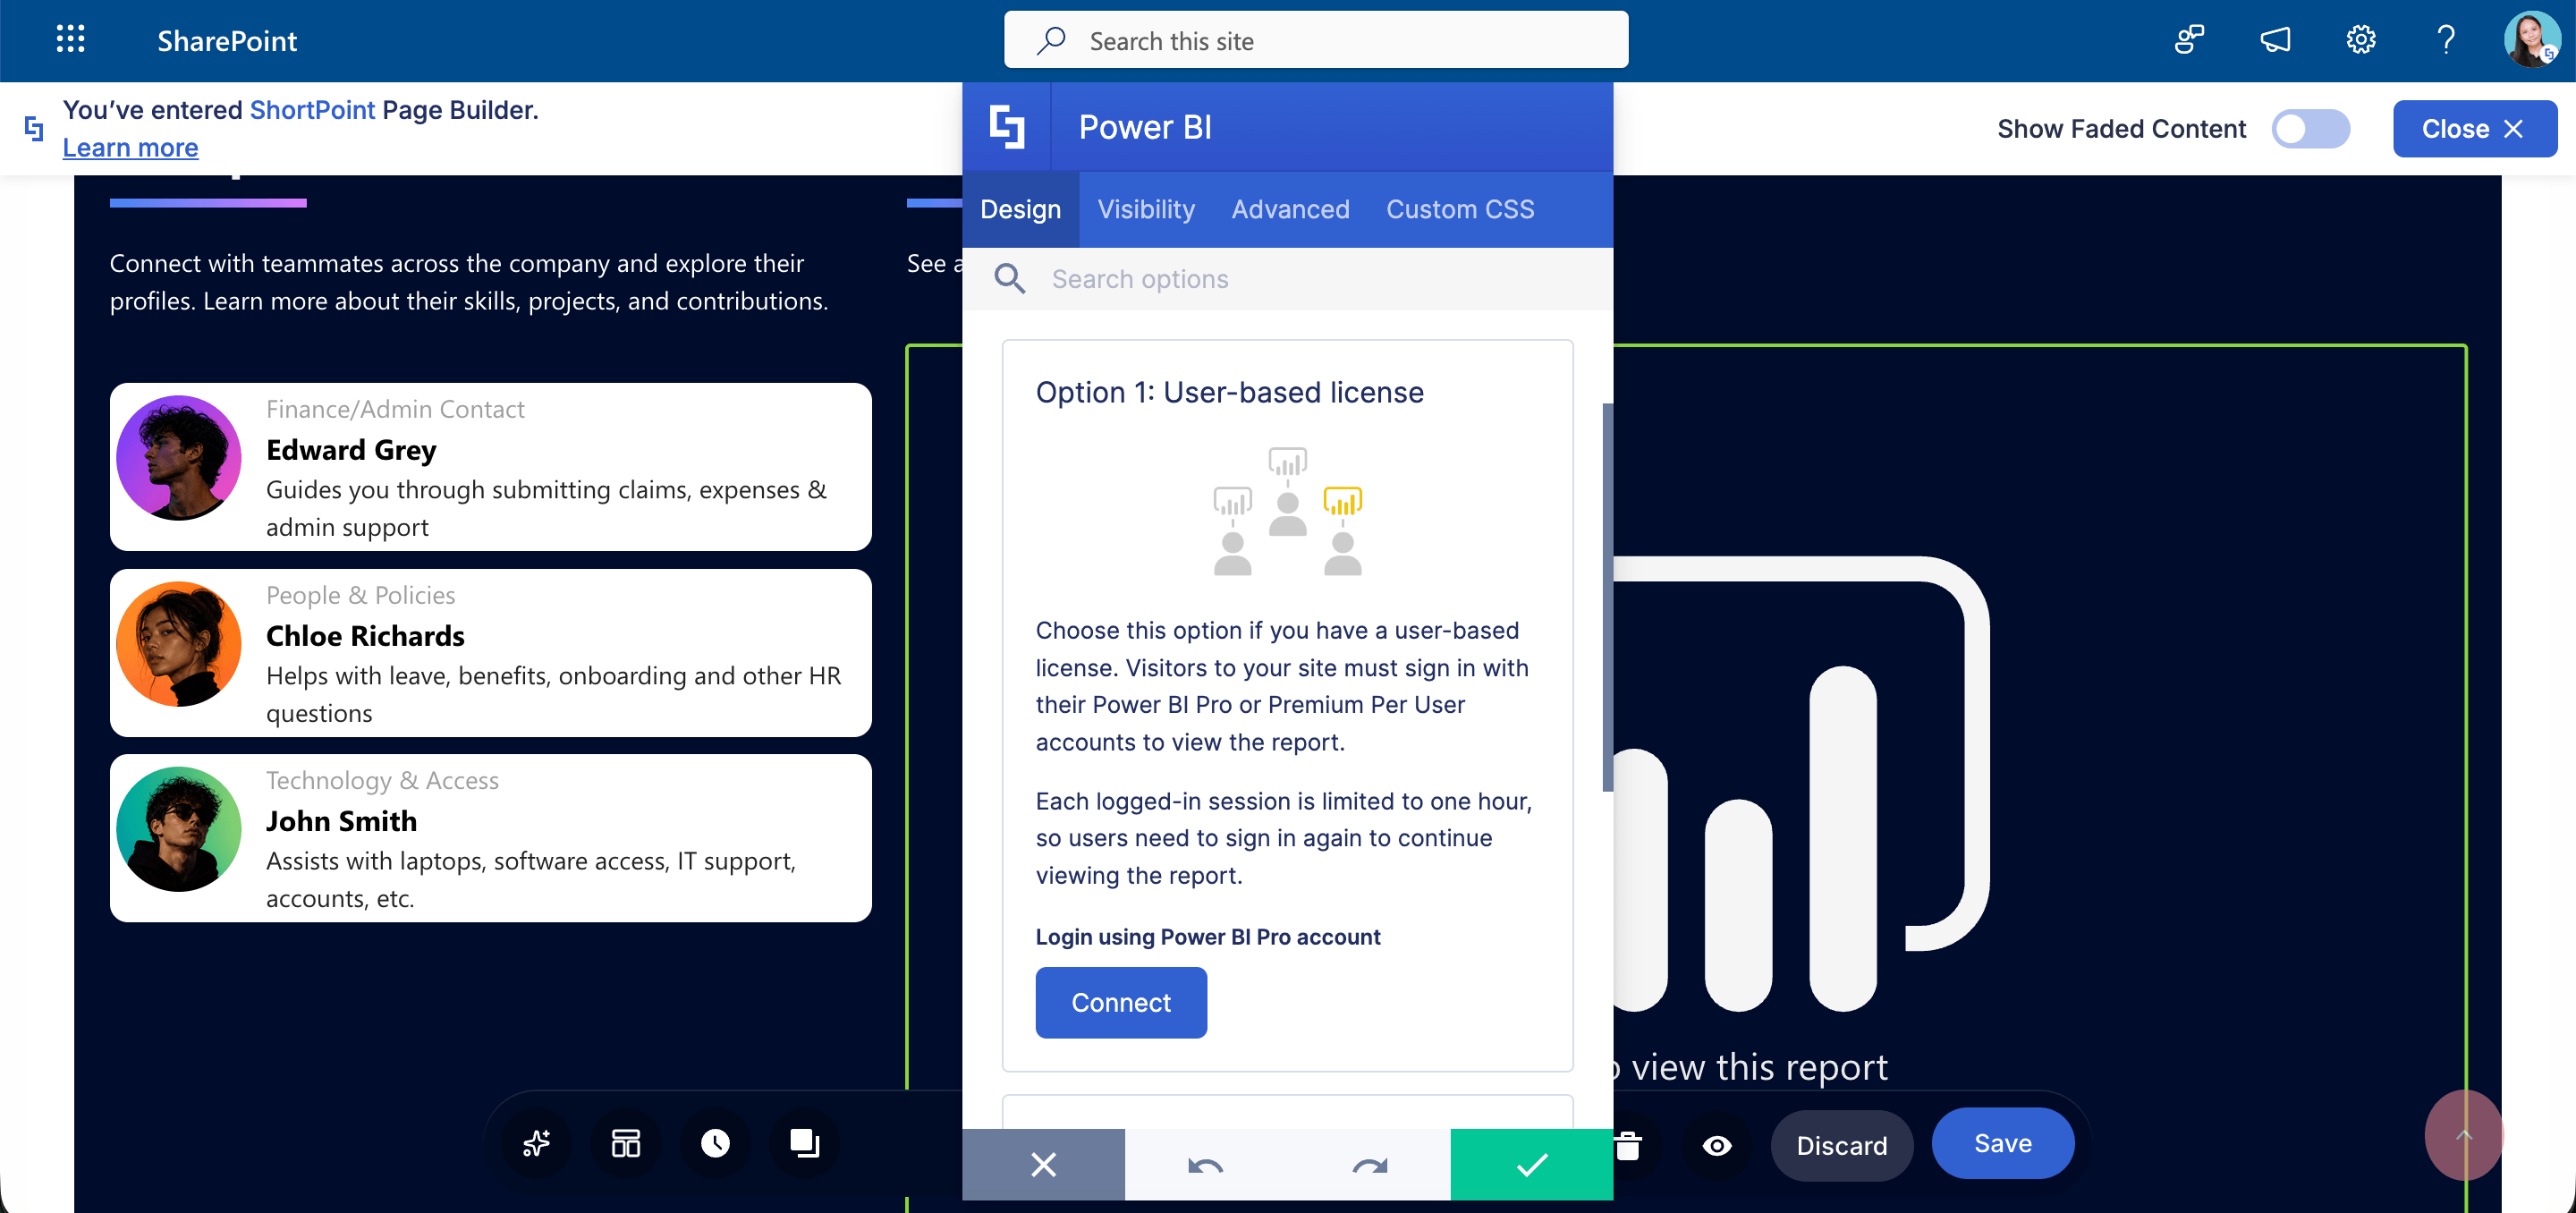
ShortPoint offers two flexible ways to integrate your Power BI content, depending on your organization's licensing setup. Choose the appropriate option to start embedding reports seamlessly on your page:
- User-Based Licensing: Perfect if your site viewers hold their own Power BI licenses. Visitors will simply sign in with their Power BI account to view the content. To learn more, check out our guide on Power BI Integration Option 1: User-based License Integration.
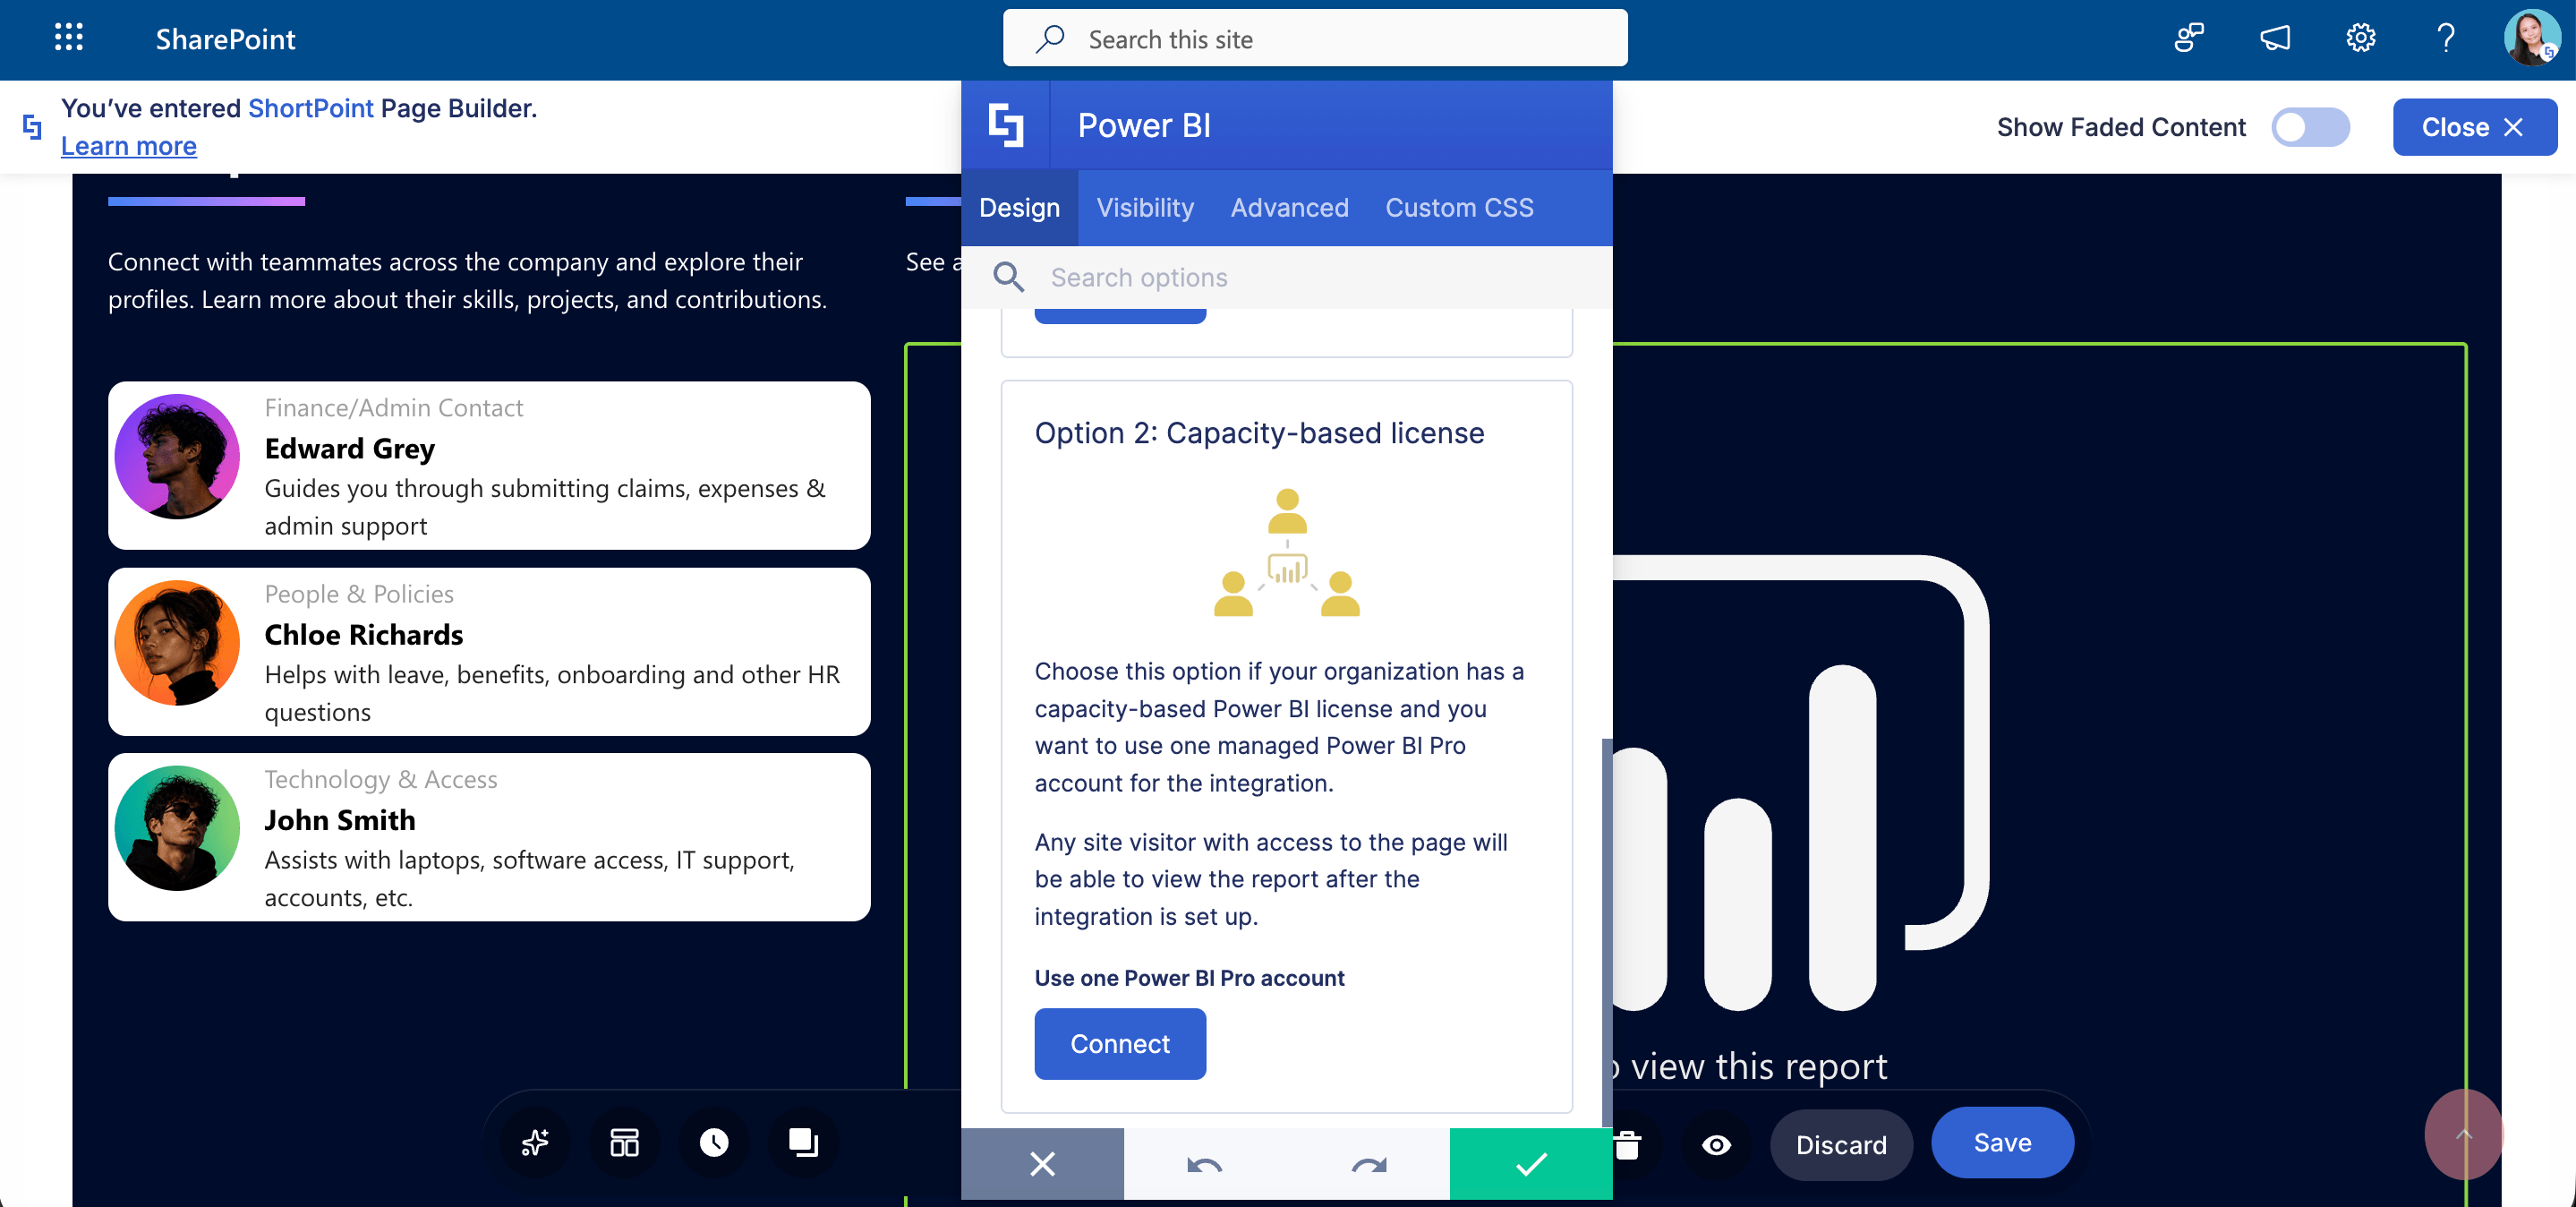
- Capacity-Based Licensing: Ideal if you want hassle-free access across your entire team. Anyone with permission to view your site can see the dashboard or report without needing to log in. Take a look at Power BI Integration Option 2: Capacity-based License Integration for full setup instructions.
Interactive Tutorial
Start the interactive tutorial to learn how to add Power BI reports or dashboards to SharePoint:
Step 1: Edit the ShortPoint web part
- Click the Edit button on the SharePoint page where you want to insert your Power BI report:

- Close the Toolbox:
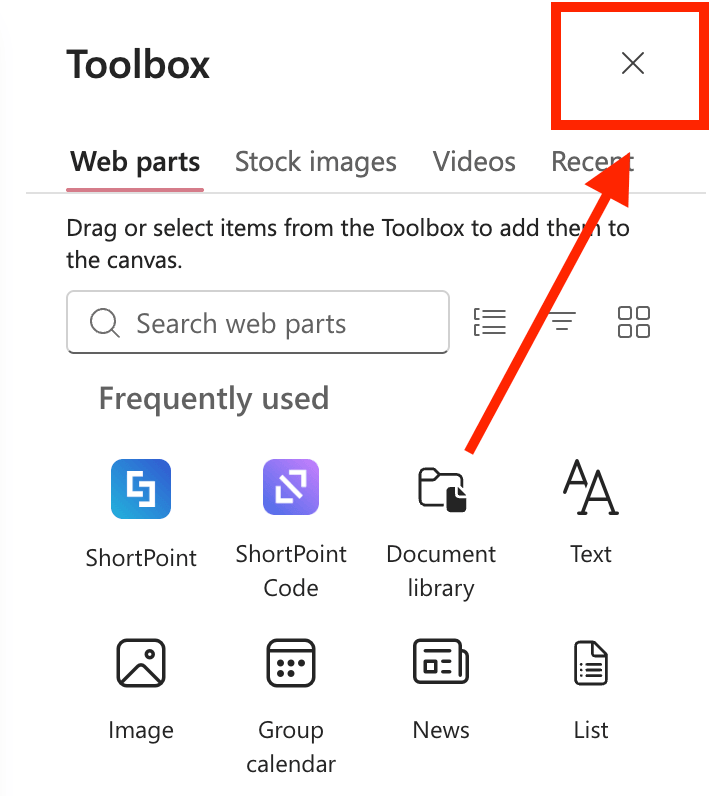
- Click the Edit properties icon:

Step 2: Insert Power BI Design Element
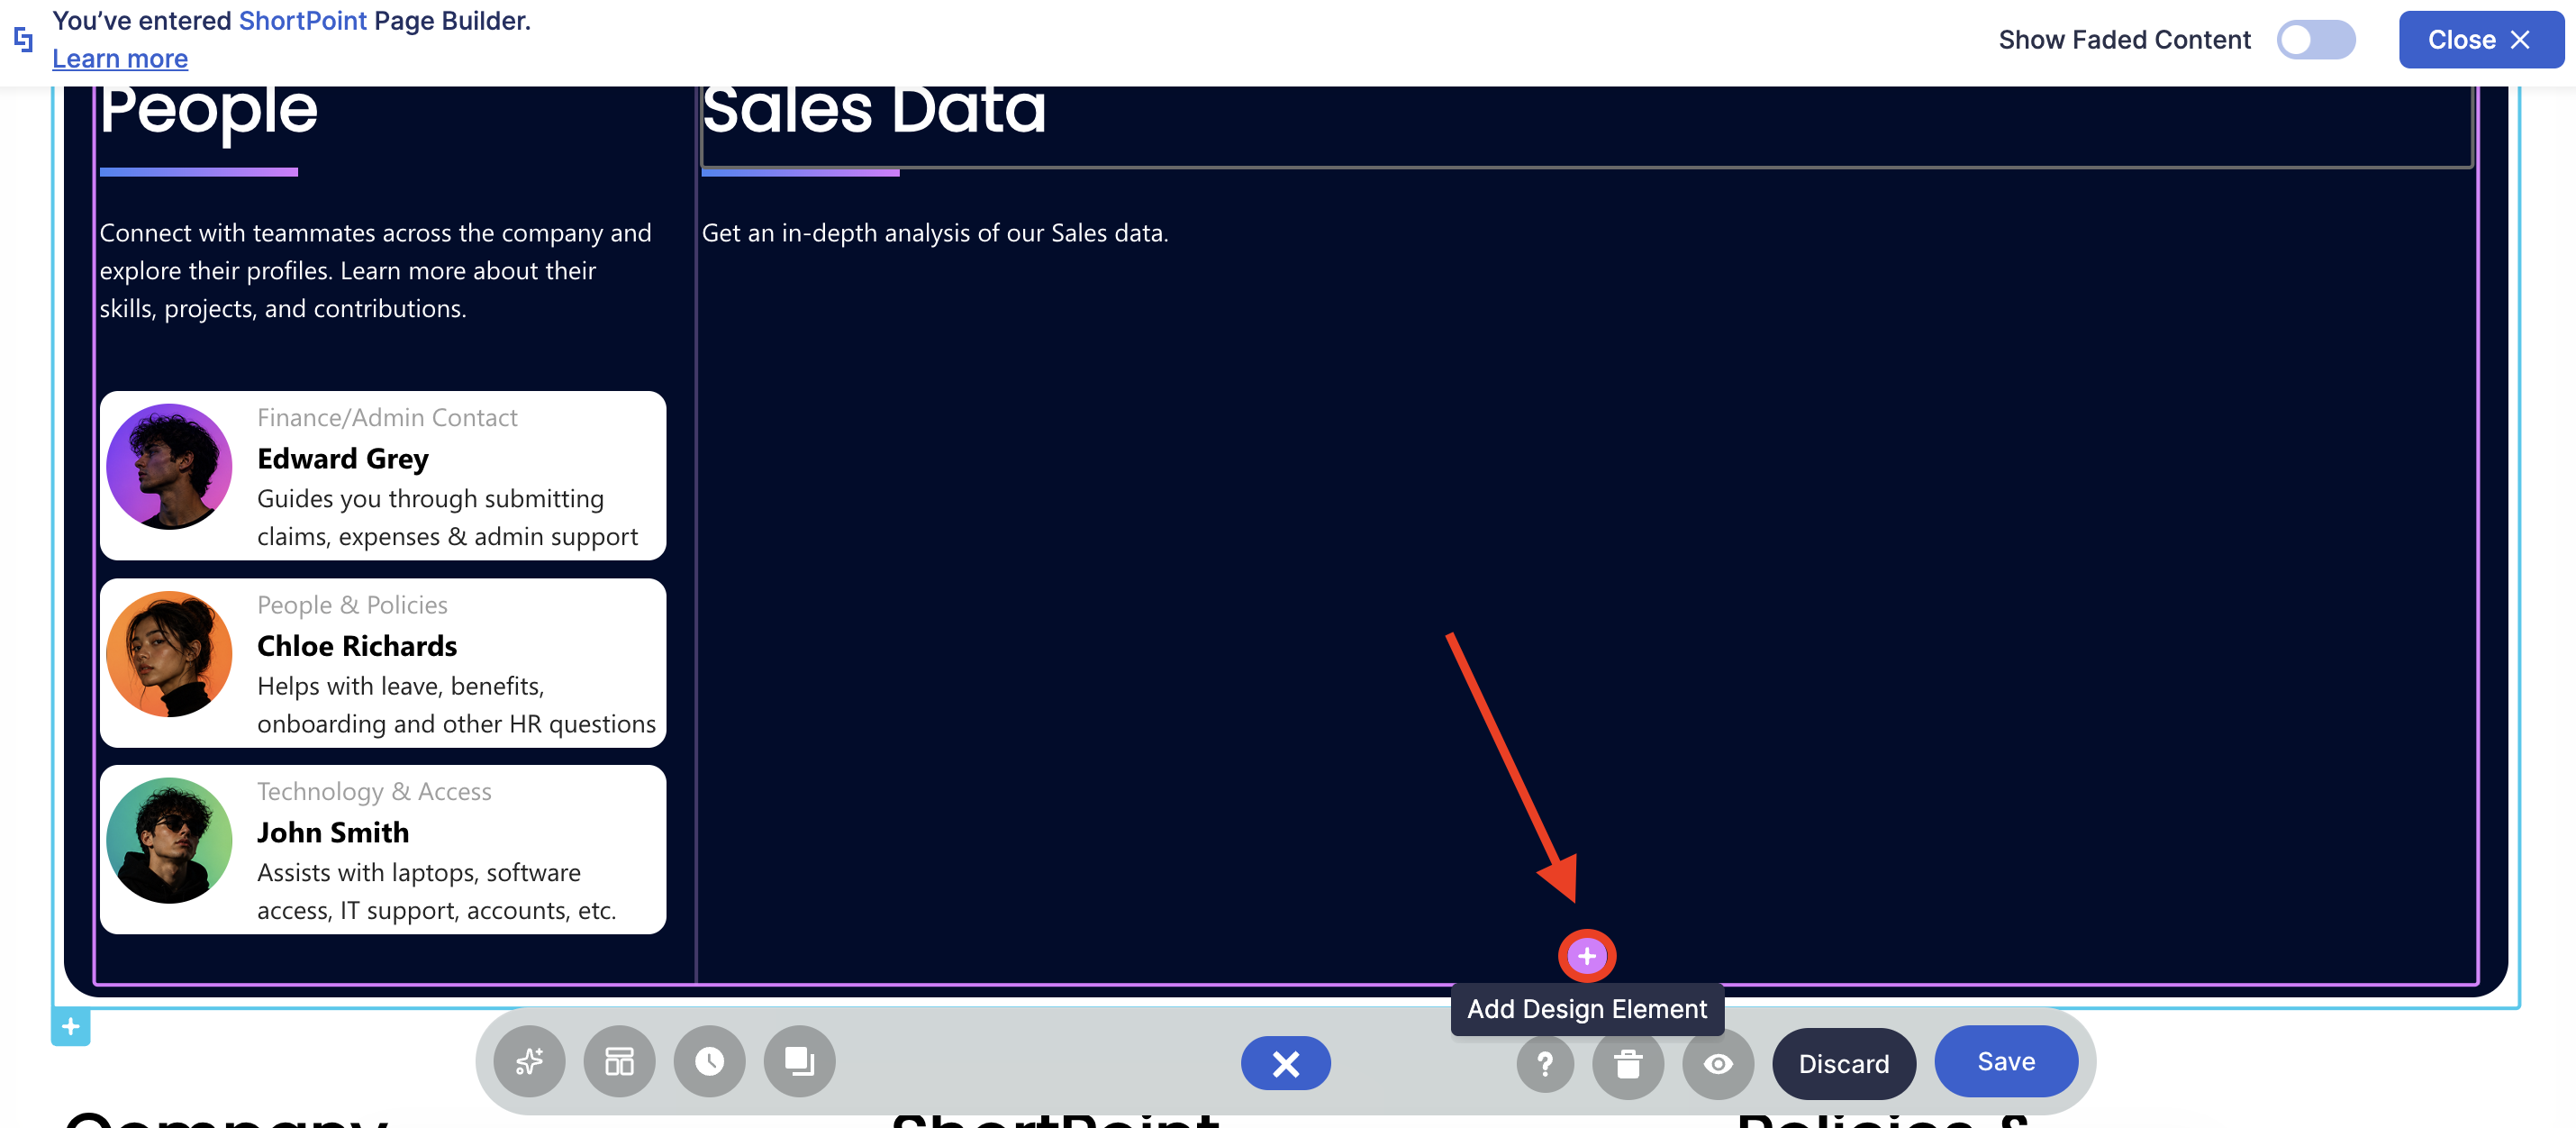
- Navigate to the space where you want to add your Power BI report and click the plus icon:
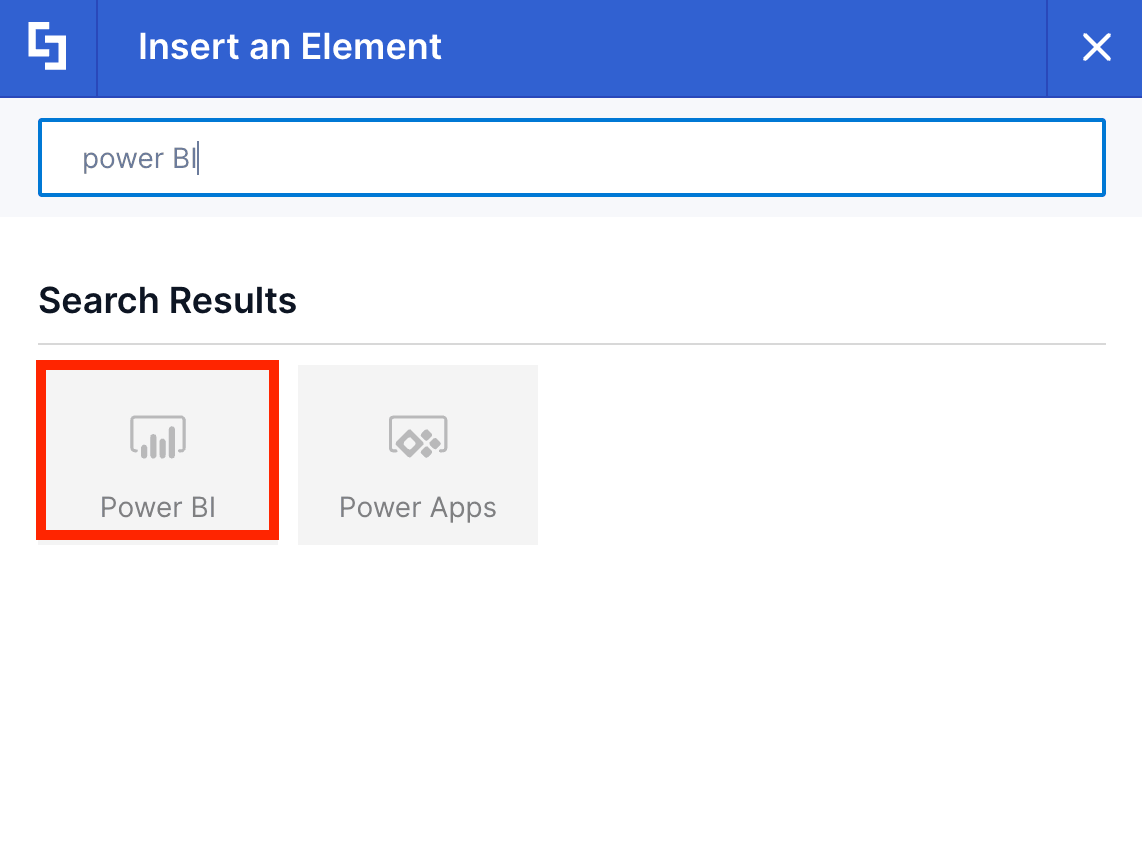
- Scroll down or search for Power BI and select it:
Step 3: Select the Power BI asset you want to insert
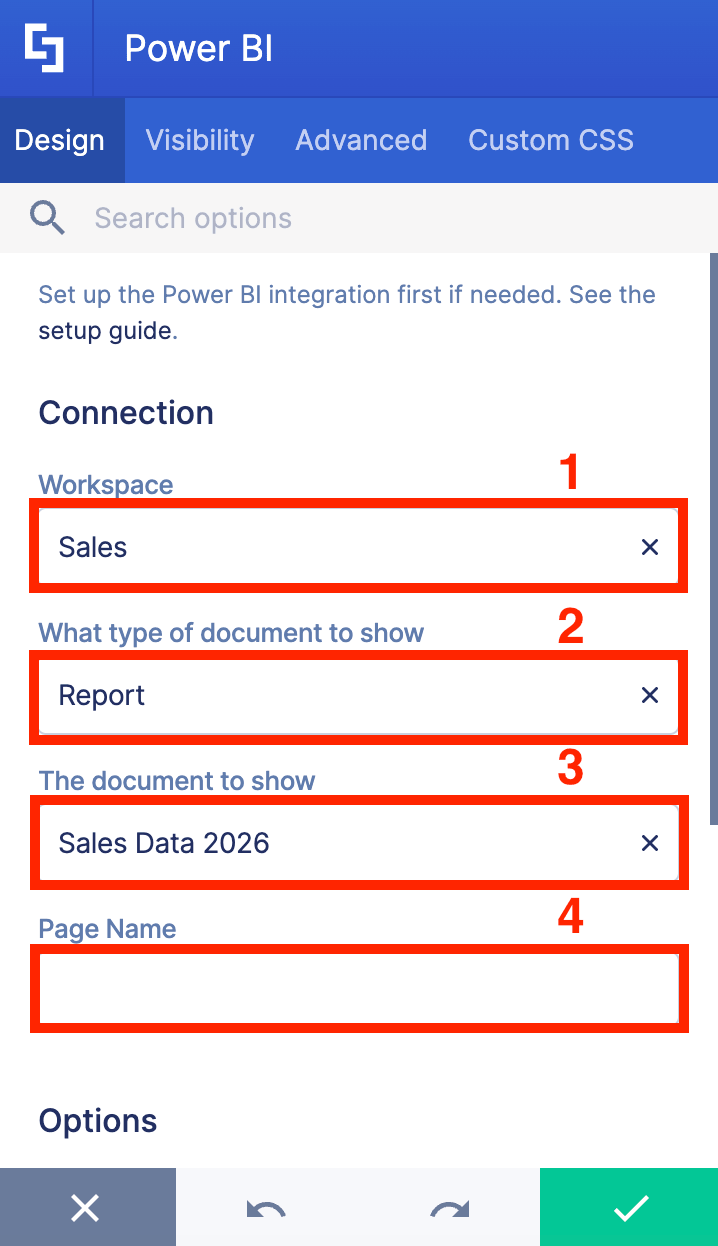
- Once authentication is successful, you will be asked to fill out fields that will identify the asset you want to embed into your SharePoint page:
- Workspace - choose the name of the workspace where the Power BI asset is located.
- What type of document to show - choose the type of Power BI asset you have. You can choose from Report or Dashboard.
- The document to show - choose the name of the report or dashboard to showcase.
- Page Name - this field is only available when you select ‘Report’ under the document to show field. This will allow you to select the page you want to display.
Step 4: Insert and save
- Click the green check mark:

- Click Save to apply your changes:

- Publish the page:

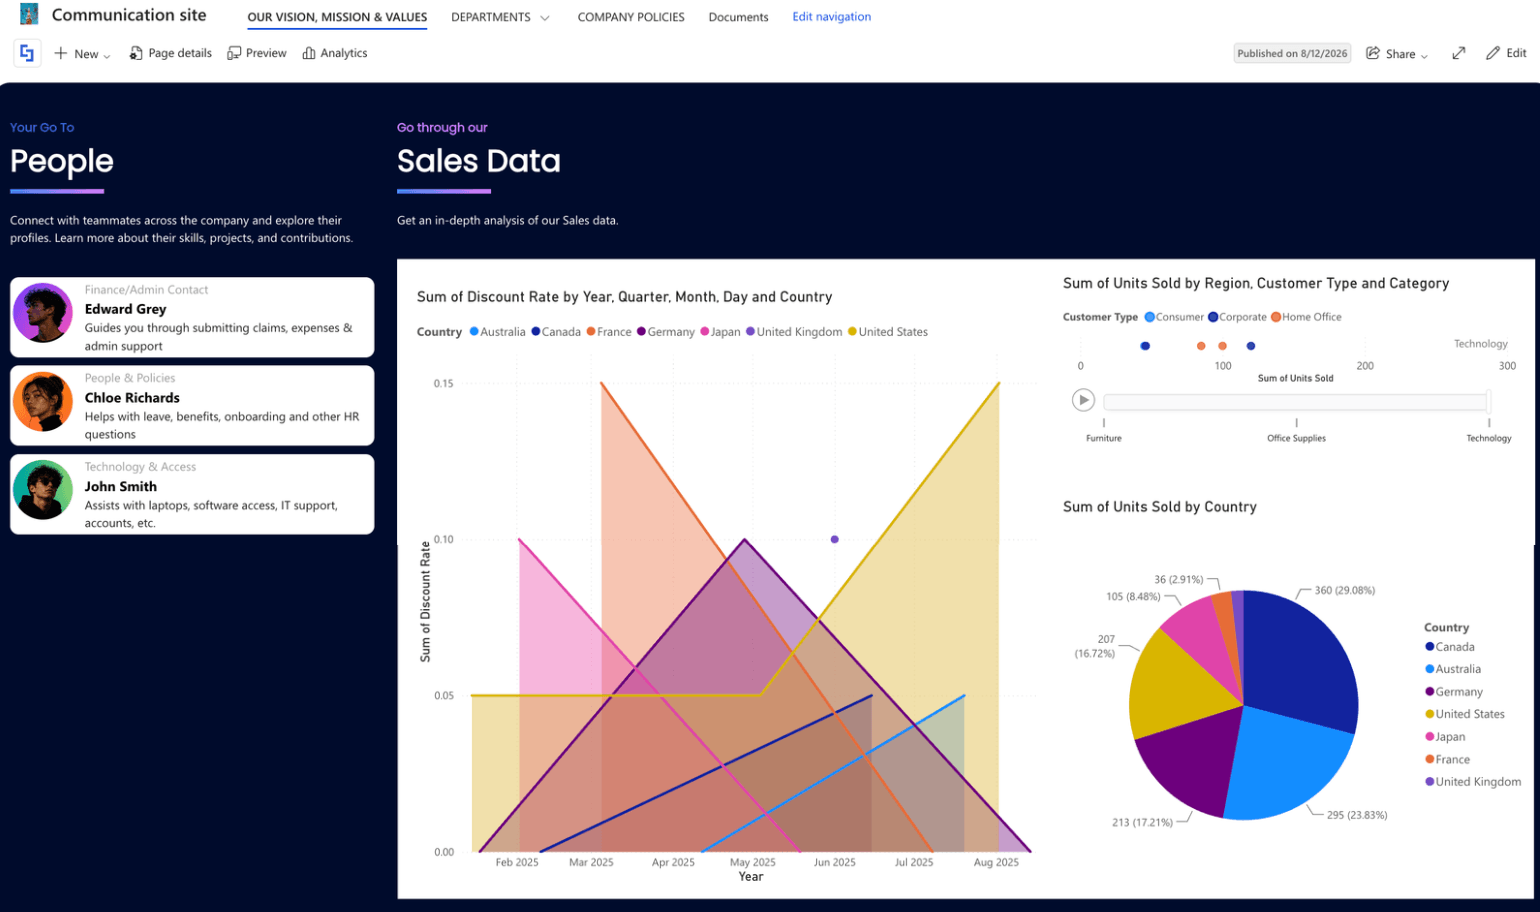
That's it! You now know how to embed a Power BI asset to your SharePoint page.
Related articles:
- Setting Up Power BI Integration
- Power BI Integration Option 1: User-based License Integration
- Power BI Integration Option 2: Capacity-based License Integration