Try ShortPoint now
Ever found yourself scrolling endlessly just to find what you need on a modern SharePoint page? We’ve all been there! It can be frustrating to go through a wall of text without a single clue about the information you're looking for.
If your intranet users are experiencing this kind of scroll fatigue, it’s time to give them a map. Enter the ShortPoint Table of Contents, a design element built specifically to make text-heavy SharePoint modern pages effortless to navigate.
Let's jump into what it is, how to use it, and some practical use cases to get you started.
NOTEThe Table of Contents Design Element is different from the TOC Navigation and TOC Content Design Elements found in Grid Mode.
TABLE OF CONTENTS
- Prerequisites
- What is the Table of Contents Design Element?
- Interactive Tutorial
- Step-by-step Tutorial
- Table of Contents Features
- Table of Contents Style
- Practical Use Cases for Your Intranet
- Start Designing with the Table of Contents Element
- Frequently Asked Questions
- What is the SharePoint Table of Contents Design Element?
- How do I add a Table of Contents to my SharePoint modern page?
- Can I customize the look of the Table of Contents?
- Does the Table of Contents update automatically when I change headings?
- What heading levels can be included in the TOC?
- Who can see the Table of Contents on my SharePoint page?
- What are some practical uses for the SharePoint Table of Contents?
- Can I try the Table of Contents Design Element before purchasing?
- Where can I get help or a demo for using the Table of Contents?
Prerequisites
- You must have the ShortPoint SPFx version 9.2.0.0 or later installed in your SharePoint environment.
- You must be a ShortPoint Designer with an active license.
What is the Table of Contents Design Element?
The Table of Contents Design Element is a new addition to the ShortPoint library of Design Elements, starting from ShortPoint SPFx version 9.2.0.0 or later.
Unlike standard, rigid tables of contents, it has a built-in smart visual assessment tool that automatically retrieves the headings of your page. However, it's still best to check your page's headings for the best results.
When users click an item in the navigation panel, the page smoothly scrolls right to that section. Even better, you can customize the colors and style to match your company's branding perfectly.
Interactive Tutorial
Click Get Started to add a SharePoint table of contents easily to your page. This fantastic design element lets you implement a clear structure for your content, making it easier for your coworkers to navigate through your wiki pages or any post with headings.
Step-by-step Tutorial
Learn how to insert Table of Contents into a SharePoint modern page.
Step 1: Edit the ShortPoint Web Part
- Go to the SharePoint page you want to use and click Edit.

- Close the Toolbox.
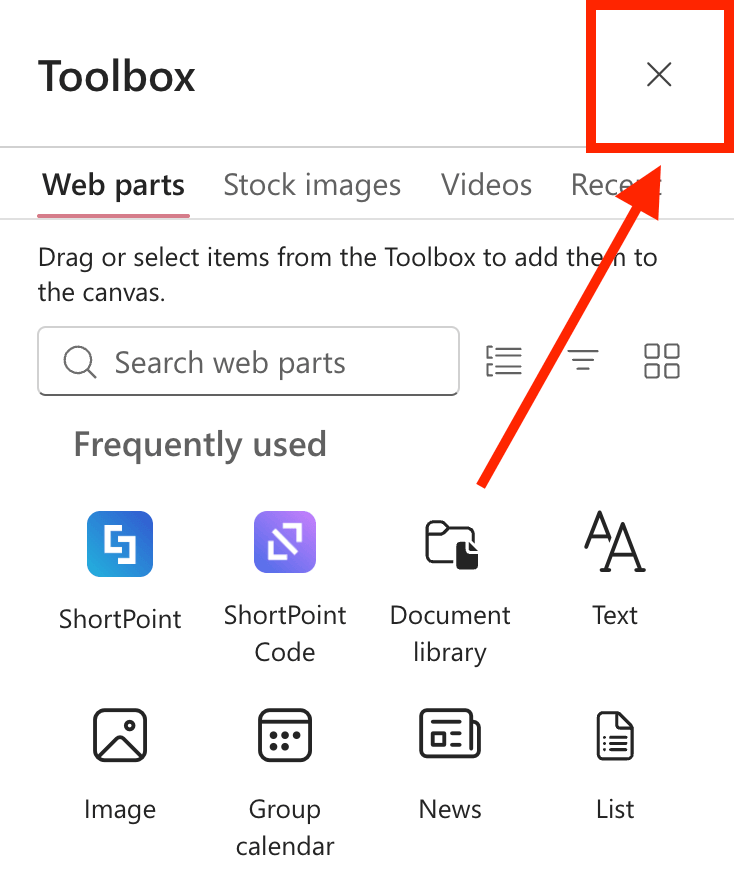
- Click the Edit properties icon.

Step 2: Assign Heading Element Levels
NOTEDepending on the Design Element you're using for headings, the Heading Element Level field can be found in various locations. Typically, it can be found in the Advanced tab for the Highlighted Text, Rotating Text, and Heading Design Elements.
- Click the EasyPass tag of the Design Element:

- Select the cogwheel icon:

- Look for the Heading Level field and select the level you'd like to use. You can choose from H1 to H6.
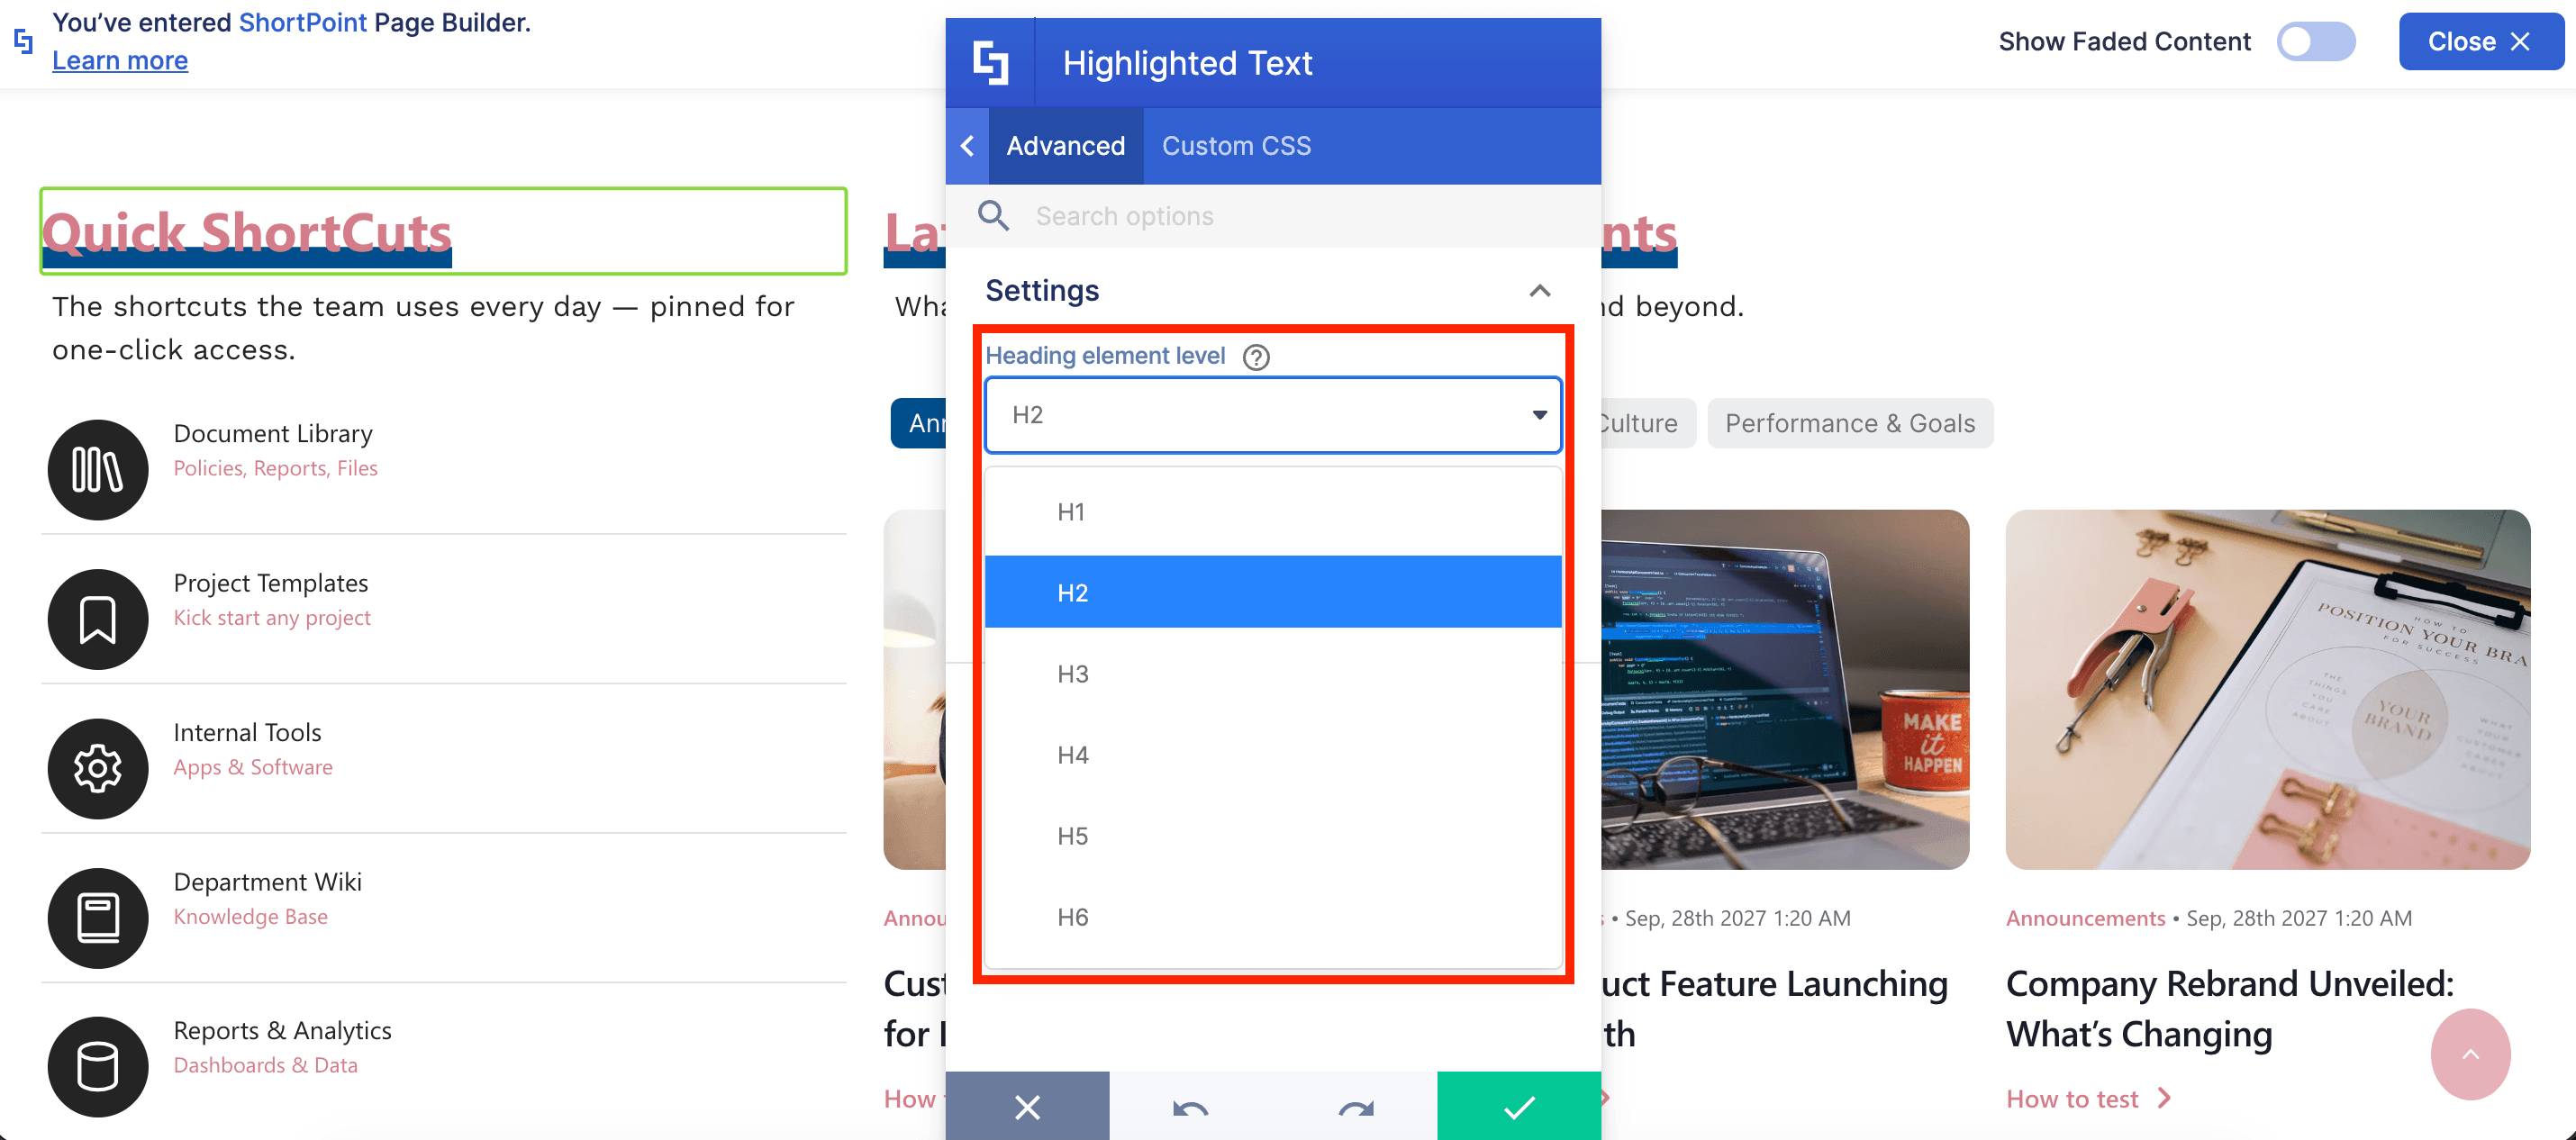
- Click the green checkmark.
- Repeat the steps for all the headings on your page.
Step 3: Insert the Table of Contents Design Element
- Choose where you want to add the Table of Contents and click the plus icon:

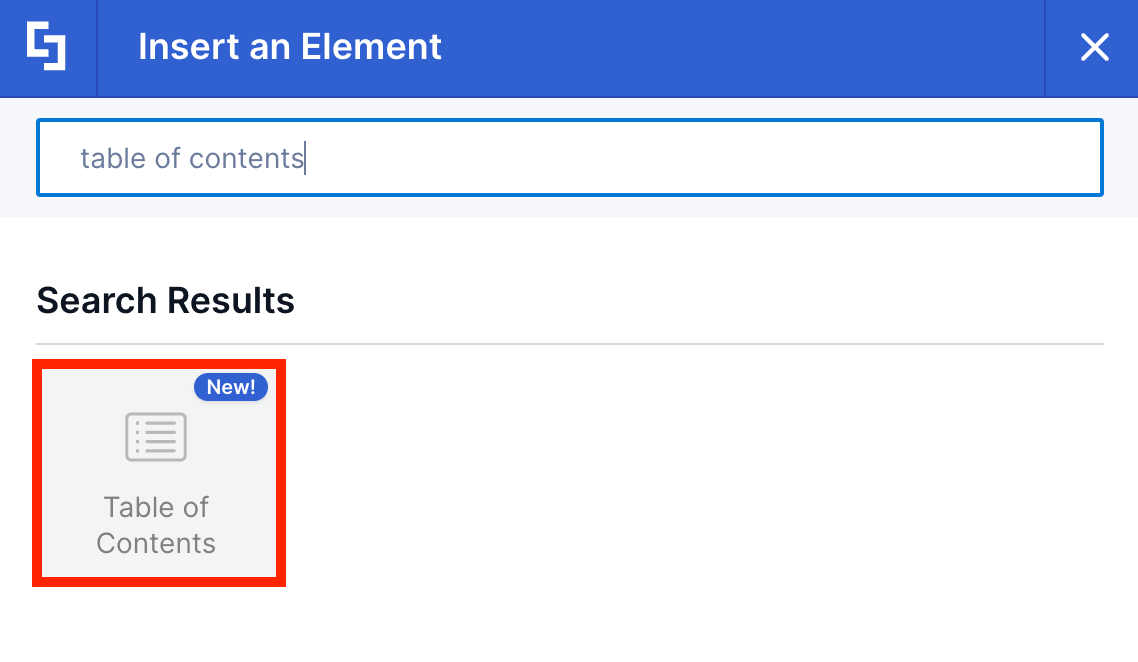
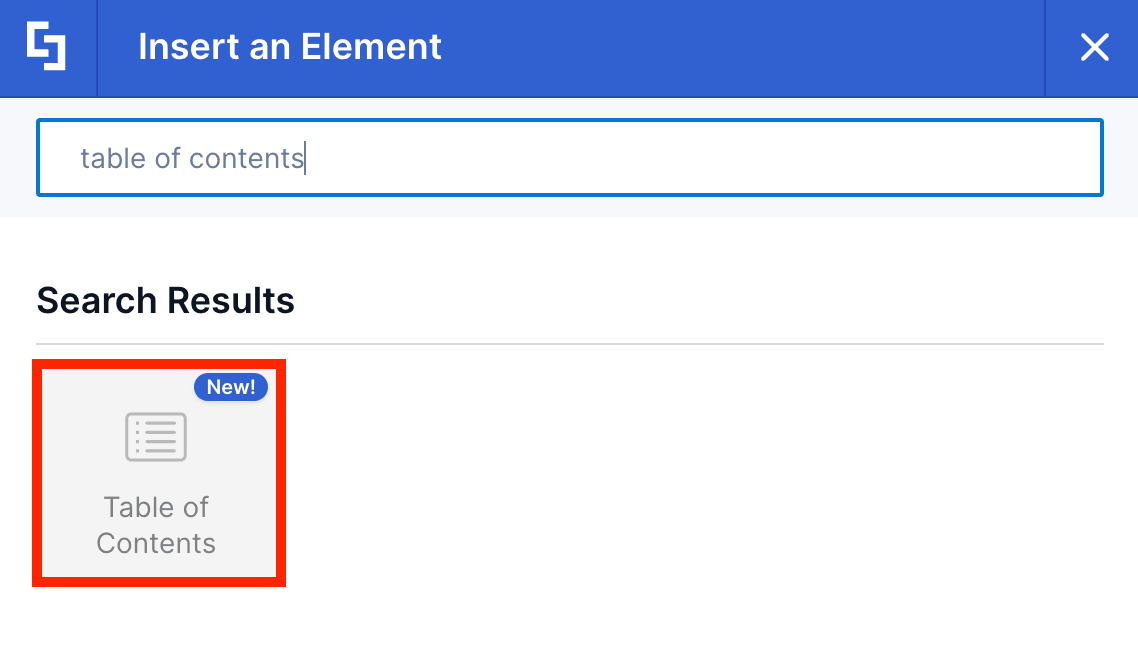
- Use the search box to look for Table of Contents and click it:
Step 4: Customize the Content
- Go to the Content tab.
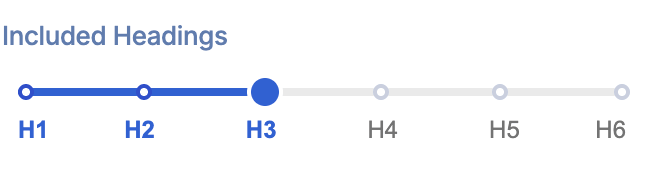
- Choose the Heading Levels you'd like to include in the TOC.
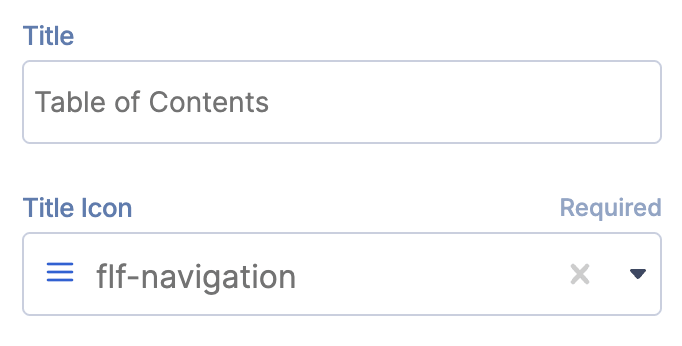
- Edit the Title and the Title icon to your liking.
NOTETo learn more about the features you can customize for Table of Contents,
check out Table of Contents Features.
Step 5: Customize the Design
- Go to the Design tab.
- Customize the look of the Table of Contents according to your preferences.
- Go to the Advanced tab.
- Modify the design even further.
- Once satisfied, click the green check mark.
NOTETo learn more about the features you can customize for Table of Contents,
check out Table of Contents Features.
Step 6: Save
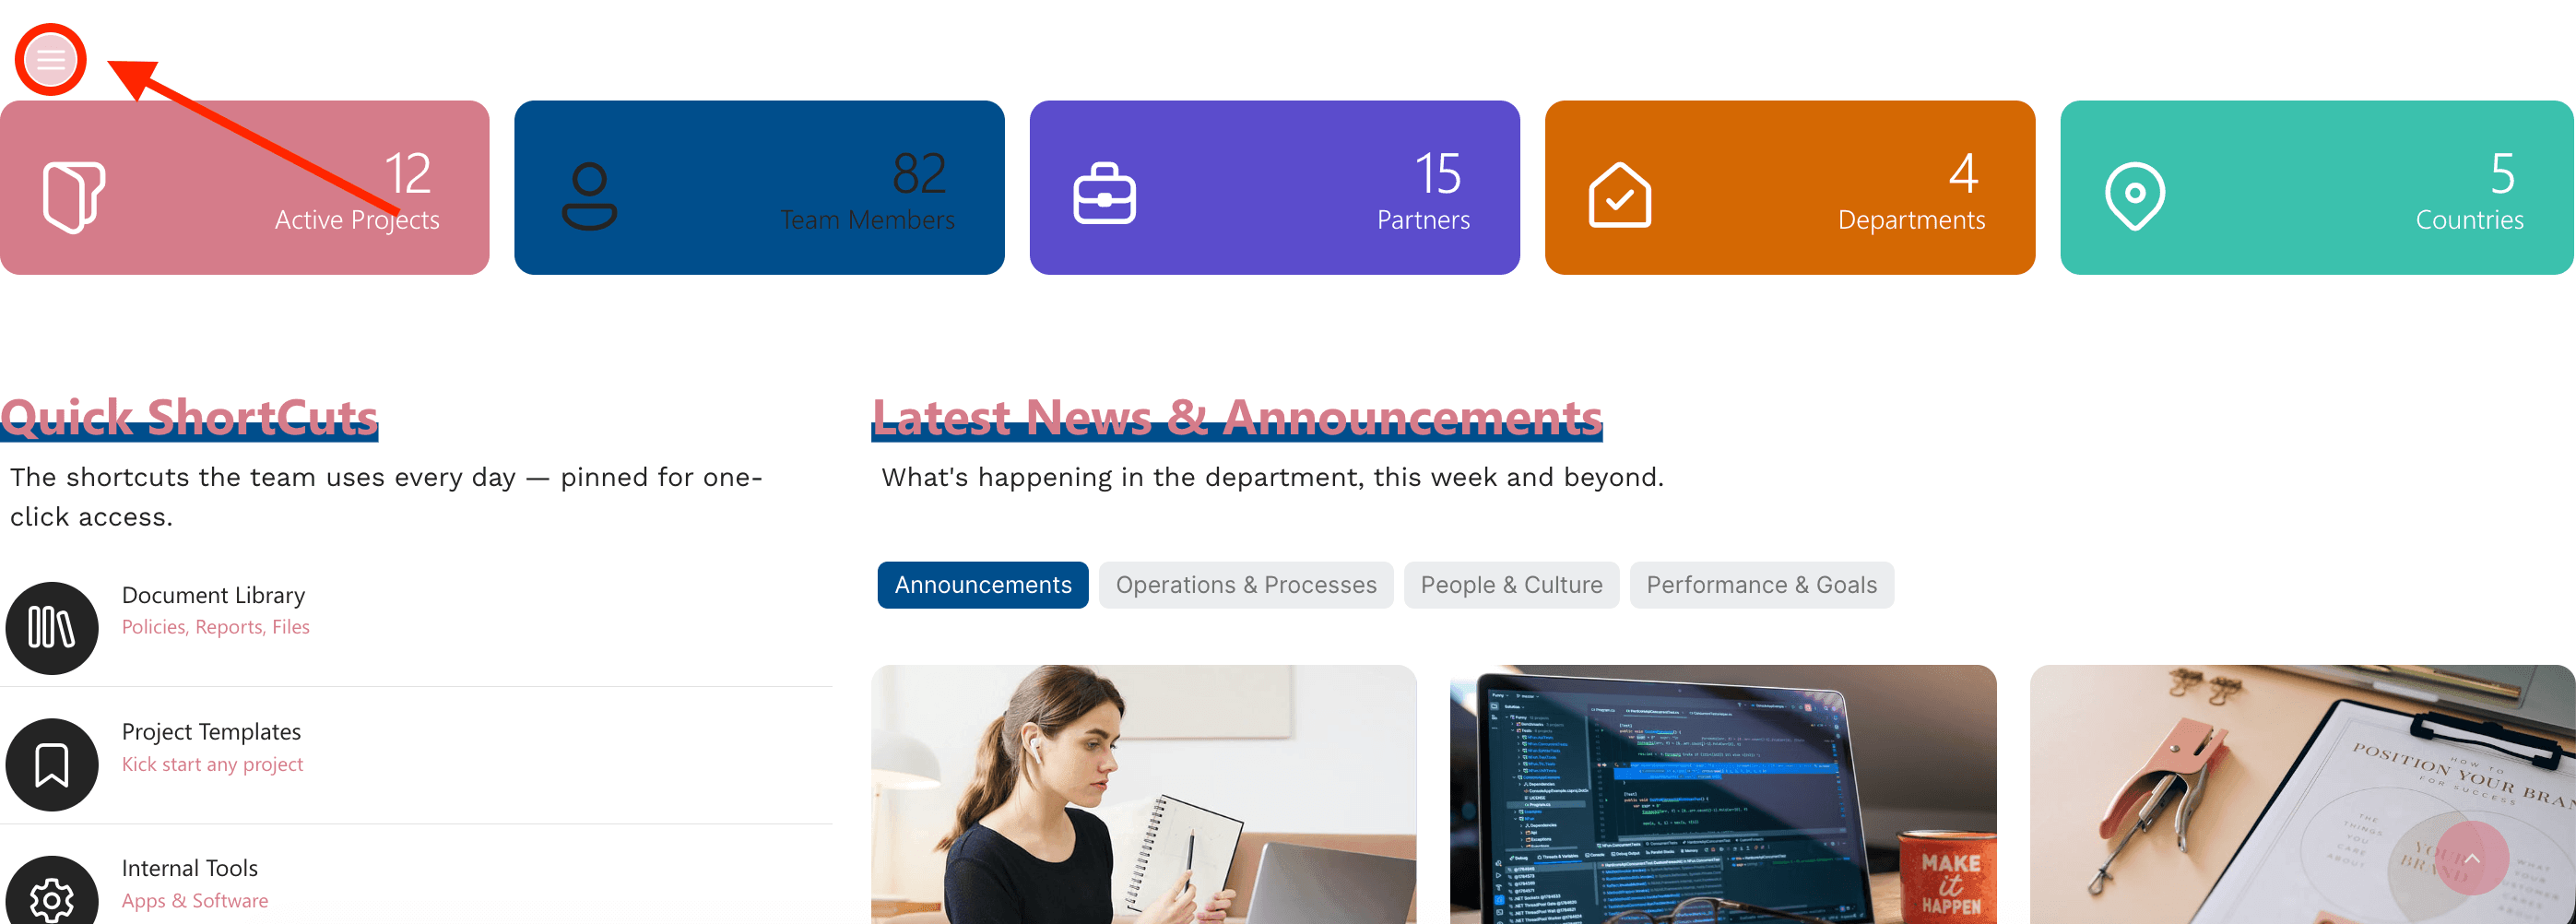
- Click the eye icon to see your page in real-time:

NOTEBy default, the Table of Contents will be displayed on the left-hand side of your page.
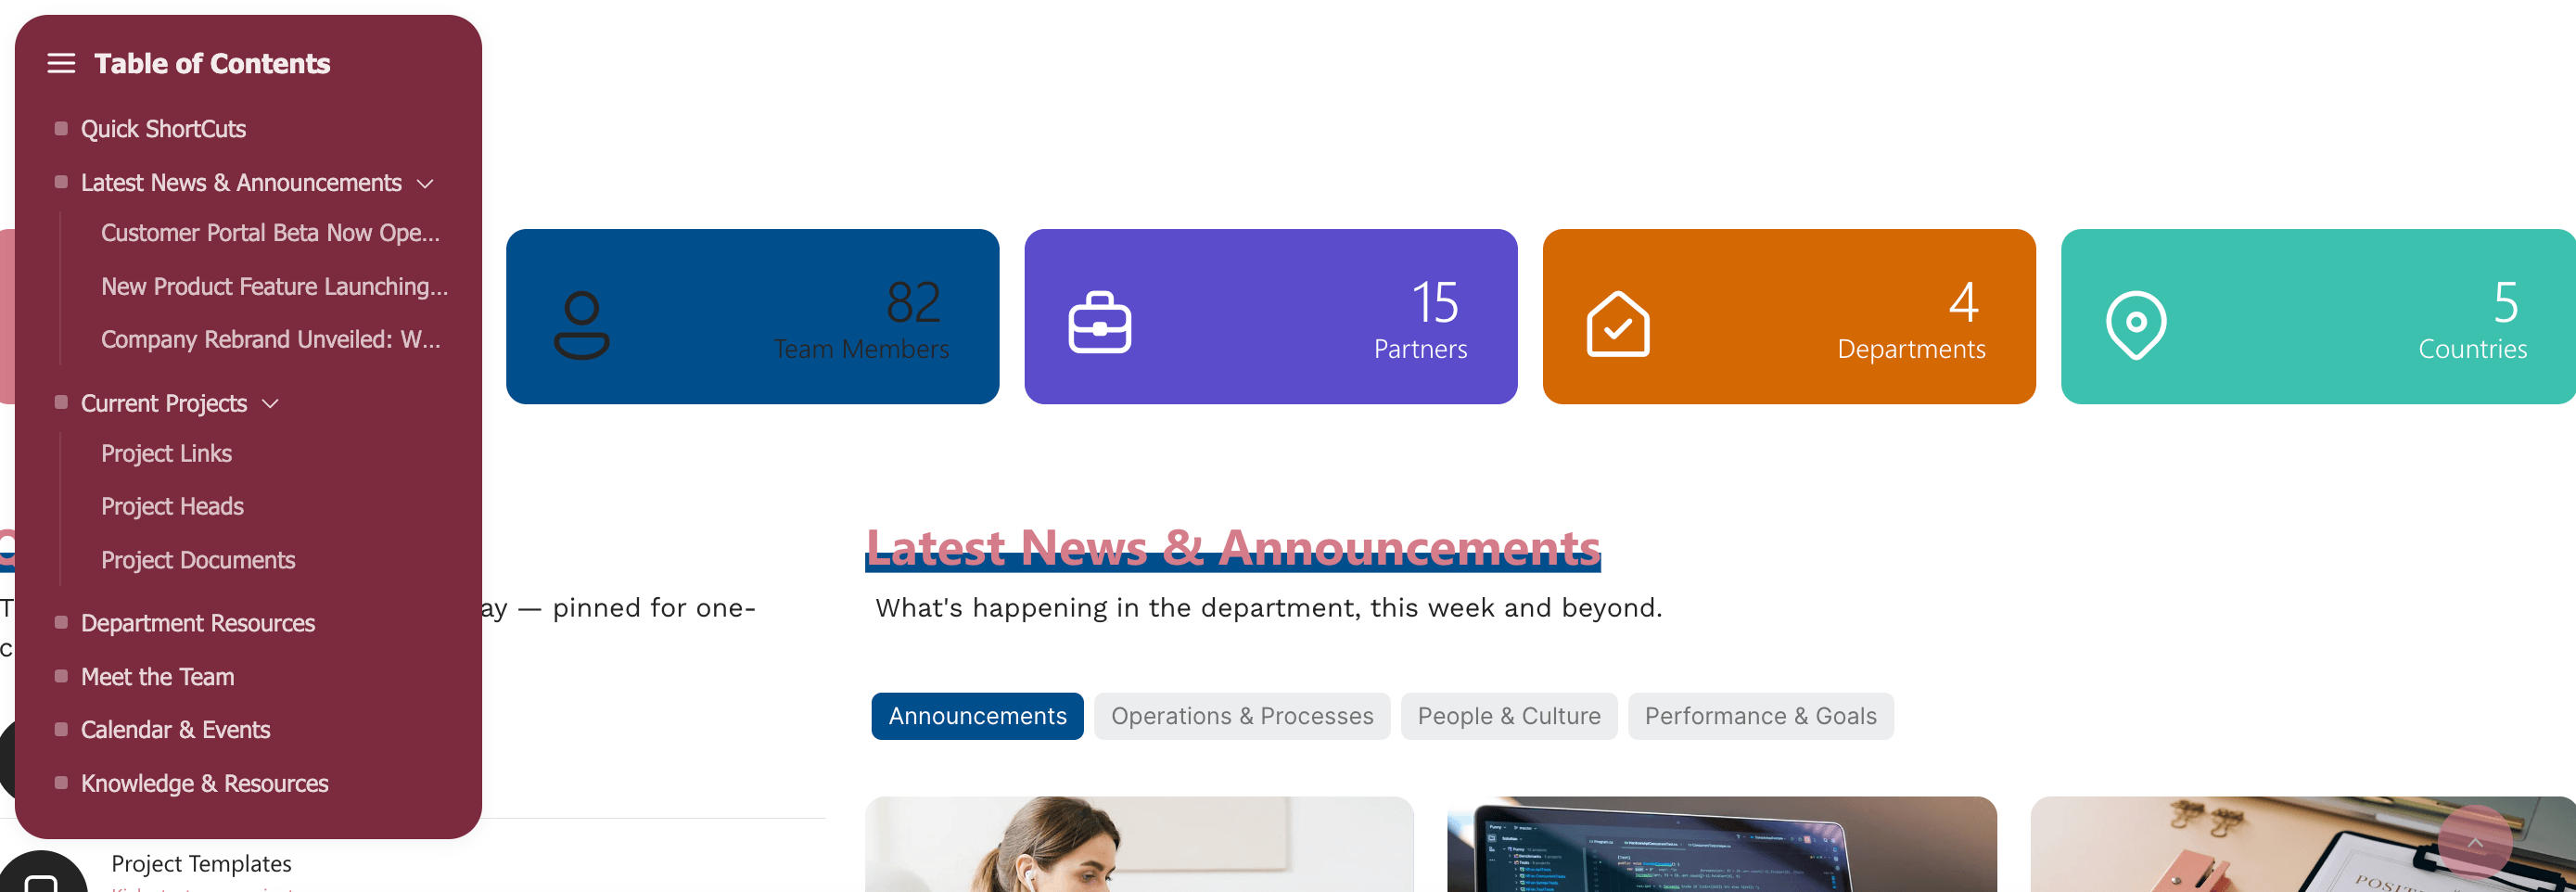
- Save your changes:

Fantastic! You've successfully added a user-friendly Table of Contents to your SharePoint modern page. Your page viewers will now be able to easily locate the information they need.
Table of Contents Features
Ready to start customizing your SharePoint table of contents? Here are the settings you can find inside its Settings window, including options to add your own custom CSS for a truly helpful and tailored solution.
A. Content Tab
The Content tab is where you can edit the content inside the Table of Contents Design Element. Here are the options you can tweak:
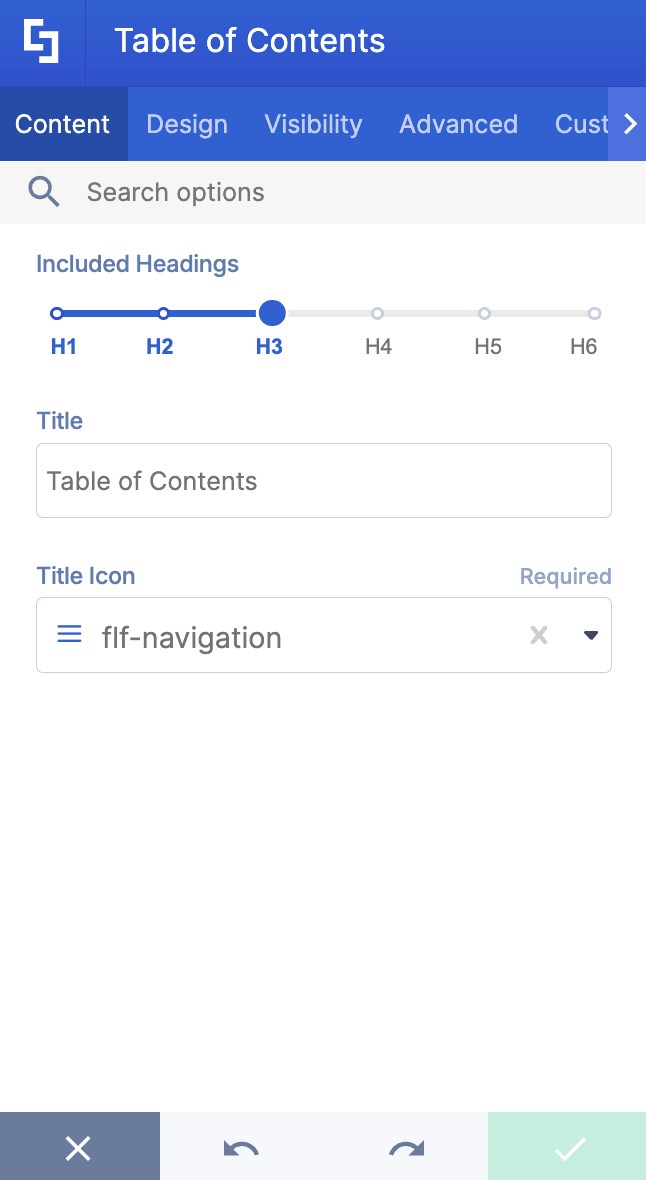
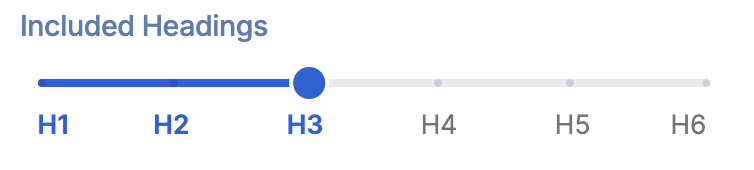 | Included Headings | allows you to assign the headings to be included in the TOC. H1 -H3 headings are added by default. |
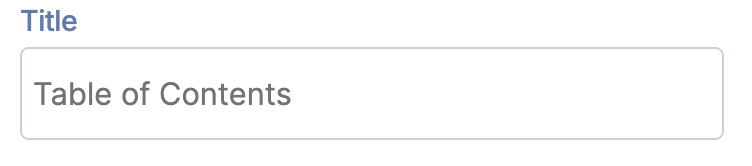 | Title | allows you to add a TOC title. |
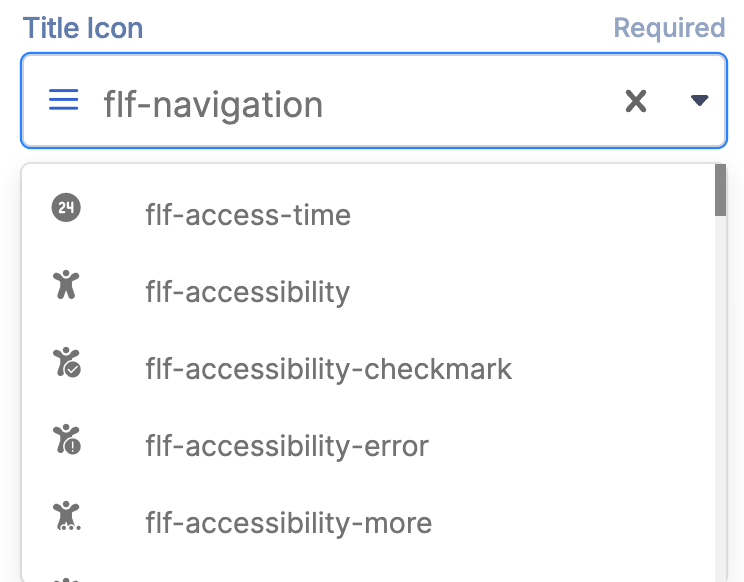 | Title Icon | allows you to choose the icon to be displayed together with the title. |
B. Design Tab
The Design tab is where you get to have fun customizing the look and feel of your TOC. Here are the options you can modify:
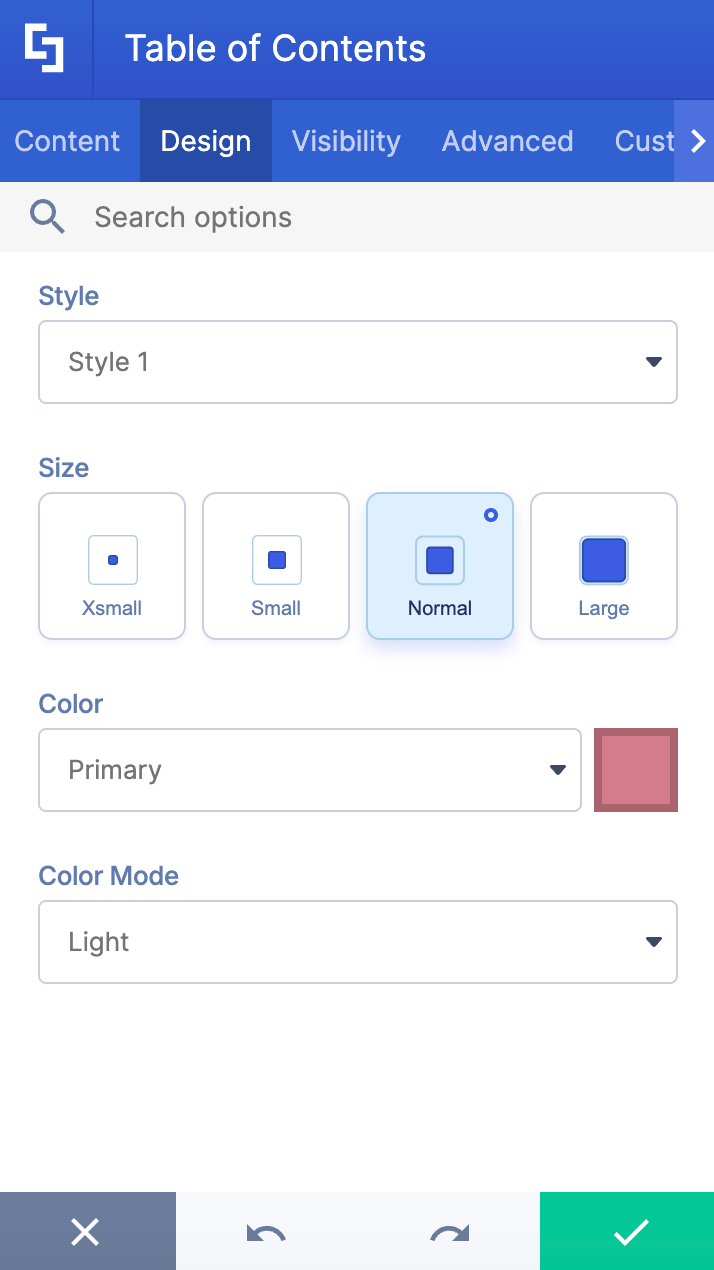
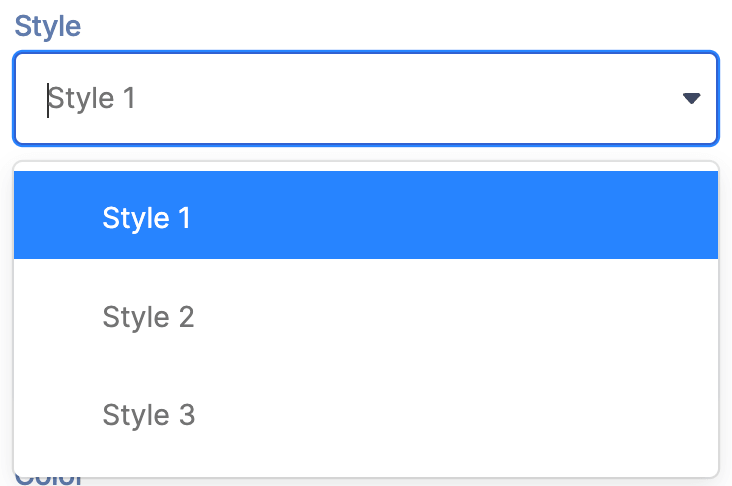 | Style | allows you to choose the design style of the TOC. You have 3 styles to choose from. |
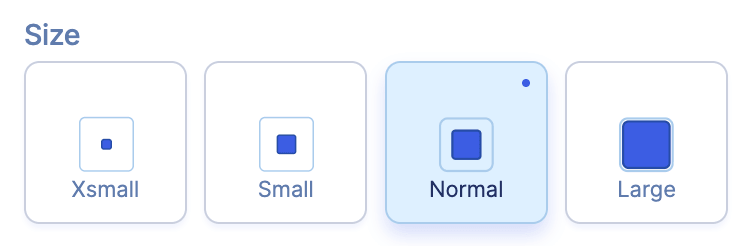 | Size | allows you to adjust the size of the TOC. You can choose from xsmall, small, normal, or large. |
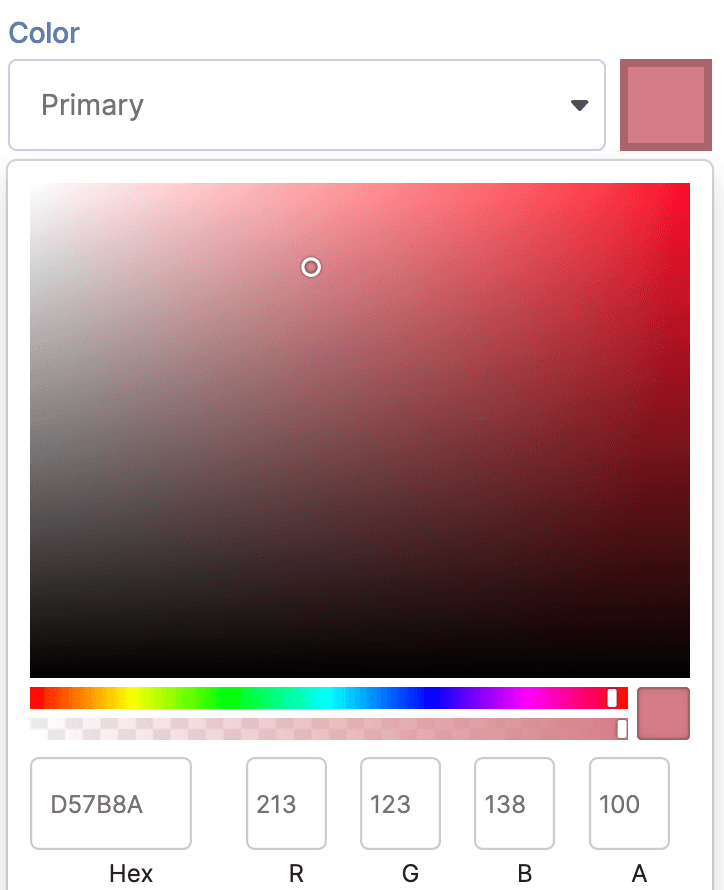 | Color | allows you to pick the primary color of the TOC. |
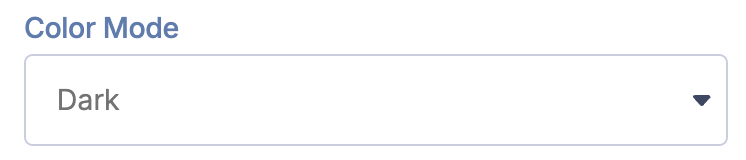 | Color Mode | allows you to choose from light mode or dark mode. |
C. Visibility Tab
The Visibility tab allows you to specify who can see the Design Element and what type of devices it can be shown on. For more details, check out How to Use the ShortPoint Visibility Feature for Effective SharePoint Access Management.
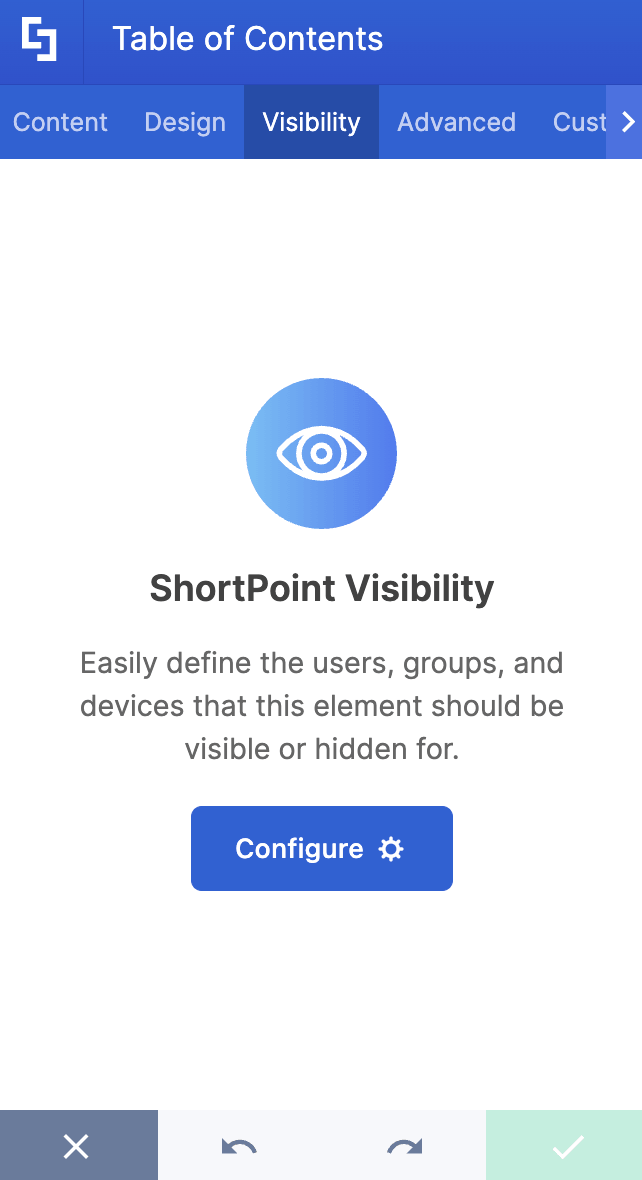
D. Advanced Tab
The Advanced tab allows you to customize the look of the TOC even further. These options are incredibly handy when you have a long list of headings.
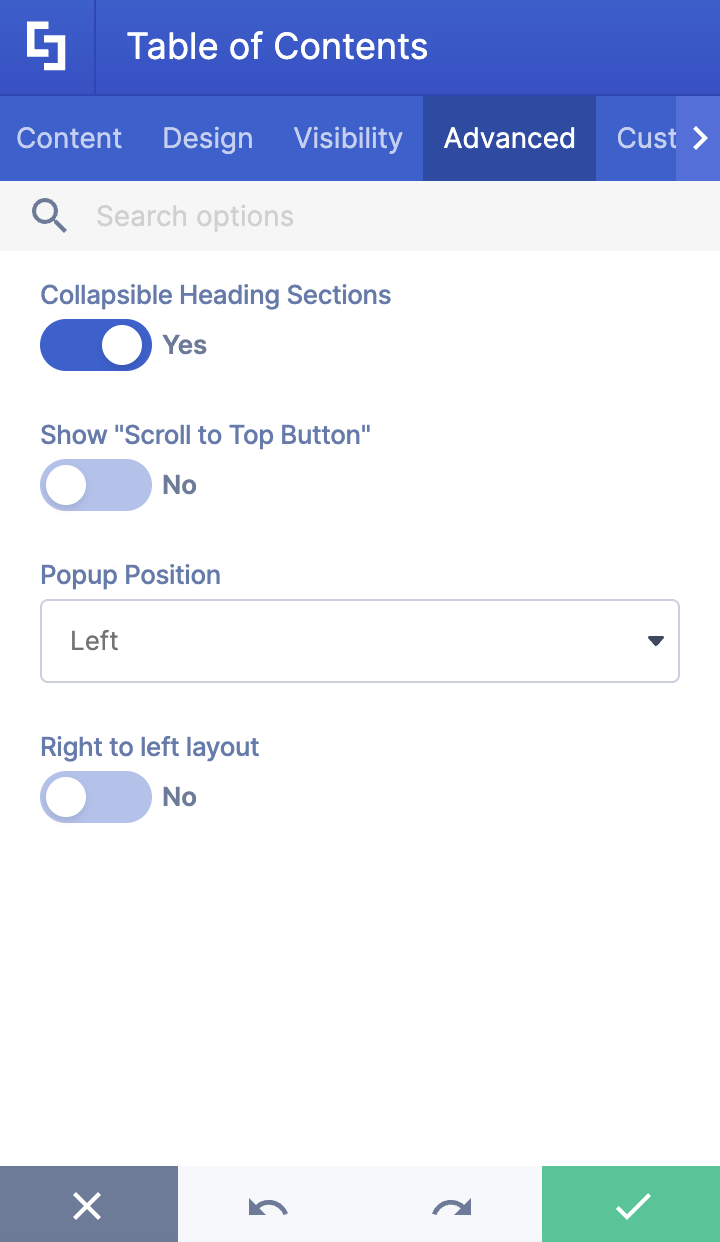
 | Collapsible Heading Sections | when enabled, heading sections are collapsible. |
 | Show "Scroll to Top" button | when enabled, a scroll to top button will be added. |
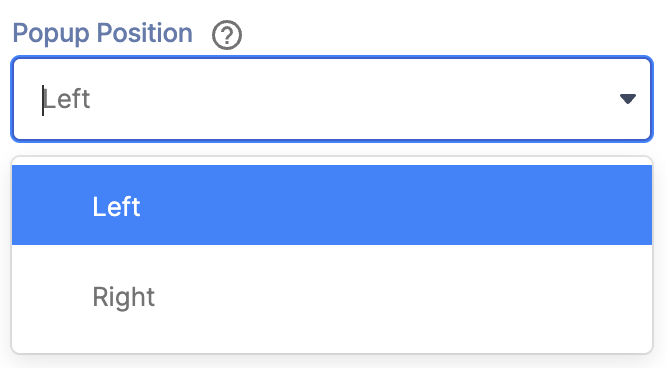 | Popup Position | allows you to choose where to place the TOC popup. You can choose from left or right. |
 | Right to left layout | when enabled, the TOC content's layout will switch from left to right to right to left. |
E. Custom CSS Tab
This tab lets you add your own custom touch to the Table of Contents Design Element using custom CSS, HTML, and JavaScript. This gives site owners and designers greater control over how the highlighted text will look.
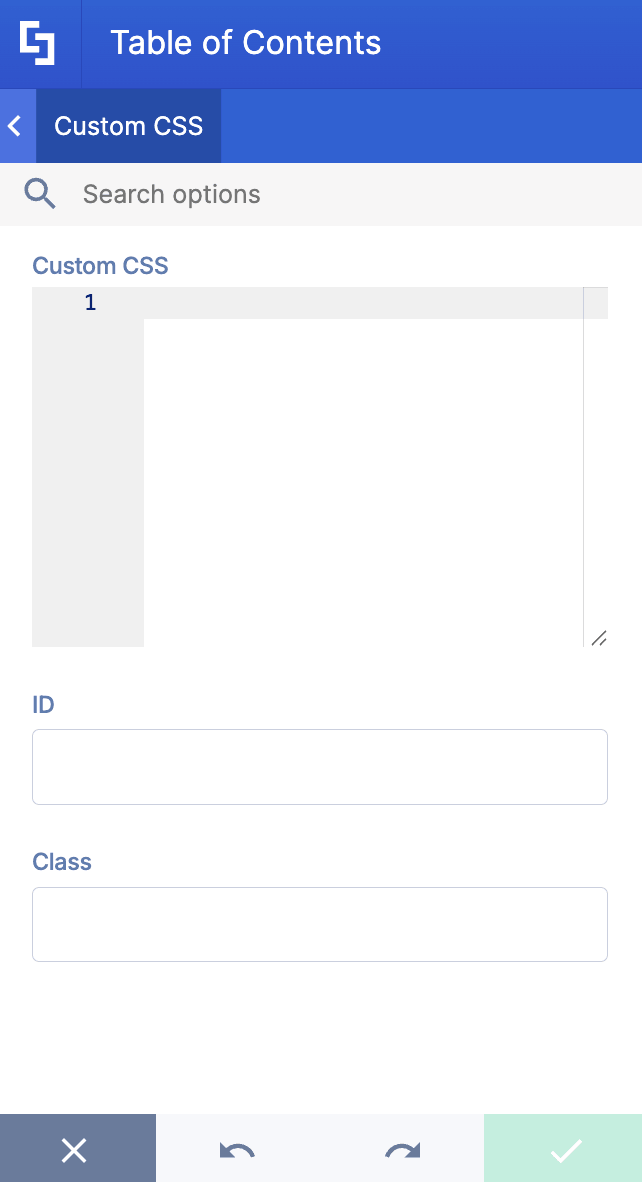
NOTECheck out our support article on How to Insert Custom CSS into a Page Builder Element? (Basic Tutorial) to know more about Custom CSS.
Table of Contents Style
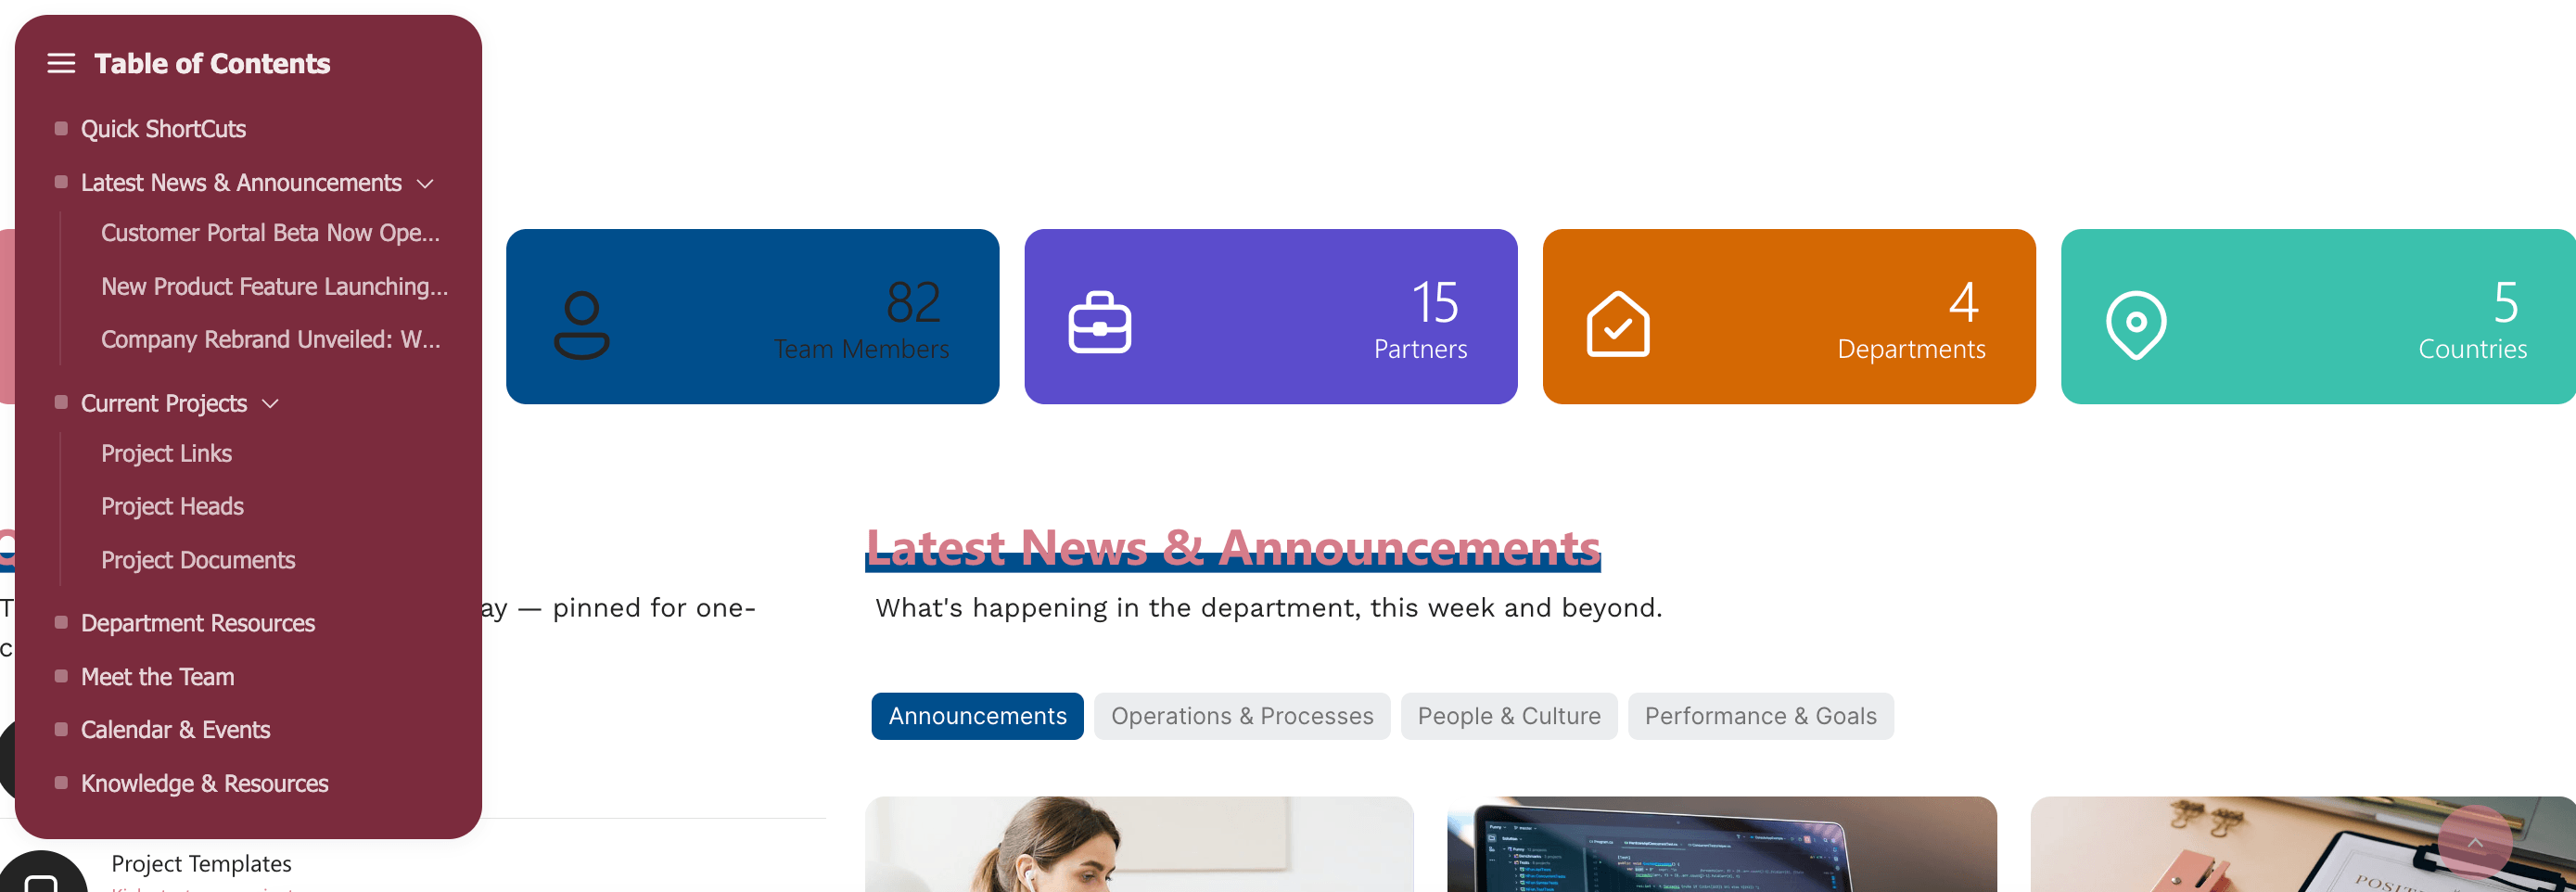
The Table of Contents Design Element gives you 3 creative styles to choose from. Let’s go over each one.
- Style 1 features a sleek, simple look. It's the perfect style to use to match any branding style.
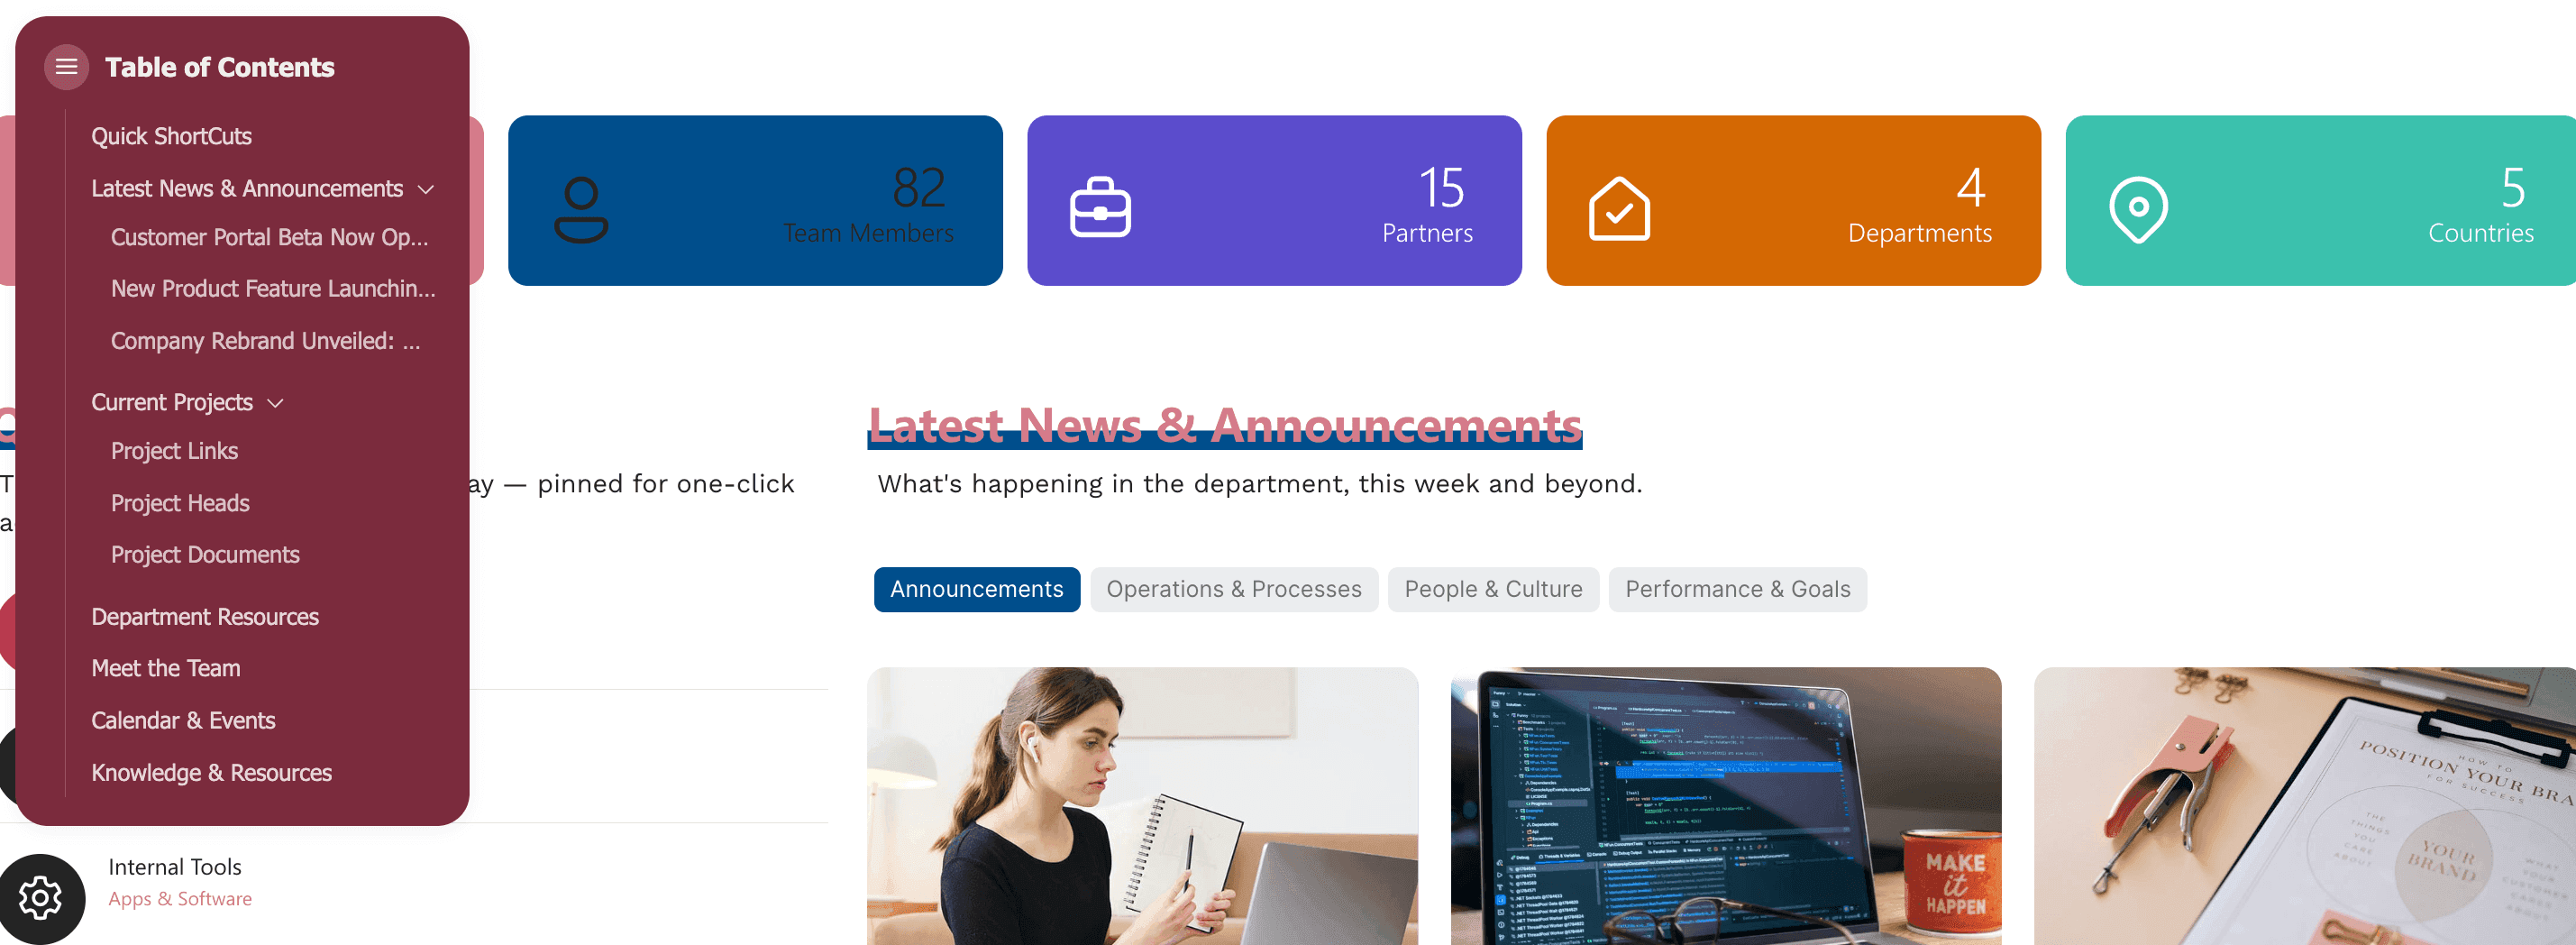
- Style 2 highlights the TOC title, giving emphasis to the TOC without overwhelming page viewers.
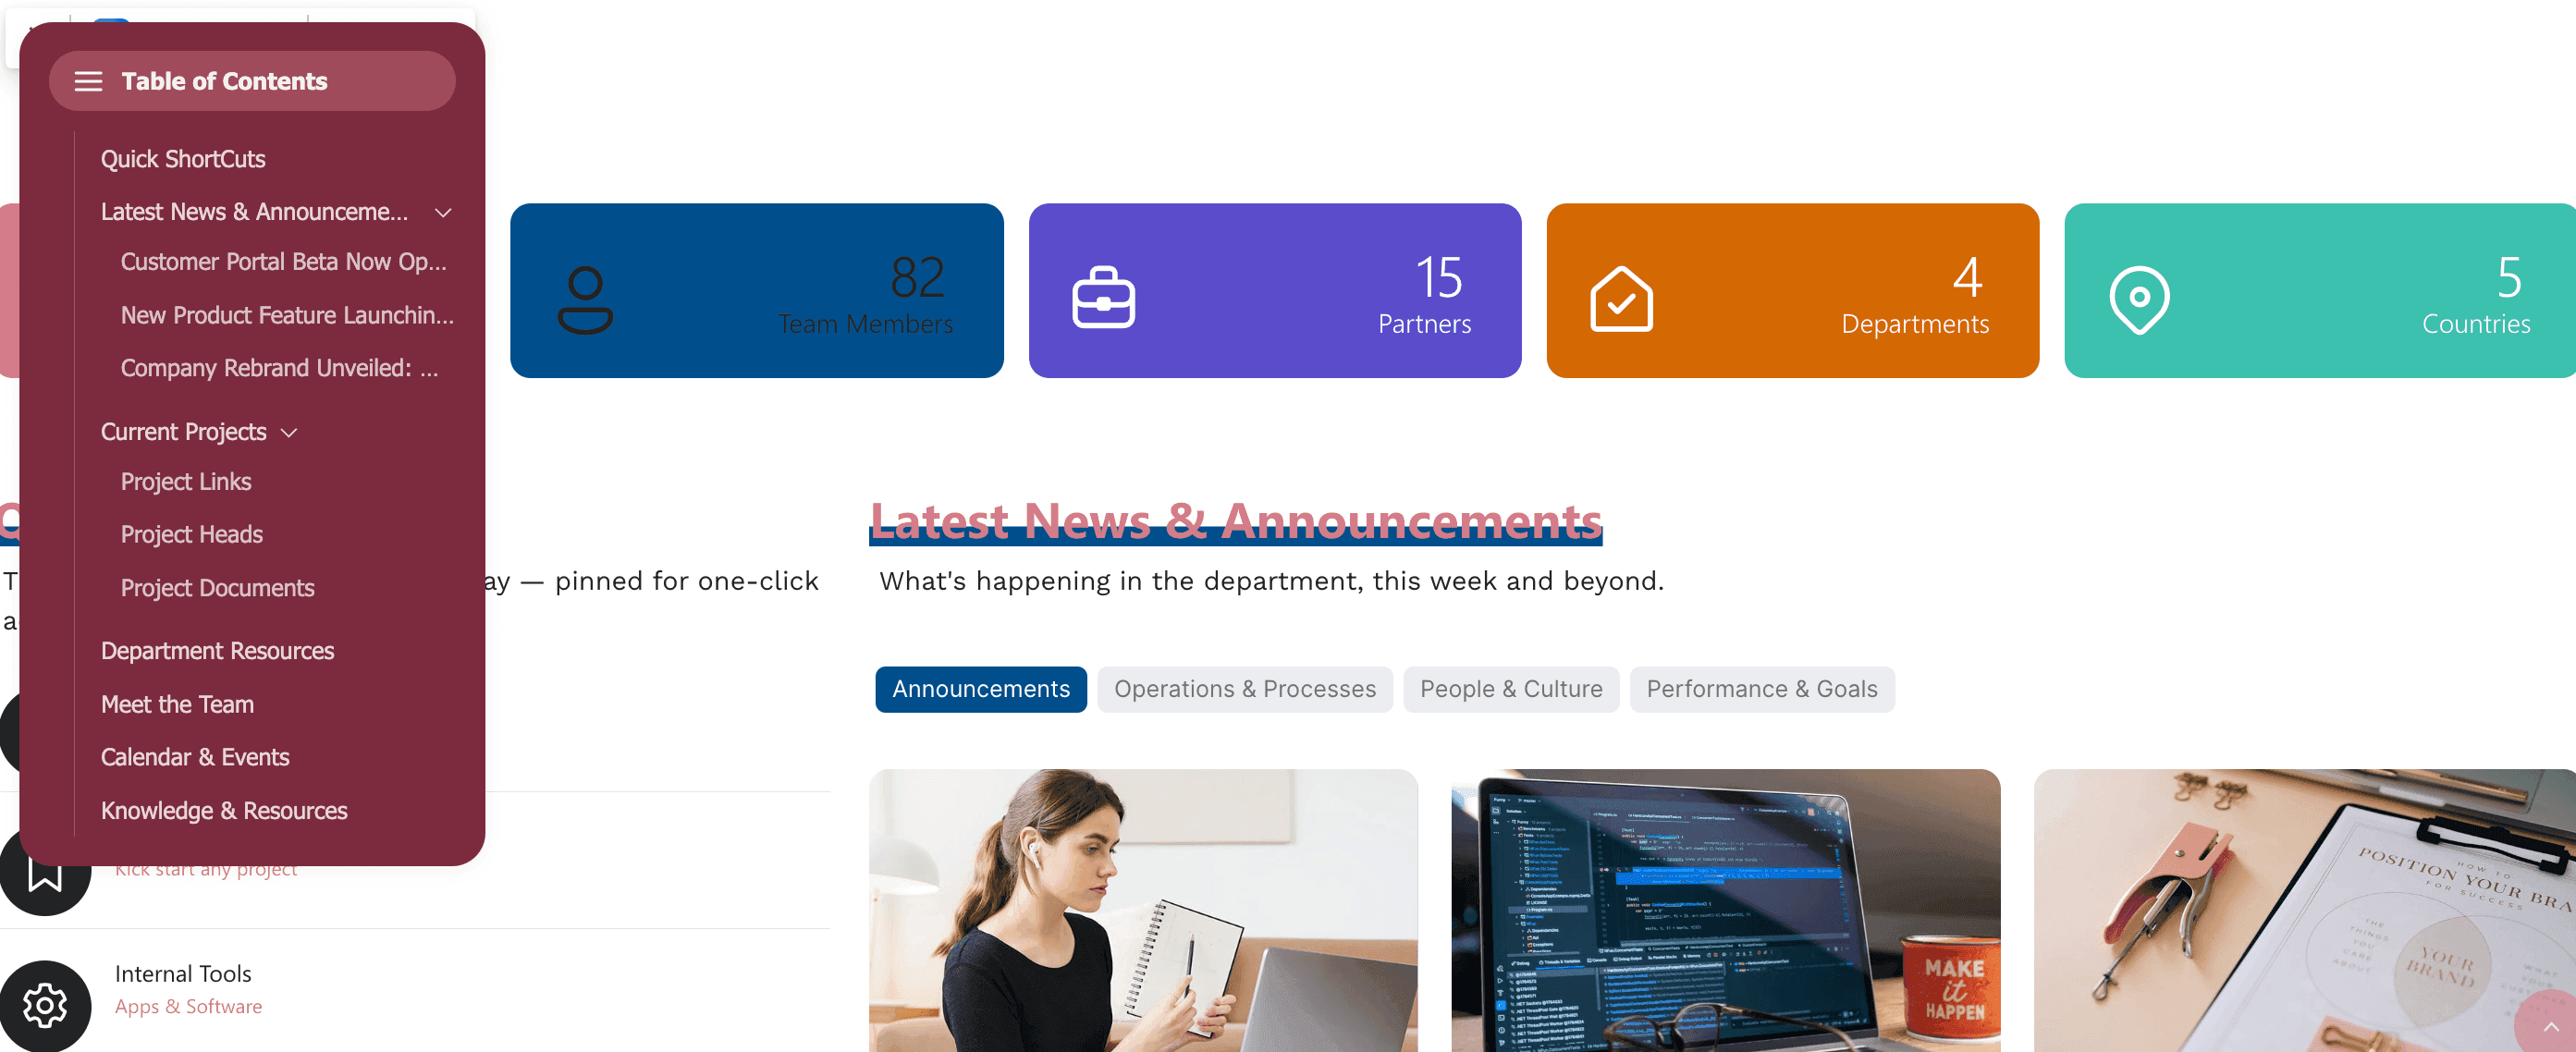
- Style 3 offers a structured, highly organized layout. The bullet-point design provides the best visual guide for page viewers.
Practical Use Cases for Your Intranet
The ShortPoint TOC shines brightest whenever information gets dense. Here are four real-world scenarios where dropping in a TOC will drastically improve your employee experience:
The Ultimate Employee Onboarding Hub
New hires are flooded with information on Day One. Instead of making them jump across five different SharePoint pages, you can house your entire welcome guide on a single, comprehensive page. With the Table of Contents Design Element, new hires can easily jump from section to section with one click, tracking their progress as they go.
Company Policy & Compliance Manuals
HR policies, code of conduct manuals, and compliance documentation are notoriously long and text-heavy. By applying the TOC element, employees don't have to read through 4,000 words just to look up the remote work policy or dress code guidelines. It turns a daunting legal document into a highly skimmable, user-friendly resource.
Product Documentation & Knowledge Bases
For IT and product teams, documentation changes rapidly. Creating a central knowledge base page with a fixed TOC allows engineers or customer support reps to pull up troubleshooting steps mid-call. Because the navigation links track your headers automatically, updating a technical guide won't break your layout.
Comprehensive Quarterly Town Hall Recaps
When leadership shares a massive quarterly review complete with video embeds, financial charts, and text updates, it's a lot to process. A Table of Contents breaks the recap down into digestible sections, allowing busy employees to catch up on the exact segments most relevant to them.
Start Designing with the Table of Contents Element
Having the Table of Contents Design Element makes it super easy for your page viewers to navigate your SharePoint sites. This tool organizes your content into clear tags for better organization and removes the hassle of endless page scrolling.
Ready to hit the ground running? You're only a few clicks away from launching your first Table of Contents. Follow our interactive tutorial, and we'll show you the ropes!
First time using ShortPoint? Don't worry, we've got you covered. Sign up for a free 15-day trial to test-drive all our features with zero commitment. Or, if you'd like a closer look, book a one-on-one demo with our team to see the TOC and other ShortPoint tools in action.
Frequently Asked Questions
What is the SharePoint Table of Contents Design Element?
The SharePoint Table of Contents Design Element is a ShortPoint feature that automatically retrieves page headings and creates a navigable TOC. It helps users easily find content on text-heavy SharePoint modern pages by providing smooth scrolling to sections and customizable styles.
How do I add a Table of Contents to my SharePoint modern page?
To add a TOC, edit your SharePoint page, assign heading levels to your content, then insert the Table of Contents Design Element. Customize the content, design, and advanced settings before saving your page.
Can I customize the look of the Table of Contents?
Yes! The Design tab allows you to choose styles, sizes, colors, and color modes for your TOC. You can also use the Custom CSS tab to add your own CSS, HTML, and JavaScript code for further customization.
Does the Table of Contents update automatically when I change headings?
The TOC retrieves headings automatically when the page loads.
What heading levels can be included in the TOC?
You can include headings from H1 to H6, with H1 to H3 included by default. Assign heading levels in your page’s design elements to control which headings appear in the TOC.
Who can see the Table of Contents on my SharePoint page?
The Visibility tab lets you specify which users or groups can view the TOC and on which devices, allowing for tailored access management.
What are some practical uses for the SharePoint Table of Contents?
It’s great for employee onboarding hubs, company policy manuals, product documentation, and quarterly town hall recaps. Basically, anywhere where content is dense, and navigation needs to be clear for co-workers.
Can I try the Table of Contents Design Element before purchasing?
Absolutely! ShortPoint offers a free 15-day trial so you can explore the TOC and other design elements with no commitment.
Where can I get help or a demo for using the Table of Contents?
You can book a one-on-one demo with the ShortPoint team to see the TOC in action and get personalized guidance for your SharePoint intranet.
Related articles:
- Organization Chart Design Element: How to Create an Organizational Chart in SharePoint
- World Clock Design Element: How to Add an Online World Clock to SharePoint Sites
- Canva Design Element: How to Embed Canva into SharePoint