Try ShortPoint now
TL;DR: With ShortPoint Generator, you update a custom element or footer in one place instead of on every page. Open the ShortPoint Dashboard and go to Generator. Find the element or footer you want to change and click Edit. Make your changes in the Content field, then click Save Changes. Every page that uses it updates automatically.
ShortPoint Generator lets you create Custom Design Elements and Footers and insert them into different site pages. But what do you do when you want to update their content or style? Simple! Instead of going through each page one by one, you can just edit them directly on the Generator page! Once saved, your changes will automatically apply across all pages hosting that custom element.
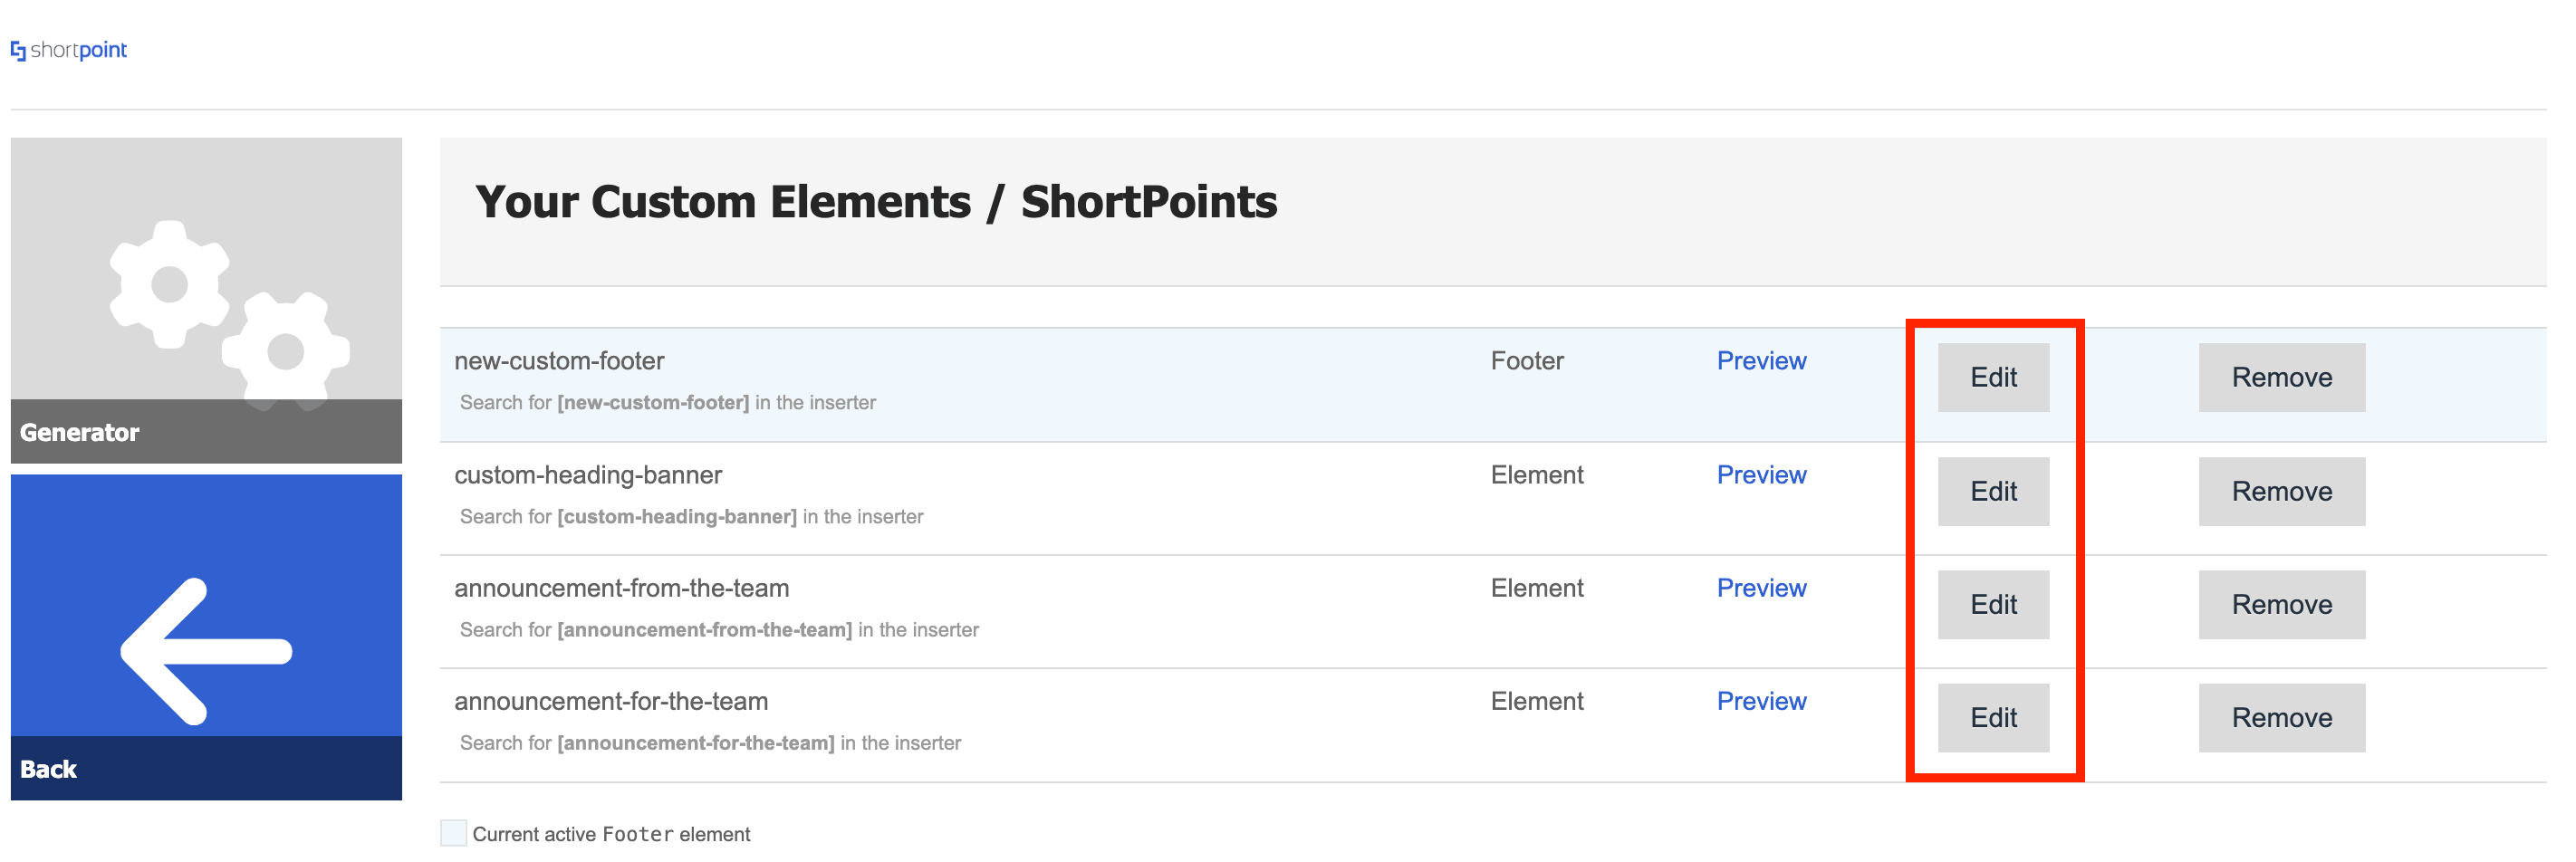
Follow the guide below to learn how to update your Custom Design Elements or Footer in just a few clicks.
TABLE OF CONTENTS
- Prerequisites
- What is the Edit Button in the Generator Page?
- Updating Custom Design Elements or Footer
- Frequently Asked Questions
- What is the Edit button in the ShortPoint Generator page?
- Do I need to update each SharePoint page individually when changing a Custom Design Element or Footer?
- What are the prerequisites for updating Custom Design Elements or Footers?
- How do I start editing a Custom Design Element or Footer?
- What happens after I save changes to a Custom Design Element or Footer?
Prerequisites
- You must have the latest version of ShortPoint SPFx installed.
- You must be a ShortPoint Designer with either a Pro or Enterprise license. For more information, check out Licensing Options.
- You must already have a Custom Element/Footer. For more information, check out How to Create a Custom Design Element.
What is the Edit Button in the Generator Page?
The Edit button in ShortPoint Generator makes it easy to update your saved Custom Design Elements and Footers whenever you need to make changes.
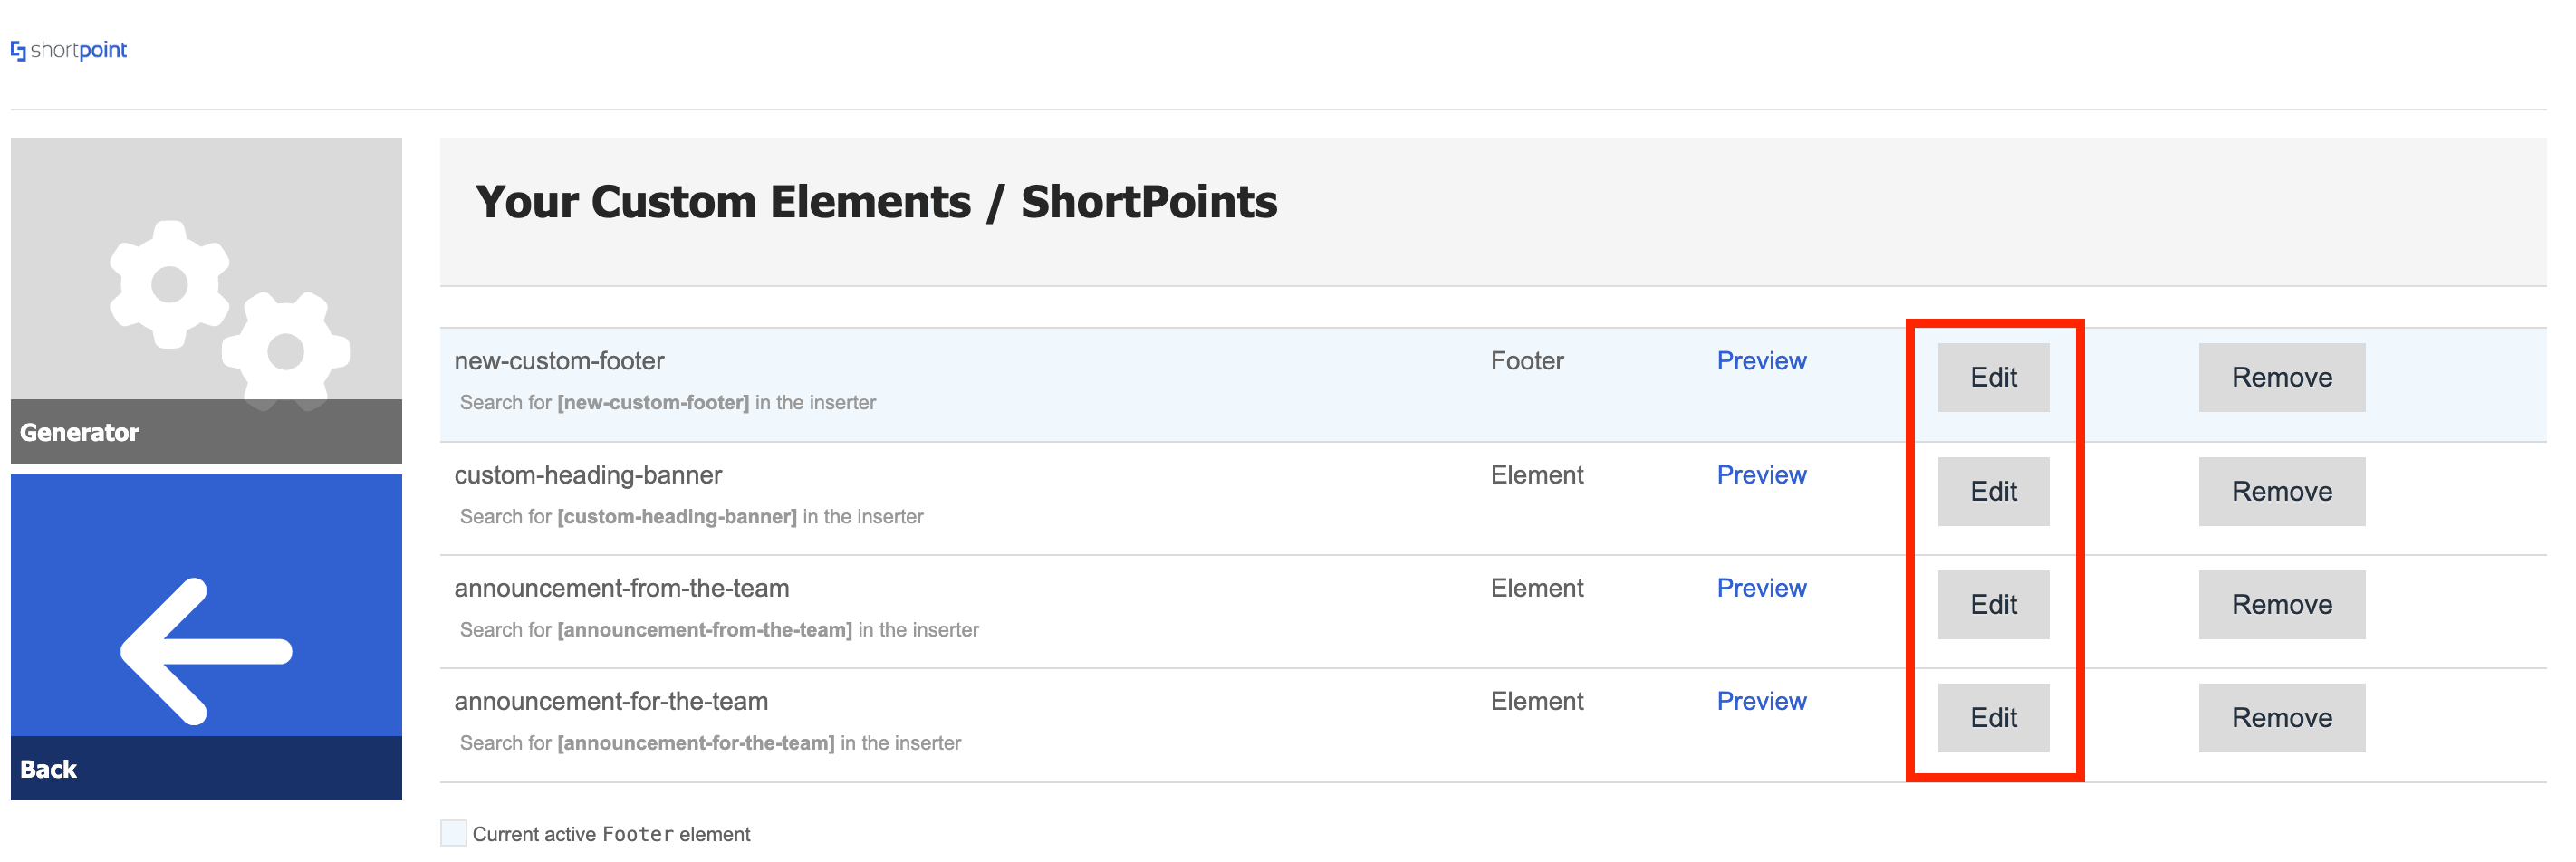
Every saved item has its own dedicated Edit button. Clicking it opens the Content field, where you can modify your content or design right away.
Here’s the best part: When you save your edits, all the changes made will automatically be applied to all the pages that have the edited Custom Element/Footer, saving you from hundreds of hours of manual updates.
Updating Custom Design Elements or Footer
Start the interactive tutorial to learn how to make updates to your Custom Design Elements or Footer:
Step 1: Launch ShortPoint Generator
- Go to a SharePoint page and click the ShortPoint shortcut:

- Select Dashboard:
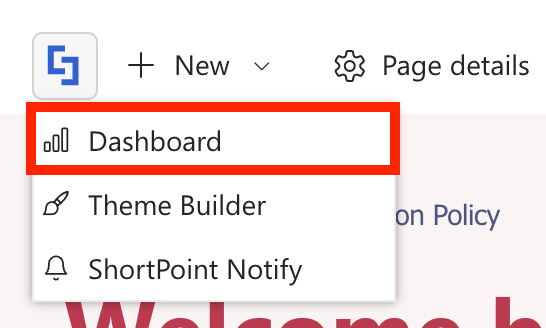
- Open Generator:
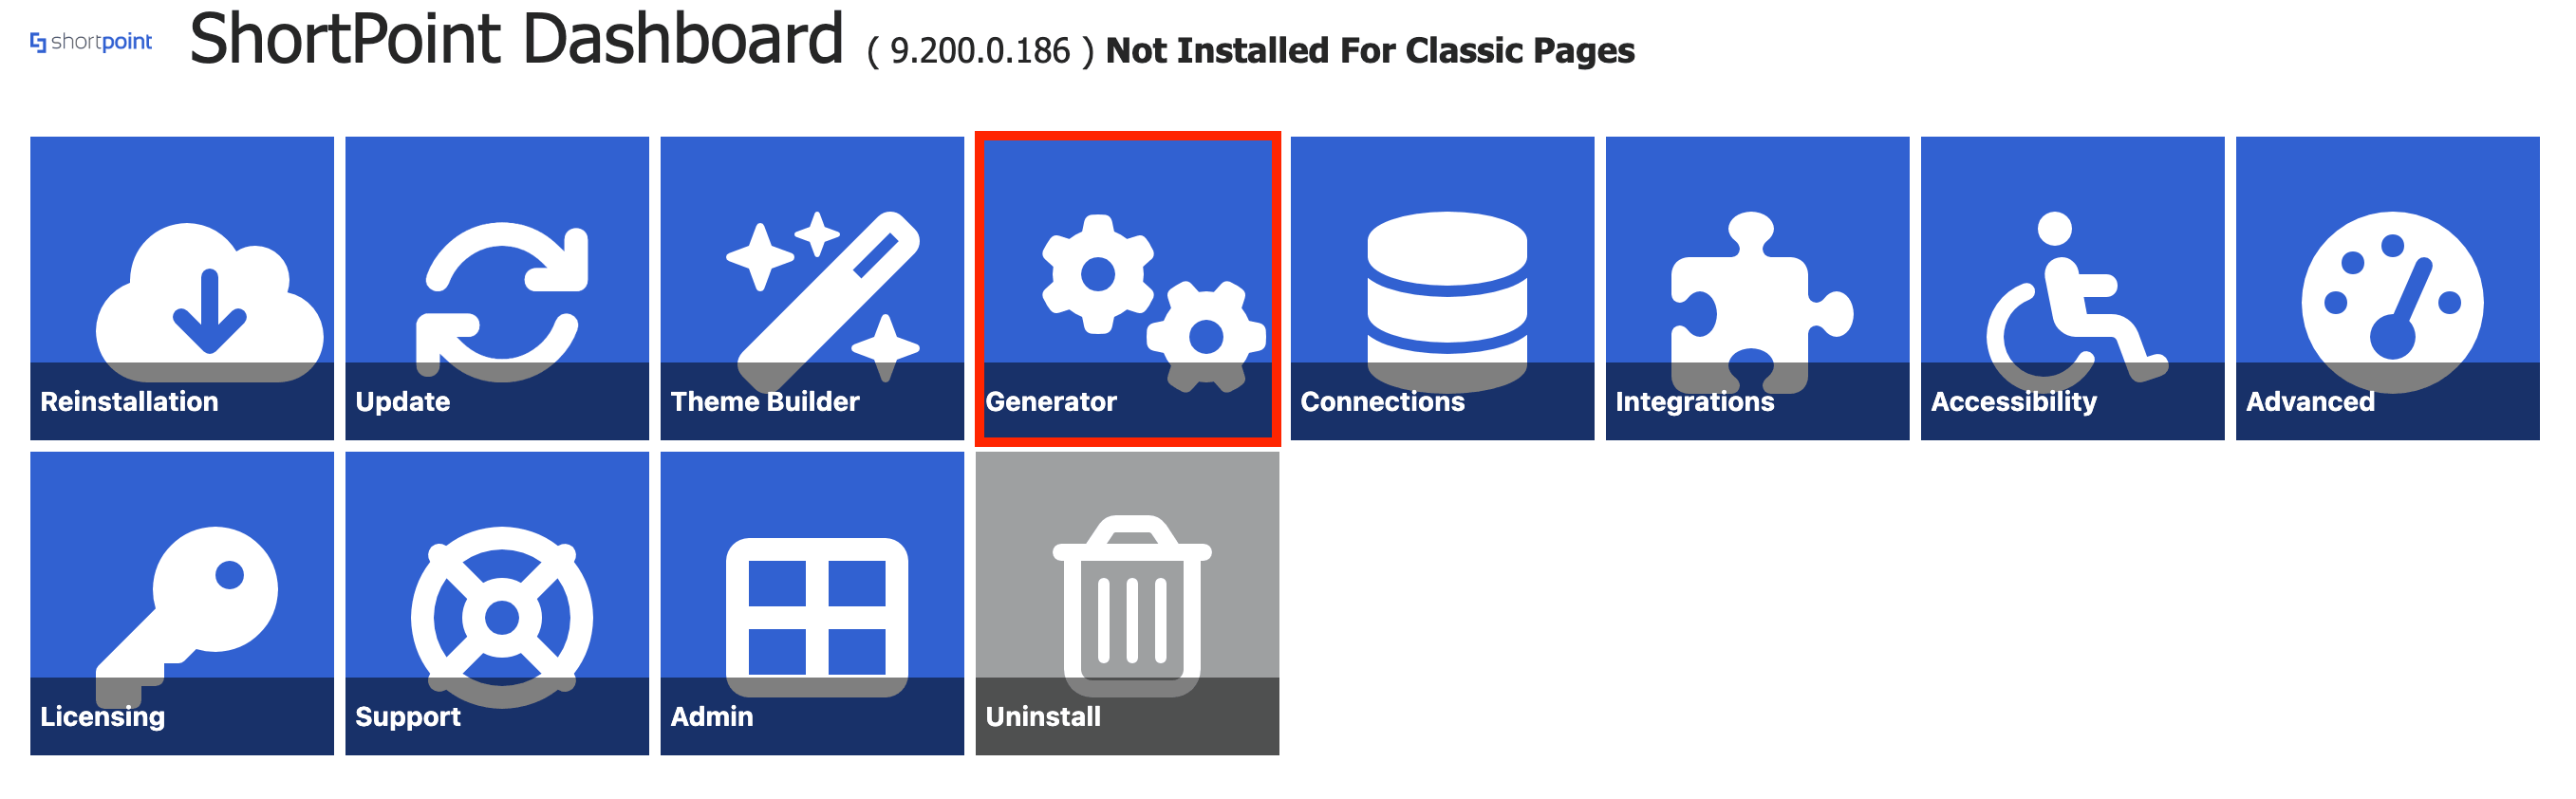
Step 2: Edit the Custom Design Element or Footer
- Look for the Custom Design Element or Footer you want to update and click Edit:

- Scroll down to the Content field and make your changes:
Step 3: Save
- Once you’re satisfied with your edits, click Save Changes:
Great work! Your changes will now be applied across all pages hosting the edited Custom Element/Footer.
Frequently Asked Questions
What is the Edit button on the ShortPoint Generator page?
The Edit button allows you to easily update your saved Custom Design Elements and Footers. Clicking it opens the Content field where you can modify your content or design, and saving your changes automatically updates all pages hosting that element.
Do I need to update each SharePoint page individually when changing a Custom Design Element or Footer?
No. When you edit and save a Custom Design Element or Footer in the ShortPoint Generator, the changes apply automatically to all pages that include that element, saving you time and effort.
What are the prerequisites for updating Custom Design Elements or Footers?
You must have the latest version of ShortPoint SPFx installed, be a ShortPoint Designer with a Pro or Enterprise license, and already have a Custom Element/Footer created.
How do I start editing a Custom Design Element or Footer?
Launch the ShortPoint Generator from a SharePoint page by clicking the ShortPoint shortcut, then navigate to Dashboard and open Generator. Find the element or footer you want to update and click the Edit button.
What happens after I save changes to a Custom Design Element or Footer?
Once saved, your changes will automatically apply across all SharePoint pages hosting that element or footer, ensuring consistent updates without manual edits on each page.
Related articles: